Browsed by
Category: Classes

Learning and Experimentation with Online Classes

Learning and Experimentation with Online Classes

Have you wanted to be a little more experimental in your fiber art practice? Do you want to learn new techniques and add embellishments to felt or other fabric? Why not try an online class all about embellishing felt? Anyone from anywhere in the world can take these courses, no need to show up at a certain time (you can even wear your pajamas) and the classes are 6 weeks long so you have plenty of time to learn a new technique and try out an experimental approach. My online courses are 4 stand alone classes under the title Embellishing Felt with Surface Design Techniques – A Mixed Media Approach.  You can take just one or work through all of them. The classes are only $45 US which is a tremendous deal for 4 weeks of video and written PDF’s plus 2 weeks extra time on the class website with full instructor support. Registration is now open and the class begins on July 6, 2018.

The first module is called Nuno Felting with Paper Fabric Lamination. The bark I created above used this technique.

You will learn the technique of Paper Fabric Lamination and then how to use these pieces in nuno felting. As you can see from the examples above, there are many possibilities with this technique. Click here for more information and to register for the class.

The second module is Experimental Screen Printing on Felt.

You will also be able to use these techniques to screen print fabric such as silk to use in nuno felting. These same techniques can also be used on cotton fabric to use in fabric collage or quilting.

You will learn how to create thickened dye, make your own screens and many ways to use these screens in an experimental approach. Click here for more information about Screen Printing and to register for this class. 

The third module in Embellishing Felt with Surface Design Techniques – A Mixed Media Approach is Printing, Stenciling, and Playing with Thickened Dye on Felt.

This one is really fun and experimental. Learn to make stamps, stencils and how to use a variety of objects from around the house to create your own unique surface design on felt. Develop your own style with designs you have created.

The techniques you learn in this class can be used for felt, other fabric types and even paper. The stamps and stencils can be re-used over and over and applied in different ways to create exciting patterns. Click here for more information about Print, Stencil, and Play with Thickened Dye on Felt and to register for the class.

The last module in the series is Free Motion Machine Stitching on Felt.

In this course, you will learn the basics of free motion machine stitching and how to use this specifically on felted projects. Does the thought of machine stitching seem a bit scary? If so, you should take this course to get a handle on how to use your sewing machine to create wonderful embellishments on felt paintings or other felted items.

We’ll start with how to set up the machine and some great practice techniques that will build your skill level until you feel comfortable with your machine. Then you’ll learn about machine lace, thread sketching and how to incorporate machine stitching into felt paintings. Click here for more about Free Motion Machine Stitching on Felt and to register for the class.

I hope you want to expand your fiber art skills. If so, click on any of the links above to read more about the classes, see the supply lists and to register. I look forward to “seeing” you in class!

And don’t forget, if you are a beginner, our online class Wet Felting for Beginners is always available.

This class teaches you all about wet felting. You’ll learn how to make a piece of felt, how shrinkage works and how to calculate it and the basics of felting, fulling and creating felt from wool fiber. Click here for more information and to sign up. 


Techniques for Intermediate Felters Class-The Afternoon

Techniques for Intermediate Felters Class-The Afternoon

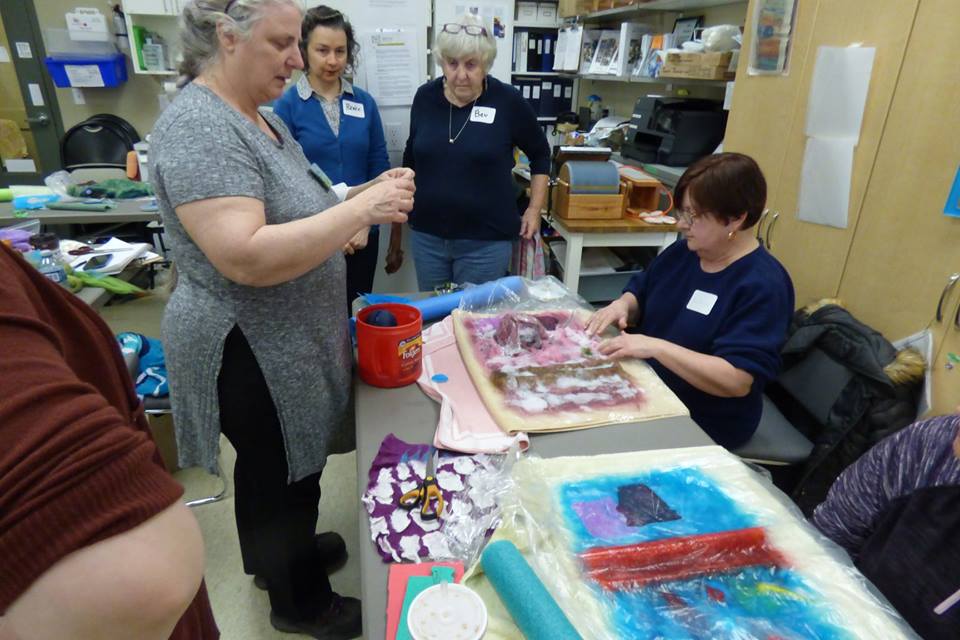
Last time I talked about the first half of the class, class-the-morning  In the afternoon they did one large sample of many things. They used foam tubes and lots of inclusions. There were two resists sticking up and spikes They added some silk and cotton squares, yarn,  some scrunched up silk and a silk flower.

See the cool little rolling tool I got recently. It’s a little massage roller. This was it’s first try out. It worked really well. I have some other kinds ordered so I will do a post about them later.


Here are a couple of shots of me teaching. The left one is talking about adding some scruched up silk and the right one I explaining how you make one of the resists into a flower.

Here Carlene and Jan are showing thier pieces at show and tell at our guild meeting.

and a close up are Carlene’s

We didn’t have enough time to do everything I wanted to do, so at the end I was doing quick how to’s.  The pine needle technique two ways  and I also explained book resists.

So now it’s a matter of deciding what to take out and what to add in for the next time I teach it. There was not enough time. I think adding an hour to the class would be good. I think I will drop the nuno part of the sample to make sure we got to the pine needle part. I am not sure about the book resist. It may take to much time. What would you want to see in an intermediate techniques class?


More on Mittens

More on Mittens

I posted a while back about making my grandson some mittens.  mittens post He loved them but they wouldn’t stay on even when his coat sleeves were over them.  I had thought that might be the case . Mittens are usually narrower at the wrist. You can’t do that with felt mittens, no stretch.  To fix them I sewed on some bound ribbon. Threaded some elastic through and added a locking toggle. We tried them on and he tried to make them fall off but they stayed put. Success!


The Hardest part was finding the toggles. When I wasn’t looking for them, they were everywhere. I went to 2 craft stores, a sewing store, a Walmart and the big dollar chain store, in the end found them at the smaller chain Dollar World.

I made a pair of adult sized this week so I would have an adult size to show and do a different way of tightening the wrist.  That part isn’t done yet. I need to find my sew on Velcro for that. Here my daughter is modeling them for me.

and a simple over lapping to close them.

The hardest part about writing the instructions is doing the measuring to get the resist the right size. I had to redo the drawing several time because I made mistakes and I wanted it to be neat.

The instructions are mostly doing the same thing over and over in all the different spots, but as you read it, it gets confusing. I need to figure out a different way of writing it. I may make it several diagrams, pull out the thumb and the angle from the thumb to another picture so there are not so many lines. Then write the instruction once and say repeat for all the lines. I will be there to explain so it will be easier. I would like to get them clear enough to make a kit. I am going to see if I can get my son to draw the mitten using his fancy drawing program so I can easily manipulate it electronically using layers. I will have to find that free “photoshop” drawing program, I can’t remember the name of it at the moment.


Nuno Felt Scarf Class

Nuno Felt Scarf Class

I had another delightful day teaching some ladies to make nuno felt scarves. I made a slide show of the scarves. For some reason I only got one shot of the last one.

This slideshow requires JavaScript.

And finally a group shot of the ladies and their scarves all finished.

It was a fun day I love seeing how different they all turn out.

One of the students, Renee sent me a couple of pictures she sent so  ma pop ing them in now.

Felt Vessel Class

Felt Vessel Class

I taught an enthusiastic group of ladies how to make felted vessels last Sunday. They were a great group and without Carleen’s reminders to take pictures I would have nothing to show you today.

This slideshow requires JavaScript.

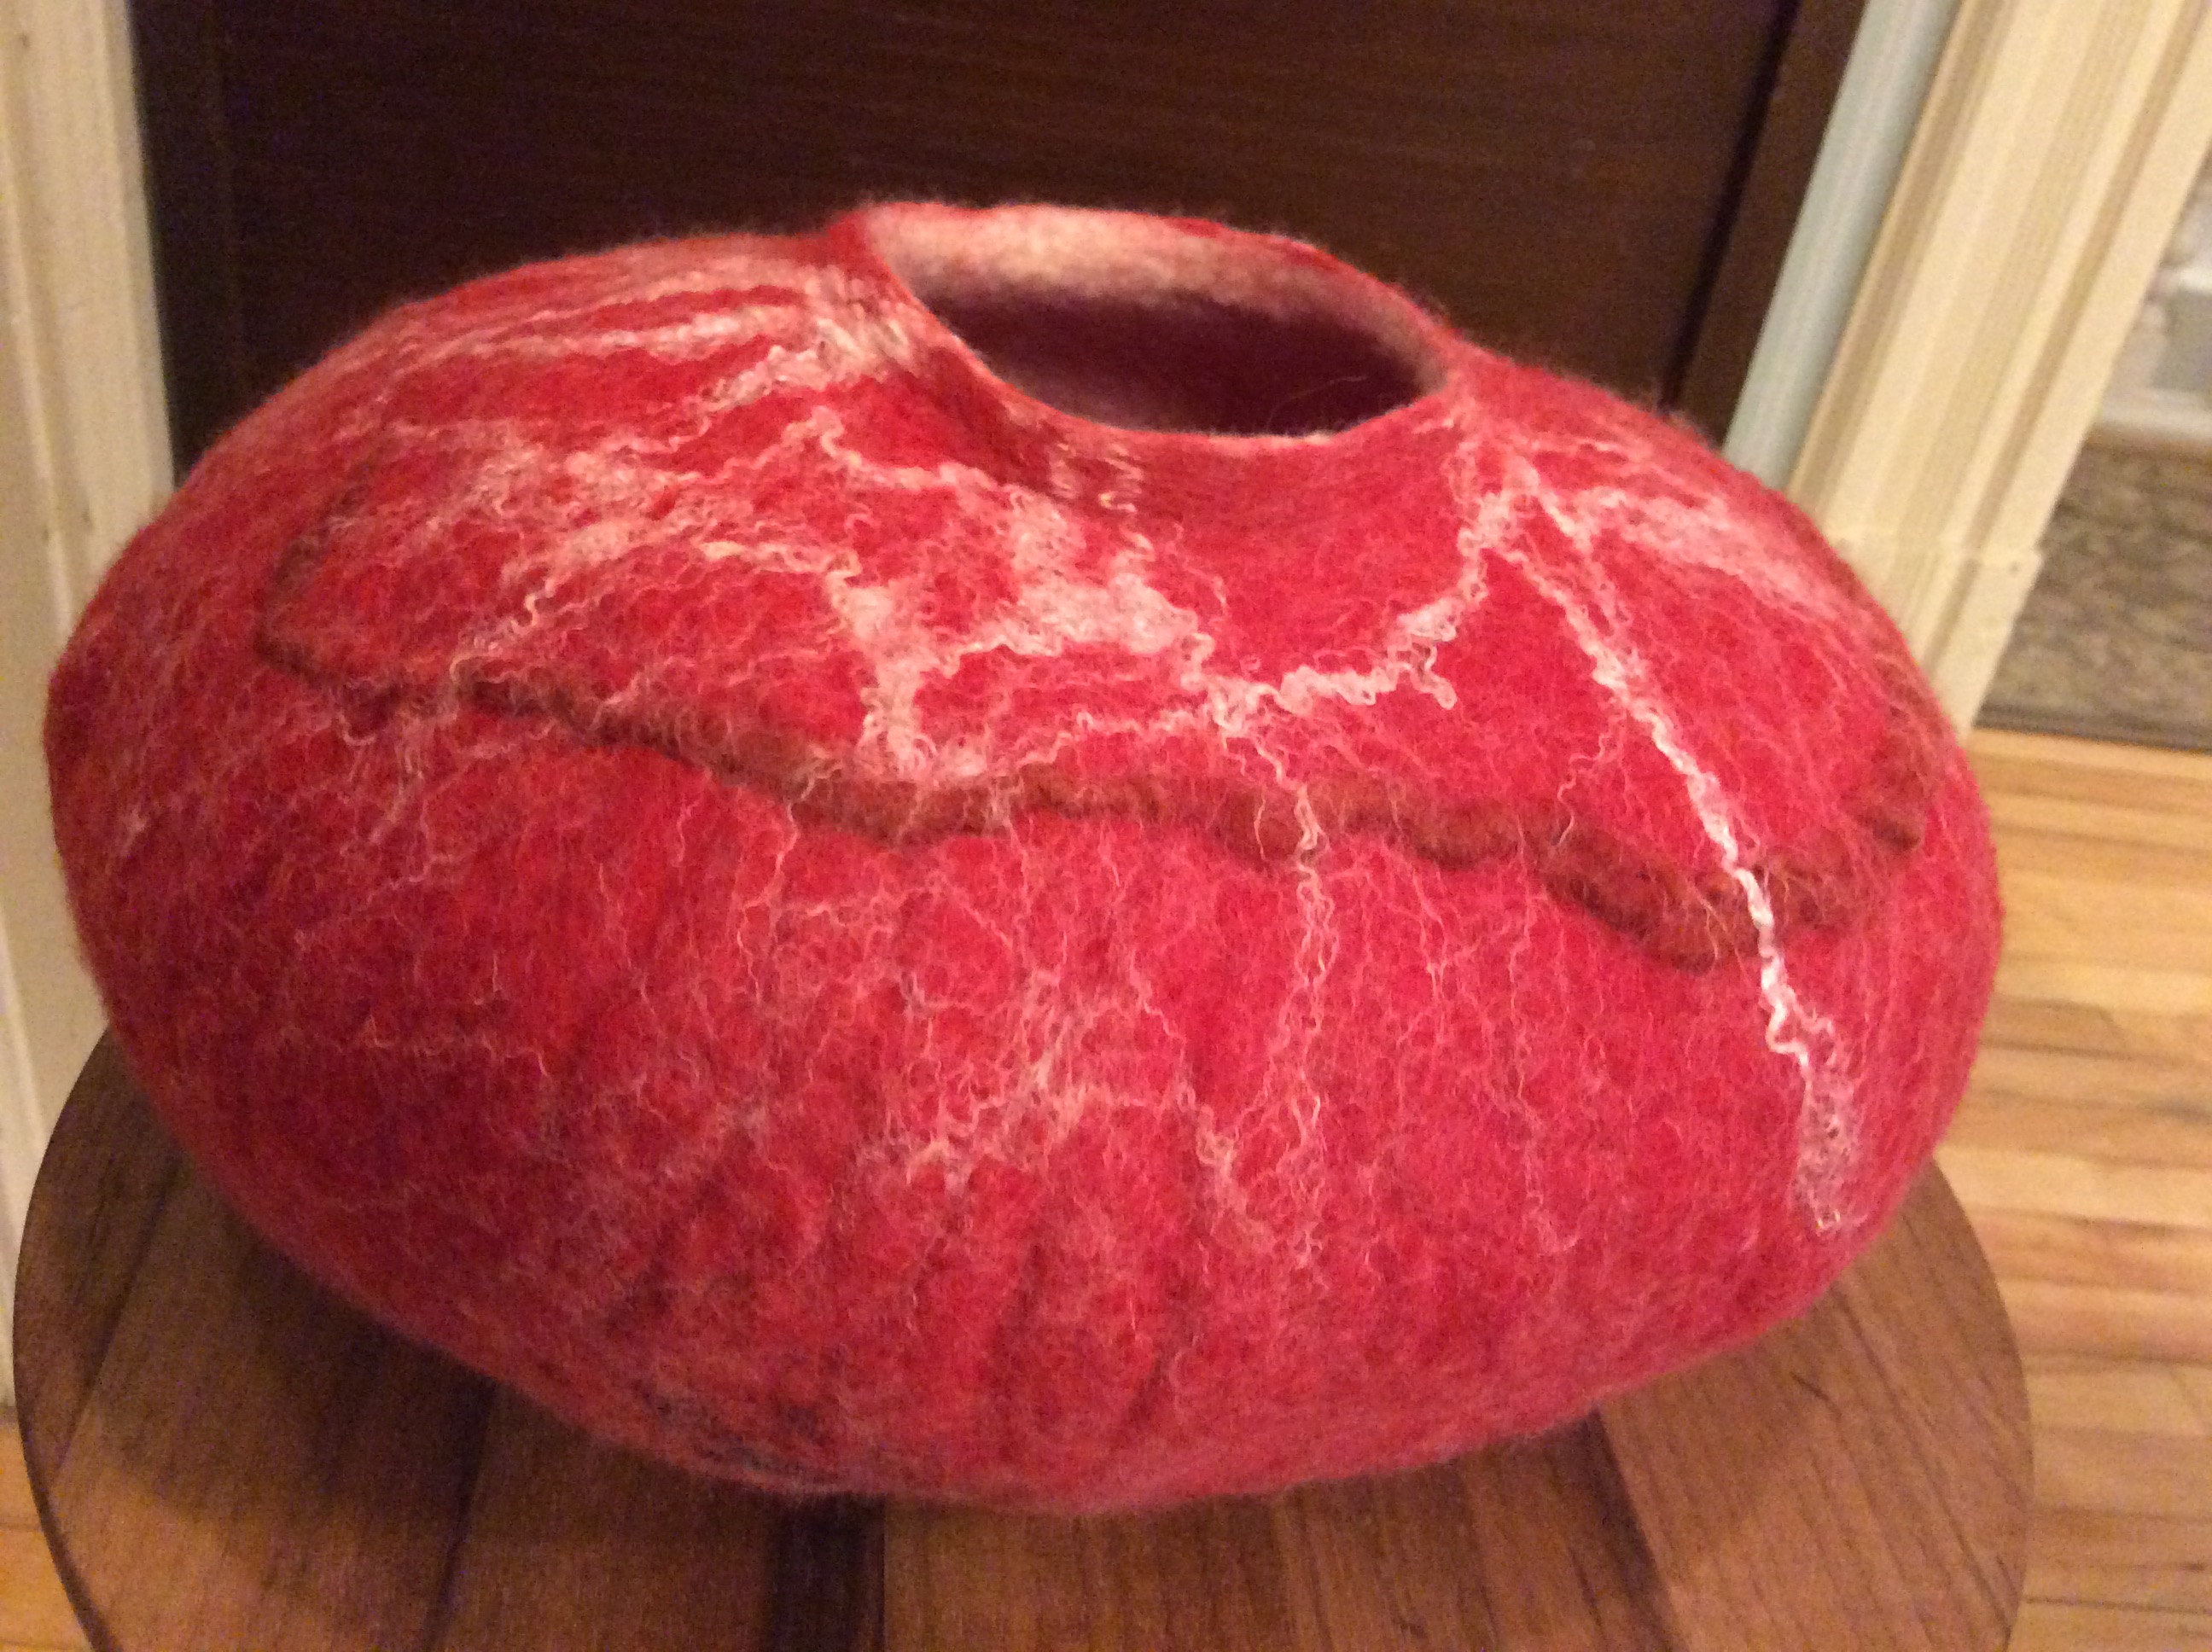
Three ladies chose to make pots that were a different colour inside.  and two made theirs a solid colour.

Then of course there was the wetting, rubbing and rolling and shaping


Blowing up a balloon inside  helps get a nice shape. In the back ground you can see Carlene rolling on a car mat.

For some reason I did not get a picture of all the finished pieces. This is the only one I have of this white and gold pot. It was very elegant and I think it would make a great light cover. She said she was rewetting it and reshaping it. I hope she remembers to send me a picture of it when it’s done.

There was also some very determined rolling on the glass wash board.

I do have some finished pictures.


The blue one is Carlene’s. She wants to add to it. Here are 3 thoughts. The second and third pictures are the same yarn but different ends,  one has more blue in it.

Her husband thinks the yarn covers up to much of the pot. I like the spiral but think maybe make the lines farther apart. What do you think? It may have been better to felt it right in. It would still be texture but flatter, more integral to the pot. Hey Carlene, maybe you just need to make another pot.

Mittens

Mittens

I am teaching mittens next year at my guild. I haven’t made any in a long time so I have been working on some mittens for my grandson.  Here you can see where I was enlarging the pattern.  They look huge. I did add extra in the middle because it is easer to cut off some at the wrist then not have enough and try to add. Do you like my sheep duct tape?

I used a small piece of plastic to keep the thumb wool separate. They can so easily get all tangled with the wool from the finger part.

Here is it flipped over and ready for the second side.

And here they are on my grandson. He was a moving target.


I had planed on adding some trim to thread an elastic and tightener thingy but they seem to fit him well and don’t fall off. I will add some more detail to the car. I know he likes them because we couldn’t get him to stand still. He was dancing all over with them.

Have you made anything for winter Yet?

Cat Cave Class Part 2

Cat Cave Class Part 2

Here are the finished caves.

Lynda’s sea monster needed a little needle felting to reinforce the eyestalks so they would stand up properly. Her little dog was not impressed with the cave so It will be Lynda’s companion holding her roving next to her chair.

This is Diane’s beagle pillow. The real beagles seem to be unimpressed. The first picture is half stuffed and the next is all finished.

This is Catherin’s Cave. She let it partially dry before shaping it and stuffing it into the right shape.


And the cat fits but she had other ideas. LOL


And last but not least is Kimberly’s Cave. She wrapped the long spikes around some mini pool noodle like sticks. This was for a friends cat, who loved it.  Kimberly is a good friend. It was a lot of work.


Cat Cave Class part 1

Cat Cave Class part 1

I taught a Cat cave class a while back. It was great fun but it very nearly didn’t happen. There was a delay in the wool I had ordered getting here in time. But between my personal stash and our workshop coordinators stash we had enough wool to go ahead, 4 kg of Finnish wool. Here are some of they layout pictures.

A future beagle

Kimberly wanted a curly tail and curly spikes on her cave. these ones are for the top

She made a long fat spike for the tail. Here I am explaining how to attach it.

And then of course after all the wool was laid out and the embellishments added the was a lot of rubbing followed by a lot of rolling.

This is a big project. It took 2 full days to do. I think we made it to the first rolling at the end of day one. More form Day 2 next time.


Birdhouse Class with the West Carleton Fibre Guild.

Birdhouse Class with the West Carleton Fibre Guild.

I gave a felt birdhouse class to 10 members of the West Carleton Fiber Guild last week.  The class was held at the Mississippi Valley Textile Museum’s  classroom space. They were a really fun and enthusiastic group and they worked hard.

Some how I missed getting a picture of the yellow one. As you can see 9 of 10 picked a gourd shape. For the round one, she decided she wanted a bowl. That’s easy it’s just a round birdhouse the other way up.

Here they all are at the end of the day. This is the only one I have a picture of dry. It belongs to Marie-France Gosselin

All in all a very fun day for everyone.


Nuno Felt Scarf Class

Nuno Felt Scarf Class

A few weeks ago I taught a nuno felt scarf class. As usual I had great students and we had a lot of fun.

I have grouped the 4 scarves into galleries so you can see the progressions.

These first 2 the students opted to leave a lot of the silk showing. This style always floats nicely when finished. The silk sort of puffs up when it is caught by the air.

The next 2 used more wool. This first one reminds me of water and sailing.

This last one has the most wool. When talking about design I was talking about how people tend to work along the scarf  like a landscape forgetting that the ends will hand down and if you want your flowers the right way up you need to make them the other direction. I think this one turned out especial well.

All in all I think they all turned out fantastic. People know what they are coming to do but they are always so surprised and pleased when it actually works. It is one of the best parts of teaching.