
Techniques for Intermediate Felters Class-The Afternoon
Last time I talked about the first half of the class, class-the-morning In the afternoon they did one large sample of many things. They used foam tubes and lots of inclusions. There were two resists sticking up and spikes They added some silk and cotton squares, yarn, some scrunched up silk and a silk flower.


See the cool little rolling tool I got recently. It’s a little massage roller. This was it’s first try out. It worked really well. I have some other kinds ordered so I will do a post about them later.


Here are a couple of shots of me teaching. The left one is talking about adding some scruched up silk and the right one I explaining how you make one of the resists into a flower.
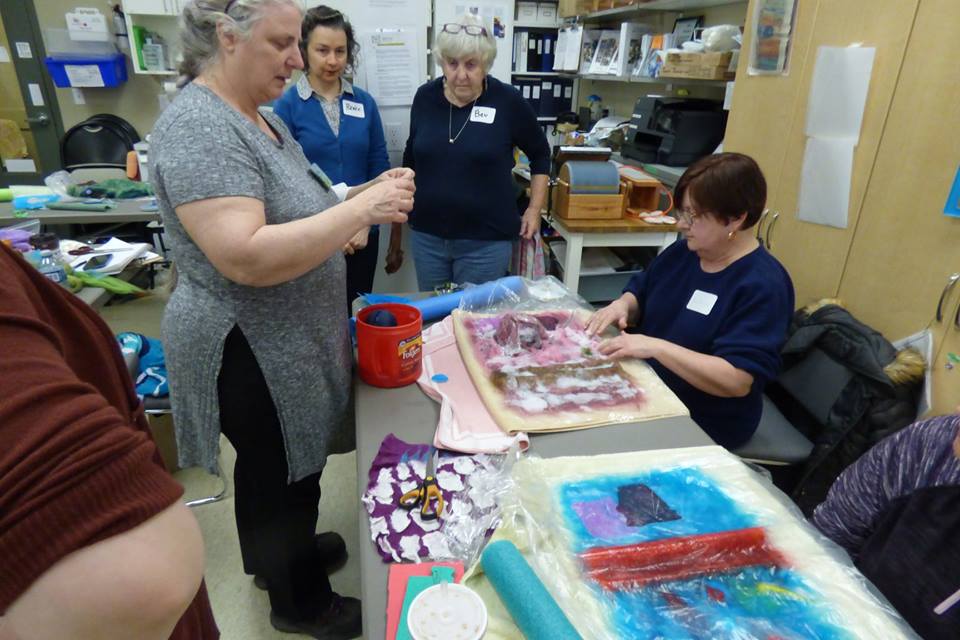

Here Carlene and Jan are showing thier pieces at show and tell at our guild meeting.

and a close up are Carlene’s

We didn’t have enough time to do everything I wanted to do, so at the end I was doing quick how to’s. The pine needle technique two ways and I also explained book resists.

So now it’s a matter of deciding what to take out and what to add in for the next time I teach it. There was not enough time. I think adding an hour to the class would be good. I think I will drop the nuno part of the sample to make sure we got to the pine needle part. I am not sure about the book resist. It may take to much time. What would you want to see in an intermediate techniques class?
19 thoughts on “Techniques for Intermediate Felters Class-The Afternoon”
This class is very interesting to me, but the whole process is a mystery also. I don’t know the first beginnings of this, but am fascinated to see what you are all doing. Pam Shell
Felting is very versatile and a lot of fun. I would suggest taking our beginner class on line. It will giver you the basics and the knowledge to move on and experiment. https://feltingandfiberstudio.com/classes/wet-felting-for-beginners-online-course/
You covered a lot of technique and it looks like a fun class – there’s no pressure to achieve – it’s play and discover.
Perhaps include a very small grid, a few inches square, on the sample for ‘cracked mud’? Nothing fancy – plain squares to make cutting out easy
Thanks, it was a fun class. I think you are right a small cracked mud section on the larger piece and maybe I could even add the ruffle to one edge so it is all on one piece.
You sure did cover a lot. The finished pieces are lovely and show a lot of different techniques. It’s always nice to have as a reference. The pine needle technique is cool. I haven’t done it, but have seen in in magazines. It sounds like you have another classs to teach. 🙂
Thanks Marilyn. I wasn’t sure how much time we would need to do everything. I may need to make 2 classes.
Intermediate one – inclutions
intermediate 2 – resists
Intermediate 3 anything else you can think of?
Loved your workshop it was as always lots of fun!!!
lets do more felting!!!
thanks again!!
jan
We will need to figure it out. I hope we can get some feed back from people at the felt in.
Sounds like you’re trying to put too much into one class. As Jan suggests, breaking it up into two to three sessions would probably be helpful.
Yes I think you are both right. I think I need to controle the wool more too, so everyone is using the same wool. Then another class different wools and how they felt.
Sounds like great fun! Would love to participate next time please.
Hi Lise. Do you live near me? I am in Ottawa Canada. Maybe I can work on an on line class?
Do you offer an intermediate online felting class?
It is one of the things I am thinking of. I hope to recruit some friends so we can all learn to video and edit for on line classes.
You are obviously doing a great job as it looks like everyone is having fun learning all of these different techniques. I agree with Ruth though that it would be beneficial to break up the sessions into specific techniques as this would allow students to fully understand and master one before moving onto the next.
Yes I think one with simple resists and another for more complicated resists. It is just so hard to get anyone to take a techniques class. They always seem to want a project class.
I know what you mean….most folk want to take home a finished item. I combine the technique with a simple clutch bag template and that way you get the best of both worlds
It looks great, but could be a bit of information overload all at once. Don’t the different techniques together on one piece affect the results? We have time constraints at the well being centre, and also so many different abilities, so the ‘beginners’ pieces are fairly simple, though for many people just trying felting once means they’re no longer a beginner 🙂 I usually start with a soft wispy piece, which is all about fun and piling stuff on; then move onto a simple landscape which is more about controlling layout and adding embellishments; then a nuno strip sample-which hardly anyone ever sticks to and instead try overlapping/layering etc! Then simple strip resists using different cuts. It depends how long students will commit to, and if they turn up regularly.
Yes to many things for the time for sure. everyone was suposed to already know how to felt so I was hoping it would make things easier. I was having a hard time figuring out how simple or complicated things need to be. to me they are all simple and easy but I know that’s because I have done them many times. Everyone seemed happy with what they did.