
Techniques for Intermediate Felters Class-The Afternoon
Last time I talked about the first half of the class, class-the-morning In the afternoon they did one large sample of many things. They used foam tubes and lots of inclusions. There were two resists sticking up and spikes They added some silk and cotton squares, yarn, some scrunched up silk and a silk flower.


See the cool little rolling tool I got recently. It’s a little massage roller. This was it’s first try out. It worked really well. I have some other kinds ordered so I will do a post about them later.


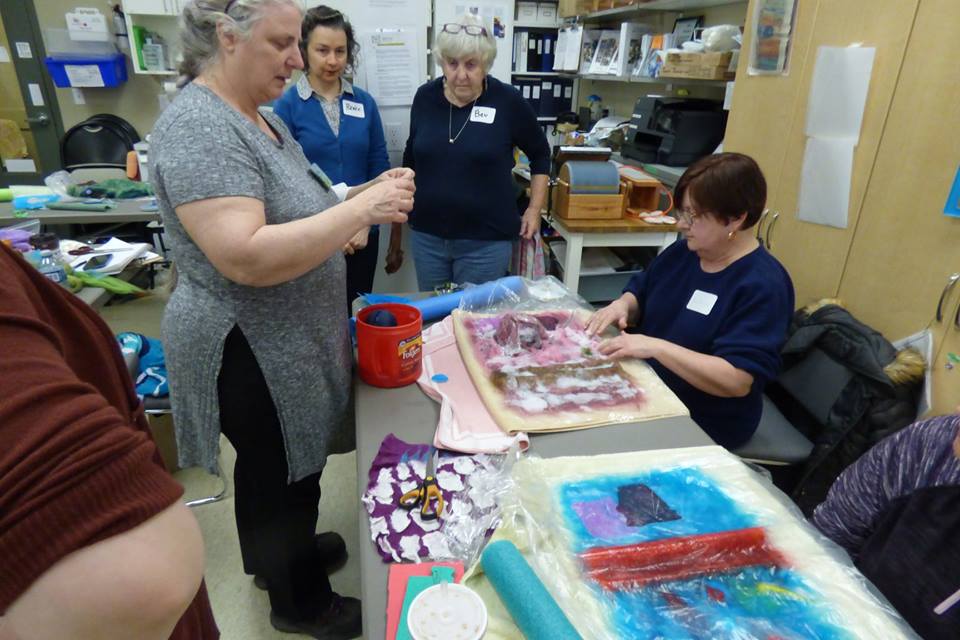
Here are a couple of shots of me teaching. The left one is talking about adding some scruched up silk and the right one I explaining how you make one of the resists into a flower.

Here Carlene and Jan are showing thier pieces at show and tell at our guild meeting.

and a close up are Carlene’s

We didn’t have enough time to do everything I wanted to do, so at the end I was doing quick how to’s. The pine needle technique two ways and I also explained book resists.

So now it’s a matter of deciding what to take out and what to add in for the next time I teach it. There was not enough time. I think adding an hour to the class would be good. I think I will drop the nuno part of the sample to make sure we got to the pine needle part. I am not sure about the book resist. It may take to much time. What would you want to see in an intermediate techniques class?


