Meet the Supplier: Dreamspin Fibres
We would like you to meet one of our sponsors and a friend of mine Maureen Harding of Dreamspin fibres. We met a few years ago at a fiber conference and became friends. We live far enough apart that we only get together a few times a year but we always have a great time felting and trying new things. She doesn’t mention it here but she has a sale on select fibers at the moment.
Q-4 Three types of fibre you can’t live without?
Merino, silks, silk fabric but other fibres depending on the project
Q-3 Have you always been a felter?
I’ve been felting for 15 years, before that I was spinning and knitting.
Q-2 Two tools you use all the time?
Pool noodle and plastic window screening. (and ball brause)
Q-1 One fibre art technique you love the most?
I have to say felting. But also enjoy spinning and knitting

What is your business?
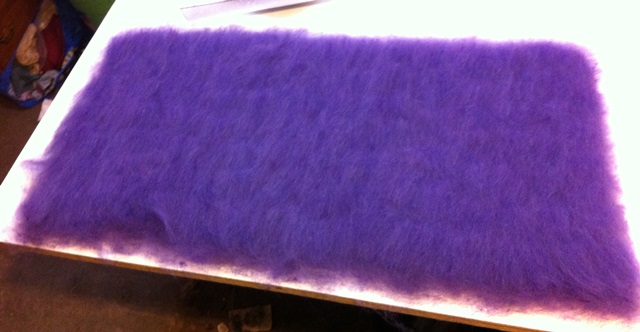
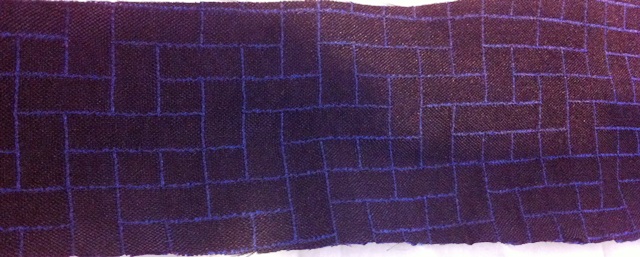
We sell wools, prefelts, fabrics for nuno felting, a few felting tools, mostly for felters.
Why and when did you start selling fiber?
It was an outgrowth of my interest in sheep and wools. Initially I raised sheep, learned to spin, learned to felt, and started buying other fibres wholesale for my own purposes. After a while I started selling fibres at fibreart venues and would make up articles to show what can be done with the fibres. People started asking me if I would teach them how, and this led to doing workshops in felting.
What kind of items do you sell?
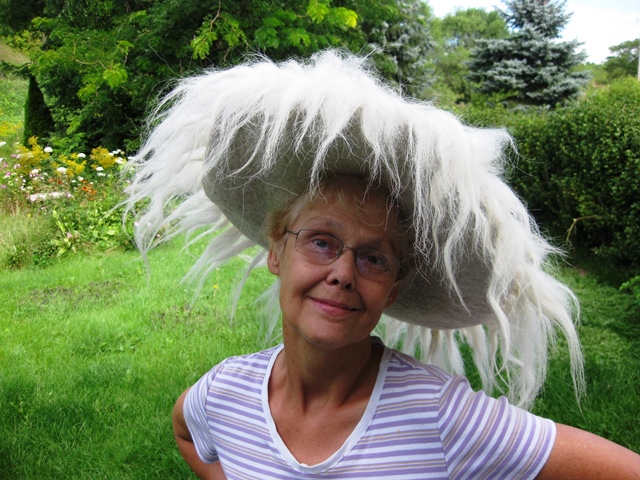
As well as fibres for felters, I also sell felted articles such as nuno scarves, felted hats, and felted bags at various shows throughout the year.

What do you think makes your business different from similar ones?
We pride ourselves on our fast service, orders are made out the same or the next day. We offer free shipping on orders over $100 in North America. And we are always happy to offer assistance and advice over the phone, or email.
Where are you located?
Near Campbellford in Ontario
Where can we find you on the internet