Browsed by
Tag: fibre

Bird Houses are Done, and A Nuno Felt Pouch for Visa

Bird Houses are Done, and A Nuno Felt Pouch for Visa

I got the bird houses stung and ready to hang. The big round one ended up with a very big hole. I am not sure how I managed to stretch it so much.  I think it will be better as a bird feeder or just a decoration. The purple and orange one ended up with its hole to big and to low down so I made it into a bird feeder for my Mother in Law.

bird house and chickadee 2 bird house and chickadee

I Hung it up near the other bird feeders and despite the wind there was a chickadee in it before I could get back in the door. You have to love chickadees, they are so brave and curios. I will have to make some more like that on purpose.

Here they are all hanging up for their picture.

finished birdhouses 1 finished birdhouses 2

Those are my sons helping hands. The wind saw what we where doing and kept blowing the houses around.

We got a new way of taking visa recently. It’s called square https://squareup.com/ca?gclid=CNP5zKDWmLYCFe5AMgodClkAQw and it works with your smart phone. It’s not very big and I am afraid of loosing it so I put it in a mint tin. Well that is really ugly, no matter how practical. Time to make a pouch for it.

square pouch before felting square pouch after felting

I decided to do a simple sewn pouch so I know it would be the right size when I was done.

square pouch after sewing back square pouch after sewing front

square pouch after sewing closed

I did as second one in green. We have two squares, one for me and one for my husband. Sometimes we are both selling in different places on the same day.

square pouch green back square pouch green front

square pouch green closed

This one was made form a bigger pouch I wasn’t using.

Bird House Time

Bird House Time

Spring is on the way and its time to start thinking about birdhouses. I have an Easter show. Not much in the way of felt really sells at this sale, it’s mostly about food. Bird houses are the exception. Here they are ready to put to the decorations on and then be put together for felting.

bird houses ready to decorate

This one has its decorations started

start decorating

That is as far as I made it. they have been sitting there for most of the week waiting for me to get back to them. I have hopes for this weekend and when they are done I will show them to you.

the wool I used I died myself. It is sold as washed gray Romney but it is really brown and white. If you card it without dying it, it does end up looking gray.

Undied ronmney

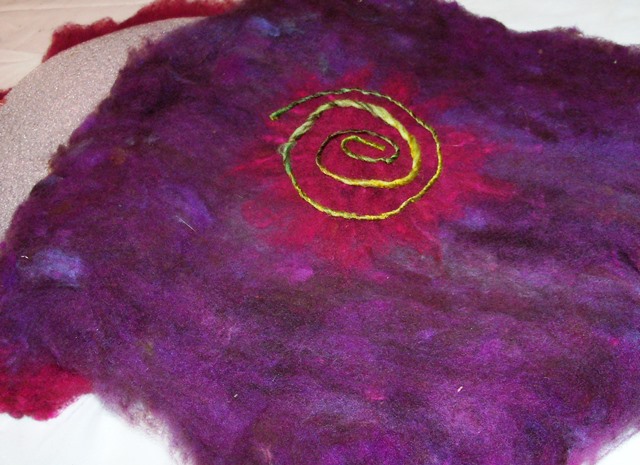
Here is what it looks like if you dye magenta, purple and chartreuse.

dyed romney 2

I love the way the “gray” wools dyes. all the mixed shades you end up with. A spinner friend says its called depth of colour, so it’s not flat.  I wish I could find other breads of wool that were that varied in colour to dye.


Remaking my Boots

Remaking my Boots

If you remember I am taking a felt boot class. http://feltingandfiberstudio.com/2013/02/12/felt-boots-progress/

The boots looked pretty good when done but I wasn’t happy. I kept putting of finishing them and so I sat down and had a good look at them to see what I didn’t like. Well, the way the resist is made just didn’t work. I ended up with the extra to account for your calf in the front not the back. So when you put them on you end up with a big fold in the back of the ankle.

gray felt boots wrong

Also because you make the tongue first and then wrap it around the front of the resist it gets felted in at an angle and that doesn’t change as you felt so when you pull the tongue up along the front of your leg you get a big fold that would be uncomfortable.  Her boots look fine and I haven’t seen any questions or complaints on the class blog so maybe if you don’t have big calves you don’t have this problem.

I decided to make another pair. I cut the resist at the ankle and turned it around. I also added a little more in the depth of the foot. I think I would rather trim it than only just have the fit.

boot new layout

I have finished the initial felting. Now they just need some more time and elbow grease to finish them. Theses ones are in a natural brown Finn wool.

Around the web

Around the web

felting around the web 4

http://www.megacrafty.com/2011/09/tip-easy-way-to-make-felted-balls.html

Inger’s Watermelon Slippers

stitching around the web

http://thatfuzzyfeelingsblog.blogspot.co.uk/2013/01/my-new-sewing-machine-progress-report.html

Chain Stitched Jupiter Embroidery

Mr. Finch’s Stitched Moths, Animals and Other Insects

Knotted Feather Stitch Elephant

spinning around the web

http://www.liveinternet.ru/users/2964668/post113681387/ mostly Russian distaffs

Felt Boots Progress

Felt Boots Progress

I have managed to  finish the first stage of my felt boots. They are now felted. You saw the tongues already. http://wp.me/p1WEqk-16m.

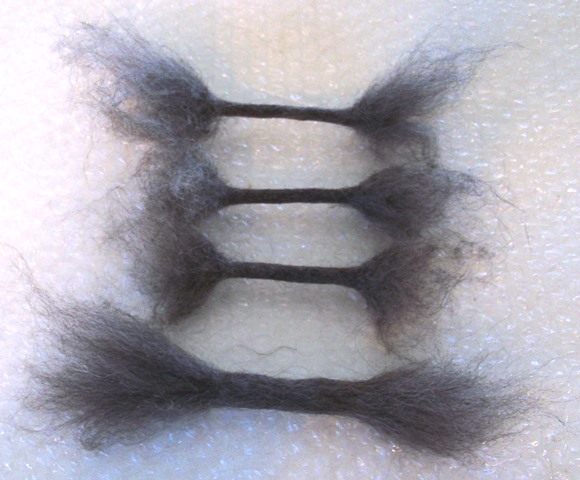
Next I had to make the loops so I will be able to lace up the boots.

loop barbells

First you make short ropes with fluffy ends

loops felted together

Then you have to felt them into another piece of felt. then I can cut them out to sew them onto the boots.

Then onto felting the boots.

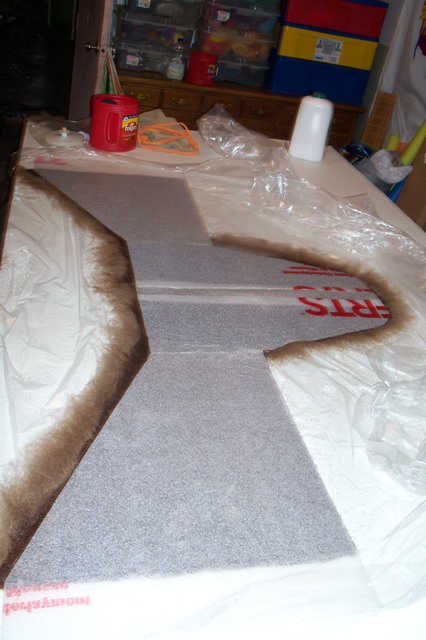
resist on top

You do not wrap all the sides around the resist.

insert tongue

You have to insert the tongues.

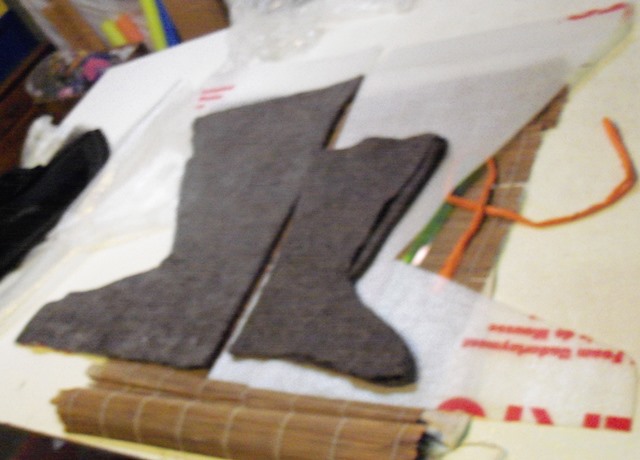
boots cut apart

Here they are cut down the middle and you can see me working the back so there will be no ridge.

one boot shrunk

Here is one after fulling bedside the unshrunk boot.

finished stage one

and both boots done, on top of one half the resist.

leaves

I have started to make the embellishments.

Have you tried anything new lately?

Two Tongues Made

Two Tongues Made

This week I feel like the worlds slowest felter. I managed to get the two tongues for my boots made and that it. They look huge when you start but when your done they are the right sized. The final shrinking does take some work but these are boots so they need to be sturdy.

tongue before and after

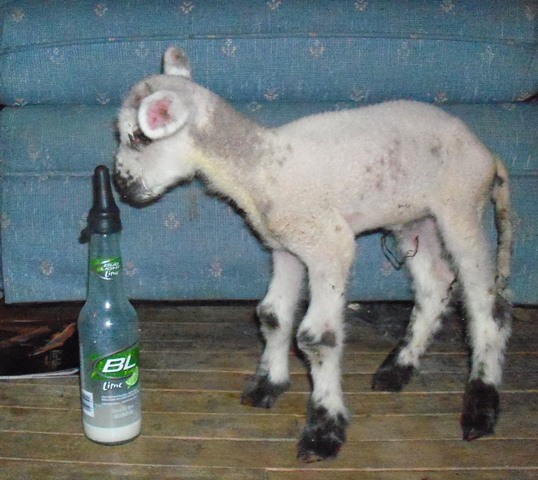
One of the reasons I haven’t had time is the lambs. This little guy is called Mr Boots. He is one of a set of quadruplets. He was the first born and got cold while his 3 sisters were born. He was 4 pounds when he was born and looked like a lamb shaped chicken wing, all skin and bone and no substance. He ended up in the house in a dog cage in my living room. It’s a good thing I am not house proud. He is filling out and has a really good set of lungs.

boots

These are his 3 sisters under the heat lamp staying warm. They are doing well and no longer need the lamp.

Mr Boots sisters

We are heading in to some warmer weather this week so things should be a little easier all round. I hope that I have more to show you about boots in my next post.

Sewing, Felt Hat to Purse, Felt Boots.

Sewing, Felt Hat to Purse, Felt Boots.

Last time I told you about organising one section of my room and clearing off the table. My next area is the sewing area. It’s coming along. It started like this:

sewing area before

There is also a bunch of stuff on the floor under and around it that you can’t see in the picture. I have made progress but the shelves to the bookcase have disappeared so it’s hard to fill them up. I did switch the old singer that needs a part for a newer one. I haven’t tried it but it may need a cleaning. I still have the pfaff I can use. I want to set it up for free motion embroidery. It is a work in progress

As part of trying to do some fiber art everyday I have been working on converting a hat to a purse, well, 3 hats actually. The hats started out looking like this:

hat to purse 2

I cut the holy part off and did this:

hat to purse 1

This should add some interest with great texture.

Here is one that has the texture done. The colour on the left one is more what it looks like I think it’s called Laurel.

hat to purse 3 hat to purse 4

I had planed to get the lining in before posting but that didn’t happen. I will show you when I get it done. It will also get a zipper too. I haven’t decided if it should be a clutch or I should find some sort of strap for it. What do you think?

Lastly I have started my on-line boot class. It took me  a while to convince You Tube to let me see the videos and then my Internet went out for a week. So all I managed to do was my sample and get my pattern drawn out.  The sample of gray Finn wool shrank a little more than 50%.

shrinkage

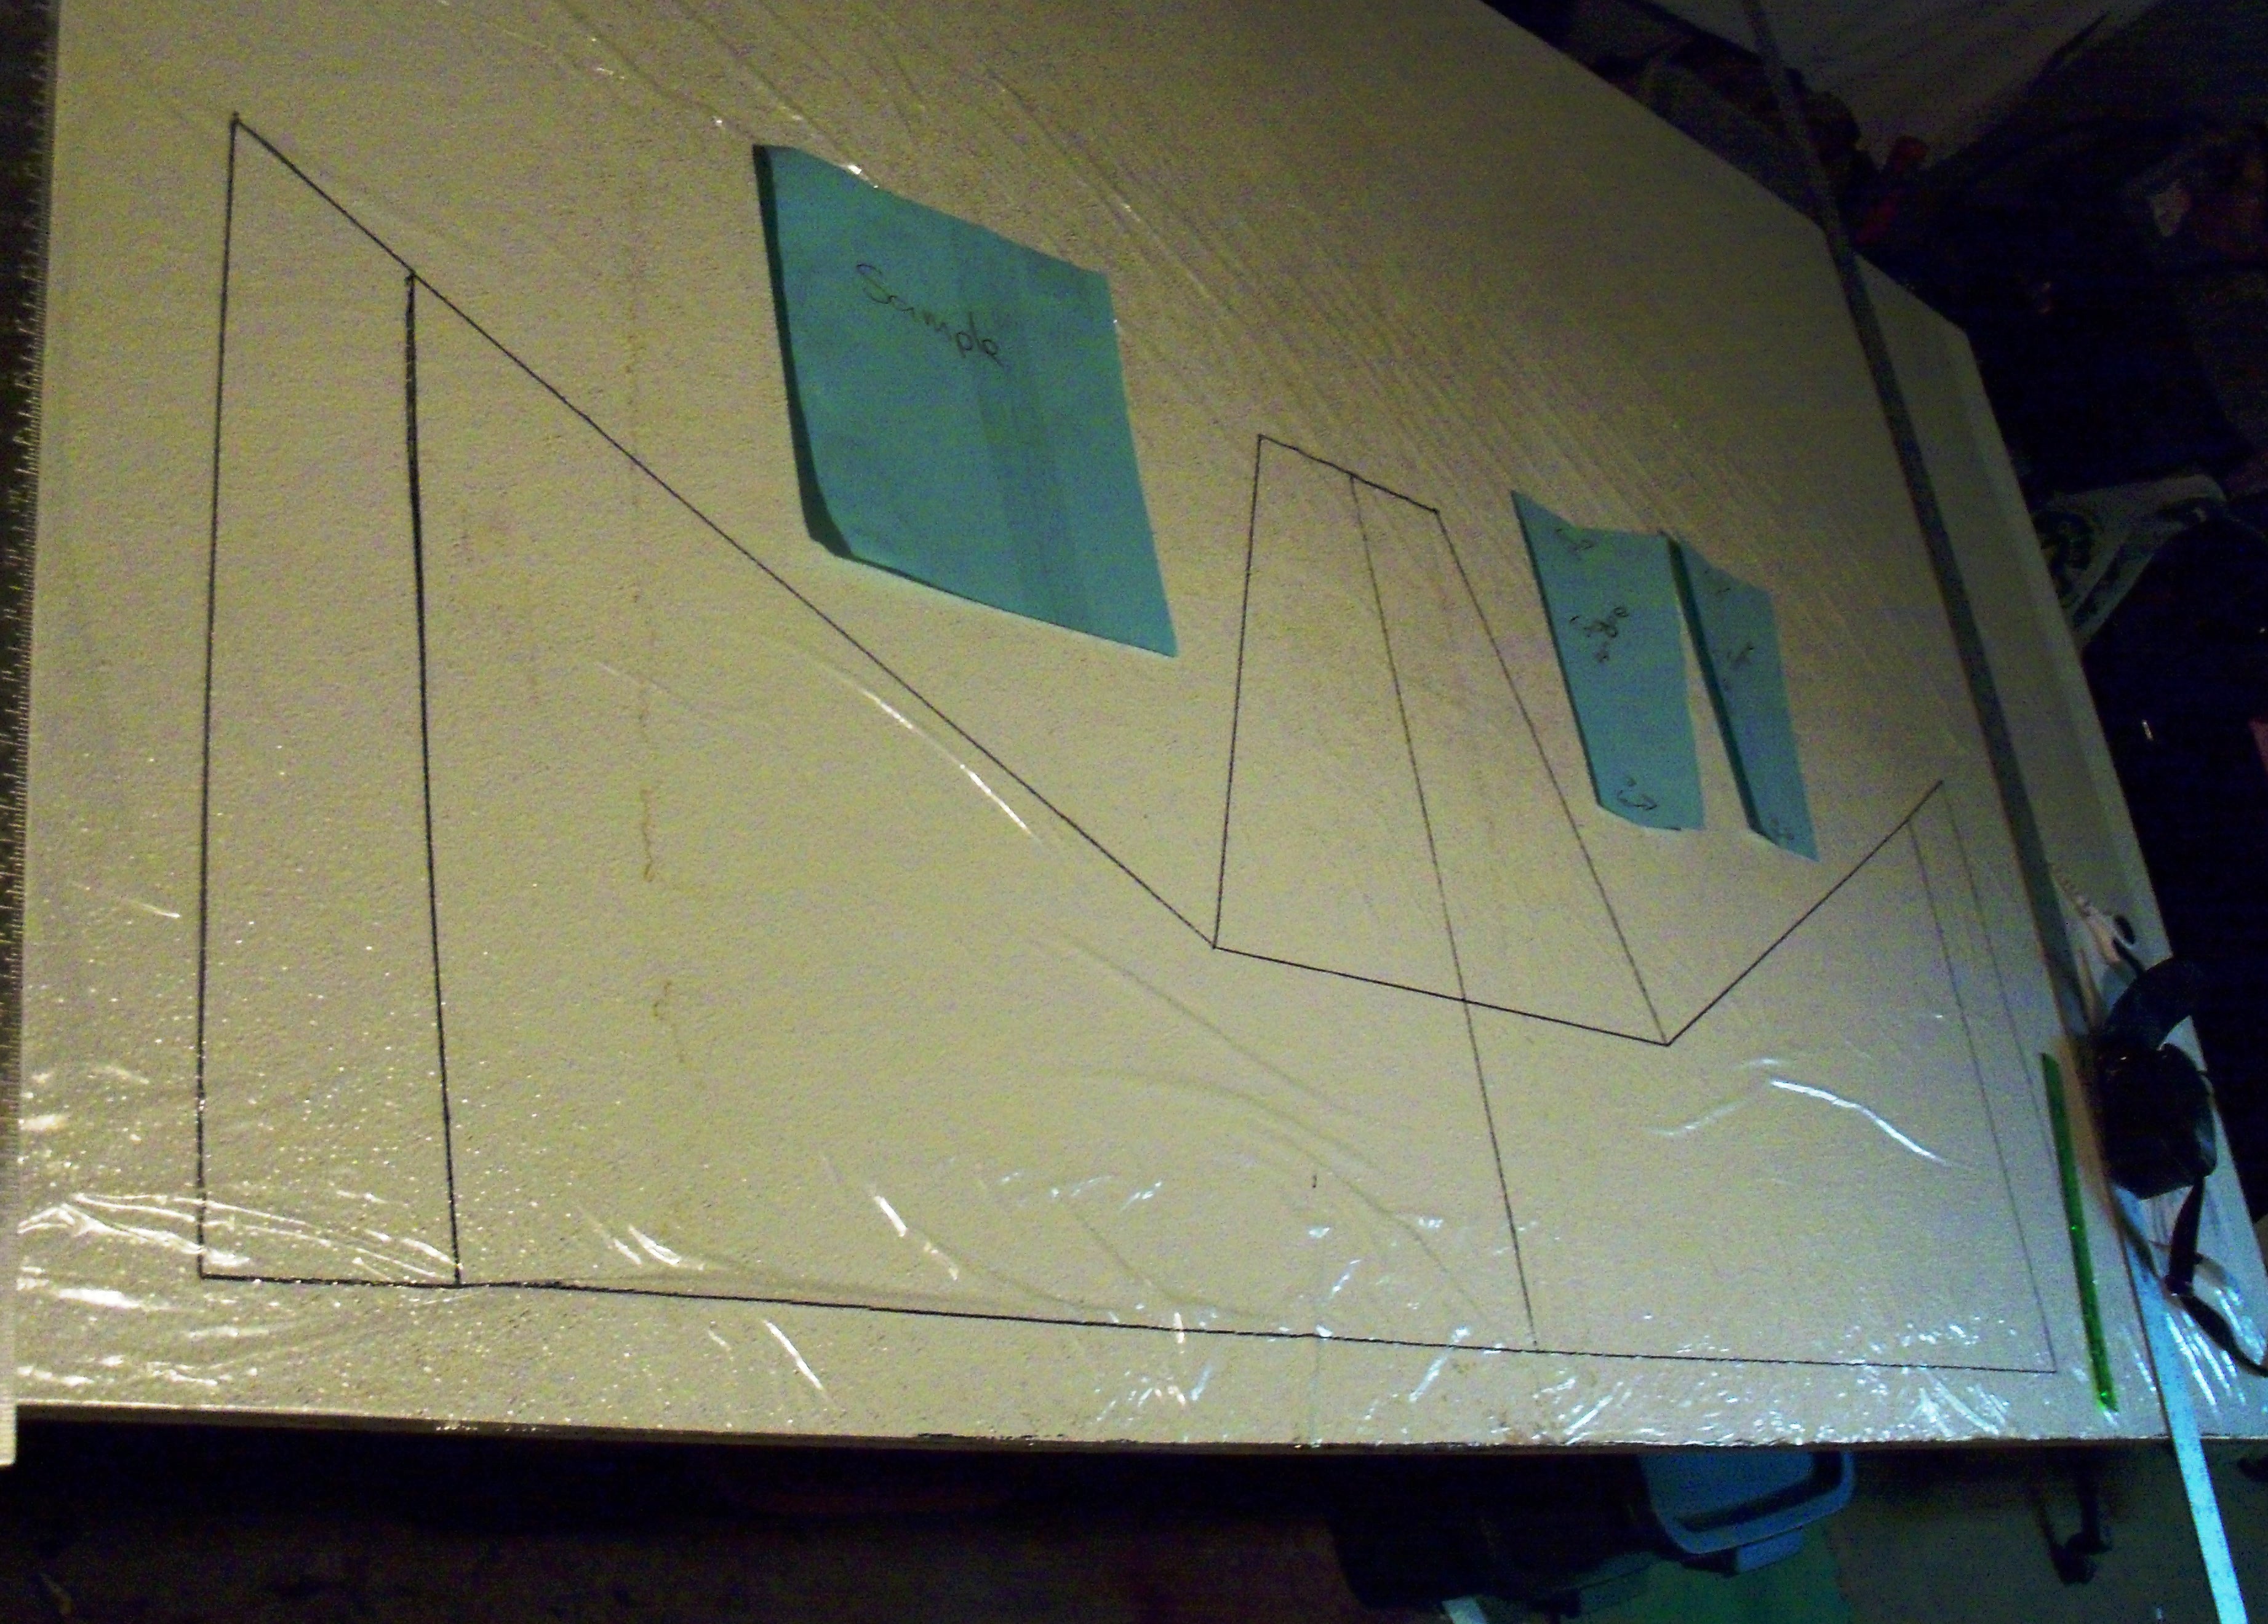
There was a lot of measuring and some math to get the pattern the correct size for the shrinkage.  This is what it looks like at the moment.

boot patten

My mom came for a visit so I couldn’t lay out the boots today. I decided I want to make a leave motif on the boots when they are done so I cut out leaf shapes in white and black. the booths are gray. I stretched a couple with some vintage “artisanal silk”. I am told it’s not real silk but its pretty.  I don’t know if I like it. I was thinking of sewing some veins on with my machine to see how that looks. I have some dissolvable interfacing I thought if I put the leaves on that I should be able to stitch them.

leaves

So I haven’t been able to actually do some fiber art every day but I have been thinking about it everyday and getting to play most days.

My Second Entry into the Weather Felting Challenge.

My Second Entry into the Weather Felting Challenge.

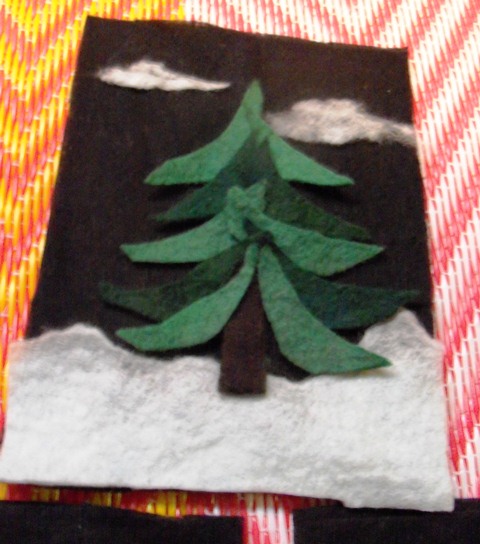
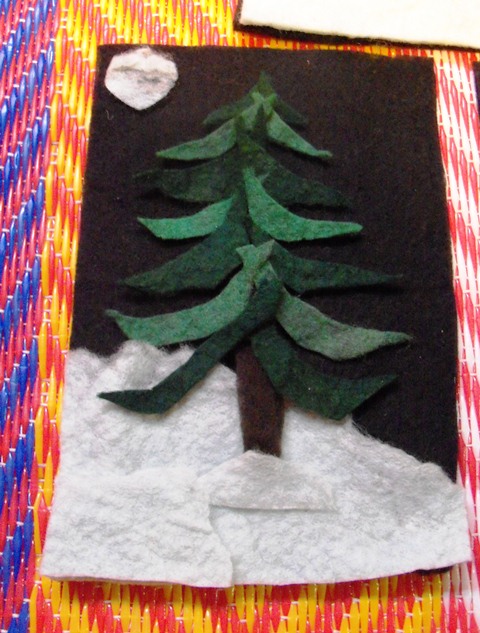
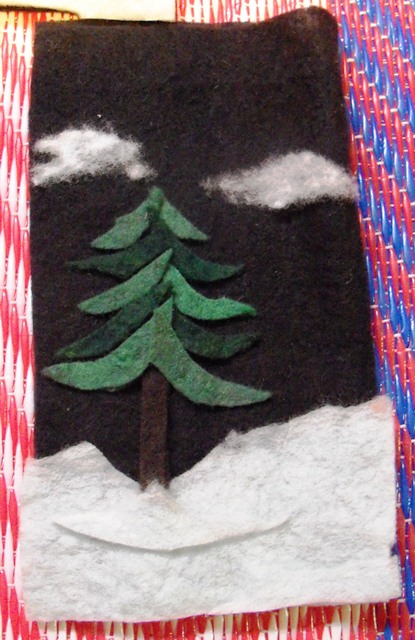
I was tidying up after making something else and had a pile of green trimming. With Zed’s felt scraps post still fresh in my mind they looked like branches to me. I think I must be in a tree mood. I used prefelt for the back ground because I didn’t have any scrap black felt and I wanted to get on with making the pictures and not with felt making.


I used the edge of an off cut in very pale blue piece of felt for the snow and a very thin edge piece for the clouds and moon. its hard to see but I layered the snow pieces on  2 of the pictures to see if it would give more depth after felting. i have never had much luck wet felting finished felt to semi felted pieces but after some rubbing and rolling it all went together really well. I am quit pleased with how they turned out.

There is more depth in the layered pieces. It doesn’t show well bit it does make the snow look more dimensional.  They still need ironing to straighten up the edges. They are a bit to big to use on cards. I think they might look nice side by side in a long frame.

So now I have answered Zed question what do you do with your scraps. http://feltingandfiberstudio.com/2012/11/10/felt-and-fibre-scraps/

My Project for the 4th Quarter Felting Challenge

My Project for the 4th Quarter Felting Challenge

I decided not to wait until the last min to do my challenge piece this time.  The forth quarter challenge is weather. http://feltingandfiberstudio.com/2012/10/25/weather-challenge/ This piece I did on a piece of black silk chiffon. It’ s meant to be framed. I was going to use this for my exchange gift but then thought It wouldn’t be fair so send something they then had to frame.


The picture on the right is of the snowscape and several other things rolled up. I am messy. You can see the water on the table from me wetting down and it pouring off the corner. It’s OK though I have cement floors and a center drain.

Needling on some of the snowflakes that did not stick during rolling. I think I made the little balls to tight.


The finished picture from the front and back. I like both

I have a second entry on the same theme I will show you in a few days.

Exhibition and Sale

Exhibition and Sale

The guild I belong to, the Ottawa Valley Weavers and Spinners Guild, had its annual exhibition and sale this last weekend. I had a booth selling scarves and wraps and flowers and cuffs and hats etc. The guild does a display on a theme and has demos and promotes our classes. It’s our big event for the year. The venue is beautiful it is a community center now but used to be a church and has a huge domed center.

Here are some pictures of my booth and me explaining what nuno felt is to a customer.


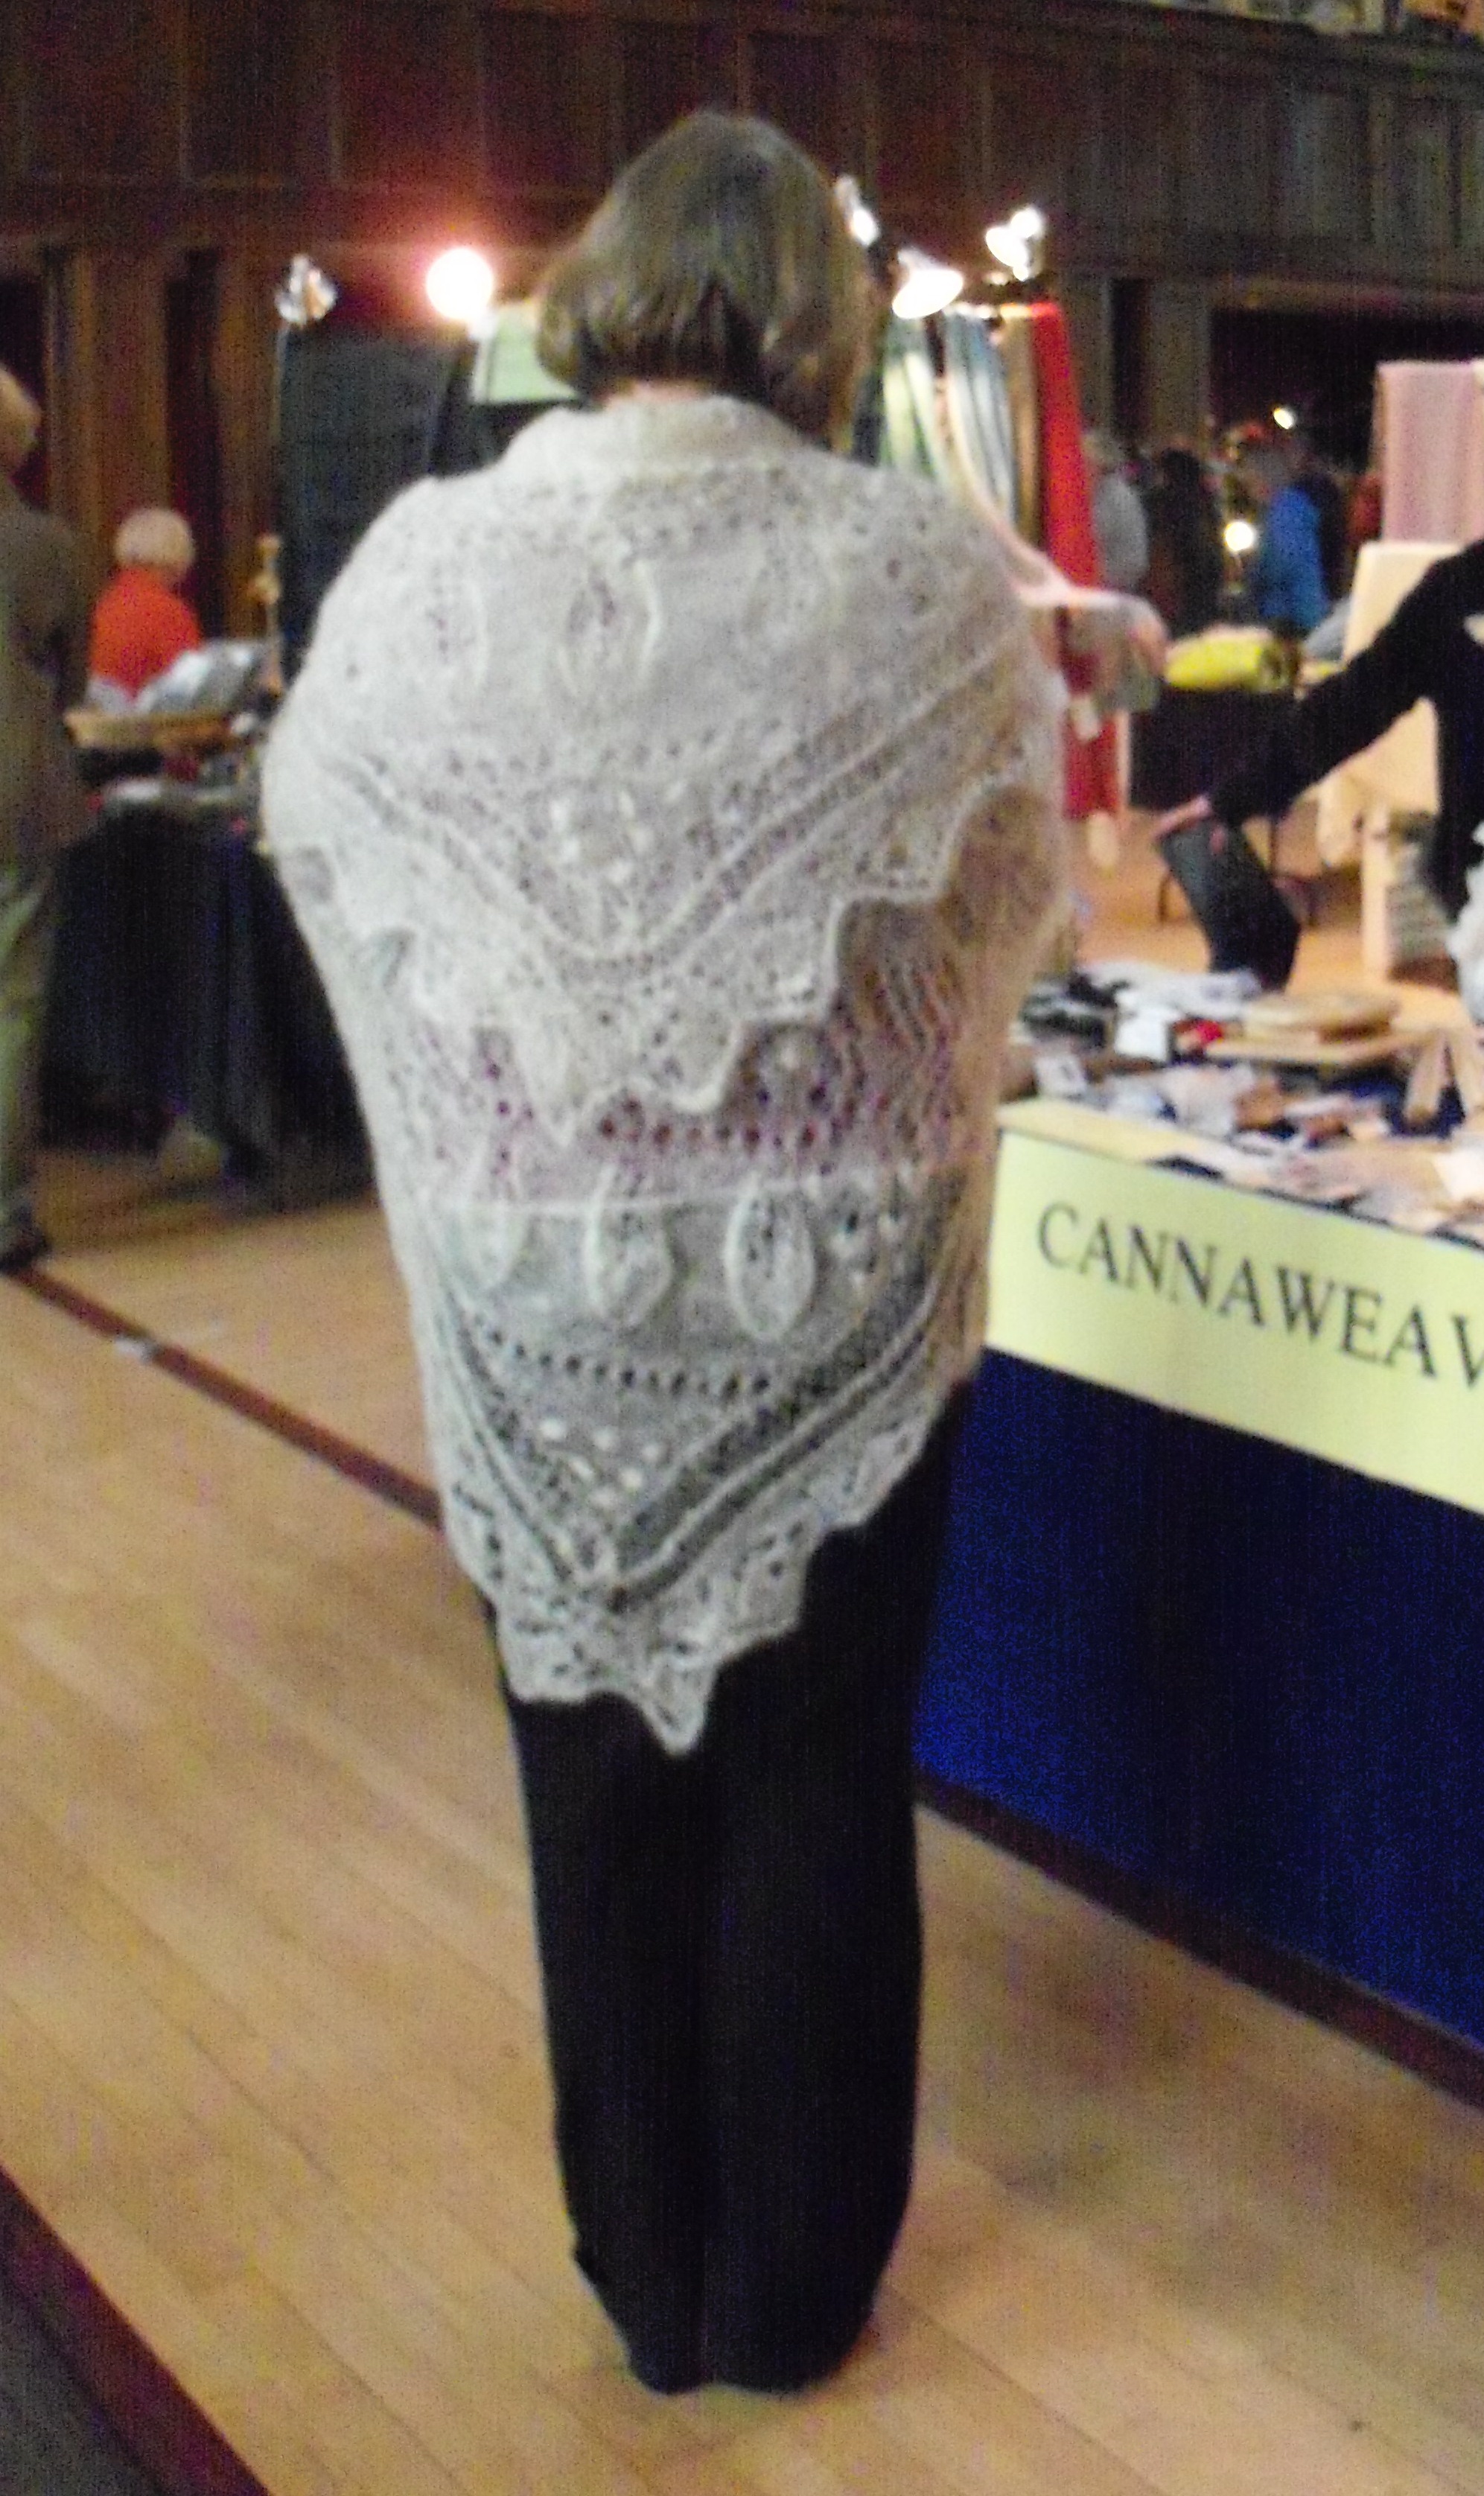
This is one of the organisers wearing an exquisite shawl she knit using her own hand spun alpaca.

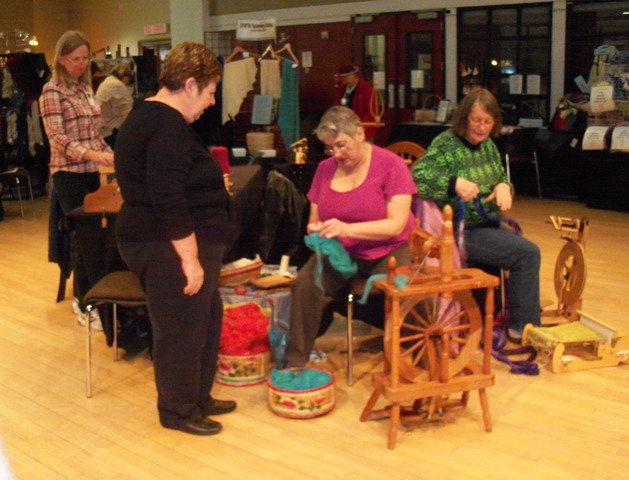
This my friend Judy,http://www.facebook.com/l.php?u=http%3A%2F%2Fwww.jumaka.com%2Fspinning%2Fpetfur.html&h=fAQGCIXhy , she not only likes to spin yarn, including dog and cat fur she also likes to spin wood on a lathe to make nostepinne for manually making a center pull ball) and  drop spindles in several styles and weights including supported spindles like she is using in the picture. This is her booth, she shares it with another friend who is more camera shy.


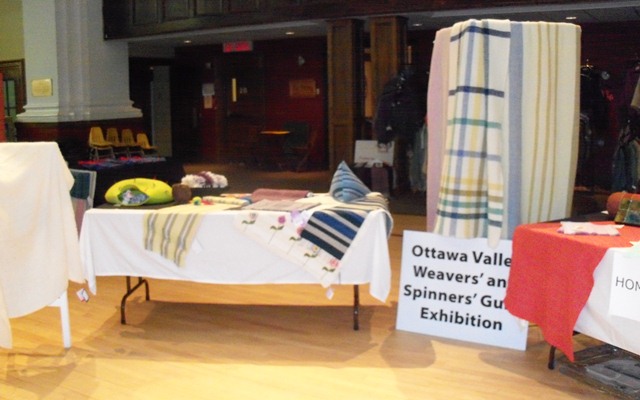
The Guild display had the theme around the house  and of course we had spinners and weavers demonstrating.


Lastly here are pictures of some of the many booths that where there. We had a good variety with both finished goods and supplies.


All in all it was a good show with not as many people as usual but the ones that came were buying. I hope everyone’s upcoming sales are good.