Browsed by
Author: Shepherdessann

Prefelt

Prefelt

There are two kinds of prefelt. One is needled prefelt. Commercial prefelt is done this way. It is needled just enough to hold together.  I use this sometimes, it works very well. I get it in small pieces and by the yard from Dreamspin Fibers. http://www.dreamspinfibres.ca/  (shameless plug for a friend).

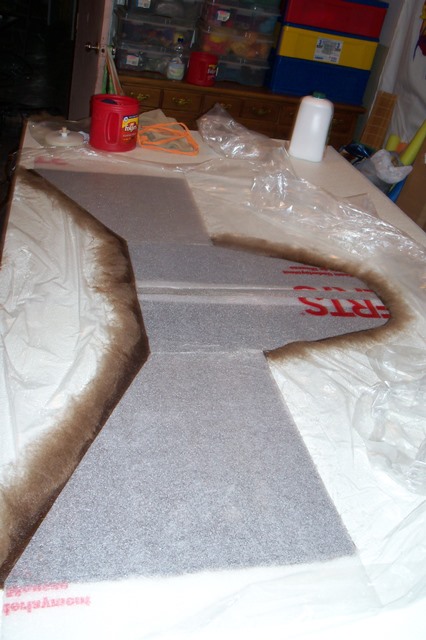
The second is wet felted and this is easy to make yourself. Lately that is what I have been doing. You layout your felt as usual but you stop when it is just holding together.  Rinse it out carefully and let it dry. it is till fragile but strong enough to cut out shapes when you don’t want the fuzzy edges that traditional layout gives you.   I have been making  small pieces and some from the ends of some batts that are not big enough to do much with. They are very helpful when you want very definite shapes.

prefelt on table

I don’t have any exact plans for them but they are very handy to have around.


Small Felt Art

Small Felt Art

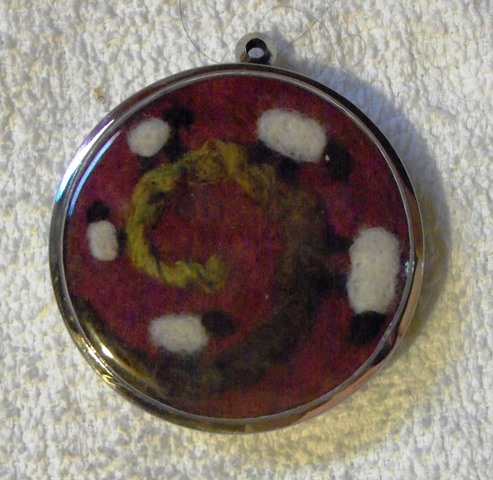
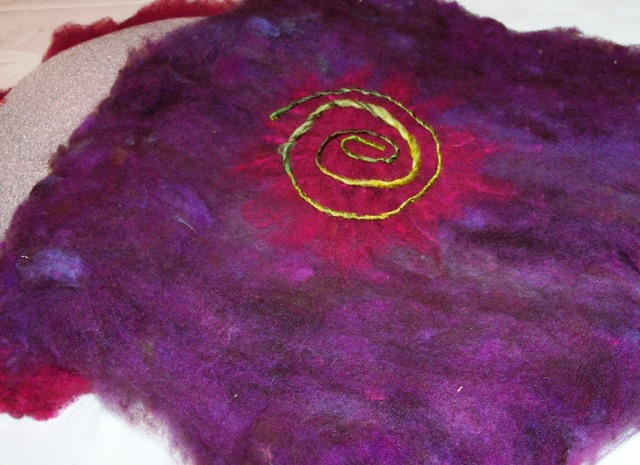
A little while ago I ordered some pendant blanks in a variety of shapes and sizes. They open up so you can put pictures in them but you can see the picture when it is closed.  I made some small art works. I used pieces of felt I already had and needled  and sewed on the designs. Do you recognise the spiral sheep background? It’s the “hole” form the round bird house with the spiral design.

cityscape sheep spiral purple tree abstract 1

You can se about how big they are from the keyboard in the city scale picture. I changed the black and pink sheep into a white and pink sheep before putting it into its locket. The black doesn’t show as well in person as it does in the picture.

locket 1 locket 2 locket 3 locket 4

I didn’t have another round one the right size for the city scape. The one with the purple curls in it is just that, some Blue Faced Leister curls. The locket is about one inch across and I didn’t think I could really make a picture for in it.  I like making these small pieces but now I have to decide what to charge for them.

group locket

Around The Web

Around The Web

Here’s a few links we thought you might enjoy.

felting around the web 4

http://kirstenhouseknecht.blogspot.ca/2013/03/nuno-felted-kimono-project.html

Renatos Eyeglass Case

mixed media around the web

This link has some fiber related tutorials but so much more that is interesting. http://www.howtohistory.com/video-tutorials/

Coiled Basketry by Tiger C

http://www.fibermixedmedia.com/

Michelle Mischkulnig’s Fiber Art

Kathleen Vance’s Traveling Landscapes

stitching around the web

http://www.doilyfreezone.com/premysl-knap-4/

Ann Wood’s Bloomer, Bloomer and Bloomer

dyeing around the web

Vicki’s Dyed and Painted Shower Curtain

Second Quarter Challenge: Nuno Felt

Second Quarter Challenge: Nuno Felt

This quarters challenge is about nuno felt.  If you have never tried it, try it.  Pick an open weave fine fabric and have ago. If you have tried it before put it on something you have never put it on before. If you make nuno scarves all the time try putting some fabric on a hat or pot or bag.

green hat

If that’s old hat they try some different fabrics, silk, cotton, linen, hemp, or synthetic.

merino and cotton sample

If that’s not enough of a challenge try some fabrics you don’t think will work. Maybe thicker silk or cotton, maybe some lace or a woven plastic.

onion bag

If you need some inspiration you can download Zed great book called:  BEYOND NUNO: A Guide to Using Fabrics in Wet Felting. http://feltbyzed.blogspot.co.uk/p/e-books.html

Beyond Nuno

Be creative and take Nuno where you have never taken it before. Don’t forget to tell us about what you’ve tried and how it turned out.

Bird Houses are Done, and A Nuno Felt Pouch for Visa

Bird Houses are Done, and A Nuno Felt Pouch for Visa

I got the bird houses stung and ready to hang. The big round one ended up with a very big hole. I am not sure how I managed to stretch it so much.  I think it will be better as a bird feeder or just a decoration. The purple and orange one ended up with its hole to big and to low down so I made it into a bird feeder for my Mother in Law.

bird house and chickadee 2 bird house and chickadee

I Hung it up near the other bird feeders and despite the wind there was a chickadee in it before I could get back in the door. You have to love chickadees, they are so brave and curios. I will have to make some more like that on purpose.

Here they are all hanging up for their picture.

finished birdhouses 1 finished birdhouses 2

Those are my sons helping hands. The wind saw what we where doing and kept blowing the houses around.

We got a new way of taking visa recently. It’s called square https://squareup.com/ca?gclid=CNP5zKDWmLYCFe5AMgodClkAQw and it works with your smart phone. It’s not very big and I am afraid of loosing it so I put it in a mint tin. Well that is really ugly, no matter how practical. Time to make a pouch for it.

square pouch before felting square pouch after felting

I decided to do a simple sewn pouch so I know it would be the right size when I was done.

square pouch after sewing back square pouch after sewing front

square pouch after sewing closed

I did as second one in green. We have two squares, one for me and one for my husband. Sometimes we are both selling in different places on the same day.

square pouch green back square pouch green front

square pouch green closed

This one was made form a bigger pouch I wasn’t using.

Bird Houses are Moving Along

Bird Houses are Moving Along

Bird houses are moving along. After I cut the holes I rolled them a little I put them in to some pantyhose tops for a trip through the dryer to get some of the fulling done.

bird houses in pantyhose They have balloons inside them.

They tumble for about 20 minuets without any heat. Then it’s back to hand fulling to finish them. I did some with merino and some with romney. Here you can see the shrinkage difference between the wool. The merino ones are on top.

shrinkage comparison 2 shrinkage comparison

Next is they get rinsed and more balloons inside to get them to dry the right shape.

drying with balloons for shape

You will notice that the green ones are not in this picture, this is why:

bird houses bleeding

This is their 10th soak so the next step is to boil them to see if that stops the bleeding.

I will do the finishing work on the bird houses this weekend. Why is the finishing always the hardest part. I will add the hanging sting and hang them up for one final picture for  you.


Felt bird houses are coming along and a fun demo.

Felt bird houses are coming along and a fun demo.

Slowly the bird houses are coming along. They are now decorated, wet down.

birdhouse 1 birdhouse 2 birdhouse 3 birdhouse 4 birdhouse 5 birdhouse 6

They have been rubbed and rolled and stuffed into the tops of pantyhose. They are ready to full. With some luck that will be tomorrows job.

Two days this week I was at the Ottawa Valley Farm Show. I was demonstrating spinning with a few friends. I took some mixed batts I made buy collecting my odd bits together and running them through the carder. They have lots of colour and neps.

spinning batts

On day one I spun up 2 very bulky singles and one medium weight single in pinks.

wheel spun spools

Today I plied the 2 bulkies together. My wheel is not designed for such bulky yarn but with perseverance  and a few choice words under my breath I got it plied.

bulky being plied bulky plied

After that I was tired of pink so I switched to my drop spindle and the blue green batt.

sinndle spun blue spoindle spinning

I am afraid I don’t have anymore pictures that turned out. We were right in front of a big picture window that was a very nice spot but not good for taking pictures as you can see from the picture of me spinning.

I think I’ve done really well with working and playing with fiber this week. I hope I can keep it up.


Bird House Time

Bird House Time

Spring is on the way and its time to start thinking about birdhouses. I have an Easter show. Not much in the way of felt really sells at this sale, it’s mostly about food. Bird houses are the exception. Here they are ready to put to the decorations on and then be put together for felting.

bird houses ready to decorate

This one has its decorations started

start decorating

That is as far as I made it. they have been sitting there for most of the week waiting for me to get back to them. I have hopes for this weekend and when they are done I will show them to you.

the wool I used I died myself. It is sold as washed gray Romney but it is really brown and white. If you card it without dying it, it does end up looking gray.

Undied ronmney

Here is what it looks like if you dye magenta, purple and chartreuse.

dyed romney 2

I love the way the “gray” wools dyes. all the mixed shades you end up with. A spinner friend says its called depth of colour, so it’s not flat.  I wish I could find other breads of wool that were that varied in colour to dye.


Remaking my Boots

Remaking my Boots

If you remember I am taking a felt boot class. http://feltingandfiberstudio.com/2013/02/12/felt-boots-progress/

The boots looked pretty good when done but I wasn’t happy. I kept putting of finishing them and so I sat down and had a good look at them to see what I didn’t like. Well, the way the resist is made just didn’t work. I ended up with the extra to account for your calf in the front not the back. So when you put them on you end up with a big fold in the back of the ankle.

gray felt boots wrong

Also because you make the tongue first and then wrap it around the front of the resist it gets felted in at an angle and that doesn’t change as you felt so when you pull the tongue up along the front of your leg you get a big fold that would be uncomfortable.  Her boots look fine and I haven’t seen any questions or complaints on the class blog so maybe if you don’t have big calves you don’t have this problem.

I decided to make another pair. I cut the resist at the ankle and turned it around. I also added a little more in the depth of the foot. I think I would rather trim it than only just have the fit.

boot new layout

I have finished the initial felting. Now they just need some more time and elbow grease to finish them. Theses ones are in a natural brown Finn wool.

A Little Stich Practice

A Little Stich Practice

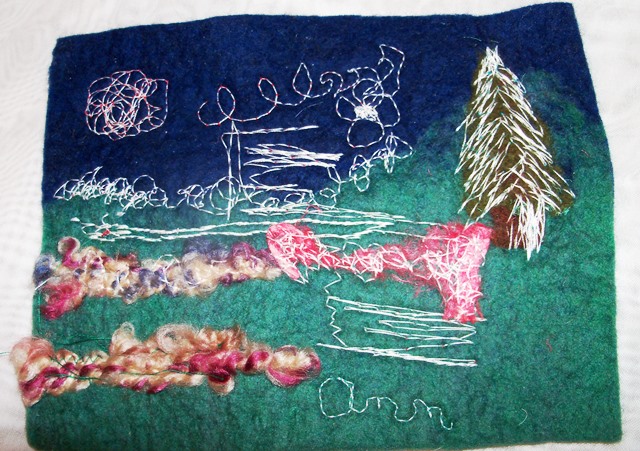
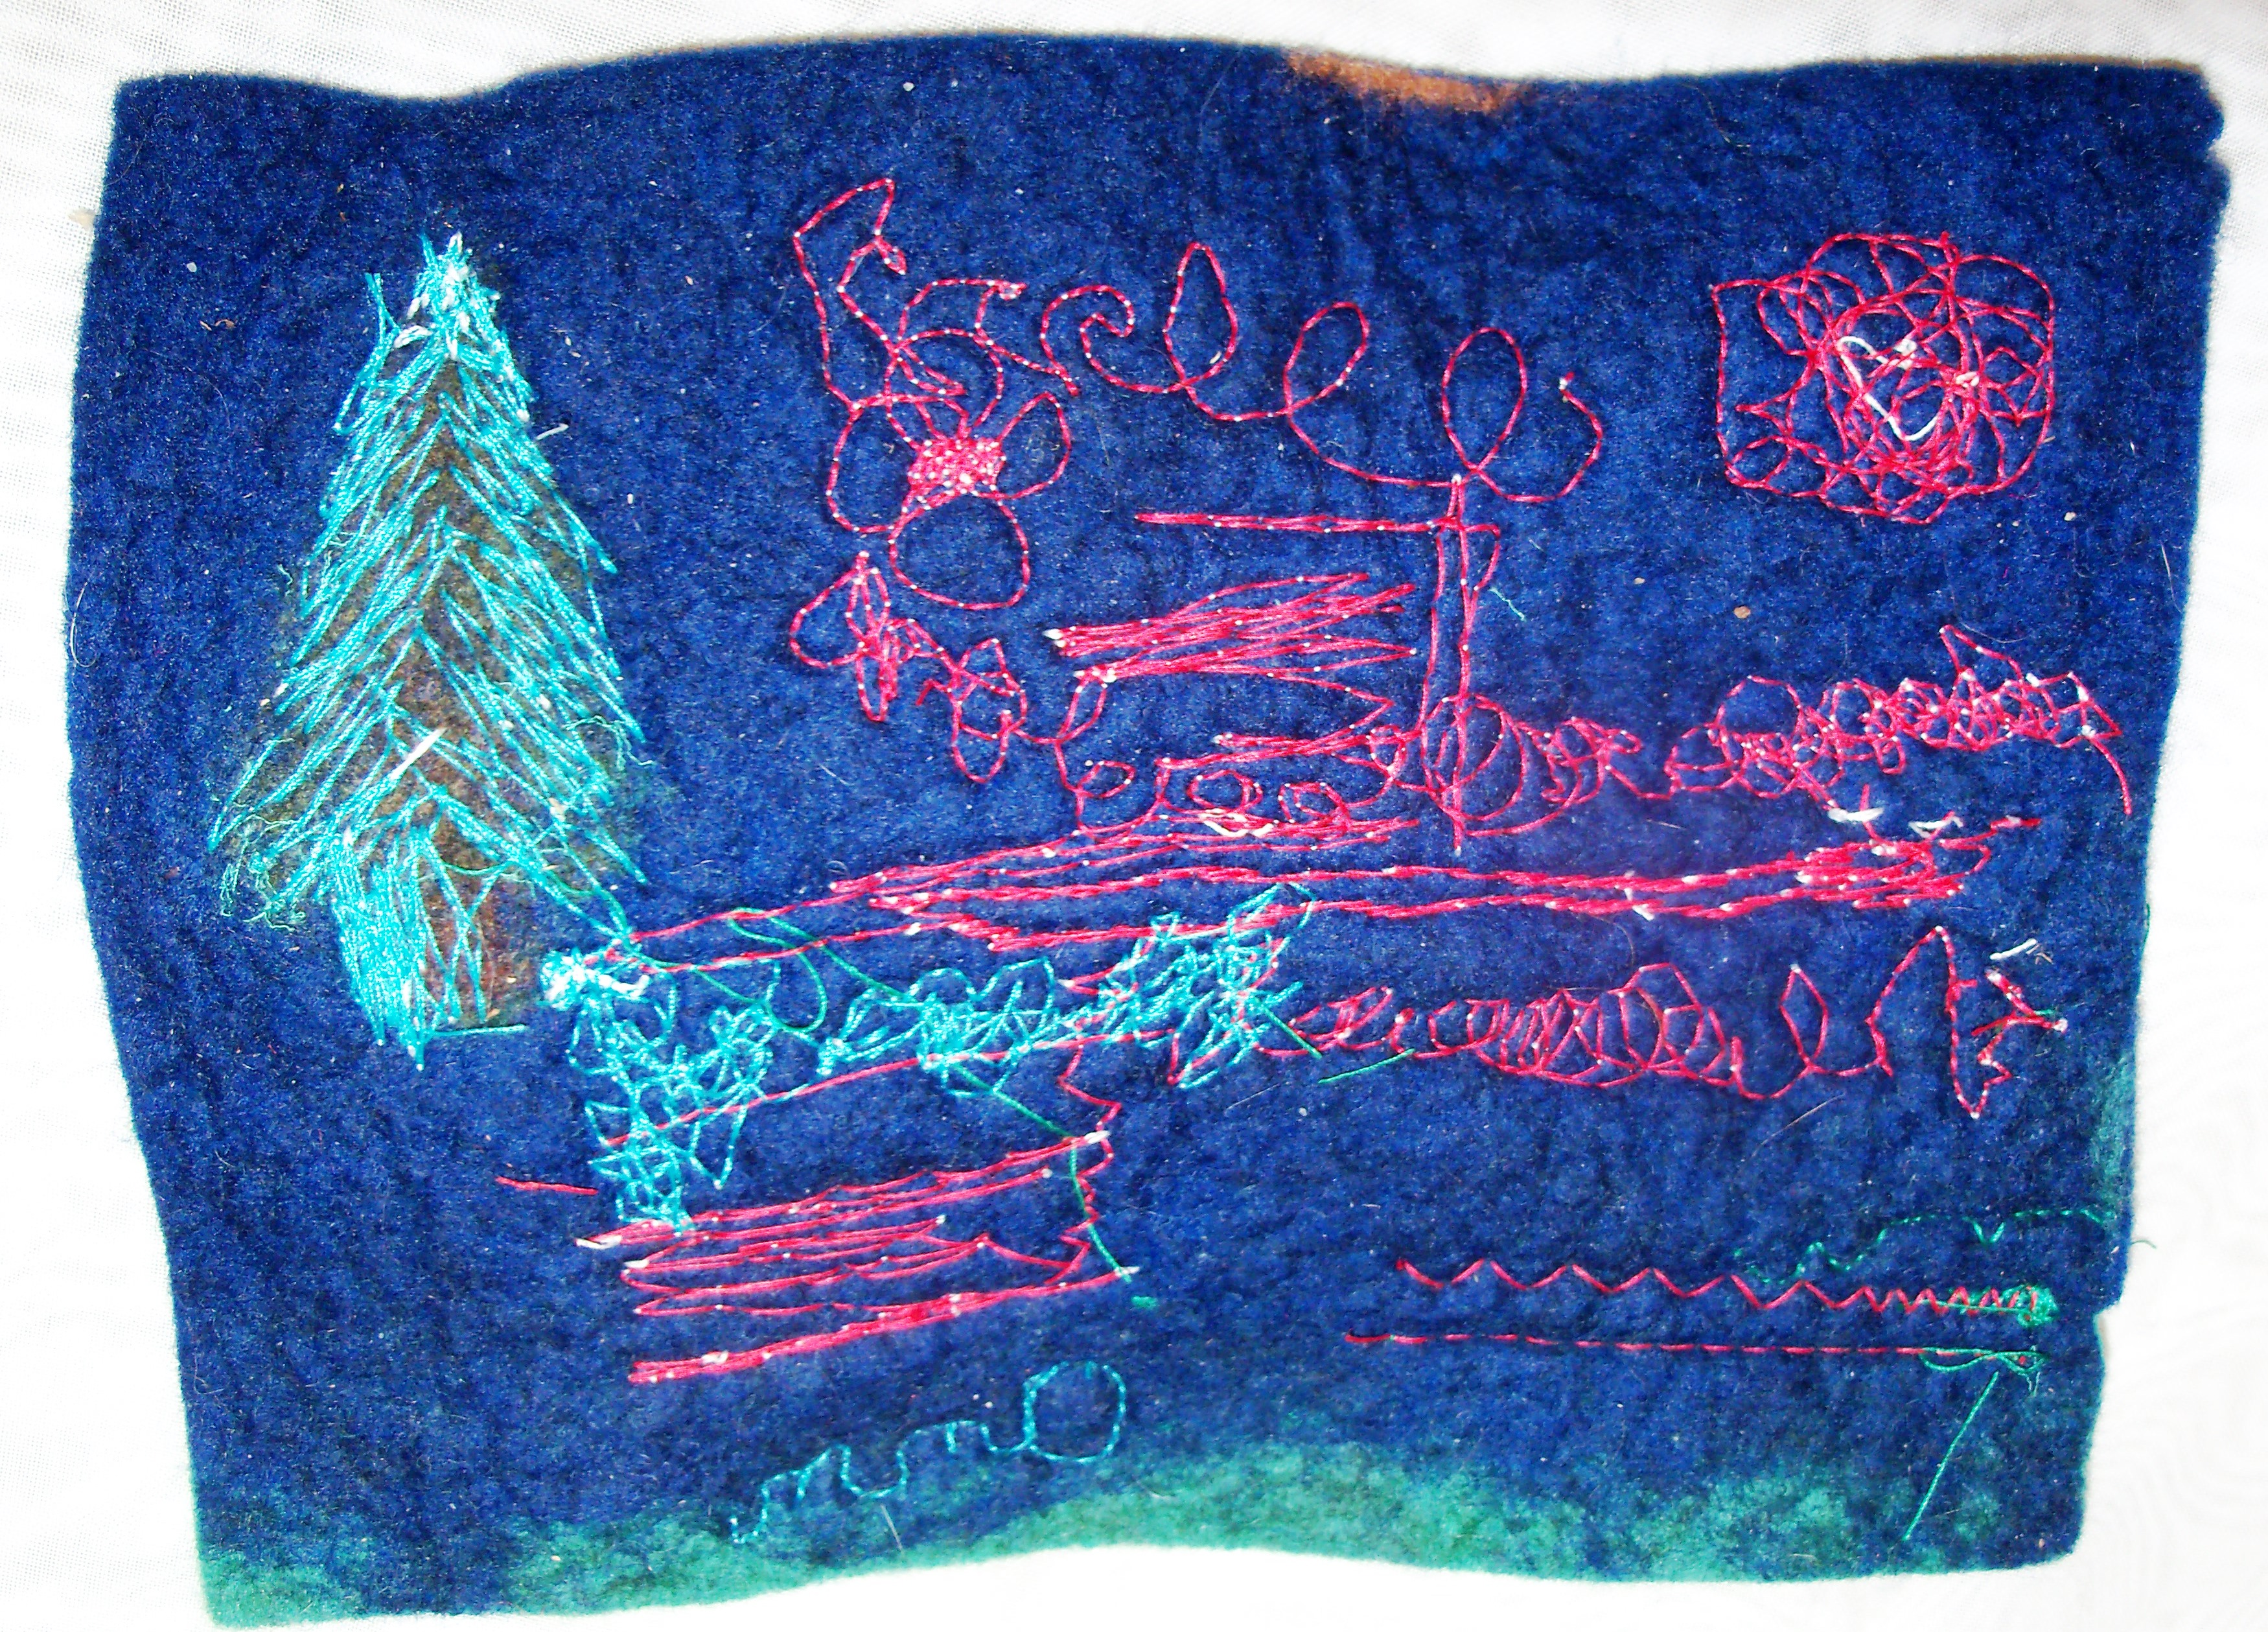
I finally put the free motion embroidery foot on my Sewing Machine.  I did a small sample to see what different movements did.  I used contrasting thread so I could see what I had done better. As you can see I did a few things. I tried to sew down some loopy yarn. this was hard. The yarn moves and you can’t really pin it very well. Its to easy to run the machine over the pins.

machine stitch sample

The solid red, with lots of stitching is a piece of silk  carrier rod. I tried moving the felt at different speeds and having the machine sew at different speeds.  Fast machine and slow hands seemed to work best so far. You can see near the end I was getting better at controlling what I was doing and managed to write my name. I like the way the stitching looks on the tree best, well the green part anyway.

Here is a shot at the back side.

machine stitch sample back

The machine stitching looks so different than hand stitching. I think the combination of the two will be great. But for now I need to practice my machine stitching. Anyone have any tips or suggestions about machine stitching?