Browsed by
Tag: free motion machine stitching

First Quarter Challenge Part Two

First Quarter Challenge Part Two

The First Quarter Challenge is all about adding mixed media to surface design. I wrote earlier about adding poured paint to the surface of felt and cotton fabric. It took several days for the poured paint to dry but it eventually did.

Here are two photos of the poured paint on felt piece. The photo on the left is when the paint was still wet and the photo on the right is when it was dry. Quite a change for sure. It isn’t quite as hideous as it was.

Here’s a comparison of the cotton piece, left is wet and right is dry. So the pieces do change quite a bit as they dry. If you try this, don’t get too attached to a pattern that is still wet.

I peeled the felt and cotton off the canvases because I wanted to add machine stitch to the fabric. One lesson I learned is that I should have pulled the felt/fabric off the canvas when it wasn’t bone dry. It did come off but both pieces were really glued down to the canvas.

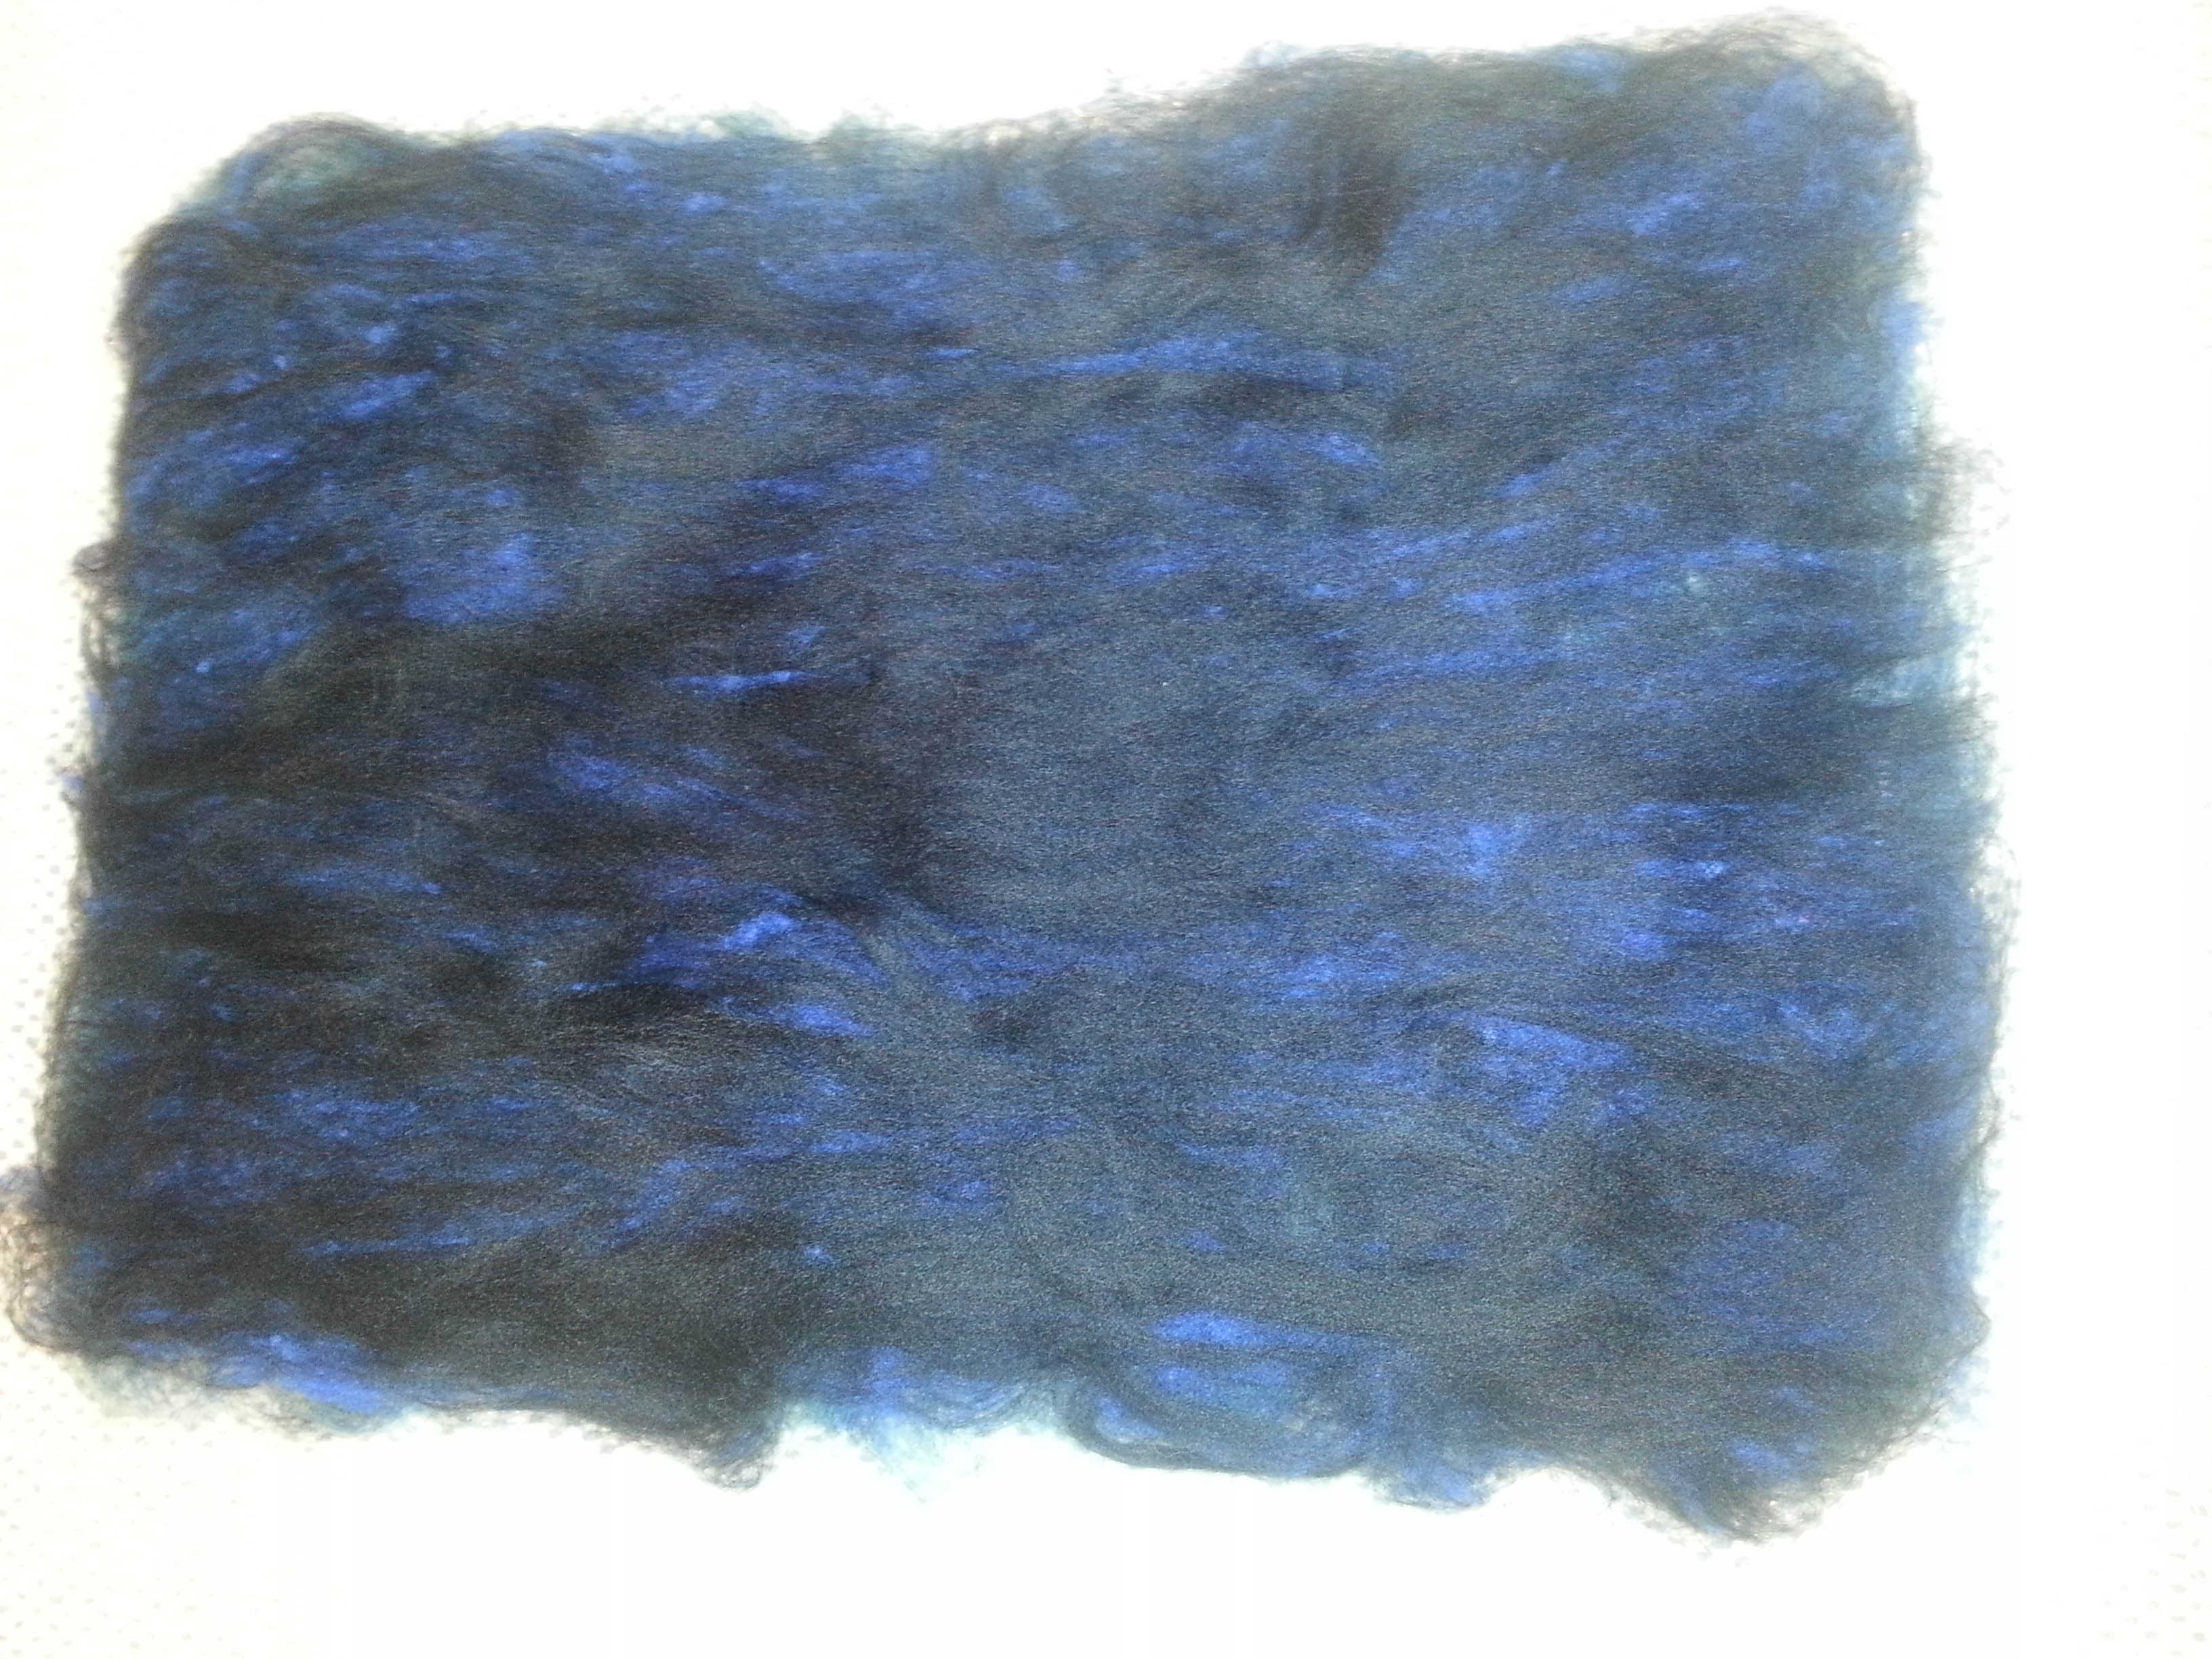
Here are the two canvases after the felt and fabric was removed. The one on the left is from the felt and the one on the right is the cotton. I am considering whether I will add more paint to the one on the right as it looks very “galaxy” like. But I haven’t decided yet.

Here’s the back side of the felt on the left and the cotton on the right. It’s interesting how different the front is from the back side. I considered stitching on the back side of the felt but I really didn’t like the look of the white paint. It reminds me of bird poop and I just couldn’t get that out of my mind. So I stitched on the front side.

The felt was very stiff and pretty thick with the paint on it but I used a size 90 embroidery needle on my machine and free motion stitched some simple organic lines. I used orange and blue green threads. If you click on the photo and enlarge it, you can see that there are more than three stitched lines. I used straight stitch and zig zag stitch. It actually stitched much more easily than I thought it would. The needle did make some awful noises when it hit a hard piece of thick paint but it didn’t break the needle or even cause much issue with thread breaking. I probably should change that needle though before I sew something else. I decided to keep the stitching fairly simple and not spend an enormous amount of time on this piece. It isn’t the worst or ugliest thing I have ever made but it certainly isn’t a masterpiece either.

Here’s the back after stitching. I do think this side adds a bit more excitement to the piece but I still see bird poop.

After stitching, I stapled the felt back on to the canvas. Not bad considering how ugly it was after I poured it. You can see how much surface texture there is in the close up. The paint certainly gives the felt a different look. So I may try this again. If so, I would try a finer felted surface such as merino to see how it accepts the paint.

Now I have to decide what to do with the piece of cotton. Should I add stitching to this one? Or should I cut it up and applique it to another surface? Or should I make it into a small bag? It’s only 8″ x 10″ so the bag would be small. But it has a nice feel to the fabric because the paint gives it some ‘body’, almost like leather. What would you do?

Finishing and Hanging

Finishing and Hanging

There had been some discussion about how to frame my Hummingbird picture I blogged about here:

https://feltingandfiberstudio.com/2017/07/15/the-hummingbird-and-the-tiger-lily/

Shadow boxes seemed to be the popular vote, so I bought a deep shadow box.  I didn’t have many choices because of the size 10 x13″ (25 x 33 cm)

http://www.hobbylobby.com/Home-Decor-Frames/Frames-Photo-Albums/Shadow-Boxes-Display-Cases/10%22-x-13%22-Barnwood-Shadow-Box-Display-Case/p/37949

But when I got it home and took it apart I didn’t realized the glass couldn’t be removed without breaking it.  Plus I didn’t like the color of the frame next to the picture.  So, I decided to return it.

I found another regular frame in gold that I liked.  It’s hard to see in these photos.  But I liked the way it showed off the dimension no matter what angle you see it from.  I first hung it on a dark green wall.

But it’s home is now in the kitchen between two windows on a teal wall.  I’m sorry the camera doesn’t pick up the actual teal and gold colors.  It is really striking, plus it’s next to where I sit at the table.

Then I found a spot in the kitchen for my crocheted Starburst Potholder. Unfortunately, I also caught the shadows.

Lastly, I hung my “Red Dawn” that I had done in Ruth’s Free Motion Stitching Class.

It is on a dark green column in my dining room.  You probably noticed the rose color next to it which is the inside of the column next to it. So, I felt it pulls those two together.

Both Red Dawn and the potholder are hung with the Command Strips we’ve been discussing on the forum.

I have a huge pile of felt pictures I have done, but don’t know if they will ever get framed or hung.  I don’t think I have enough wall space in my home.  Although I do change things out occasionally.

What do you do with your creations?

Found my Fossil Fish

Found my Fossil Fish

I made the original fossil fish quite a while ago with the process of paper fabric lamination and a silk screen that I created. It didn’t actually turn out that well so I added free motion machine stitching to enhance the paper fabric lamination process. Then I put the fish away in a pile of stuff and completely forgot about it. I decided that it has been hiding in my studio long enough. I needed to finish it.

Here you can see that the fish design is on the white organza ready to be felted. I have a piece of blue prefelt below it that was a left over from some other project. I don’t even remember what type of fiber is used in the prefelt. Not always the best idea when nuno felting but I just decided to go for it.

I spent quite a bit of time rubbing the surface of the organza so the fibers would migrate through.

This is the piece after felting. Some of the organza isn’t really all that well adhered but since it is going to be a wall piece, it doesn’t really matter.

And here’s a closer view when it is still wet.

Here’s the piece dry and framed. Do you have pieces floating around that need to be finished? It’s always nice to get a UFO (unfinished object) out of the studio and completed.

Stitched Felt Landscape

Stitched Felt Landscape

I am a little late this morning in getting this posted. Sorry about that!

Layout

I created a felt landscape last week. I used a variety of fiber from my stash. Many were little bits of leftovers so I’m not sure exactly everything that I used. I did add some of the nylon fiber that Zed sent me into the foreground. It is the really white fiber. I wanted to have different shades of snow and shadow in the foreground.

Stitched Felt Landscape

I then free motion machine stitched a little bit in the background and created the tree in the foreground. It reminds me of a sunrise here in Montana. I love adding the stitching and it really seems to bring the piece to life.


Another 4th Quarter Challenge Piece

Another 4th Quarter Challenge Piece

I showed you a while ago where I had made some felt for the 4th Quarter challenge with cut offs from machine threads that I had saved. You can see it here. I decided to use the larger piece for a sample for my upcoming Free Motion Stitching on Felt online class.

seed-pod-inspiraiton-1

This is the photo that I used for inspiration for the piece.

Finished Free Motion Stitched Seed Heads

I used several values of brown thread and stitched the seed heads with free motion stitching.

Seed Heads Close Up

Here’s a little closer view.

Framed Free Motion Stitched Seed Heads

This is what the piece looks like framed. It was a fun piece to stitch and I do like how the stitching contrasts nicely with the multi color background. There’s still time if you haven’t done anything for the 4th quarter challenge. We’d love to see what you create!

Free Motion Stitched Felt Leaf Cards

Free Motion Stitched Felt Leaf Cards

I wrote a post about these felt leaves on my Permutations in Fiber blog and asked for ideas for what people would do with them. I got loads of good ideas but I decided the easiest one for me to do was making greeting cards out of them as suggested by Terri Berry. Thanks Terri for the great idea.

Felt Free Motion Stitched Leaf Cards

I have lots of colored paper, most from screen printing with thickened dye. Many times I rinse the paper after screen printing so that the dye won’t run if I use other wet media on top. Since I wasn’t going to use any wet media on these, I just left them. They are a much more vibrant hue without rinsing.

Felt Free Motion Stitched Eucalyptus Leaf Card

Each card is different but I mainly used two sets of printed papers.

Felt Free Motion Stitched Rhomboid Leaf Card

I used fusible to attach the paper to the card.

Felt Free Motion Stitched Ovate Leaf Card

I hand stitched the felt leaves down to the paper before fusing.

Felt Free Motion Stitched Oak Leaf Card

I really like how these turned out and that the leaf is not completely attached around the edges.

Felt Free Motion Stitched Falcate Leaf Card

The back side of the felt was printed but didn’t turn out too well. This leaf is the back side of the felt.

Felt Free Motion Stitched Elliptic Leaf CardI looked up different leaf shapes online so I would make a variety. This leaf was inspired by one of Lyn’s (RosiePink) leaf bowls.

Felt Free Motion Stitched Digitate Leaf Card

Here’s the last one with the gold and blue paper.

Felt Free Motion Stitched Palmate Leaf Card

I ran out of the paper I was using so I decided to use this screen printed paper from one of Louise’s deconstructed screens. It really gives a sense of motion to the card, don’t you think? These cards were put into cellophane and will be off to the shop for sale. I’m a little late for autumn but better late than never. Perhaps I should make some felt stitched snowflakes for the winter season?

Adding Waste Machine Thread to Felt – 4th Quarter Challenge 2016

Adding Waste Machine Thread to Felt – 4th Quarter Challenge 2016

I have been saving cut offs from my machine stitching for quite a while so when Zed let us know that we needed to save up thread bits and pieces, I had no worries that I would have enough scraps of thread to use in this challenge. There are also some scraps of embroidery thread and Perle cotton in the tub.

Tub of Threads

Here’s my tub of thread. This is actually a photo after I used thread for the felt I will describe below. So I have plenty left!

Thread Felt Layout #1

I used white Mixed 56’s wool from RH Lindsay and then just spread the thread over top of the first layer. I wanted a thin felt so I used a fairly thin layer of wool.

Thread Felt #1 Close Up Layout

I didn’t worry about what colors I was using or where they went. I just wanted to experiment and see what happened.

Thread Felt #1 Second Layer

I then added a very thin layer of wool over top of the thread. I wasn’t worried about uneven shrinkage or making the felt a certain size. I was just making a sample.

Thread Felt wet Down

Here’s what it looked like after I wet it down.

Thread Felt #1

I felted and fulled as usual. Here is the finished piece. I really like it and love the way the thread crinkles up as the wool shrinks.

Thread Felt #1 Close Up

And the texture is marvelous.

Thread Felt Layout #2 Close Up

So I decide to make a larger second piece to add free motion embroidery for the main design. I thought this would make an excellent background.

Thread Felt #2Here’s the second piece. It’s about twice as large as the first sample.

Thread Felt #2 Close Up

And another close up of the texture. Next time I make some felt like this again, I am going to put even less wool on the second layer.

Thread Felt Ornament Card

I cut up pieces of the first sample to make a holiday card. I used fusible to fuse the ornaments to the dark blue felt which was screen printed and then over dyed. I then added free motion machine stitching and couched down a machine stitched cord that I found in my scrap box. Elizabeth, if you’re reading this post, this isn’t your card. I am making a different one as I didn’t really love this card.

If you haven’t tried adding thread to your felt, give it a try. I really like the results. Thanks Zed for the challenge as I’m not sure I would have tried this without your idea.


Free Motion Machine Stitching on Felt

Free Motion Machine Stitching on Felt

I have tons of pieces of screen printed felt that I made as samples for my screen printing class. I decided in the spirit of finishing UFO’s that I wanted to do some free motion machine stitching and use the screen printed felt. I am also working on the next class which includes using a stencil to decorate felt. So I started with a couple of background pieces that had been screen printed with a soy wax screen. I made a stencil of a fish design that I “borrowed” from a brew pub that we visited in NYC a couple of years ago. I then stenciled the fish on to the background felt. Once that dried, I free motion stitched around the outline of the fish. That was a good warm up since I hadn’t used my machine for a while.

The two pieces were about 12″ square and after I stitched the fish, I wrapped each one around a black canvas. The top and the bottom edges were left with a natural felted edge instead of cutting it completely straight.

Close Up of Stitching

Perhaps you can see the stitching in this photo if you click on it to enlarge it.

Finished Stenciled Fish on Felt

Here are the two canvases together. I like how these turned out and may hang them in the guest bathroom. I haven’t decided yet. I won’t sell these since the fish isn’t my own design.

Free Motion Stitching on Felt - Berries

Next I decided to use a few pieces of silk screened felt that I over dyed blue. The over dye was a bit dark so it needed a light thread to show up well.

Free Motion Stitching on Felt - Leaves

Here’s the second one. All of these designs are from work I did in my Level 2 Experimental Stitch class. I thought it would be easier to repeat a design since my free motion skills were a bit rusty.

Free Motion Stitching on Felt - Clematis

The last one I decided to add a bit more dense stitching and “color” in the sketch. I always wonder why I don’t do free motion more often because it’s something I really enjoy. The screen printed felt pieces make nice backgrounds. All of these are 6-8″ or so they don’t take very long to stitch up. I have a lot more so hopefully, I’ll have time to do some more.

Felt and Stitch Bowl Attempt

Felt and Stitch Bowl Attempt

I needed a liner for a basket for collecting eggs. This is a small basket but I will need a bigger basket before long as we got some new chickens.

chickens

I thought I would try sewing around and around a flat piece of felt as I had seen on Lyn’s blog. http://rosiepink.typepad.co.uk/rosiepink/handmade-felt-and-stitch-bowls.html she sells  an ebook of how to do it. If I had downloaded it and if I had followed it I probably would have had better results. I am much to clever for that, not.  I did it form a vague memory of Lyn mentioning something on the Forum.

So I found a piece of felt  and cut it to what I hope will fit my basket. Nothing beats guessing when its right. 🙂

felt and bowl

Next I started stitching, switching the machine from turtle speed to rabbit speed as neatness doesn’t really count here. I also used up all my part bobbins so now I have some empty ones.

As you can see after the first go round it is still flat felt. I decided there was not enough stitching so loaded up the machine with orange and off I went again around and around.

stitching round 1 stitching round 2

As you can see that didn’t help at all. There was a slight curving on one side but not what I would call a bowl. Still I needed a basket liner and after all this is not a beauty piece but a partial piece I cut it.

cut to fit

and sewed it

re stitched

egg basket with eggsHere it is with some eggs in just to prove it really is an egg basket. I haven’t really used it yet in the barn. Theses are some that where collected this morning that are not in cartons yet.

I think the problem besides not buying the tutorial and following the instructions is that my felt was fairly thick and well fulled. I do know from my few attempt at free motion machine embroidery that the felt does strange things if not backed with something. The other thing that may have done it was I started at the outside. Perhaps if I had started in the middle the felt would have reacted differently.  All in all I ended up with a basket liner and had fun sewing like the wind round and round.


Same Picture, Different Techniques and Outcomes

Same Picture, Different Techniques and Outcomes

A while back, I purchased Moy Mackay’s book Art in Felt and Stitch.  I like her use of bold colors and particularly like her flower and bird pieces.  While chatting with Cathy (Luvswool), I learned she also had Moy’s book and we both liked one particular vase of flowers in the book called Anemones.  We decided to do our own interpretation of that picture below.  (The quality is not great because I took a picture of the picture in the book.)

Moy anemonesCathy —

Moy lays out her fibers from start to finish, with “brushstrokes” of fiber, much as a painter applies paint to the canvas.  When she is finished laying out her merino roving, she then felts the entire picture as one piece.  Later, she needle felts details and then embroiders with machine stitching.

My approach was a bit different, in that I prefer to layout my base first then wet felt it so that I end up with a pre-felted white base on which to paint my picture.  I had previously used this technique in creating other felt painting and so was comfortable with the approach.  After my white domestic 56’s base (2 layers) was completed and dry, I began the process of laying on merino fibers in various colors, not exactly the same as Moy.  I added tussah silk highlights and then wet-felted the entire piece.

After drying, I began to needle-felt details, such as shadowing for the vase, some detailing for the flowers.  I chose not to machine stitch or hand embroider, rather I allowed the needle felting to be my finishing.

Cathys Moy

Newly armed with a stapler gun and some stretcher bars, I backed the 12″ x 12″ piece with blue commercial felt and framed it.

IMG_5752

Marilyn —

I chose to follow Moy’s method as mentioned above in Cathy’s description. For me there were a few firsts — I had never “cut” roving, had done free motion machine stitching or embroidered felt.

base

I made the base from batts I had made using dark colors, then added the lighter accents, the vase, then built the picture from the background forward laying out the background leaves then cut the flowers and laid them out.  I added some silk embellishments, angelina and nepps, then I wet felted the piece.

moy layout

After it was dry, I needle felted around the vase and added needle felted shadows on and around the vase and some details in the flowers.  My challenge came when I started the machine embroidery.  The felt around the flowers was thick because of the layering of the background leaves. My machine wasn’t happy about that.  After a couple of broken needles and a lot of frustration, I finally finished.  I added a couple of hand embroidered flower details to finish it.  I enjoyed trying a new technique, but will keep in mind the potential thickness issue when doing anything similar again.

Moy 2

After cleaning it up a bit, it is now sitting in the “to be framed pile.”