Browsed by
Tag: silk

Autumn is Coming

Autumn is Coming

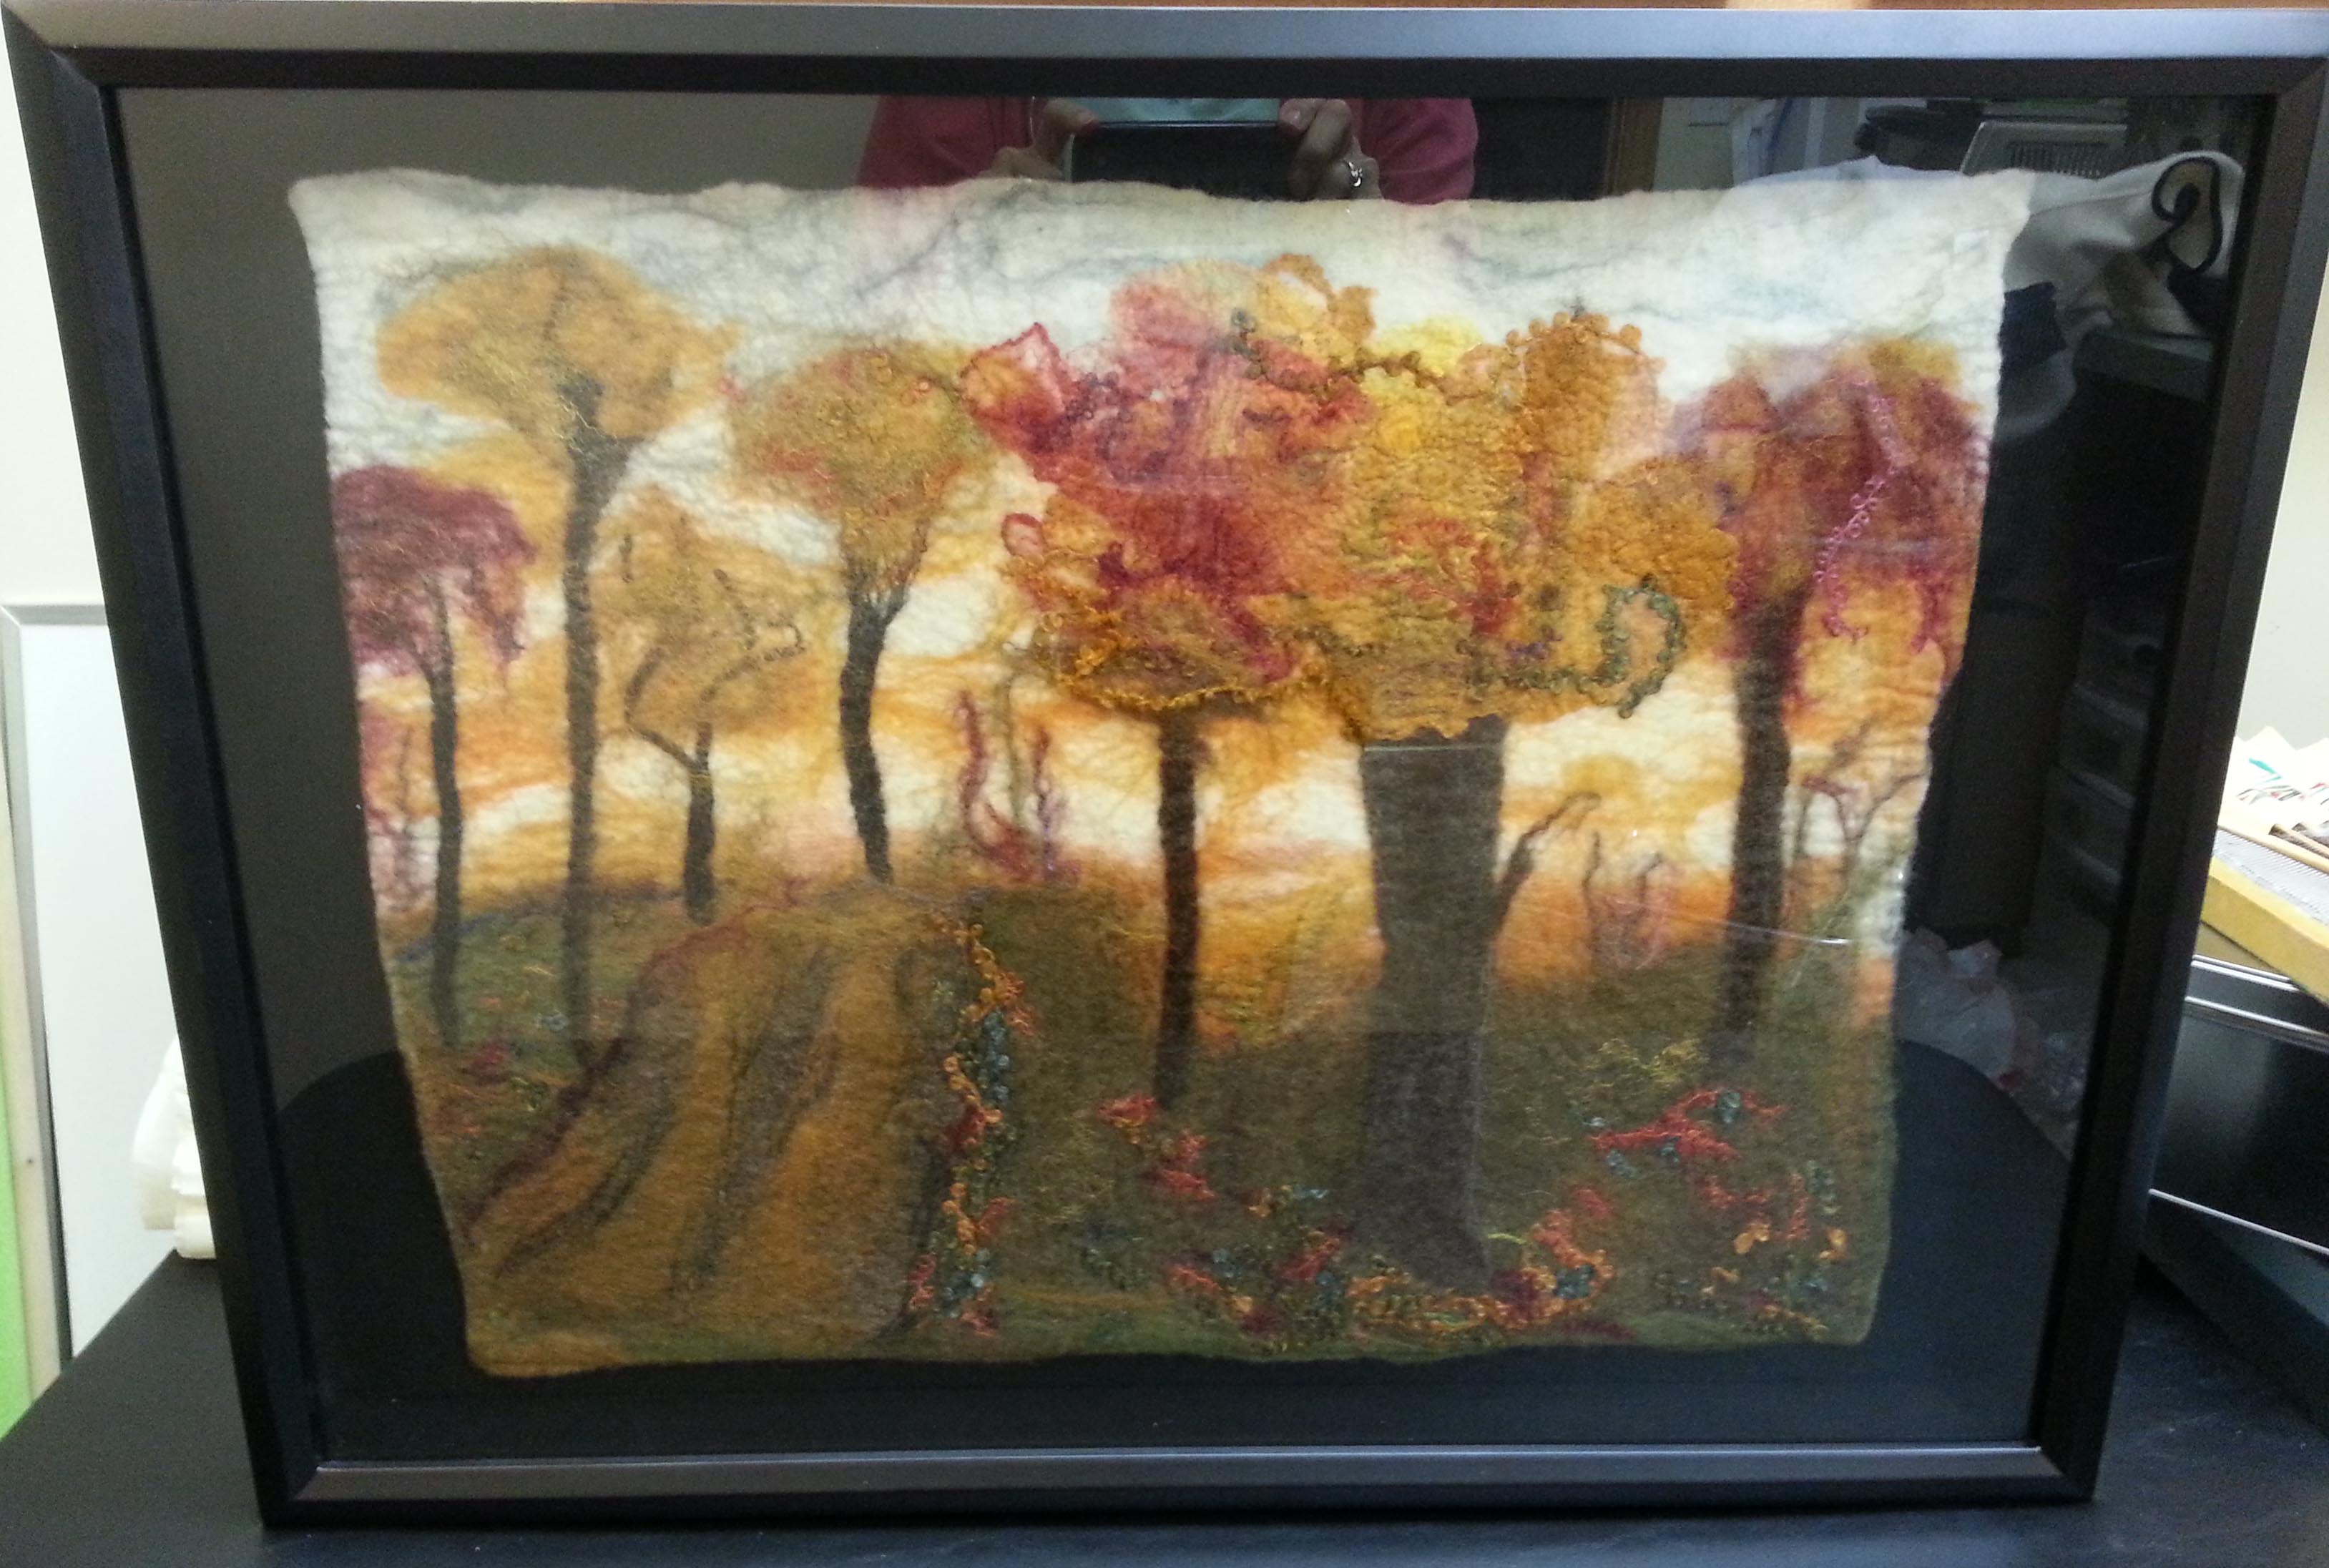
Last fall our challenge was Autumn.  I created my autumn piece which is just shy of 16″ x 20″ (40.64 cm x 50.8 cm) with organic edges.  I’ve played with different framing options on an off and finally decided it was time to take it seriously.

Here is the original.

autumn org

I tried different colored mats.

black mat orange mat


Then I bought a shadow box, but unbeknownst to me the glass didn’t come out.  Its not a very good picture because I was trying to take the picture without the frame falling and the picture falling out.  I intended to return it so I didn’t want to fiddle with it too much.

shadow box

I found another frame that supposedly had a 16 x20″ inset for a canvas.  However, when I put the canvas with picture on it there was a gap all around.  I decided to cover it with prefelt and attach the picture.   There was still a gap. This would probably be perfect for a thick felt piece wrapped around the canvas.

recessed frame

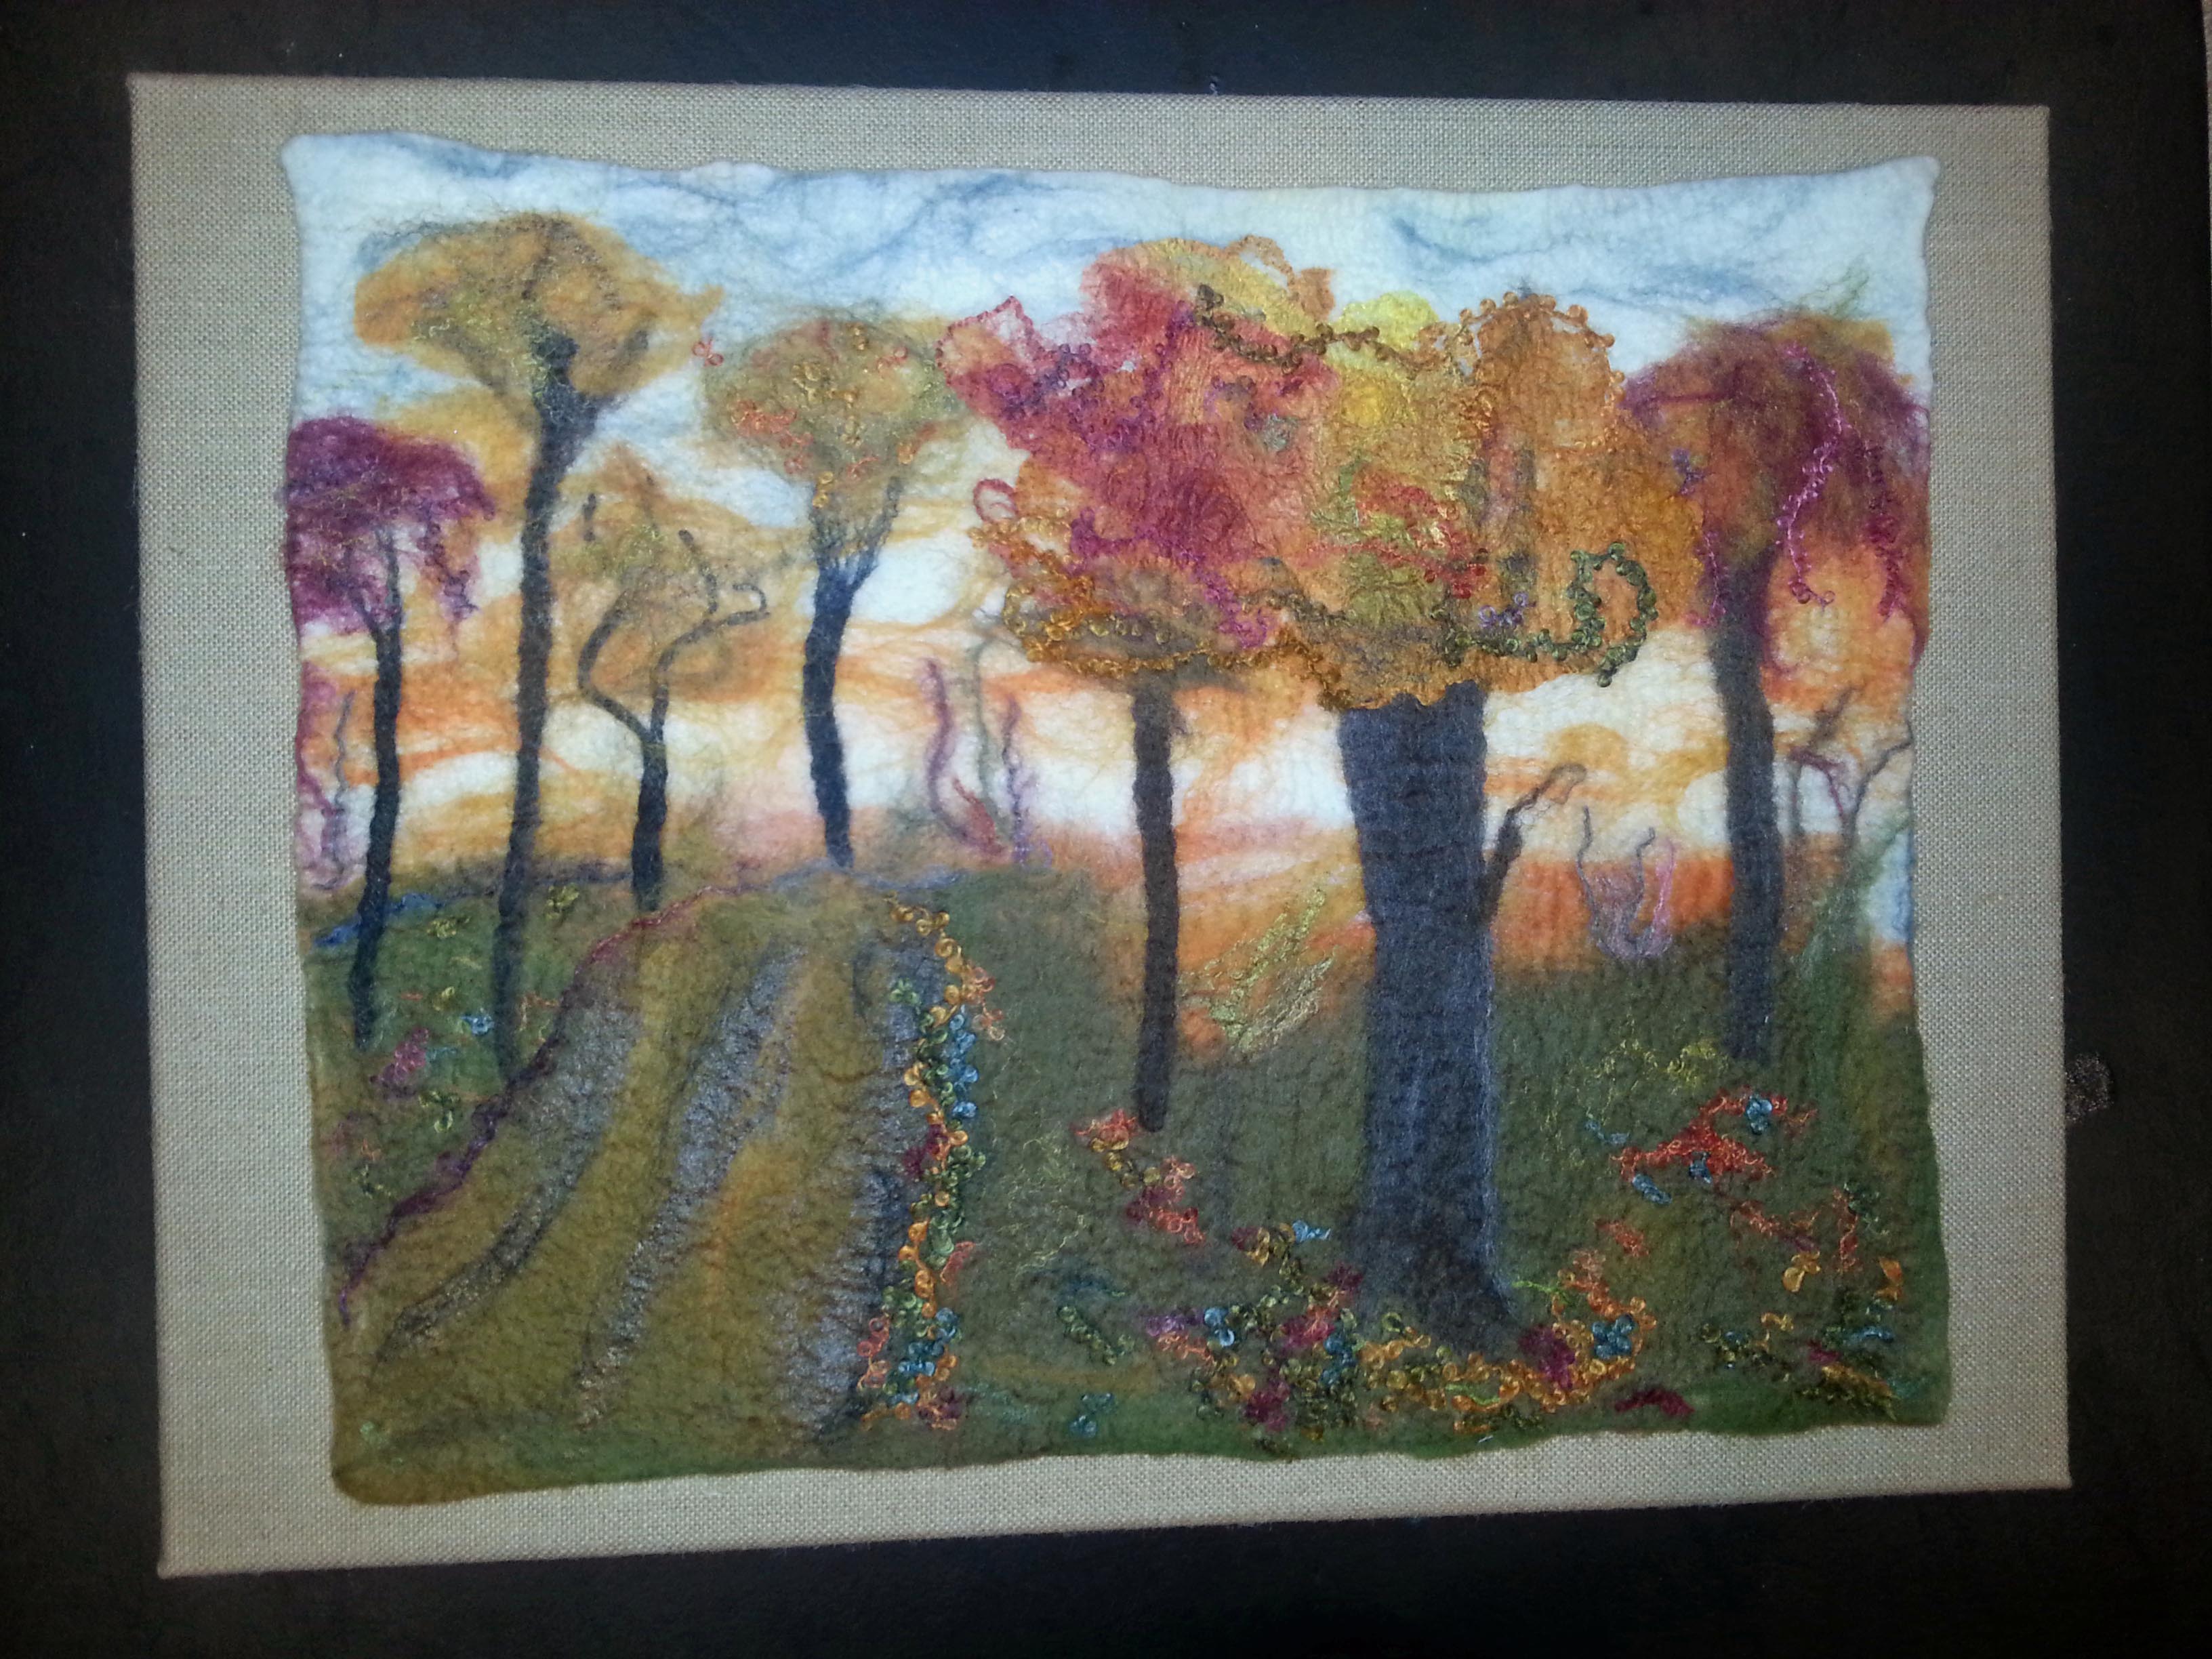
When Michaels had a sale on canvas and frames, I looked again and found this burlap canvas. (On a black table)

burlap

But when I put it on a dark bronze wall it made a big difference.

on green wall I haven’t mounted it yet since after jiggling it around  and trying to stretch out a little I have to make a few repairs.  I’m amazed at how my felting has improved this past year. I can even make straight edges if I want.  If I decide to start selling or gifting my artwork, I may have them professionally mounted and framed.

Which one do you like?

Summer Blues

Summer Blues

When Cathy (Luvswool) and I went to the Midwest Fiber Fair a couple of weeks ago, in our conversations I mentioned I had an indigo dyeing kit I’d like to try.  With some discussion on the forum about the smell indigo produced, I wanted to try to do it while the weather was still nice outside.  Neither of us had used indigo before, so, I invited Cathy to join me in a day of dyeing.

I didn’t have a plan for what I wanted to dye or any specific projects in mind to use the dyed materials.  But Cathy came well prepared with plenty of roving and fabrics to dye.

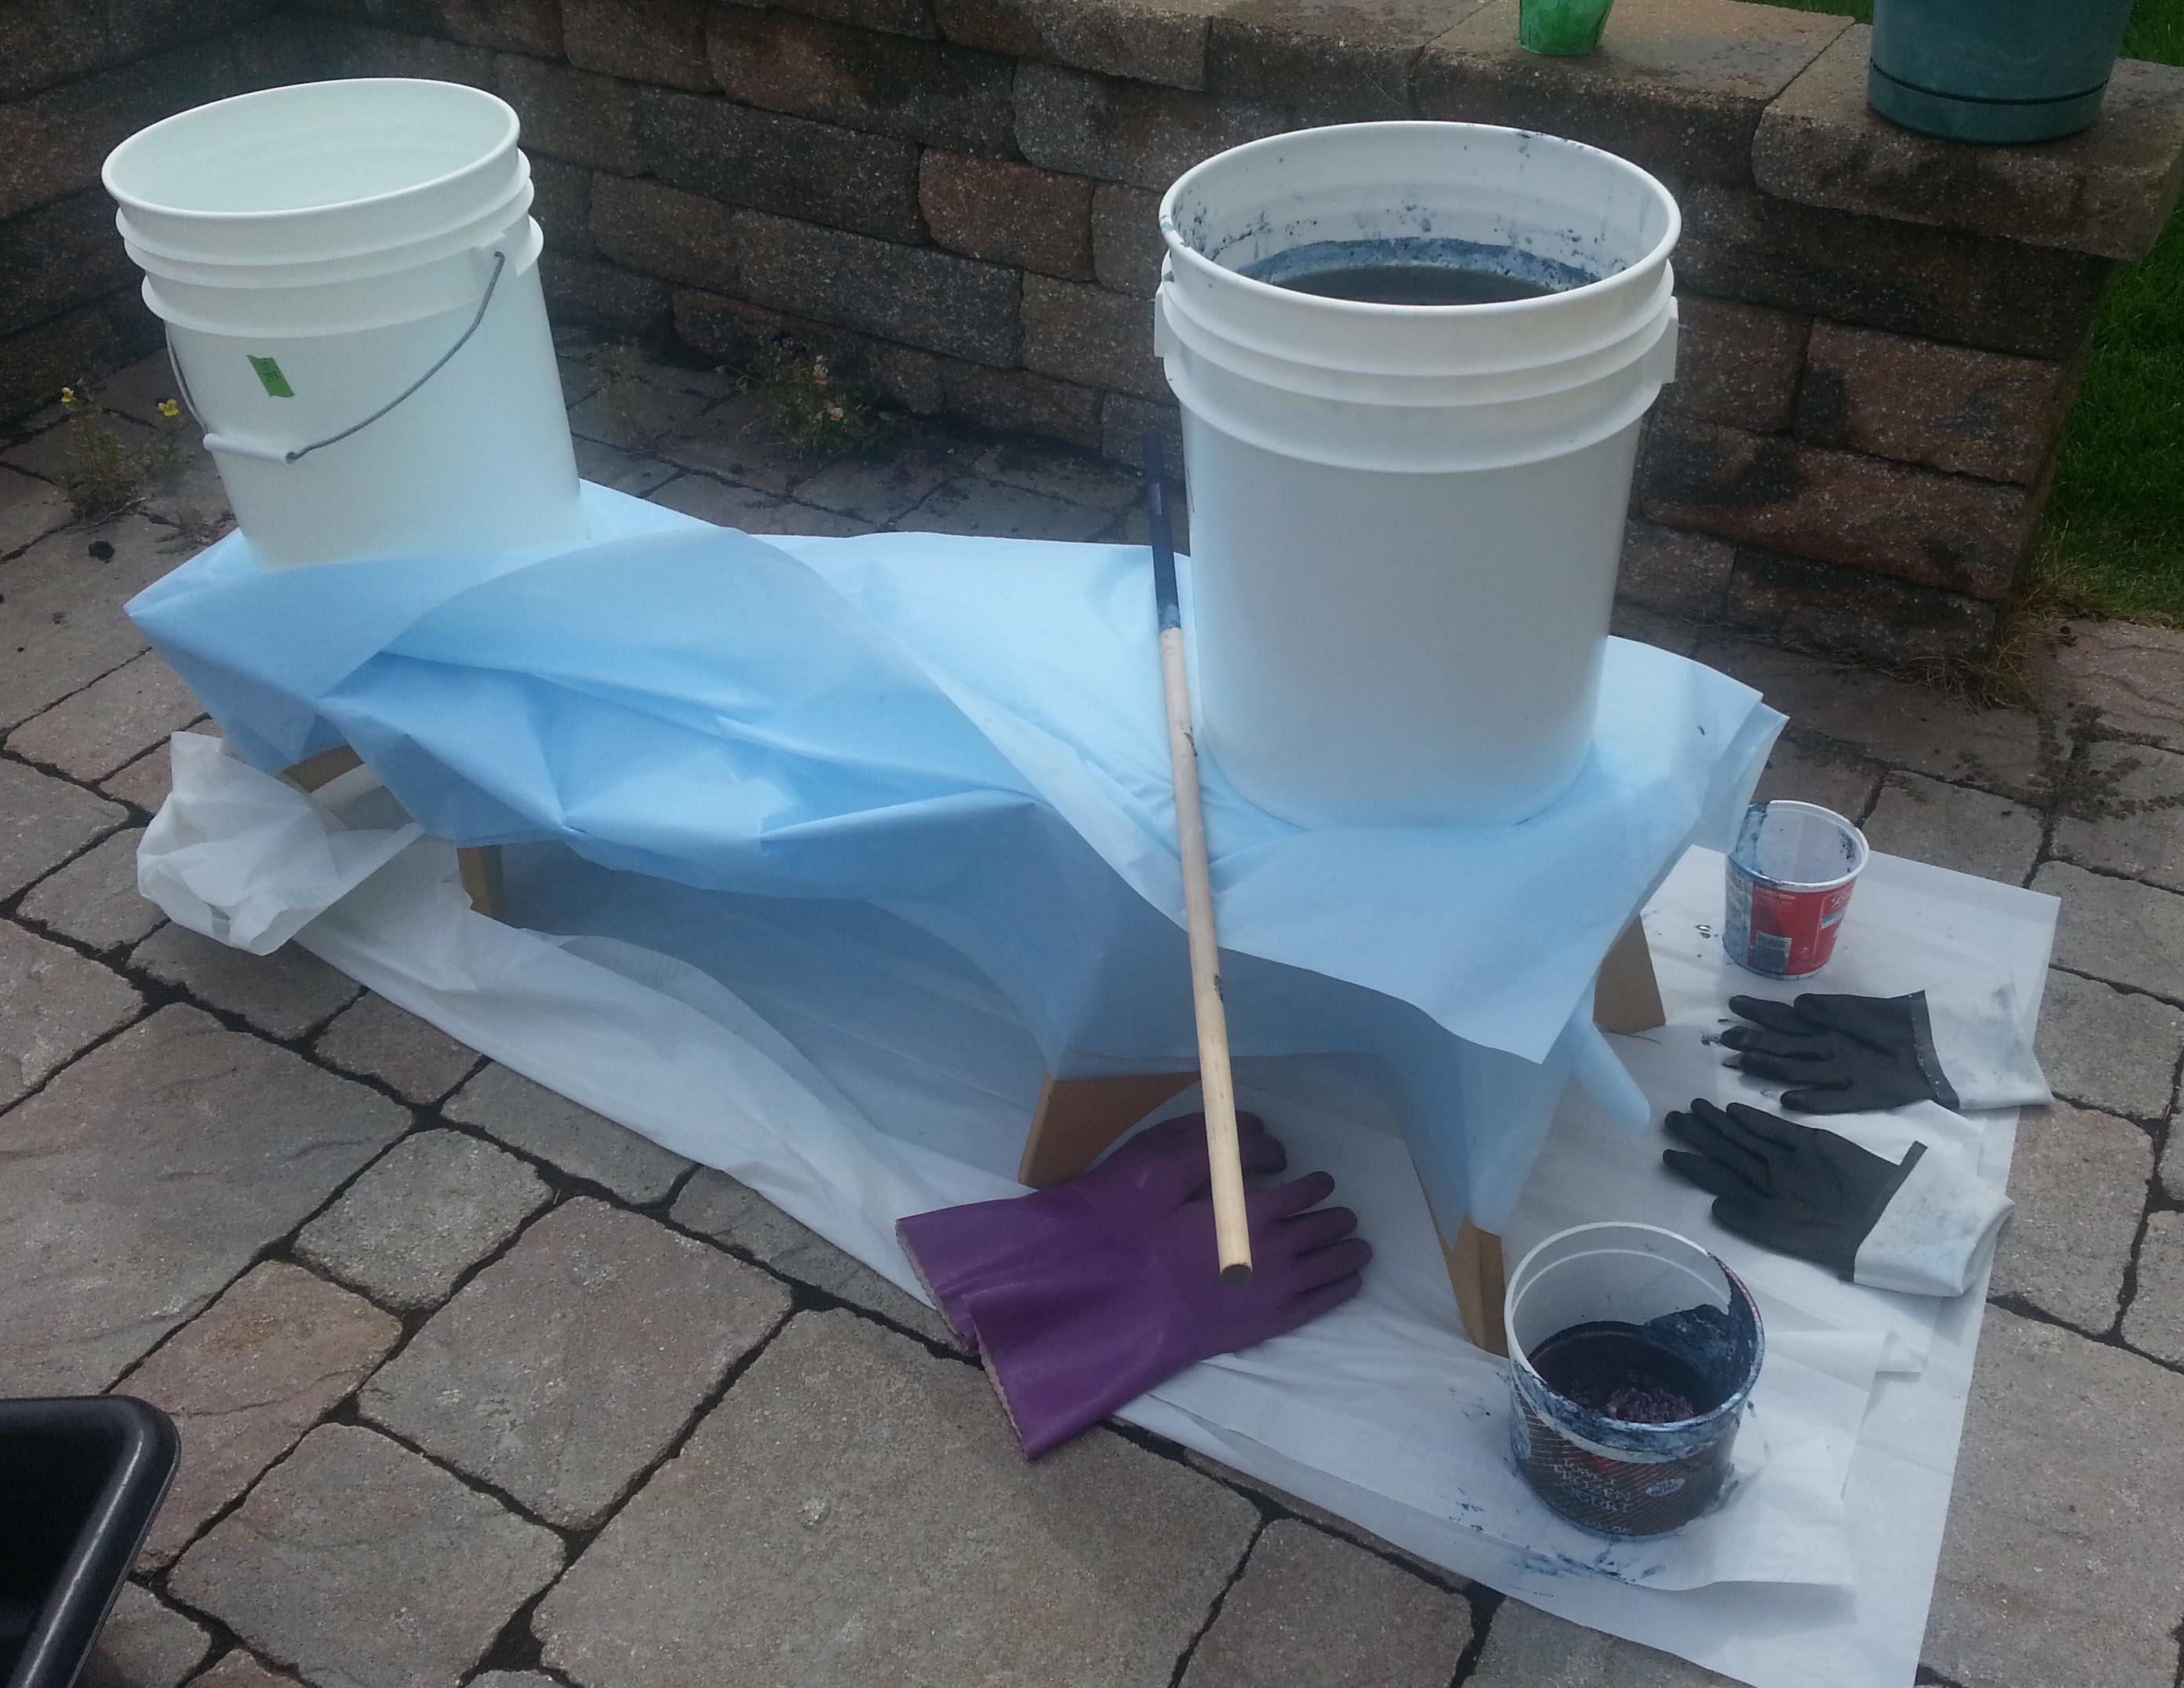
To save some time, I had set up the buckets for wetting and indigo along with the plastic coverings before she came. It was an overcast day to begin with with a nice breeze across the yard.

set upWe followed the instructions, mixing the indigo, then the chemicals and stirred it in then let it sit for an hour.  But there was no bloom as described.  We reread the instructions and stirred again; then decided to skim the top and begin.

After the first batch, we returned the runny bloom back to the bucket and let our fabric oxide.  It all looked fine, so we continued the process with the rest. Once the first batch was fully oxidized we tag teamed and I washed and rinsed while she dipped the next batch. Strangely enough after the first batch the bloom began to grow.

With a brief break for lunch, we managed to get everything into the pot we both had to dye along with the breaks for letting the pot sit after stirring.  It was a busy day with the dyeing, rinsing and washing. And the day got hotter and sunnier as we worked.

Cathy had spent the evening before rubber banding a large piece of cotton gauze.

Cathy tied corks

Cathy cork cloth

She also brought along a big pile of Domestic 56s roving, some kid mohair yarn, nettle and lace table cloth, miscellaneous bits and pieces of fabric.

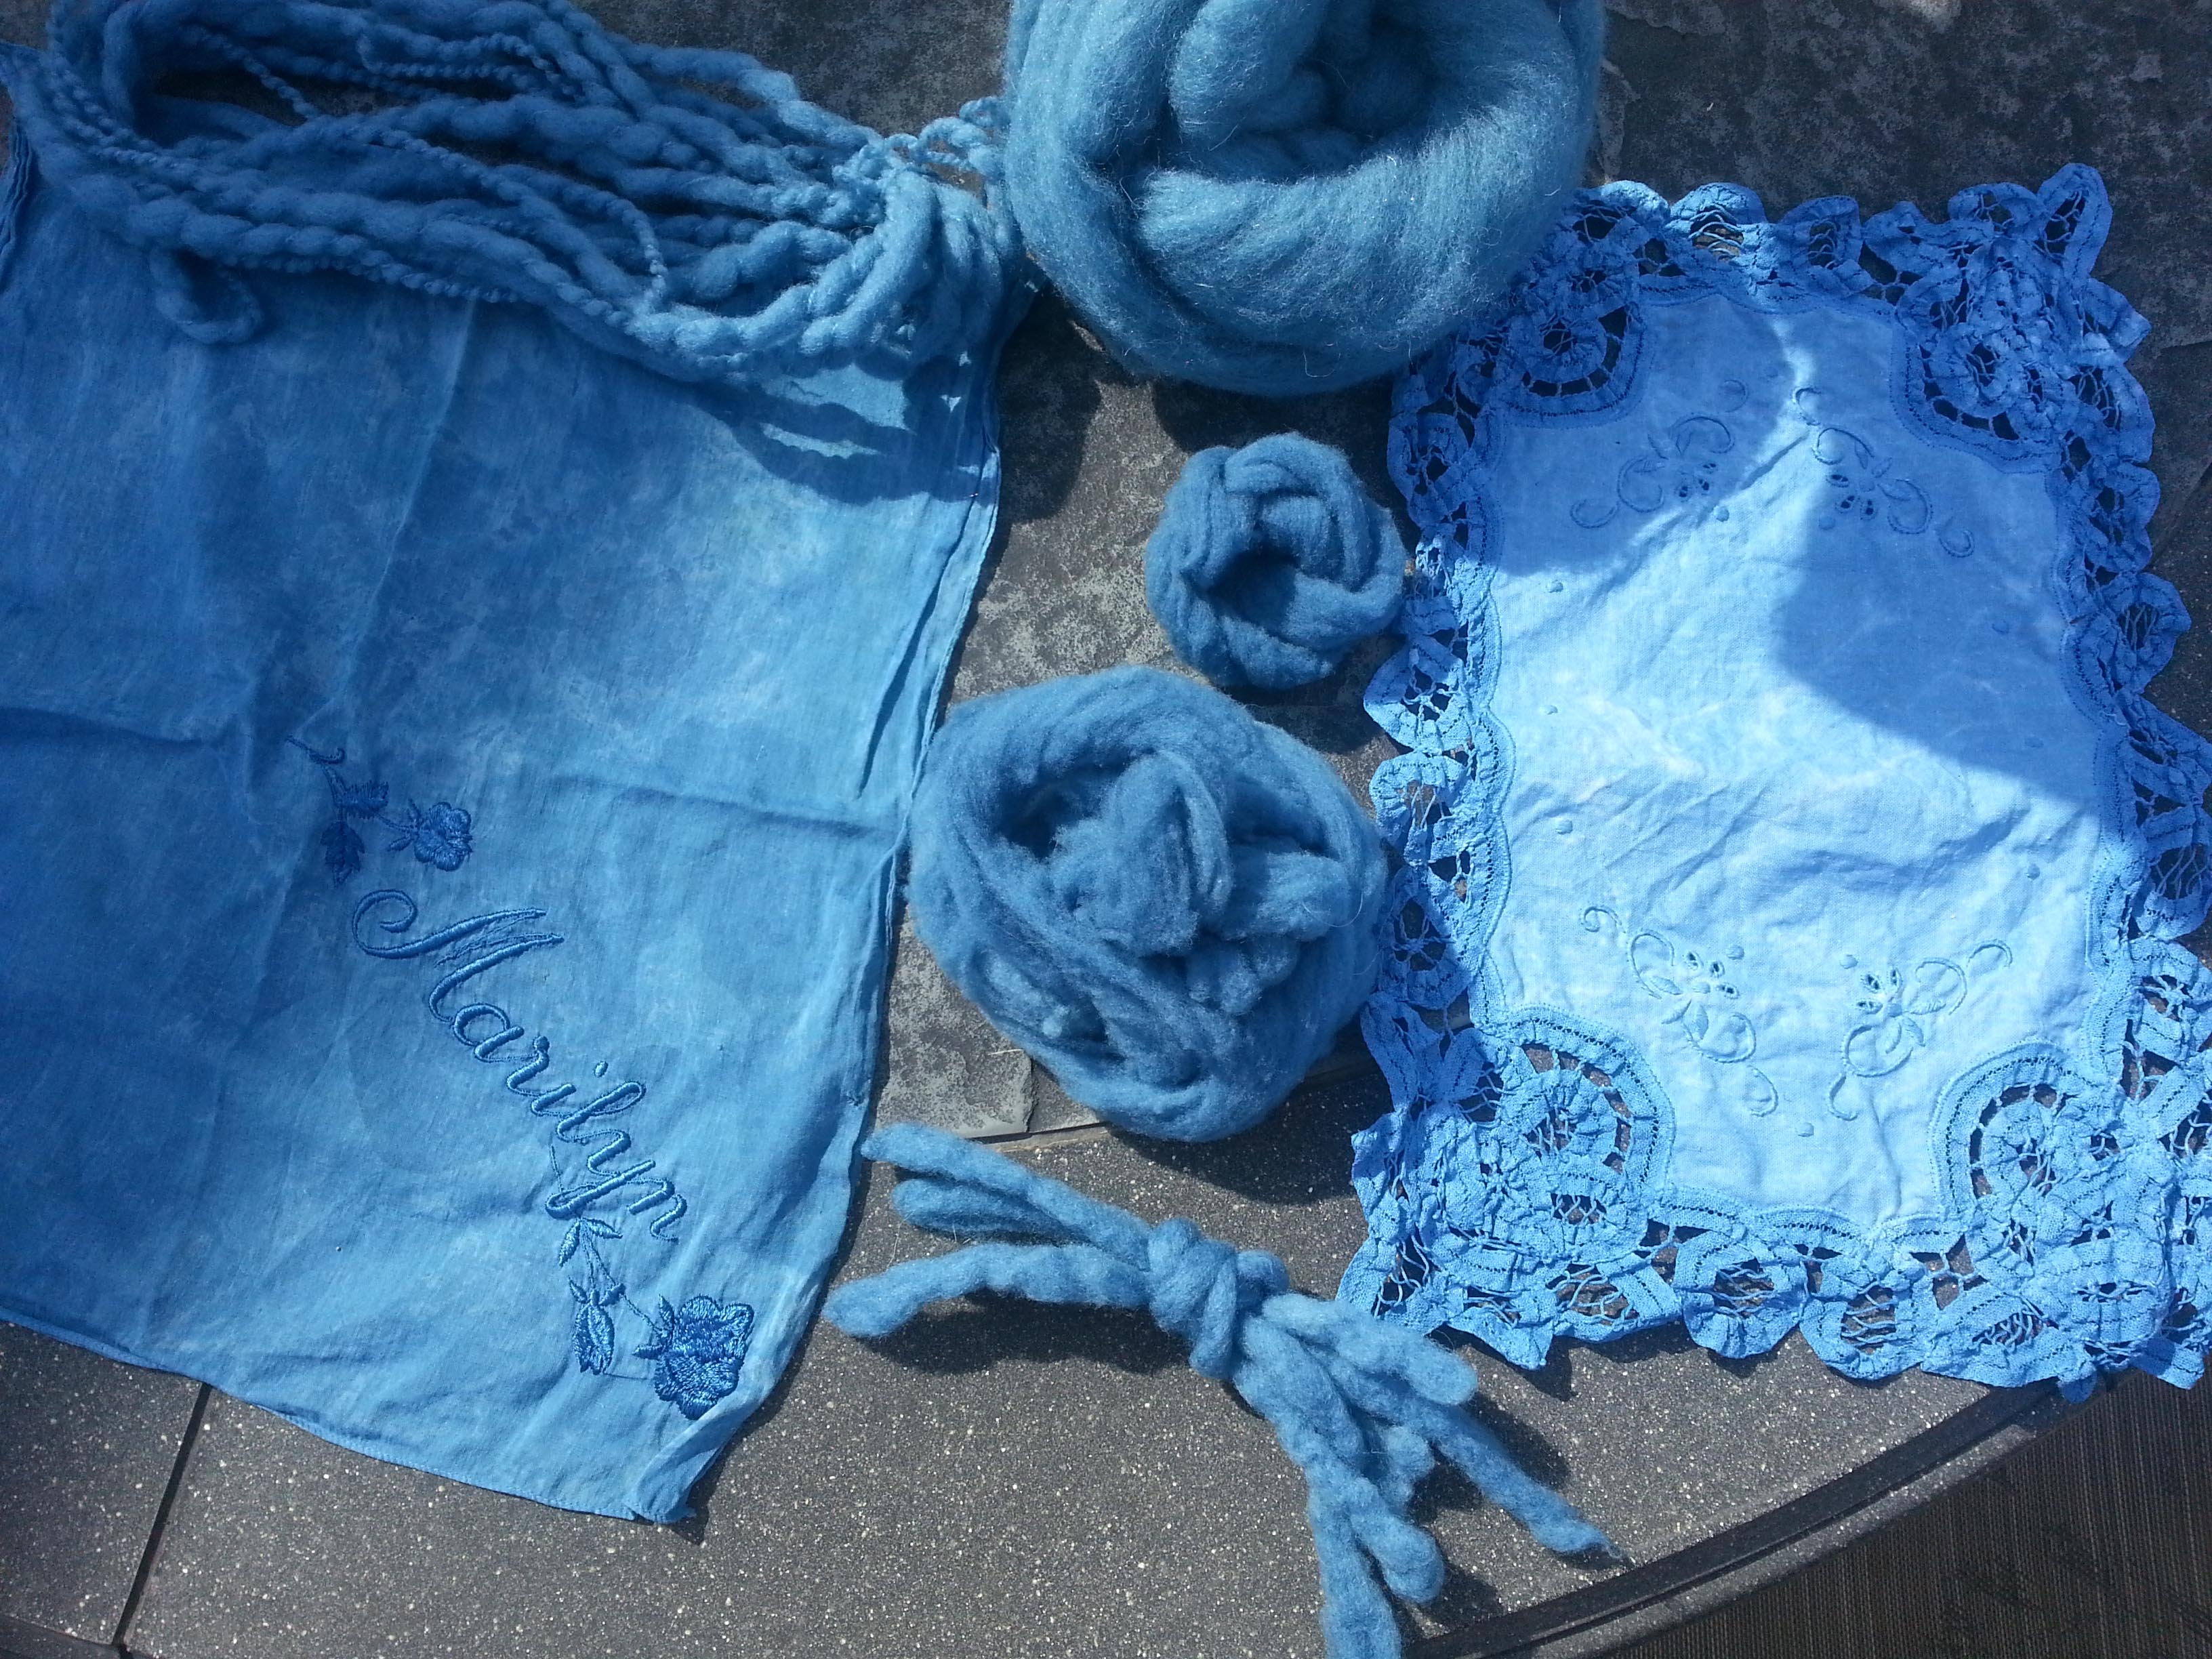
Cathy domestic Cathy yarns rovingcathys laceI dyed two blouses that were old, but stained, a very old handkerchief with my name on it, yarn, mulberry silk, pencil roving, thick and thin yarn, a linen doily, some merino and cheviot roving.

sleeveless blouse


silk and thick n thin stuffI had wadded up some cotton voile and rubber banded it all around.  The end result is the piece draped on the chair.  I like the random patterns it produced.

cotton gauzeCathy brought some corks with her, so I used the corks on a piece of silk gauze.

silk n corksShe also dyed some old thrift store “lace” bedspread pieces, an old linen pillow case, a piece of muslin and a cat mat.  

Since it was getting late in the afternoon and Cathy had a long drive home, we packed up her goodies and she finished rinsing and drying some of her items at home the next day.

We were pleased with the outcome of our “Summer Blues” and the opportunity to give some old items new life and others some pretty blue color.

Grapes of Memories Past

Grapes of Memories Past

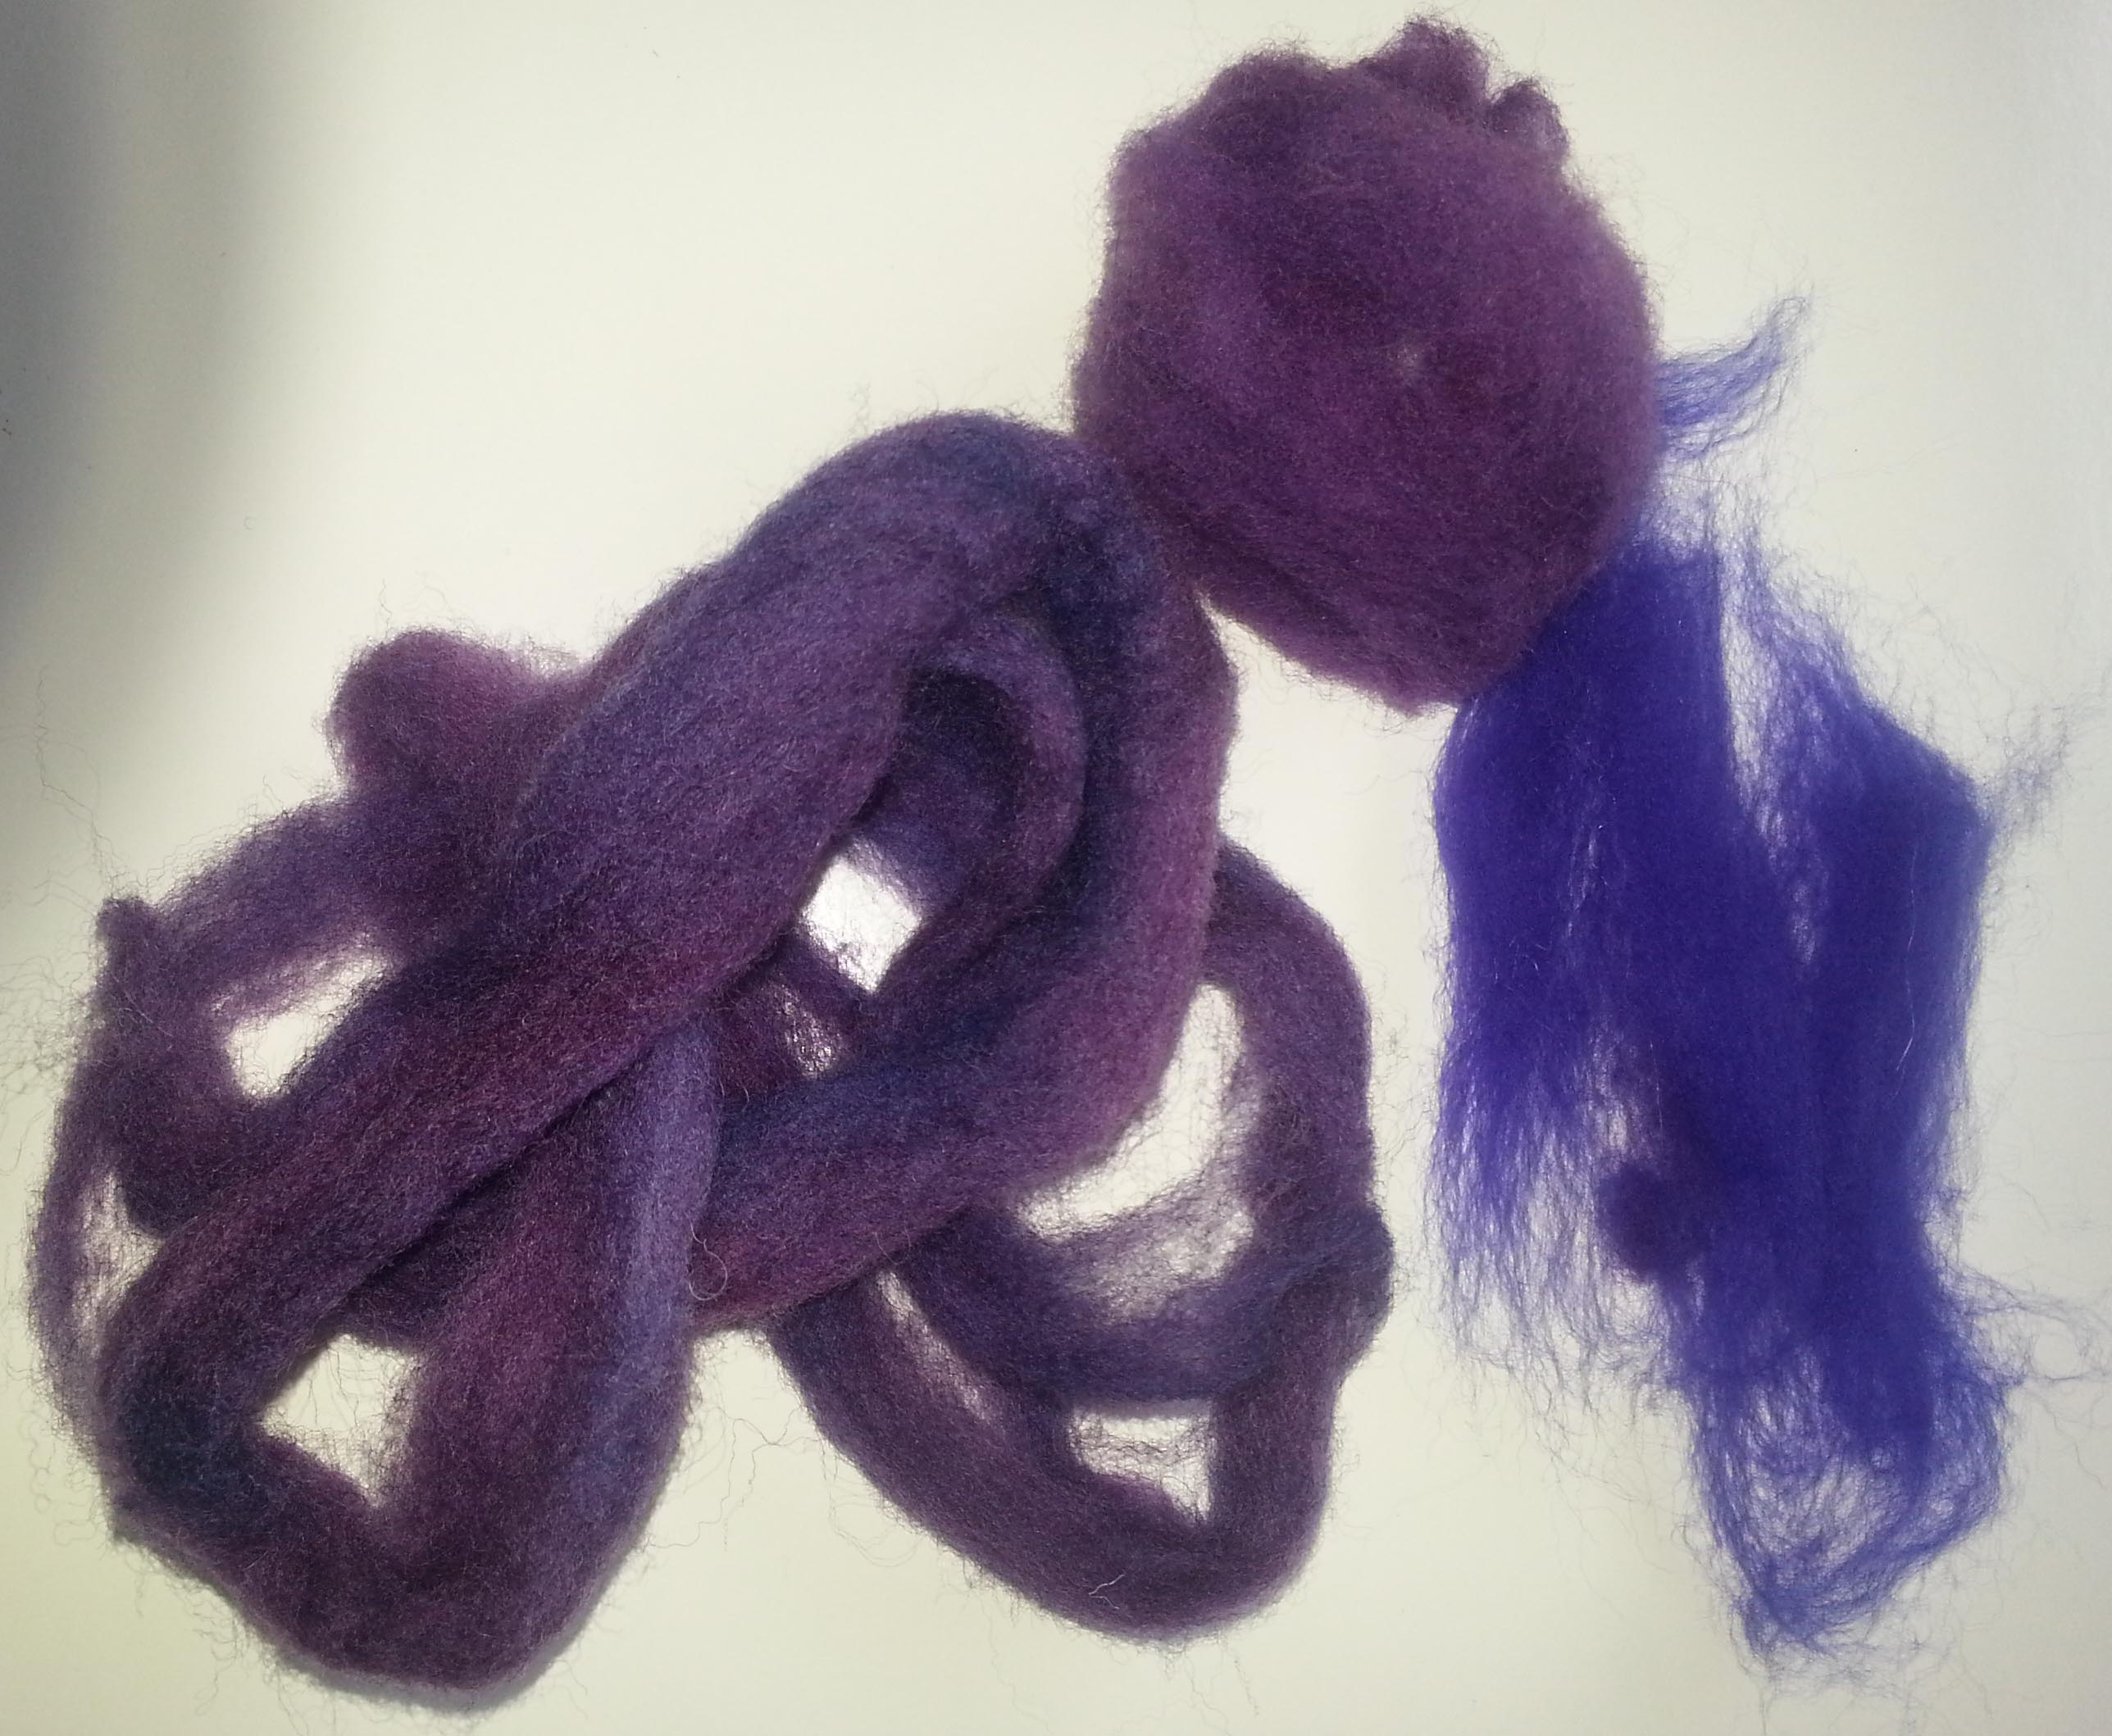
When I first started dyeing roving, I had a few “oops” results.  However, since I’ve acquired a drum carder, I’ve learned I can revive the partially felted roving with careful carding and patience.

I’ve had this purple roving sitting around for a couple of years.  I really enjoy making three dimensional objects so it seemed natural to make some grapes with my previously felted roving.  Not only did I feel good about being able to use the roving, but it brought back happy memories of my childhood when we had grape vines in our yard.

It was a tradition to pick the grapes, then my mother would make jelly and grape juice.

The roving already had various shades of purple so after running the partially felted roving through the carder,  I added some other shades of purple merino.  The addition of unfelted roving give it a shiner and softer appearance and texture.

roving

Since grape leaves are very textured, I decided to make a prefelt with a silk top for the leaves. It gave it some texture and sheen.

nuno prefelt

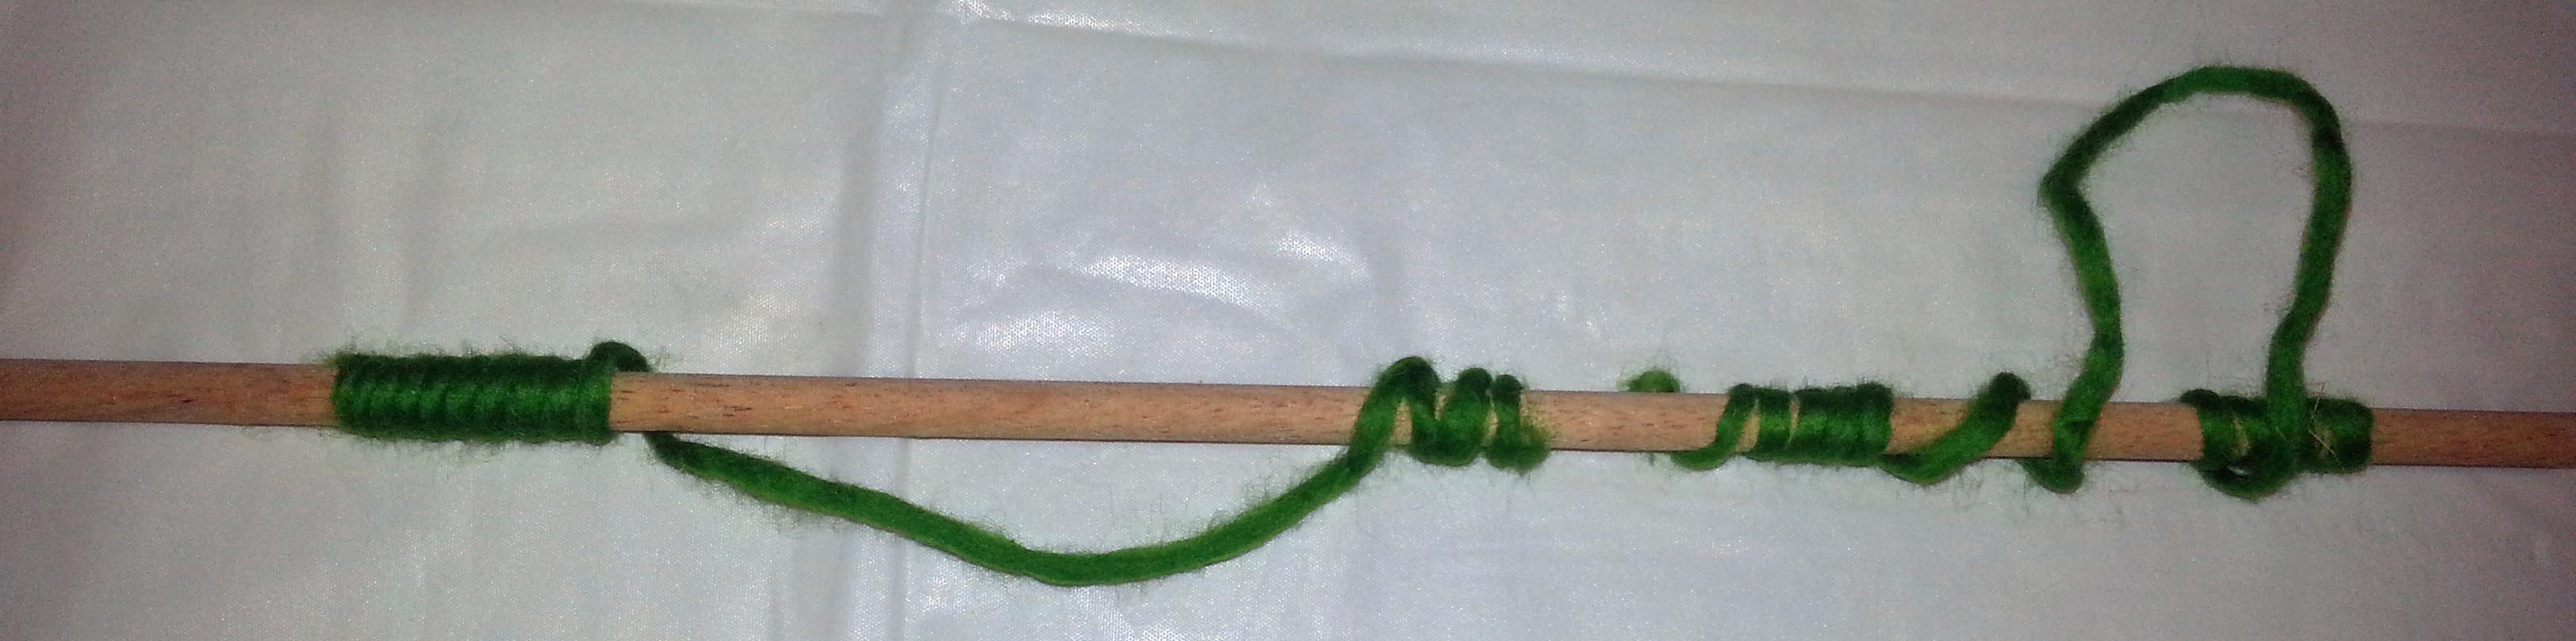
For the vines, I used roving rolled into a cord, then wrapped it around a small dowel to dry then cut it to the length I wanted.

vines

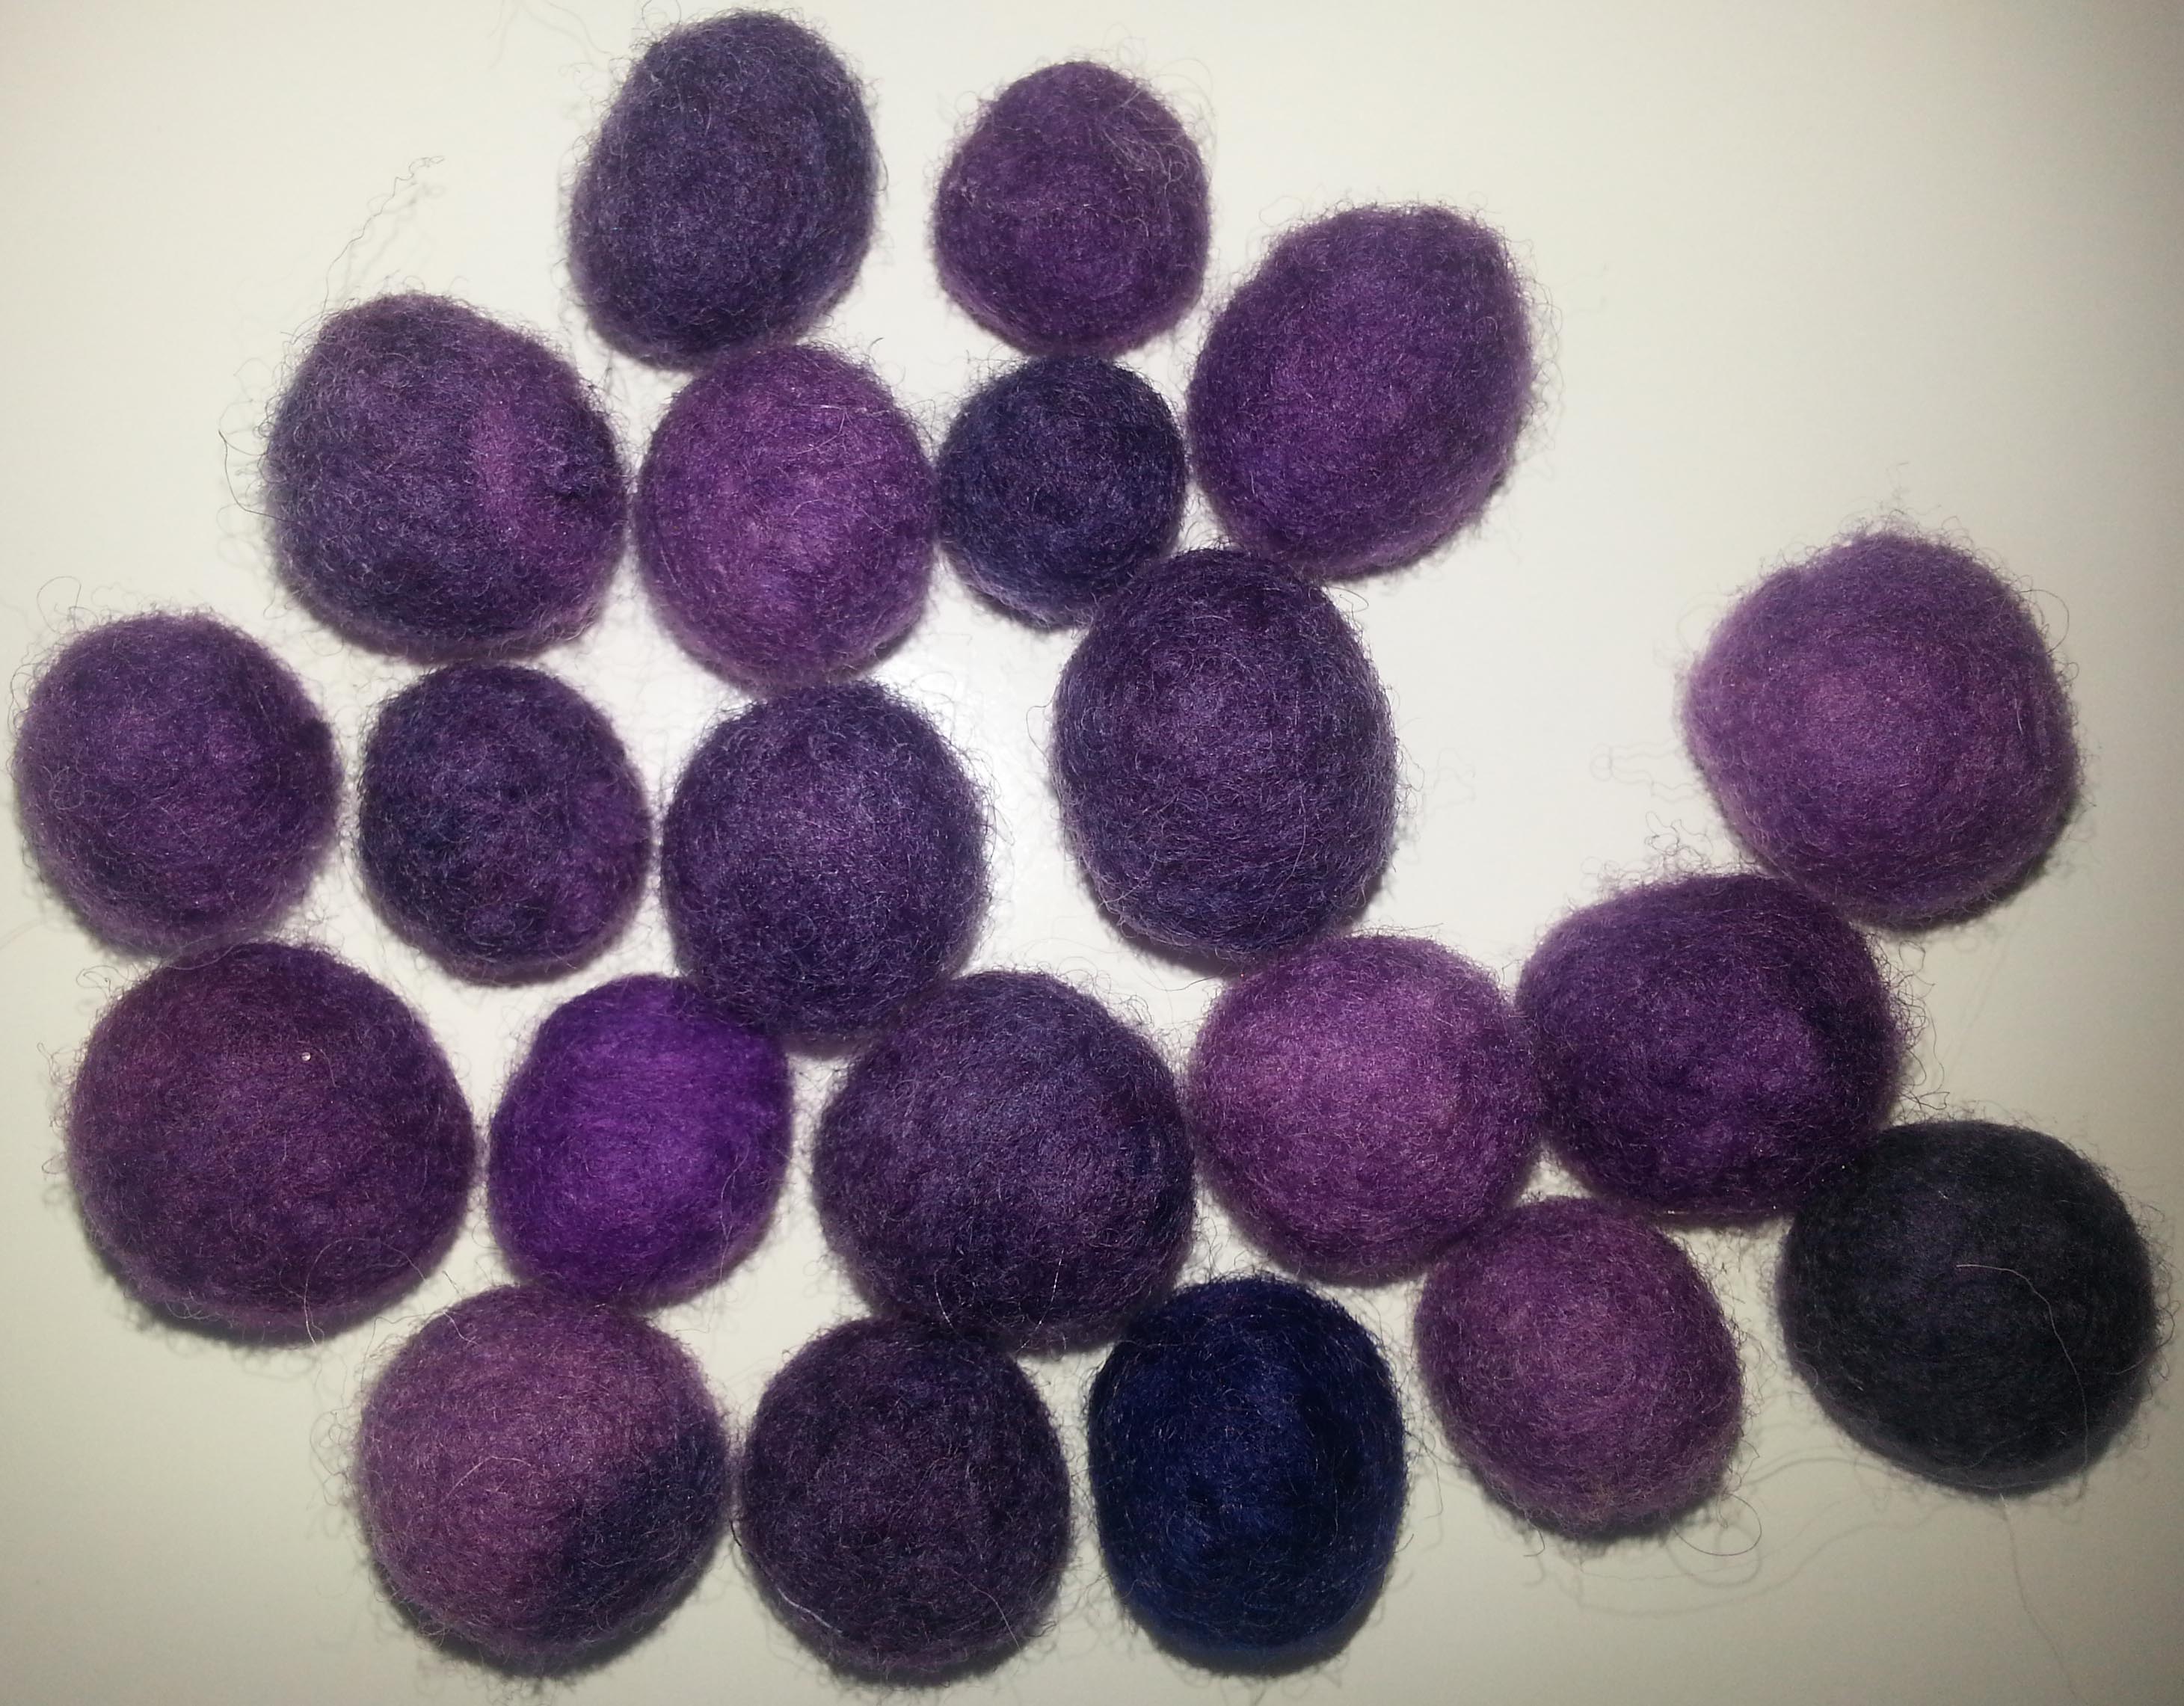
Then I spent a few hours rolling little grapes.  I wasn’t sure how many I needed so I piled them up and added more grapes until I was satisfied it resembled a bunch of grapes.

grapes

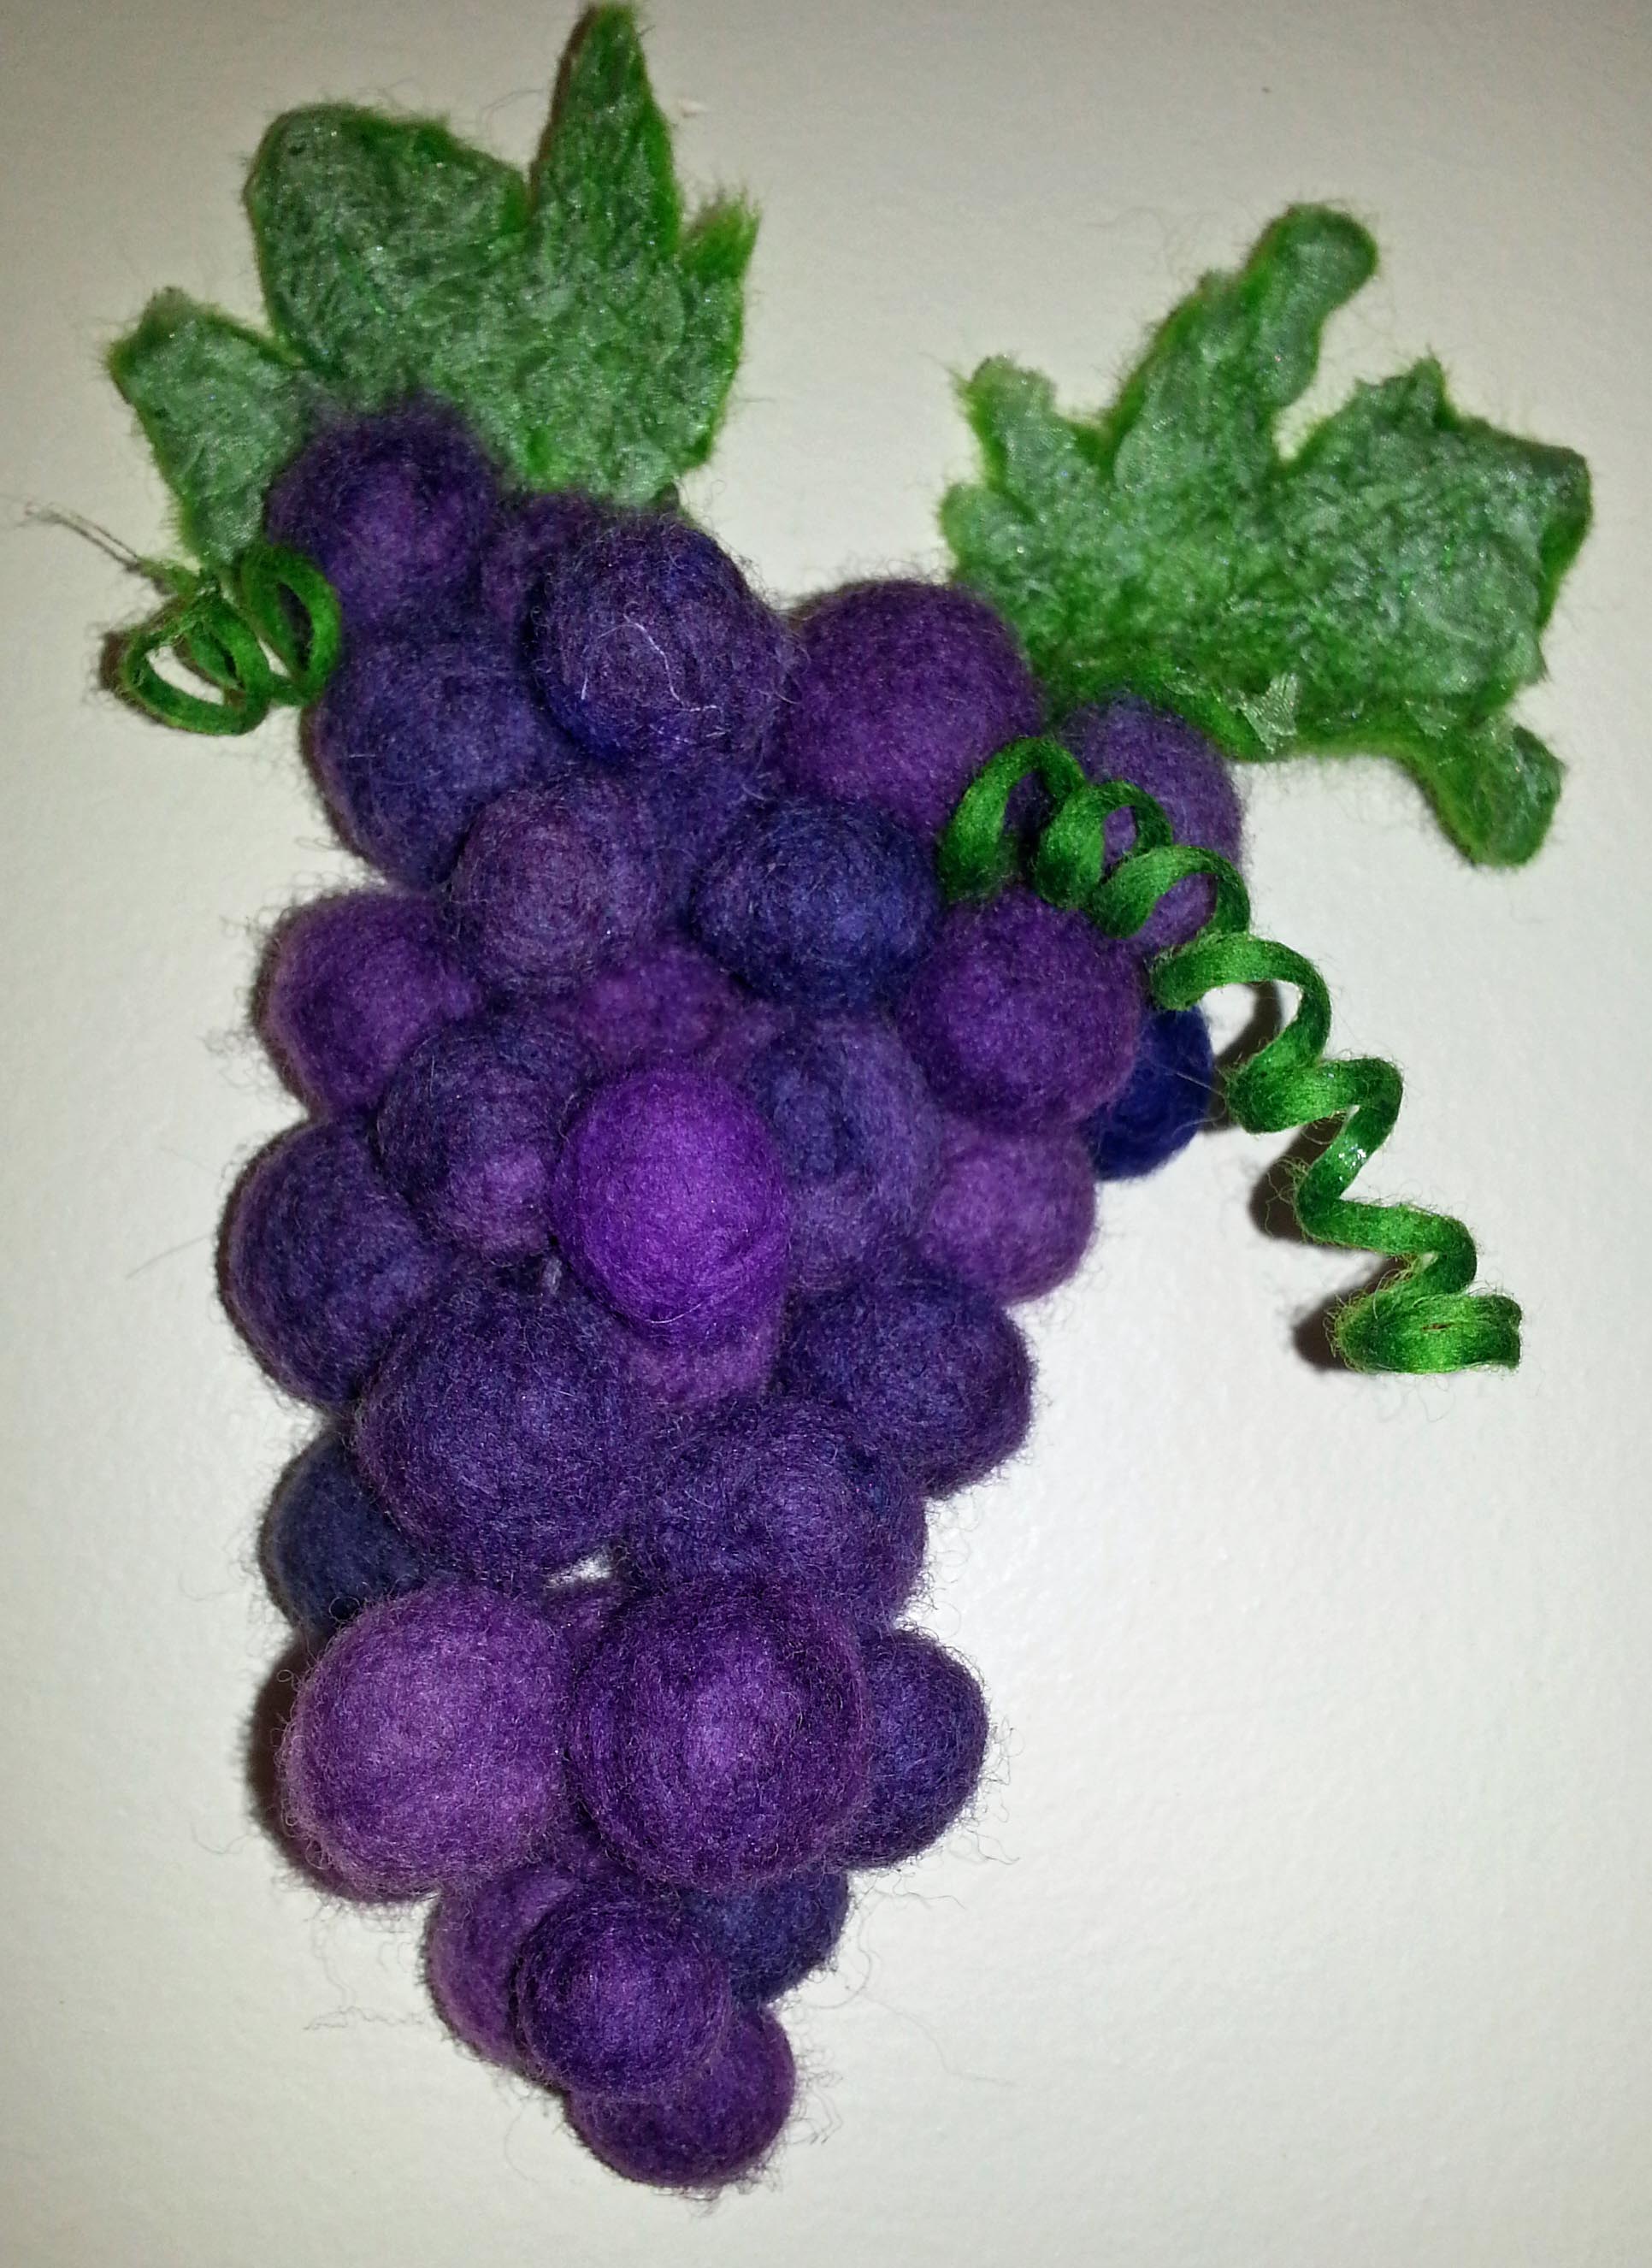
With a sharp needle and some purple sock weight yarn I built my bunch of grapes, then attached the leaves and vines. It now hangs on a narrow wall between the kitchen and family room where we occasionally enjoy a glass of wine and I reminisce about picking grapes and my mother’s fabulous jelly.

finished

What projects have you worked on lately that recall fond memories?


From Batts to a Handbag

From Batts to a Handbag

After my four days of dyeing experiment, I carded a bunch of batts with the different fibers I had dyed.  I decided I wanted to do something a little challenging using the batts. So, after doodling around with a few ideas I settled on a handbag using a couple of the techniques I learned in Fiona Duthie’s Surface Design Class.

I didn’t have a pattern. So, I used the general shape of the purse I carry now and added 30% for shrinkage and made a template. It took a lot more planning than I had anticipated so I got very engrossed in making sure I had everything organized and followed each step in the right order. Unfortunately, I worked intuitively and forgot to write down the procedure and take pictures at each step.

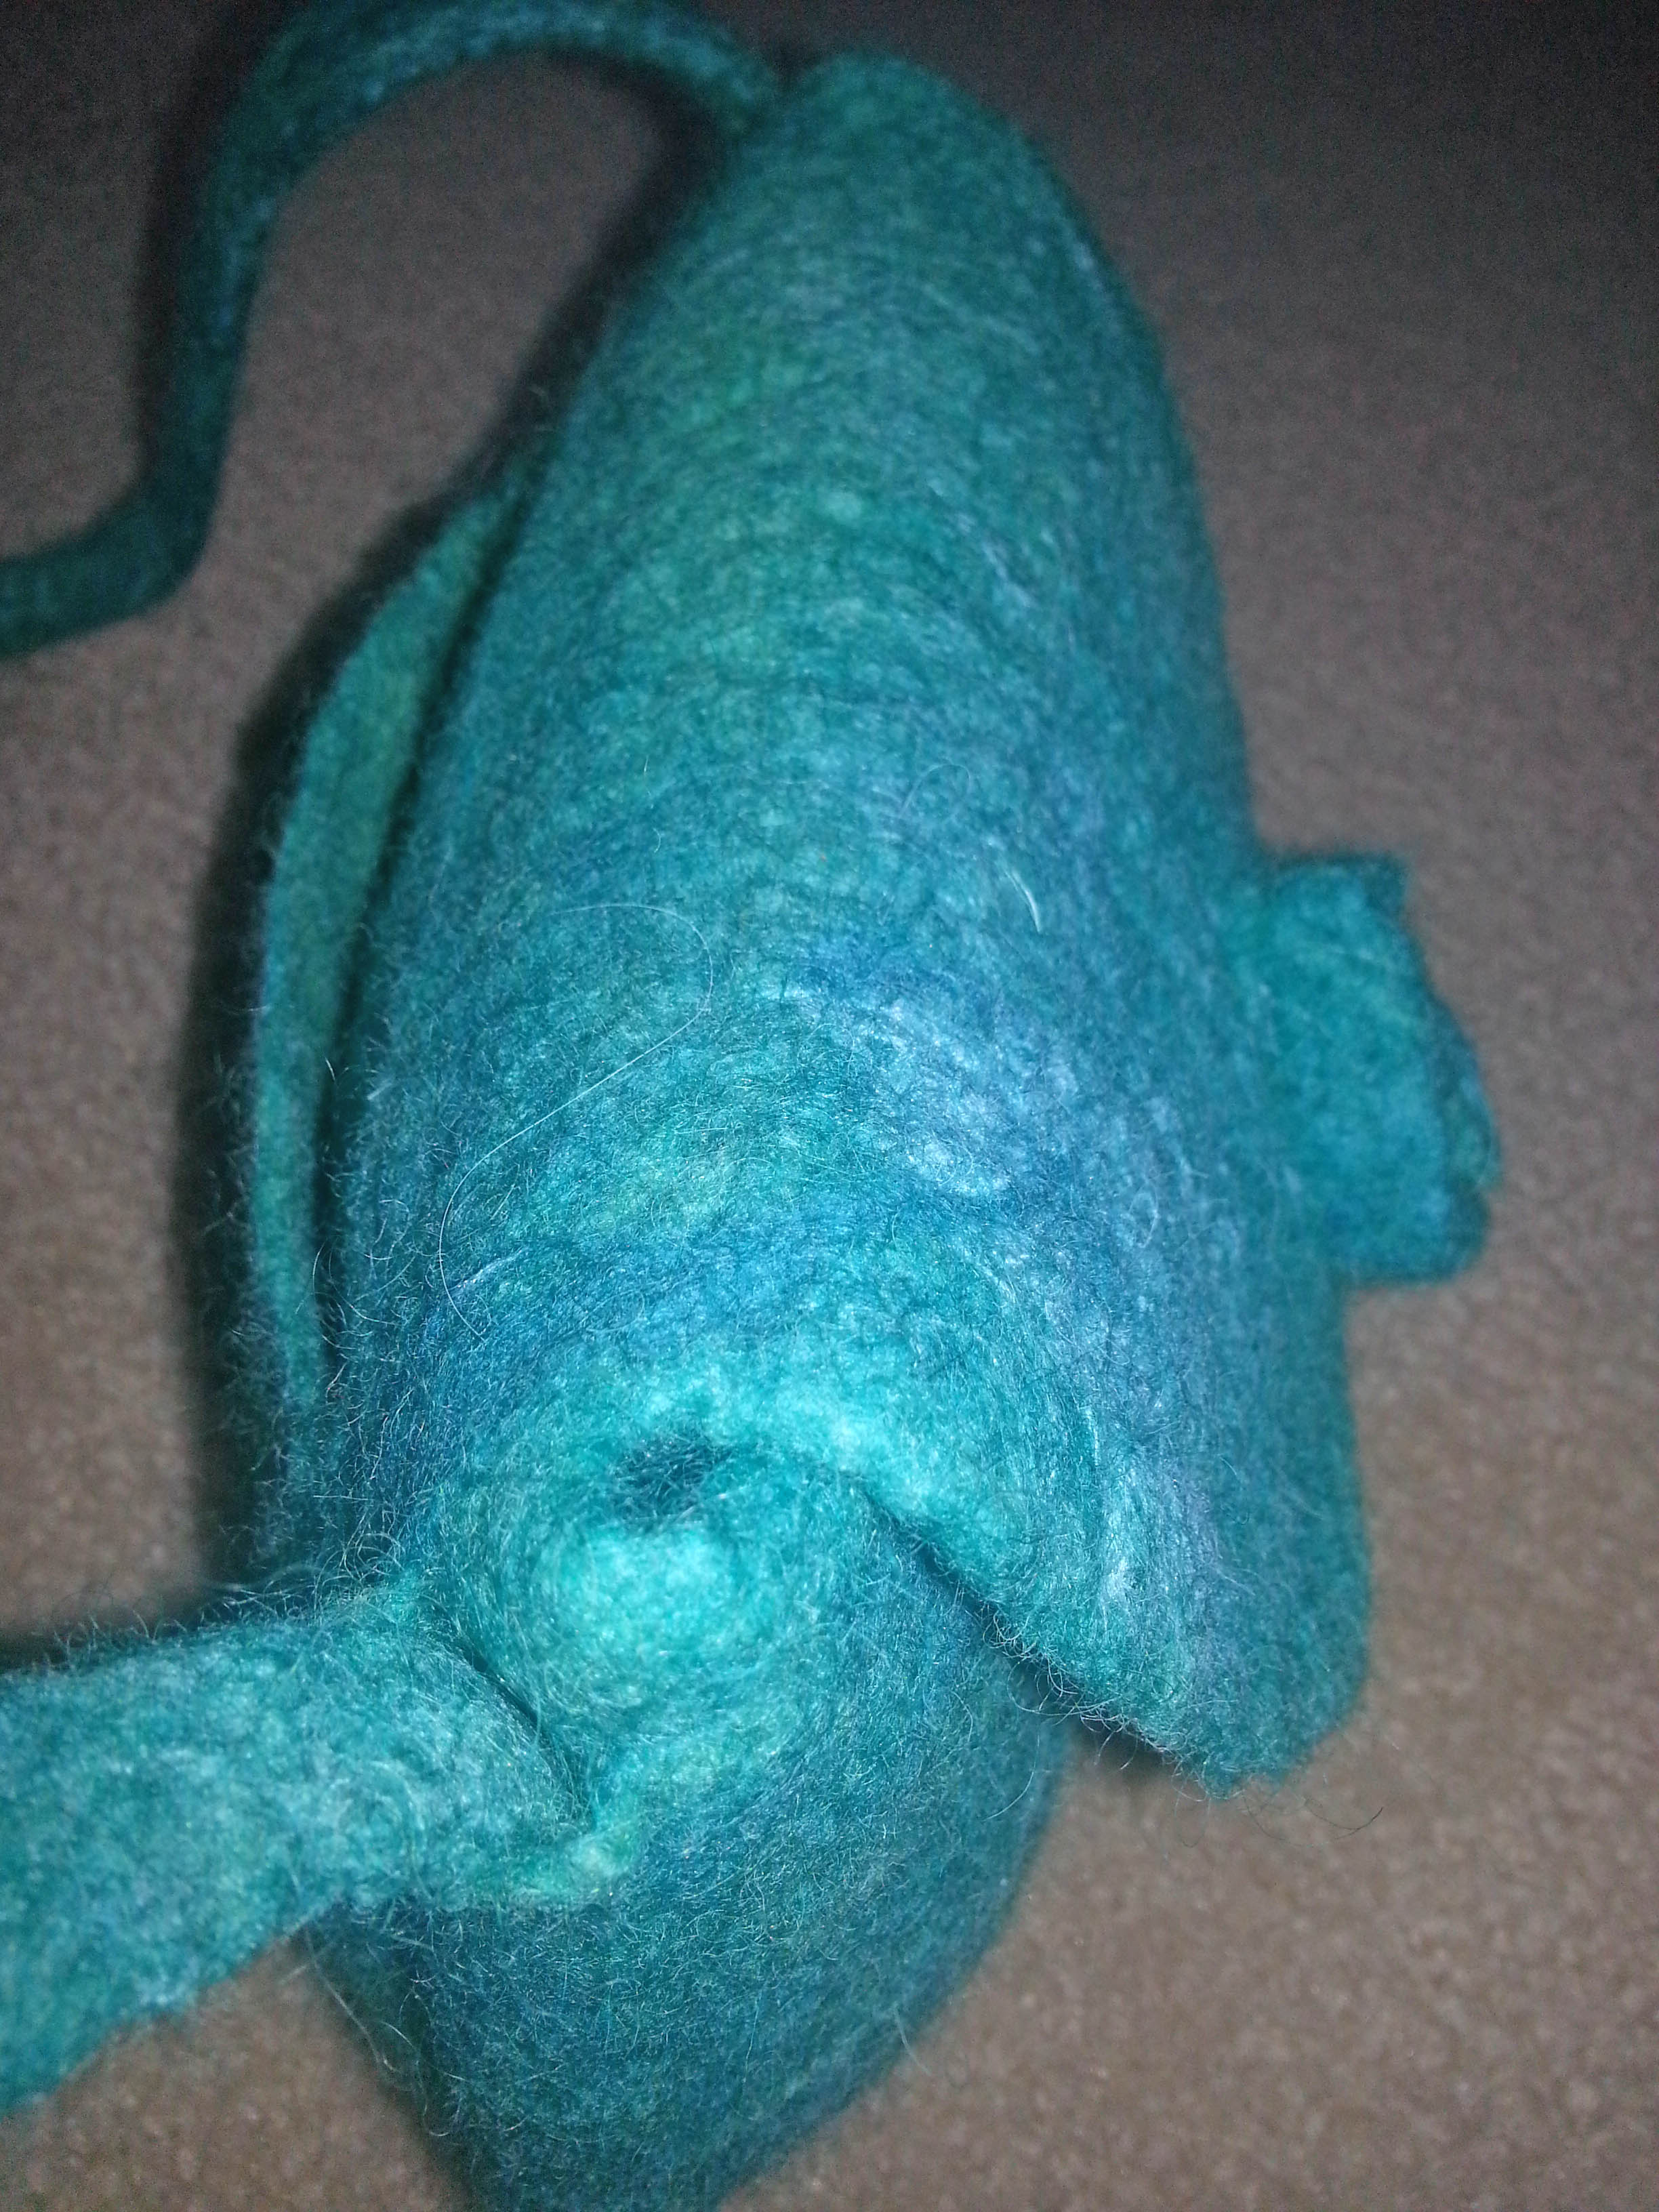
I wanted to use fiber for the shoulder strap, but I also wanted it to be strong and not stretch.  I made the shoulder strap first using a tightly woven scrim cut with the grain between layers of wool.  I left long ends unfelted and wrapped plastic at the ends to try to protect it from the water, not that it helped. This would be the part I would felt to the bottom and sides of the handbag so it would be all one piece.  Then I  used a dowel to roll the strap until it was partially felted.

handle end rolling handles


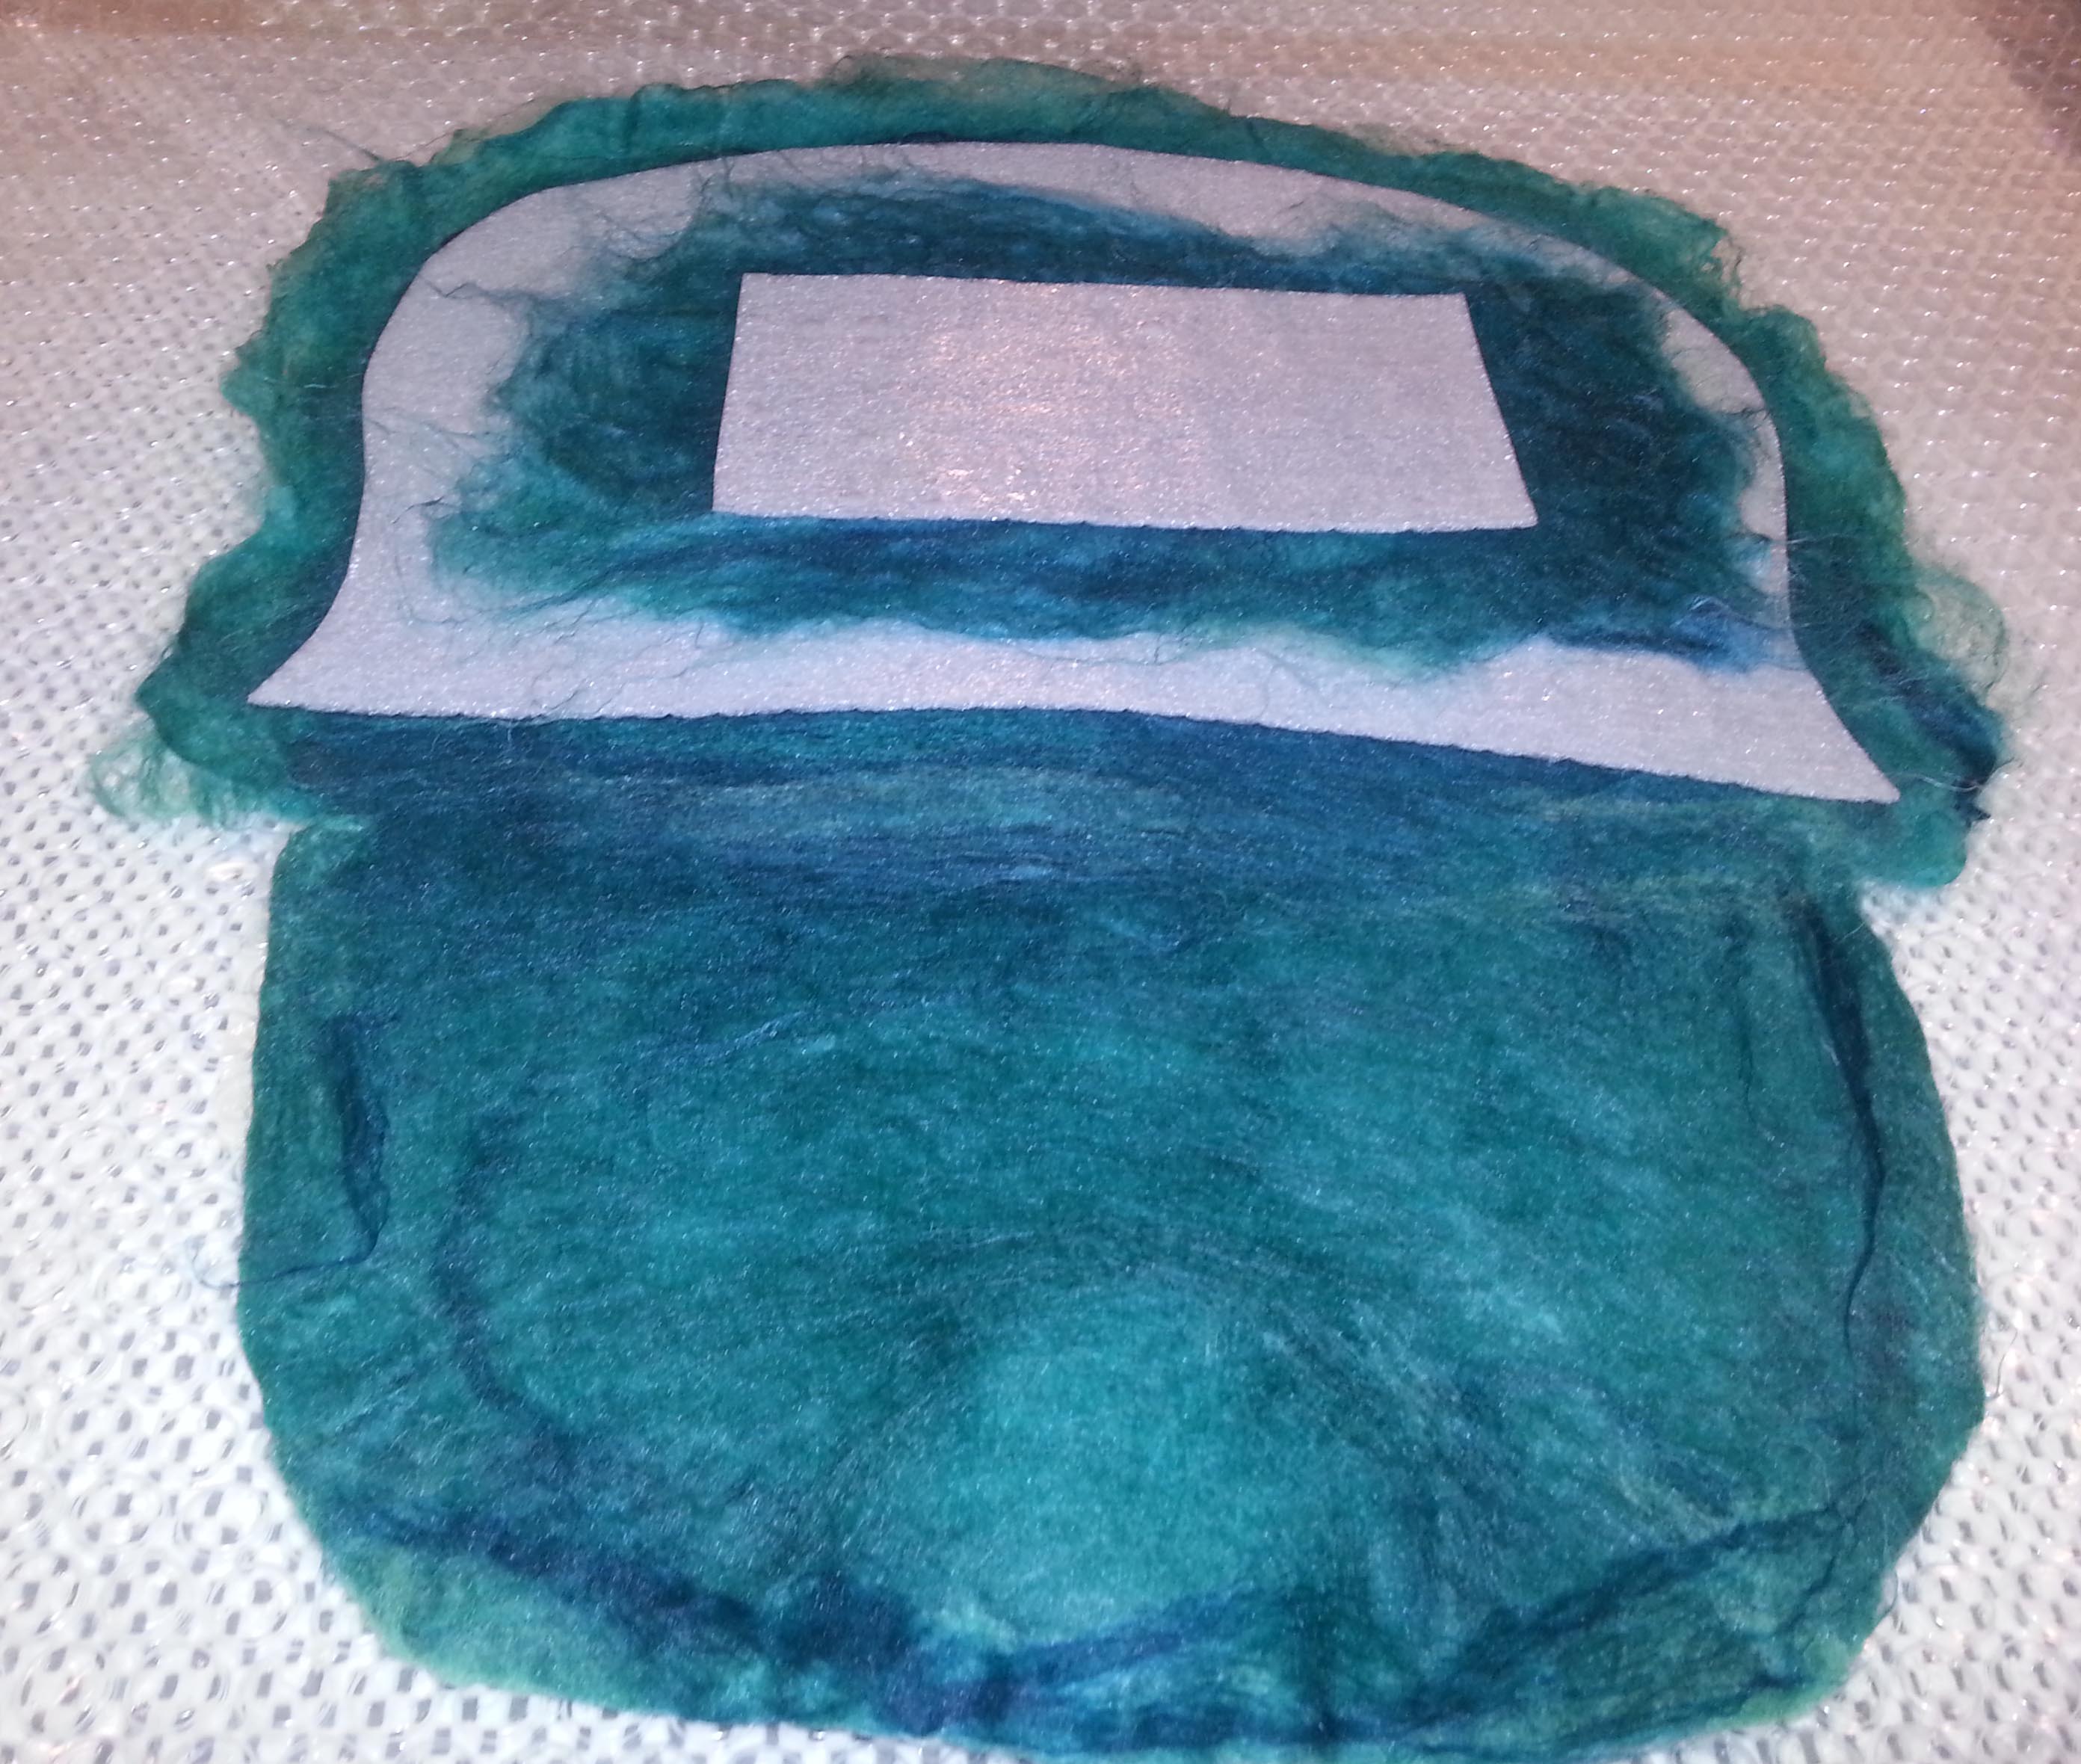
Here is one side of the purse with scrim lining between the wool layers, resist and a resist for one of the inner pockets. I wet one side then proceeded to lay out the other side working backwards from inside out. Laying out more pocket resists, the back and back pocket. I know that sounds strange, it was a little mind boggling.

layout

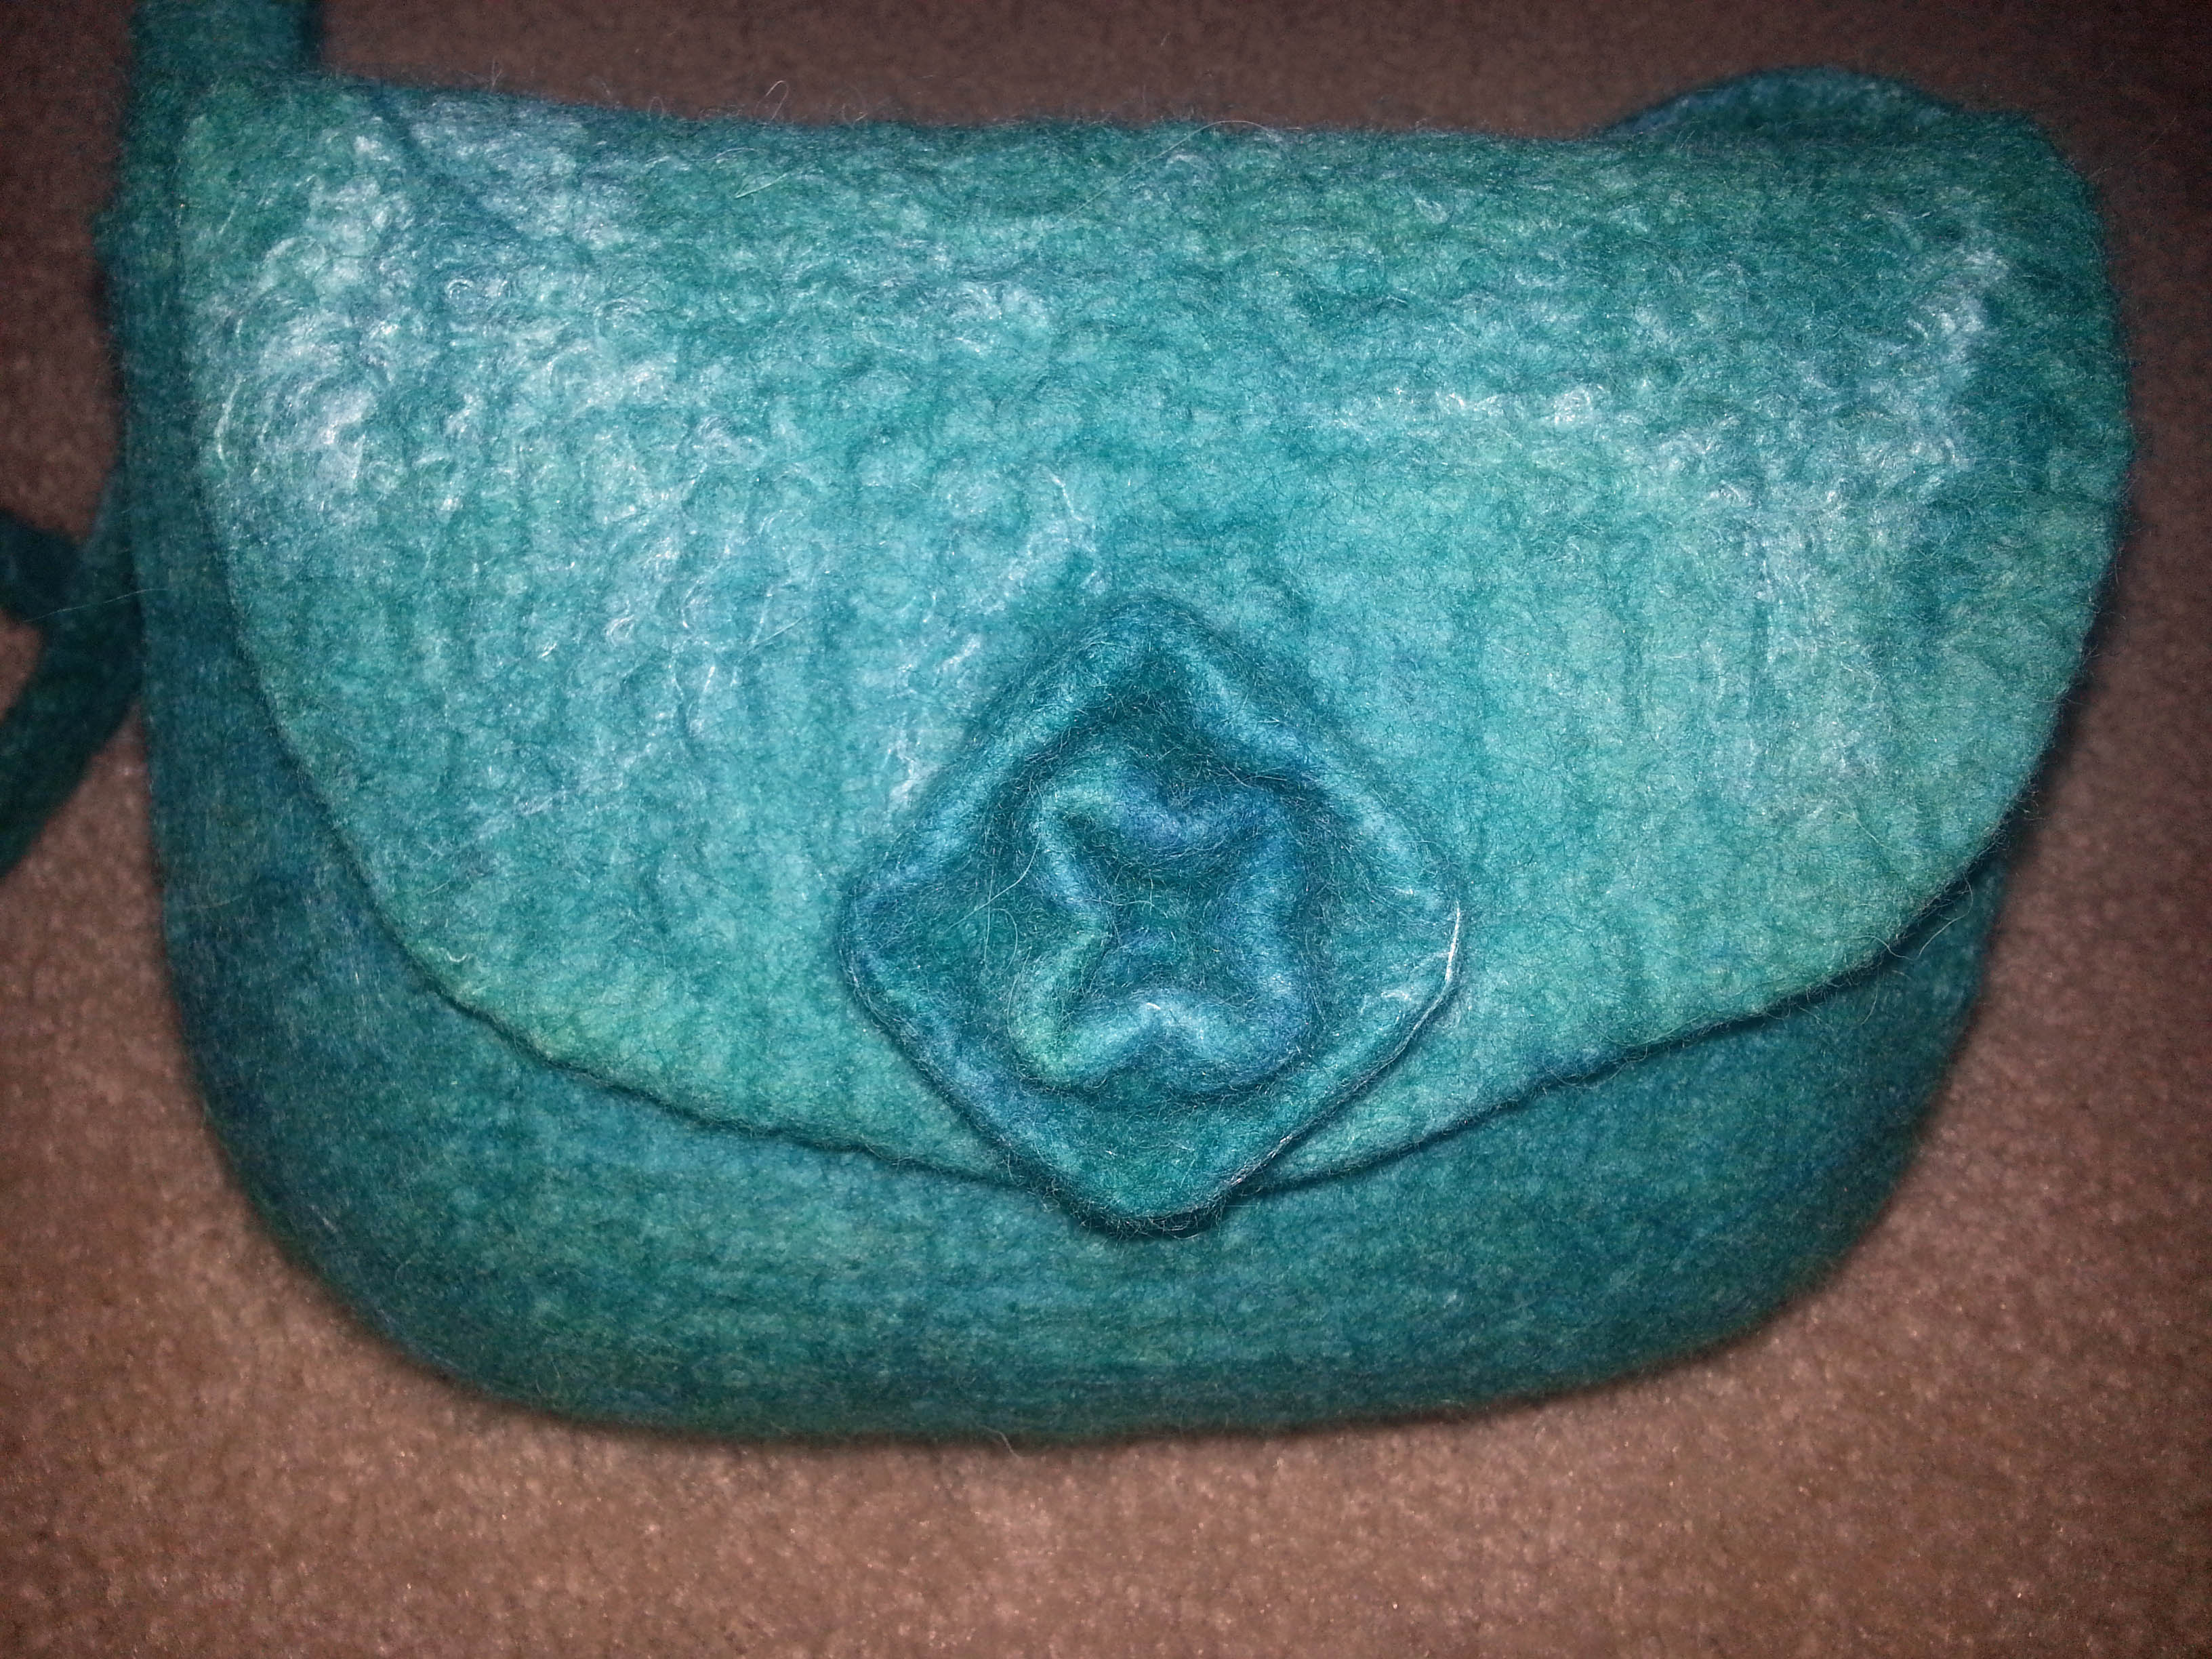
The decoration for the flap had to be done first before attaching it to the bundle to felt. The middle was felted by hand and the circle of fiber around it was left unfelted in order to add additional  fibers to felt into the bundle.

decoration

The handles were laid out on the bottom and the sides then worked on the sides first to ensure they held together during the felting process.

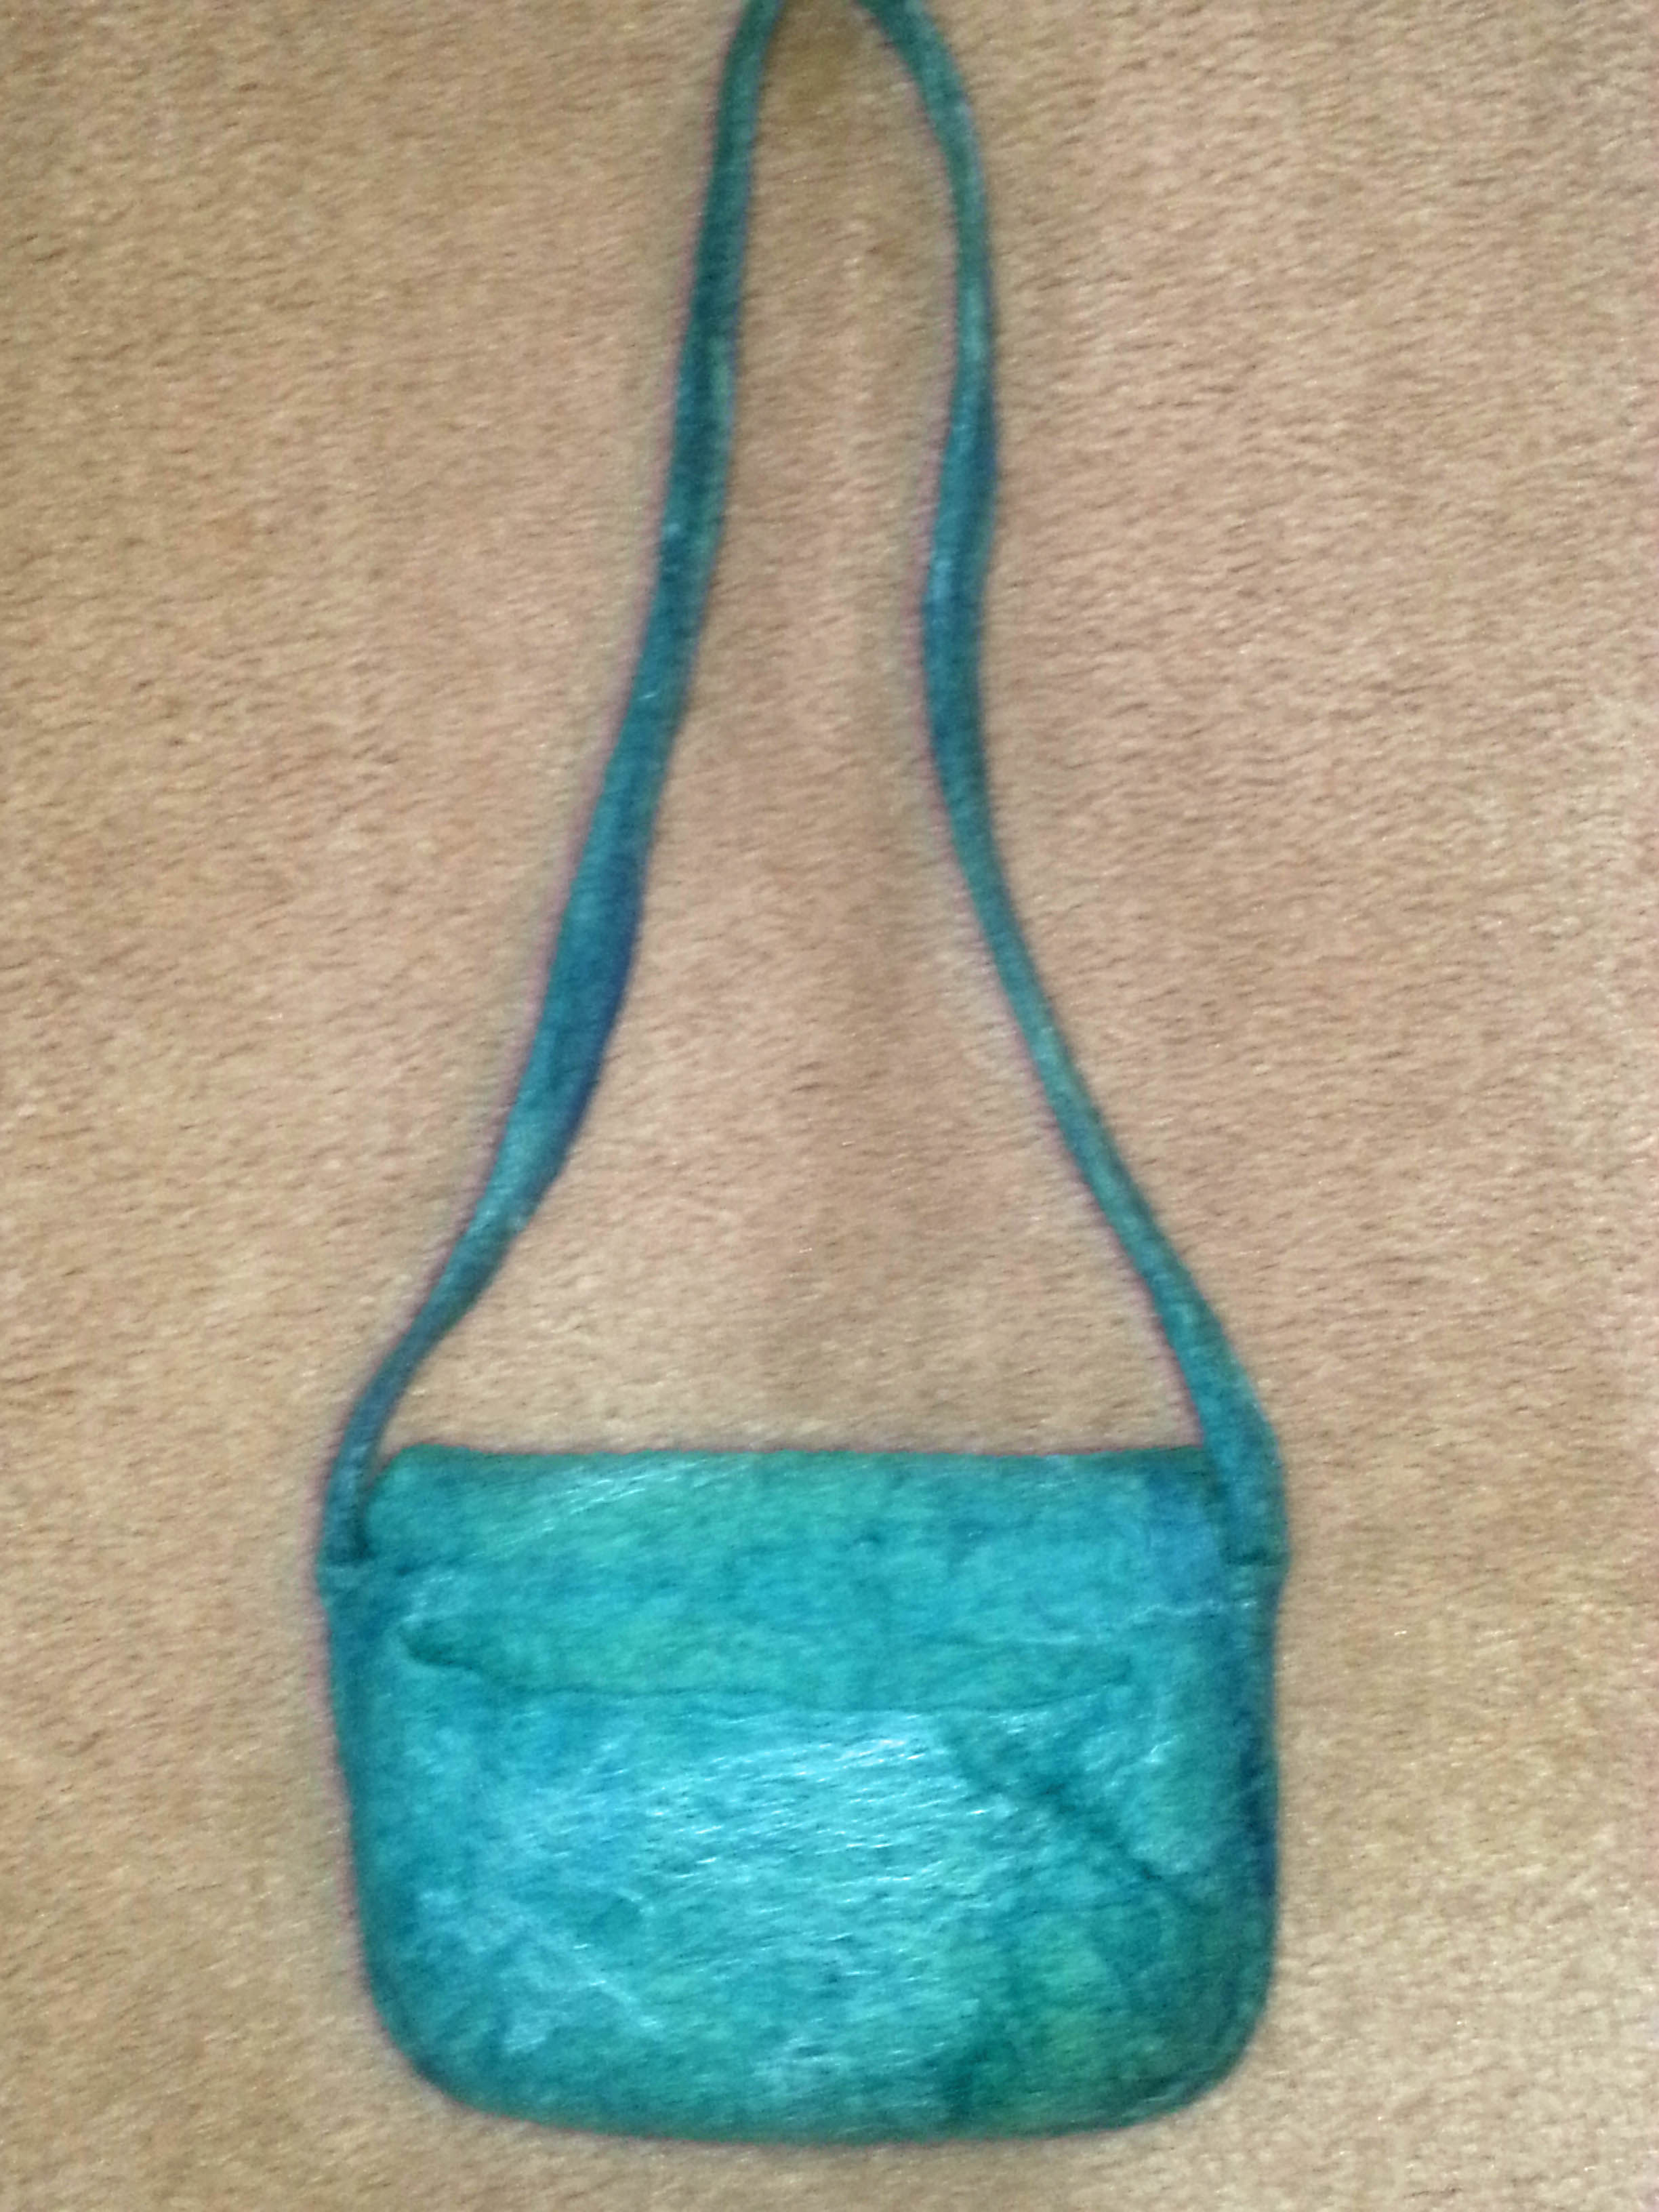
It was quite a thick bundle and once it was felted enough, I cut out the resists and continued to full and shape it until it sat up by itself.  When dry, it had that “thud” of being completely fulled.

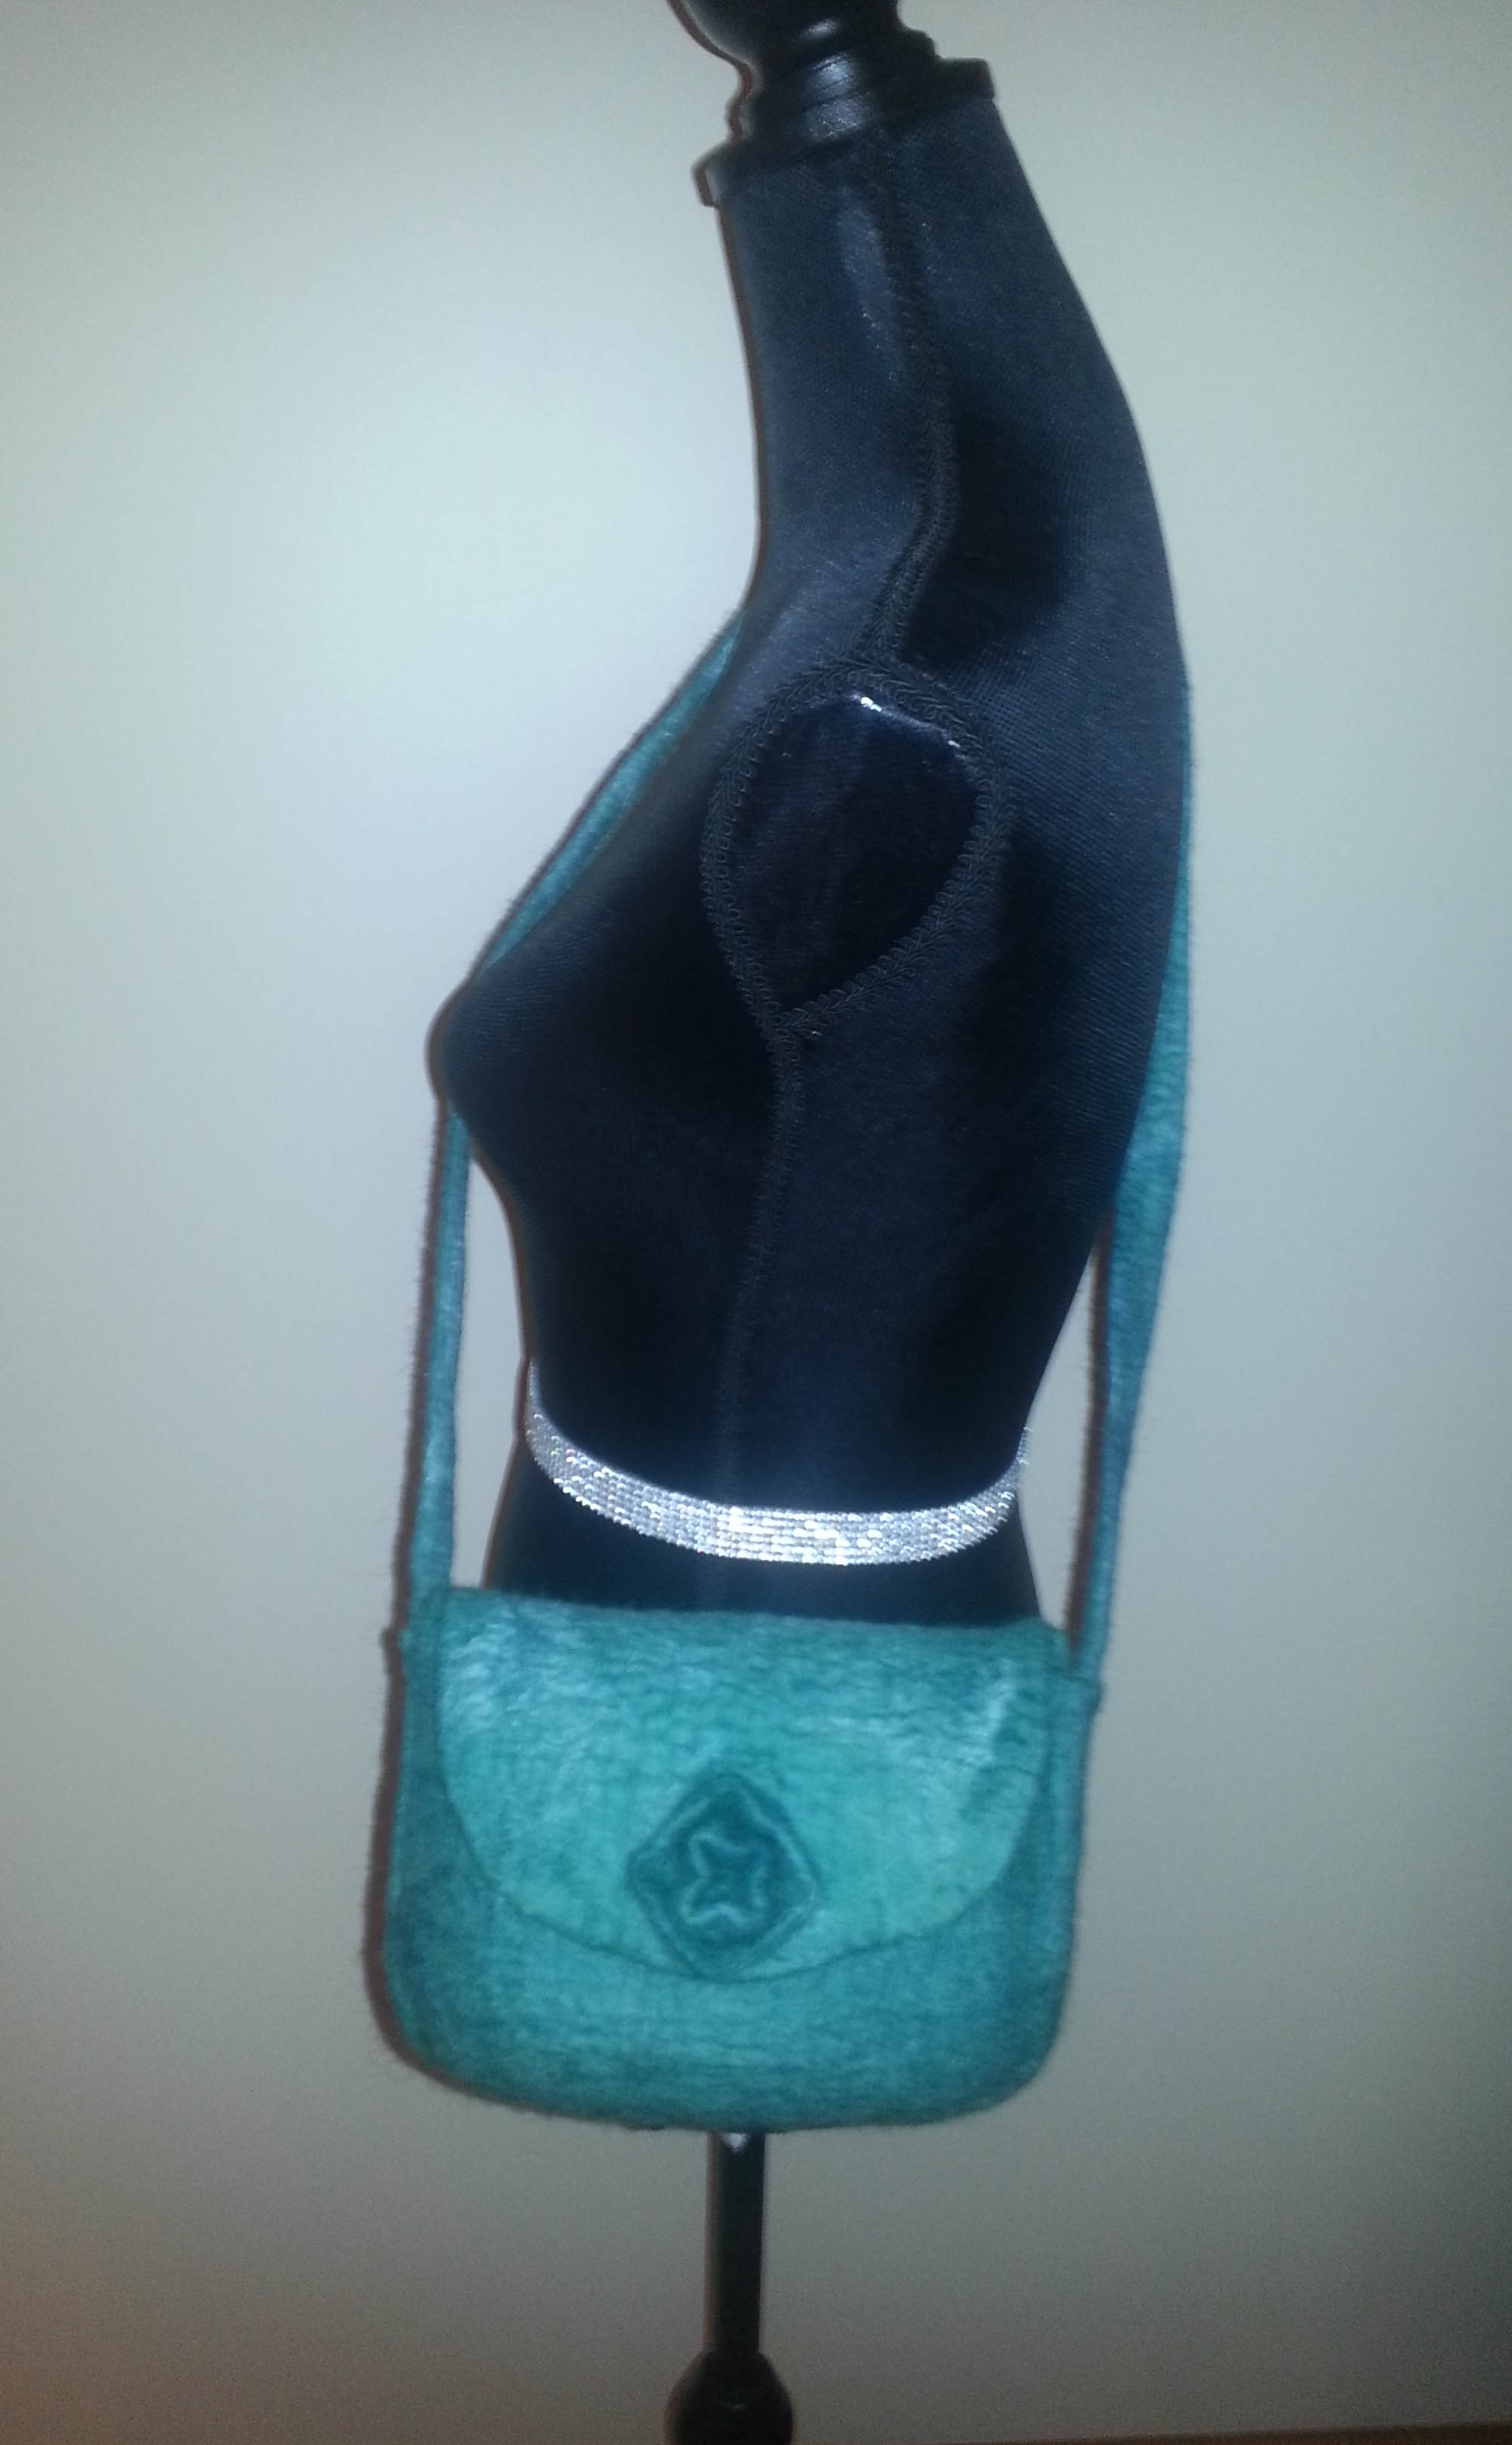
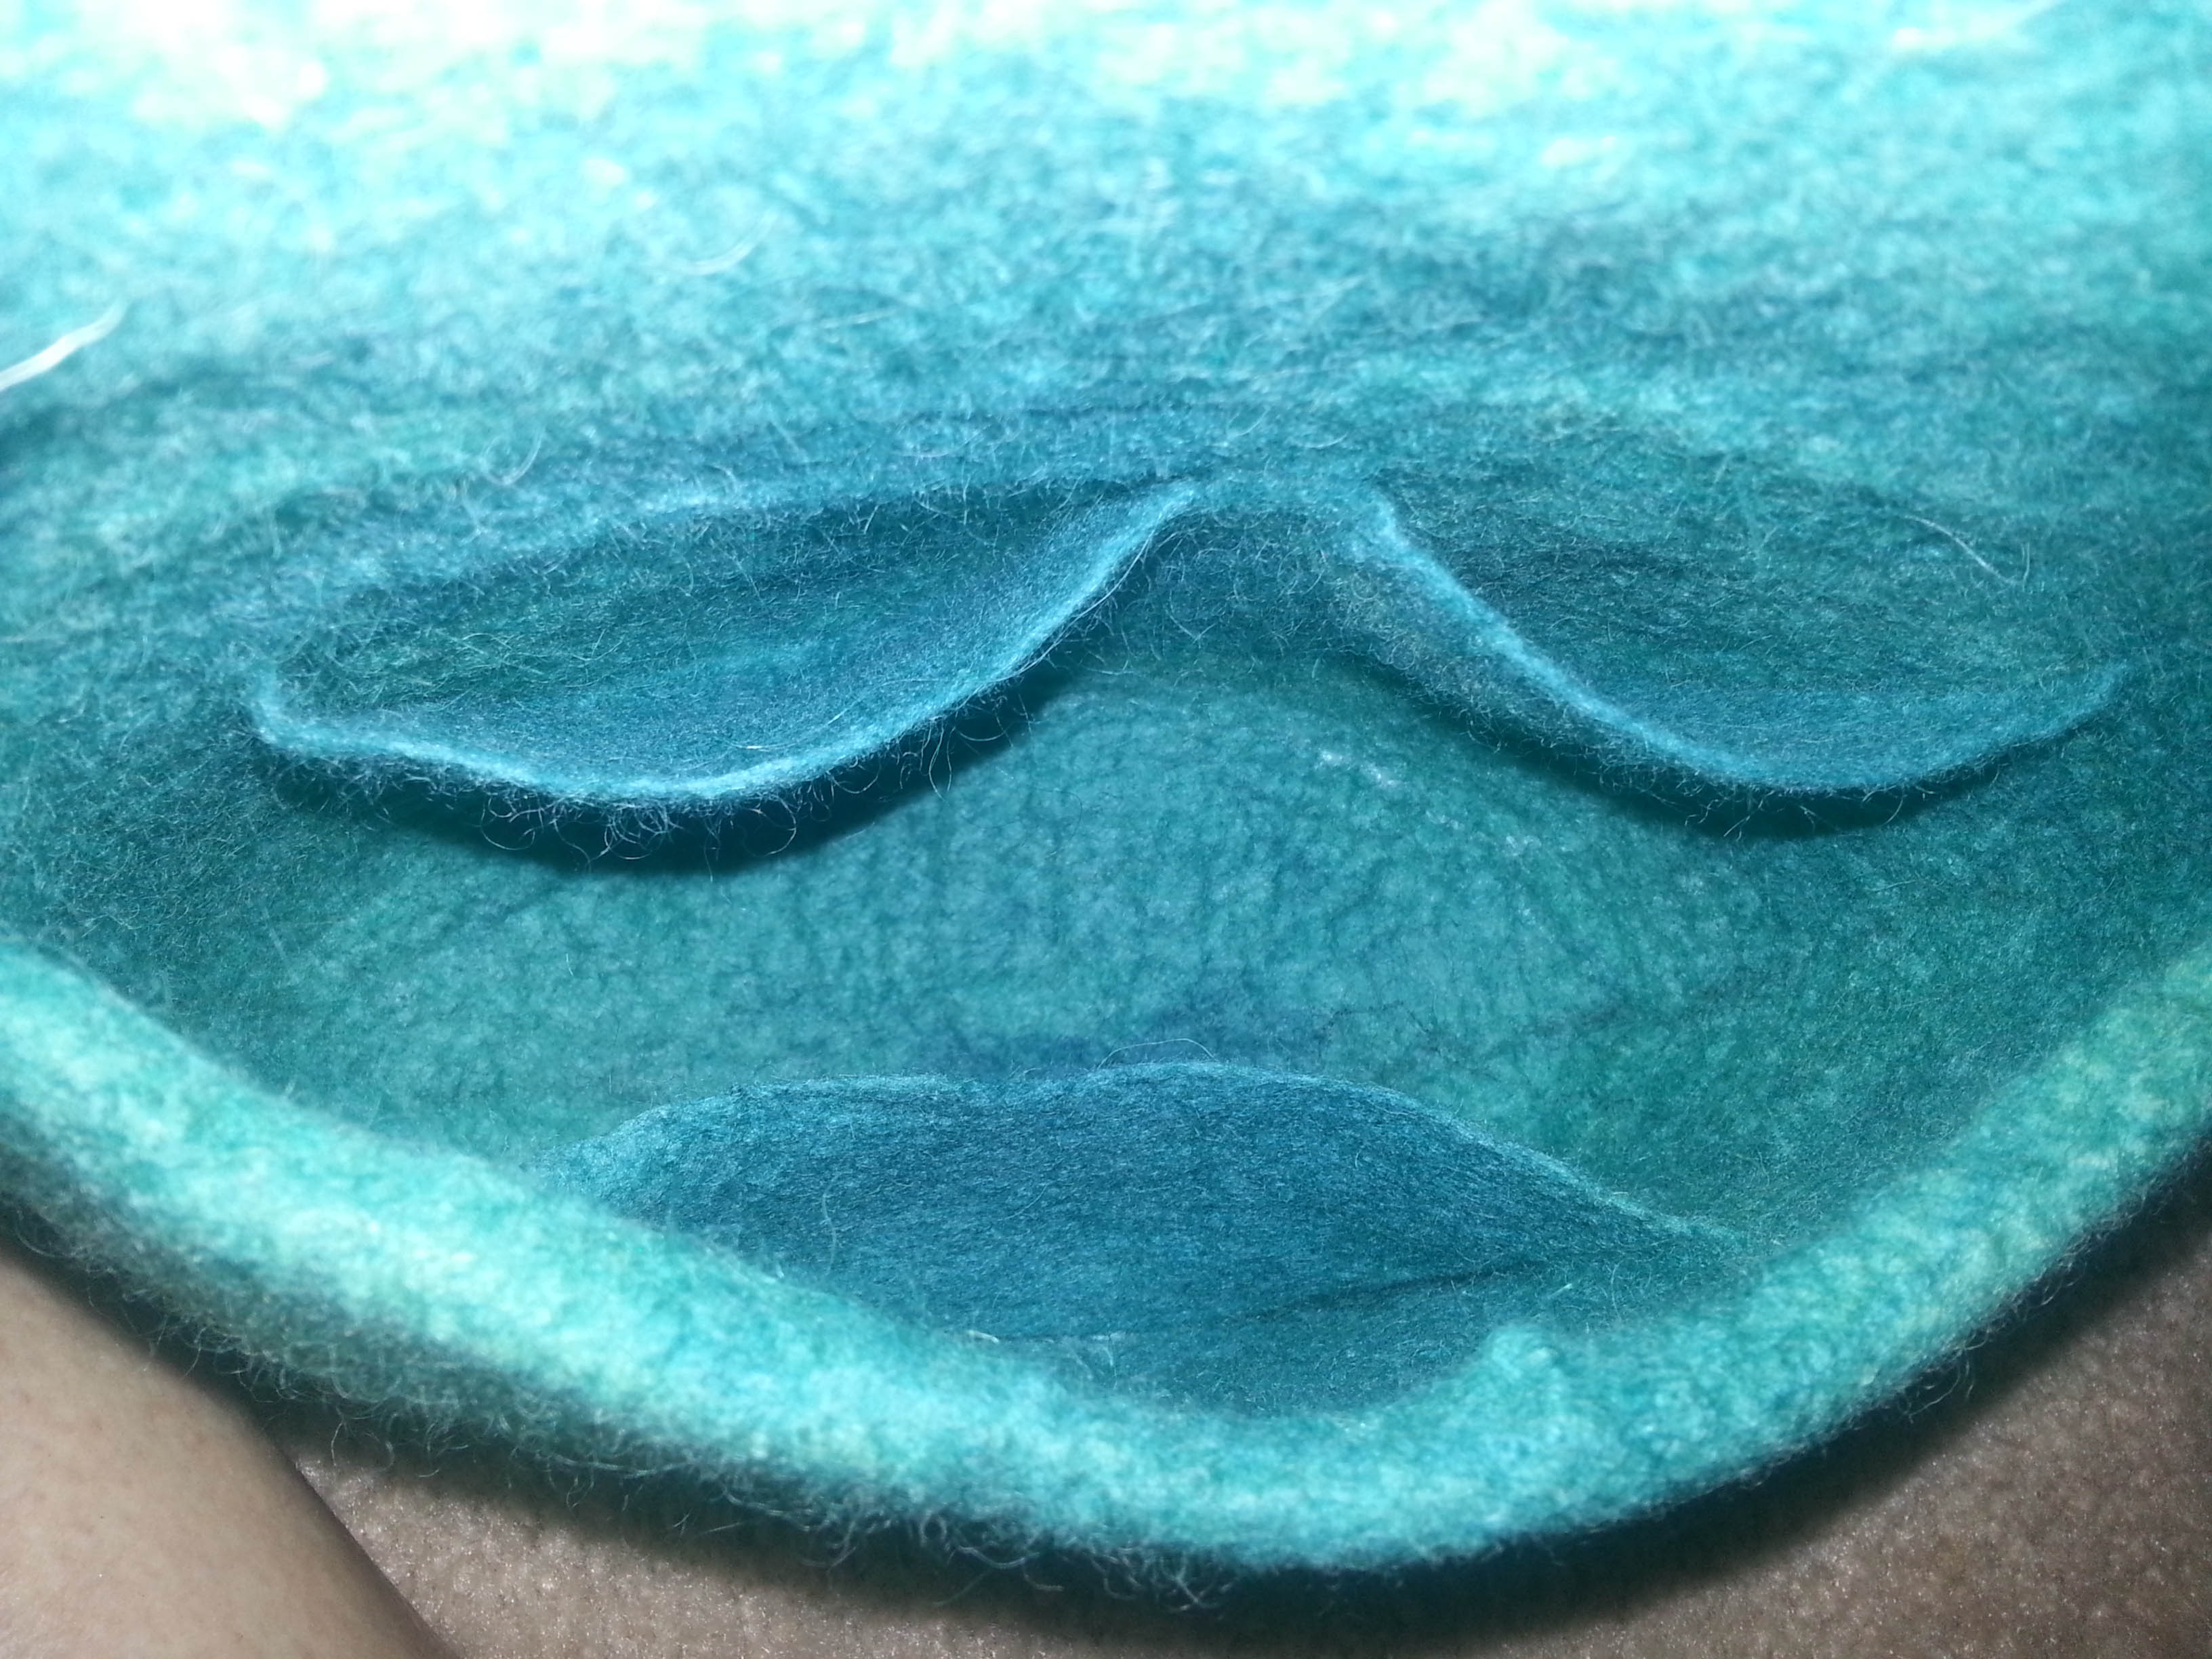
hangingcloseup front Three inside pockets.

insideOne back pocket.

top view

backI wonder if I could duplicate this again?  Maybe if I do I’ll write a tutorial.  The one thing I would do differently is to put the shoulder straps on the inside of the bottom and sides rather than outside.  That would be another challenge. What do you think?


Same Picture, Different Techniques and Outcomes

Same Picture, Different Techniques and Outcomes

A while back, I purchased Moy Mackay’s book Art in Felt and Stitch.  I like her use of bold colors and particularly like her flower and bird pieces.  While chatting with Cathy (Luvswool), I learned she also had Moy’s book and we both liked one particular vase of flowers in the book called Anemones.  We decided to do our own interpretation of that picture below.  (The quality is not great because I took a picture of the picture in the book.)

Moy anemonesCathy —

Moy lays out her fibers from start to finish, with “brushstrokes” of fiber, much as a painter applies paint to the canvas.  When she is finished laying out her merino roving, she then felts the entire picture as one piece.  Later, she needle felts details and then embroiders with machine stitching.

My approach was a bit different, in that I prefer to layout my base first then wet felt it so that I end up with a pre-felted white base on which to paint my picture.  I had previously used this technique in creating other felt painting and so was comfortable with the approach.  After my white domestic 56’s base (2 layers) was completed and dry, I began the process of laying on merino fibers in various colors, not exactly the same as Moy.  I added tussah silk highlights and then wet-felted the entire piece.

After drying, I began to needle-felt details, such as shadowing for the vase, some detailing for the flowers.  I chose not to machine stitch or hand embroider, rather I allowed the needle felting to be my finishing.

Cathys Moy

Newly armed with a stapler gun and some stretcher bars, I backed the 12″ x 12″ piece with blue commercial felt and framed it.

IMG_5752

Marilyn —

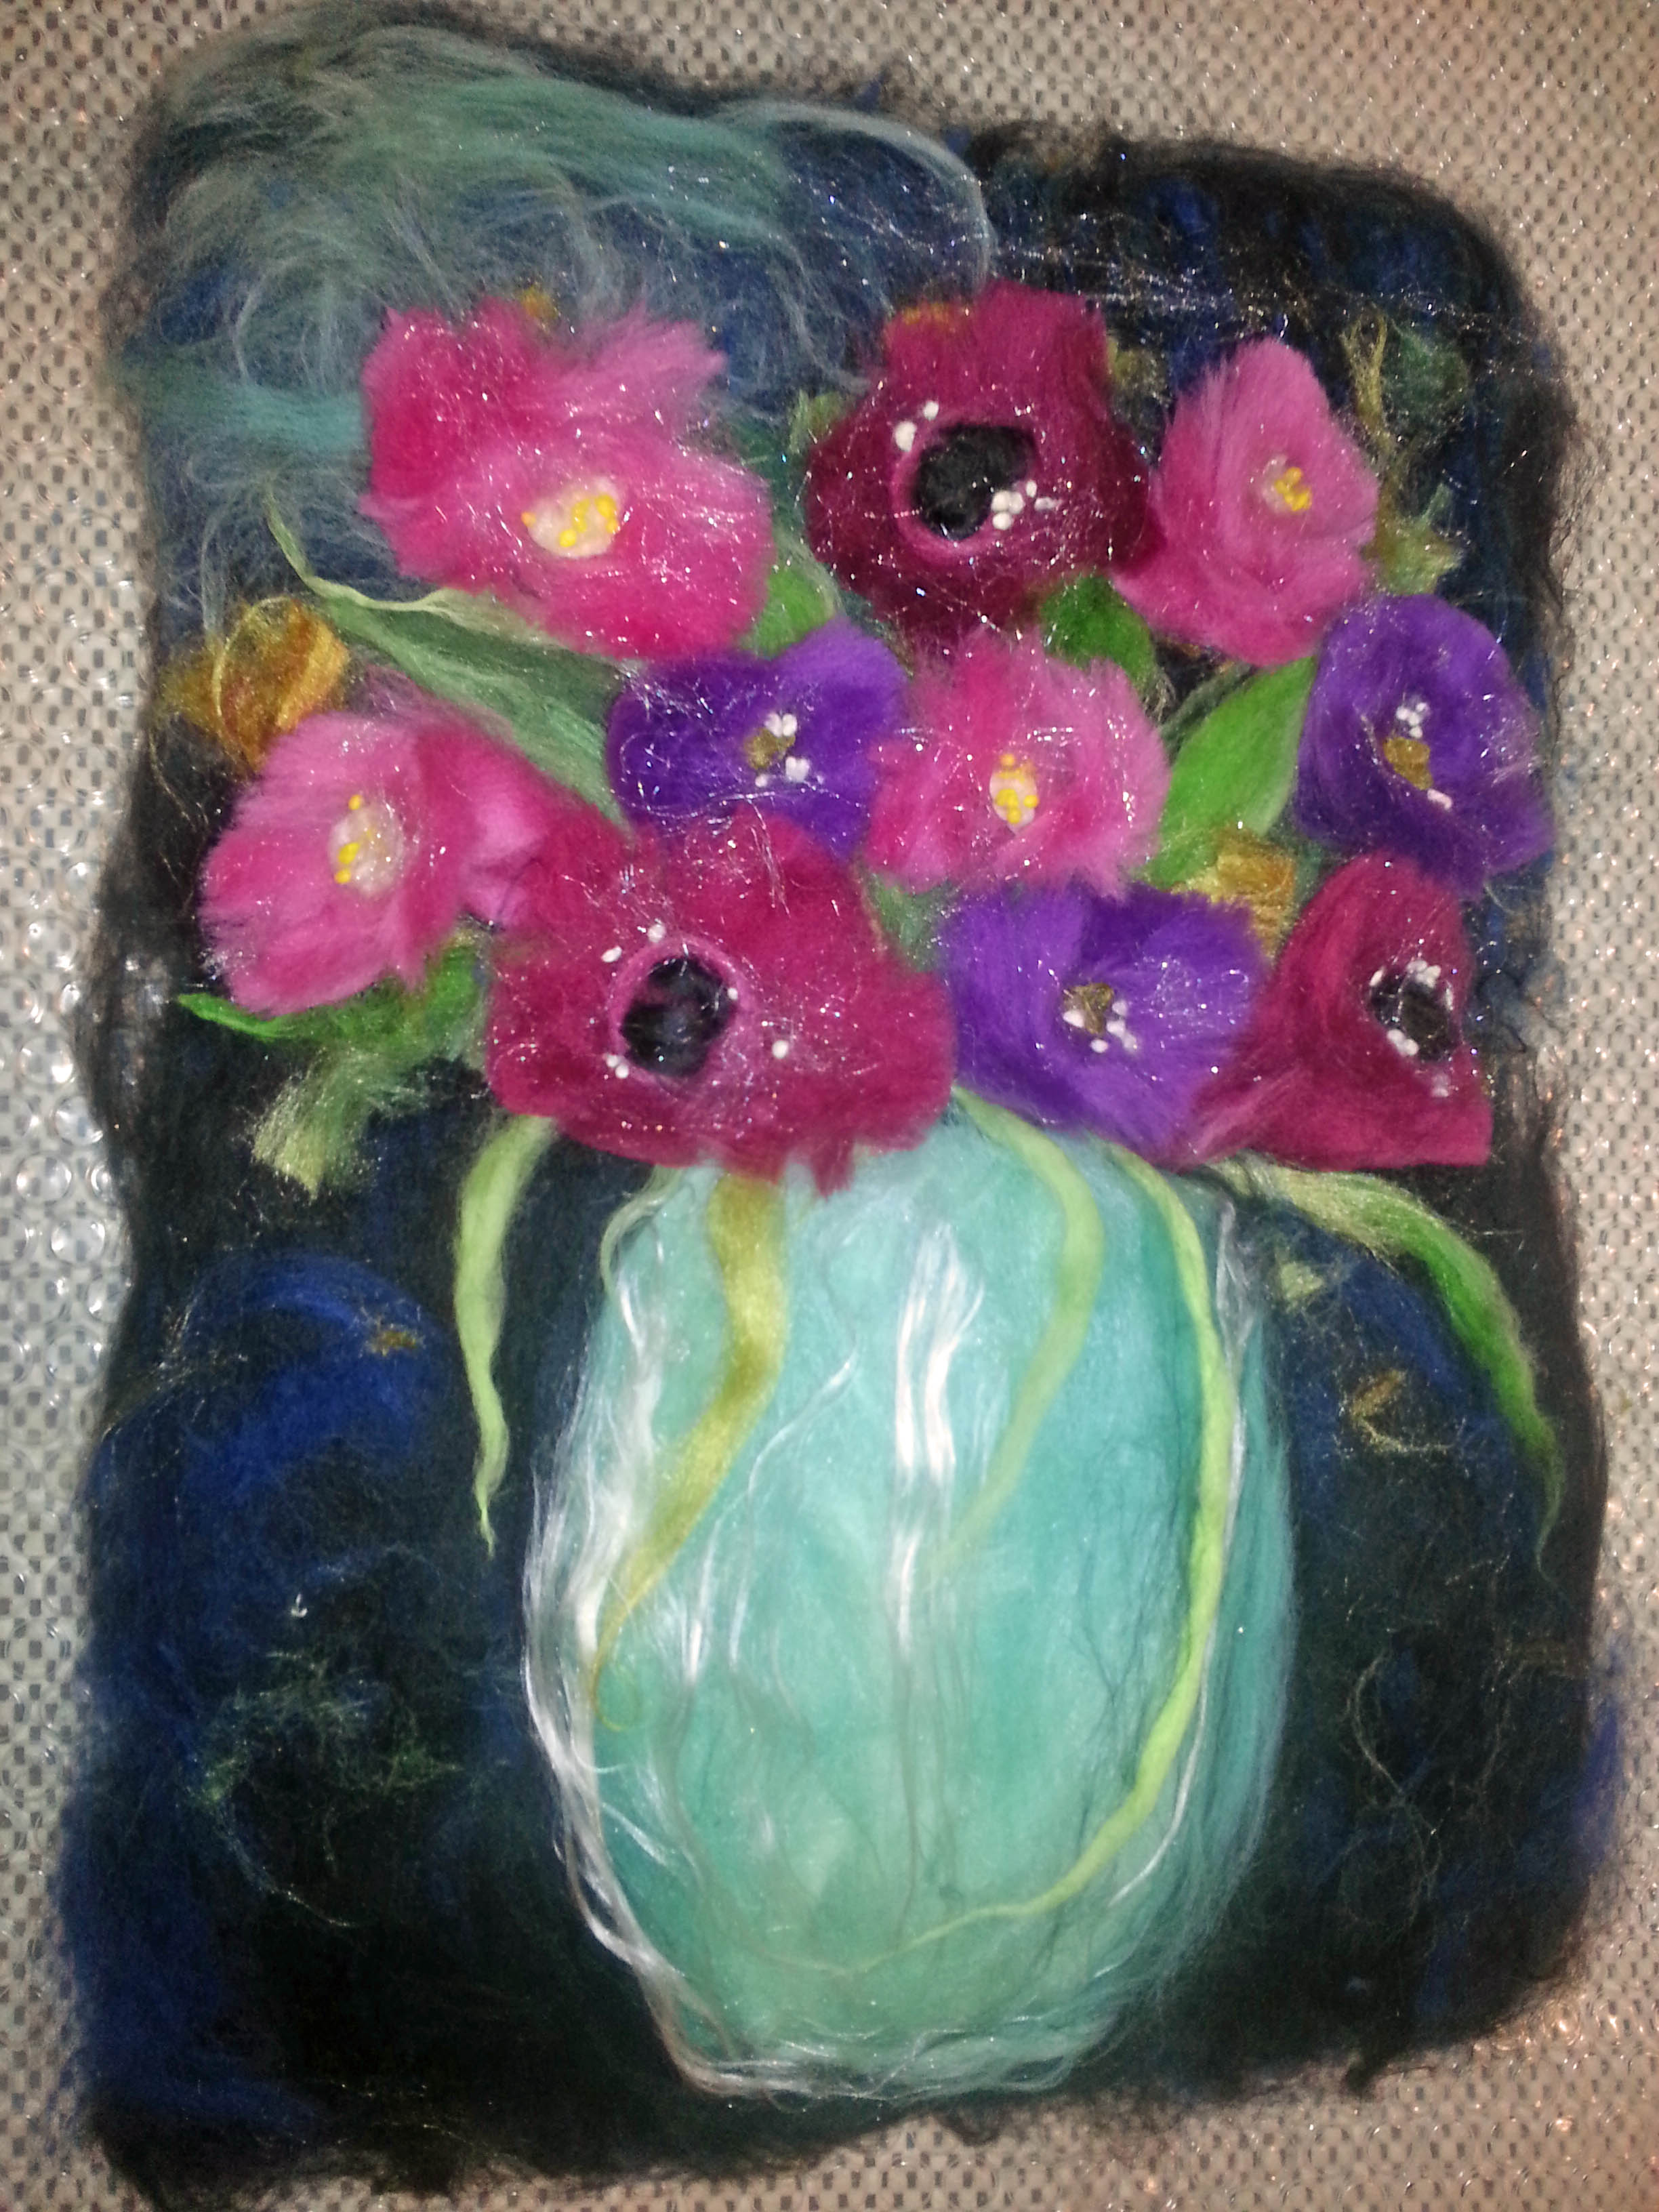
I chose to follow Moy’s method as mentioned above in Cathy’s description. For me there were a few firsts — I had never “cut” roving, had done free motion machine stitching or embroidered felt.

base

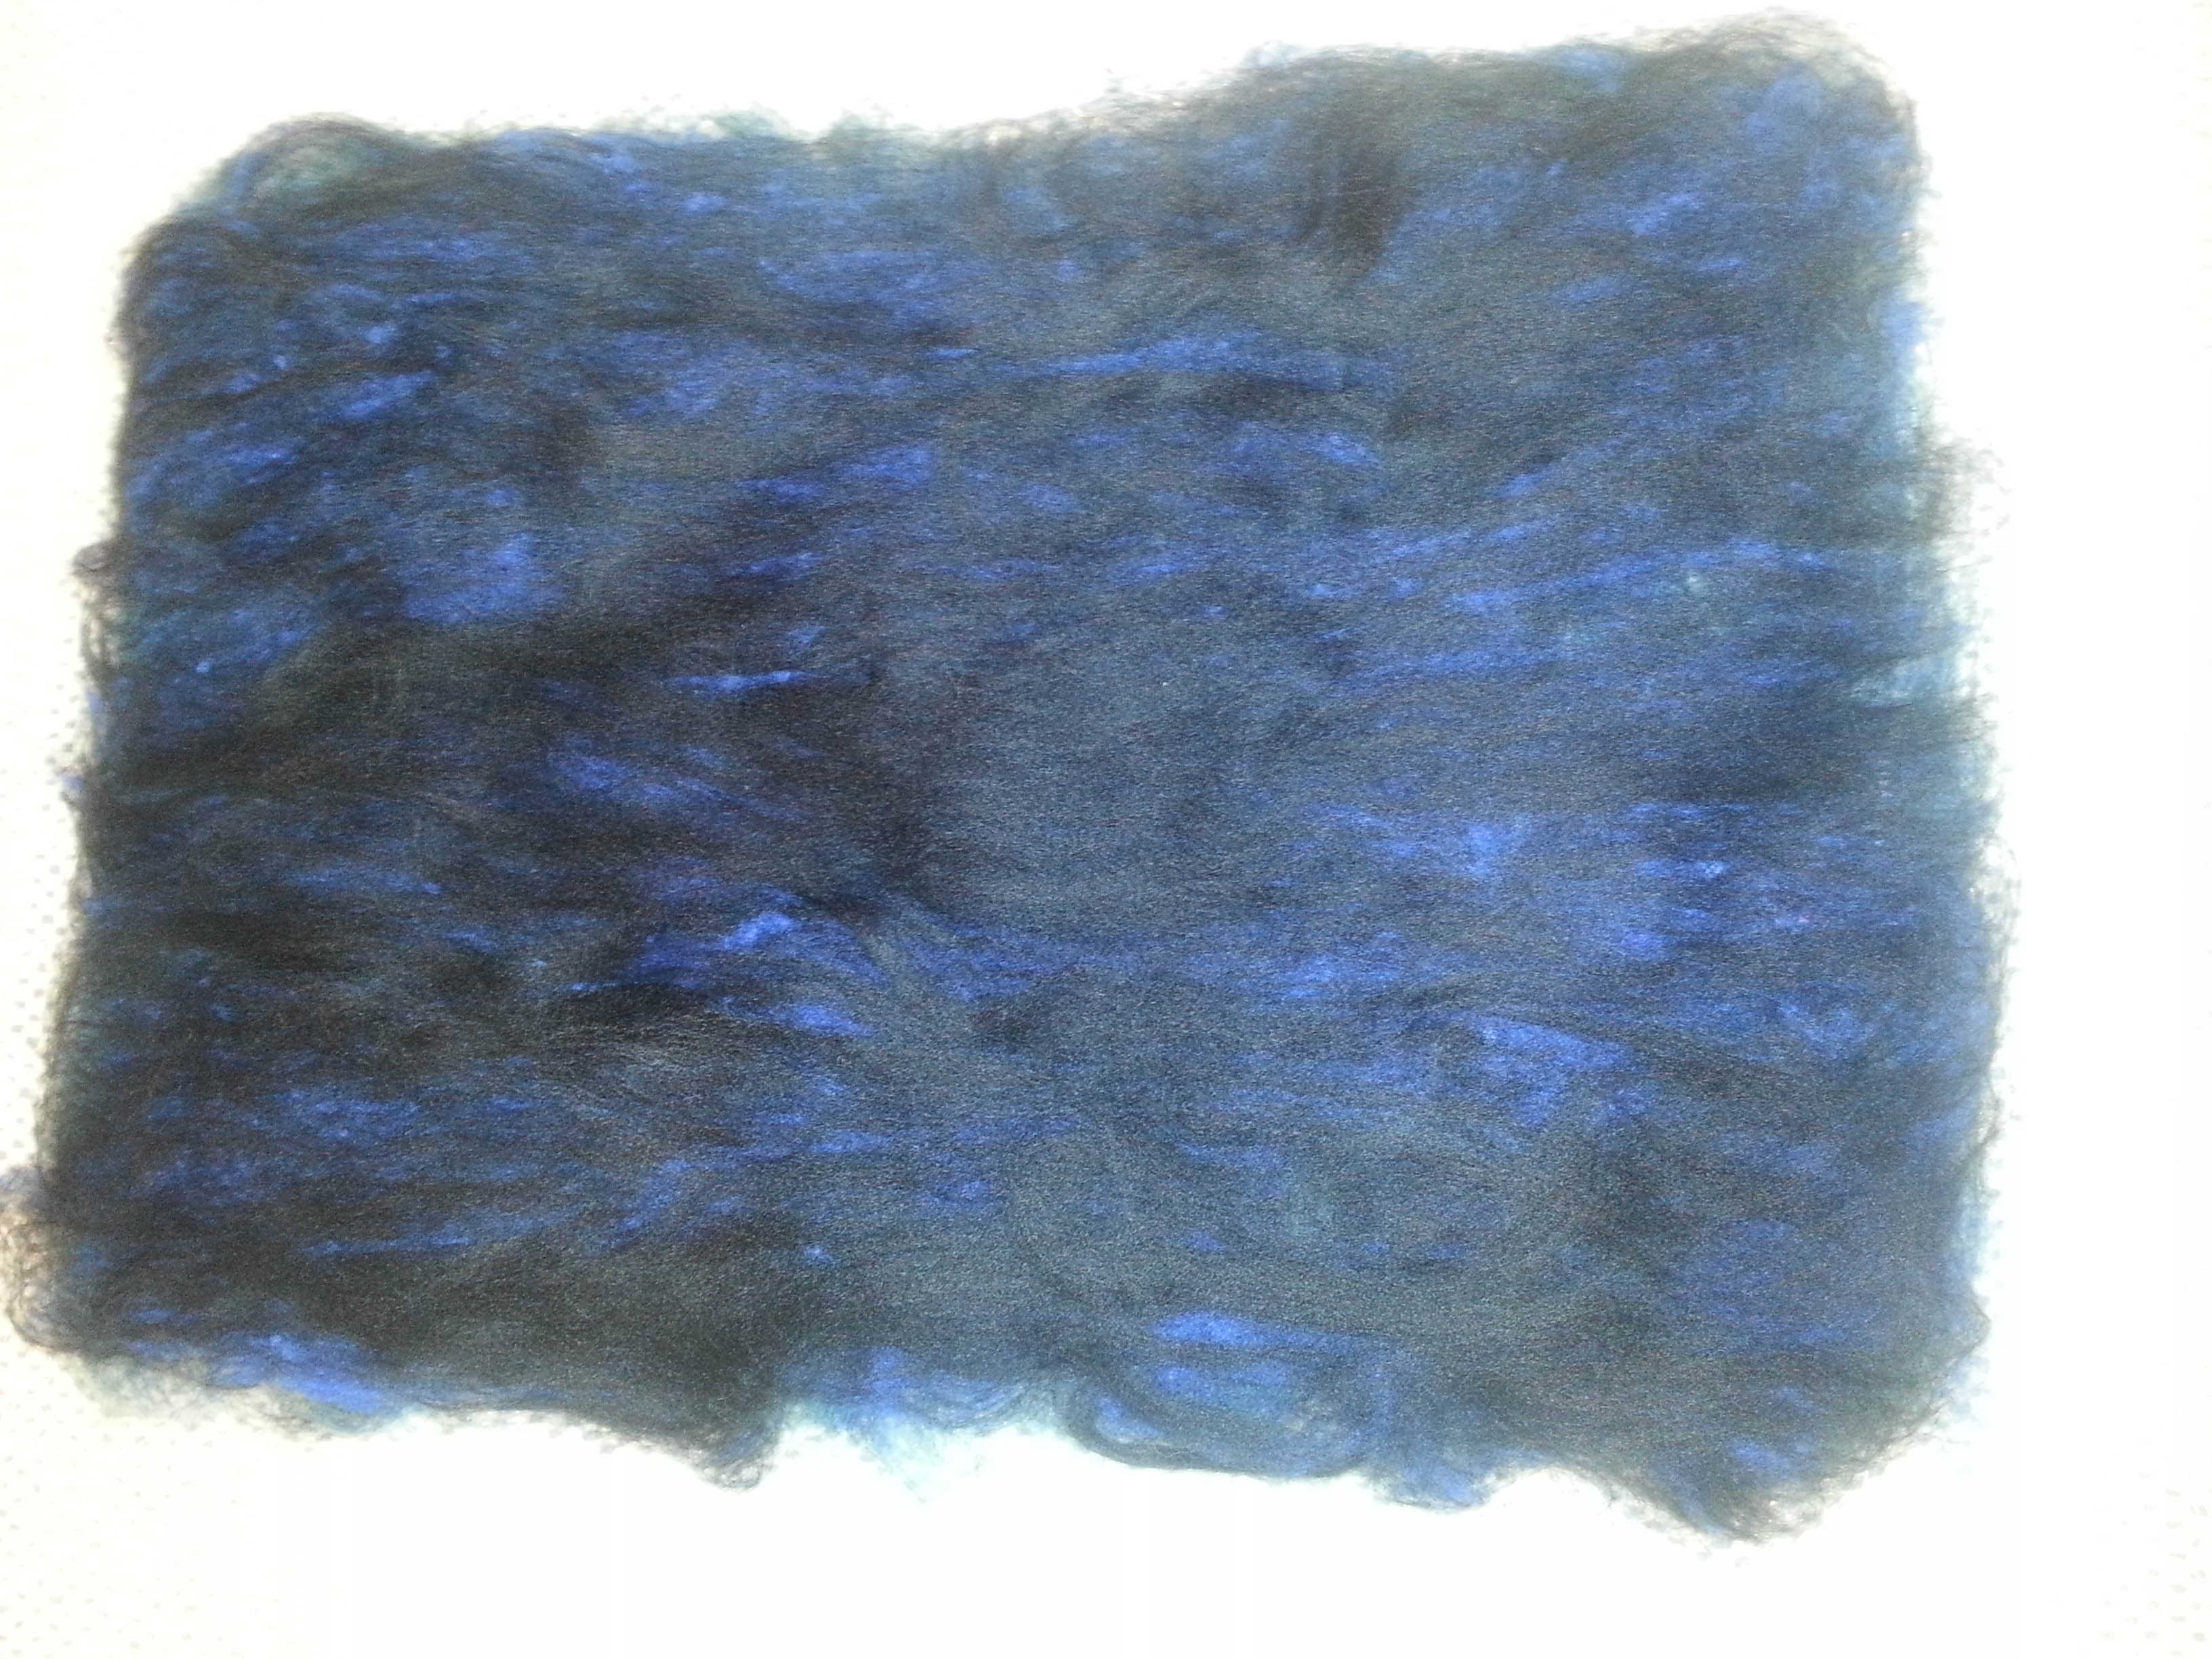
I made the base from batts I had made using dark colors, then added the lighter accents, the vase, then built the picture from the background forward laying out the background leaves then cut the flowers and laid them out.  I added some silk embellishments, angelina and nepps, then I wet felted the piece.

moy layout

After it was dry, I needle felted around the vase and added needle felted shadows on and around the vase and some details in the flowers.  My challenge came when I started the machine embroidery.  The felt around the flowers was thick because of the layering of the background leaves. My machine wasn’t happy about that.  After a couple of broken needles and a lot of frustration, I finally finished.  I added a couple of hand embroidered flower details to finish it.  I enjoyed trying a new technique, but will keep in mind the potential thickness issue when doing anything similar again.

Moy 2

After cleaning it up a bit, it is now sitting in the “to be framed pile.”


What Does Your Calling Card Look Like?

What Does Your Calling Card Look Like?

In a few weeks, Cathy (Luvswool) and I are going to attend the Midwest Fiber Fair in Grayslake, IL.  I started thinking about what a great opportunity it might be to introduce some people to the Felting and Fiber Forum/Studio.  But I didn’t have any business cards.

So, while working on one of my felt projects I decided that if I’m representing a fiber collaborative I should have business cards that reflect that concept.

I pulled out a bunch of prefelt pieces leftover from other projects and piled up a stack of embellishments and went to work. Of course, I forgot to take a picture before I felted them.  I used just one layer of prefelt so that it wouldn’t be too thick and proceeded to play with the embellishments using yarn, silk, silk habatoi, silk hankies,  sari threads, throwsters waste, silk gauze with sequins and ribbons.

When I finished felting/fulling the pieces, I cut out a business card size plastic piece and cut out the cards while the felt was still wet and soapy.  Then I worked the edges some more before rinsing and drying.

biz cards wool side

After they dried, I steamed and shaped them a little more. Some of them shrank while drying so I did a bit of pulling and stretching.

I didn’t want to sew them on, so I used three different types of glue (Elmers Clear, Sobo and Tacky Glue) to see which would work best, but all worked nicely and didn’t leave any residue.  I applied it using a wooden stick so it was evenly covered. The nice thing about the glue was that while it was wet I was able to stretch and manipulate the felt to cover the card.  To make sure they stayed put I piled a couple of heavy books on them to let them dry and flatten.  I left the organic edges because I like that look.

2014-06-27 13.10

I’m not sure how people will react to wool business cards, but I think it sends the right message.  I’m definitely a fiber enthusiast.

2014-06-27 13.09

The next time I make more cards I will stick to silk and embellishments that are flatter.  While the yarn and ribbon are nice and very textured, it is a bit more bulky.  What do you think?


Making a Felt Hat with T-pins

Making a Felt Hat with T-pins

A little while ago I received some T-pins. I had never used them before. I haven’t mad and hats with folds for some time as they are difficult to get the folds where you want them. As you try to put the second fold in the first one can easily get pulled out and so on. with the T-pins it was much easier. I could put a fold in and then pin it and then work on the next one.

hat with pins


The hat block is a hard foam raffia hat block. the only place I know that sells them is Franks, http://www.franksupply.com/raffia/hatmaking-supplies.html  I left all the pins in while it dried. Here it is after is is dry. It is merino wool with silk lap on accents

hat1 hat 2 hat 4 hat 3


I am quite pleased with it. I haven’t yet decided if I want to leave the organic edge or if I want to trim it smooth and even.

Second Quarter Stephenson Challenge

Second Quarter Stephenson Challenge

I’ve been working on the challenge on and off for a couple of months.  My first impulse was to chose his Blue Vertigo. 

blue vertigoI made some batts and used them to make the circular design. I pulled strips off the batt and laid them out.  Then added bits of colors as needed.

batts design of purple


StephensonThis piece worked out well, but I wanted to try another of his watercolor like pieces.  So, the next one was based on his Purple Rooftop. 

purple rooftop

I used some black pencil roving in the middle, a black background underneath in the center of the piece to help shadow the reflection in the pond and some mulberry silk for a reflective effect.  Unfortunately, the purple wasn’t as obvious in mine after felting.

Stephenson 1Stephenson’s Green Love reminded me of the carving technique I learned in Fiona’s class, so I wanted to try that, too.

GreenloverSM

The background is black prefelt and with a white center of merino over cotton batting and some of the radiating lines with different colored roving.  The carvings weren’t as wide, but I like the effect.

Stephenson 3a Stephenson 3


I enjoyed the challenge and the variety of techniques I was able to use to achieve the different effects.  Have you done the challenge yet?


The Four Day Dye Experiment

The Four Day Dye Experiment

I recently read some new instructions for dyeing using citric acid and salt. Well not new,  I took a class a couple of years ago where the instructor used similar instructions. Normally, I use vinegar for dyeing.  But I like to experiment.  I have also been wanting to try some new fibers and have never dyed something I’ve already felted.  So, I decided to combine the experiments.

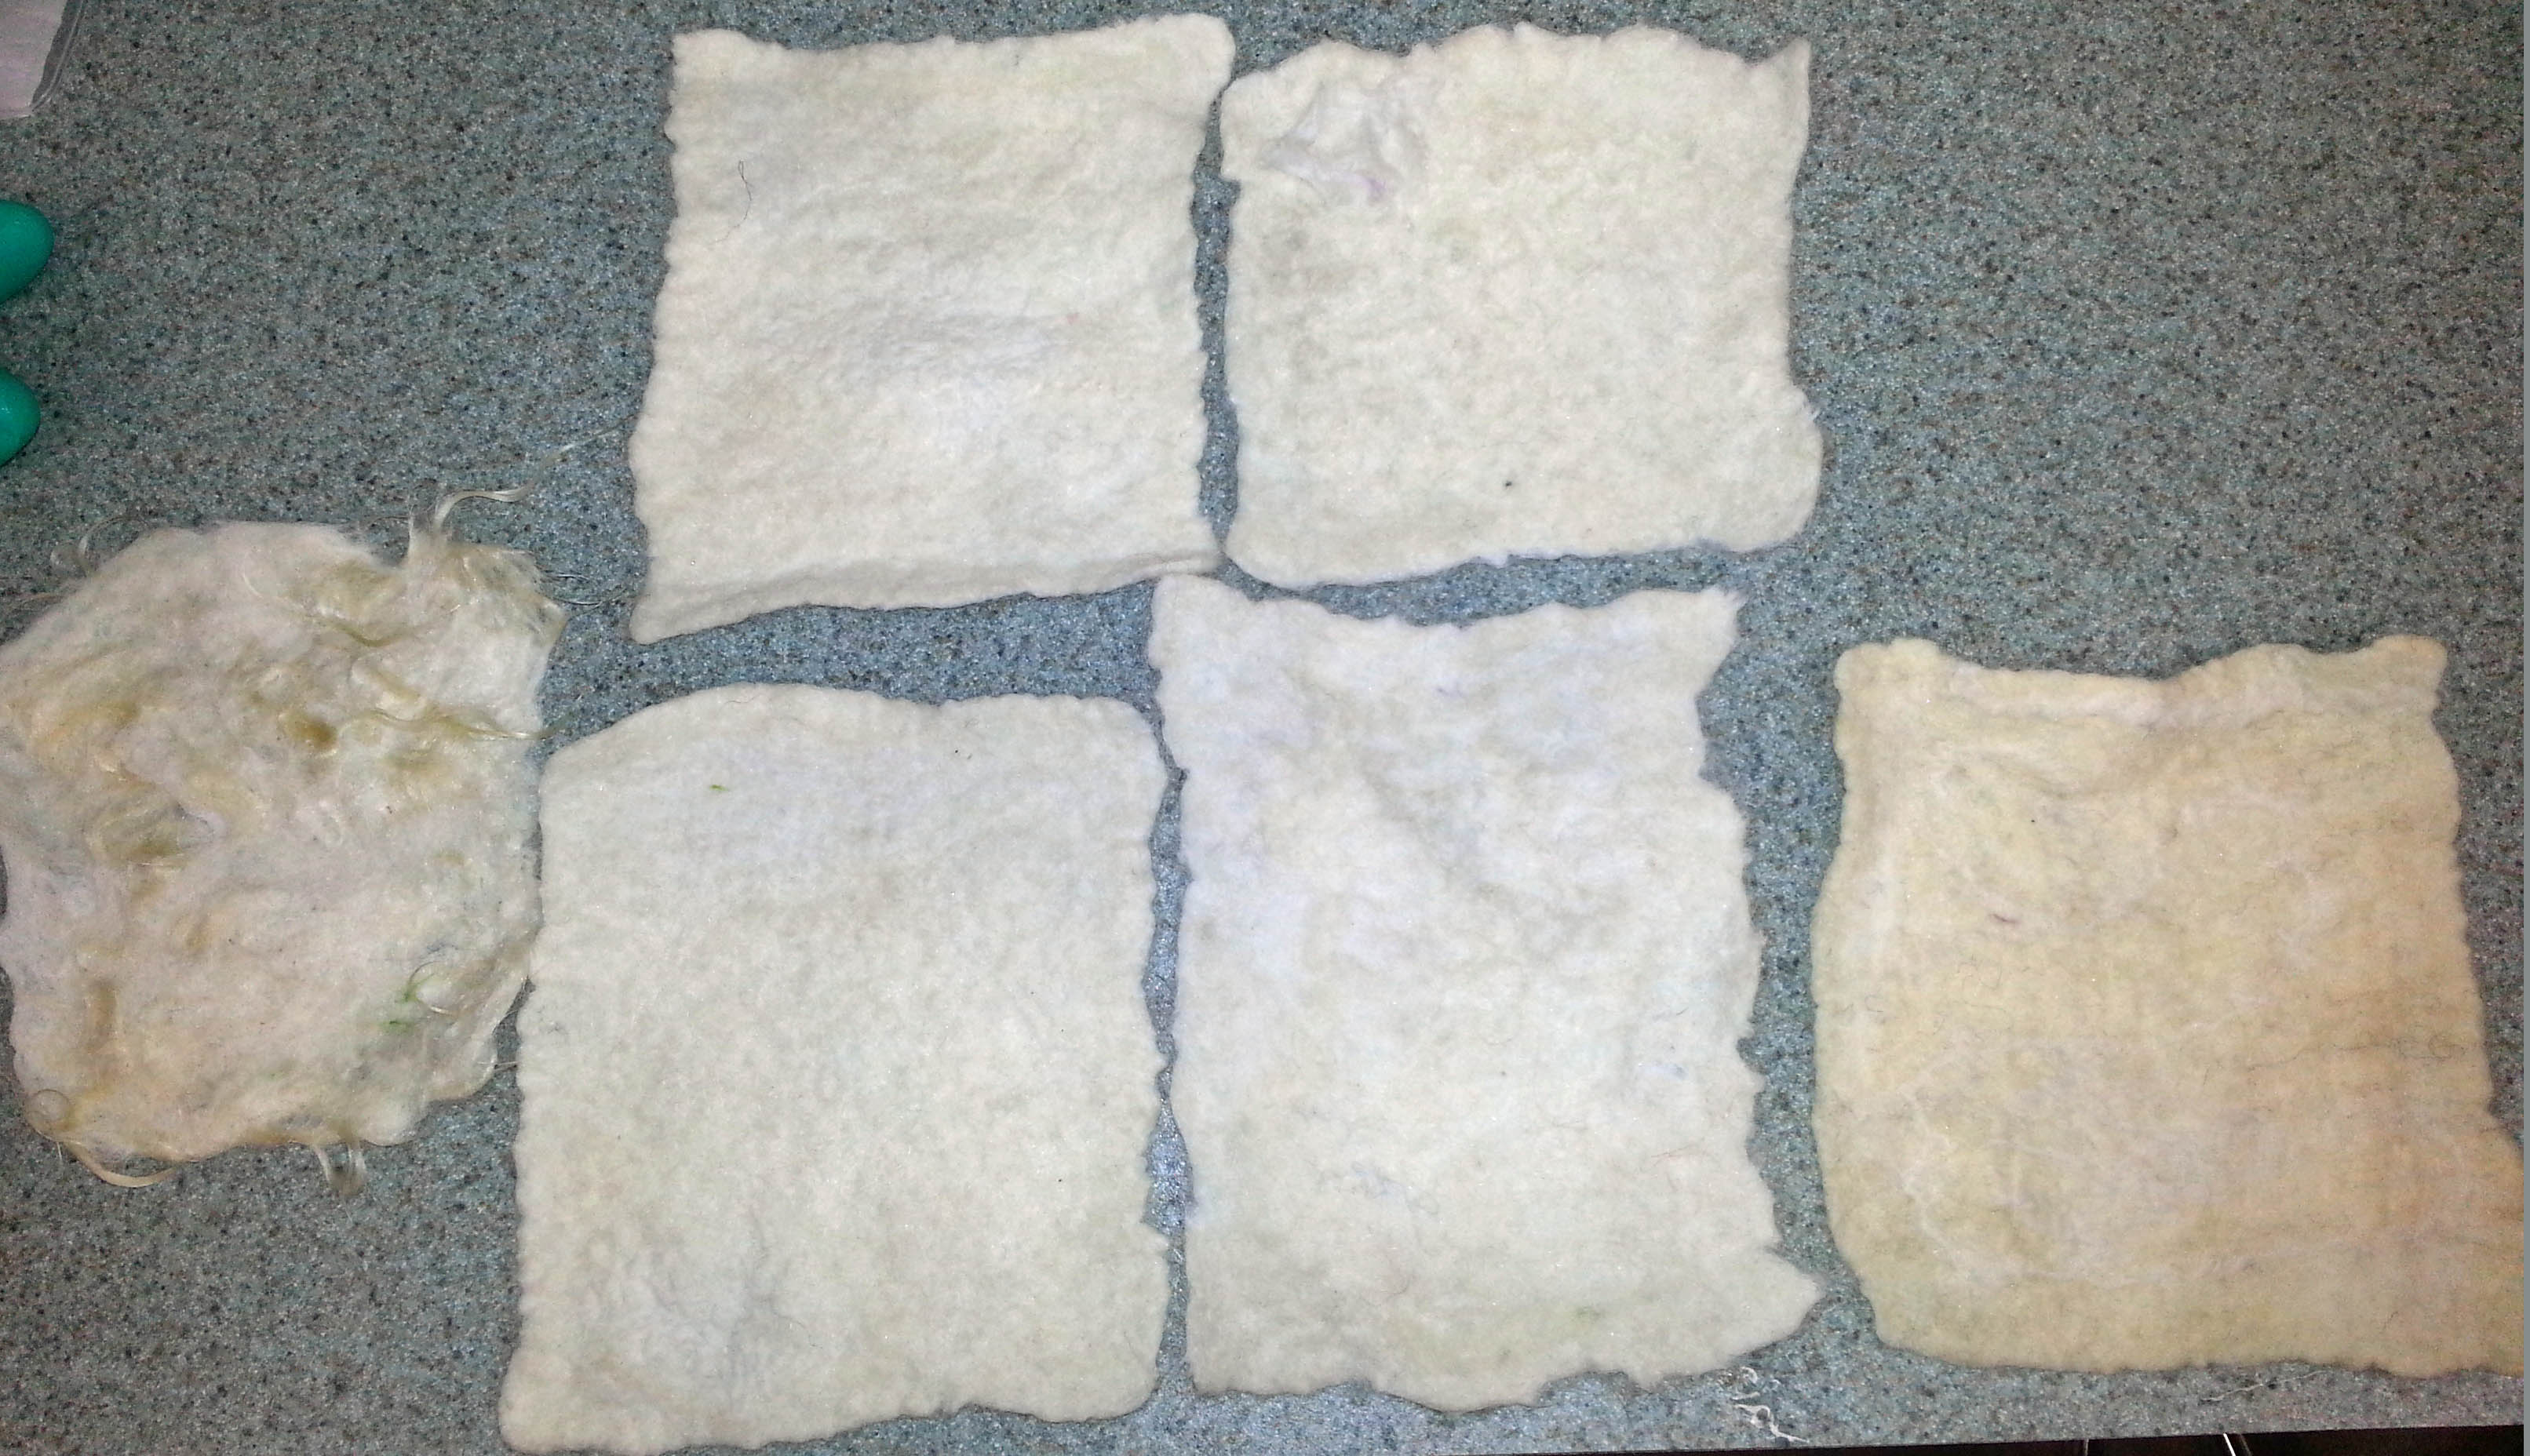
I made samples using Cheviot, Romney, Icelandic, Texas Mohair locks and Domestic 56’s.  On each sample I put a piece of silk Habatoi, silk gauze, thick and thin yarn, mulberry silk and prefelt. I was going to make a placemat out of them, but they all shrank differently, so I have to rethink what to do with them.

felted samplesAccording to the instructions, I had to weigh the fabric to dye (before soaking in synthrapol).  I had a large pot so I put together some Merino, silk habatoi, wool yarn, and wool thick and thin yarn along with my samples.  All total 128 grams.  Next, into the soak, then on to mixing the citric acid and salt solutions.

After a thorough search, I couldn’t find the citric acid I thought I had. Whoops.  Well, it should still work with vinegar, right?

1 gram of fiber= 1 milliliter of dye.  Then depending on the Depth of Shade desired the amount can be multiplied by 1 through 5 (light to dark.)  When I filled the syringe with 120 ml of dye, it looked like a lot so I decided just one DOS would be enough to start. Normally, I would use a tablespoon of dye.  If I wanted a darker shade, I could add more dye later or overdye it.  I used my own dye stock that I had on hand.  After getting the fiber and dye bath up to temperature (185 degrees), I let it simmer for 30 minutes and checked it.  The water was still very dark.  I added more vinegar and let it simmer for another 15 minutes. No change. Another 15 minutes, then I added more vinegar and turned the heat off and left it until morning expecting it to be exhausted.

day 1 BSurprise!  Beautiful colors, but plenty of dye left.  I removed the fibers, rinsed and rinsed then let them dry.

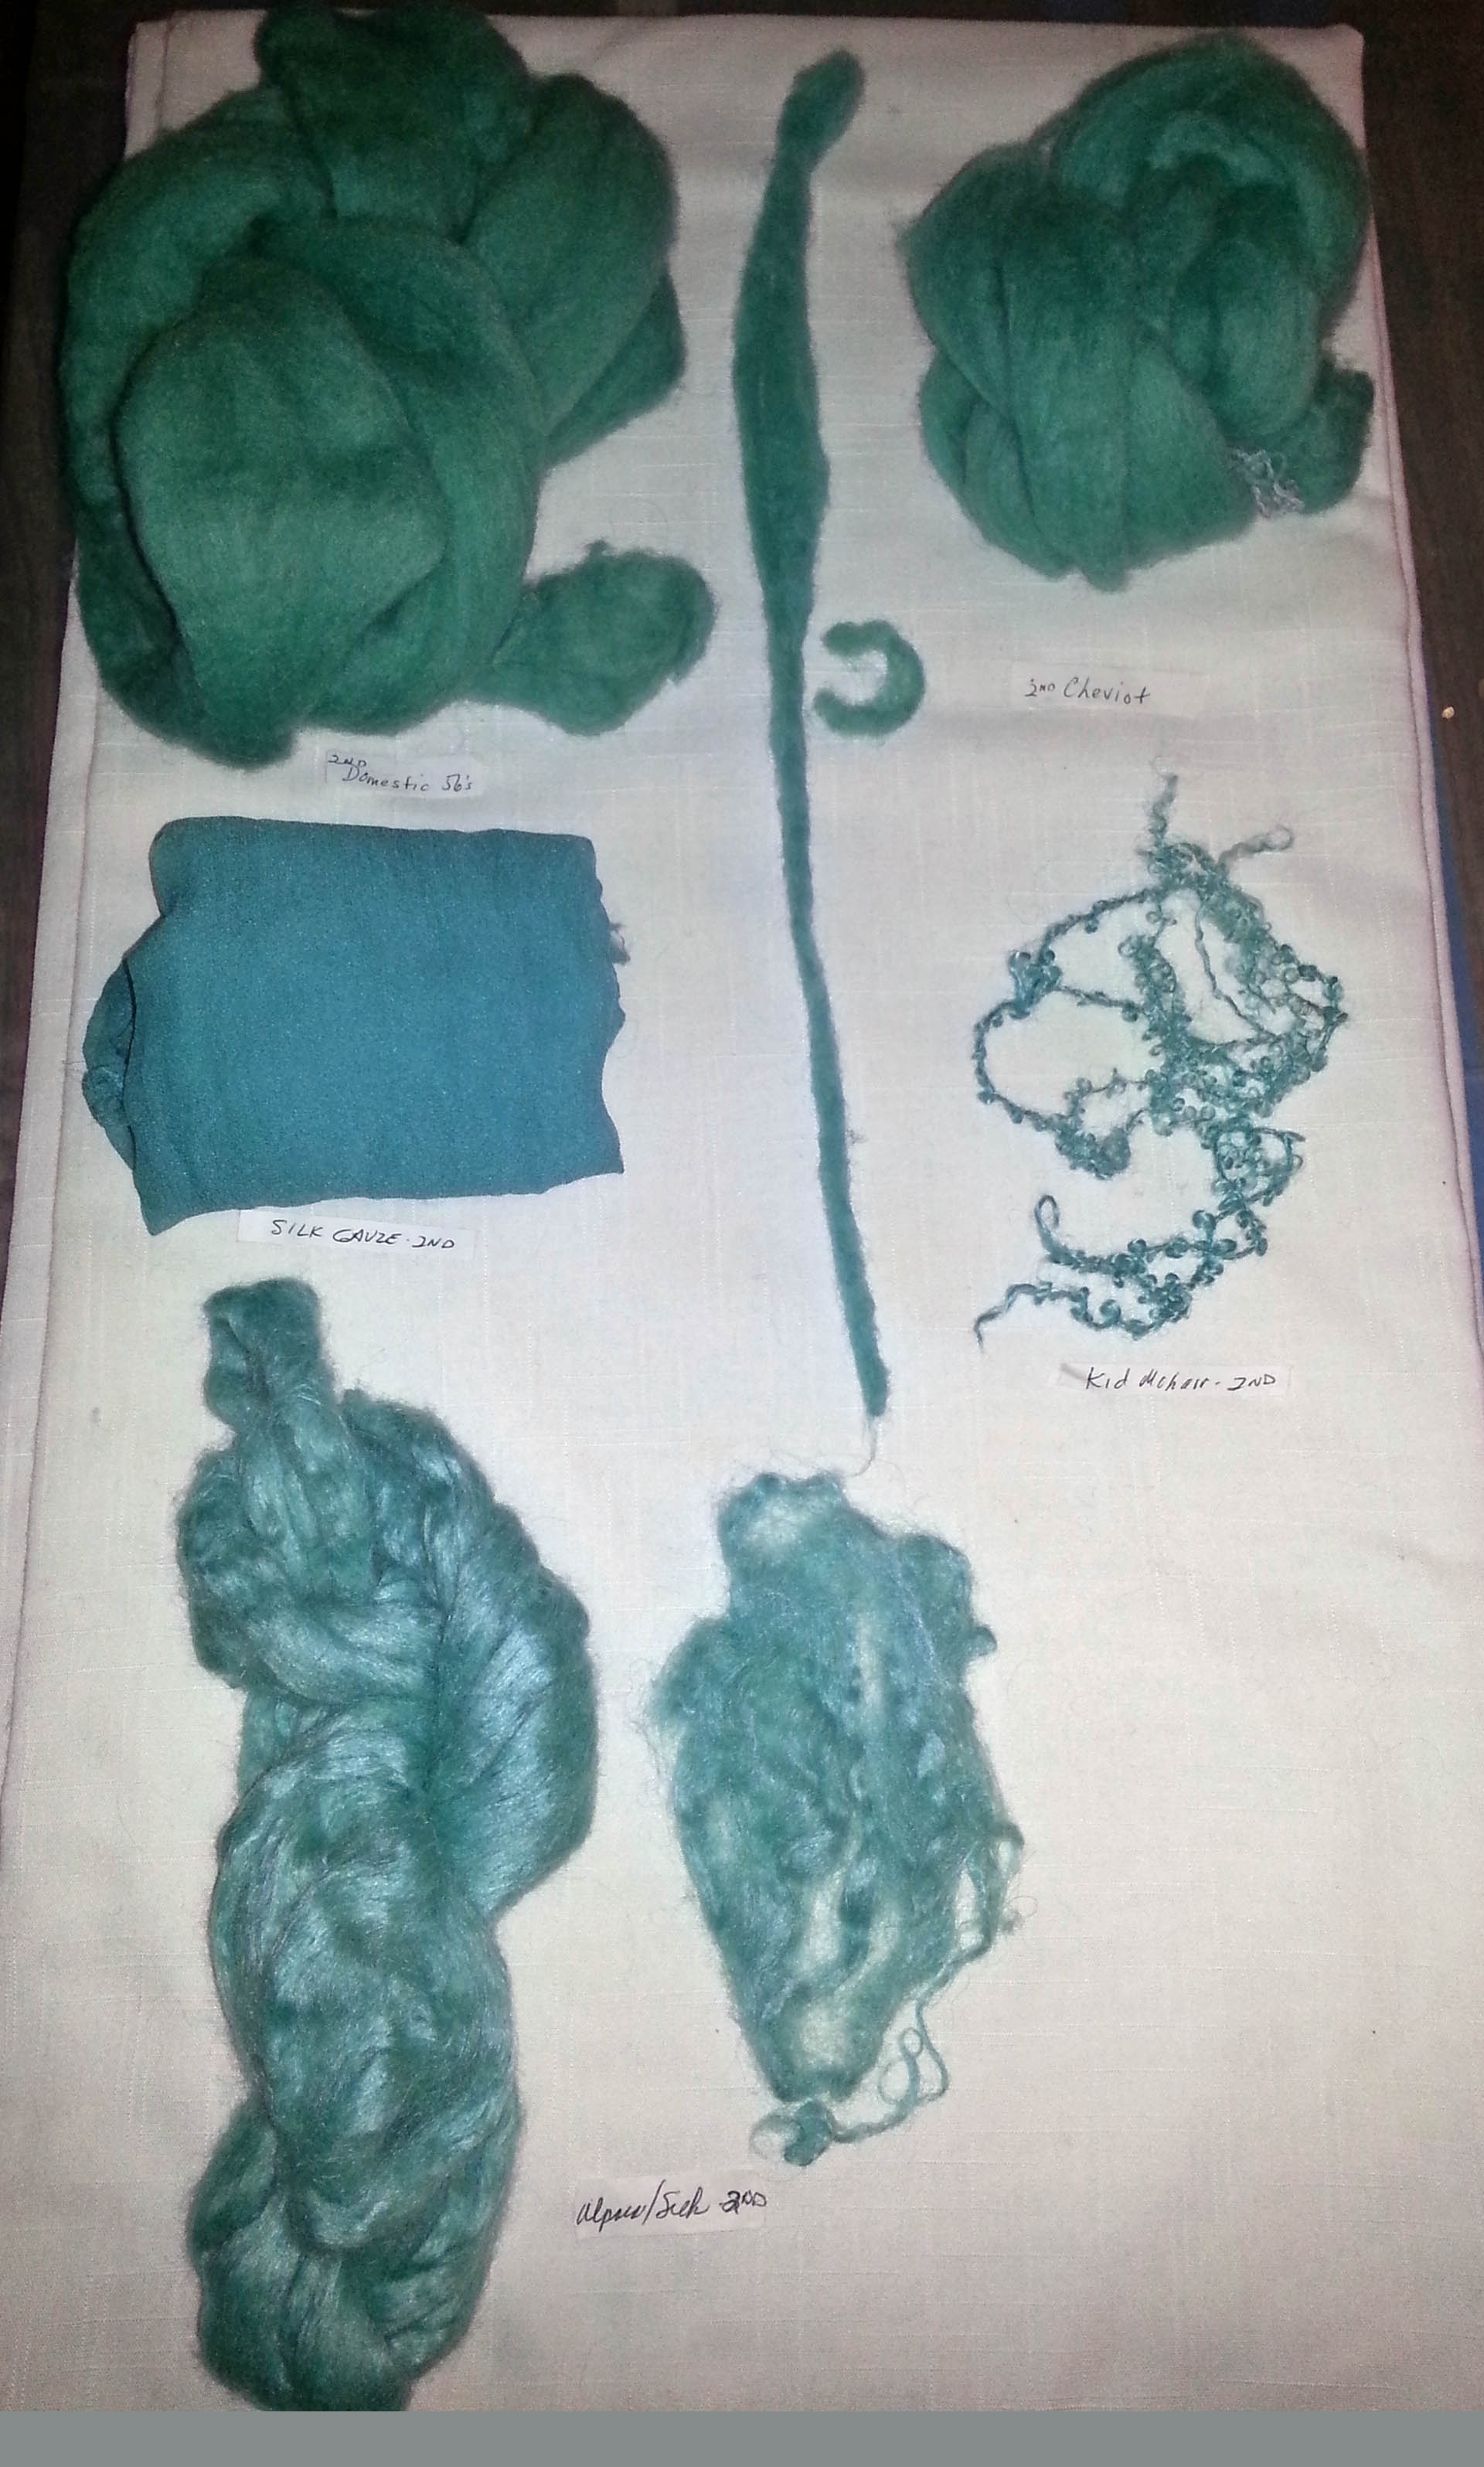
Back to the dye pot.  I decided I probably didn’t need more teal fiber, so I added a couple of teaspoons of yellow.  Then put in some Domestic 56s, alpaca/silk, kid mohair yarn, Cheviot and silk gauze after soaking in vinegar. I repeated the dye procedure.

day 2Staring at the dye pot the next morning, there was still plenty of color left.  So, on to day 3 with Domestic 56s and Cheviot.

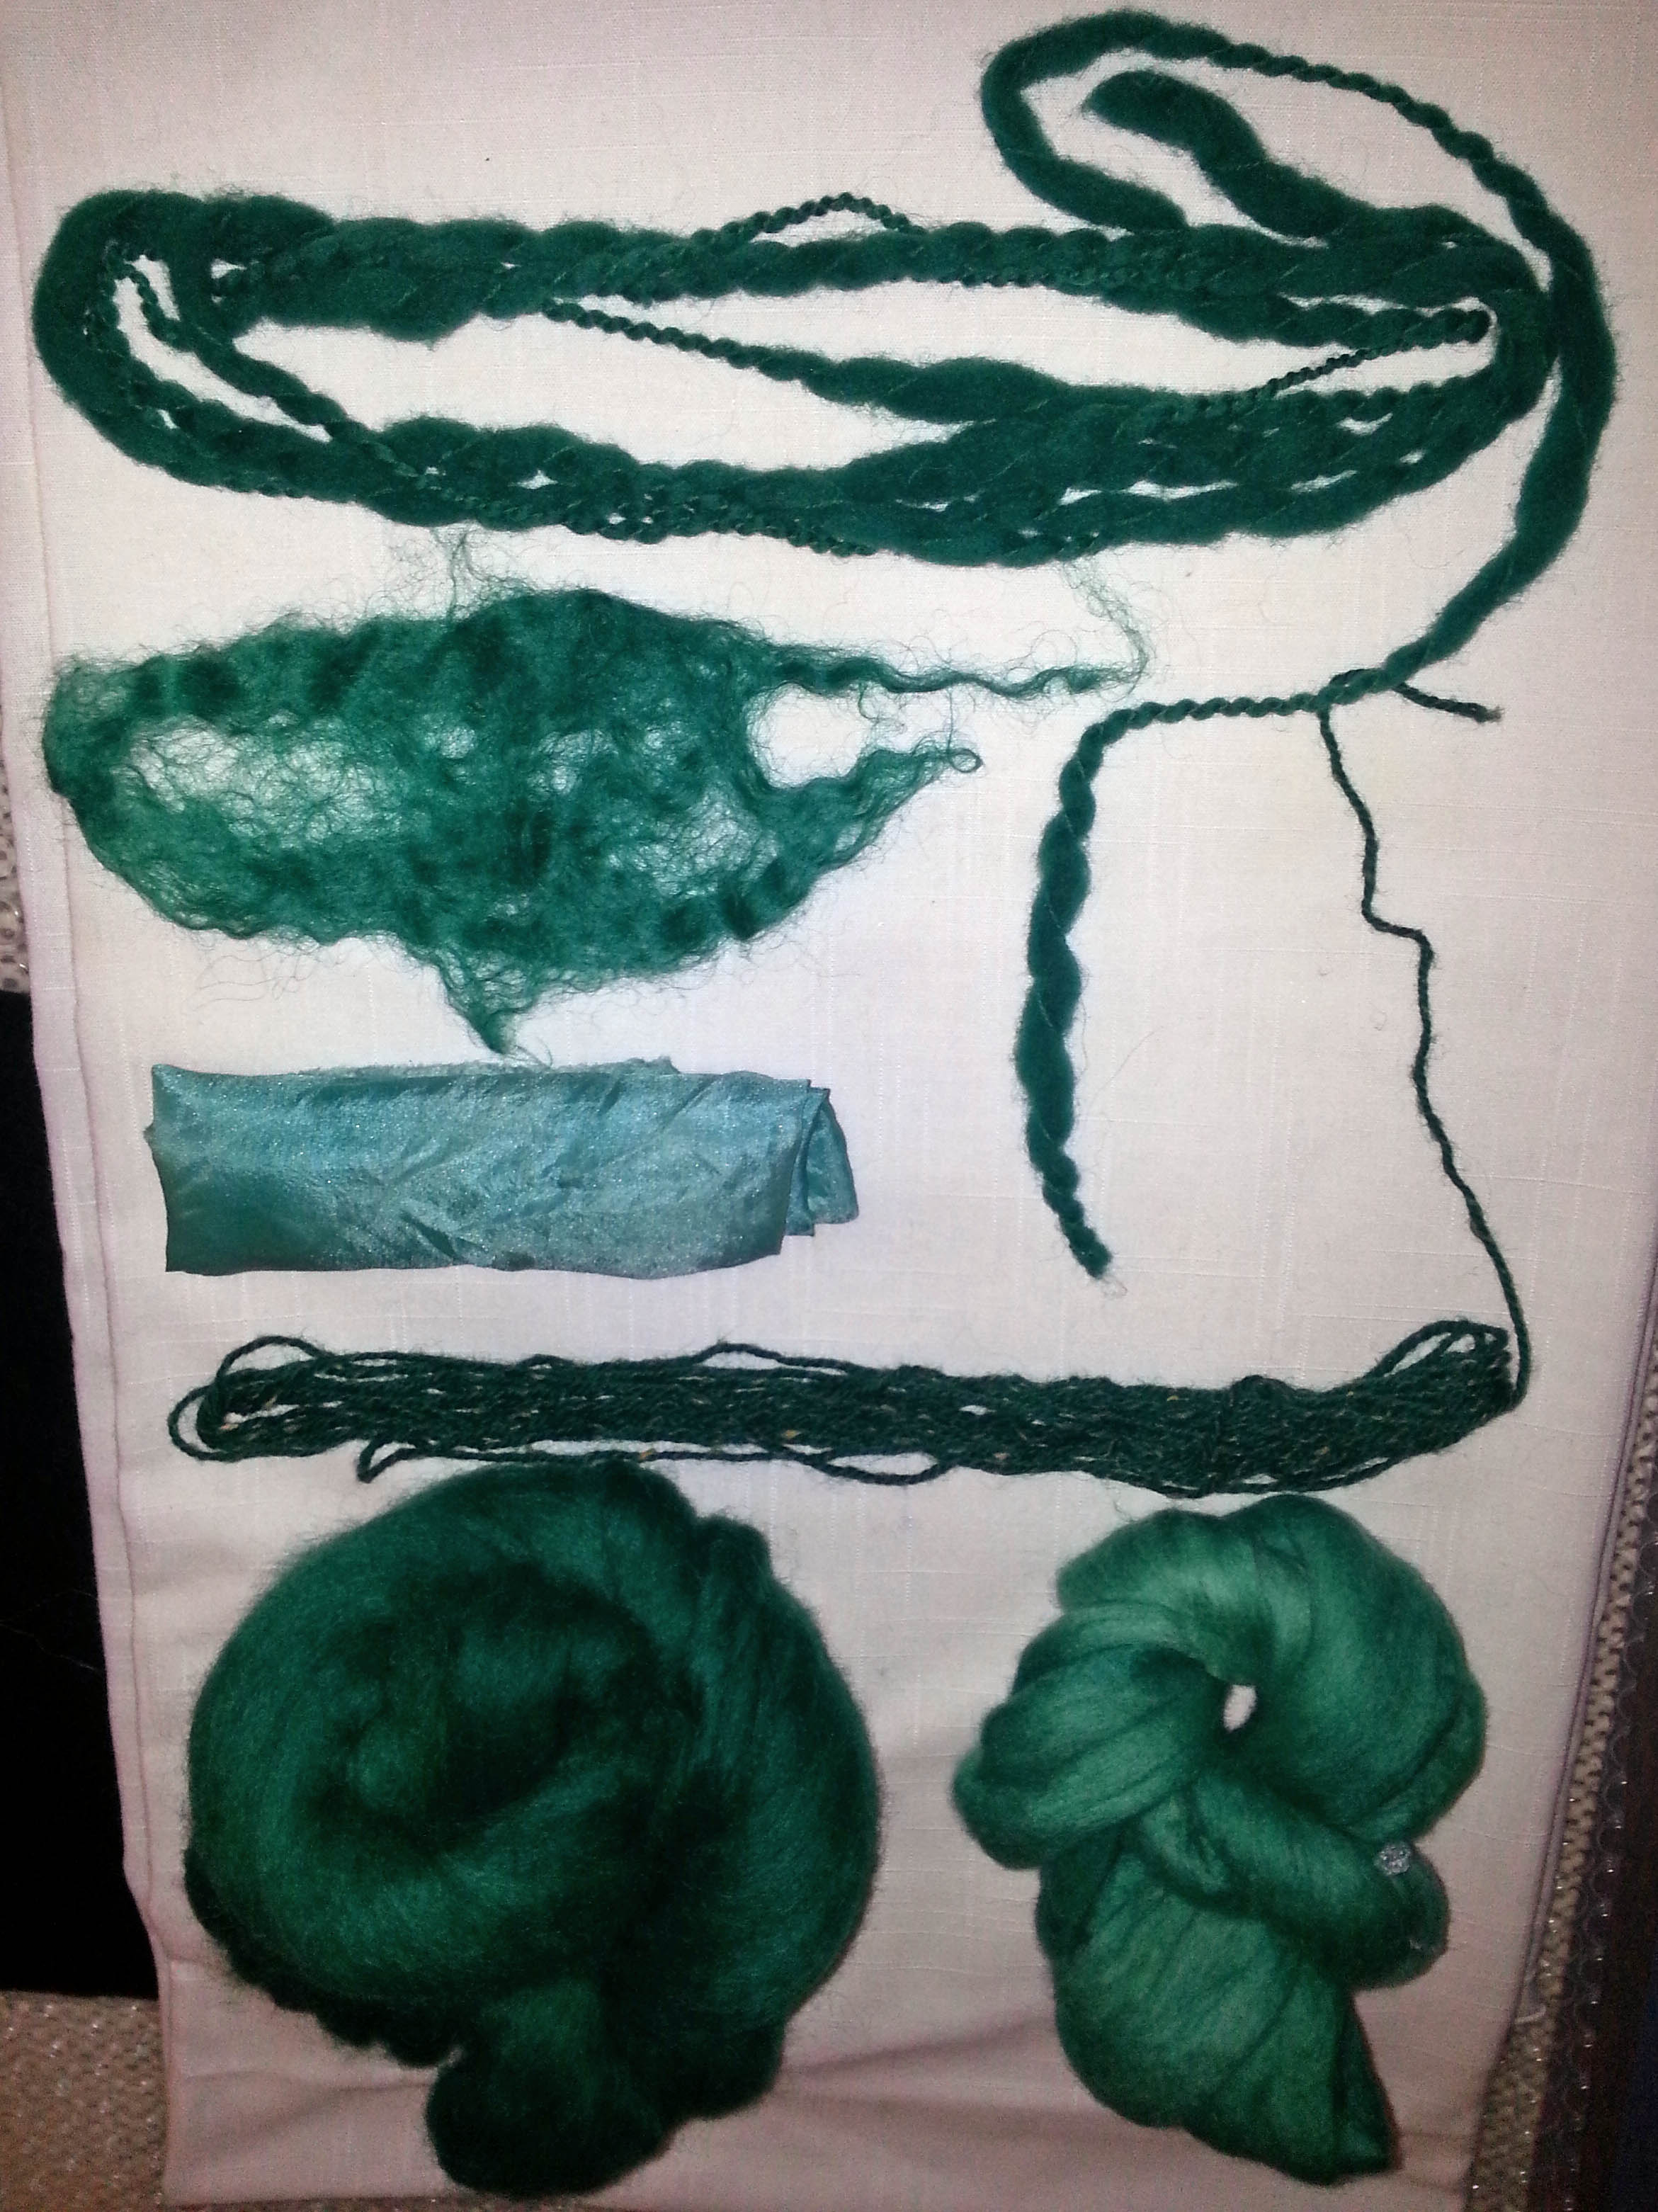
Day 3bOkay, enough, right? Dont laugh. I had to see this through.  Day 4 included thick and thin yarn, wool yarn, a piece of felted Wensleydale, silk habatoi, Romney and Merino. I expected some pastel colors the next morning. No.

Day 4Finally, the dye bath was exhausted and I had the biggest surprise of all. The Romney was darker than the fibers on the first day.  It’s a good thing I like teal.

4 days

I finally realized my mistake — my prepared dye mix  is 1 teaspoon dye powder to 8 ounces of water which is double the concentration than what the instructions were for making the dye solution.  (1 part dye powder to 100 parts water — i.e. 5 gm dye powder to 500 ml of water.)  I didn’t pay attention to the dye solution instructions because I had already had some made.  My bad.

I haven’t given up.  I have citric acid now but will try a much smaller amount of fiber and the right amount of dye solution.  But now on to make some batts and start a new project.


Distaff Day

Distaff Day

Every year on of the local guilds hosts a day of fun short workshops, lunch and fun.

breakfast snacks


There are vendors for adding to your stash

vendor 1 vendor 2 vendor 3

In the morning I took a hookers necklace class. This is done by stitching the little wool strips and beads onto a stretchy string.  the necklace are scratchy but would be fine on winter over clothing. I think I may do one with some felt off cuts for a softer necklace.  Mine is second from the left.

hookers necklases

In the afternoon I taught a nuno felt bracelet. I had 10 people in the class and they seemed to really enjoy themselves. They will have to put buttons on them themselves. One lady left hers a little longer and is planning to use cufflinks to hold it closed.

nuno bracelets

I will show you the pictures I have of some of the other workshops  next time.