FELT SWAPPING
The International Feltmakers Association has been running an annual Felt Swap – setting a theme and linking members who’ve elected to join the challenge with a “swap partner” from somewhere in the world – since 2020. I spotted the invitation to join in the 2025 swap on one of the regular emailed Newsletters and decided to have a go. I started to write this post about the entry and remembered that I’d entered the first Swap and had posted about it. However, when I trawled back through my posts to find the link for you, I found that I hadn’t actually written the post, let alone published it. So we’d better start there.
The subject of that challenge was “Light”. I thought a lot about this as it seemed such a wide subject and I didn’t know where to go with it.
To begin with I listed as many things as I could think of that could have anything at all to do with light and came up with: Light bulbs; Bright light – dazzling – blurred; Rainbow; Prisms and light splitting; Dark area with light coming in from one side; Sun beams from behind clouds; Fire light; Moon light; Lighthouse; Northern Lights.
Clouds and especially stormy skies fascinate me and I thought that I could do something with this idea. Initially I went for a sun low on the horizon just showing through some dark clouds but with rays going upwards behind the clouds. For some reason this was not a success so was abandoned.
Then we had a thunderstorm and I had a lightbulb moment! So I looked through some of Mr Google’s images just to remind myself what forked lightning looked like and then went for a storm over the sea, and used this image for reference.

I have a collection of fibres, yarns and fabrics in my “stormy” project sack – too big to call a bag – and my first thought was to use some of those in the picture I had in mind. I had already made a mixed media image of a storm at sea using various textiles and fibres and thought of doing something similar.

So I looked out some of the fabrics and yarns and other bits and pieces to see what I might use.


But in the end I decided that I wouldn’t use these for a couple of reasons: 1. this was supposed to be a “felt” swap; and 2. using the mixed media would possibly need a larger picture than I was making – we were limited to A5 size – 5.8 x 8.3 inches (sorry I don’t work in “the foreign” if I can help it). I did use my stormy fibres though.

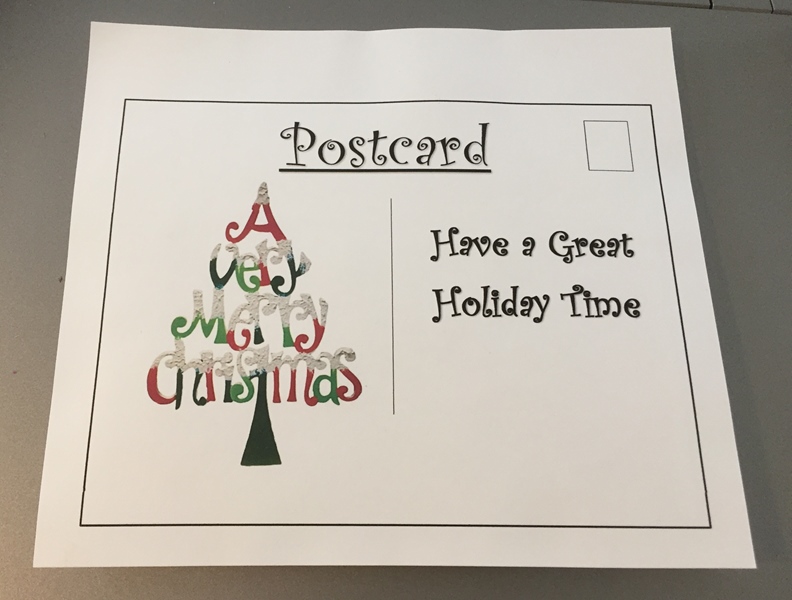
I was reasonably happy with the picture after it had dried, but decided to do a bit of tidying up and embellishing with some needle felting.
This is the final result

My swap partner, from Denmark, sent me a felt bag, which was really good. I didn’t want it to get dirty or damaged before I was able to use it and show it off so I wrapped it up and put it in a safe place. So safe that …..!
Anyway, back to this year’s swap. The theme for this one is “Inspired by an Artist”.
Again this was a very wide subject, first choose your favourite artist then find a piece of their work that sparks an idea. I don’t actually have a “favourite” artist, I love the work of many: Constable; Canaletto; Turner; Rowland Hilder; William Morris and most of the Arts and Crafts artists and architects; Rennie Mackintosh…. I could fill up the page with names. I trawled through works by most of these, bearing in mind the maximum size of the piece I was to make (8″ x 8″) the while. In the end I decided that I would go with Charles Rennie Mackintosh.
I searched google and found several stained glass windows, one wall carving and a draft fabric design that I liked.


In the end though, I decided to go with a section of the last one, which I squared up and manipulated to make it the right shape and size. The window is typical of the Art Nouveau period and “attributed to Mackintosh”. I could not find out if it is actually his design but it is certainly very like his work.


I picked the centre of the window to work on and the enlarged and reshaped (slightly) design was printed off in greyscale and laminated. I would be able to use the laminated design as a base on which to lay out the fibres.

While I was looking through my stash for suitable fibres and pre-felts for the project I happened to glance at the design which was inverted. I immediately saw a face with an extremely runny nose!

Nevertheless I thought it would be fun to use the design of the face, since we were to produce something “inspired by” a favourite artist, rather than copy what s/he had produced. This would allow me to get rid of the runny nose and I also wanted to change the colour scheme.
I had decided to use a piece of pre-felt which I had bought from Wingham Woolwork some years ago, especially as it was slightly moth eaten and I could use what I might otherwise have to throw away. This was a lovely strong purple colour so I decided that my colour palette should be purple, turquoise and orange.

The basic design was laid out in reverse, that is with turquoise knitting/felting yarn “face down” on the design, with some fillings-in of orange fibres on top and two squares of turquoise where the “eyes” would be. The purple pre-felt backing was placed on top of that and the whole wet felted. Unfortunately this resulted in the straight lines becoming distinctly wavy – a good job this wasn’t a straight copy of the original!
After the piece was rinsed, dried and ironed, the remainder of the design was added by needle felting (which, together with the shrinkage during wet felting, had effectively removed the moth holes) and finally some simple embroidery stitches.


The piece has been mounted on foam board for stability.

This is the piece I received from my Canadian (Calgary) swap mate. It is inspired by “Violet Poppies” by Emile Nolde https://arthur.io/art/emil-nolde/violet-poppy
Isn’t it gorgeous?


 1) Maureen’s Vacation spinning picture “spinning in front to the Arches at Arches Provincial Park”
 2) 6:30-ish pm at the Kanata Games Club.
 3) Cutting off the sky and then straightening the Horizon.
 4) Straitened the horizon, and squared up the short corner of felt.
 5) cutting the next section out and then adding the sea
 6) Cutting out the rock and the next section of the ocean.
  7) Continuing to cut away a section of the photo, draw in the new edge then felt in the open area
 8.1-8.2) Continuing to cut out a section, then use a sharpie to denote the edge, then add wool.
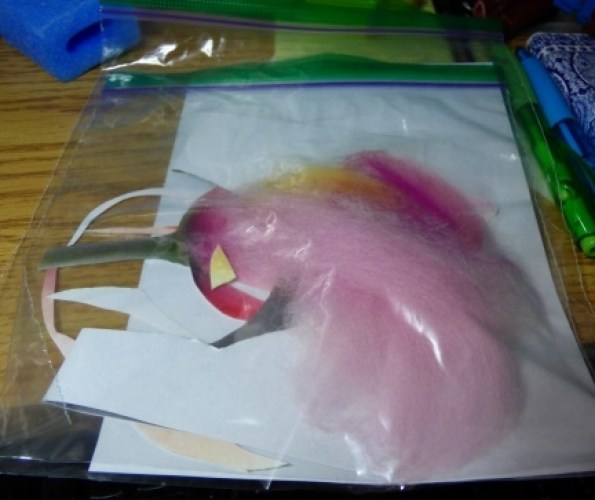
 9) My Reference image is now on the computer, note the zip lock baggie with all the pieces that have been cut out so far. it’s above the Right corner of the felting.
  11) Arm is in
 12) adding shorts
 13) This is about 10.5 hours
 14) Waiting for a consultation with Ann and I was working on her sheep name tag
 16) ways to help your brain see what you are looking at


 12 The photo was taken May 2nd, 2021. The needle felted picture is based on this tulip and was started the evening of May 6th and then worked on over the next 2 days while Glenn still puttered on the garage clearing.
  13 I used the template method of transfer, although the felt was thin and light so if we had a sunny day I could have done the window or lightbox method. I did not want to use the black permanent black markers and could not remember where I had put the coloured permanent markers so I used coloured pens instead. (the lost markers could have been replaced at Dollerama but are not considered essential!!!) I measured out the 5×7 box and since my cardboard mat has also disappeared after I cleaned my desk I just kept checking with the ruler to make sure I was staying in the correct size for framing. (It is a lot cheaper to work in a standard size so you don’t need to cut a custom mat later.)
 14-15 I laid in the background first and used both the single needle and fake clover multi-tool to get the background blocked in.


 20-22 getting a stronger contrast along the edge of the tulip
 23
23

 24-26
24-26
 27-28
27-28


 31-33 The later spring garden
 34 This is the same tulip I was felting. Now it is almost finished blooming and will soon drop its petals. What an amazing colour change!


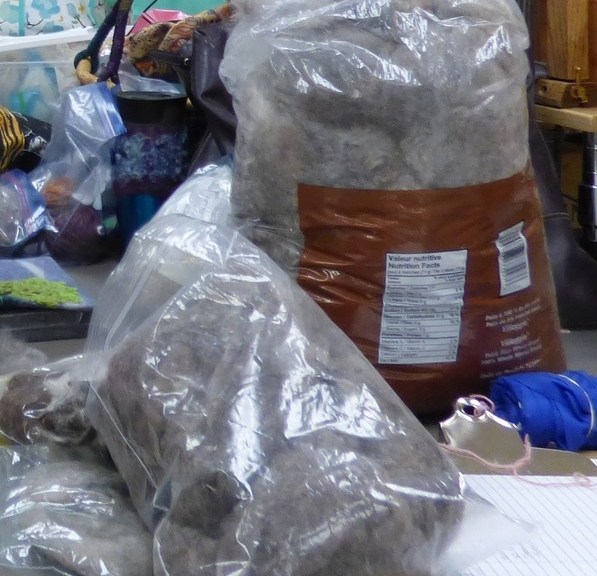
 (picture 2 the supply, a stack of notes, a picture chosen and all ready to start )
 (picture 3 transferring image )
 (picture 15 Framing there work)