Browsed by
Tag: felt hat

My Felt in the Guild Exhibition

My Felt in the Guild Exhibition

My  guild exhibition opened on Wednesday. we had a vernissage  Thursday evening.

guild show

I can now show you the hat I have been working on for ages. First I had to make a prototype, modeled her by my son. It was how to make, attach and manage the horns that I needed to work out.

prototype 1 web prototype 2 web

Very Monty Python to me.

The finished hat looks like this

hat on display

I will do a post about making it in the near future.

I also have some pictures in the exhibition.

pictures hanging


picture hanging

I think they look great hanging. You can get an idea of how big the Cityscape is in the hat picture, it is in the back ground .

Here are some of the other things in the exhibition.

colapsable weave lace shawl

Collapsible weave scarf and a lace shawl hand spun and knit.

shawl shawl close up

Hand woven shawl and close up of the pattern.

hand dyed, spun and knit handspun and knitting

Hand dyed, hand spun and hand knit. hand spun and hand knit art yarns.

pillows from hands woven fabric mettal weaving

Pillows from handwoven fabric. Hand woven metal wall hanging.


Making a Felt Hat with T-pins

Making a Felt Hat with T-pins

A little while ago I received some T-pins. I had never used them before. I haven’t mad and hats with folds for some time as they are difficult to get the folds where you want them. As you try to put the second fold in the first one can easily get pulled out and so on. with the T-pins it was much easier. I could put a fold in and then pin it and then work on the next one.

hat with pins


The hat block is a hard foam raffia hat block. the only place I know that sells them is Franks, http://www.franksupply.com/raffia/hatmaking-supplies.html  I left all the pins in while it dried. Here it is after is is dry. It is merino wool with silk lap on accents

hat1 hat 2 hat 4 hat 3


I am quite pleased with it. I haven’t yet decided if I want to leave the organic edge or if I want to trim it smooth and even.

A Felt Beret

A Felt Beret

The other week I decided to make a beret to see if I remembered how as I haven’t made one in years.  They seem to be making a bit of a comeback where I live.

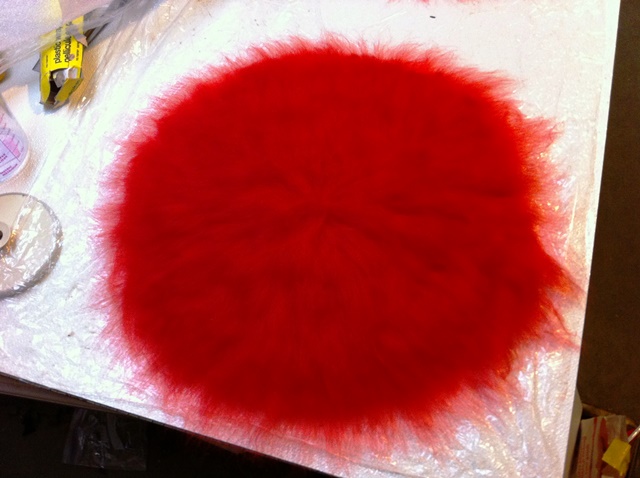
I decided on a nice bright red

side one first side wet

I added some white throwsters waste for some interest

silk on beret silk on beret close up

After some rubbing and rolling I cut a small hole to get the resist out and to make a hole for my head.

cut out for head

The whole stretches easily to the correct size

fulling and stretching the head hole beret finnished

As it turns out a little bigger ( not much) would have been better it is a size small so tight on my head.  I stretched it as much as I could.   Just as well as I do not look good in a beret. I could make it bigger by cutting and adding sewn on brim but I am lazy.

finished beret 1 finished beret 2

I really like how the silk worked. It is quite big but I was thinking the you could put your hair inside it.


Another Hat

Another Hat

A couple of weeks ago, I posted about my first felt hat. I had a think about how I could improve on the design and resist and thought I’d give it another go. I also thought more about shaping it and blocking it to get a better shape. This time I used an upturned glass bowl with a couple of microfibre towels and bubble wrap on to finish the felting/fulling. Last time I said I’d used mt head and for some reason most people had a vision of me with soggy soapy roving wrapped around my head frantically rubbing for hours! 🙂 What I really meant was for pulling the hat into shape and the final fulling stage, I used my head. This was the finished hat:

OLYMPUS DIGITAL CAMERAAs it dried, I removed the bubble-wrap and added the lid from a storage tub, this gave the top a flatter shape. I kept checking the size, and removed another towel and let it dry with just one towel and the lid over the bowl. This is the flatter top.

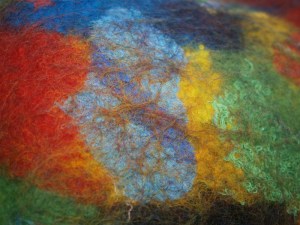
OLYMPUS DIGITAL CAMERAI increased the size of the resist slightly, but this time only used 2 layers of wool, I thought this would keep it softer, and not shrink so much. The idea worked in theory, but the amount of fulling I had to do to get the correct shrinkage caused a lot of wool migration which makes the hat look very fuzzy and the colours are dulled. This is the wool migrating through and over silk:

OLYMPUS DIGITAL CAMERAYellow and red wool migrating through blue:

OLYMPUS DIGITAL CAMERAWool over silk and cotton gauze:

OLYMPUS DIGITAL CAMERAI might shave it carefully to remove some of the fuzz. You can see the shape a bit better from underneath, and I had the narrow sides again, where the edges of the resist were, I’m working on ideas to prevent that for next time.

OLYMPUS DIGITAL CAMERAI mentioned in my bag post last week that I’d been looking at eyelet kits, but couldn’t decide. I’m glad I couldn’t, because while I was out on Friday I had a good look around a ‘bargain’ shop and found myself a kit for £2.50. I also found a pack of 2 rainbow luggage straps, which I’m hoping will be perfect for the drawstring channel of my Pollock bag. If not, they will be perfect for something else! I also found some woven cord too, which will be ideal for drawstrings. I got a couple of different colours of this.

OLYMPUS DIGITAL CAMERA

Felting with friends Weekend- Hats

Felting with friends Weekend- Hats

More on my felting weekend.  We all meat at Maureen’s ( http://www.dreamspinfibres.ca/ ) A great place, she has so much fiber to choose from.

Three of us made hats based on a hat in Judit Pocs video. It seems to be gone from the internet. It was mostly about making a rug.  This is Diane and Susan( http://www.suzannetowns.ca/ ) sizing up a template.

Diane and Susan

They made their hats on the first day. They like a really firm hat so their scaled up the template and added more layers than I do.

laying out fiber laying out fiber 2

more colour and embelishments 3 dianes hat half done 2

Susan added come great colour  and Dian used some resists to reveal some fabric on the layer underneath.

Diane and Susan finnished hats 2

Diane added a string of small felted yarn balls to her hat. The parts that stick down were up to high so the pulled them down and twisted them to get them in a better position.

On the second day I did my hat. I adjusted the pointy parts so they would be lower. and left the pointy top smaller.

my hat ready to felt my hat finished my hat finnished 2

I should have used a different colour yarn for the embellishments. The colour was much to close the hat colour.
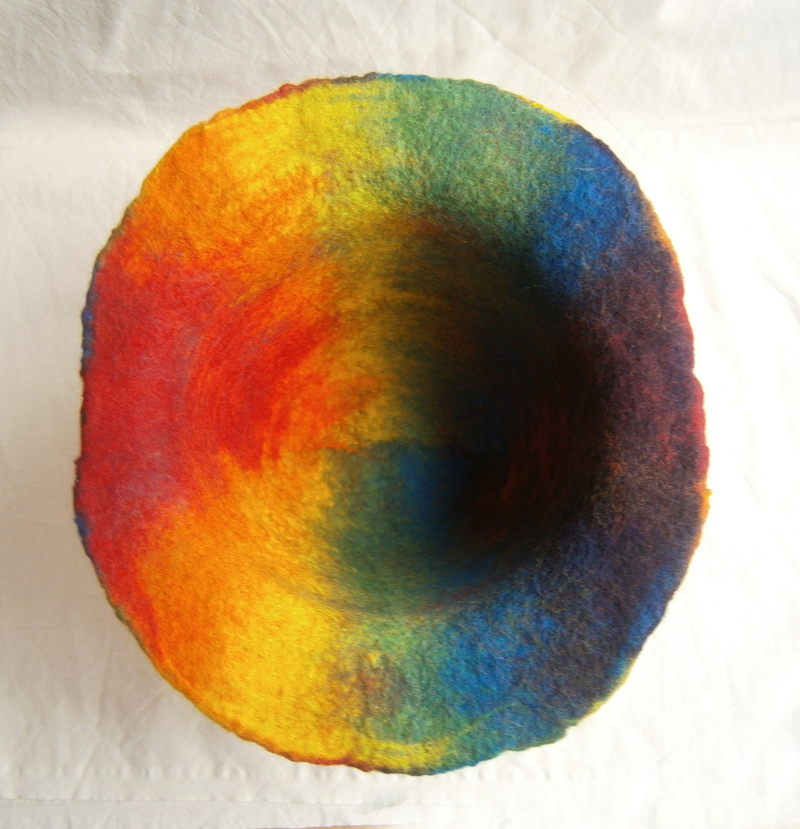
Dian made another hat on the second day. I didn’t get any pictures of it in progress. the template was like witches hat.

dianes seconed hat 3 dianes seconed hat 4

I have to give one of these a try. I like the way it is folded in on itself.


My First Felted Hat

My First Felted Hat

Last time I posted, I’d been working on a hat template. A couple of days later I got a chance to work on it. I made a resist out of a large piece of dense plasticy foam stuff I had, probably some kind of packing material.

OLYMPUS DIGITAL CAMERAI made a batt from some browns, greens and rusty orange Merino for the first couple of layers. I laid the first layer on the resist, wet it down, flipped it over then folded the wool in and finished the first layer on the other side. I repeated this colour on the second layer, but laid the wool at 90 degrees. For the third and fourth layers, I used more greeny shades, then I added some torn silk pieces (bottom right photo)

hat comp 1I felted it until it was holding together, then removed the resist. I knew it would be hard work, but hadn’t realised just how hard! I seemed to rubbing and shaping for ages. I thought a bowl I had would be good for fulling and shaping, but it was only good for a while, so I finished fulling and shaping it on my head. I didn’t consider that it would shrink some more so it ended up a bit too small. Using my head made it more of a cloche hat than a bucket hat too. But, not bad for a first go, I think.

OLYMPUS DIGITAL CAMERAThe brim wasn’t very even, though it did feel good being smaller at the back.

OLYMPUS DIGITAL CAMERAI don’t think the brim was wide enough, at the front either. Some of the silk pieces came off and I realised I should have worked inside out.

OLYMPUS DIGITAL CAMERAAnd, upside down it does look a bit like those moulded cardboard bed-pans 🙂

OLYMPUS DIGITAL CAMERAI might rework the template and try again. Maybe 🙂

The finished hat

The finished hat

Just a short post today to show  you how my hat turned out. The top looked really cool on the form but when you put it on the over sized top looked funny.

large top  large top 2large top 3

so I trimmed it down.

Hat trimmed 3 Hat trimmed 2Hat trimmed

I think it looks better. I hope you think so too. sorry for the bad pictures of it on my but I am not good at selfies.

What I am working on

What I am working on

I was sitting here wondering what the post would be today when I realised it was my turn to post.  So you might guess I am running a little behind. It has turned cold her so I thought  better make myself a hat. Normally I can make several hats in a day. Not this one. It is a never ending project. I started the hat on Friday. Now its Wednesday and its not done yet. First I made a larger template than usual because I wanted to make a scrunched up hat.Then I looked for colours. I have nothing I want in large enough quantity to make a hat. That means the first thing is to blend all the purples together to get enough wool to make my hat.

Before Carding
Before Carding
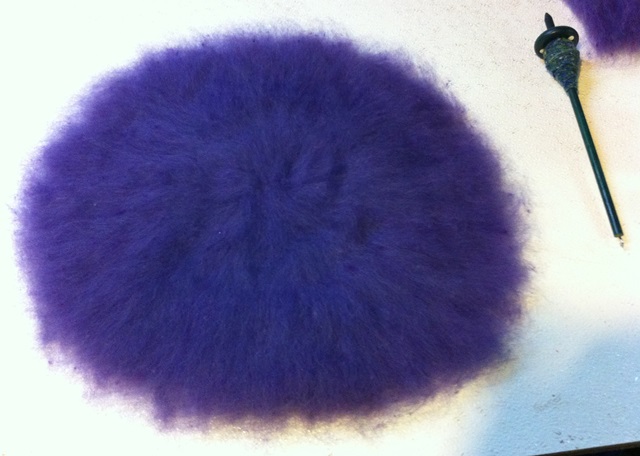
First time through the carder.
Third time through the carder

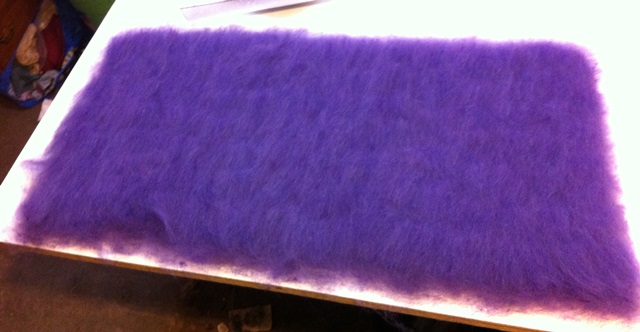
Here it is all the wool laid out on Friday.

layout top layout

The yarn on my spindle in the picture will end up on both parts. I also have a similar hand spun yarn in pinks that will go on the hat. I forgot to take pictures of that on Monday. Last night I sewed it up into tight scrunches ready to be steamed and ironed.

sewn up sewn up top

The part that is not sewn will be turned to the inside with the top attached to it.  The top was sewn towards the center. My hands were sore after the sewing do my plan is to do the ironing today and then I have to sew the top on and see if it looks any good on me. I will show you the finished hat in my next post. What have you or are you making for yourself ?

Felt Cuffs and Hats

Felt Cuffs and Hats

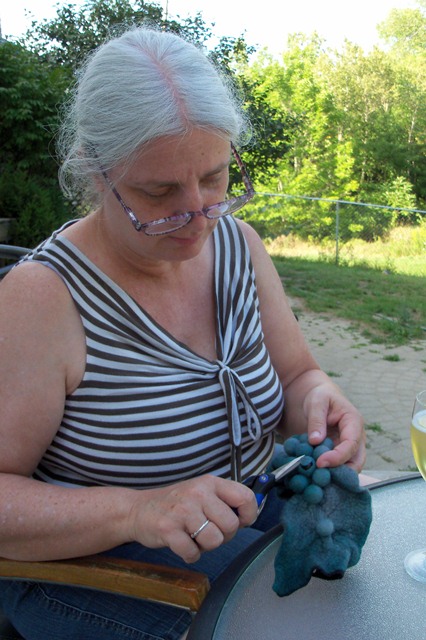
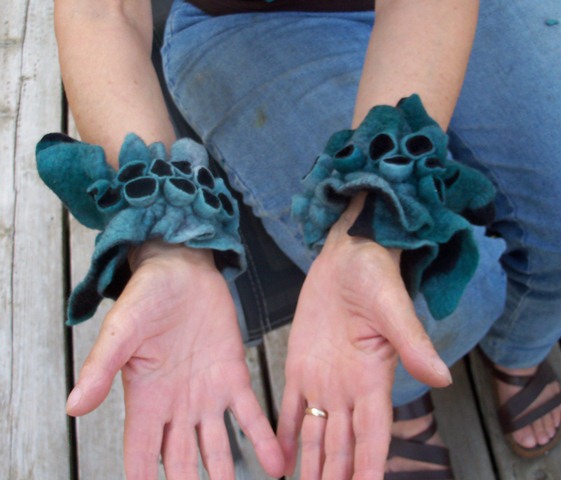
My last post showed you some bubble samples I made when visiting my friend Maureen. This time I will show you what we did with them. The first thing we did was try some wrist cuffs. We both used the same colours. They were two scrap pieces of pre felt that Maureen had. We felted them together and down to 22 inches long. The bubbles will bring them to a good length for around your wrist.


I won’t show you all the steps of felting and putting the marbles in but as you can see it was done in the sun on the patio with a glass of wine. We are not all work and no play. In the right hand picture you can see the marble inside the bubble I just cut open.


Here they are on and in the right hand picture you can see we left one bubble uncut. It acts as the button to fasten the cuff around your wrist. We put a felt ball in that one.  That was a success so we decided to do hats.


Here you can see the resist and the size of the finished hat with the marbles in it. On the right is Maureen with hers on. They are still wet at this point. We ran them through her laundry spinner and they were dry in the sun in an hour.


By then we had eaten dinner and it was back out the deck for a glass of wine and cutting. Here we are wearing them and a close up of mine so you can see the cut bubbles better. I stretched the large bubble after I cut it open to really show off the contrasting colours.

We had a great couple of days together felting and enjoying the weather. I have to say her husband was great he did most of the cooking and all of the clean up.

Wet Felted Hat Class

Wet Felted Hat Class

Wet Felted Hat Class

I taught a small hat class this last week-end. I had 3 great students all doing different style hats. Donna was making her first hat and wanted a winter hat with a folded up brim.

Dona laying out

Linda also a first time hat maker wanted an oversized pill-box hat in 2 pieces.

Linda Laying out

Jan who is on her 5th class and wanted a large turned up brim and a long tail to add curls and yarn embellishments to.

Jan Laying out

With patient rubbing

.
Jan rubbing with a little to much soap

And Rolling

Dona Rolling

Then fulling and shaping (sorry no picture)

Everyone ended up with the hat they wanted.

Jan's hat
Donna's hat
Linda's Hat

Linda will need to sew the top piece into her hat when it’s dry and Jan will add her embellishments to the tail. I will post a picture when she has it finished.