Browsed by
Author: Shepherdessann

Felt Bubbles

Felt Bubbles

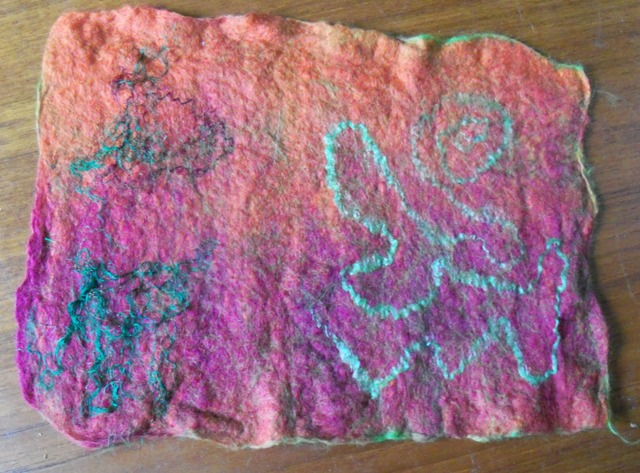
A while back I went to a felting friends for a few days fun.  She showed me how to make bubbles and cut them  open to great effect. Here are the pictures of what I did.

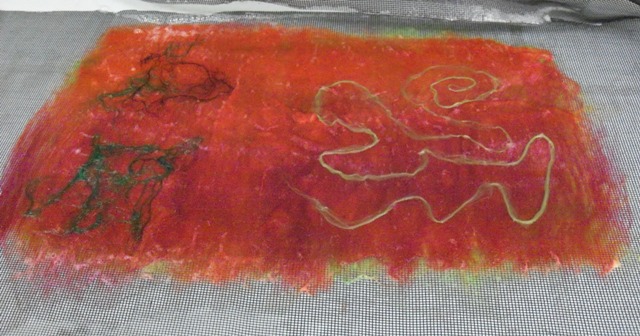
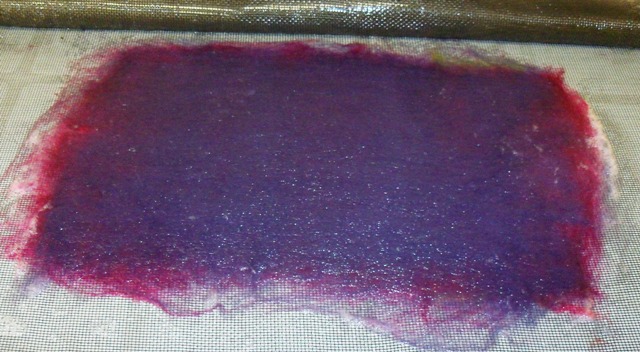
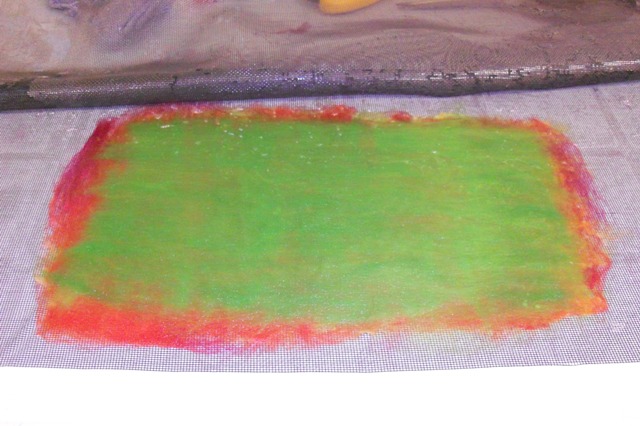
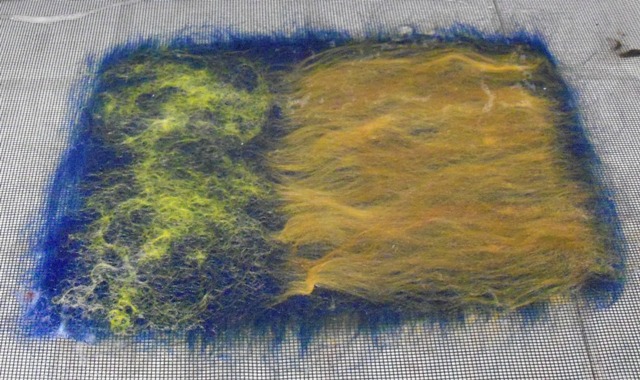
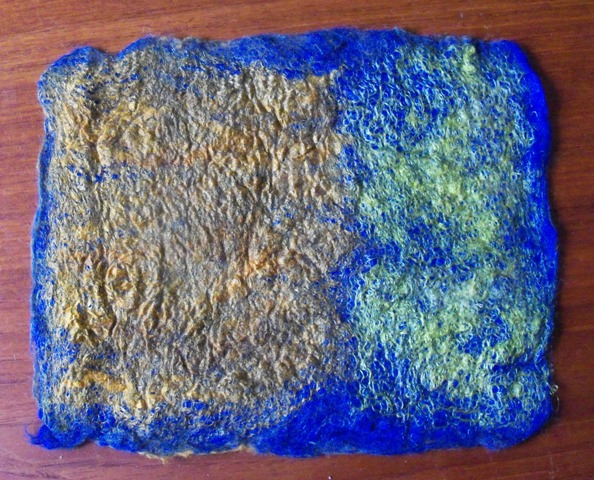
First of course I laid out some wool to felt. But these are samples so plain felt won’t do . I added silk threads and a silk square and some silk roving and other wools to see how it would all go. This is the underside.
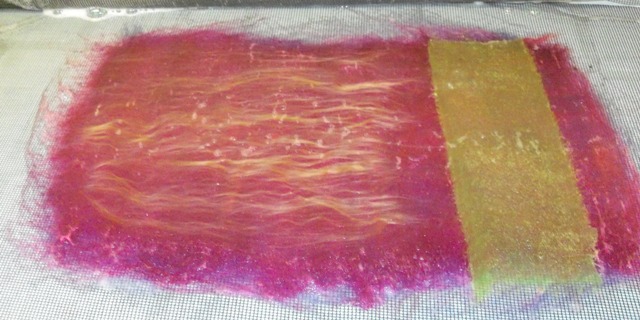
This is what the top side looks like
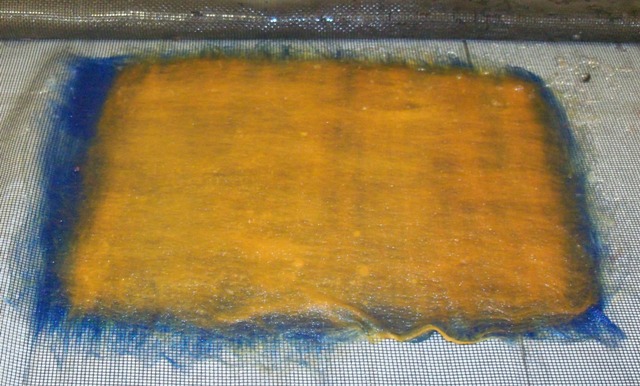
Then of course there was the usual rolling and fulling.

rolling rolling rolling

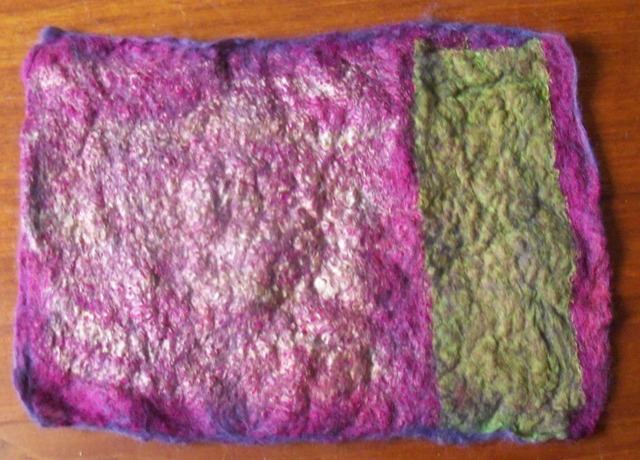
Here they are all finished and ready for the marbles.
The next step is to put marbles in while it is still damp. You pull the felt tightly around the marble and secure it with an elastic and now it is a bubble. We used the elastics they use to put braids in horses tails and manes because they are small, stretchy,  strong and cheap.  You put in as many as you like and what ever sizes you like. You can also use felt balls. the felt balls are good if you want to leave them uncut. Marbles are to heavy for that.

Here they are all tied up.

Felt with marbles tied in to make bubbles

Here they are cut.  I cut the tops off , I cut x’s and star patterns and some I tuned inside out. if you cut more off you see more of the inside and you can stretch them flatter too.

Bubbles cut open

You can see how the underside becomes the inside of the bubbles. These samples started out about 6×8 inches and the finished pieces are about 1.5 by 2.5 inches. They take up a lot of room. I only have 2 of them left my friends dog ate one. I think I will glue them to some leather and make broaches out of them. They are lots of fun to do. I made some wrist cuffs with this method and I will blog about them next week.

Dyeing Some Waste

Dyeing Some Waste

Dyeing some waste.  Throwsters waste that is and I suppose it must have been trash at some point or they wouldn’t call it that. Throwing is was they call reeling silk for thread and this is the left over little bits.  I have a batch of white and needed some colours for a project.  The pictures of wet silk an bags did not turn out but I have some nice pictures of the end.

I dyed small amounts in plastic sandwich bags. First I placed each blob of waste  in a bag and added some soapy water to get it wet. I let it sit to soak while I got the dye ready. I used MX dye as it would be the fastest and easiest. I poured of the extra water out then poured in the dye,  just enough to get it all wet. I squished it around in the bag to make sure it all got dye.  No worries about felting the silk, a nice change from dyeing wool.  I did the same for all the colours and let them sit for 10 min. I added a solution of PH up and water. Buying the pool chemical is the cheapest way to buy Sodium Carbonate, especially at the end of the season.

I made a solution and poured in enough to cover the silk. I let it sit for about half an hour then drained and rinsed the silk. Here is what it looks like drying on my front porch.

Throwsters Waste Drying

Not so great looking. I had squeezed all the extra water out of them. However after they were dry I fluffed them up and they look like this.

Fluffed up
Second Half All Fluffed Up

As you can see fluffed up they barely fit on the same drying rack in 2 batches. My project didn’t work out, the waste I used  on the surface sank into the courser wool I was using and disappeared so I have nothing to show you right now. I am planing to use some more on hats so I will do a post with them later.


Colourful Sheep

Colourful Sheep

Just a quit little post to show you the sheep I have been working on for my Christmas sales. They do stand up so you can use them as a decoration but they will all have a pin on one side so you can wear them.

Colourful Sheep

They are made with a combination of wet felting and needle felting. The ears are cut from a wet felted piece of fabric and I wet felt the snakes I cut for the legs.  The body and head are needle felted. The ears, eyes and all the curls are added with needle felting.  I hand dyed the curls. They are Border Leicester or Blue Faced Leicester I can’t remember.

Felt Cuffs Started

Felt Cuffs Started

I was inspired by Zed’s post about felted cuffs. http://feltingandfiberstudio.com/2012/07/25/wrist-cuffs/

I have  some felted water bottle covers that have been hanging around for to long.

Everyone tells me what a good idea they are but no one buys them. So I decided to repurpose them. I started by cutting them in to rings and then cutting across them to make them flat. I also made a slit at one end of each for the buttons.

As you can see they look kind of wobbly before they are refelted. I rolled them in a place mat made out of sticks. They are great for little projects. I kept stretching them so they would not end up to short .

and the yellow ones

All the covers are now cuffs. I haven’t managed to get anything else done on them. I have picked out a bag of buttons to use for the closures. Then I plan to do some beading and  if I get my machine serviced some free motions embroidery. I have never tried it before.

Here are the buttons I’ve picked out.

What have you repurposed?

Fun at the Medieval Fair

Fun at the Medieval Fair

Last weekend I was a vendor, along with a friend at tour local medieval fair. People have asked to see my outfit so here is the only picture I managed to get. It’s not very good I will try to get a better one and post it on the Forum, http://feltandfiberstudio.proboards.com/index.cgi?

Dressed up for the fair

Here is the booth we had. I did take the felt pouches I blogged about earlier and some shawls. We had bloomers and headdresses like I am wearing as well as Mayday style ones.

Booth

There was a camp to show medieval life. They were supposed to be on their way home from a battle.

Grinding wheat for bread

The event isn’t strict about time period or even staying historically correct so we had pirates too

Friends

and for the more adventurous a chain mail bikini.

chain mail

All in all it was a fun weekend. Now I hope to have time to do some experiments with felt.

Felting Around the Web

Felting Around the Web

http://historic-crafts.com/felting

http://www.moymackay.com/2012/05/stirling-art-morningside-gallery-edinburgh-.html

Flextile’s Felt Snail Shells and her exhibition

Jane LaFazio’s “Sedona” in Felt

Felted Chicken Footstools

Deborah’s Penguin Tea Cosies

Mattie’s Green Man

G Felt’s Shibori Neck Piece

http://filzkram.blogspot.ca/

http://judycooper.blogspot.ca/2012/05/needle-felting.html

Create your own Glass Eyeballs

My Studio Challenge Contribution and Excuse

My Studio Challenge Contribution and Excuse

The second quarter is almost done and I finally have one of my planned pieces done. It is the simpler of the two but I  know I will not get the more complicated one done. This one was done like a line drawing with just a few bits of colour. It didn’t turn out as nice as I would have liked.

I make myself a piece of prefelt. Prefelt is just barely felted wool. You stop the process when everything is just holding together. I used Briggs and Little country roving. It comes as 5 strands of very thin roving ready to be put through a spinning machine. The only colour I had was red. It bleeds. I thought it might give the piece an interesting look. Here is the first strand on the prefelt.

roving on prefelt

Next I drew the picture and added some coloured felt from my left overs bin. Before cutting out the shapes and placing it, I brushed the back side with a dog brush to make it fuzzy.

all the elements added

I covered it with netting and rolled it up in a straw mat and rolled in all directions. I didn’t do any heavy fulling to shrink it because it does not need to be really strong.

I did start my second piece. I made the felt for the base. I used some cotton gauze for strength so I wouldn’t have to use much wool. I plan to cover the whole base with more wool  in several layers using my embellisher so wanted to start out fairly thin.

wool folded over to make neat edges
second base ready

While we are talking a little about technique people ask me why I use a star burst Tupperware lit to do my rubbing. I do it because when I rub directly on the sheer no mater how lightly I rub the I pull would right through the sheer and out. I’ve found about 1/3 of the people who come for classes have the same problem. I don’t know if our hands are just to rough or what.  Here are 2 pictures of what happens.

wool pulled through

And lastly my excuse. Besides waiting to long to start I have been getting ready to sell at our local medieval fair. One of the things that has taken time is my costume. Here is the under dress drying on the line after tea dying so it is not bright white.  There is a lot of material in it and I haven’t hemmed it yet. I have a little over a week to go and I have to make the top dress yet. I have a busy week ahead.

underdress dyed with tea
Dyeing Silk with MX Dye

Dyeing Silk with MX Dye

I dye my own silk and one of the ways I do that is with MX dye. MX Dye is a fiber reactive dye and works on cellulose or plant fibers like cotton , linen and hemp. It also works on silk. As far as I know silk is the only fiber that you can use both weak acid dyes that are for protein fibers and the MX dyes on.

Scarves blowing in the wind.

I like to use the low water dye method. With this method you use a jar and just a little water. What I do is scrunch or twist or pleat up my silk to be dyed. In this case they are all about 2 feet wide and 8 feet long. Then you pack it into the bottom of a jar that is big enough to hold the silk and the dye (1/2 a cup) and the fixative (1/4-1/2 cup).  It is important that it be a snug fit for this method to work.

I mix up 2 colours of MX dye in 1/4 cup of room temperature water. Pour them over the silk in the jar one at a time making sure they silk is covers with liquid. If it floats as you can see a couple of my jars did you need to carefully weight them down with something non metal. Metal will effect the dye. Once the dye is in the jar you don’t want to disturb them. You don’t want the dyes to mix completely and give you a solid colour.

dye in jars

I am very impatient. So I usually go do something else for 20 min to an hour then I come back and add the fixative. With MX dye you have to raise the PH to get the dye to stick. The cheapest thing for this is PH up from the pool store.  You can use washing soda( not bicarbonate of soda) or order it from your dye supplier but pool chemical is cheap especially at the end of the season. I add a tablespoon for each cup of water including the mix water. Stir to dissolve and then pour it into the jar.  You should leave it for an hour to react but I am impatient as I said and usually dump everything out after about 20 min. Rinse the silk in cold water then hot soapy water then one more cold. Here are some results.

I am sorry the pictures aren’t better but the wind wouldn’t cooperate.  They were dry in about 10 min. If you want really good detailed instructions I would read about it on Paula Burch’s site. http://www.pburch.net/dyeing/lowwaterimmersion.shtml

Outdoor Show

Outdoor Show

Over the years I have done several outdoor shows and they are great venues. This week-end I did one I hadn’t done before and it should have been a great show. It is primarily an art show with may visual artists, potters and unique jewellers. However it rained all week-end and hardly anything was sold by anyone.

A favourite topic is always booth design; how best to display your products and how best to entice people into your booth. A lot depends on the amount of space you have.  Here is a picture of my booth on a rainy weekend in June. For me it feels very crowded with the walls of the tent on. This was during a brief dry period so I could get a couple of things out front.

At The New Art Festival.

Although the sale wasn’t great I did get to meet lots of other artists and had time to chat with them. I have been inspired to knit myself a cool shawl. I am not sure how long it will take. I am not a knitter at all but when I get it done I will blog about it.

Here is a shot  inside my booth.

I am going to post some more pictures over on the Felt and Fiber Forum  if you want to give a long critique or detailed suggestions pop over and have a look.

Over Dyeing a Shrug Jacket

Over Dyeing a Shrug Jacket

I’ve been dying some shrug jackets this week. I made all the fabric white then sewed them with silk thread before dying. this way the thread will get dyed with the fabric and it will match.

This one I did spiced pumpkin. I would say it came out of the dye pot pumpkin without any spice at all. So, it needs to be over dyed.

Orange shrug before over dying

I decided to add my own spice. i found a reddish brown to use. I mixed it up and poured it on in stripes across the wet jacket.

Orange shrug with dye poured on.

Then I rolled it up and popped it the microwave for a few min to get it started. I wanted some of the striping to remain and not have the dye just disperse into the water and dye the whole thing. for plastic I used half a cheap plastic drop sheet. the are nice and thin but huge.

Orange shrug ready for the microwave.

Here it is after cooking and drying. It’s not a great picture because it is a really bright sunny day.

Orange shrug after over dying

You can see some of the stripe but it’s not a rigid line and the orange has gone  a little spiced and not quite as blinding orange.