
Pictures and Plant Pots
In December I was trying to supply lots of different places with felt things. In truth, I was a bit over-stretched. I decided to focus on making plant holders, with a few tea light holders and a couple of vases. Oh, and some cards. Here’s an overview of the things I made.
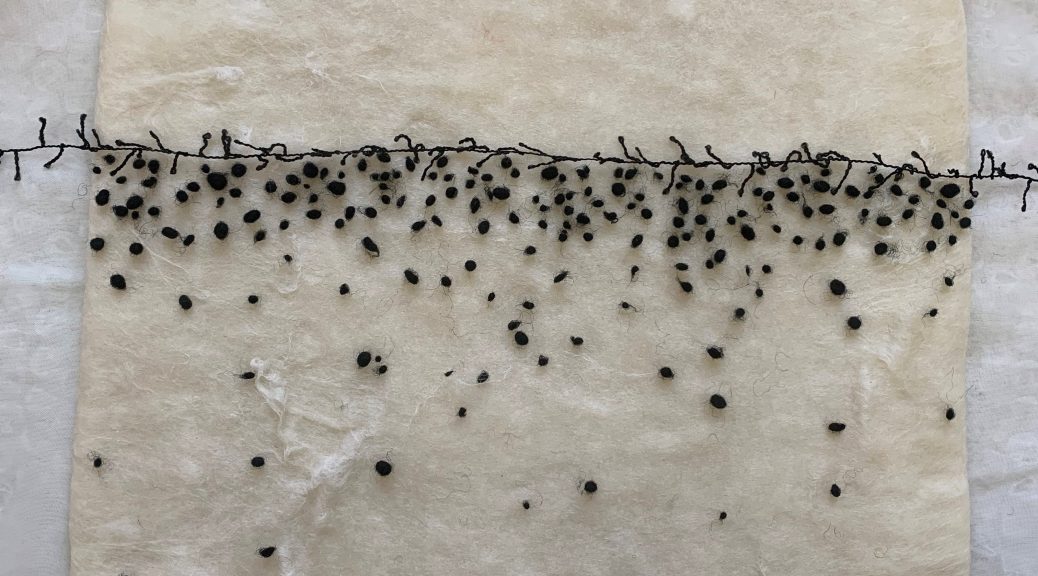
PLANT POTS AND VASES
First I made four plant pot covers from merino wool and silk pre-felt and incorporating different pieces of vintage lace


Next a couple of vases, also with a pre-felt base


On to some plant pot holders. When cutting the resist out of the vessel, I use the smallest hole I can that will allow me to fit the plant and its pot inside. All of these have a water proof plant pot holder inside, plus the plastic pot with drainage holes that the plants are supplied in. I like to start by looking at a plant and ‘asking’ it what sort of pot cover it might like.


These nesting bowls were made using a carded merino and silk batt and are very lightweight

One of the galleries where my work was part of a month-long Christmas local makers market
PICTURES
Now we’re into the new year and I really have to focus on making some pictures. I mentioned at the end of my last blog that I’m delighted to have the opportunity to fill the walls of a lovely local Michelin starred pub / restaurant (The Sportsman in Seasalter) with felt pictures for 6 weeks in April / May this year. The ‘fill’ bit is something of a challenge. I tend to make enough work as I go along for my normal sales and exhibitions. Making an extra 35 to 40 wet felted pictures for this exhibition will take a lot of work. I’m finding the prospect of making all those pictures both exciting and rather daunting.
In preparation for the picture making, in November I ordered 2 batches of solid beach handmade frames from my lovely local frame maker: 10 at 63 x 63cm (approximately 25 x 25 inches) and 10 at 35 x 35 cm (approximately 14 x 14 ins). I will have to order more soon but I thought this would give me a good start. I had some serious studio-tidying to do last week before I set about the pictures… and finally I was ready to start. Where to begin?
First I made a ‘big wave’ picture for one of the larger frames. I say ‘big wave’ in inverted commas as the waves round where I live are generally very small so we’re not talking surfing potential. I’m endlessly intrigued by wave and sea patterns and have made this type of picture several times before. They always end up looking very different. I’ve taken lots of reference photos such as this one……

…..that I use as a starting point.
Here’s the layout using lots of colours of (mostly) merino wool for the water; merino and kid mohair top, silk hankies, mohair and sheep locks and some vintage lace scraps for the wave; and hand-made pre-felt cut into pebble shapes for the beach. These were laid on 4 layers of merino for the base. I’m not really sure why I did 4 layers – it makes a lovely firm base but it’s a lot harder work to felt than 2 layers and as this is going behind glass, it was a bit over-kill. I’ll try not to do that again.

Once it was felted and dry, I used a small metal tool to pick up some sections of wave, to make it more 3D. Here’s the final picture and the picture sitting on top of its frame, waiting for me to get round to framing it.


I’ve worked on this for more than 12 hours spread over 4 days, not including making and cutting the pre-felt pebbles, which must have taken another couple of hours, and I’ve still got the framing to do. I’m very conscious of how many pictures I’ve got to make, so I decided to go smaller and quicker for the next 3.
One of the ways I can speed things up is to use recycled silk fabric to provide the pattern (and texture) for the water and the beach. As an avid buyer of silk scarves from charity shops, I have 2 huge bins of material to rummage through and upcycle.
Picture two – which I’ll call leopard print – I chose a sheer leopard print scarf for the beach and a small blue striped one for the water. Because the blue scarf is not very wide, I have to join two pieces of fabric. To reduce the visibility of the join, I first cut into one of the pieces so that the join would be staggered. You can see it in the layout but hardly at all by the time it’s fully felted.


I’m reasonably happy with this, though I think the wave is a bit too solid-looking.
Picture three – ‘dark blue sea’ – I go with a rather lovely dark blue patterned scarf for the water and a pale patterned beige one for the beach.


Again, reasonably happy with this. I like the sea effect and the less solid wave but the blue cobweb felt strip I put in front of the wave to look like the remains of a previous wave is a bit dense and straight.
Picture four – ‘reversible silk’ – I’m rummaging around for a different piece of silk to use for the water. I find one I like but I’m not sure quite how it will felt. It’s also reversible and I’m not sure which side to use. I decided to make a very small sample to see how it felts and it occurs to me also to see what happens if I cut strips to alternate the two sides of the fabric.
Here’s the sample layout. I’ve run out of merino wool in this pewter colour but fortunately have some Corriedale. I felted it very quickly and forgot to take a picture of the finished sample but it was enough for me to conclude it felted well and it was worth trying the reversed strips thing.

The beach fabric is also a little different – with a bigger and higher contrast pattern.
Here’s the layout and near-final picture. I say near-final as I only finished fulling it yesterday afternoon. It’s still damp (I think the silk will become a little lighter and shinier when fully dry) and I haven’t yet picked up any of the fibres in the wave.


This is my favourite actual wave so far – I definitely like the variation in colour and greater impression of transparency. I’m pleased with the way the cut up silk worked for the water too. I’m not yet decided about the beach pattern – interesting or too much?
And finally, a photo of the large and a small picture side-by-side, so you can get some idea of scale

I’m framing the three small ones without glass and the large one with. People react differently to this. Some like to see (and feel) the texture and not have the reflections you get with glass. Others worry about dust. A few (me included) worry about moths. Most of the pictures will be behind glass but a few won’t. I’ll review this as I go along
By the time I write again in March, I should have lots more pictures made. Wish me luck! I will be making some large ones with sea birds but these take so long, I’ve decided to make some less complex ones first to see how long I’ve got to spend on the most time-consuming ones. I’m having to step-up my levels of planning and organising to try to make sure I have enough work to fill the venue.
Happy new year everyone. I hope it’s full of joy, peace and creativity.


