
A Long Wait for a Large Loom Part 3
In part 1 we saw the history of the guilds’ old 90 and 100 inch loom. In part 2 we chatted about the arrival and unpacking of the new 100 inch loom. Now lets take a peek at the reference binders related to the old looms and consider continuing that tradion.
My hope is that today’s guild members, as they chose a topic, whether it’s a coverlet or blanket or something else to try out the new loom, they look back to the weavers from earlier in the guild’s history. Like these earlier weavers they record their projects and designs, take photos of their weaving so we can get a glimpse of them as well as what they are creating.
In the past the guild weavers have sporadically documented their projects both with the 90 inch and 100-inch loom. I (in my capacity as one of the guild librarians) would like to see a new binder documenting the projects which our modern weaving teams will make with this new loom.
 94 The 90” loom Samples 1 May 1973 to 1 May 1974


 95 – 101 sample pages from the 90” loom sample binder
 102 OVWSG 100” Loom Samples Aug 1982 to Oct 1983


 103- 110 sample pages from the 100” loom sample binder
 111 OVWSG 100” loom Samples 1987 to 1992 (while the loom was in Donna G’s Basement. Donna also taught the beginner and intermediate weaving at that time with table looms)


 112-121 sample pages from the 100” loom sample binder
We have some sample binders in the reference section of the library, including guild projects, workshops and individual members weaving careers. It would be nice to have sample binders from Spinners, Basket makers, Dyers and Felters too. Keeping records in a sample binder is a way to keep track of your work and experimentation. Your collected projects will give inspiration to yourself or others. Try to make your sample binder in a way that will keep your samples safe from damage. (Use acid-free materials if you can get your hands on them, sew in your samples if possible rather than tape or staples) and always take lots of photos as you work to include to show the process you went through to make it!
Weavers have the advantage of pre-made sheets (available from guilds or online) that save the draft or pattern of the weaving as well as noting yarns, yardage calculations and notes. i would like to see a similar collection of information for the other fiber arts. Spinners can keeps notes of what fibers were used, where they were obtained, what spinning techniques were used and what the end use for the yarn will be. For Felters, what fibers and their sources, weight of the fibers used, techniques used, amount of shrinkage when fiber was sampled, note on how the project was made. Photos would be useful to document your project (felt sculptures don’t fit in binders).
Figure out the information that would be useful to have for each project you create. You may want to include not only the date started and finished, but keep track of the hours worked on each project. Or you may be more interested in what fibers are used or what mix of fibers were used and in what amounts. If you have demo-ed you may recall getting asked common questions, how long did that take, where did you get the idea, where did you get the fibers, how heavy is it, how did you make it do that? theses questions mite help direct you in what to include in your binder.
If you make a binder documenting your work it will both keep a record of your artistic career, showing your progress, and looking back through it may inspire new work. I hope you will consider sharing it with other fiber artists too. If you show them yours, they may show you theirs!
 122 Part of the Reference Section of the Guild Library
I hope the saga of the large loom has inspired you even if you do not go out and get one yourself! If you are suddenly yearning to weave a coverlet or a lovely warm blanket check with your local guild and see if they have a 100” loom you could use.


 41 – 42 A long way to carry all the heavy boxes up from downstairs

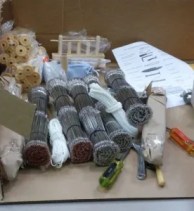
 43-45 yes there is candy involved in the library book exchanged!
 46- 47 I locked up the library, took the camera and headed for the classroom.


 48- 51 The Unboxing had begun!


 52-57 OOH!!


 58 – 62 BIG!!!
 63 There was ergonomic unboxing while sitting on a chair.
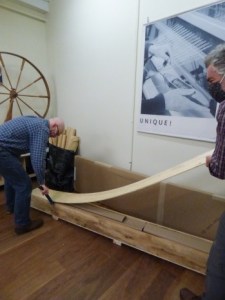


 64-68 the last wooden crate


 69-73 that box was the treadles!
 74-75 Bobbin rack!!
 76-77 well packed
 78
78

 79-81 the 3D “Kebec II Loom Counter-balance with Pulleys”

 82-84 Sectional pices yet to be attached.


 85-91Loom close ups
 92 – 93 the New loom even makes the Guild’s Grate Wheel look smaller!
 94 The 90” loom Samples 1 May 1973 to 1 May 1974
 1 Devonshire Public School (we were in the lower level with the closet under the stairs and the old gymnasium.)
 2 Heartwood house.
 3 Our new home in the basement of Heartwood house, with the 100-inch loom warped and ready to go! The loom was often in use since it was much easier to get into the guild studio and use it.


 4-7 Weavers work in pairs and weave 2 blankets. It takes two weavers weaving at once to make each blanket so they weave one for each of them. 2002


 8-12 Upstairs in the light warping team in February 2009
 13 Moving Out of old Heartwood House! 2013
 14-15 Moving into new Heartwood house (a lot of those boxes are the library!) 2013


 16-22 Weaving in the Studio 2014
 23-24 Moved to the Classroom Nov-Dec 2014

 25-27 This is the weaving draft for the coverlets. Here you can see tying on a new warp to the old. This is used to keep from rethreading the heddles or to save an expensive warp from being loom waste. It is the second use as a dummy warp this time. 06-29-2015
 28 Special guest in the studio (gratuitous lamb photo) Ann has the best living room decor!! Everyone enjoys when she shares and brings one of her bottle lambs to the studio.

 29-31 Our loom is getting more finicky to put the warp on the loom. 06 2016
 32 They are adjusting heddles and leveling harnesses before threading the next warp. 7-4-16 (you can see the wall is gone so its easier to warp the loom. (Well relatively easier))
 33-34 You can see the treadle patter and more of the classroom. Aug 2016.
 35-36 Overshot is a weave structure with a distinctive 45-degree angle to the pattern. It is starting to show that the tension is not even and there are problems with the loom.
 37-38 The weavers are having to argue with the loom to stay square and get the correct angle. Weaving has become slower. 2018
 29-40 The new floor is put in as we prepare for the new loom. July 2019
 1 Cindy O’Gorman our teacher
 6-7
6-7 8 My combing options.
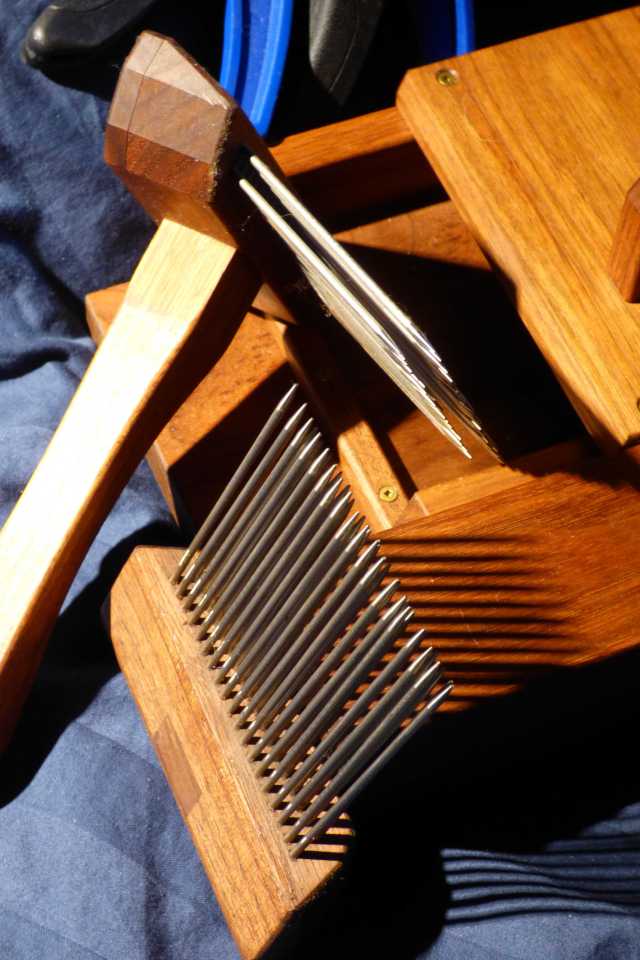 9 Alvin Ramer 2 pitch combs. I use the blue clamps with them since the original C-clamps stayed with one of the previous owners.
 10-11 Viking single pitch combs (with diz on the green gardening wire). They were a Christmas present from Glenn quite a few years ago.
 12 Bee Decapping combs (Bee combs) these were from Princess Auto but you can find them online. The handle angle is not the best for using as a pair the way normal combs work but can be used singly to tease open a lock.
 13 Dog comb. Again, this was ok to tease locks open but didn’t work as a comb.
 14
14 15
15 16
16


 17-20
17-20


 23-25
23-25


 31 I need a button with a slightly smaller hole and I should pick up a tiny crochet hook!
 32
32


 38
38


 39-44
39-44
 1 – Looms, yarn, notes, suplys coming in to the guild studio for the workshop
 2 – The options for Warp yarn #10 Crochet cotton or the thicker softer cotton
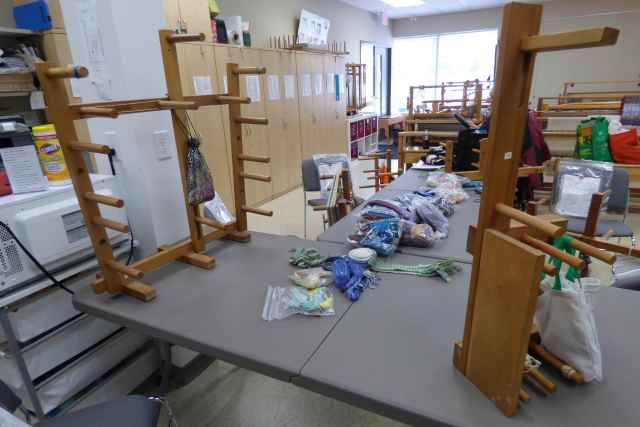 3 – setting up for the workshop, and found one of the two missing looms.
 4 – Lesson breakdown and count of warp threads both yarn sizes (the glass doors on the Ikea cabinets make a grate white board)
 5-6 –the notes and the important smarties
 7 – Samples of inkle and other 2 harness woven bands


 14
14


 21
21 22
22 23
23 24
24

 27
27 28
28 29
29
 Prototype marudai with garden Rabbit holder.
 “100% Cotton, each skein is 7.3m/23.9ft.”


 the mostly untangled thrums


 “Felt Craft’s Ten-Needle Tool” I found mine at the Woolery


