More dyeing shenanigans (with a twist)
The last time I wrote, I talked about dyeing yarn. As an indie dyer, my job is to create colourful yarn that someone else will turn into something beautiful. That’s pretty much the norm.
Now, what if I turned that regular idea around and dyed the finished item instead? What would happen? Let’s find out!
I had some very lovely 4-ply yarn at hand, plus some mohair lace that was just coarse enough to be uncomfortable if used alone. Paired together they would make the perfect DK weight yarn for a cardigan I wanted to knit.

Fast forward 2 or 3 days, and here’s the finished cardigan, minus the buttons.

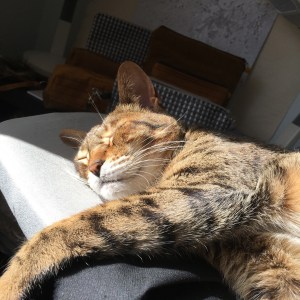
Let the experiment begin! I wanted a red base. I had to add that to the dye bath first. It looks very much like a murder scene, so let me tone it down by inserting a cute photo of my cat Marshmallow next to it.

Since I wanted the red to be soaked up slowly and evenly, I started with cool water and no acid for binding. This will ensure the colour is seeped up gradually and has time to get to the whole garment. I then added the wet cardigan, turned on the heat to medium-low and kept an eye on it.
After 15 minutes, the water was warm and I could see that the red was all over the cardigan. Time to add citric acid gradually. Then turn up the heat, simmer for 10 more minutes, turn it off and wait for the water to clear up and cool completely.

A good sign that you’ve used the right amount of dye and acid is that the water clears up completely once cooled. This is also a great sign of minimal bleeding in future washes, the bane of any dyer.
(If your water isn’t clear, try adding more acid and simmering for another 15 minutes. Let the water cool completely and see if things aren’t better.)
I really liked this colour, but a rule of thumb is, if it looks perfect under water, it’s too light when dry. I also wanted a bit more dimension to the red, so some dark grey was needed.
I didn’t want this new colour to soak up evenly, so I didn’t remove the cardigan from the bath water as I added the new dye, and I kept the same acidic, fast-absorption water from before.
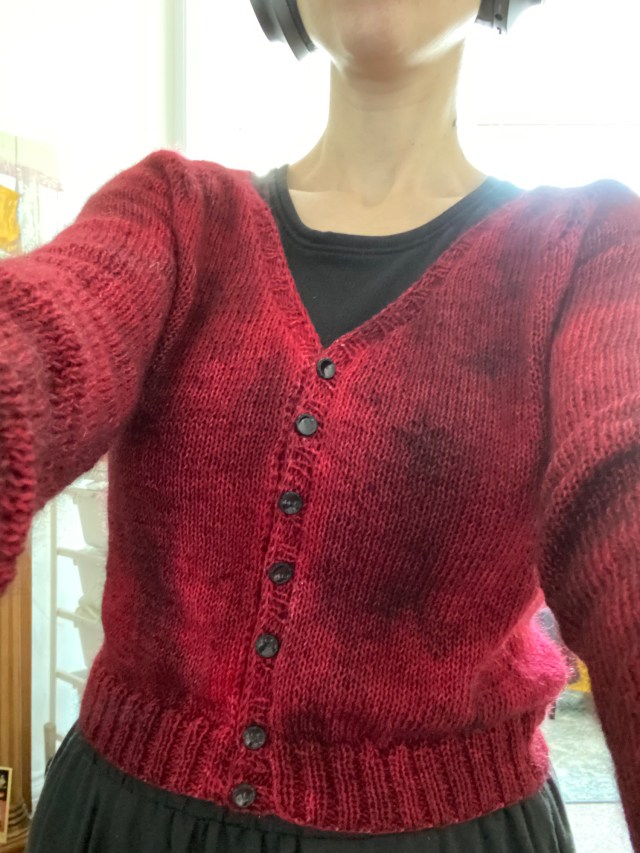
And here she is afterwards in all her glory!

I know the “scruffy look” might not be everyone’s cup of tea but I love it. It looks like a long-worn cardi, something my nan might have passed on to me. The vintage buttons complete the look.
Now, the important question: is the end result the same as dyeing the yarn in the skein? The answer is a resounding No. Depending on how tight you knit, you might end up with a lot of areas that the dye won’t get to because the stitches act as a resist. You can see lighter areas in the photo below, something I fully expected, even though I’m a fairly lose knitter. I actually like this feature because it’s very different from what you normally see.

I had never done anything like this before, and you might be horrified to know that after this, I’ve knit a shawl and now have a second cardigan on the needles, and both will receive the same after-completion dye treatment…
I wore it for the first time yesterday (at the time of writing) and it kept me warm all afternoon indoors.
I hope you enjoyed this experiment. Let me know if you’ve ever tried anything like this before, and what the outcome was! If not, what dyeing shenanigans have you been up to or would like to try?
Stay safe and enjoy the rest of your day.


