The magic of blocking lace
Ah, lace.
Occasionally I crave a knitting challenge, so lace patterns (preferably with a chart) grab my attention and I just need to finish that thing and see it in all its glory.
Unlike a run-of-the-mill stocking stitch jumper/sweater however, lace looks absolutely dreadful and underwhelming before it’s blocked. If I were to show my finished lace project to a non-knitter and ask for their opinion, I’m sure they’d wonder why I wasted so much time hand making something so wrinkly and ungainly.
Give it a warm bath, a gentle squeeze and some vigorous stretching with wires however, and the thing blooms into beauty.
I recently decided to use some of my stashed lovely Mongolian cashmere yarn. As it happens, I saw a pattern in my LYS that I really enjoyed and cast on. A Hap for Harriet is a simple enough knit, with a lace border to keep you entertained.


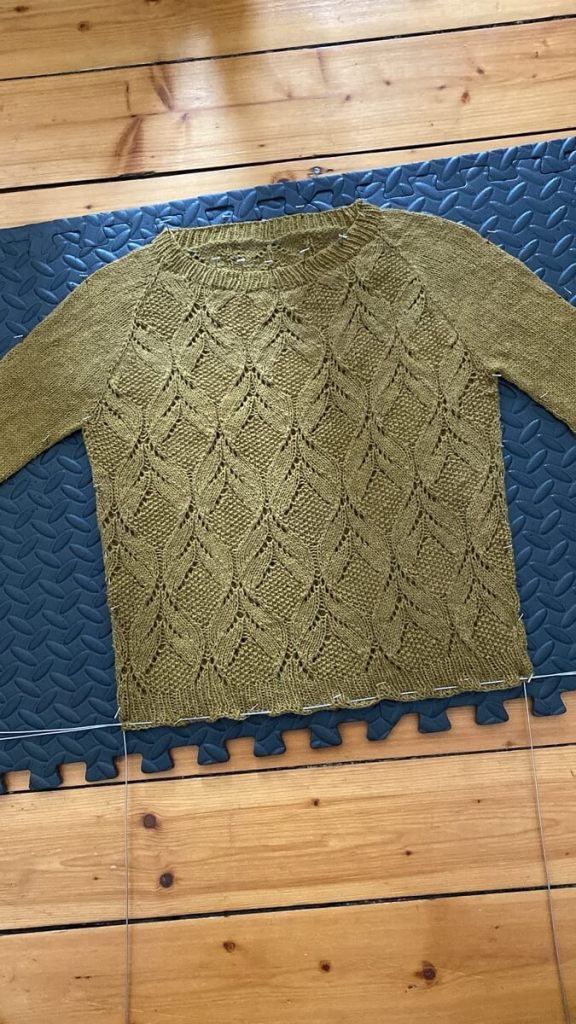
Looks quite underwhelming, doesn’t it? The stitches have no particular definition or structure. There’s something missing. No wonder, it’s not blocked yet! Out come the foam mats, the pins and the blocking wires. Mine have memory, so they move as I want them and go back to their original structure, giving me more control than the wires I usually see for sale.


After a warm soak in wool wash, this hap was quite vigorously stretched. I showed it no mercy! It showed no mercy to me either, I was doing this on the floor on my knees. There’s other things I’d rather be doing in my mid-40s… my poor back. The sacrifices one makes for one’s craft.

This was a big one. Kenya in the background for extra cuteness and (maybe) size reference. I wonder what was going on in my cat’s mind as she saw me on the floor practicing human shenanigans…


After a couple of days of drying under tension, my lovely hap is now looking amazing and cosy! I do have to say though, a while after I’d finished blocking it a friend told me cashmere should be rubbed when being washed, so the fibre can bloom and make it extra fuzzy. Lovely to know, thank you, but I’m definitely not soaking this thing again for a long time… blocking is magical but also a lot of hard work!
Do you love or hate blocking? Any tips to share? Tell me in the comments section. Thanks for reading!