I always look forward to each new iteration of these classes, its always exciting to see how each new group of felt-makers will interpret the weekly tutorials, looking back at the photos in the class galleries it is hard to imagine they were all following the same instructions! 🙂
These are just a few of my favourite creations made by students from previous classes.
If these photos have whetted your appetite and you would like to see more the full galleries are here:
We will have use of the forum pages until 28th April so you can carry on making and sharing your creations with everyone or catch up if you need to take a week or two off during the course.
The tutorials for both classes contain step by step instructions and lots of colour photographs illustrating each steps. They will be pdfs for you to download and keep for future reference.
For more details and the contact form to sign up for these classes please follow these links:
Thinking of joining in the fun but have questions about these classes? Please post them in the comments below or use the contact forms on the class pages above.
Today I have posted pictures with workshops that I have taught. I love to teach and have workshops every week. I think that when I teach , I have a different connection with each participant as we speak the same “language “. Its easy to create beautiful felted products with this rapport.
Teri’s online classes will open for registration tomorrow. The classes will begin on August 19. Teri teaches two great classes, one on how to felt concertina style hats and the other one on how to create felt bags. Both of these classes will teach you methods of improving your felting techniques so if you have felted around a resist before such as to make a felt pod, you should consider taking the next step on your felting journey.
Have you taken a look at other student’s hats that have taken Teri’s class? There are some really fun hats and the variations are quite creative. Take a look at the student hat gallery here.
Teri’s felt bag class is an excellent way to learn how to create a variety of shapes of bags, as well as features such as straps, multiple compartments and pockets. You can find more information and register here.
So what are you waiting for? Jump in and learn some new felting techniques.
Or if you’re just starting out and want to learn the basics, try our Wet Felting for Beginners class. This class can be taken at any time with unlimited access. For more information and registration, click here.
As shops, galleries and exhibitions start to reopen in England and I have quite a few sales & exhibitions coming up, I decided to make another picture based a local coastal bird. I’ve seen quite a few redshanks recently walking along the shoreline and haven’t done a redshank before so I think that would be interesting.
I start by making some prefelt for the back and tail feathers in a muted pewter and white tone, plus some firm felt I will use for the orange/red beak and legs. (I forgot to take a photo of these.)
I have a composition in mind and I make a quick sketch to get the shape, stance and size of the bird then lay out the bird’s body using a base of white merino tops and the prefelt feather shapes. There’s not much detail as I will needle felt this in later. I haven’t tried this before but I needle felt in some of the feather detail part way through wet felting then finish fulling the bird.
I’m not sure what I was thinking (if at all) as I’m not happy with the loopy-ness of the needle felting or the direction of some of the feathers. I park it for now and get on with the background. One of the many things I love about felting is that you can usually continue to work on it until you’re happy with the result.
Redshank body: wet felted with some needle felting added part-way through
Onto the background: I have bits and pieces of natural coloured prefelt that I cut into pebble shapes ready to form the beach. The redshanks I’ve seen recently have been walking close to the water’s edge, either in the water or on the pebbles. Thinking about the water experiments I did last year I lay out 2 layers of pewter-coloured merino for most of the picture with a white and rusty orange section where the wave and beach will sit. I put long strands of blue tops in two colours running horizontally to represent the light reflecting off the water. I leave a darker section near the top with some of the pewter wool laid at an angle as if there’s a small wave coming in there, though in the final picture you can’t see most of this because it’s behind the bird.
Next come the pebble pieces and finally the foreground wave, as it sits on top of both water and beach. I haven’t tried using mohair for wave crests before so I run a wiggle of mohair tops along the water’s edge and onto small sections of the sea as if small waves are cresting there. I’ve spent a lot of time looking at the water in my local sea / estuary so I know the colours and shapes well. The water is often choppy like this with small waves.
Background layout, ready for wet felting
I wet felt the background then try out the bird body to see how they’re going to fit.
Background and Bird body – trying things out for size
I needle felt the redshank’s body onto the background then add the legs and beak which I’ve cut from the red/orange felt. Then I add the eye and fiddle for a while until I’m happy with the bird.
The final redshank picture ready to frame
The finished picture is about 50-55 cm square and will go into an oak veneer box frame that’s 64 x 64 cm. I took this photo in the evening, with electric light, so it’s a bit less yellow in reality.
As I didn’t take a lot of progress photos for my Redshank, I thought I’d add a few other things I’ve made recently. Like my felting friend Antje (who posted here recently) I took Judit Pocs’ milkweed pod workshop on 1 & 2 May. I direct dyed some 18 mic merino tops and some fine ponge silk for my pod.
It was a good workshop and I’m happy with the result. I got my dye ratios wrong which resulted in a lot of bleeding and dyed hands but thankfully it’s not a wearable so it shouldn’t now be a problem. I hope to use this silk pleating technique in future projects.
I realise the colours are very similar to the ‘hippy trippy’ Corriedale bag I was making when I last posted. It’s still work in progress but I’ve done some additional ink work on some of the silk patches and am part way through adding some stitching. I’m now adding some french knots in the rectangle near the top left. This combines some of the techniques I learned in Terri Berry’s bag class with some from Fiona Duthie’s Ink + Cloth workshop and my new venture into direct dyeing (using the Felting & Fiber Studio tutorial).
Previous picture on the left, current on the right.
As part of Fiona Duthie’s Paper + Fibre workshop I made a lamp shade (actually a sleeve that fits over a lamp). It’s interesting how the paper sections are barely visible when the lamp is off. I think I will make more lamps when I have time.
Finally, I’m making some smaller pictures to take the little beach hut gallery in Whitstable Harbour where I often sell my work. I’m in there from next Wednesday for 2 weeks. I’ve wet felted some mussel shells and am making backgrounds to set them into small box frames (without glass). They’re about 19 x 19 cm. Here’s one that’s nearly ready to go. The background is nuno felted with recycled silk and old curved lace. I just have to decide where to stitch the shell. What do you think?
The last time I posted here (in January) I described my plan to take various online felting classes. With all my sales and exhibitions cancelled or on hold I thought this would be a good way to keep me focused and motivated during our 3rd pandemic lockdown. Here’s the link in case you want to look back to January’s post.
This time I’m talking about my online learning since then, including how it has led me in some unexpected directions.
I was part-way through Teri Berry’s bag making class, which was great. I made my third bag, a backpack, and am very pleased with it. I’d definitely recommend Teri’s class. The instructions were clear and comprehensive and Teri was very responsive to my many questions, thoughts and comments. I learned a lot about bag making techniques, which is exactly what I was looking for.
Corriedale Backpack with Canvas Straps
Because two of the bags I made are large, relatively thick, and have to be fulled very hard, I admit bag-making was rather harder work than I’d anticipated. I rent a studio in an old industrial building that is largely unheated so maybe mid-winter isn’t the best time to be working so much heavy, cold, wet wool, but it’s a minor point. I had to use plastic gloves for the first time as my hands became so shredded and I often went home with sleeves wet to the armpit!
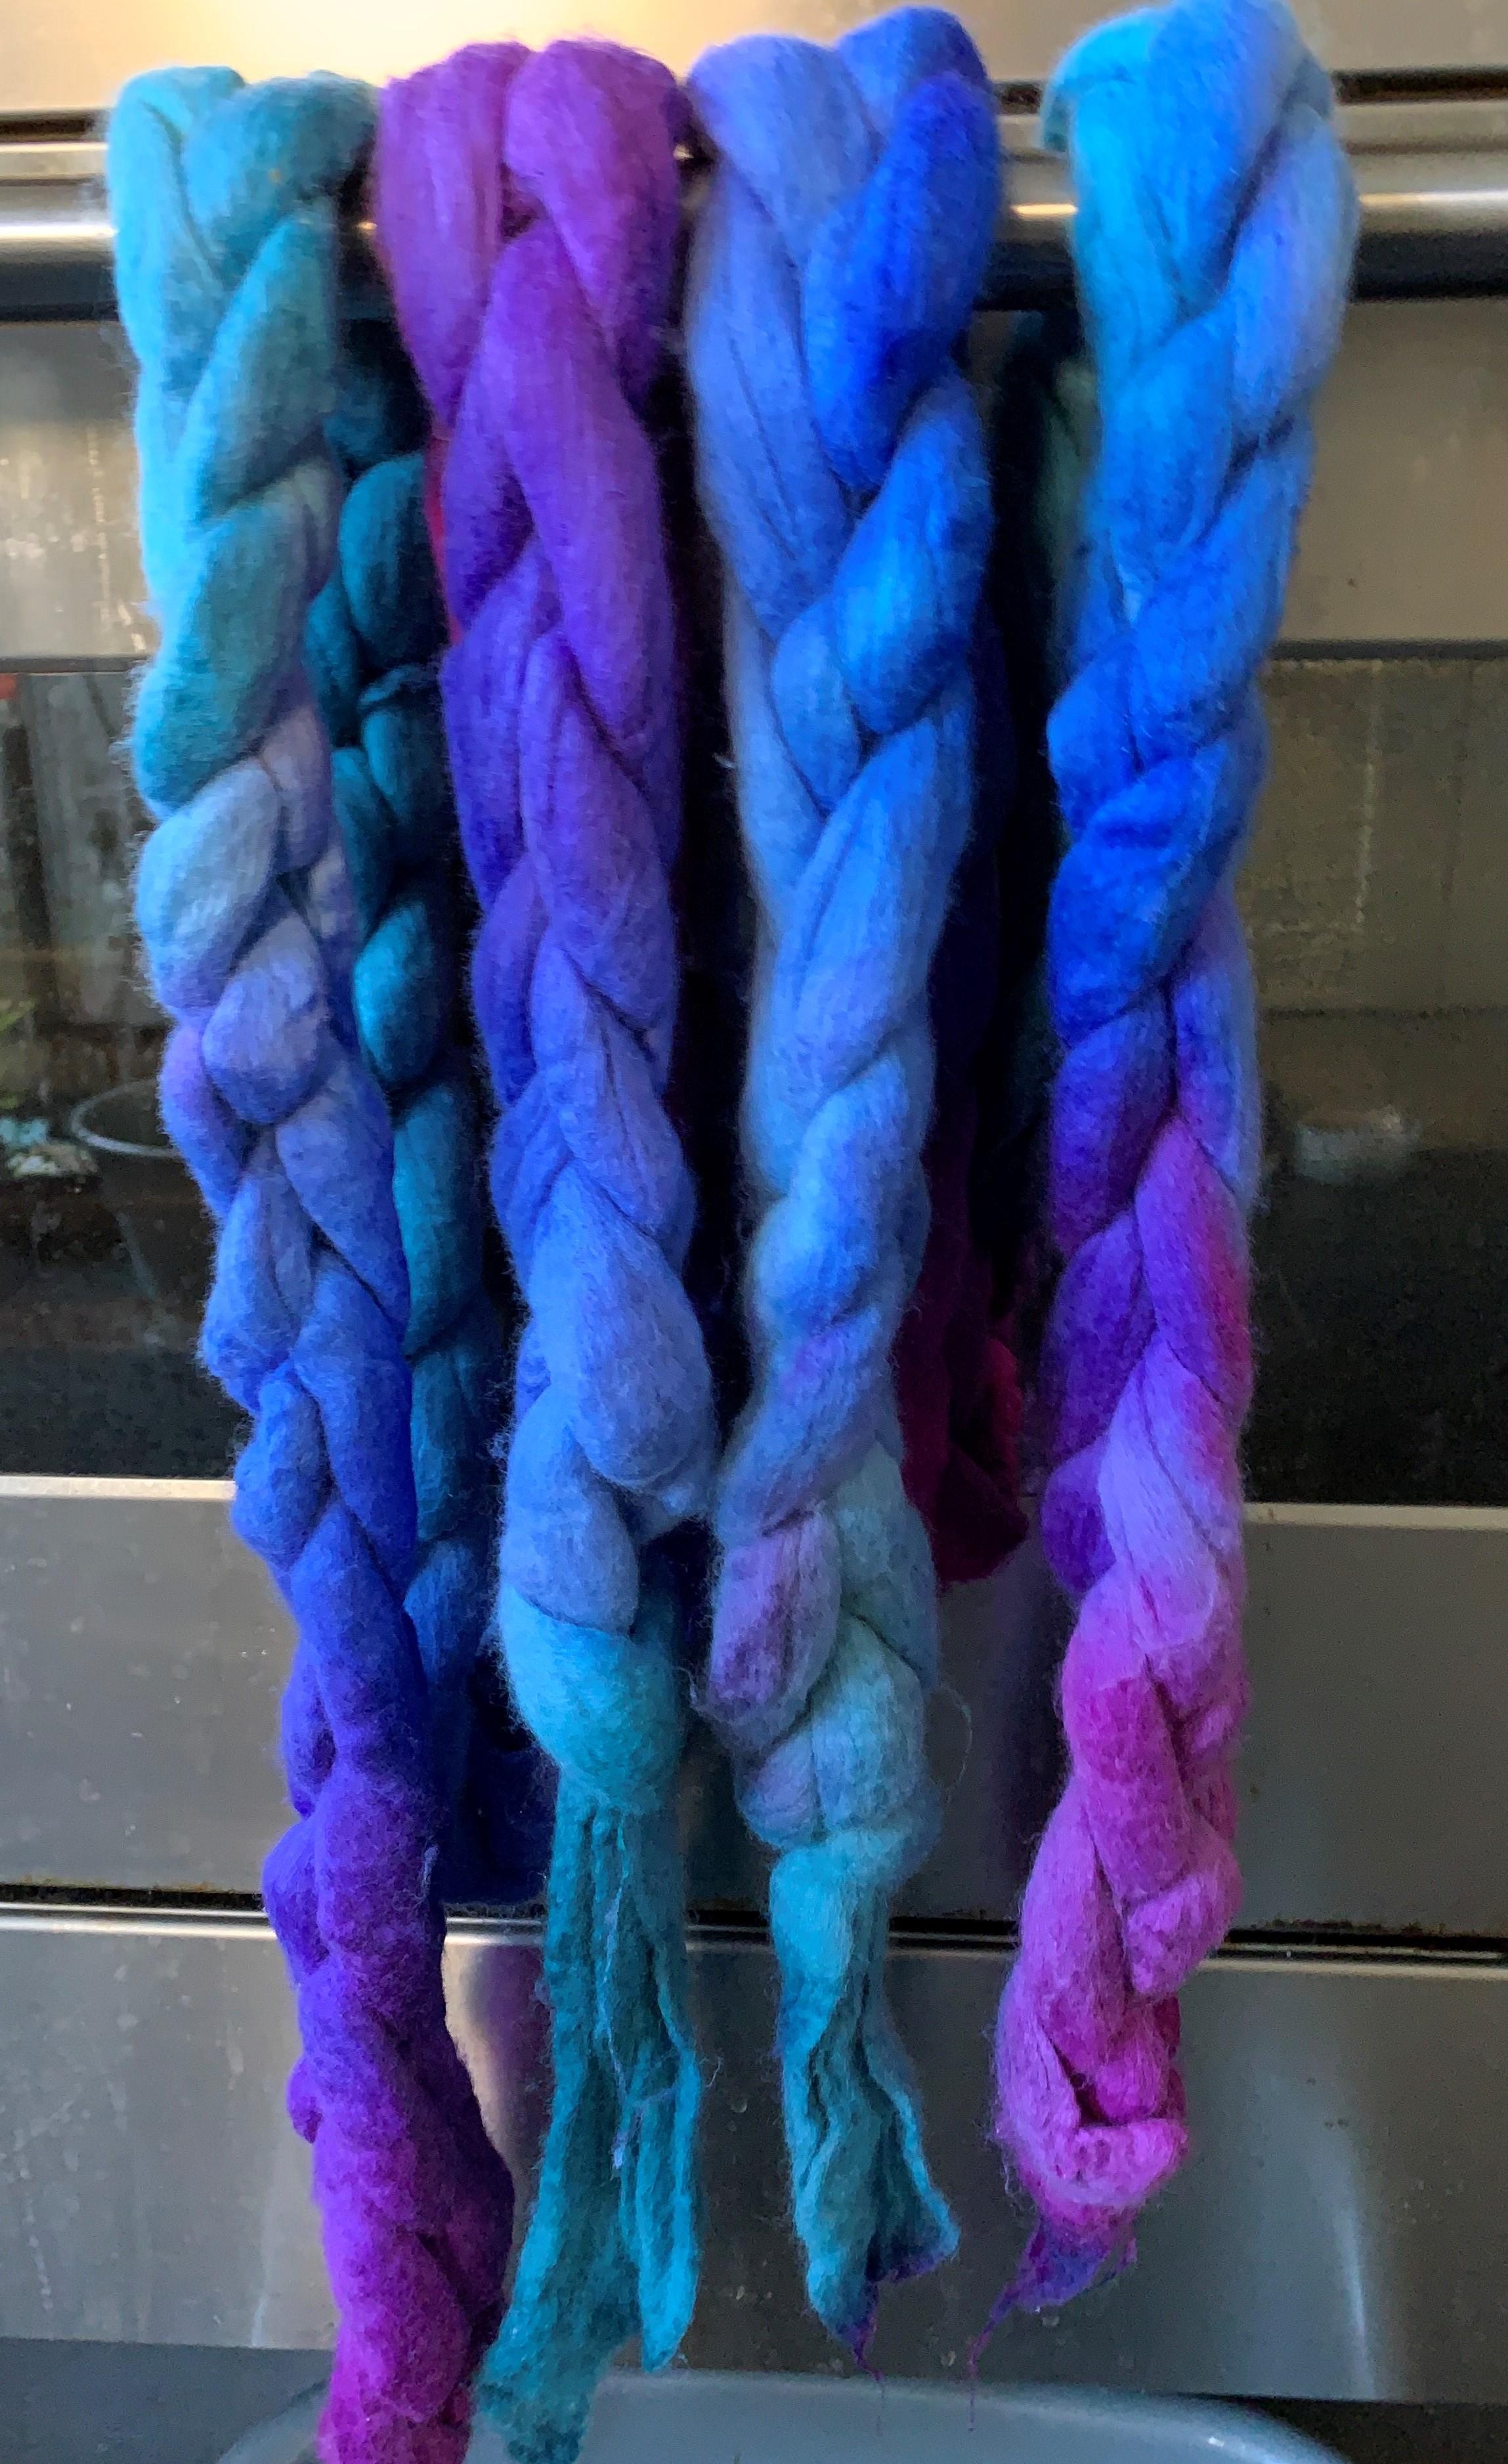
I’d planned to take 3 classes over January to March but was irresistibly drawn to a 4th: a 2-session live international felt-along by Aniko Boros (Baribon.Hu) learning to make her beautiful felted tulip pendant with pebble inclusions. Having signed up I realised it was going to be difficult to find the colourful 14 micron merino wool I needed. I only had white. I’ve never dyed my own wool before but I thought, why not have a go?
I already had some acid dyes so I started off with some 21 micron merino before going on to the finer and more expensive 14 micron. Then I tried silk hankies, Corriedale tops, mohair tops, silk fabric, alpaca & nylon …. nothing was safe. I had a blast. I had no idea how much fun dying would be.
Then it snowed and I thought ‘ooh, I could try snow dying’. That turned out to be great fun too. On the right are just a few of the snow dyed fabrics.
I had several colour choices of dyed 14 micron merino by the time Aniko’s workshop came around. The workshop itself was really interesting. A clear and detailed PDF was sent in advance and turned out to be very helpful on the first day when the sound or picture dropped out occasionally. It meant I could see what I needed to do next so was able to keep up. I’m pleased with my pendant (although I still have to add a fastener) including how the dyed wool worked, and feel I’ve learned techniques I will be able to use to make my own designs. Also, it led me into the entirely unexpected joy of dyeing.
Hand dyed 14 micron merino pendant with pebbles: Aniko Boros’ workshop
In the meantime I’d started Fiona Duthie’s online class Ink + Cloth. We practiced adding ink at various stages of feltmaking with loads of potential for using these techniques in future projects.
Above are samples of adding dye / ink before felting (on silk fabric) and on prefelt
These are samples of ink added in different ways to finished nuno felt with cotton and two types of silk. I’d found an image in the V&A museum online catalogue (a fantastic resource) of an early 20th century furnishing fabric with this style of lollipop trees that I was thinking of using for the 1st quarter challenge …but that’s a story for another time.
At the end of this I decided to combine various things I’d learned: to dye my own Corriedale wool tops for a bag and maybe to decorate it with inked or dyed pieces. This is still work in progress as I am not completely happy with it. I decided to let it dry and have a think before doing the last bit of fulling. After I’d laid out the wool I dithered over whether to add silk and prefelt pieces or not as I quite liked the wool as it was. At the last minute I added all sorts of bits and pieces without properly thinking through the design. I fear it betrays its history. A colleague who saw me rinsing it at the studio casually commented it was very ‘hippie, trippy summer-of-love’ which is absolutely not the look I was going for! I will come back to it soon. I included the strap in the photo to give an idea of what it will look like finished.
Now I’m part way through another class with Fiona Duthie: Fibre + Paper. It’s a fascinating process of combining specialist paper with wool. We started by making lots of samples: paper and felt, paper relief, extreme paper relief and paper with prefelt.
Above are samples showing different amounts of paper felted into 21 micron merino wool and bottom right combines prefelt and paper. They feel lovely and there seems to be so much potential to use paper with felt in different ways.
This week I made a vessel with paper embedded into the surface. It’s not perfect: I got a bit over-confident near the end and tore some of the surface (you can just see it bottom left, between the two ribs). I’ve been interested in shell shapes for a couple of years so I shall enjoy making more 3D paper & felt shell-inspired objects.
Paper felt shell-inspired vessel
In the coming week I will be trying out adding colour and surface designs with ink and paint plus making samples with some different papers. Fiona’s classes have been really enjoyable with excellent PDFs, photos and videos and lots of class interaction.
All the online classes I’ve taken have been great fun and very inspiring. They have given me lots of new skills and techniques that I will be able to use in my work. And they have definitely achieved my other objective: they have been really helpful in keeping me learning, focussed and motivated during what could otherwise have been quite a bleak time.
Teri’s online classes are open for registration now. The classes will begin on January 6th so you will need to register quickly to participate. Teri teaches two great classes, one on how to felt concertina style hats and the other one on how to create felt bags. Both of these classes will teach you methods of improving your felting techniques so if you have felted around a resist before such as to make a felt pod, you should consider taking the next step on your felting journey.
Have you taken a look at other student’s hats that have taken Teri’s class? There are some really fun hats and the variations are quite creative. Take a look at the student hat gallery here.
Teri’s felt bag class is an excellent way to learn how to create a variety of shapes of bags, as well as features such as straps, multiple compartments and pockets. You can find more information and register here.
So what are you waiting for? Jump in and learn some new felting techniques in 2021.
Or if you’re just starting out and want to learn the basics, try our Wet Felting for Beginners class. This class can be taken at any time with unlimited access. For more information and registration, click here.
We will be offering more online classes in the spring and will make the announcement here when registration opens.
Galina Titova of Deep Felt Textile Art emailed me recently. She felt that since so many people were being socially isolated by the world pandemic, that it would be a good time to offer her Fantasy Felt Fish online class again. I thought this was a great idea and I also contacted Teri Berry to see if she would like to offer both her Felted Concertina Hat and Felted Bag online classes too. So if you’re looking for something creative to do in these trying times, we have some felting classes available.
Learn to make felted fantasy fish with Galina Titova in this three week online class. Each week you will learn to create a different fish and move from a simple design up to a more advanced design and different surface design techniques. Every week Galina will provide more examples of fish with the same elements used in different ways to create various effects. Click here for more information and to register for the class. Class start date will be April 8, 2020. The class is limited to 20 students per session and is filling quickly. Galina is planning on offering another session 3-4 weeks after this class has finished. Students will be chosen on a first come, first served basis.
The April 8th class is now full. Galina will be offering another class in the near future. If you would like to be notified of the next open registration, please fill out the contact us form here with the name of the class in the comments section.
Learn to make felt concertina hats with Teri Berry in a four week online class. This course will guide you through choosing a hat block, to creating the correct size resist for your head and the basics of concertina hat construction. You will also learn how to add embellishments, shaping and how to progress to making more complex hats. Click here for more information and to register for the class. Class start date will be April 16, 2020.
Learn all about felt bag construction in this five week online class with Teri Berry. Starting with an animal themed smaller case, building on each lesson to create a medium sized bag and finally learning to make a backpack with adjustable straps, multiple internal compartments and internal pockets. This course will certainly develop your felting skills. Click here for information and to register for the class. Class start date will be April 16, 2020.
And if you’re new to wet felting, here’s the perfect course for you. This class is for total beginners who have not done any wet felting before. Learn the basics of wet felting, adding embellishments, calculating shrinkage rates for correct sizing, as well as how wool is processed and tips for other felting methods. Click here for information and to register for the class. You can start this course at any time.
And now because you have read all the way to the bottom of the post, Galina is kindly giving away one spot in her upcoming Felting Fantasy Fish class.
Give Away!
All you need to do is comment below and the drawing for a free class will be on April 1st. You will be notified by email if you win. For those of you that are planning on taking the class, go ahead and register and if you win the free class slot, your money will be refunded.
From all of us at The Felting and Fiber Studio, we wish you good health and please stay safe!
This is a quick( I lost a day so I am late) post about the class I taught on Saturday. I taught it at the Ottawa Valley Weavers’ and Spinners’ Guild. Mostly it is just a lot of pictures of the layout and then after felting. I hear that’s what social media is supposed to be these days lots of pictures and very little reading so I hope you like it.
These are the layouts. A very creative bunch and I think everyone used silk hankies to have a go at making flowers.
This slideshow requires JavaScript.
I think everyone really enjoyed themselves. It was more work than some thought it would be but that is normal for a felting class. In the end, I think they liked the result.
This slideshow requires JavaScript.
I used the batch resize feature of my photo program for the first time and it worked out really well. If I had had more time I probably would have done som more precise cropping but when your in a hurry you just have to hold your breath and push the yes butten.
Are you ready for a fun adventure in surface design on felt? You can now register for any of the four modules in the Embellishing Felt with Surface Design Techniques – A Mixed Media Approach online class. The classes will begin on February 21, 2020 and are only $45 US for 4 weeks of instruction and 2 extra weeks of instructor support.
Paper fabric lamination is a technique of essentially gluing paper to sheer fabric in a specific design. It is not a new technique and has been used by fiber artists for a long time. When I first learned the technique, I wondered how I would use the result. Many artists use paper fabric lamination and layer the results together with stitching and other methods. When I looked at my samples, I saw sheer fabric with a design and thought “Why not try nuno felting with it?” I tried it, it worked, and I loved the results. It was a way to use my own designs and create a piece of nuno felt that was completely different and in my own style.
If you would like more information or to register for the class, click on the link above.
Have you put off trying to screen print because you thought it was too complicated? This is the course for you then. This course will teach you about a variety of methods of screen printing that are fun and easy although sometimes a bit messy! The results on felt are always interesting and you can add your personal touch to your felt projects.
If you would like more information or to register for the class, click on the link above.
Learn to make thickened dye and then use it to make designs on felt or silk. Create your own unique designs with stamps, stencils and stuff found around your house. This course will teach you to experiment and play with thickened dye. Try out this fun course and learn to make your own designs to add to your felt.
If you would like more information or to register for the class, click on the link above.
Machine stitching on felt adds wonderful details and is a simple process. It does take a bit of practice but I can show you ways that make it much simpler. Have you always wanted to add that extra touch of stitching to a felt picture or add lines to your composition? Free motion machine stitching could be your answer. This is one of my favorite ways to add texture, line and pops of color to my felt.
If you would like more information or to register for the class, click on the link above.
Learn the basics of wet felting including layout, adding embellishments, how to felt and full, shrinkage rates and more. Take the mystery out of how to wet felt by joining us in this online class with unlimited access. It’s only $20 US!
Registration for Teri Berry’s Felted Bags online class is now open! This is a great course and was well received, so it’s exciting it’s being run again. There are limited spaces available so if you want to register, click on this link and fill out the registration form.
During this 5 week course, you will have the opportunity to make at least 3 bags/purses.
In week 1, you will make an animal themed spectacles/phone/pencil case, this could be in the image of your favourite pet or a friend’s pet (they make very thoughtful gifts) or a mythical beast of your own imagination! You will use multiple resists, introduce some nuno felting and make a closure entirely from wool.
In week 2 you will learn to make a small to medium shoulder/handbag (purse to our US friends), this tutorial will demonstrate how to add internal pockets, a magnetic clasp, adjustable shoulder straps and take shaping the felt to the next level so the bag has a flat bottom and stands up on its own.
The week 3 tutorial is a little more ambitious, you will learn to make a backpack with adjustable straps, multiple internal compartments and internal pockets.
Weeks 4 and 5 will be for catch up / further development, you might like to apply your own design to a bag, Teri will be on hand to answer any questions and talk through any challenges your design might create.
As with all the online courses, there will be lots of opportunity to share your work with the rest of the group and share ideas.
The content of this workshop is suitable for felters with some experience, you do not need to have made a bag before but if you are confident making felt pods, bowls etc. over a resist you will be able to make these bags.
The class begins on February 13th. The price for this five-week course is £60 GBP (approx. $79 US, $105 Canadian, €70, $112 AUD, $119 NZ) and the number of places will be limited to 30 students.