From Batts to a Handbag
After my four days of dyeing experiment, I carded a bunch of batts with the different fibers I had dyed. I decided I wanted to do something a little challenging using the batts. So, after doodling around with a few ideas I settled on a handbag using a couple of the techniques I learned in Fiona Duthie’s Surface Design Class.
I didn’t have a pattern. So, I used the general shape of the purse I carry now and added 30% for shrinkage and made a template. It took a lot more planning than I had anticipated so I got very engrossed in making sure I had everything organized and followed each step in the right order. Unfortunately, I worked intuitively and forgot to write down the procedure and take pictures at each step.
I wanted to use fiber for the shoulder strap, but I also wanted it to be strong and not stretch. I made the shoulder strap first using a tightly woven scrim cut with the grain between layers of wool. I left long ends unfelted and wrapped plastic at the ends to try to protect it from the water, not that it helped. This would be the part I would felt to the bottom and sides of the handbag so it would be all one piece. Then I used a dowel to roll the strap until it was partially felted.


Here is one side of the purse with scrim lining between the wool layers, resist and a resist for one of the inner pockets. I wet one side then proceeded to lay out the other side working backwards from inside out. Laying out more pocket resists, the back and back pocket. I know that sounds strange, it was a little mind boggling.
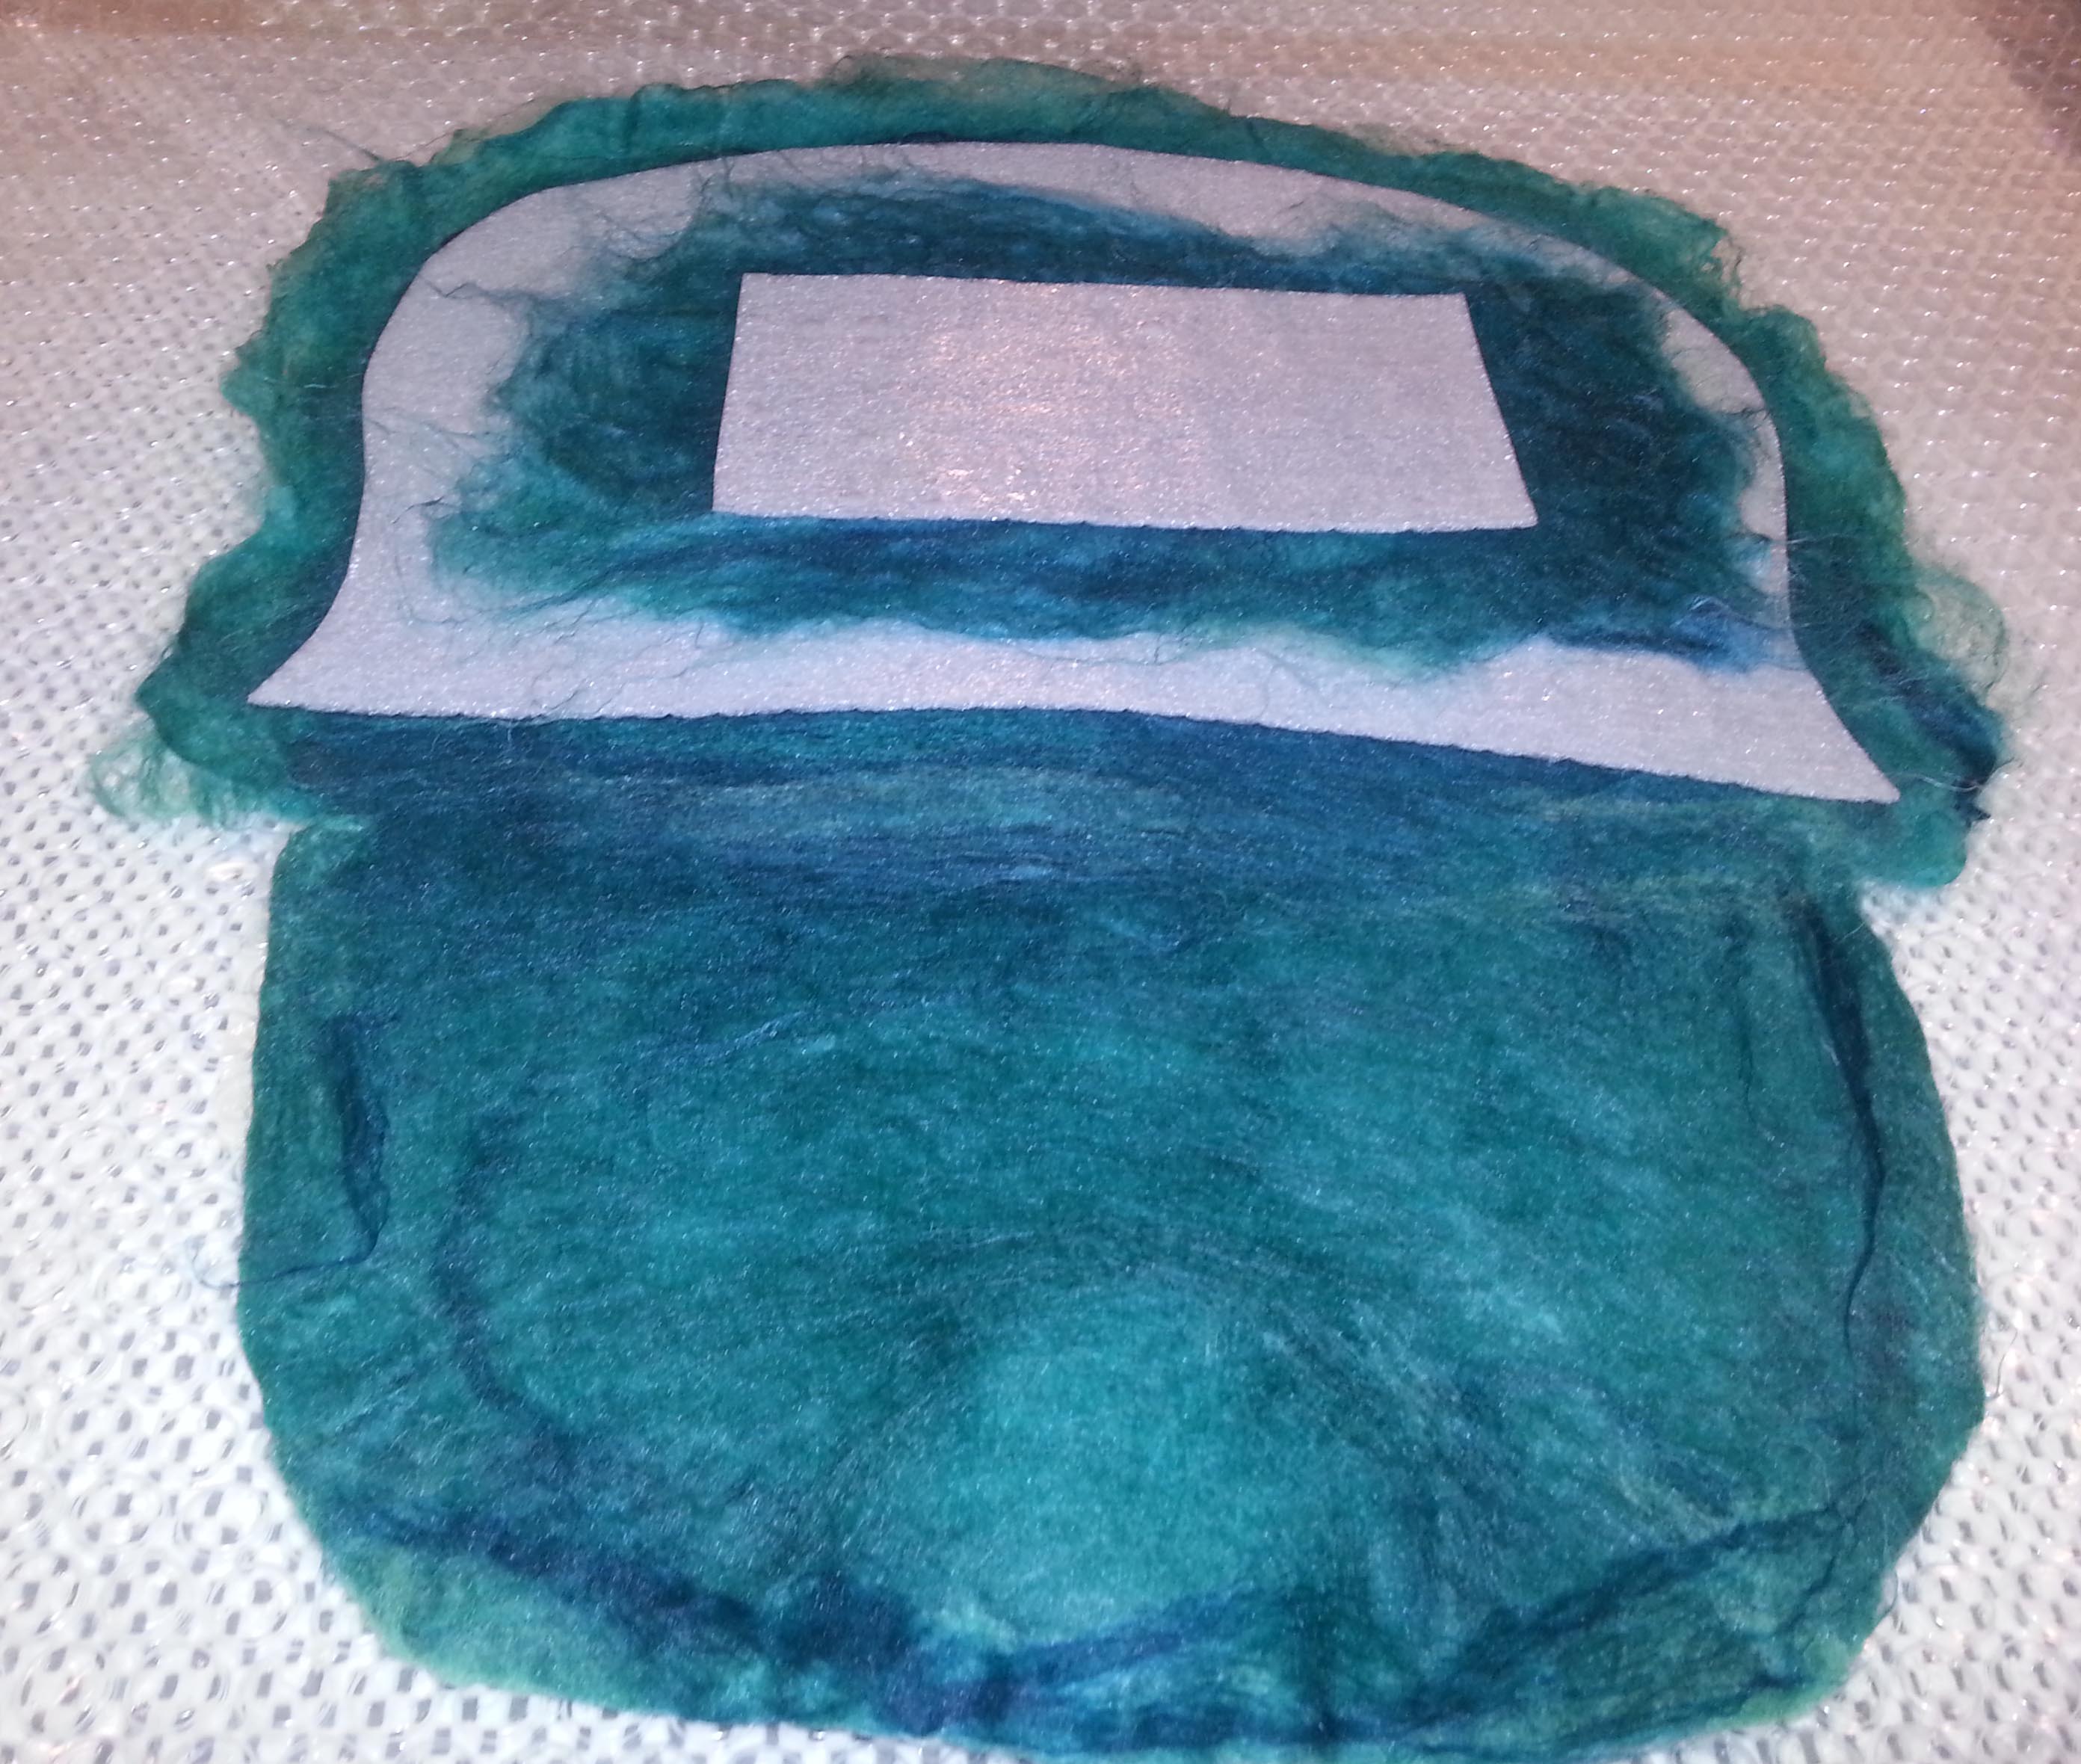
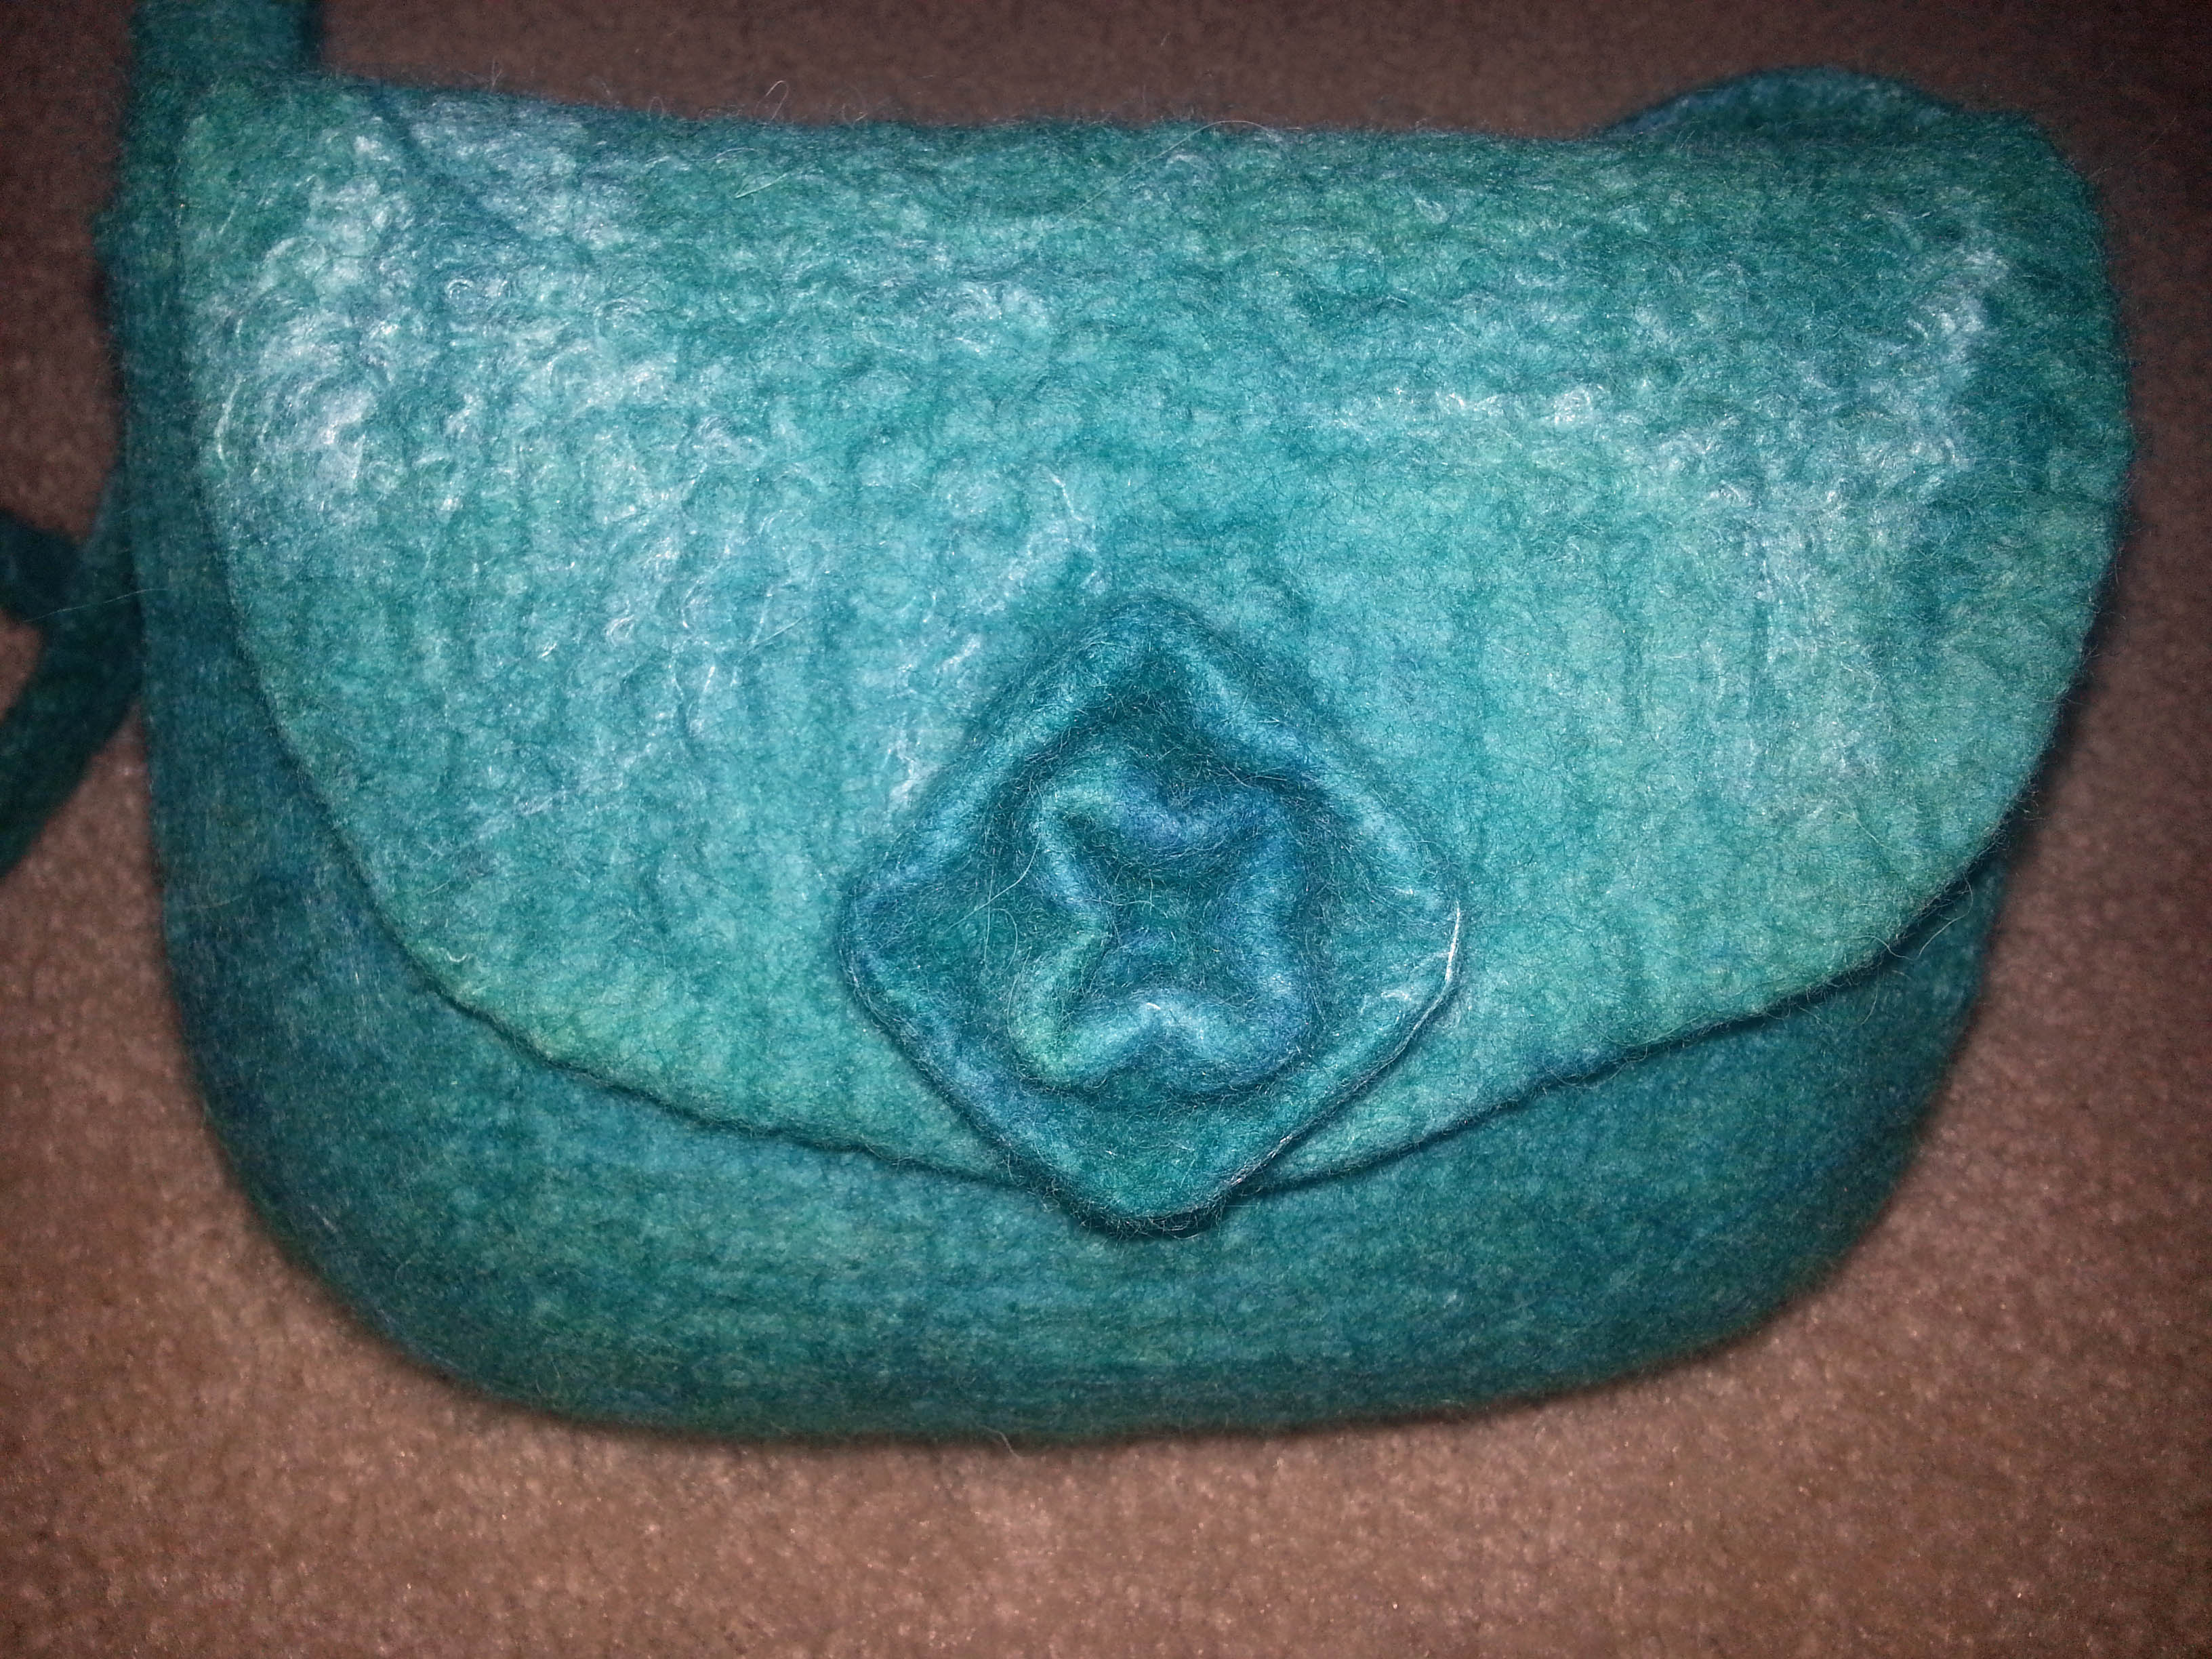
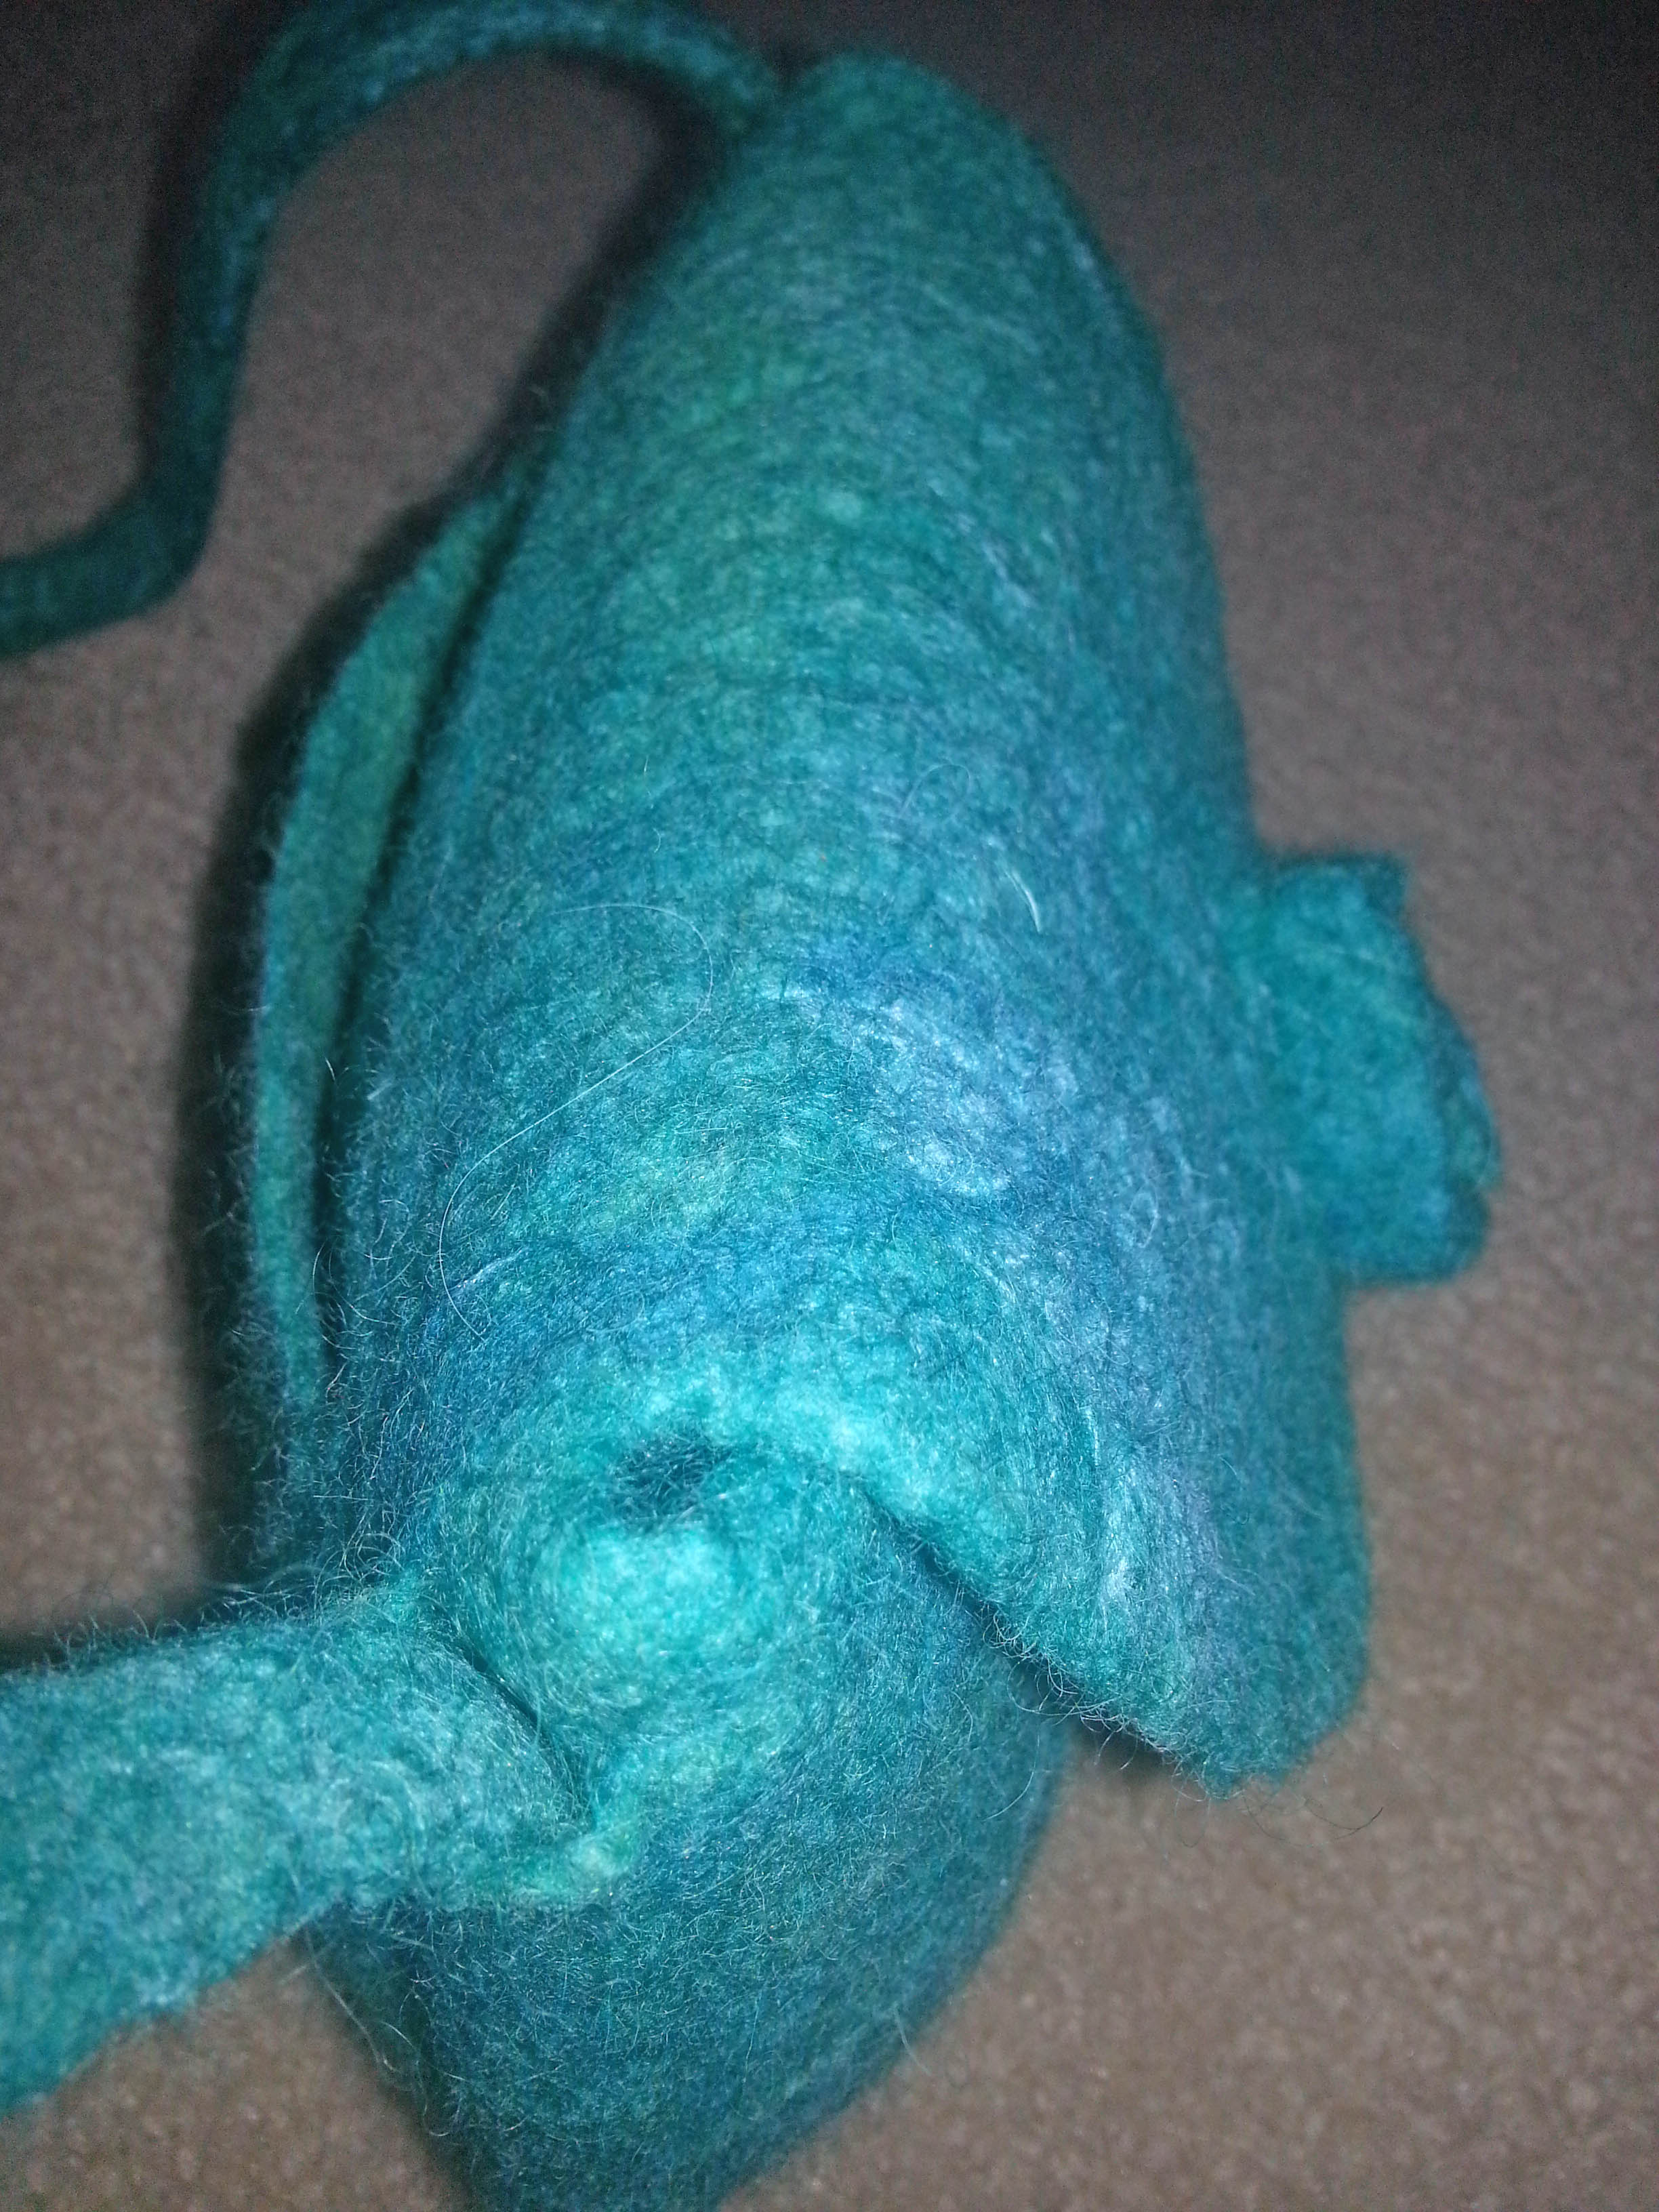
The decoration for the flap had to be done first before attaching it to the bundle to felt. The middle was felted by hand and the circle of fiber around it was left unfelted in order to add additional fibers to felt into the bundle.

The handles were laid out on the bottom and the sides then worked on the sides first to ensure they held together during the felting process.
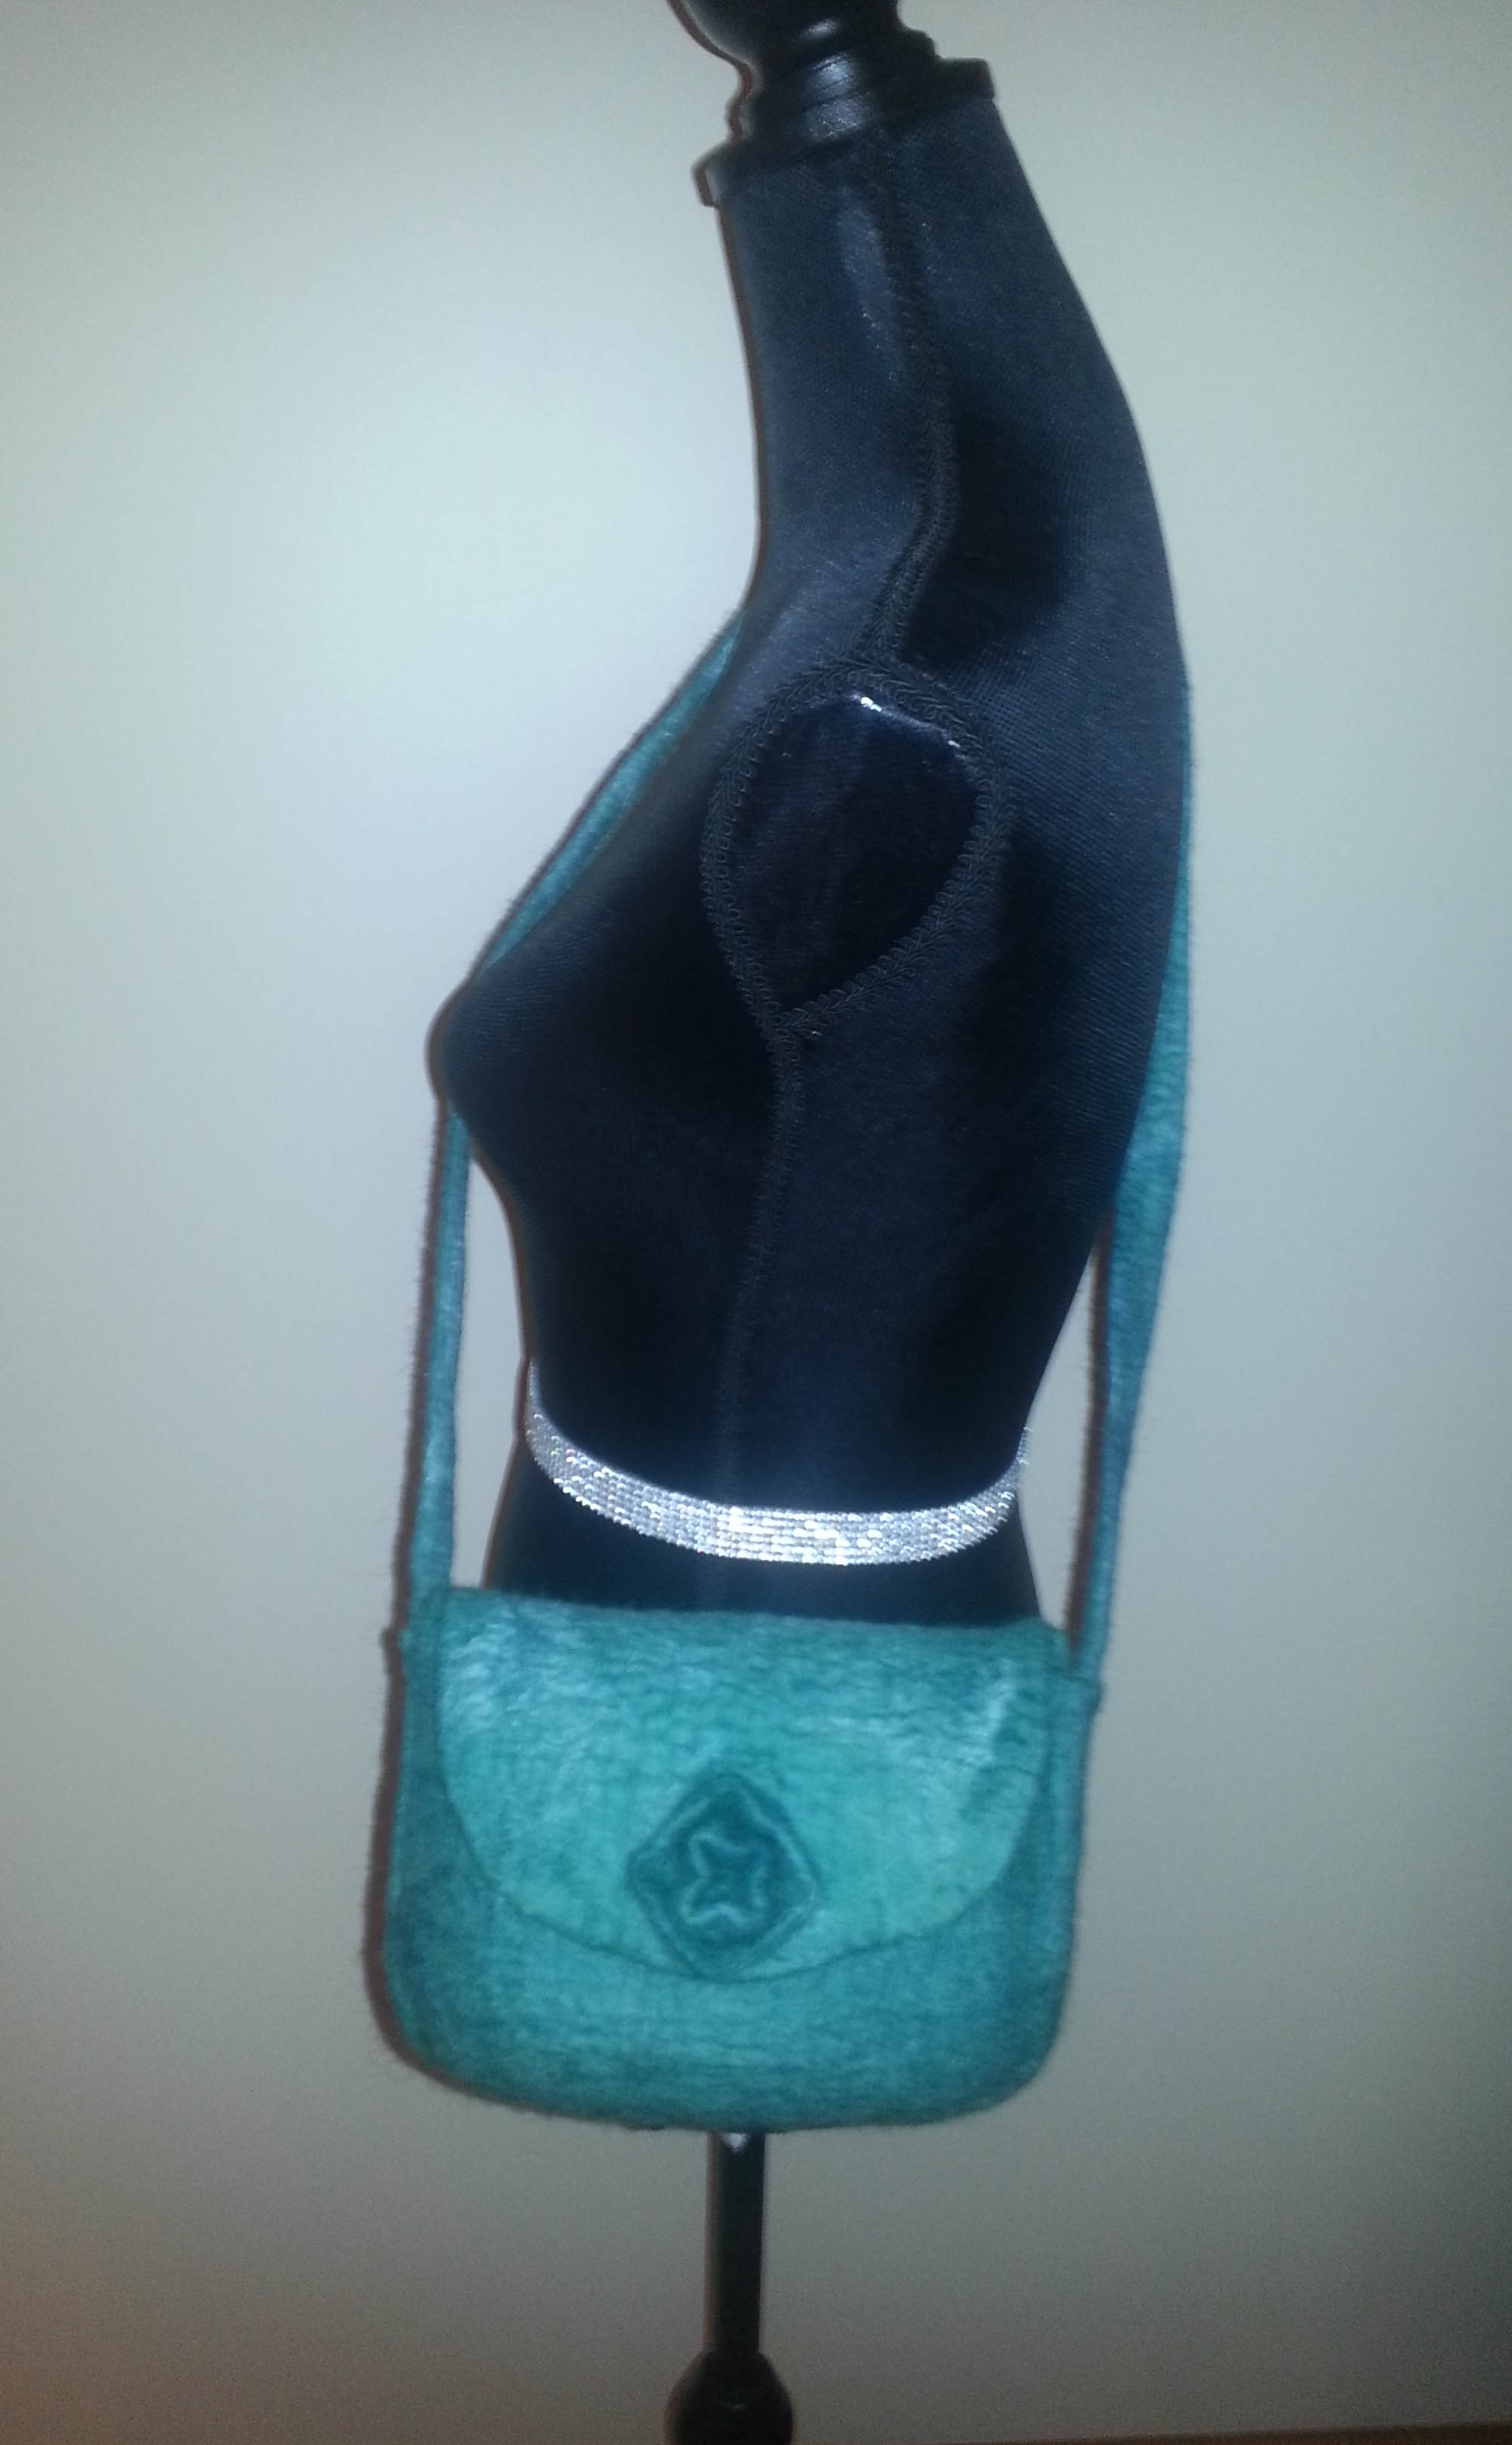
It was quite a thick bundle and once it was felted enough, I cut out the resists and continued to full and shape it until it sat up by itself. When dry, it had that “thud” of being completely fulled.
 Three inside pockets.
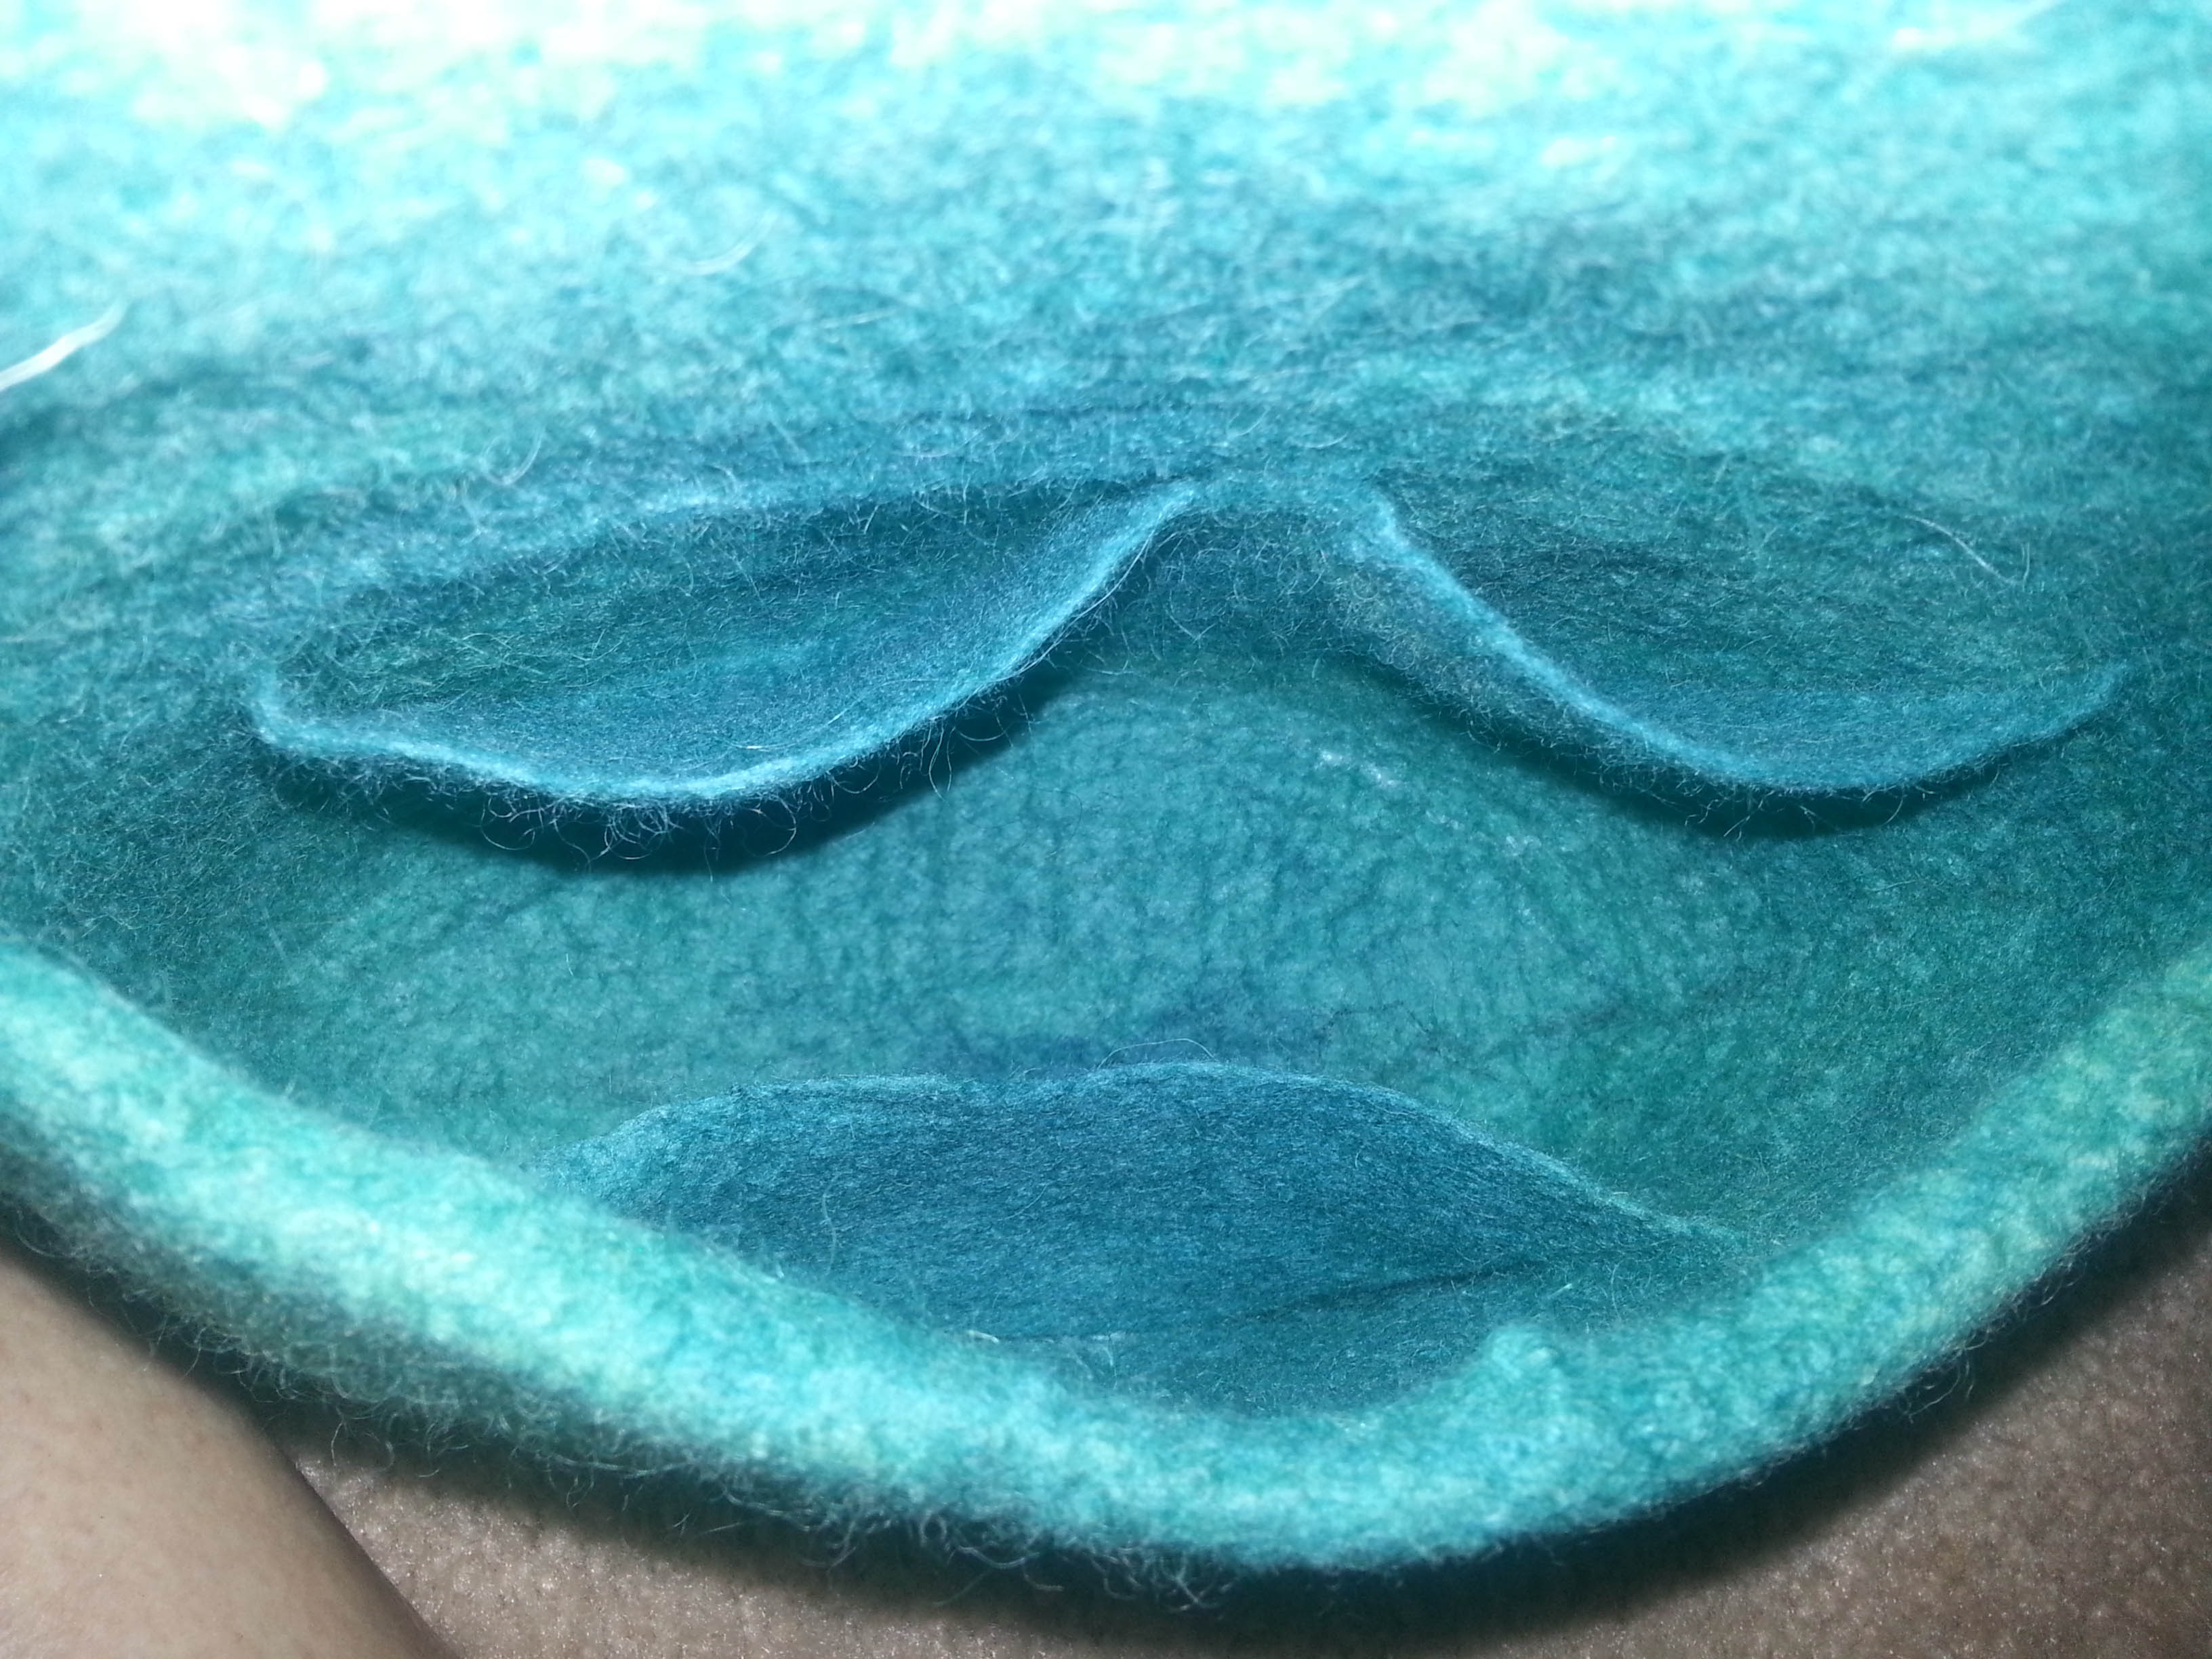 One back pocket.
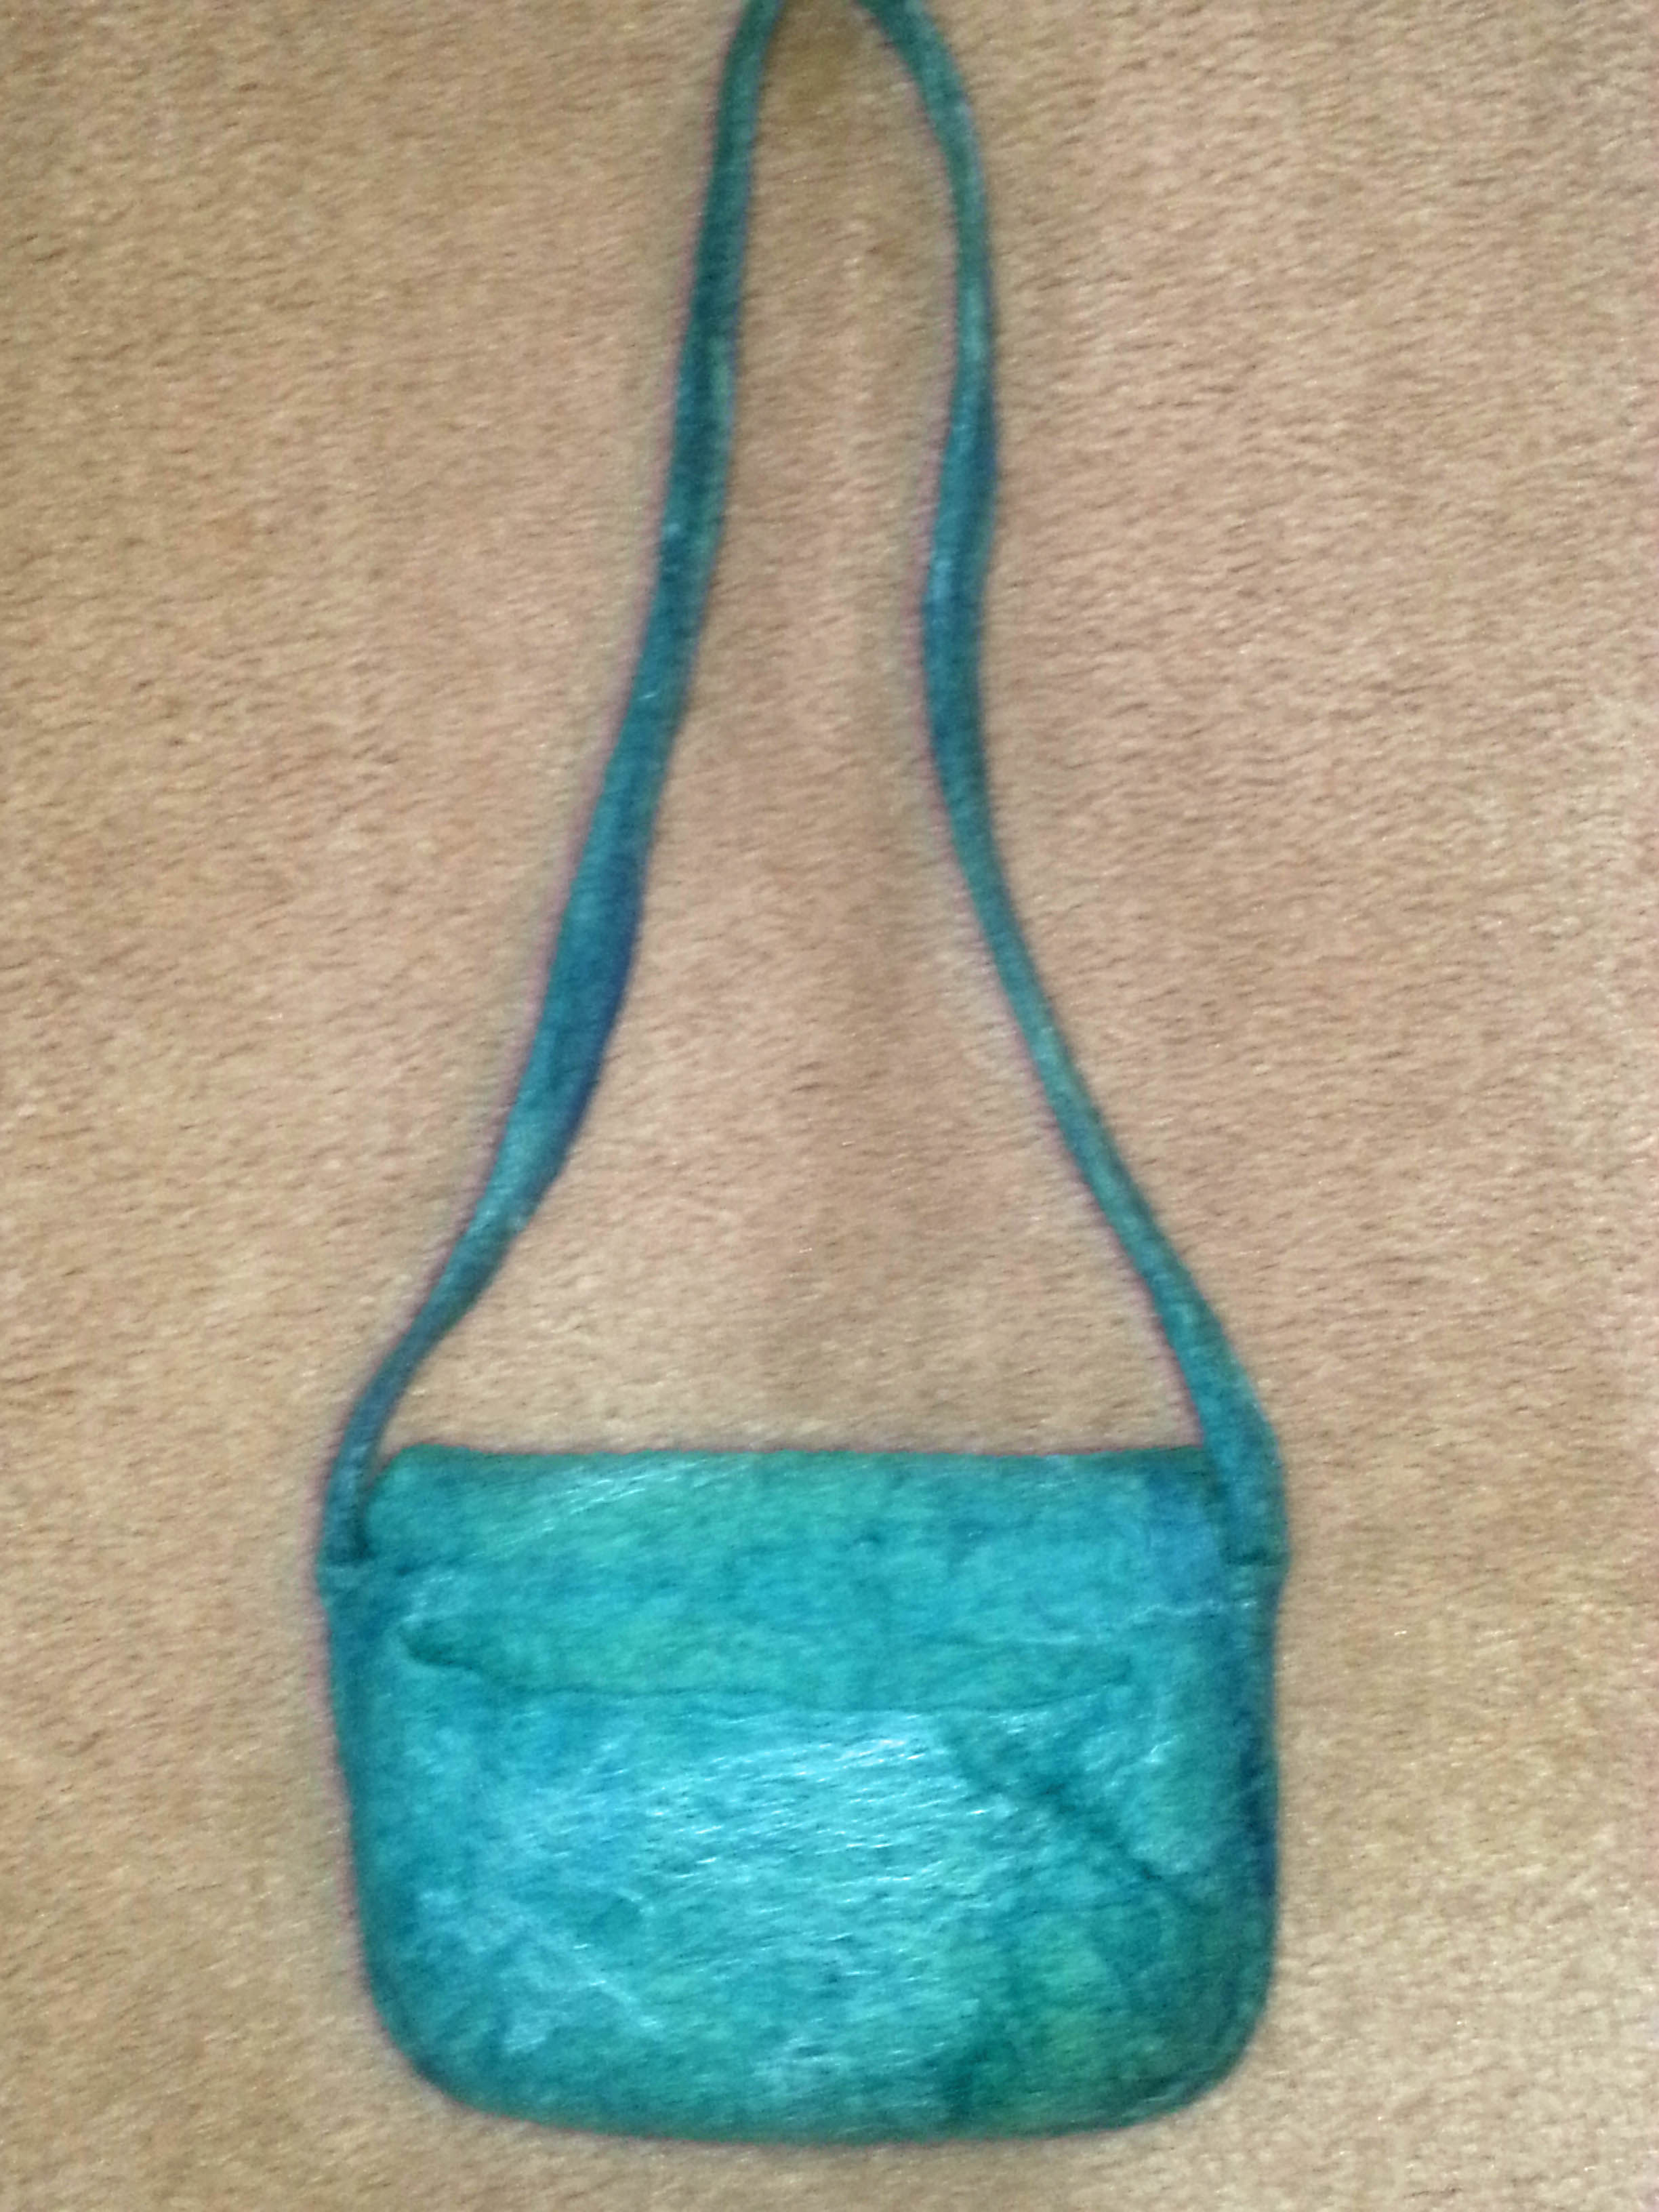 I wonder if I could duplicate this again? Maybe if I do I’ll write a tutorial. The one thing I would do differently is to put the shoulder straps on the inside of the bottom and sides rather than outside. That would be another challenge. What do you think?
39 thoughts on “From Batts to a Handbag”
I really like this, Marilyn. Well done! If I were to make it, I might line the inside with fabric to prevent the wool from pilling, but the way you made it looks so professional. And the flower! A work of art.
Thanks Leonor! I had thought about lining it with silk which I had on hand, but there was so many steps and so much to remember to do. I felt good just getting it out together and turning out the way I wanted it to. I would definitely try a lining in the future. To be honest, the felt is so hard, I don’t see it pilling.
Silk as in silk cloth? Fancy 🙂
If it doesn’t pill then you’ve done a perfect job!
Yes, I had some silk habatoi I was going to use. Next time.
Marvelous, Marilyn! I like it very much. I don’t know what fibres you were using but they look a perfect combination. I would appreciate if you could describe the procedure for making the decoration on the flap. I hope you wear this bag, don’t give it to anyone.
Thanks Nada! I used several shades of merino, cheviot, Romney, domestic 56s and a touch of mulberry silk and alpaca for the sheen.
This is one of the items I’ll keep. I may enter it in a competition before using it if I have that opportunity. I will work on a tutorial for the decoration.
It’s beautiful Marilyn and I’m sure you’ll use it with pride. The flap decoration is wonderful! Attaching the strap to the inside of the bag would be good – bit more fiddly – but good.
Thanks Lyn! I will definitely try the strap on the inside when I can wrap my head around how to accomplish that. I’m still recovering. :-). I think it would give it more strength and look a little better. It will definitely be fiddly.
Very nice indeed Marilyn. I’d like a tut. for the flap decoration too- it’s unusual and so pretty. 🙂 I have bags with pockets such as these and I don’t find pilling a problem. 🙂
Thanks Judith! As I mentioned above, I had intended to. I think a silk lining would give it a different feel. But you’re right, I don’t think it will pill. I will work on a decoration tutorial.
Marilyn, wonderful bag. Very professional looking. I’m just getting used to making bags so I would love to understand more how you attach the straps. Hard for me to understand just by reading. Mean you show image of how it’s done. Would be great tutorial.
Thanks Josie! I will put together a tutorial for the straps. I know I have a hard time reading and following written instructions I do better with pictures or just envisioning the process. I will try to work on another one soon.
Simply beautiful! The colors, the surface design, pockets–I think this is amazing for your first handbag. Kudos to you!
Thanks Cathy! I enjoyed the whole process and was pleased with the outcome.
Everything about this is absolutely beautiful. Love it.
Thanks Judy!
Great job Marilyn. The shape is perfect and I know that with all those pockets it is a challenge getting everything the way you want it. You should enter it into a competition. Look forward to seeing the tutorials 🙂
Thanks Ruth! Now where’s a competition when you want one? 🙂
I love it, especially the center detail, it has been great fun watching what everyone is doing after Fionas class
Thanks Maureen! There are so many techniques to try out!
The purse is wonderful – what are the finished dimensions?
Thanks Frances! It is 10 ” wide, 8″ high, 3″ deep with a 39″ strap. (25.4 cm wide, 20.32 cm high, 7.62 cm deep with 73.66 cm strap)
this is gorgeous Marilyn, I too love the detail on the front, but I am most impressed by the pockets they sit so well 🙂
Thanks Carole! I can’t have a handbag without pockets. 🙂
I’m a less experienced felter ….. so wonder if you want the strap to end up on the inside … could you make the whole thing so that it’s inside out … and reverse it when you finish …. if that makes sense?
I’ve made vessels inside out, so yes it makes sense. But there were so many steps doing this the first time, it just seemed easier to work on the way I did. Putting the strap on the outside was an afterthought when the purse was finished. Thanks for your insight Beverley!
Hello Marilyn, Wow, what a fantastic looking felted purse. I love all the pockets and the fancy center detail is very lovely. Very creative. Hugs Judy
Thanks Judy! It was well worth the effort.
This looks really nice Marilyn 🙂
It’s such a nice shape and so well felted. I’m glad I’m not the only one who uses pegs for felting!
Thanks Zed! I wanted to felt the strap fast and hard so I thought the dowel — peg would do the trick and it did. 🙂
Sorry, I was talking ‘foreign’ again 😉 I meant the clothes pegs (clothes pins?) 🙂
😉 No worries. It didn’t even occur to me you were referring to the clothes pins. Duh!
Great bag Marilyn, I agree a purse without pockets is no use at all. your decoration really sets the bag off, lovely. I have never been able to keep the ends of anything I am felting dry with plastic wrap. You can wrap the unfelted parts of the strap around the edges of the resist and then wrap the wool around it to get it inside.
Thanks Ann! I didn’t use a resist for the decoration, but that’s a good idea. It would keep some of it out of the way. I didn’t have any trouble getting it to felt into the bag. I worked that separately before I felted the whole bag to make sure it didn’t shift or collapse.
I meant wrap the ends of the handle around the bag resist then add the wool for the bag. That way the handle would be inside instead of outside.
Yes, Ann, that makes perfect sense. Thanks!
Aw, this was an exceptionally good post. Taking the time and actual effort to
generate a great article… but what can I say… I hesitate
a lot and never seem to get nearly anything done.
Well done. It is all very clear explained. The photos provide evenmoren information. Thank you for sharing.
Down another rabbit hole – it’s so helpful when someone comments on an old post and brings it back to our attention. In this case though it reminds us of what a great craftswoman Marilyn was, and we’ve lost her. Did she ever post a tutorial on the decoration she made for this bag?
Ann