Browsed by
Tag: scrim

From Batts to a Handbag

From Batts to a Handbag

After my four days of dyeing experiment, I carded a bunch of batts with the different fibers I had dyed.  I decided I wanted to do something a little challenging using the batts. So, after doodling around with a few ideas I settled on a handbag using a couple of the techniques I learned in Fiona Duthie’s Surface Design Class.

I didn’t have a pattern. So, I used the general shape of the purse I carry now and added 30% for shrinkage and made a template. It took a lot more planning than I had anticipated so I got very engrossed in making sure I had everything organized and followed each step in the right order. Unfortunately, I worked intuitively and forgot to write down the procedure and take pictures at each step.

I wanted to use fiber for the shoulder strap, but I also wanted it to be strong and not stretch.  I made the shoulder strap first using a tightly woven scrim cut with the grain between layers of wool.  I left long ends unfelted and wrapped plastic at the ends to try to protect it from the water, not that it helped. This would be the part I would felt to the bottom and sides of the handbag so it would be all one piece.  Then I  used a dowel to roll the strap until it was partially felted.

handle end rolling handles


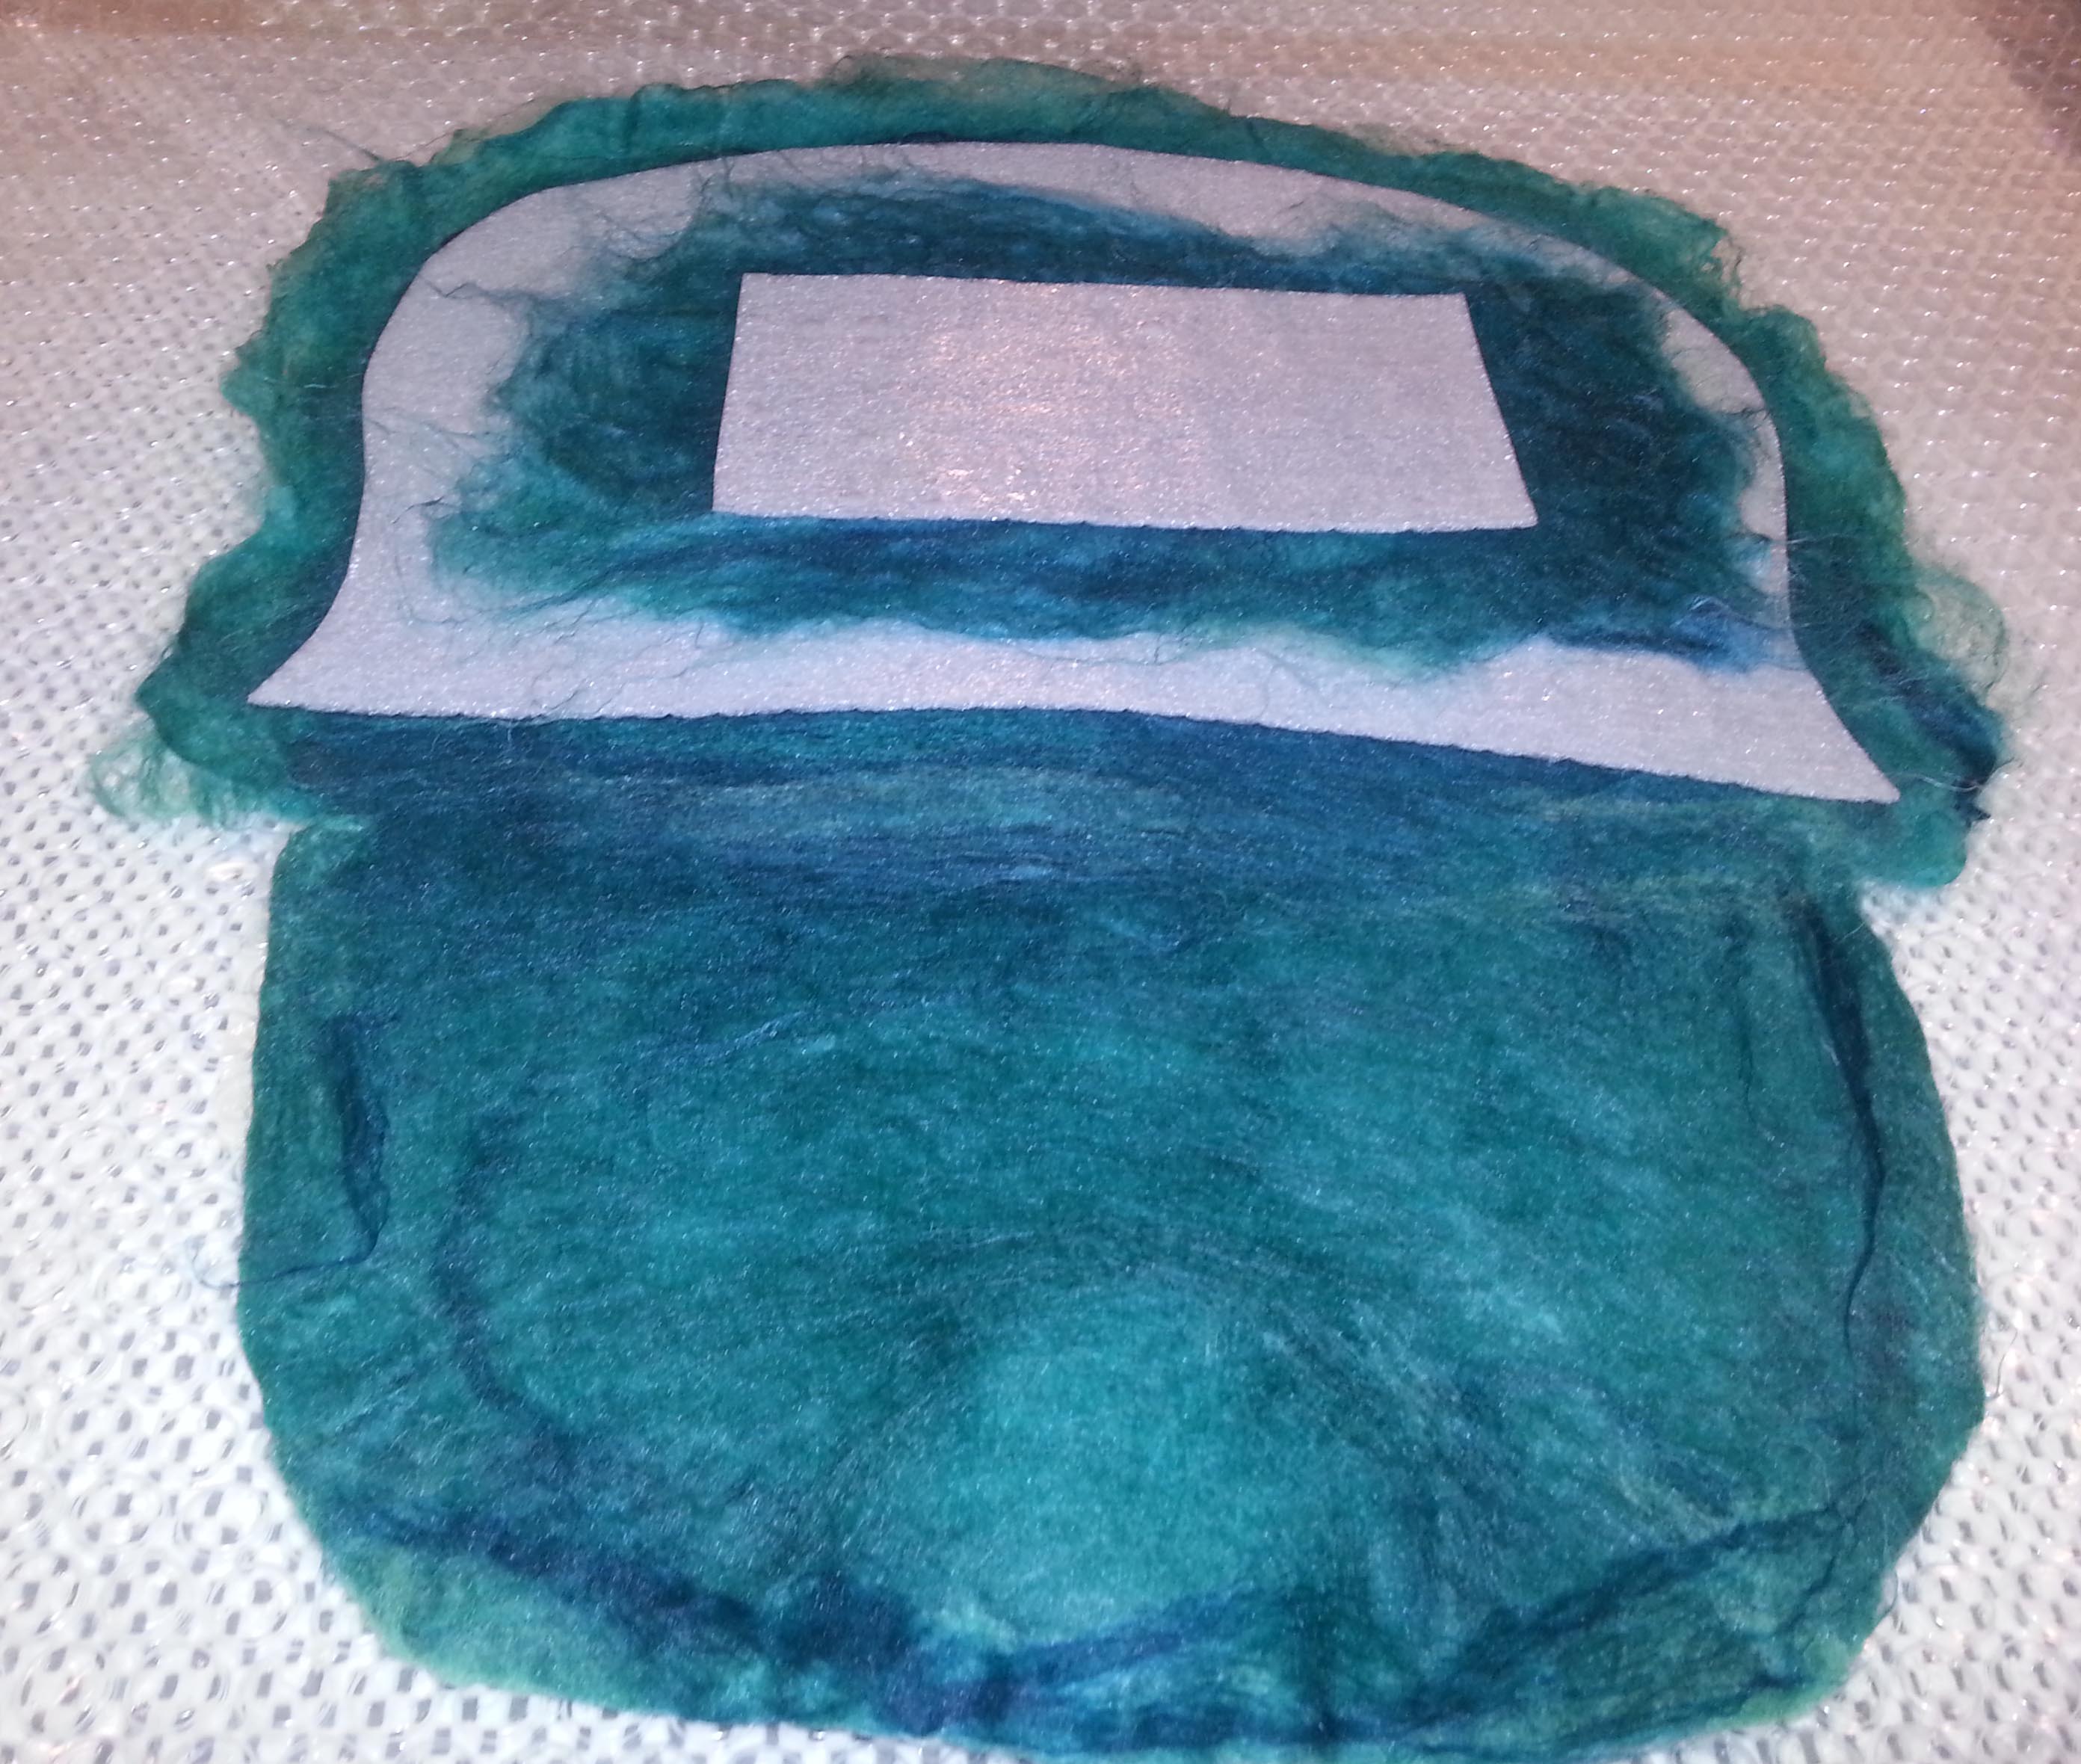
Here is one side of the purse with scrim lining between the wool layers, resist and a resist for one of the inner pockets. I wet one side then proceeded to lay out the other side working backwards from inside out. Laying out more pocket resists, the back and back pocket. I know that sounds strange, it was a little mind boggling.

layout

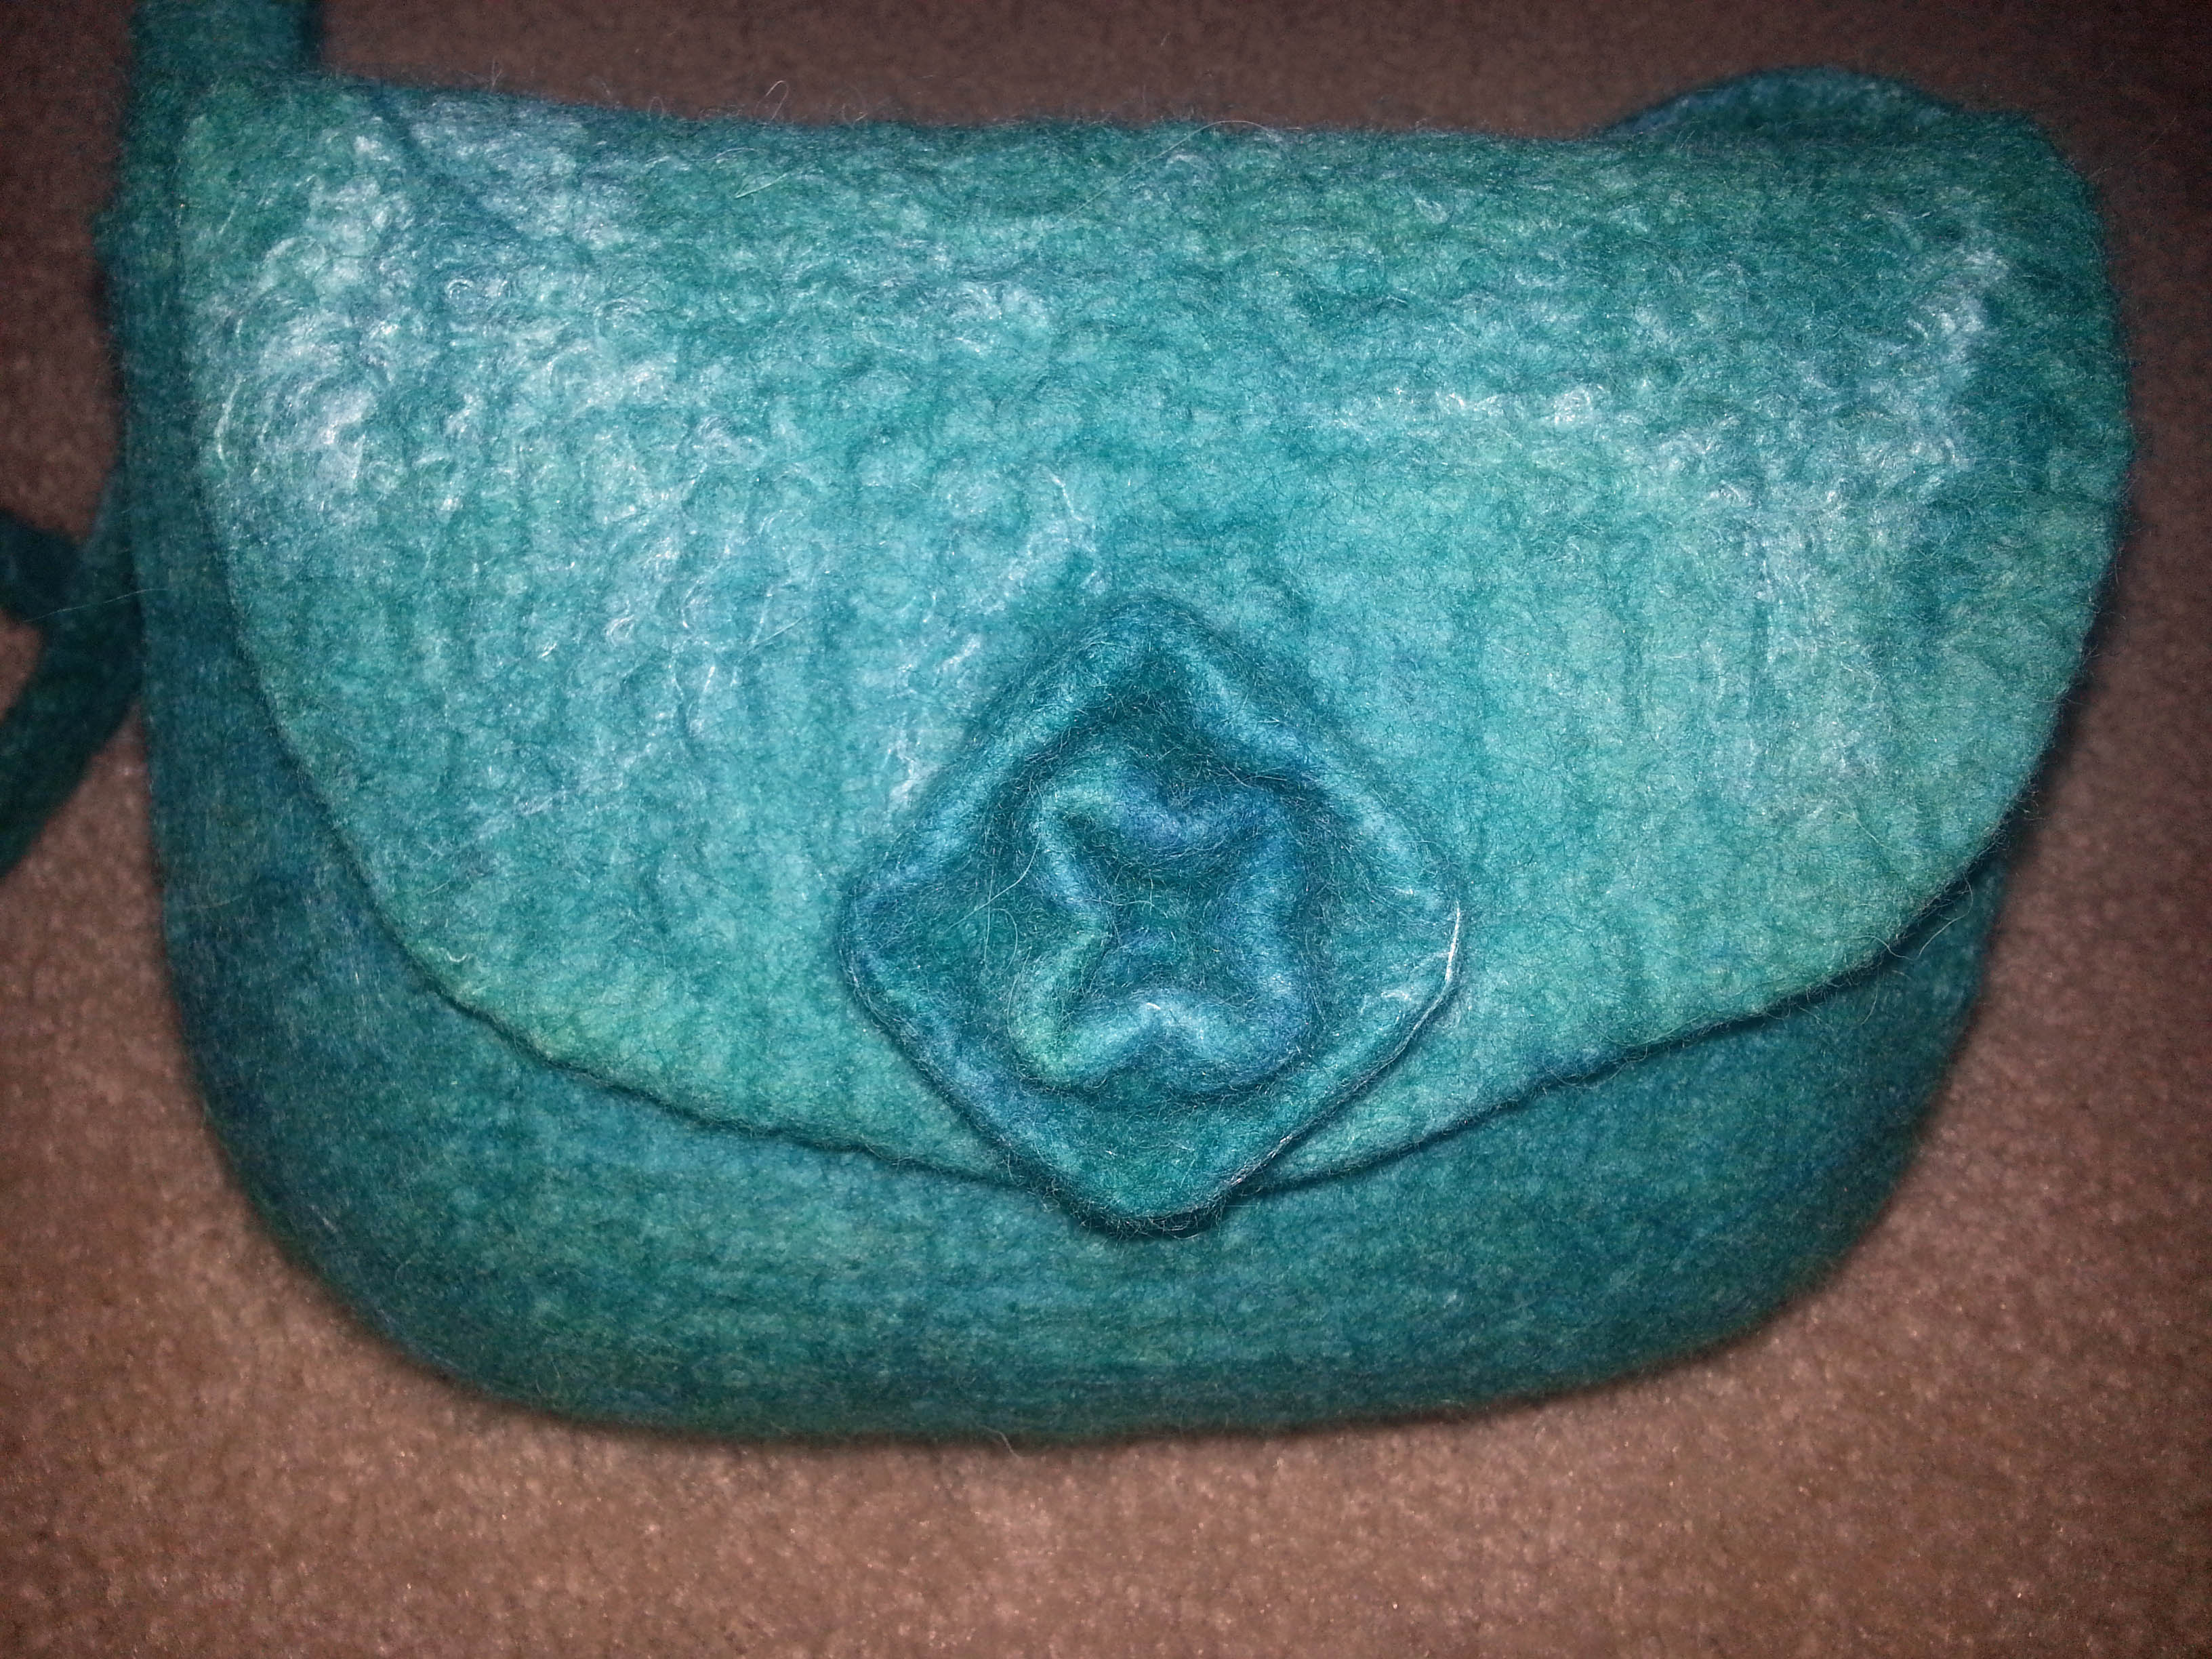
The decoration for the flap had to be done first before attaching it to the bundle to felt. The middle was felted by hand and the circle of fiber around it was left unfelted in order to add additional  fibers to felt into the bundle.

decoration

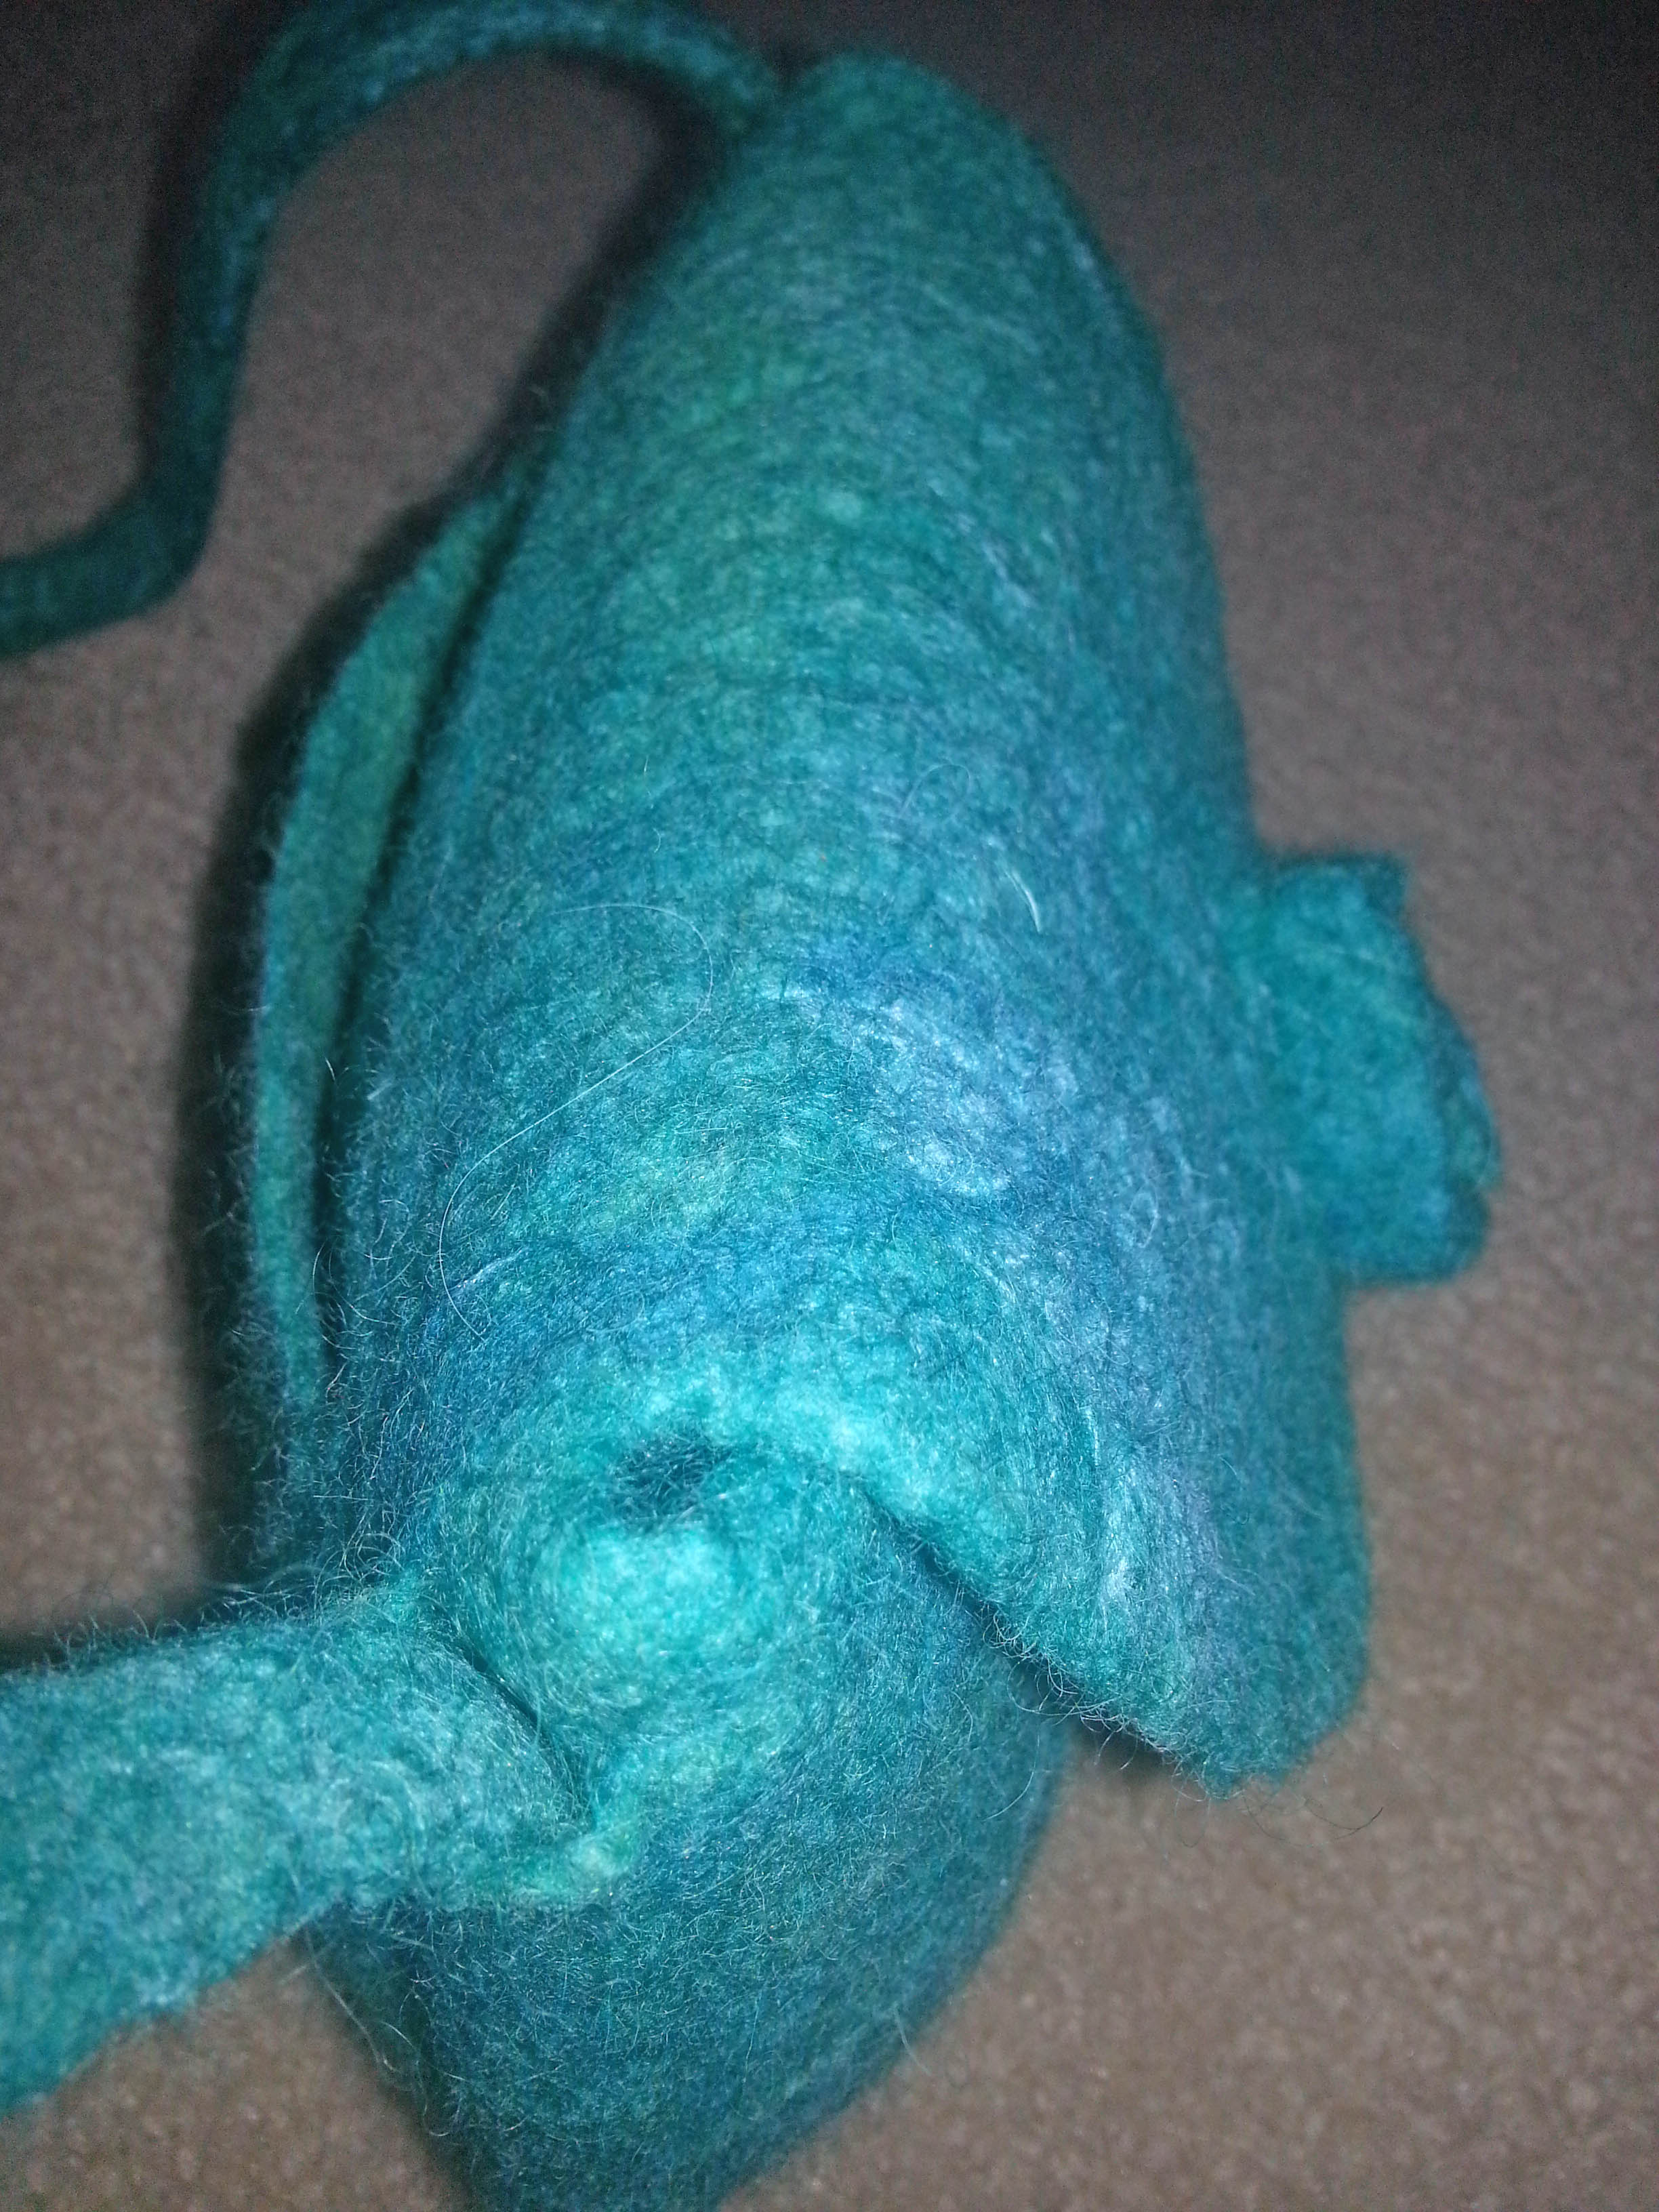
The handles were laid out on the bottom and the sides then worked on the sides first to ensure they held together during the felting process.

It was quite a thick bundle and once it was felted enough, I cut out the resists and continued to full and shape it until it sat up by itself.  When dry, it had that “thud” of being completely fulled.

hangingcloseup front Three inside pockets.
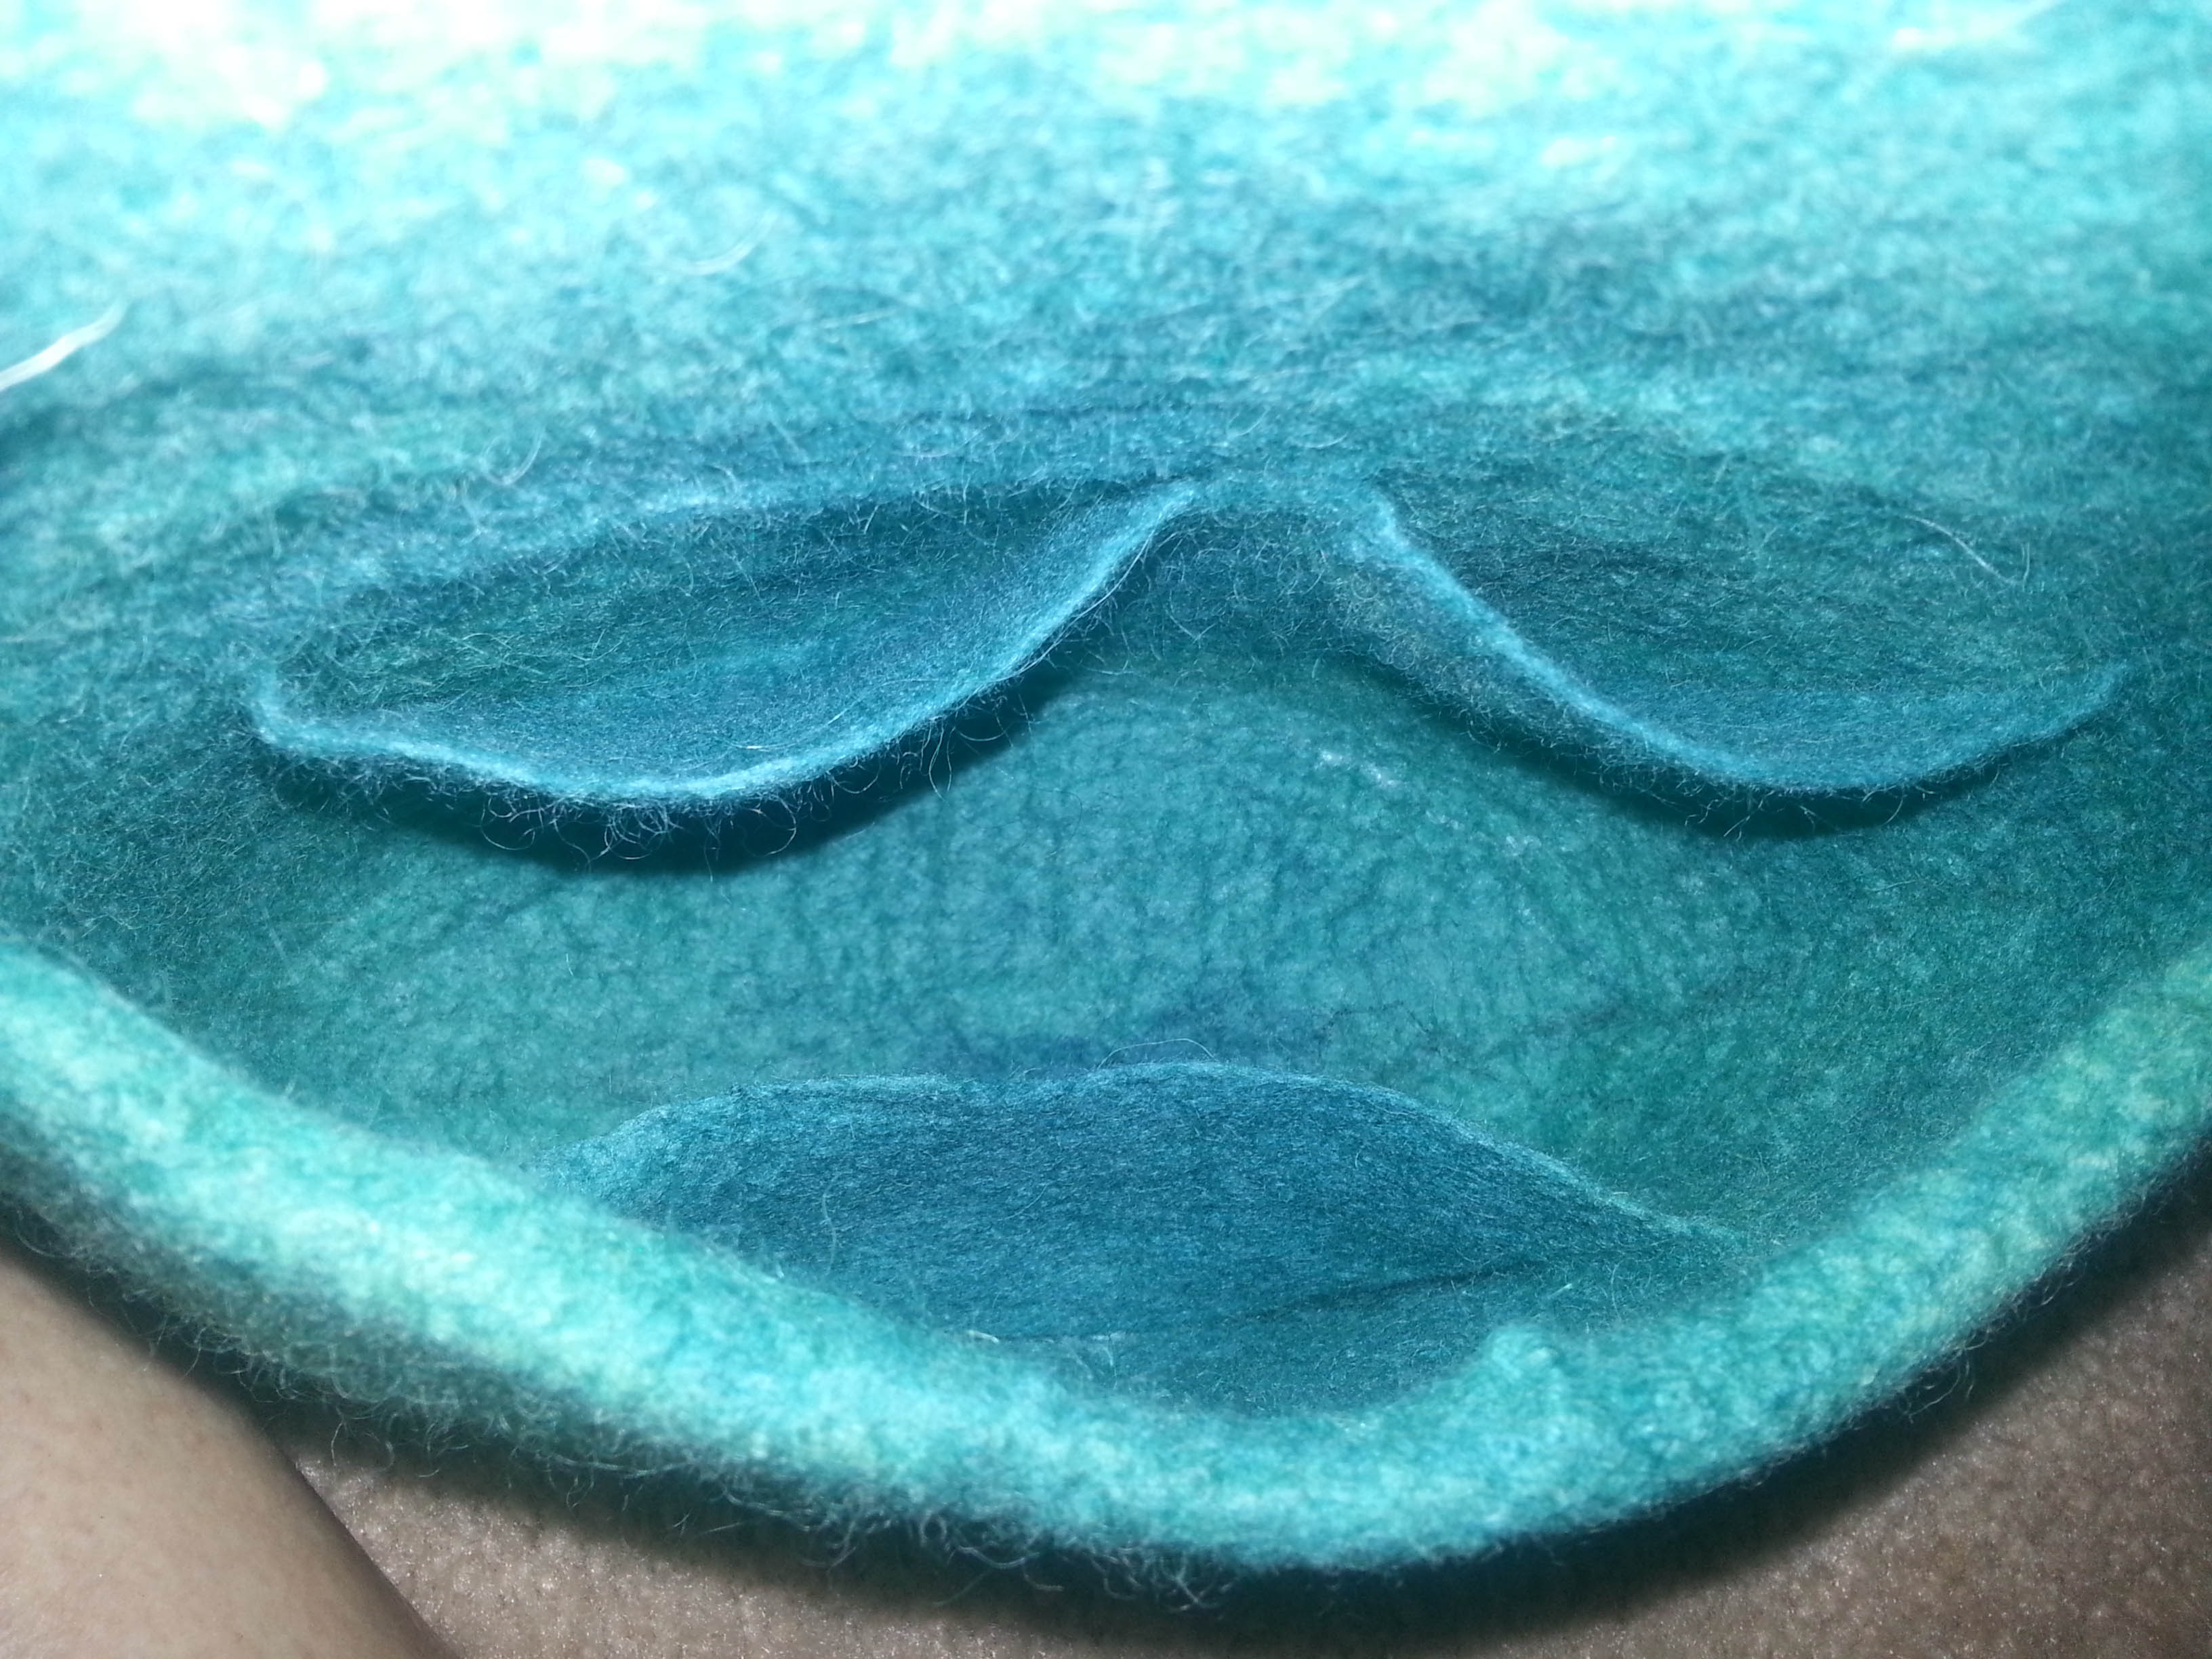
insideOne back pocket.

top view

back
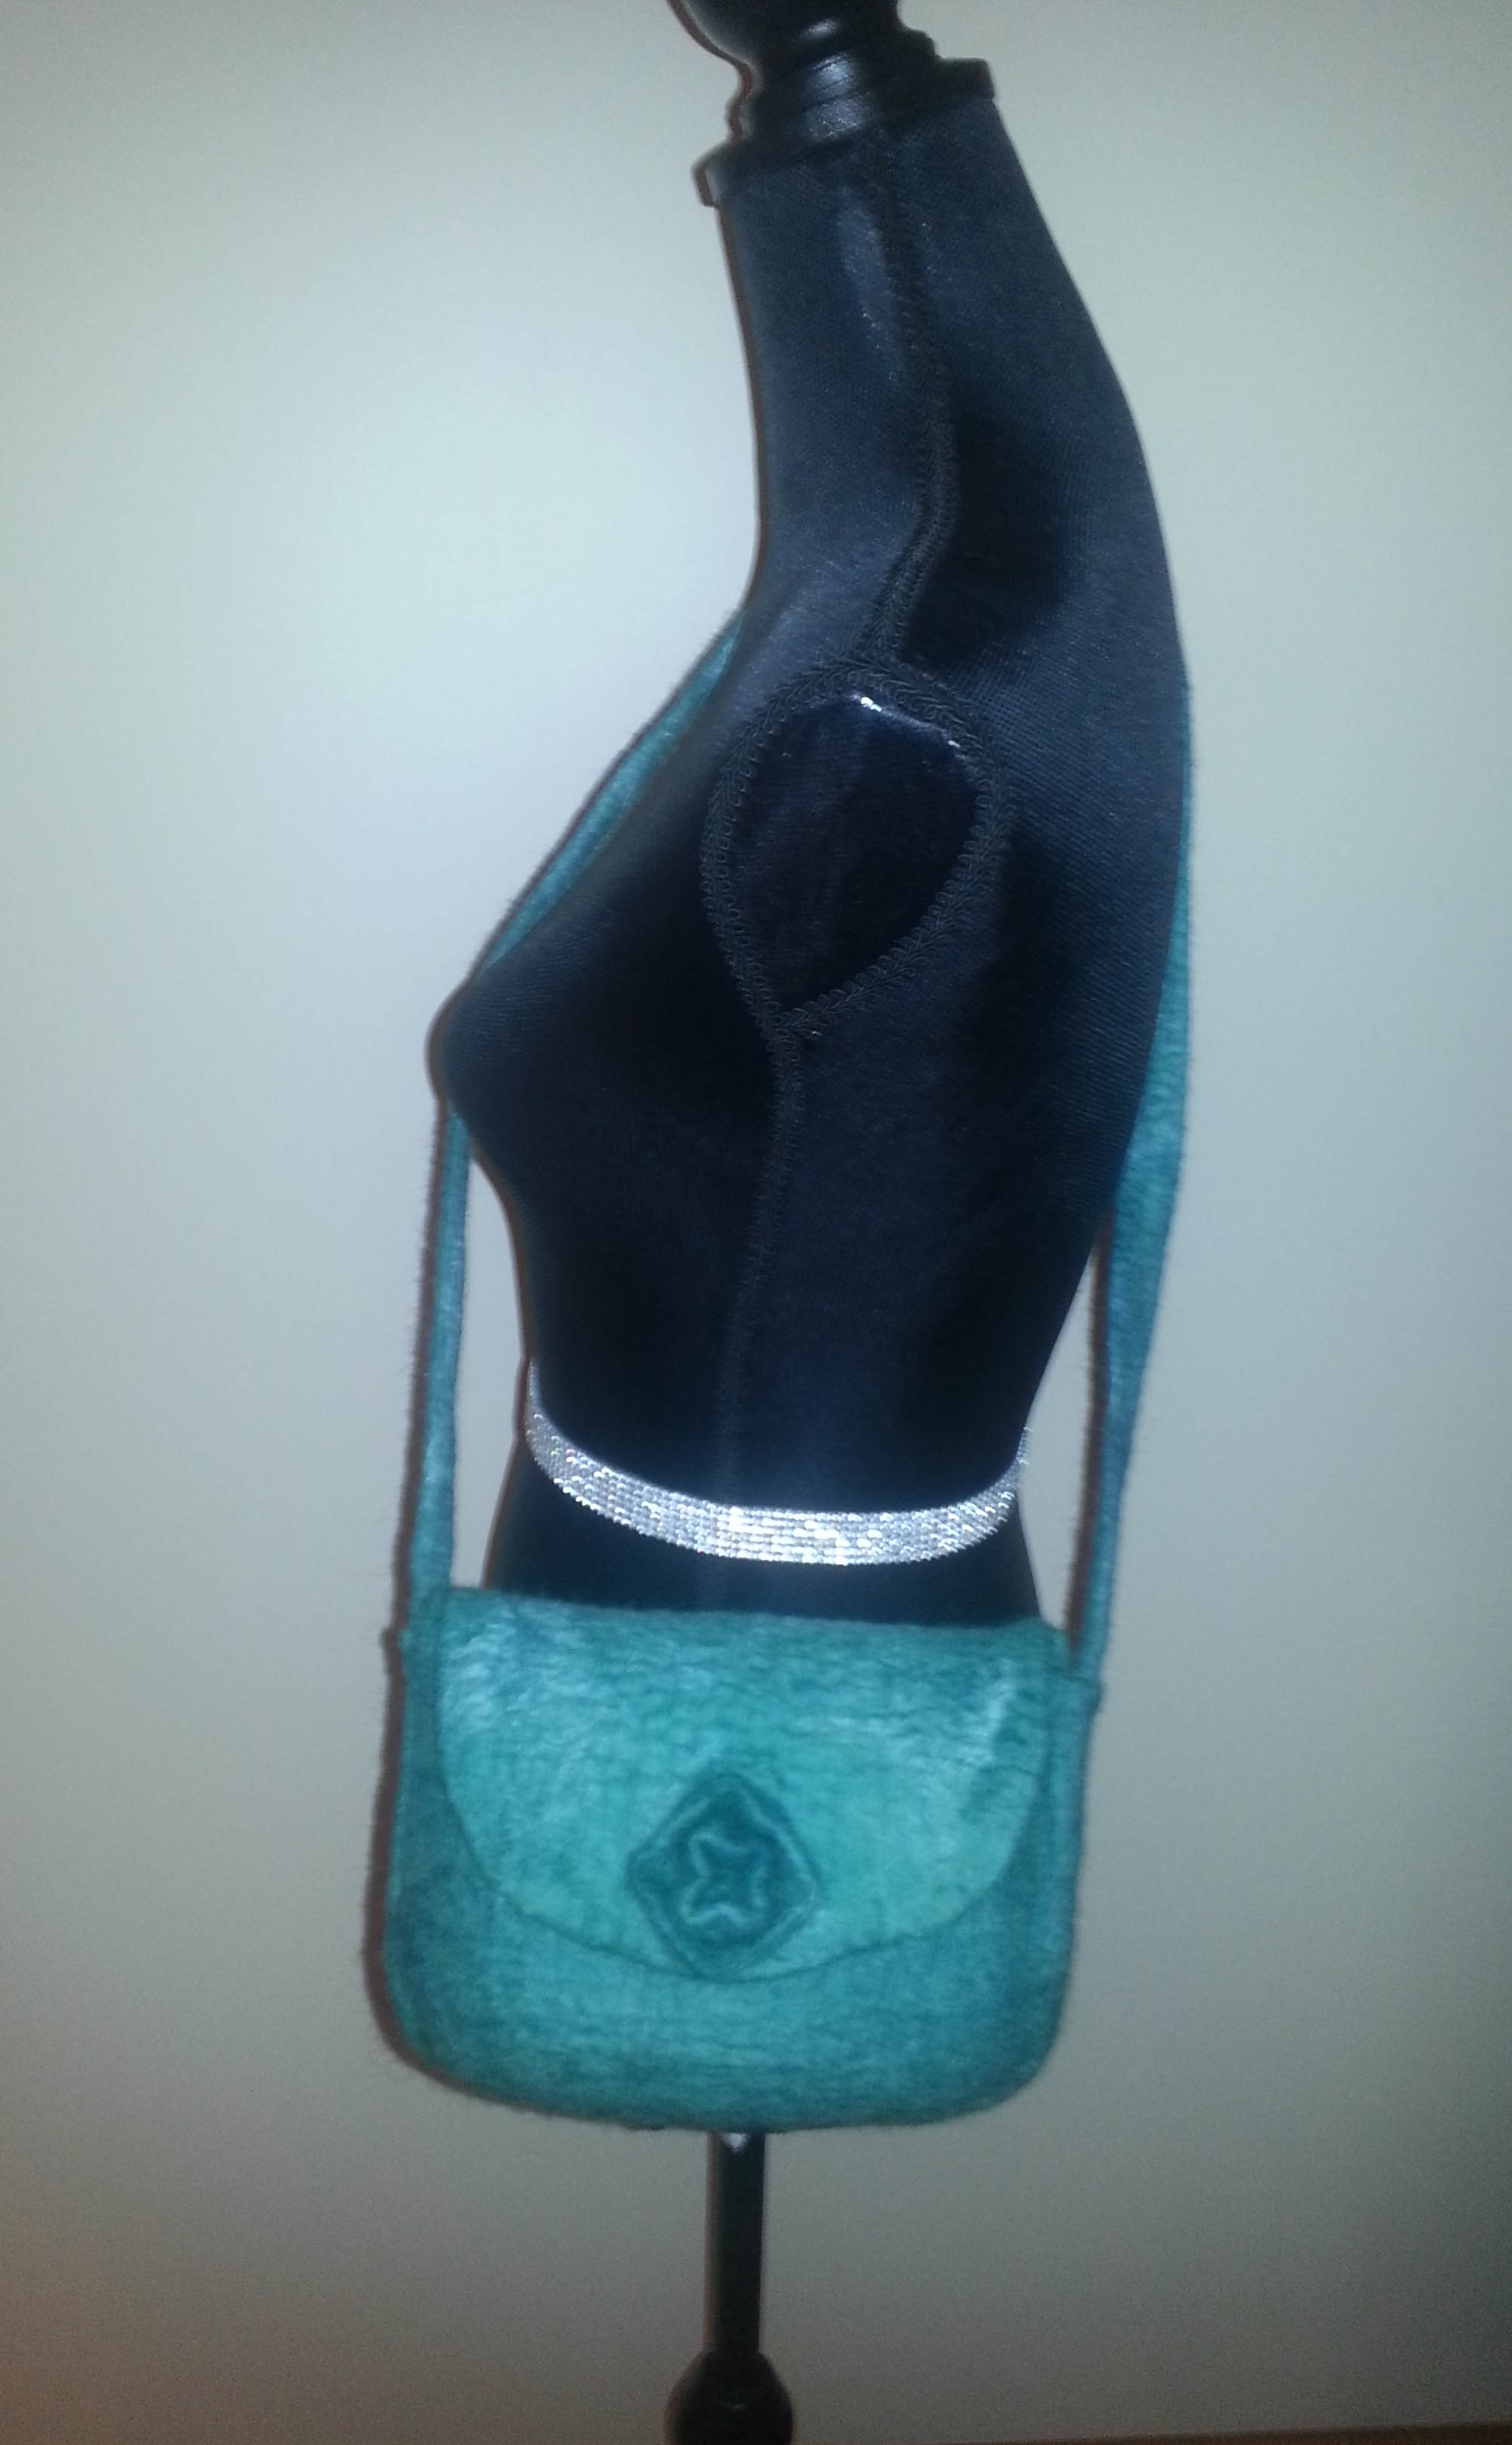
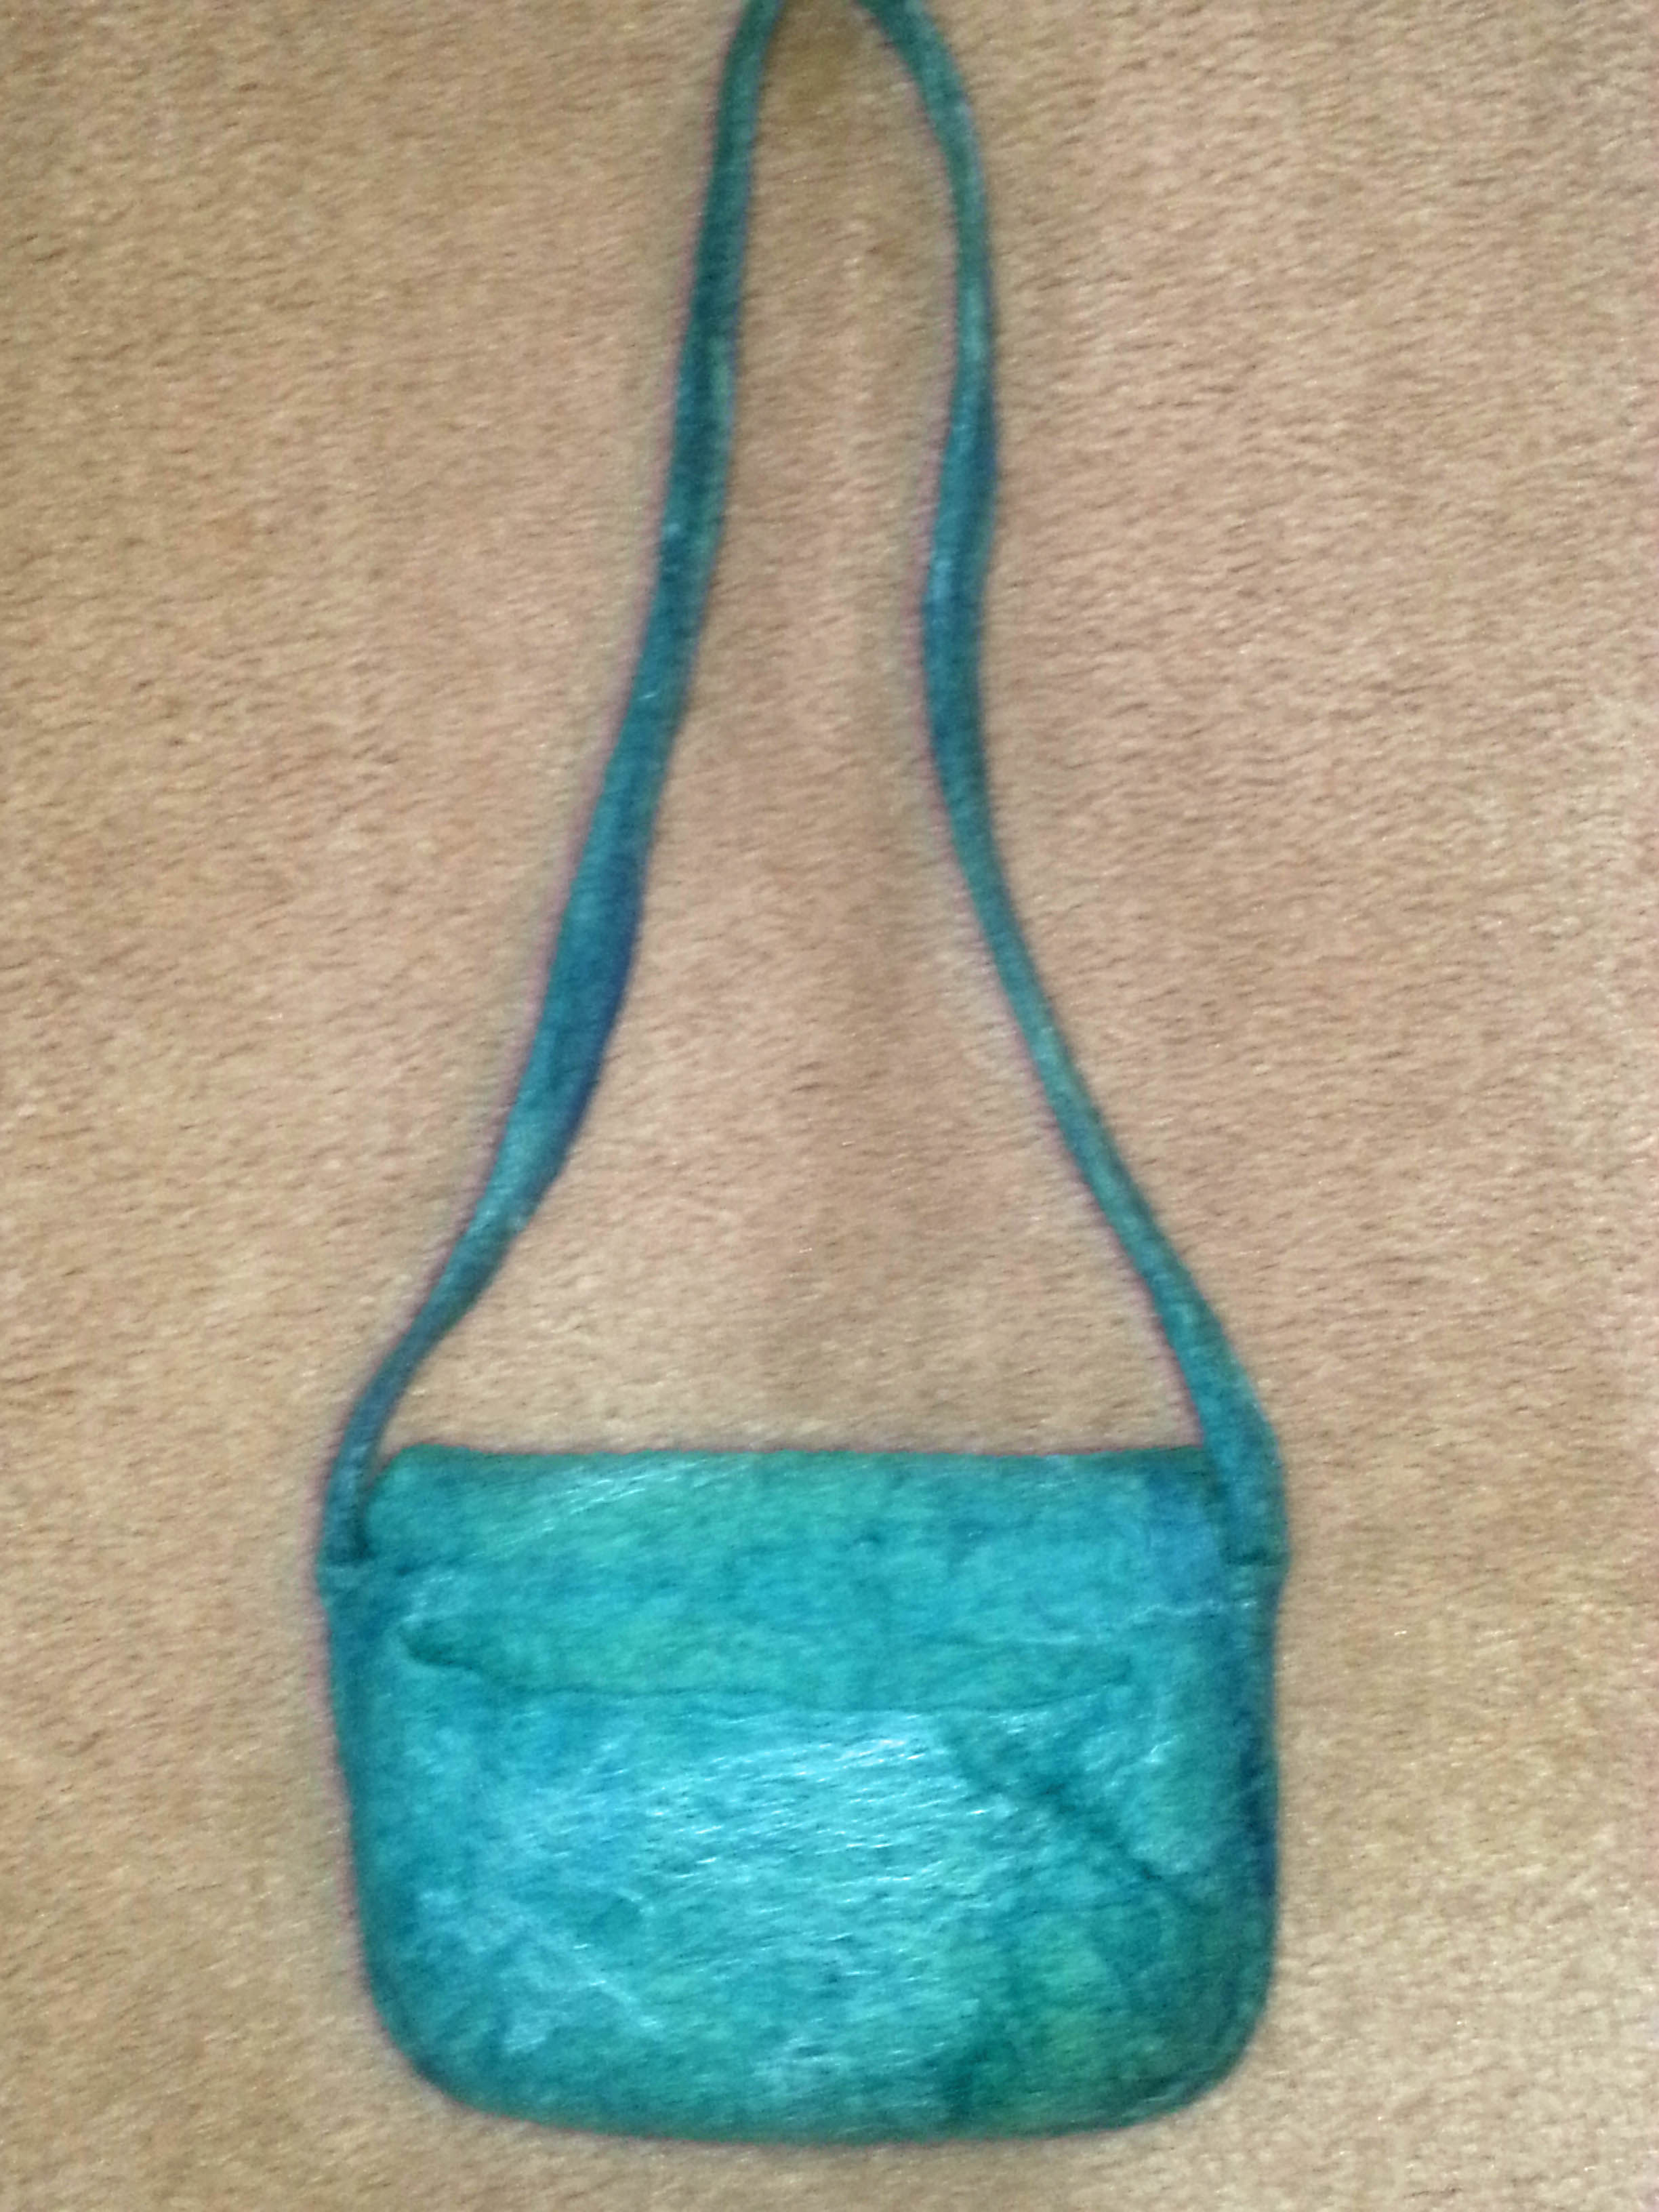
I wonder if I could duplicate this again?  Maybe if I do I’ll write a tutorial.  The one thing I would do differently is to put the shoulder straps on the inside of the bottom and sides rather than outside.  That would be another challenge. What do you think?


3rd Quarter Challenge Finished Pieces

3rd Quarter Challenge Finished Pieces

I worked on my mixed media pieces for Karen’s 3rd Quarter Challenge this week. The first piece I worked on was the smaller board with lots of folded and creased scrim on. I started by painting the background with some blue shades of acrylic paint.

OLYMPUS DIGITAL CAMERAThen I layered lots of shades of blue and white, then finished with some details of black, white, yellow and red. This is the piece just after I finished, while it was still wet.

OLYMPUS DIGITAL CAMERAAnd this is it when it is dried. You can’t really see the texture in the photo, but I’ve uploaded it to flickr, so you can see the texture of the scrim and the detail better.

OLYMPUS DIGITAL CAMERAHere’s a supermacro of a small part which does show some of the texture.

OLYMPUS DIGITAL CAMERAOften when I work with acrylics, I need to wipe off excess paint, so I keep a spare painting board nearby to wipe the paint on there. It makes a great base for another painting. This isn’t really part of the challenge, but I painted it just after the blue piece. It’s mostly the same colours, but in different amounts.

OLYMPUS DIGITAL CAMERAAnd a supermacro:

OLYMPUS DIGITAL CAMERAThe second piece I worked on was the larger board with 2 layers of scrim. It did turn out the way I’d planned, but didn’t look as good as I’d imagined. I painted a light grey in the centre and dark greys around the edges. Then I covered some laser prints of artwork in Golden gel medium and stuck them face down on the surface. When they were dried the next morning, I wet them and carefully rubbed off the backing paper to reveal the prints. I covered in gel medium then painted reds, oranges, yellows and whites around the edges. I don’t think I got enough paper off the bottom print. I might carry on working on this, I think it needs something else.

OLYMPUS DIGITAL CAMERASorry, Kaz, I couldn’t think of a way to add metal, there’s a little bit of silver acrylic paint on the blue one, though 🙂  Has anyone else made anything for the challenge?

Dyeing Cotton Fabrics

Dyeing Cotton Fabrics

A few weeks ago I decided to dye some of the cotton fabrics I was using in felting: Cotton Gauze, Cheesecloth, Muslin, a few lightweight cottons and some cotton/synthetic mixes. I started out using some Scarlet RIT dye and I was really pleased with how easy it was to use and how well the colours turned out. I used the ‘Hot Water in a bucket’ method. I weighed the amount of fabric I had and then ran some really hot water into a bucket and measured out how much I needed. I poured this into the dyeing bucket, saving a little in a jug to add to the dye I’d measured out  into an old glass jar. I added salt to the dyeing bucket, then poured the dye solution in, and gave it a stir around. The instructions had said to wet the fabric before adding to the dye bath, so I’d put the fabrics in the other bucket while I prepared the dye bath. The instructions said to stir constantly for about 30 minutes until the desired colour is reached, but I just stirred occasionally. I also added fabric at different stages or tied/scrunched to get different shades/effects. Using the instructions on the RIT packet, I made some calculations for dyeing smaller amounts of fabrics and used this as a guide for dyeing the fabric a medium shade.

The second dye brand I tried was Dylon, I bought the 50g hand dyeing pack. I used to buy the Dylon Multi purpose dyes years ago, they were meant for using in a pan on the stove, but gave excellent results just using hot water in a bucket, so I expected these Hand Dyes to be really good. The instructions were pretty much the same as for RIT except no laundry detergent was used. I bought a dark brown so that I could add fabrics at different stages and get lots of gorgeous natural looking shades. What I actually got was a load of fabrics all very much the same pale shade of beige 🙁  I think I would have got richer colours using tea or coffee. I made some calculations for dyeing smaller amounts of fabric for the Dylon too, though I’m not sure I’ll use it again.

The next time I dyed some cottons, I used a RIT dye again, Navy Blue. I was really pleased with the way those fabrics turned out too. I even dyed some egyptian cotton top, which turned out nice, the photos didn’t though 🙂

Do you have a favourite dye for cottons or maybe a favourite method? Do you have any hints or tips to share with us? We’d love to hear your opinions. Click on the pictures for bigger images.

Cotton Gauze

Cotton Gauze

I’ve been quite busy lately working on my project of ‘other’ fibres and fabrics used in felting. I’ve been making a lot of felt pieces using lightweight cotton fabrics like muslin and cheesecloth. Another fabric I’ve used is Cotton Gauze, this is sometimes called ‘Scrim’, and I’ve used a couple of different types. Here is a selection of some dyed pieces I have.

It’s really good for creating texture and effects. I’ve been making large bold pieces to use for bookcovers.

I’ve also made some smaller pieces with resists, using the gauze for texture. This piece was for making into a pouch.

and this became a textured sculptural vessel

I’m starting to have a huge pile of colourful, texturey felt pieces all waiting to be made into something once the weather gets too hot for felting. This is a close up of a large piece I made for making a purse and matching mirror case out of.

The lightweight cottons also work really well for using in scarves and wraps instead of the usual silk. Do you use scrim or cotton fabrics in felting, or fibre art? How do you find it to work with? Have you ever dyed your own? I’d love to hear about your experiences with it and see photos if you have links 🙂

%d