Browsed by
Tag: wet feling

Finished Slippers and Something New

Finished Slippers and Something New

I had planed to do a post about The Holiday Card I sent to Ruth  but it hasn’t arrived at her house yet so I don’t want to spoil the surprise.

Instead plan B. As promised  some pictures of the finished slippers. I made these for a sample for my slipper class a few weeks ago.

I left the one on the right flat so people could see how it was cut. I will steam or wet it and put it into the correct shape.  The one on the left is how is should look . I plan to make a leather sole for them.

The other thing I did for the class was leave one as it was when the felting was finished to show how the wool migrates through the decoration.

And the other one I shaved with a regular disposable razor to show how you can bring it back up.

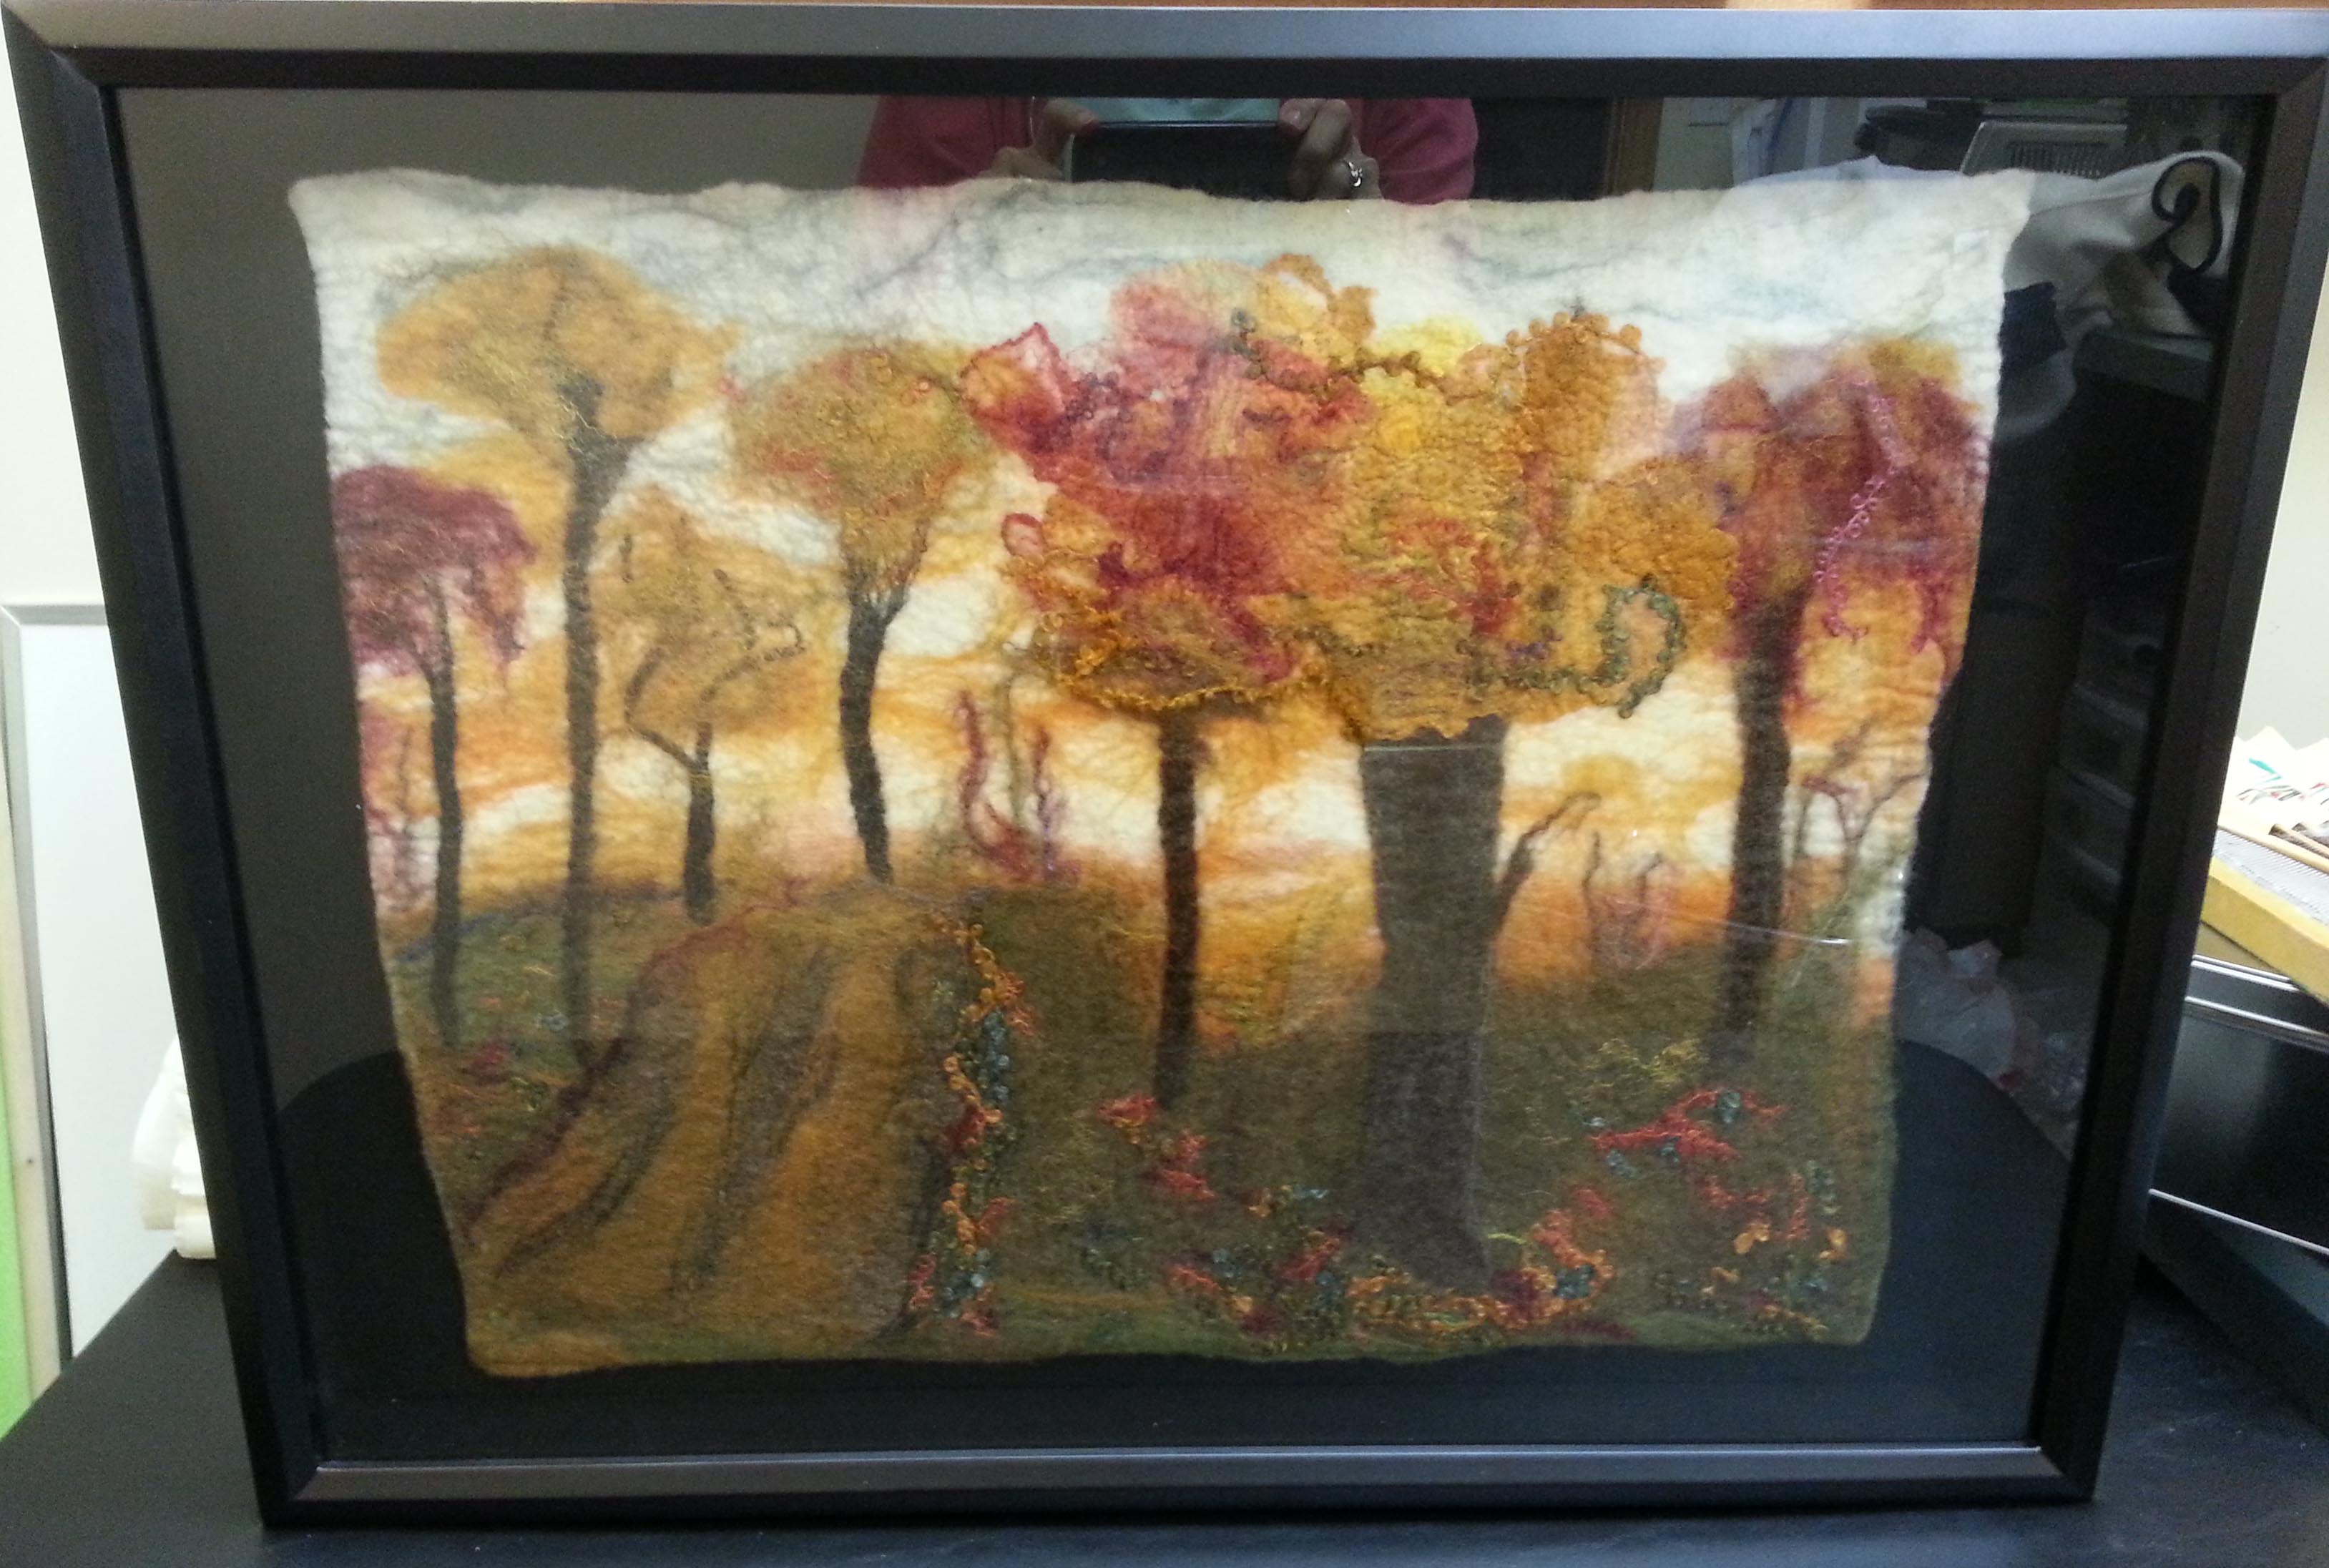
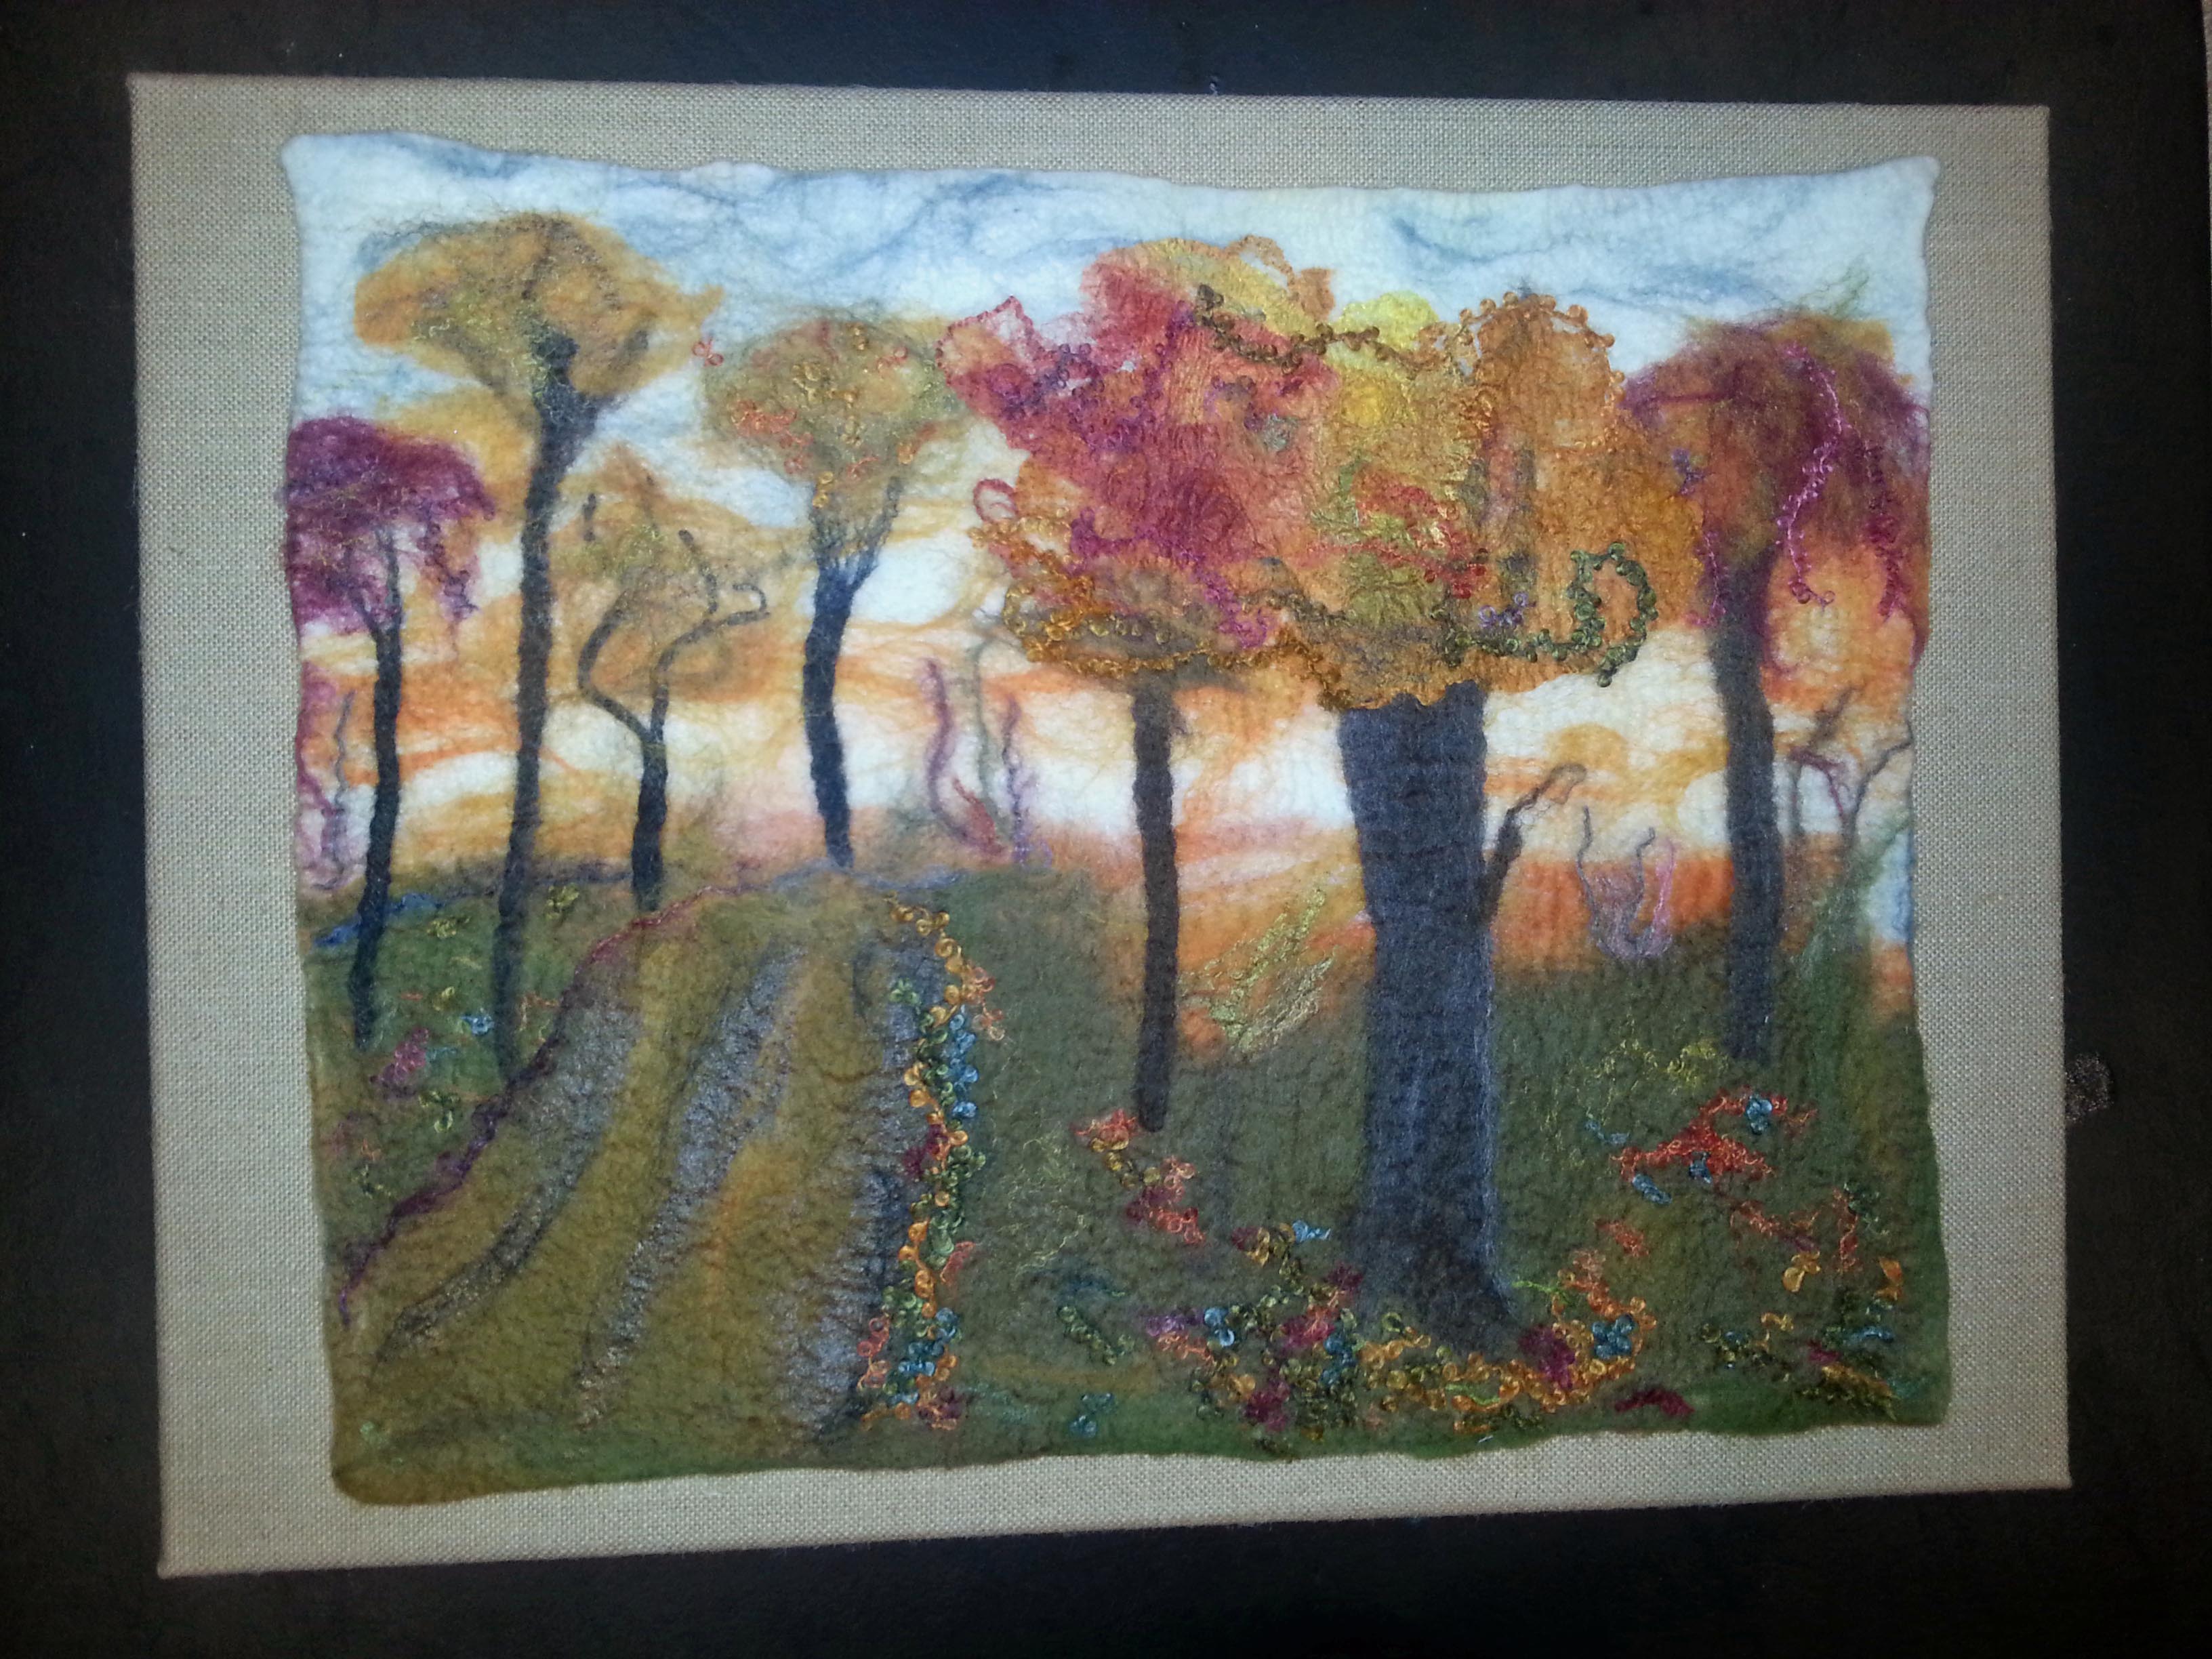
And now for my something new. It is something I have  been talking about and thinking about for a while. Can you guess what it is.

How about now

or now

I am sure you know now

A new camera! It was on sale so now was the time. I had to use my phone to take the pictures because it is so new the battery is still charging. Now I need to figure out some good background and lighting I can use for pictures in my windowless studio. I am thinking some sort of shear on a frame to defuse the harsh light and some wight card for bouncing the light. Maybe a big light gray and or white felt sheet for background.


Penquin’s 2017 Christmas Card

Penquin’s 2017 Christmas Card

Penquin (Anne Hickley) made me a beautiful Panda card for the holiday exchange.  For some reason I was stuck on the idea of a Poinsettia.  You may have already seen it on the Forum.

I made one for myself last year to hang as a decoration and wanted to do another.  Of course, making a card became more complicated than I had anticipated.  But I enjoyed making it.

I started out making thin red prefelt and cut out 5 or 6 layers of different sizes, putting plastic wrap between each layer leaving a hole in the center so they’d all felt together.  I had some green for the leaves and laid those underneath.  Unfortunately, I didn’t take pictures before I felted them.  But here is the flower after felting with beads for the center.

I stitched each petal and leaf.

Then I felted a white background with some sparkly fabric for a snowy effect.

I did another without the sparkle to be the back.  On the back I used Luminescent paint to write the words.

Now it was time to put it all together.  I used stabilizer on the back of the sparkly piece and sewed the flower on by hand.

Then the fun part was putting them together using the blanket stitch.

I’m happy Penguin enjoyed it and hope everyone is ready for the holidays!

Monet Inspiered Peice for the 3rd Quarter Challange

Monet Inspiered Peice for the 3rd Quarter Challange

I used the park scenes and the water lilies as inspiration. I had some wool that was just right for making a Monet piece.  It was  “grey” Romney wool I got years ago. It was washed but not carded. In actuality it was brown and white. That was ok I dyed it and carded it and got Monet wool. Each colour had varying shades of the dye depending on how brown or white it had been. Most of this picture is done with that wool. the blue/green is some leftover bits that had been carded together and the path is a striped top that very dark blue with some red. I think it is from Ashland bay I think.  I used a piece of prefelt for the background just so I would have a size to work with.

This is before I wet it down. I really liked it and was tempted to try and put it under glass unfelted.

monet in wool

After wetting and rubbing I rolled it put to pop in the dryer. than went off and did other stuff. I got it out of the dryer this morning and it had come unrolled in the tumbling and came out looking like this.

out of the dryer

I did manage to stretch it all out flat and square. it is approximately 17 inches by 12 inches or 44cm by 31 cm. I quite like it but think I may do some embroidery to define things a little better. The pond is not that bright and  distinctive in reality. I was pleased with the way trees didn’t all melt into one green blob.

dry


Autumn is Coming

Autumn is Coming

Last fall our challenge was Autumn.  I created my autumn piece which is just shy of 16″ x 20″ (40.64 cm x 50.8 cm) with organic edges.  I’ve played with different framing options on an off and finally decided it was time to take it seriously.

Here is the original.

autumn org

I tried different colored mats.

black mat orange mat


Then I bought a shadow box, but unbeknownst to me the glass didn’t come out.  Its not a very good picture because I was trying to take the picture without the frame falling and the picture falling out.  I intended to return it so I didn’t want to fiddle with it too much.

shadow box

I found another frame that supposedly had a 16 x20″ inset for a canvas.  However, when I put the canvas with picture on it there was a gap all around.  I decided to cover it with prefelt and attach the picture.   There was still a gap. This would probably be perfect for a thick felt piece wrapped around the canvas.

recessed frame

When Michaels had a sale on canvas and frames, I looked again and found this burlap canvas. (On a black table)

burlap

But when I put it on a dark bronze wall it made a big difference.

on green wall I haven’t mounted it yet since after jiggling it around  and trying to stretch out a little I have to make a few repairs.  I’m amazed at how my felting has improved this past year. I can even make straight edges if I want.  If I decide to start selling or gifting my artwork, I may have them professionally mounted and framed.

Which one do you like?

%d bloggers like this: