Browsed by
Tag: framing

Finishing and Framing

Finishing and Framing

 Our Guest Artist today is Tracey Thompson who has several galleries interested in her work and offered to share some tips on finishing and framing with us.

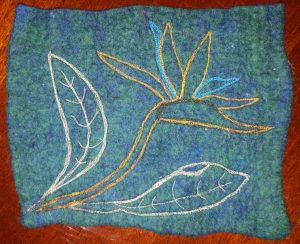
So, you have created your latest pictorial masterpiece and now you have to decide how you wish to display it.  Here are a few options that I have tried, I am sure there are more.

Canvas

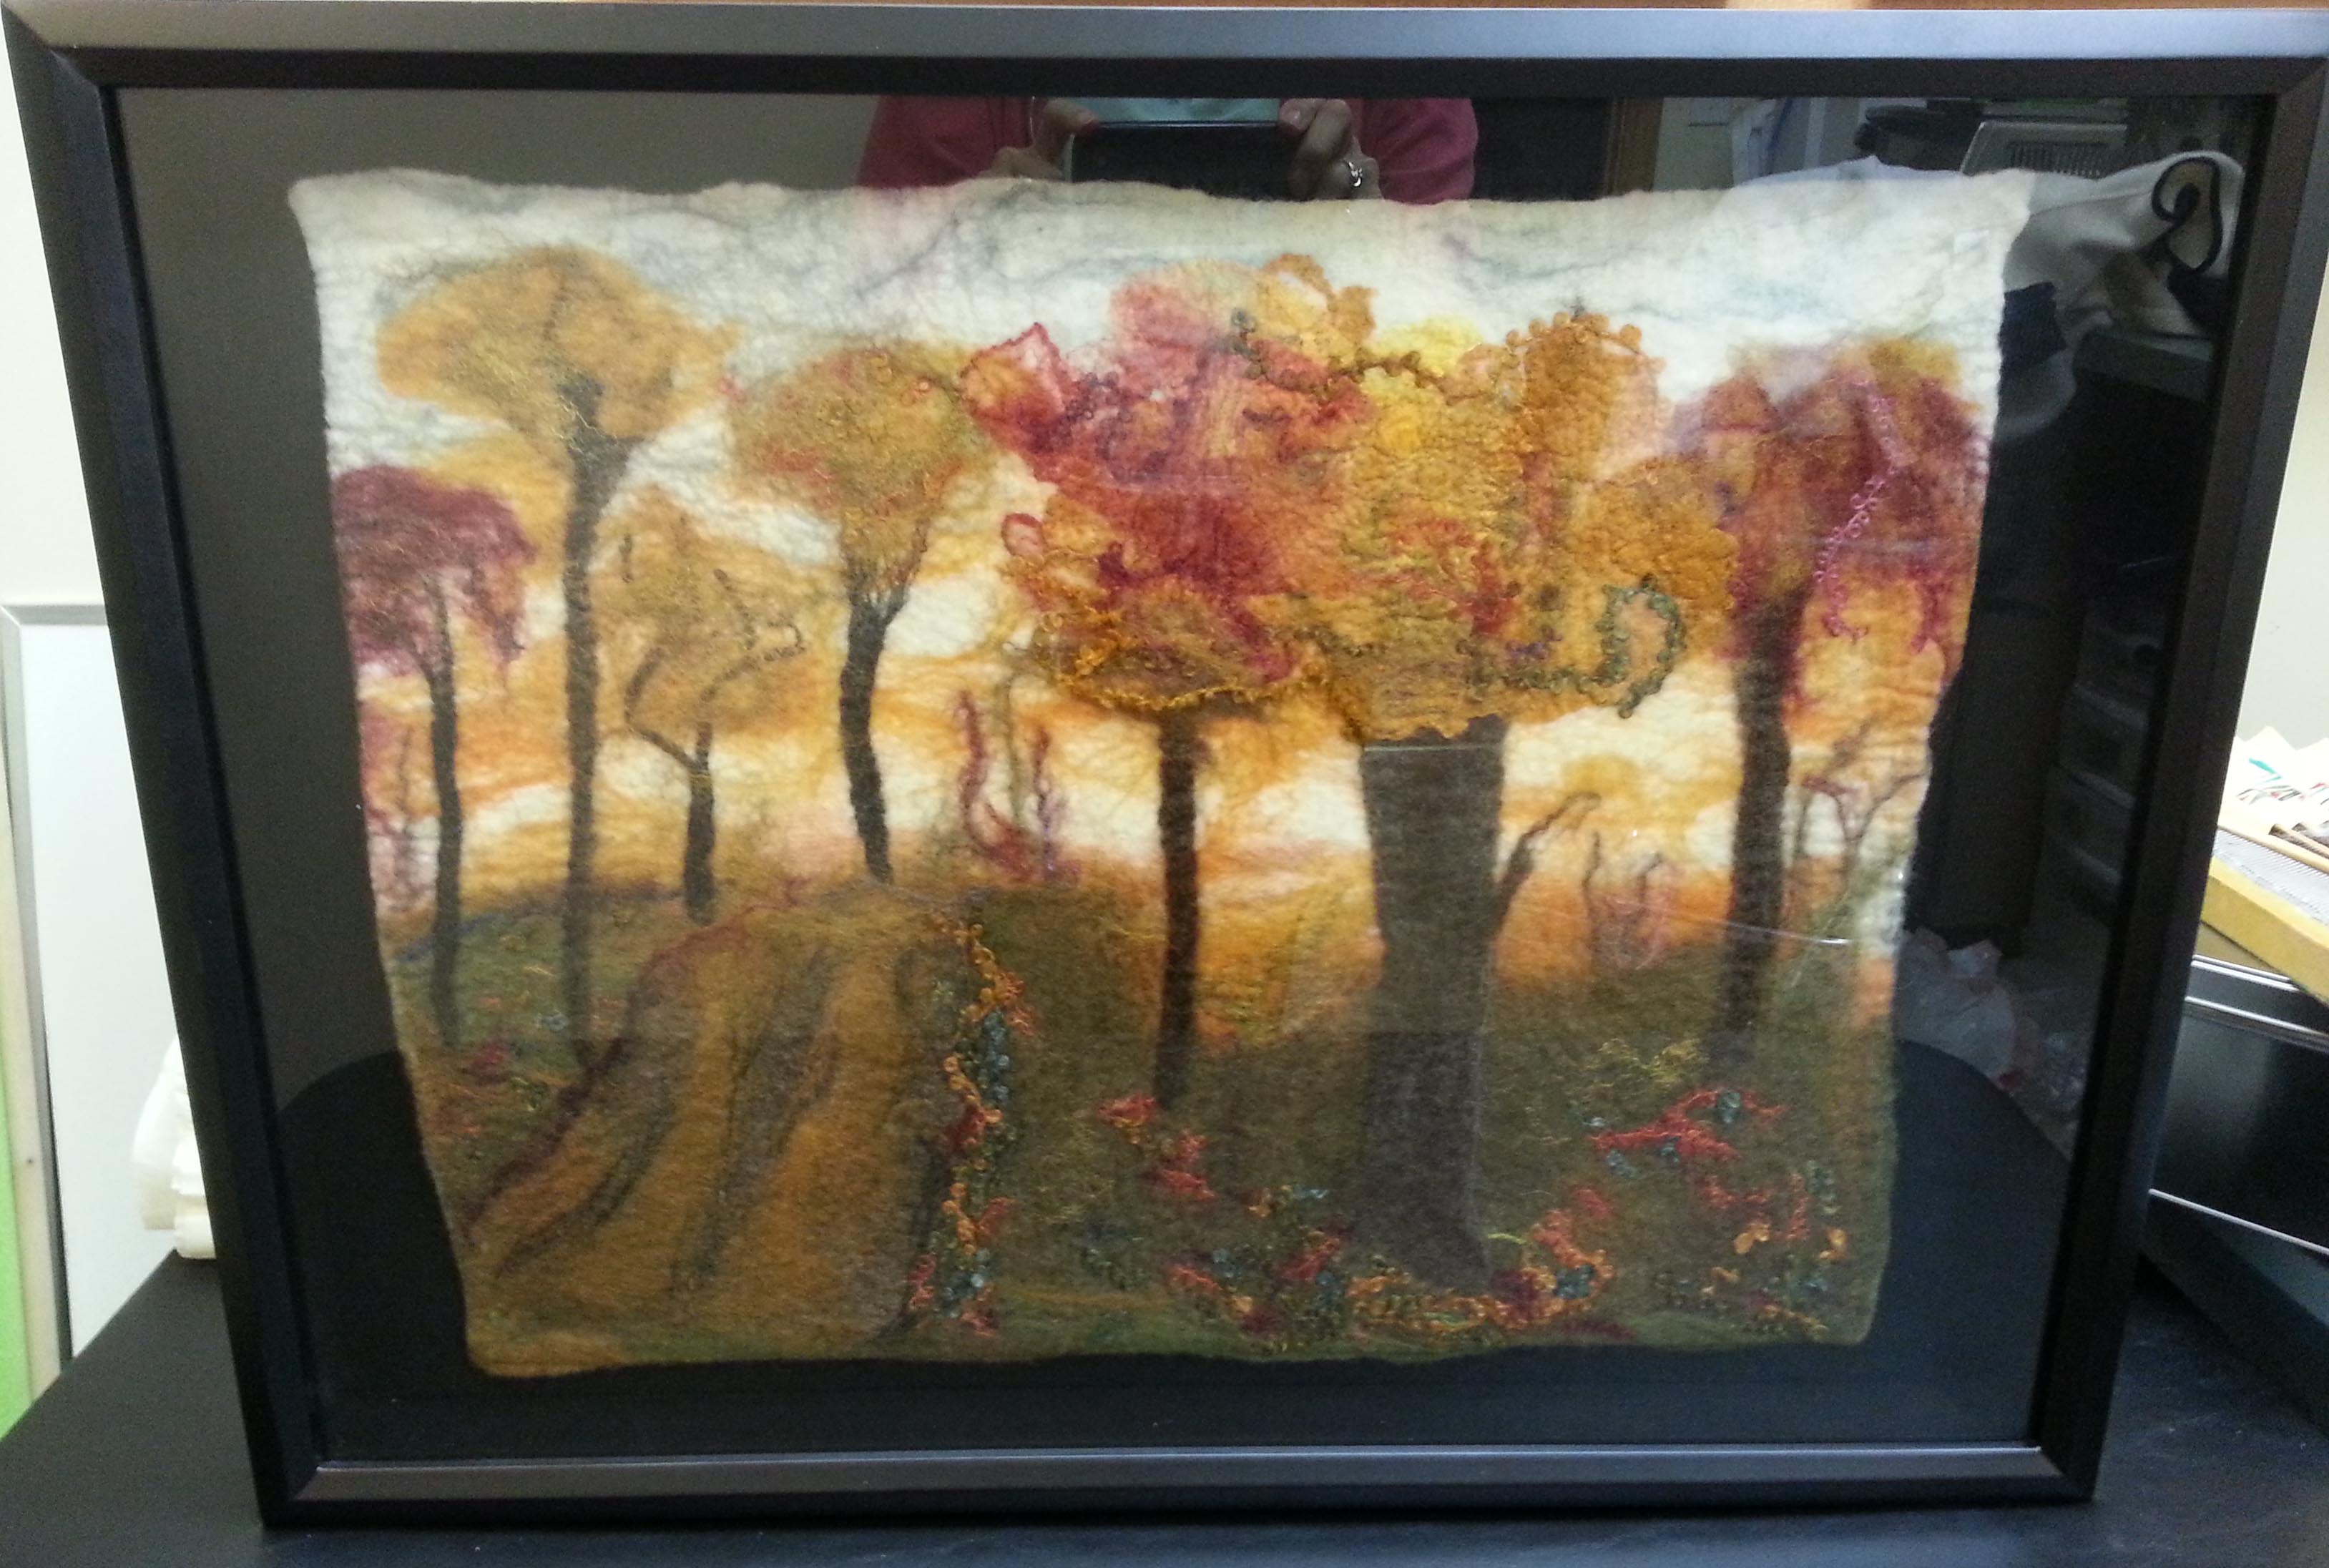
Deep or shallow edge canvases are very useful and can be used in a number of ways.  One suggestion is to make the piece big enough to stretch right over the sides and onto the back, then staple gun the edges of the felt to the wooden structure. Here is my 8×8 canvas example.

Then to tidy up the back I cut a piece of calico to size, ironed a neat hem and sewed it carefully to the back covering all the ugly staples, then added a D ring for hanging.

Another way to use canvas for displaying your work is simply to stick strips of double sided sticky tape onto the canvas and press your work onto the tape, this is useful if you want an organic look rather than a straight edge.

The last canvas tip I have is to again use tape to stick your piece to the canvas but this time, the work is slightly bigger than the canvas, so this creates the illusion that your art is ‘floating’ just off the wall.


Framing

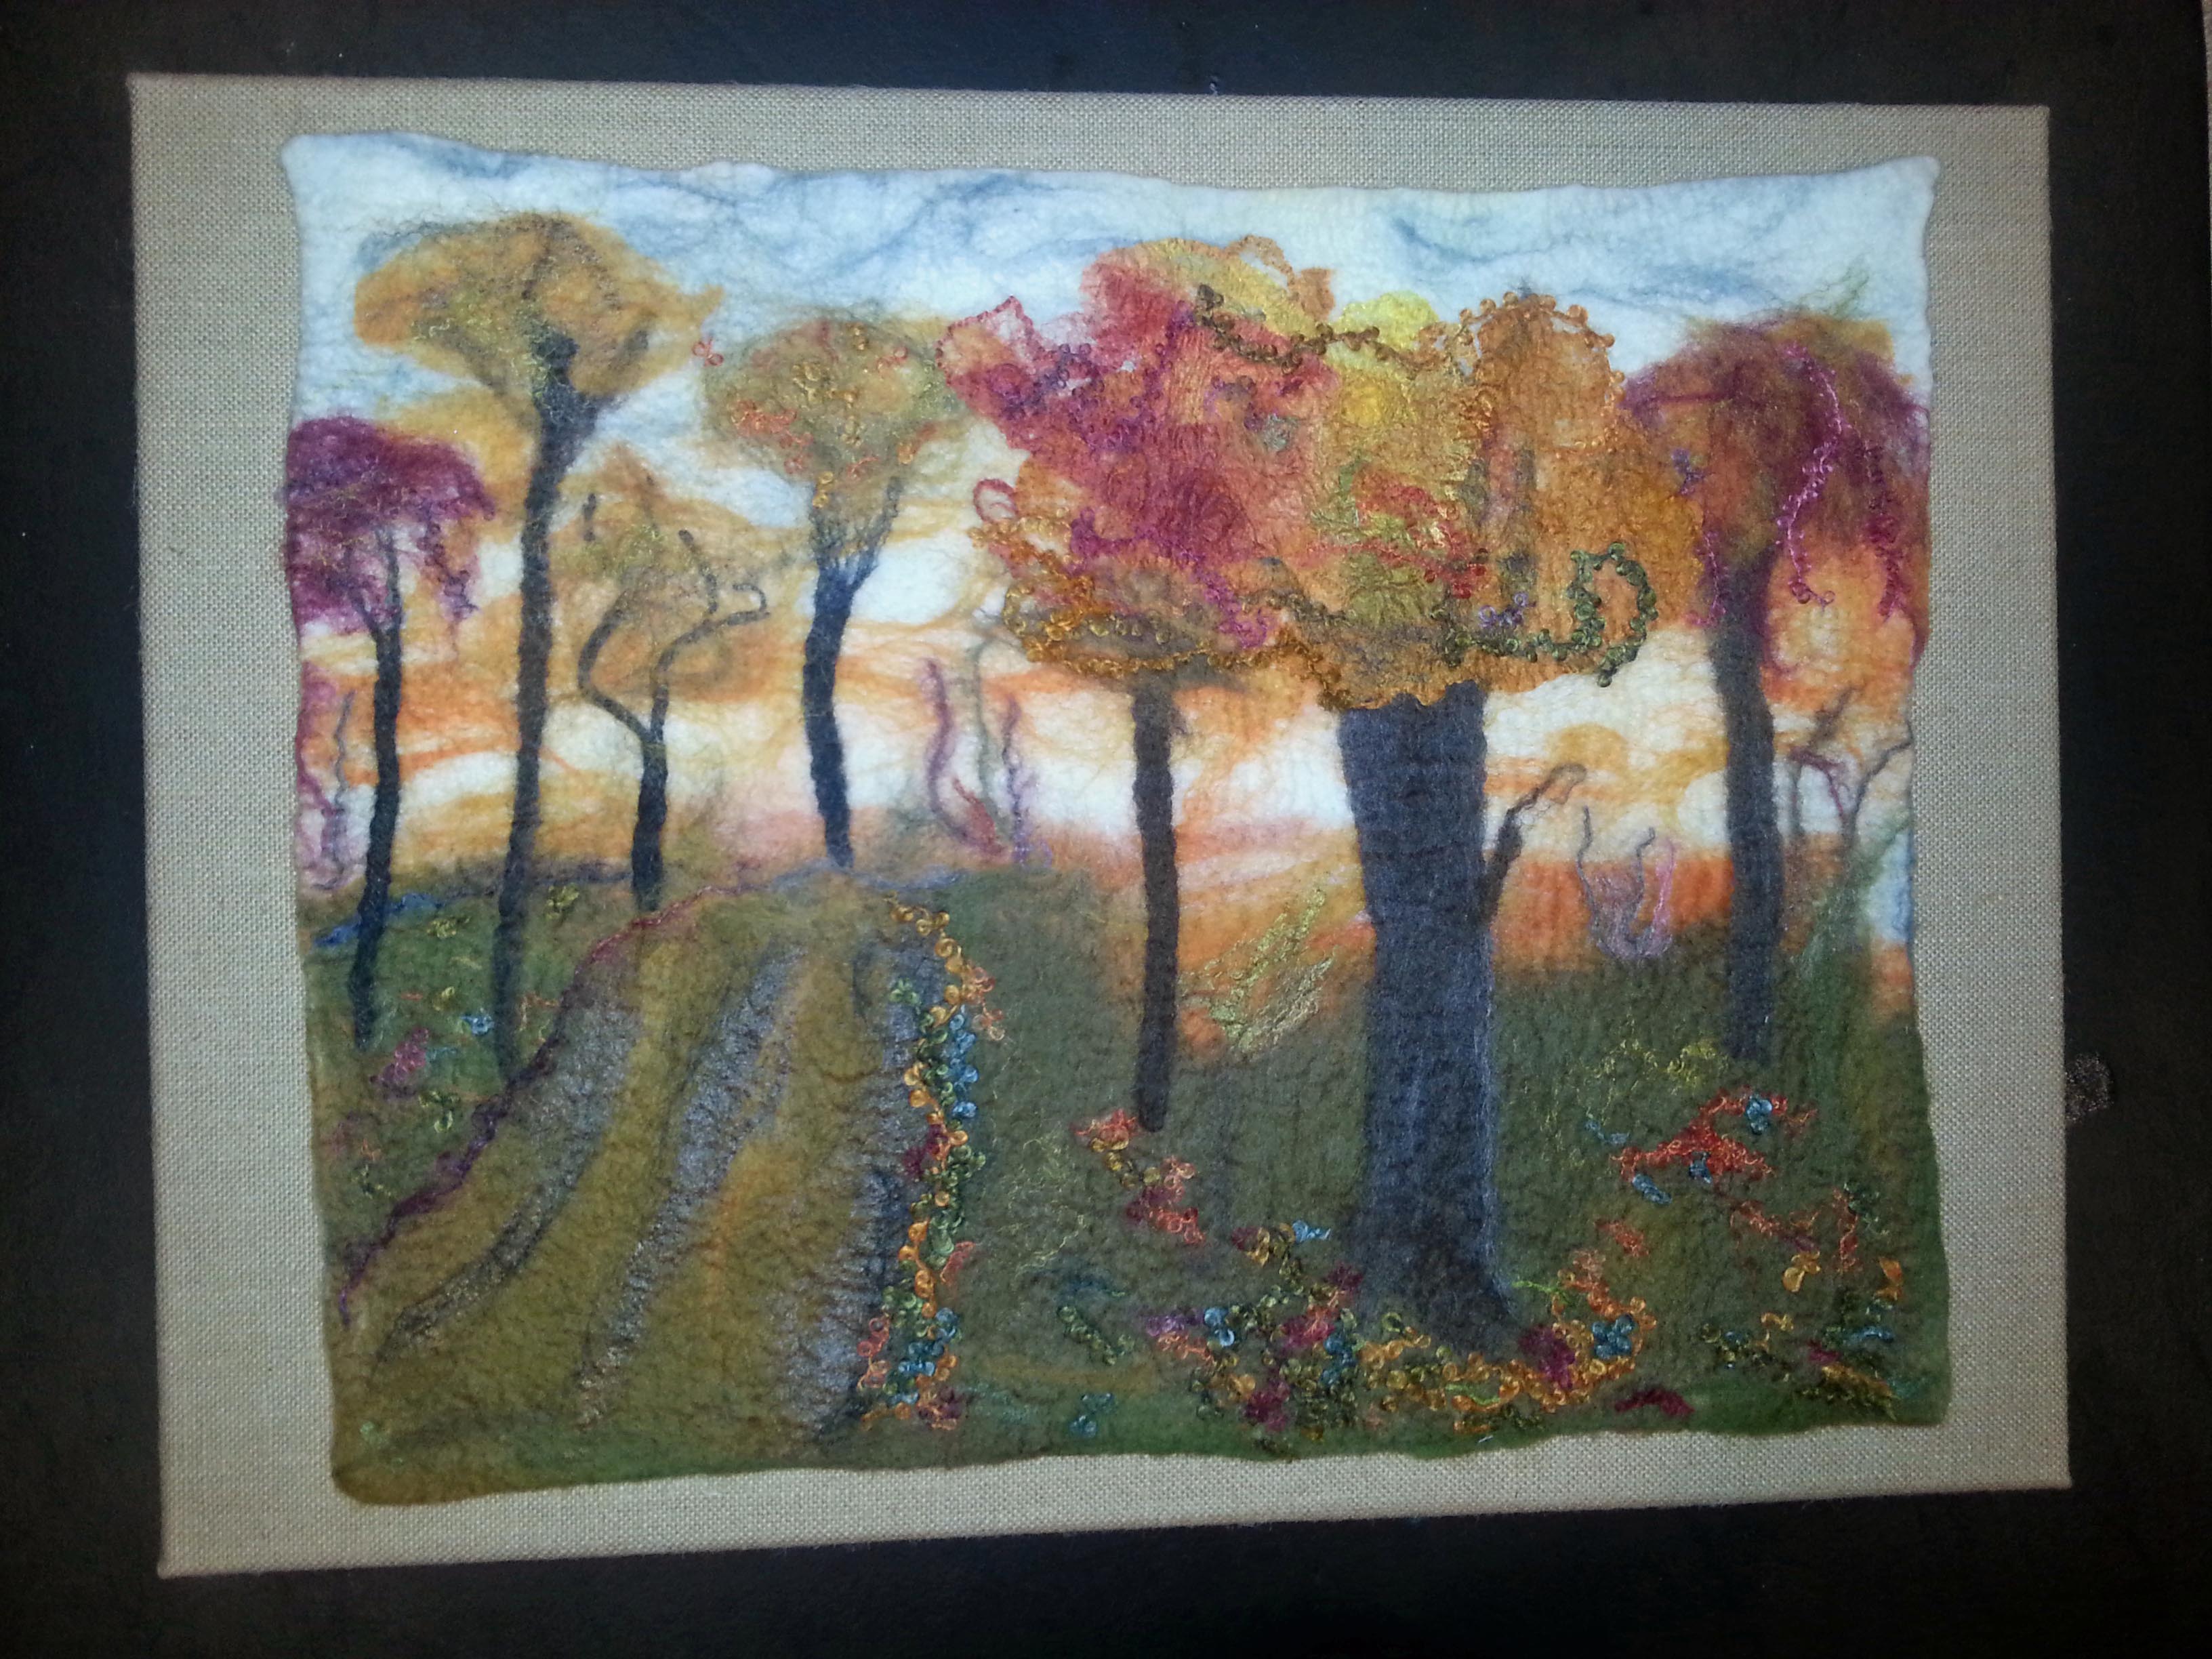
Obviously your pieces can be framed, including a mount and glass. This is how I finish my pieces, choosing the correct colour mount to compliment the work, and using white wooden frames.

Another way of framing is to tape the piece to a complimentary coloured mount board and display it organically within the frame.

The last method I want to show you is a backing for a wall hanging.  Once the piece is finished, size a piece of calico for the back similar to the canvas above, and sew as before.  Then machine sew a strip of velcro (the fuzzy part) to the top of the work. Cut a slim baton and to this the loop section of the velcro is glued, and a D ring screwed midway for hanging.

The piece now has options available to yourself or the customer.  It can be hung as it is, using the D ring, or the baton can be taken off and the piece can be framed organically or with a mount as desired.

I hope that has given you a few ideas as to how you can show your work to its best advantage.

Thanks Tracey for these great framing tips!


Pandagirl’s Year End Round Up 2017

Pandagirl’s Year End Round Up 2017

I’m always amazed at what I accomplished at the end of year. This year I took a few classes in order to expand my creativity in addition to experimenting on  my own. I also tried to use up more materials and finish some UFOs.

Here is a bedside case for odds and ends made with some merino inside and unknown fiber batt with silk embellishment.

Experimenting with different types of yarn to make a table runner.

Our First Quarter Challenge – Fauvism.

Weaving then felting.

A Valentine gift for granddaughter Lisa.


Teri Berry’s Snail hat class.


Finishing and hanging an eco print.                                                  Crochet around wire bowl.


Framing the felted weaving.

I did a lot of experimenting with crochet stitches.


Practicing for Ruth’s Free Motion Embroidery class.

Crochet hats for my granddaughter and her new premature brother Ken.

A dimensional potholder.

Learning more crochet stitches.

Making a crochet hook case from a crochet sample.

A bowl for the Second quarter Challenge – Celtic

Using yarn on a resist for a vase cover.

Adding dimension to the hummingbird/tiger lily picture.

Crocheting scrubbies.

Felt and crochet earrings.


Crochet beaded bowl with stiffener.

A Pumpkin for Ken.

The Third Quarter Challenge – Edo Period; felt and hand embroidery Sakura.

Ribbon embroidery and framing.


Playing with thickened dye for Ruth’s class on felt.


Finishing  a case from UFO pile and FME Butterfly


Maneki-Neko for Third Quarter Challenge Edo Period.

Framing the Rooster.

More stencil play with acrylic and thickened dye.

The Fourth Quarter Challenge — Suprematist

Penguin’s Poinsettia Holiday card.

A couple of scarves for my daughter in laws parents in Japan where it’s as cold as Chicago.


I want to let everyone know I am taking a leave of absence to focus on my health and family.  I will be around just not posting weekly.  We have a lot of talented artists that will be filling in starting with Tracey Thompson next week.

I want to thank everyone for helping out to give me this time.   If you or someone you know has something to share — it doesn’t have to be felt but anything fiber related including paper, please contact me or one of the other moderators on the forum and we’ll get you on the schedule.

I hope everyone has a Happy, Healthy and Prosperous New Year!  Happy Creating in 2018!

I’ve Been Framed

I’ve Been Framed

A few years ago I wet and needle felted a Rooster portrait.  Of course, its been sitting in my UFO pile.  I wrote about it here:

https://feltingandfiberstudio.com/2014/11/22/a-colorful-rooster/

I had a canvas frame I had used for something else and decided to use the rooster pic to cover it.

Then I tried it on several colored walls.

But I wasn’t really thrilled.  I felt something was missing. Then  I found a frame I thought would be perfect.

So, I removed all the staples, steamed out the bumps and mounted it in the frame.

Here’s a  closeup of the distressed frame which just happens to have a turquoise/teal color accent.

It’s found its home in the teal kitchen.

I think it all ties together nicely.  I feel like I’m looking out a farmhouse window at the rooster. What do you think?

Framing the Panda

Framing the Panda

Happy New Year everyone!

For the 4th Quarter Challenge I did a dimensional panda picture in monochrome.

20151024_160640

I  hung it on the wall in my bedroom which is also a shade of gray.

20151030_132929

Lyn suggested on the forum that I frame it.  I really liked the picture she posted. It really popped.  The mat was very narrow. I had a frame that fit it perfectly, but needed the right sized mat which unfortunately wasn’t a standard size. I’d have to have a custom mat made.

Lyns panda

Instead of paying for a custom frame and mat, I decided to try a standard size 16 x 20″ frame and a mat that was larger than the picture Lyn had posted.  Fortunately, the picture was just a little larger than the opening in the mat.

Here is the result.

20151121_154257 (1)

There may be too much white.  What do you think?  Should I invest in the smaller mat and frame? Or does the standard size work ok?


Pandagirl’s Year in Review

Pandagirl’s Year in Review

I know I’m late to the party, but I’ve been traveling and have several family affairs looming that need my attention.

I started out in 2014 as a forum member and then in March I was a Global Moderator!  This past year has brought many challenges and delightful learning and wonderful outcomes in terms of felting.

My year started with experiments in dyeing.

2014-01-24 16.29.52

I shared my venture into encaustics.

2014-01-16 11.13.59

Tried my hand at painting with wool.

2014-01-12 12.05.33

Experimented with different wools.

2014-02-07 14.53.01

Participated in the quarterly challenges.

Jackson Pollock - Marilyn

Stewart Stephenson - Marilyn
Stewart Stephenson – Marilyn


Monet 2 after felting
Monet 3rd quarter


2014-10-19 13
Land Art 4th Quarter


Tried framing methods.

burlap 2

I broke down to drum carder envy and began my foray into making batts.  Woo hoo!

2014-11-14 15.15

Cathy and I tried indigo dyeing.

silk and thick n thinMy marketing blogs…

addiction biz cards wool side


I know it’s been awhile, but its more fun felting than marketing…  Sorry.


I taught a felting  class.

Toni
Toni and her placemat


There was a period of obsession with pods and vessels.

After rinsing

I ventured into free motion stitching.

moy layout

Then I experimented with embellishments and making a book cover.

finished front

Designing and making a handbag was a huge accomplishment for me.

hanging

I  experimented with 3D felting – grapes and flowers.

finished 2

2014-10-29 12.29


I learned a lot of new techniques in Fiona Duthie’s class.

2014-06-03 11.07.12

It was a busy year visiting farms, mills and fairs.

susan democarder back


I made scarves including a cobweb scarf.

2014-10-17 13.45

A big project was a 3D free motion stitched bowl, oh my!

2014-10-28 12.12

Felting a rooster, I learned to combine wet and needle felting.

2014-11-10 16.24

Our holiday exchange was an experiment of combining beading and felting.

2014-10-29 11.47.04

All in all, it’s been a very productive and inspiring year felting. Of course, there were many more projects that were completed.  It has been a wonderful year.  I want to thank all of you for teaching, inspiring me and encouraging me to do and try more.  Thank you!  A special thanks to my fellow moderators and Luvswool (Cathy),  Leonor at Felt Buddies and Nada for pitching in and contributing to the blog.  It’s been a terrific, fun journey.  I can’t wait to see what 2015 brings and what I learn and try!


Autumn is Coming

Autumn is Coming

Last fall our challenge was Autumn.  I created my autumn piece which is just shy of 16″ x 20″ (40.64 cm x 50.8 cm) with organic edges.  I’ve played with different framing options on an off and finally decided it was time to take it seriously.

Here is the original.

autumn org

I tried different colored mats.

black mat orange mat


Then I bought a shadow box, but unbeknownst to me the glass didn’t come out.  Its not a very good picture because I was trying to take the picture without the frame falling and the picture falling out.  I intended to return it so I didn’t want to fiddle with it too much.

shadow box

I found another frame that supposedly had a 16 x20″ inset for a canvas.  However, when I put the canvas with picture on it there was a gap all around.  I decided to cover it with prefelt and attach the picture.   There was still a gap. This would probably be perfect for a thick felt piece wrapped around the canvas.

recessed frame

When Michaels had a sale on canvas and frames, I looked again and found this burlap canvas. (On a black table)

burlap

But when I put it on a dark bronze wall it made a big difference.

on green wall I haven’t mounted it yet since after jiggling it around  and trying to stretch out a little I have to make a few repairs.  I’m amazed at how my felting has improved this past year. I can even make straight edges if I want.  If I decide to start selling or gifting my artwork, I may have them professionally mounted and framed.

Which one do you like?

%d bloggers like this: