GLORIOUS DEVON Part 3

Back in June last year, at the end of my 2nd post on this felt painting, having remixed the fibres for my palette and removed the fibres I had already needled into the far background of the picture, I redid that bit of work and left you with this picture of where I had got to then:

I am pleased to say that I have made considerable progress since then and here I’ll take you along for the ride!
On my next visit to the Hideaway Workshop – my friend’s place where I tend to do most of my work on my pictures – I set to to blend fibres for the palette for the main part of the picture.

I worked on the picture for about 4 – 5 hours once a month, until I was able to take this photo of the results on 26th February 2022.

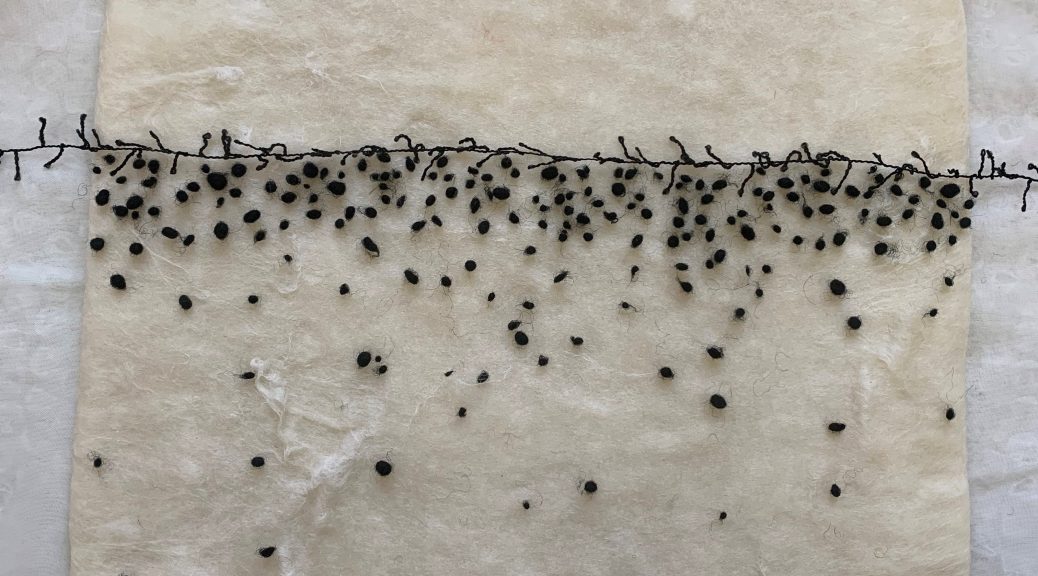
This was still work in progress and I carried on and in May I was able to take further pictures of details – Red Devon cattle in one of the far off fields; sheep moving on the hill in the middle distance; the beginnings of trees and shrubs in the near distance; and the river in the foot of the valley with woods behind.


By then I had done pretty much all I was going to do for the landscape until the final details just at the end, and I needed to get on with the horse.
Now, I was toying with a new idea about how to do this. For some time I have been considering experimenting with the type of scenery often seen in simple stage sets like our typical panto village scene with shops and other buildings. Almost all of which were flat with one side showing a village shop and the other some other building for a different scene. These would be set about the stage facing square on to the audience so that they could see only the side applicable to the current scene, with further buildings painted on the backdrop. Cast members would appear from behind these and various other scenery flats like rocks, or bushes. I don’t have any suitable photos that would illustrate this, but I do have a couple of photos of children’s toy paper theatres which also demonstrate what I mean.

I thought I might be able to do something along these lines for the horse in my picture. By affixing a fairly stiff piece of felt in the shape of the horse to the picture but leaving it’s head and the top of the body unattached and slightly proud. I was hoping that this would give even more depth to the whole.
Knowing that if I was to needle felt a “flat-ish” horse to the required size, I would actually have to start off with a slightly bigger image – as the more it was needled, the more it would shrink and become out of scale. So using my copier I enlarged the image of the horse by 10% and then made a tracing of the image. As I did with the actual landscape picture, I then stitched the outlines of the horse through the tracing onto a piece of thick white felt. This was a piece of the felt that I used for the background of the landscape, but folded into three. I needled it and then wet felted it so that it was a solid piece of felt which would if necessary stand up on its own.


I blended some fibres to make the palette I would use, having decided that the picture I had taken would be a guide to shape only and I’d have a slightly different coloured horse in my picture.

I had by this time removed all the guide stitches from the landscape picture, except the lower part of the Golden Mean lines to guide me where to place the horse when completed.

Here is the horse, substantially finished, about to be cut out of his background.

And here he is having been cut out.

I have left the top part of the body with the original depth of the backing felt and have shaved down the backs of the legs, the belly and nose so that they will be more part of the picture as opposed to appearing to stand proud of it. I have also added coloured fibres to the sides and the rear edges for the whole horse so that no white background will be visible when the horse is attached to the landscape. The final shape of the legs and neck will be refined at that stage, and more grass added around the muzzle and hooves. I have left the tail and the forelock un-needled to emulate a slight breeze blowing some hairs around. I have also attached some linen threads to the back which I will use to secure the body to the picture. If I don’t do this it is possible that the horse might fall off the picture if he’s only attached by his hooves and his muzzle.

And this is where I have come to a (“shuddering”) halt.
I was hoping that this would be the last post in this series; that I would have finished my picture of the horse on the Devon hillside. However the recent very hot (to us) weather we have been experiencing here in the UK has meant that I’ve had to stop work. So I was getting very behind. In addition, I seem to have acquired an RSI (repetitive strain injury) to the shoulder of my dominant right arm – to be exact “rotator cuff related shoulder pain”. Although I don’t think it was as a result solely of needle felting, I suspect that the action of frequently stabbing fibres for several hours at a time may have contributed to it. It certainly hasn’t helped it. Whatever, it has resulted in my having to put aside my needle felting for the moment. I will post again as soon as I can get back to work and finish this, which has fast become a labour of love. In the meantime this where I have got to.