
Teaching an Inkle weaving Workshop
I am a multi-craftual person. That’s a nice way of saying I get easily distracted by many things.
One of the things I do when I am not felting is weaving. While my back hates me I have downsized to just weaving on my inkle loom and Kumihimo braiding, but am hopeful that I will again be able to weave on my floor looms, table looms and warp waited loom. I am patent and have hope that my back will forgive me.
I enjoy Inkle weaving for its comparative portability, ease of set up, and the simplicity of weaving. You have only two choices of sheds, the up or the down, so pattern is created by the order you put on the colours of yarn. You can also use variegated yarn to make the weaving even more interesting but with less colour changes.
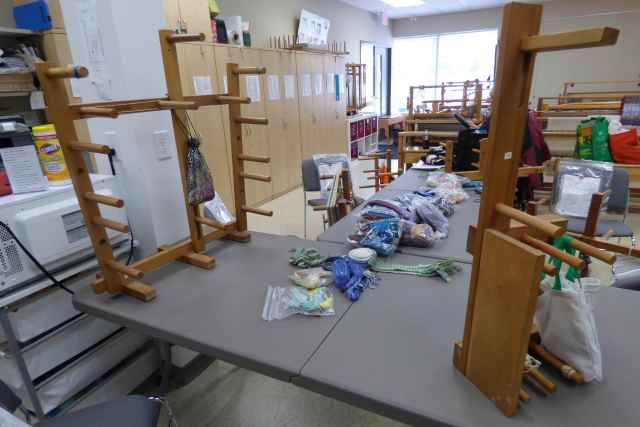
 1 – Looms, yarn, notes, suplys coming in to the guild studio for the workshop
Glenn did all the heavy lifting. I had selected two warp options for the students, the first #10 crochet cotton (excellent because of its high twist and smoothness but would take about 37 to 40 heddles, so very slow to set up.) Or a much larger but not as tightly twisted cotton (this option only took 19-20 heddles, so much faster to set up and weave)
 2 – The options for Warp yarn #10 Crochet cotton or the thicker softer cotton
 3 – setting up for the workshop, and found one of the two missing looms.
We got there early so I could set up and also track down the missing guild Inkle looms. I found the floor Inkle but not the second table Inkle. It may have been out as a rental loom. Luckily, I had brought two of mine, a table Inkle and my favorite a homemade floor Inkle with a silk band in progress.
 4 – Lesson breakdown and count of warp threads both yarn sizes (the glass doors on the Ikea cabinets make a grate white board)
The workshop was an introduction to Inkle weaving and tot how to set up the loom, start and stop weaving and how to make a slit or in this case two slits within the woven band. The project, to make use of all this new knowledge, was a scissor pocket necklace (complete with Chinese snips!). There were extensive notes (like a small book) in case the students forgot anything, a measuring tape, a pack of pencil crayons with sharpener and of course a box of smarties (you have to take the class to find out why that is important!). We also used a fringe twister to make the cord to hold the scissors in the pocket.

 5-6 –the notes and the important smarties
We had a class of five, a couple of which had never woven and a couple who had. This time everyone went for the larger cotton that was faster to weave and required less heddles. I showed them the double loop heddle method since it’s much easier to fix problems and I got to demonstrate this with one of the warps.
I had brought samples, most were mine but I had been gifted with bands from other weavers too. the blue band and the green band near the front shows what happens if you use a variegated weft (the thread that hides under the warp threads and only shows at the edges) in this kind of weaving.
 7 – Samples of inkle and other 2 harness woven bands
I showed them how to figure out the length for their heddle loops and the paths the warps threads traveled. I then suggested the students to pick at least one solid and one variegated to make there warp. By lunch all looms were warped and after a brake for lunch and to let some of the new information sink in we were on to weaving.
8-14 – Inkle bands in class
By the end of the workshop we had new weavers!! I hope they will find Inkle weaving as fun as I do. We got to see two of the scissor pockets at show and tell two days later at the guild meeting.

15 – a completed scissor pocket necklace and a new weaver!!!

16 – This is my sample in #10 Crochet cotton with beads as decoration on the fringe
Now why would a felter want to know about Inkle bands? Well they make wonderful straps and can be woven as a tube for a more comfortable shoulder strap. Or even better, woven as a flat attachment to a felt bag then switch to weaving as a tube then back to flat again. You can try weaving with wire and make a hatband too.
6 thoughts on “Teaching an Inkle weaving Workshop”
We reckon most of us on the forum are “multi-craftual” – what a lovely description.
The inkle weaving is fabulous and we can see so many uses for it – apart from just being a relaxing thing to do.
thanks Annielynrosie, i suspect you are right! there are just so many interesting things to try and then try to combine them! i want to try to wet felt in a inkle strap, woven flat to round to flat with fringe on both ends to anker it to the felt. i think it should work and be quite strong. another to add to my to do list!
Thanks for the explanation Jan and it looks like a great class. You should do this as on online class since you already have the paperwork all written up! I think it’s great to hear about other fiber art processes and not everything here is about felting. As you say, things can be combined and make new and interesting techniques.
I’ve seen this sort of weaving in the past particularly to make decorative braids for historical clothing, but I didn’t know it was was called Inkle weaving. Fascinating to hear about your involvement with it. Hopefully your back will improve to allow you to do your other weaving too.
Brilliant – ‘multi-craftual’ – I will be adopting it as the perfect description – I’m sure there will be many of us in this category with all the tools, equipment & supplies as evidence!
I’ve seen Inkle looms, but never understood the difference. Thanks for sharing. Looks like a great class.
Who is Jan that taught the class?