Many times after people begin felting and make several flat pieces that are to be wall hangings, they start wondering how to hang or frame their pieces. There are as many ways to hang and frame a piece as there are to felt a piece. So these are just a few ideas of how I have framed pieces in the past. I have found that if you are making a piece specifically to hang on the wall, that it is a good practice to think about how you are going to hang it before you start. That way, if you want a specific size or need an edge that is different in some way, you can plan that in advance. Of course, if I followed this advice more often, I wouldn’t be making up new ways to finish or frame a piece 🙂
One way to hang a piece without a frame is to use a stick or branch to hang the fiber art piece. I think this works best with pieces that are not square and have an organic edge to them. I usually just stitch around the branch and then stitch into the back of the felt piece, making sure that I am not stitching all the way through the felt.
 In this piece which is quite large, I made a frame of sticks lashed together and then used leather cording to attach the felt to the frame.
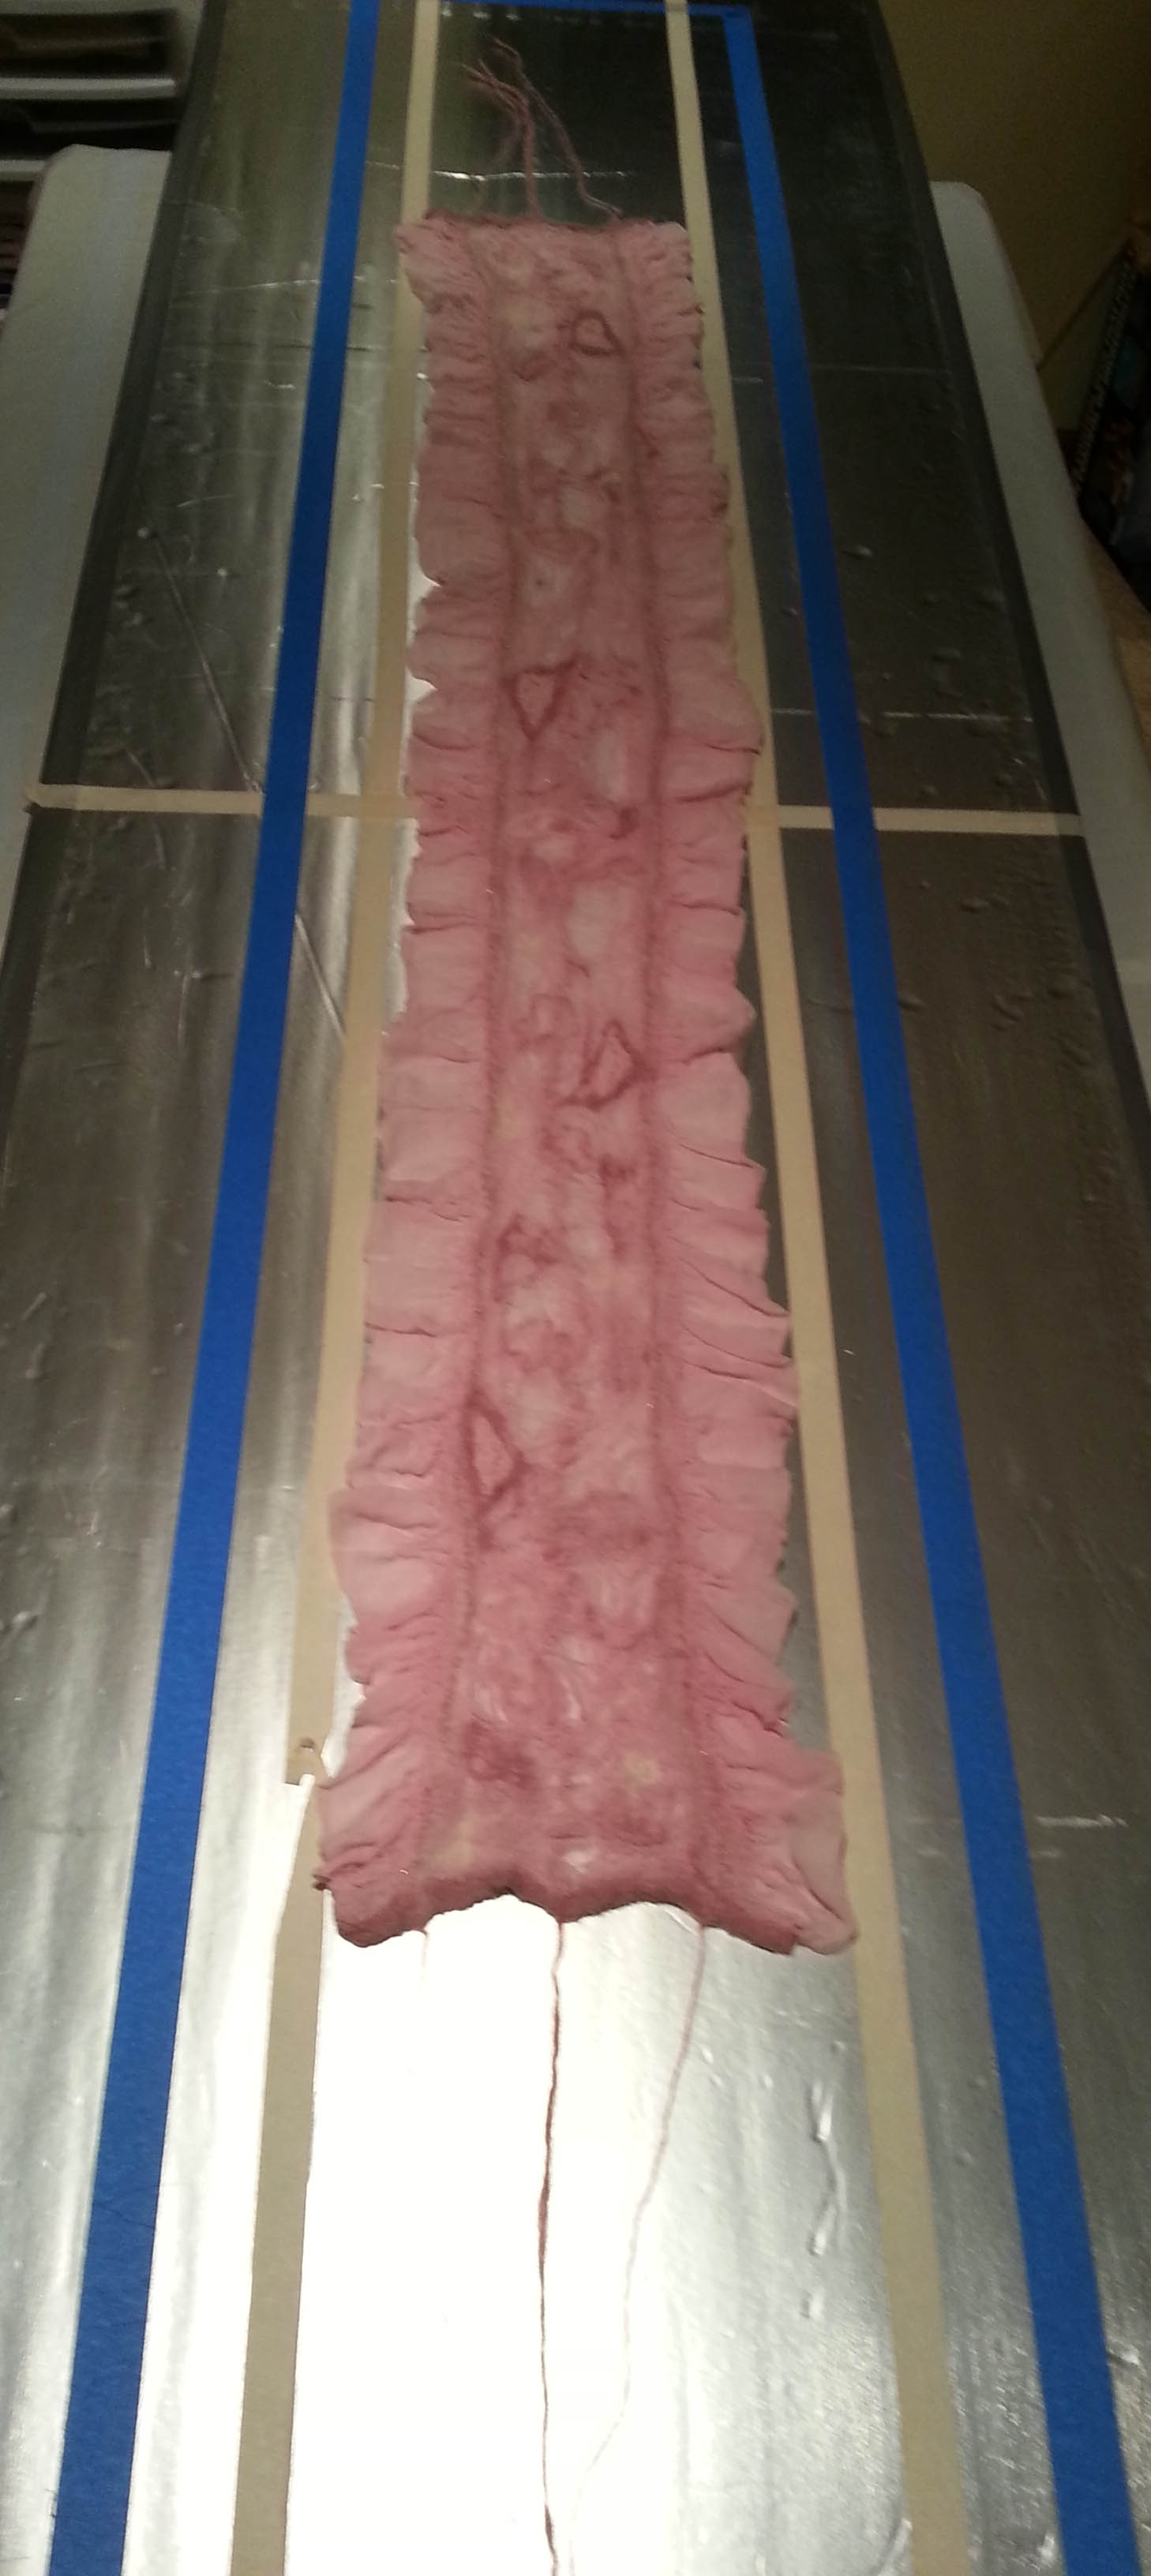
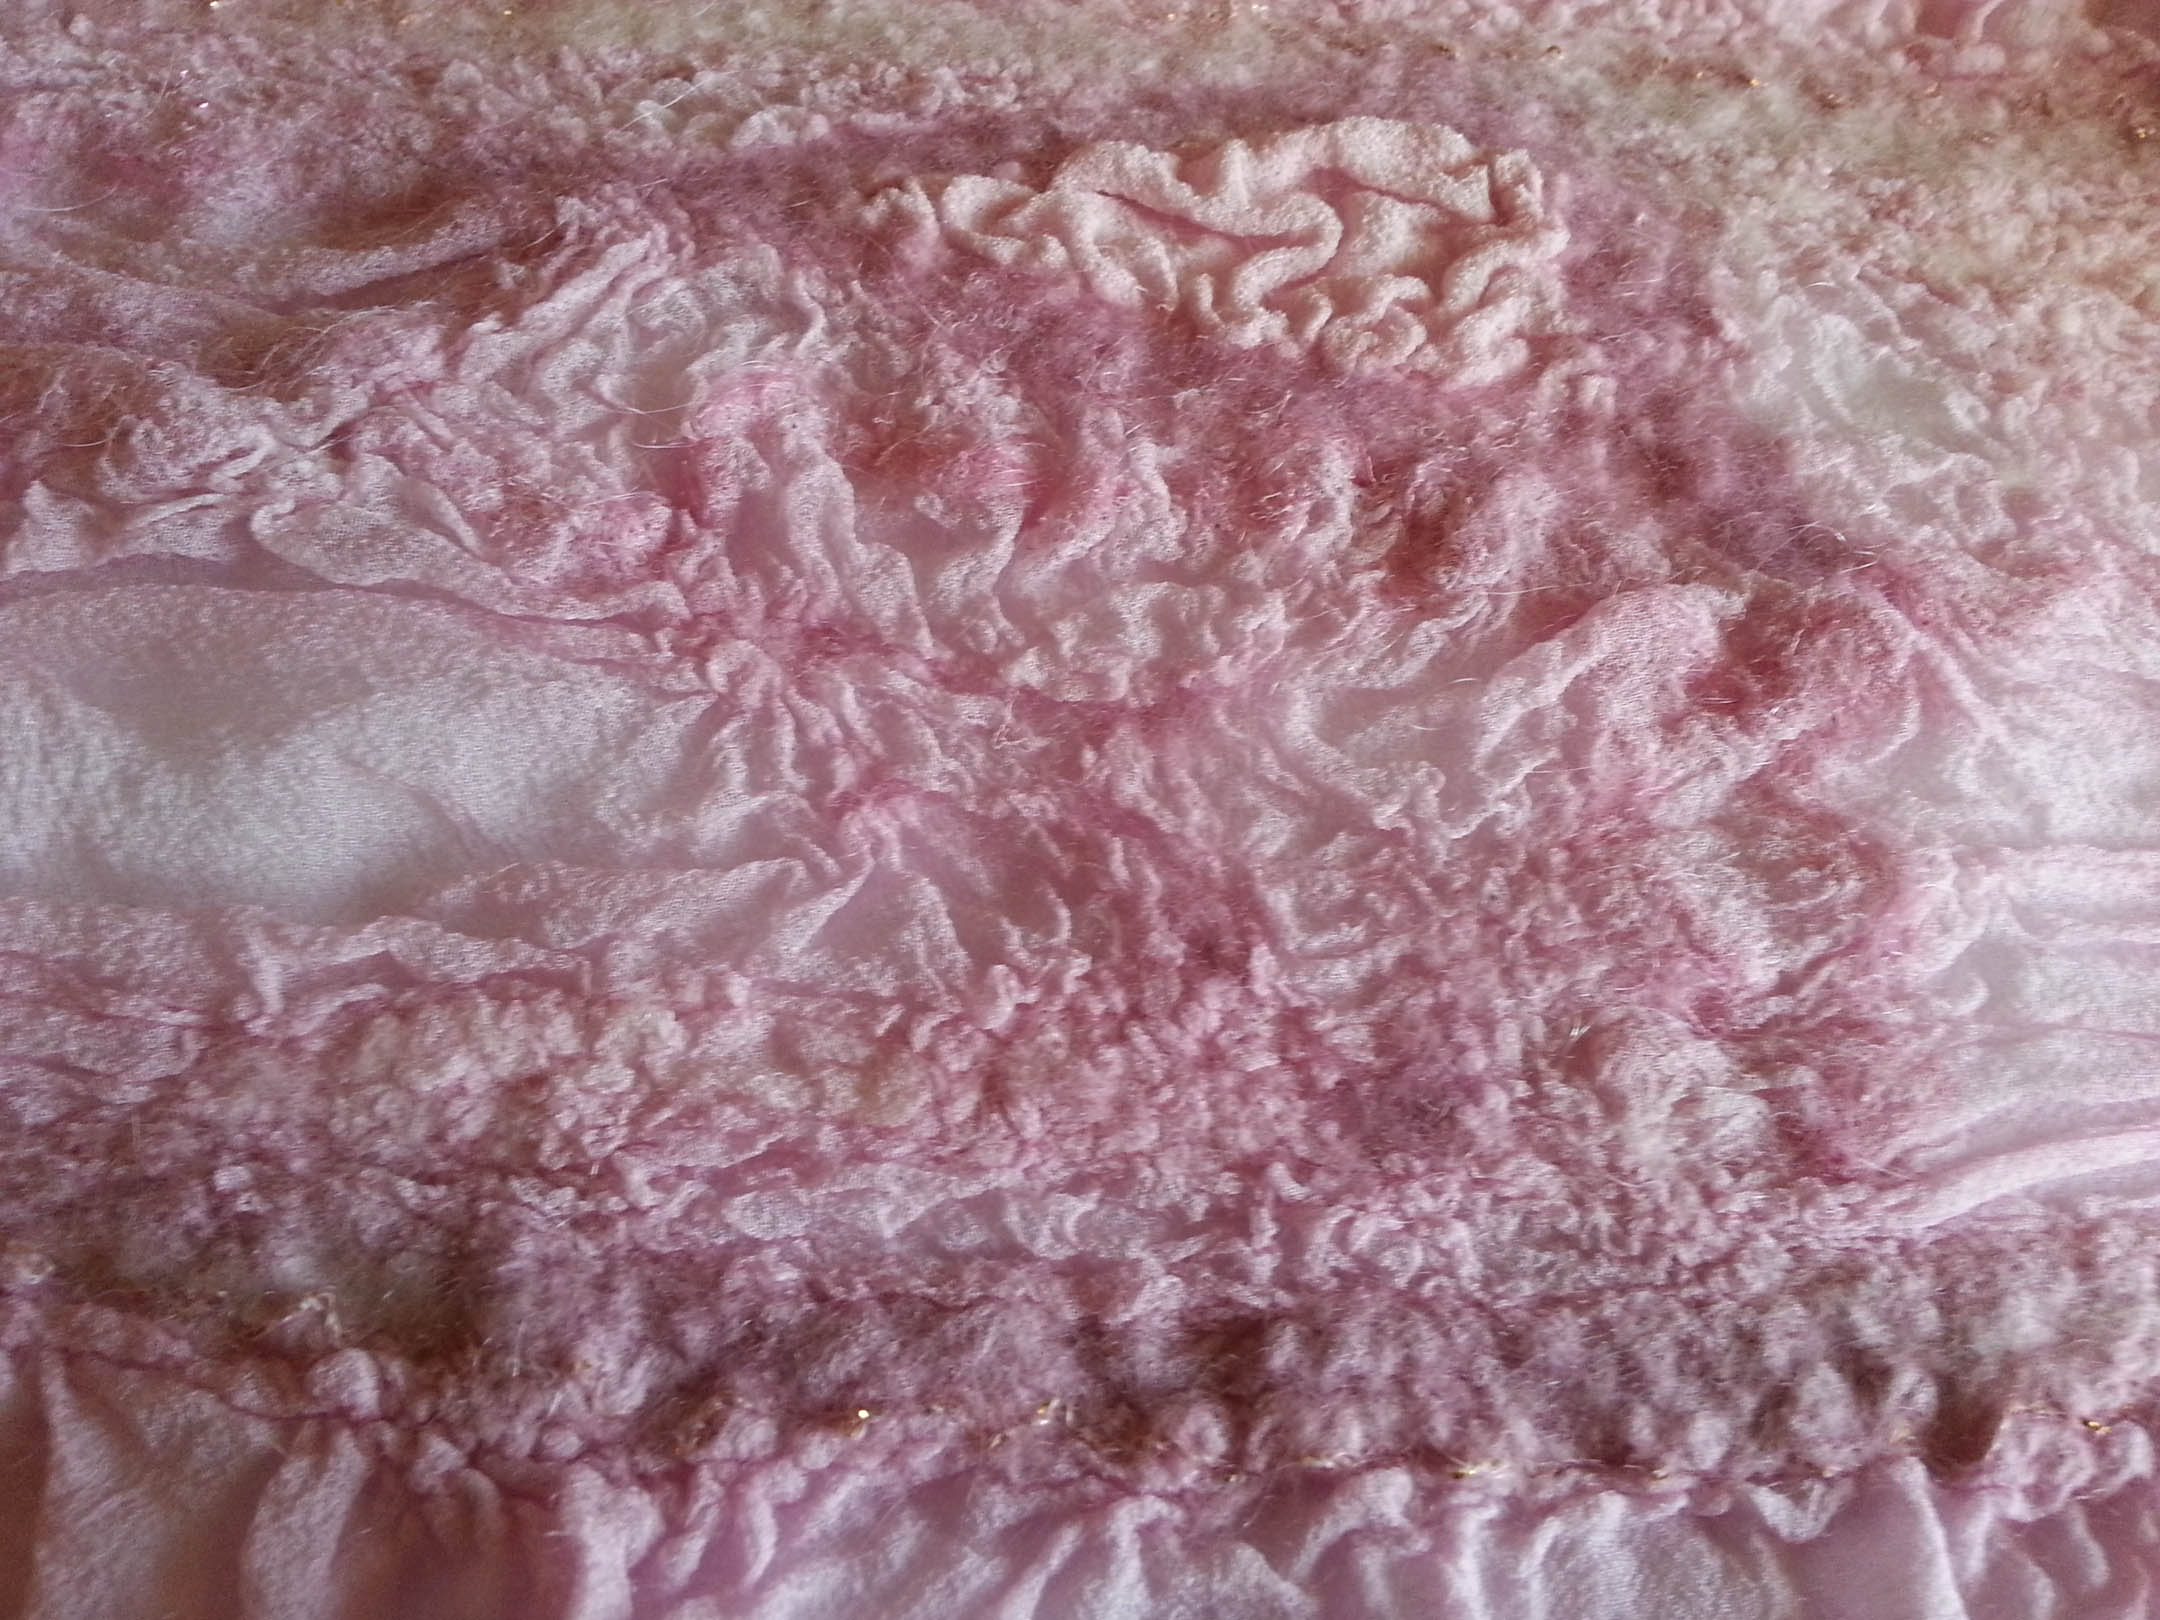
 This is another large piece called the Rhythm of Autumn. It is also fairly heavy for felt as it is very wrinkled and multi-layered. Plus, I couldn’t decide whether I liked it to hang horizontally as it is shown or vertically.
 So I cut a piece of commercial felt to fit the back, stitched two sleeves on it and then hand stitched the entire piece by hand to the back of the felt. You can see that I added a label. This was a slightly heavier paper that I printed and then fused to the commercial felt before stitching it on. I use a dowel rod with two D rings on each end to hang this piece on the wall.
 Here you can see the dowel rod and the D ring and that you can hang this in either direction because of the two sleeves.
When I frame a piece, usually I use a matte board behind the felt piece, put a couple of holes in the matte board behind each corner of the felt so that the holes won’t show. Then I stitch the piece to the matte board making sure that I don’t stitch through the front of the felt. For this piece, I decided to use photos as the matte. I don’t particularly like the result because it seemed much too busy.
 ‘Iris’ was framed the same way with a white matte behind it. Much better in my opinion.
 If you have a very small piece, this embroidery is only 2″ x 4″, you can make your own matte with a piece of card stock. You cut the hole out of the center (measuring carefully) and then this was sprayed with spray paints to match the thread colors. Then this could be framed to give it more presence.
 To have this grizzly “float” on the wall, I used a piece of board across the back at the top. I drilled holes in the board and stitched the felt to the board.
 It hangs very well and the board helps to keep the piece flat without drooping.
 This piece also “floats” on the wall but is hung with a quilt sleeve.
 If you have made many quilts to hang on the wall, you’ve probably made a quilt sleeve. There are lots of tutorials on the web as to how to make them. But it’s easy if you’re using felt. Just stitch the edges of a strip of felt to the back and you can run a rod through for hanging. You can cut a hole in the center of the felt sleeve so you only need to use one nail to hang or you can hang from both ends of the rod. Here I used a piece of heavy wire and bent the end into a ring.
 Another way to hang light pieces that won’t sag is to use little plastic rings on each top corner. I don’t particularly like this method but it works and it’s easy.
 You can find these little rings at craft stores and you just hand stitch them on. If the piece is wide you may need more than two and that makes it a little difficult to hang easily.
All of these pieces are embroidered either by hand or machine and they have been laced to matte board. This method would also work with a felt piece. But you need to remember to make the felt piece about 4″ bigger around so that there will be enough felt to stretch around the matte board and lace to hold tight. I find this method really effective for embroidery because it generally needs the stretching to keep it from sagging. Then once the piece has been laced, you can easily put a matte board behind it and frame it.
 This needle felted Yeti was actually laced to the background and then put in the frame. He is so exuberant you can barely see the frame.
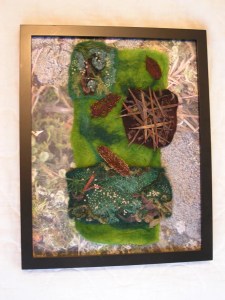
 These pieces I planned the finishing from the start. I wanted to make mixed media stitched work to adhere to the boards. After stitching, I painted gel medium on the fabric so it became stiff and then glued them on to the boards with more gel medium.

One way of “framing” that is fairly simple is to paint a canvas to complement the fiber art and stitch the fiber art to the painted canvas. You will need to poke holes in the canvas so you can stitch the piece to the canvas. Larger pieces will need more holes and more stitching to prevent sagging. As you can see in this felted river rock piece, you don’t have to place the artwork right in the center of the canvas.
 I did a mottled paint on the background but even just plain black is great for a lot of artwork.
 Another way to finish a piece is how I did Ice Flowers above. I stitched the red flower center to a background heavy fabric that has been dyed and then wrapped the green fabric around stretcher bars. Stretcher bars are not really expensive and come in a variety of sizes. But pre-planning helps to give you a nice border that looks like matting.
 You put the stretcher bars together. The center bars are extra support to keep the rectangle squared up.
 Then you wrap the stretcher bars and staple the fabric down to the bars. I found several good tutorials on how to do this on YouTube. I am going to cover the back with a piece of commercial black felt and apply a hanging device like you use for most pictures.
 Instead of using a label, I just stitched my signature and the name of the piece on the lower right corner of the backing felt.
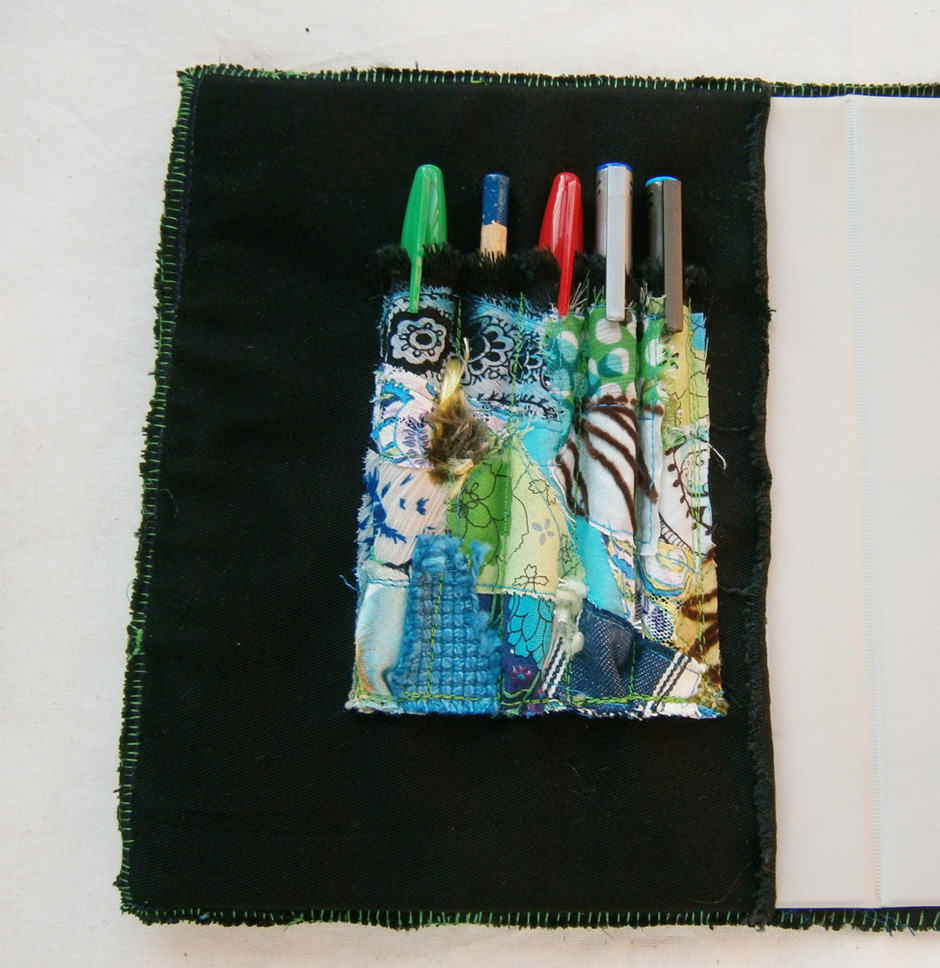
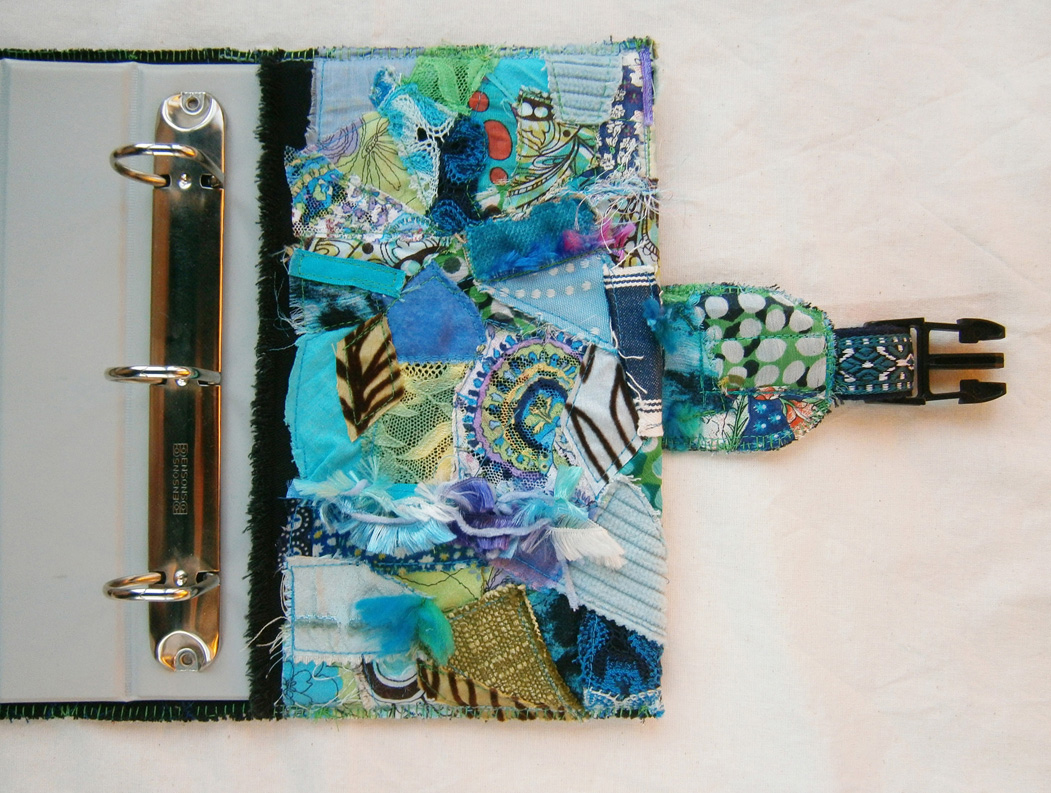
 And if nothing else comes to mind, you can always turn a flat piece of felt into a notebook cover, right Zed? 🙂
How do you finish your pieces? We’d love to hear your favorite way to frame or finish your fiber art.
Like this:
Like Loading...
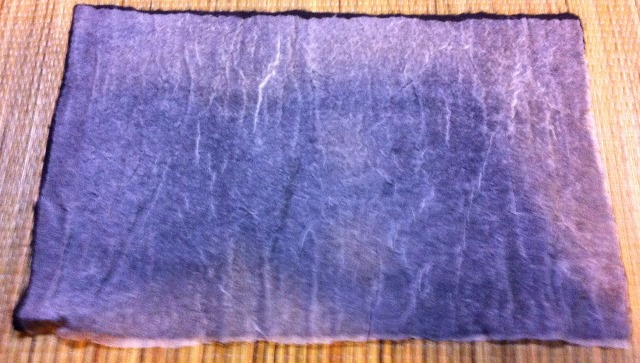
 On the back I started with a piece of black silk chiffon, I thought it’d help reduce pilling (bobbles) if the bag rubbed on my back while riding. It really sunk in and isn’t really visible unless you look really hard! I used some grey merino with the black for the back.
 I wanted to keep the natural top edges, but it seemed simpler to cut it straight across for adding the webbing I wanted to use as a channel for the cord. I cut the bag at the top at each side, slightly smaller than the width of the webbing I was using, then I sewed the webbing on with the machine, leaving each end open. You can see from this photo that I used some scrim for a lining on the bag.
 I blanket stitched along the top edge to make it look nice.
 I’d originally planned to use eyelets at the bottom for the cord to go through, but after looking online I had a choice of spending a small amount of money for a few eyelets and a little plastic kit, or a large amount of a money for a really sturdy metal looking kit and about 400 eyelets. I’m not planning on making that many bags, so I decided to just cut the holes I needed and blanket stitch around them 🙂
 I attached the cords so that the shoulder straps were also the drawstring closure. I used spring toggles so that I can shorten the straps too in case the bag hangs low while riding.
 And this is what it looks like closed. I must admit, I was surprised how well it turned out!
 I’m just in time for Ruth’s Jackson Pollock studio challenge. I thought of many things to do for this, one idea was to do wool and wire sculptures based on some sculptures Jackson Pollock dabbled with. I thought about ‘action painting’ some silk, but in the end, I thought I’d do something based on some works of his that weren’t action paintings. They had large areas of coloured shapes, this is a good example. I thought I’d ‘modernise’ it a bit though and use brighter colours and silk and gauze pieces. And since I was enjoying making bags, I thought I’d use my idea and make a bag at the same time. The bag turned out great! The design though, was a little bit bright, and really, not in the slightest like a Jackson Pollock painting!