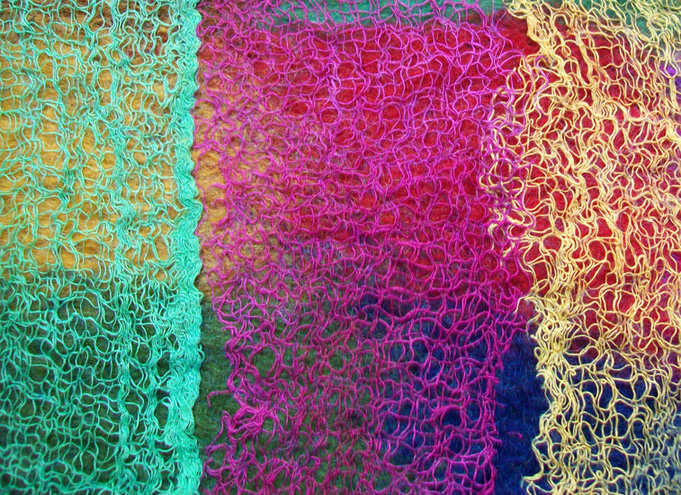
Browsed by
Tag: texture

Sewing, Felt Hat to Purse, Felt Boots.

Sewing, Felt Hat to Purse, Felt Boots.

Last time I told you about organising one section of my room and clearing off the table. My next area is the sewing area. It’s coming along. It started like this:

sewing area before

There is also a bunch of stuff on the floor under and around it that you can’t see in the picture. I have made progress but the shelves to the bookcase have disappeared so it’s hard to fill them up. I did switch the old singer that needs a part for a newer one. I haven’t tried it but it may need a cleaning. I still have the pfaff I can use. I want to set it up for free motion embroidery. It is a work in progress

As part of trying to do some fiber art everyday I have been working on converting a hat to a purse, well, 3 hats actually. The hats started out looking like this:

hat to purse 2

I cut the holy part off and did this:

hat to purse 1

This should add some interest with great texture.

Here is one that has the texture done. The colour on the left one is more what it looks like I think it’s called Laurel.

hat to purse 3 hat to purse 4

I had planed to get the lining in before posting but that didn’t happen. I will show you when I get it done. It will also get a zipper too. I haven’t decided if it should be a clutch or I should find some sort of strap for it. What do you think?

Lastly I have started my on-line boot class. It took me  a while to convince You Tube to let me see the videos and then my Internet went out for a week. So all I managed to do was my sample and get my pattern drawn out.  The sample of gray Finn wool shrank a little more than 50%.

shrinkage

There was a lot of measuring and some math to get the pattern the correct size for the shrinkage.  This is what it looks like at the moment.
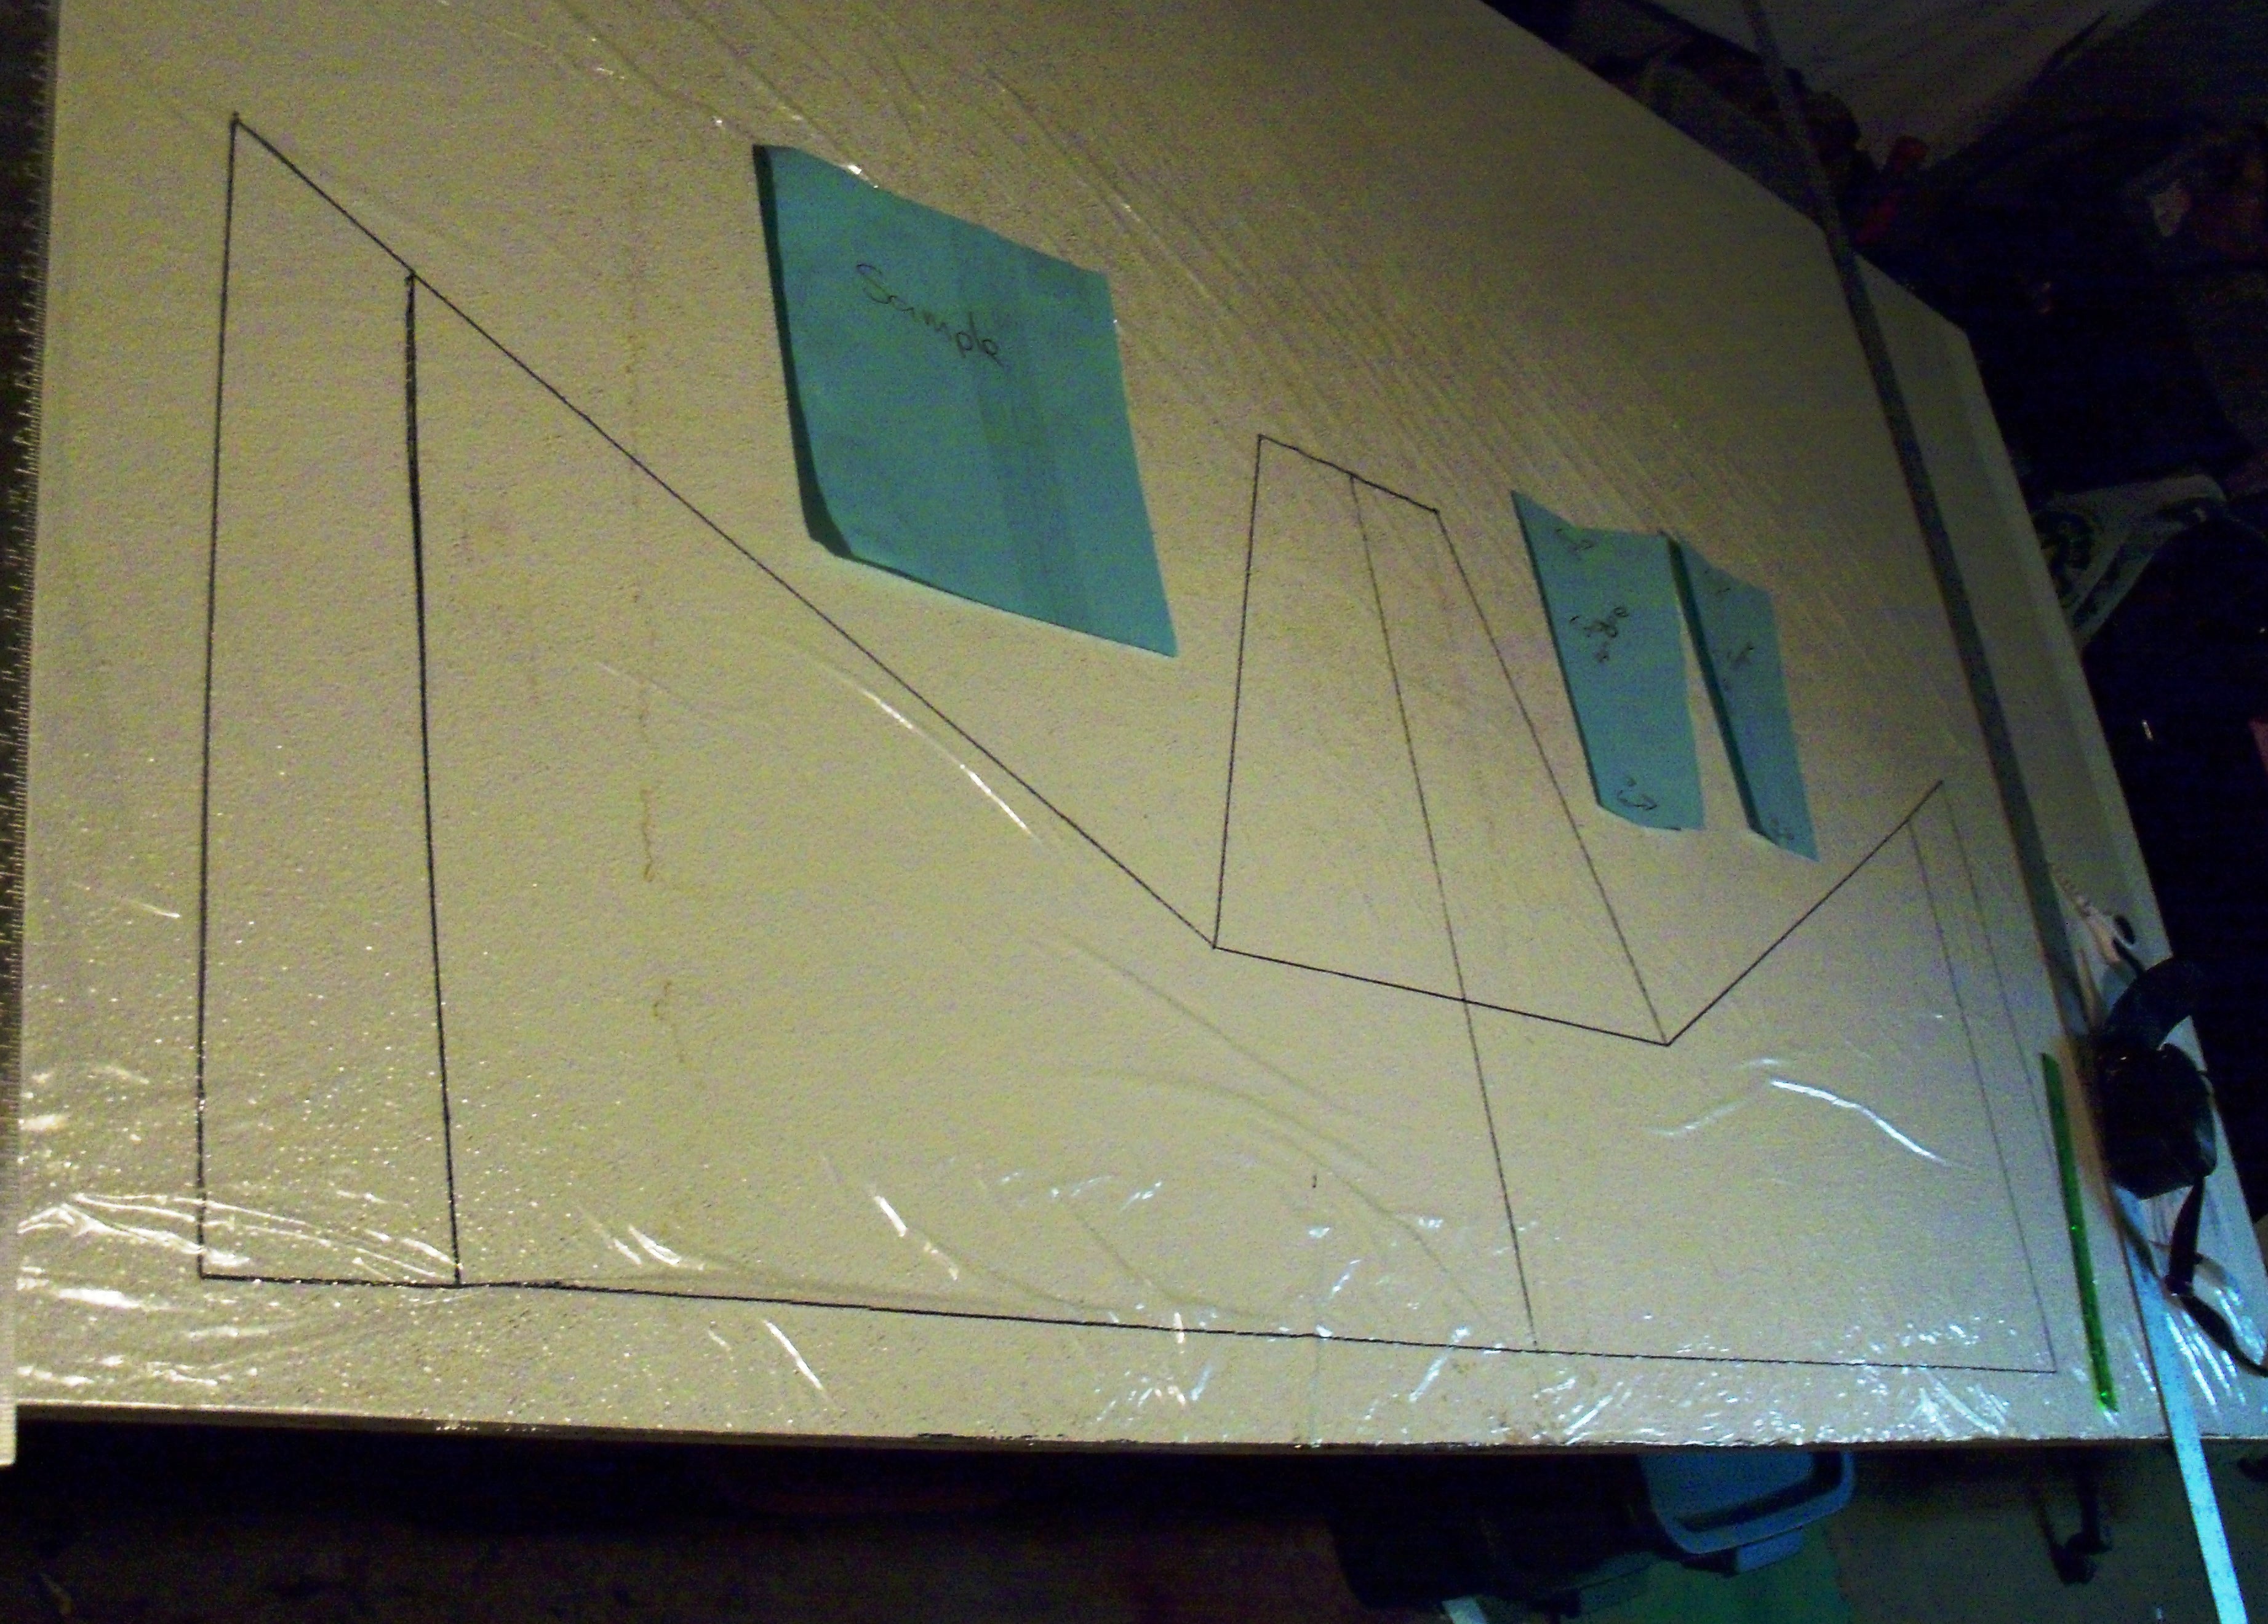
boot patten

My mom came for a visit so I couldn’t lay out the boots today. I decided I want to make a leave motif on the boots when they are done so I cut out leaf shapes in white and black. the booths are gray. I stretched a couple with some vintage “artisanal silk”. I am told it’s not real silk but its pretty.  I don’t know if I like it. I was thinking of sewing some veins on with my machine to see how that looks. I have some dissolvable interfacing I thought if I put the leaves on that I should be able to stitch them.

leaves

So I haven’t been able to actually do some fiber art every day but I have been thinking about it everyday and getting to play most days.

around the web

around the web

felting around the web 5 small 400

http://www.peaceindustry.com/page.php

Recycled Knits and Fabrics combined with Felt Scarf by Sassafras Design

Heather’s Red and Yellow Scarves

http://mjuliarossi.blogspot.ca/

Have you been following Liz’s journey with her students for Holocaust Memorial Day?

http://www.feltinhand.com/gallery.htm

http://woollove-functional-fiberart.blogspot.ca/2013/01/under-big-top-scarf-part-1-of-2.html

knitting around the web

http://vimeo.com/54243073

stitching around the web

http://www.wendyfeldberg.ca/galleries.html

Nell’s Textile Art Gallery

mixed media around the web

Simple Directions for Covering a Lamp Shade with Felt

Acrylic Leaf Printing for your Art Journal Pages

Shrunken Books Tutorial from Maggie Grey

http://cornit-felt.blogspot.ca/2012/06/about-our-roses.html

dyeing around the web

http://wendyfe.wordpress.com/2013/01/10/eco-prints-to-start-the-year/

Looking Forward into 2013

Looking Forward into 2013

Like last year I chose not to make a resolution per say but to choose a word.  I could easily make the usual resolutions that would be good for me like loosing weight and getting more aerobic exercise. Although these would be good things to do I know they are not likely to get done. I like to eat and I hate exercise.  A resolution to make myself miserable is not one I want to make.

This year I chose  two words that go together. Explore and Perseverance.

Explore

I want to do more “art”. I want to do this with felt. I love to make scarves and hats and other useful things but I would like to make things that are just to look at. Thread painting and free motion embroidery are one of the ways I plan to do this. I love the way stitching looks on felt. So I want to explore some of the possibilities of this to make pictures to hang on the wall and maybe later to wear. This is where perseverance comes in . It will take much effort in my busy life to do this. Not only to find time for felting but to find time to do felt that doesn’t  have a material end. I find it hard to make things that won’t generate income.  I want an end product some one might want to buy. I am getting better at doing things for my sanity with no “real” benefit. I anticipate much self talk about not thinking about the end product but enjoying learning how and being creative. You  know, all that stuff about it’s the journey and not the destination.

persevere

I am sure I will be distracted along the way but that’s OK. I am an older ADD person. I am from the generation where they told you to smarten up and buckle down and your just not trying. It’s taken a long time to come to terms with. This is the way I am and it is a good way to be. I have insatiable curiosity so I like to look down all the side streets( allies, paths, through the door, over the fence….)  along the way. It takes longer to get to the end of the road but it is a much more satisfying trip.

From Here to There
From Here to There

I hope you find what you are looking for this coming year and I hope you enjoy hearing about how we are getting along and what we are doing through this Blog and our Forum.

Making Felted Soap

Making Felted Soap

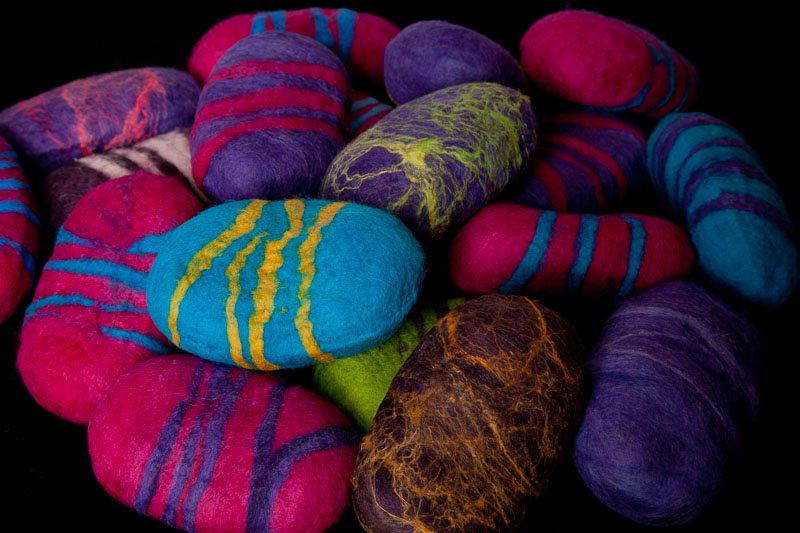
I have a show coming up soon and I am almost out of felted soap. They are always popular at Christmas time.

Here you can see some of my bins of small amounts of different colours, the pieces of nylon stocking I use for felting in and the first soap wrapped up in wool.

first a wrap a thin strip of wool around the edge of the soap then roll it up in a wider strip of roving. Next I pic a complementary or contrasting colour to wrap around the soap. I usually do a spiral from one side to the other.

I use small pieces of nylon stocking to put the wool in for felting. It’s the only thing I use nylons for these days. The reason I put the soap and wool bundle in a stocking is to keep it under control. the first thing that happens when you wet the wool is it gets bigger and its hard to keep it all in place.

Here is a soap with some silk added. this is silk roving that is teased apart. I also us pieces of silk hanky to give it a marble like appearance.

I managed to get this far yesterday but I didn’t manage to get them felted. so here is a picture of a different batch all finished. there are 2 with silk hanky on them.

That’ s the way I do it. If you have any questions or tales of soap making tell us about it.

Felt Cuffs and Hats

Felt Cuffs and Hats

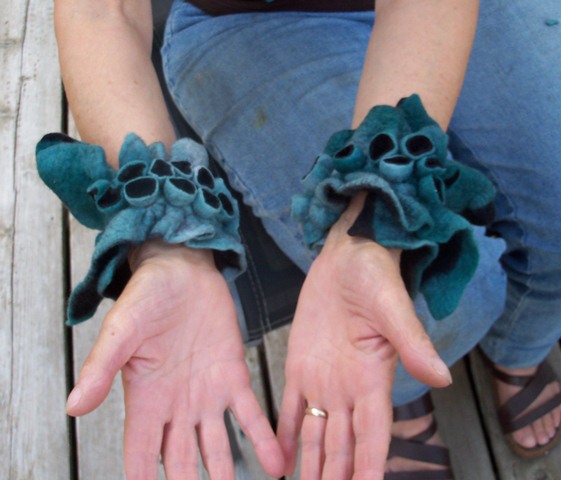
My last post showed you some bubble samples I made when visiting my friend Maureen. This time I will show you what we did with them. The first thing we did was try some wrist cuffs. We both used the same colours. They were two scrap pieces of pre felt that Maureen had. We felted them together and down to 22 inches long. The bubbles will bring them to a good length for around your wrist.
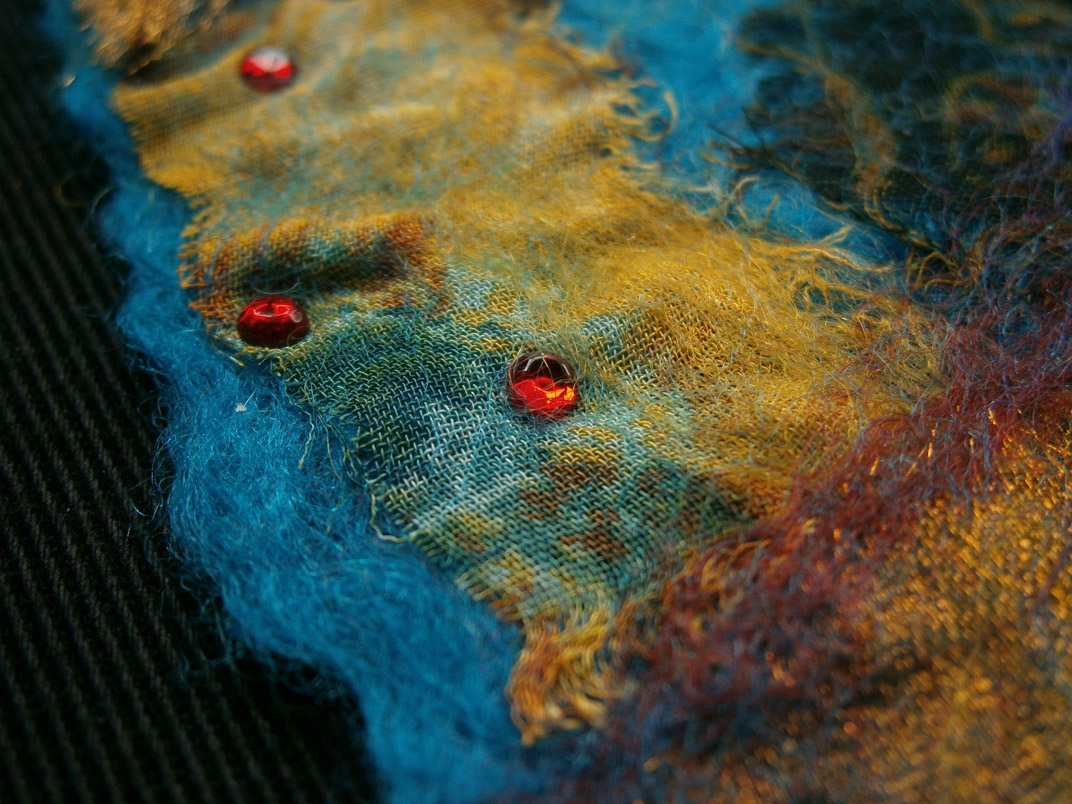
   

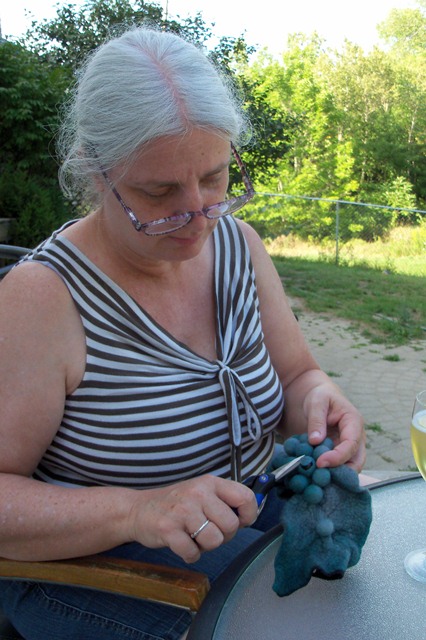
I won’t show you all the steps of felting and putting the marbles in but as you can see it was done in the sun on the patio with a glass of wine. We are not all work and no play. In the right hand picture you can see the marble inside the bubble I just cut open.


Here they are on and in the right hand picture you can see we left one bubble uncut. It acts as the button to fasten the cuff around your wrist. We put a felt ball in that one.  That was a success so we decided to do hats.


Here you can see the resist and the size of the finished hat with the marbles in it. On the right is Maureen with hers on. They are still wet at this point. We ran them through her laundry spinner and they were dry in the sun in an hour.


By then we had eaten dinner and it was back out the deck for a glass of wine and cutting. Here we are wearing them and a close up of mine so you can see the cut bubbles better. I stretched the large bubble after I cut it open to really show off the contrasting colours.

We had a great couple of days together felting and enjoying the weather. I have to say her husband was great he did most of the cooking and all of the clean up.

Felt Bubbles

Felt Bubbles

A while back I went to a felting friends for a few days fun.  She showed me how to make bubbles and cut them  open to great effect. Here are the pictures of what I did.

First of course I laid out some wool to felt. But these are samples so plain felt won’t do . I added silk threads and a silk square and some silk roving and other wools to see how it would all go. This is the underside.

This is what the top side looks like

Then of course there was the usual rolling and fulling.

rolling rolling rolling

Here they are all finished and ready for the marbles.

The next step is to put marbles in while it is still damp. You pull the felt tightly around the marble and secure it with an elastic and now it is a bubble. We used the elastics they use to put braids in horses tails and manes because they are small, stretchy,  strong and cheap.  You put in as many as you like and what ever sizes you like. You can also use felt balls. the felt balls are good if you want to leave them uncut. Marbles are to heavy for that.

Here they are all tied up.

Felt with marbles tied in to make bubbles

Here they are cut.  I cut the tops off , I cut x’s and star patterns and some I tuned inside out. if you cut more off you see more of the inside and you can stretch them flatter too.

Bubbles cut open

You can see how the underside becomes the inside of the bubbles. These samples started out about 6×8 inches and the finished pieces are about 1.5 by 2.5 inches. They take up a lot of room. I only have 2 of them left my friends dog ate one. I think I will glue them to some leather and make broaches out of them. They are lots of fun to do. I made some wrist cuffs with this method and I will blog about them next week.

Supermacro

Supermacro

My camera started to die a few weeks ago, I could hear the focusing mechanism straining and the majority of photos were blurred, even more than I usually get trying to focus on soft fibres 🙂  So, a lot of my time has been taken up with a photography backlog, taking photos, retaking them as I work out my new camera settings, checking and editing photos, and getting distracted a lot with the Supermacro setting! It is so cool, it can see things I can’t see with the naked eye, tiny fibres on fingerprints, tiny cobwebs in the holes of volcanic rock, eyelash roots…. Oh, and the weave of fabrics or a dark guard hair on a piece of white felt, even tiny strands of fibre on the individual threads of a fabric 🙂

I thought I’d share a few of the fabric and fibre photos I’ve taken recently, I’ll upload them to flickr aswell in case you’d like to click on the full size images to see in even more detail. This first photo is cotton gauze and a chiffon scarf felted with merino prefelt.

This is a photo of just the cotton gauze and blue chiffon.

This is part of a pattern on printed cotton, it is about 55mm wide.

This is a synthetic fabric nuno felted, and some organza at the bottom of the photo.

This is one small piece of organza, aproximately 25 mm top to bottom.

 This is one piece of silk paper aproximately 25mm wide. It is taken from this piece of felt, I’ve added a note to show which square it is.

This is nuno felted silk.

This is Bamboo and Teeswater.

This last piece is blue nuno felted fabric.

I hope you enjoyed the photos, I love seeing the detail and texture of fibres, so I’d love to see your photos if you have any to share.

Cotton Gauze

Cotton Gauze

I’ve been quite busy lately working on my project of ‘other’ fibres and fabrics used in felting. I’ve been making a lot of felt pieces using lightweight cotton fabrics like muslin and cheesecloth. Another fabric I’ve used is Cotton Gauze, this is sometimes called ‘Scrim’, and I’ve used a couple of different types. Here is a selection of some dyed pieces I have.

It’s really good for creating texture and effects. I’ve been making large bold pieces to use for bookcovers.

I’ve also made some smaller pieces with resists, using the gauze for texture. This piece was for making into a pouch.

and this became a textured sculptural vessel

I’m starting to have a huge pile of colourful, texturey felt pieces all waiting to be made into something once the weather gets too hot for felting. This is a close up of a large piece I made for making a purse and matching mirror case out of.

The lightweight cottons also work really well for using in scarves and wraps instead of the usual silk. Do you use scrim or cotton fabrics in felting, or fibre art? How do you find it to work with? Have you ever dyed your own? I’d love to hear about your experiences with it and see photos if you have links 🙂

Giveaway Winner and some Texture photos

Giveaway Winner and some Texture photos

The winner of the notebook giveaway is….. Mattie! 🙂 

Thanks to everyone who joined in and left nice comments.

Textures

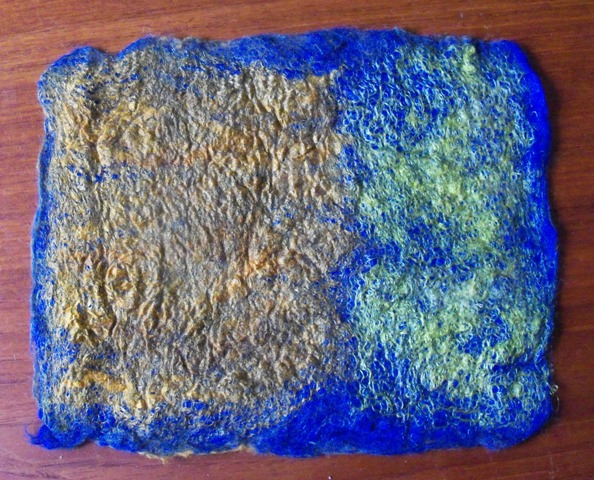
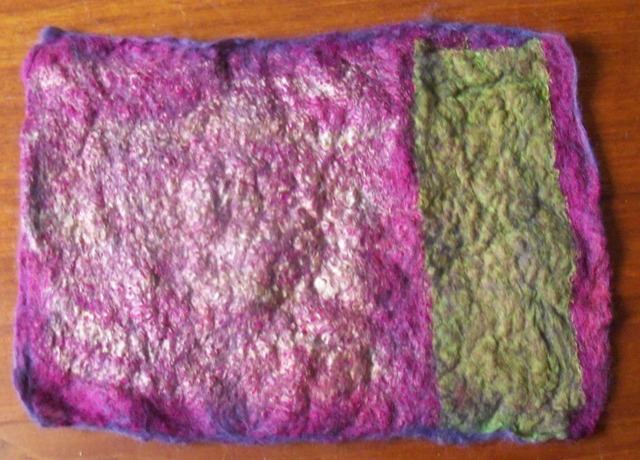
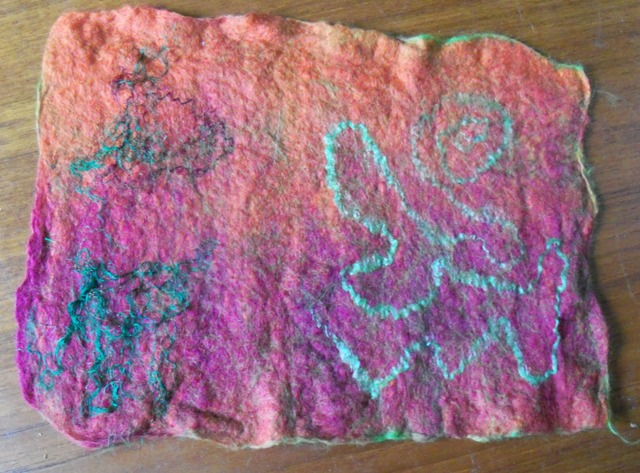
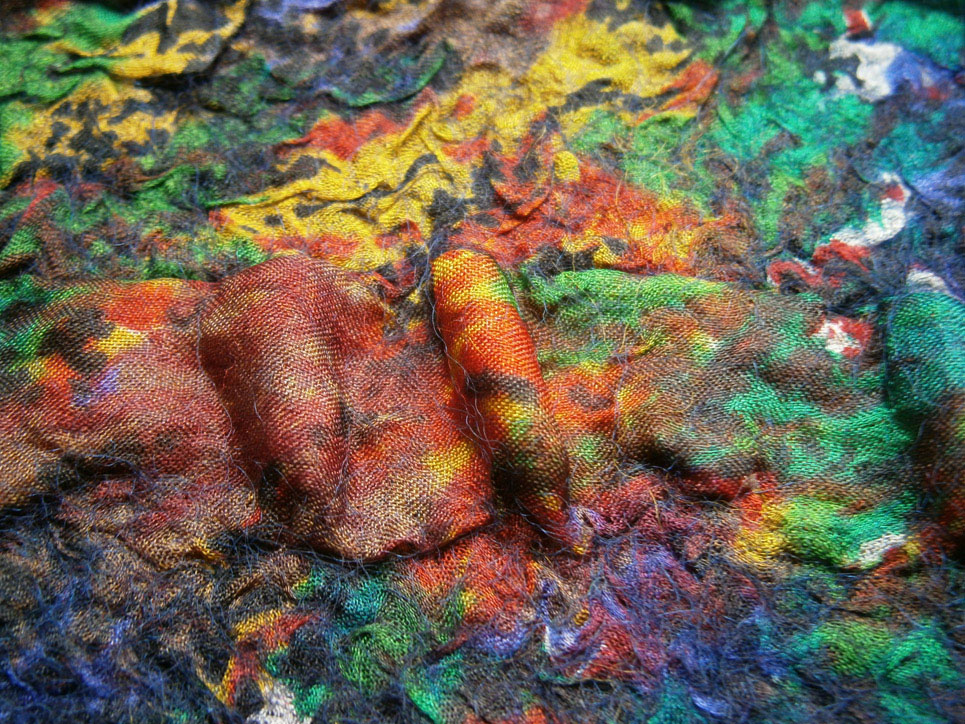
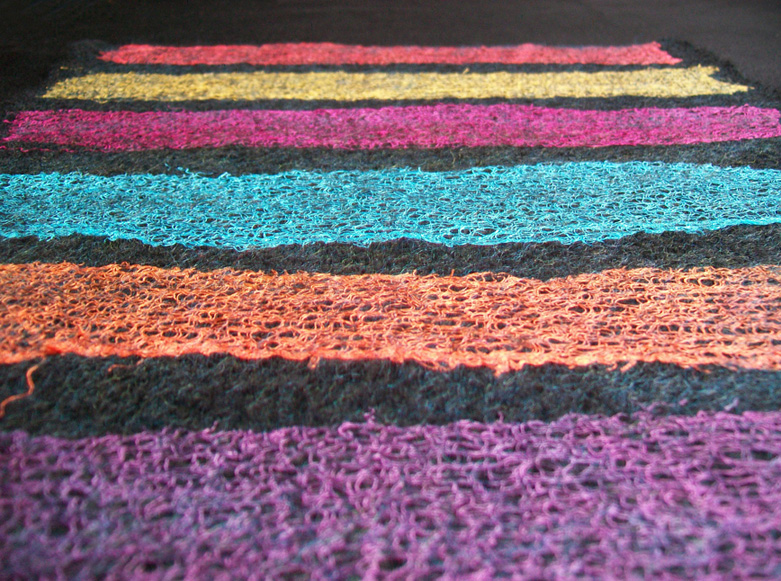
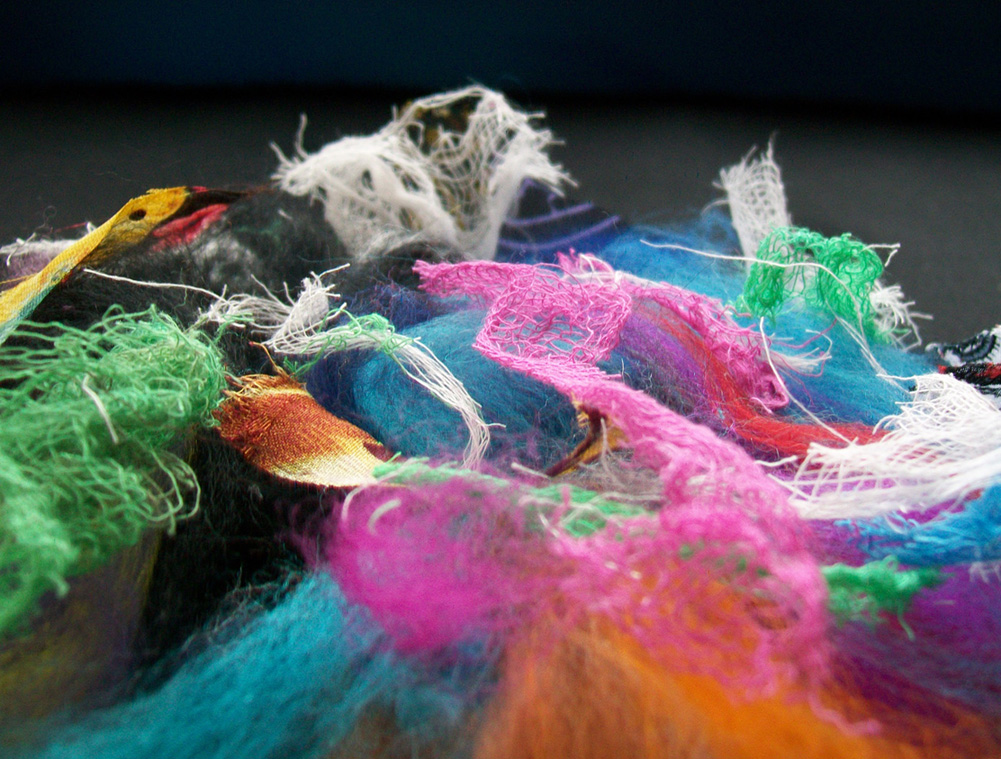
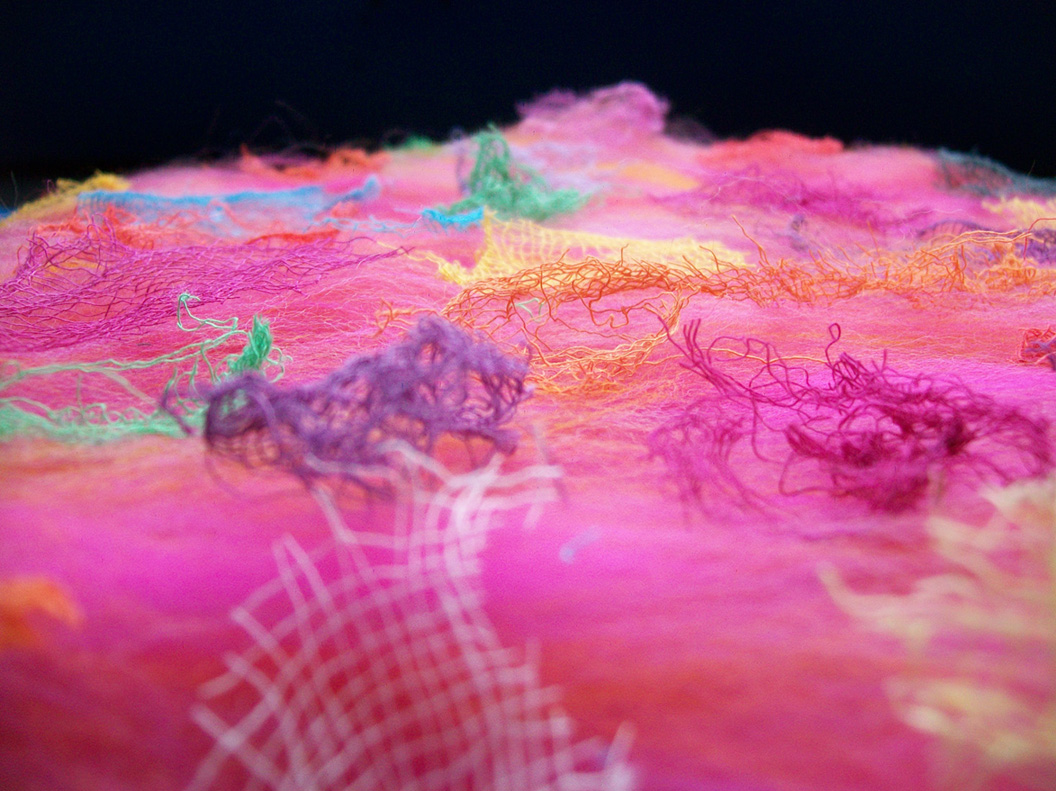
I’ve been working on a project about using ‘other’ fibres in felting and noticed that ‘texture’ has been a common theme lately. I thought I’d post some photos showing different textures from wet felted pieces I’ve made. This first piece is green organza which was used as a base:

This is the top, strips of organza over blocks of coloured Merino:

This is another organza base, a slightly stiffer gold:

This is a piece of cerise organza:

This is a close up of silk in textured nuno felting:

This is a blue-green piece of textured felt, made with lots of layers and inclusions and felted mostly in the washing machine:
 
And lastly, this is a piece of texture felt using reds, pinks, oranges and yellow shades:
 

Do you have any photos of textural felt? How do you like to create it? Do you like to add to your felt to create texture with stitch or other fabrics and fibres? I’d love to see photos of your work 🙂

A Few Felt Samples

A Few Felt Samples

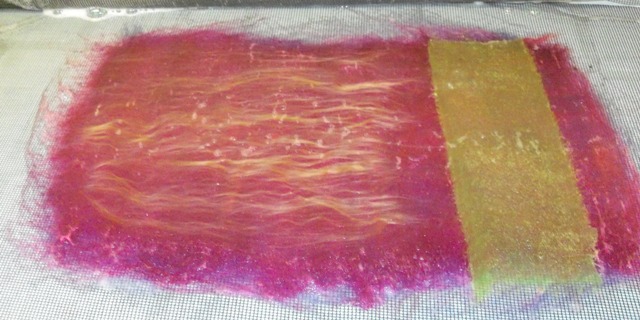
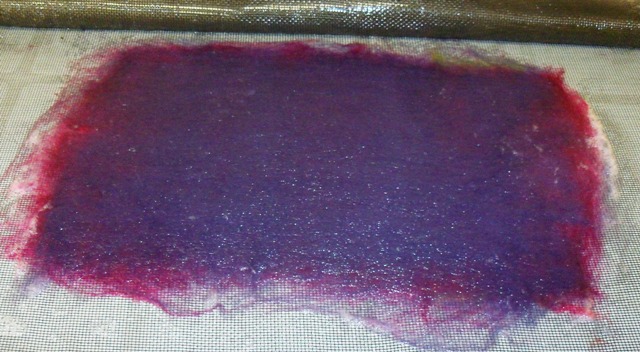
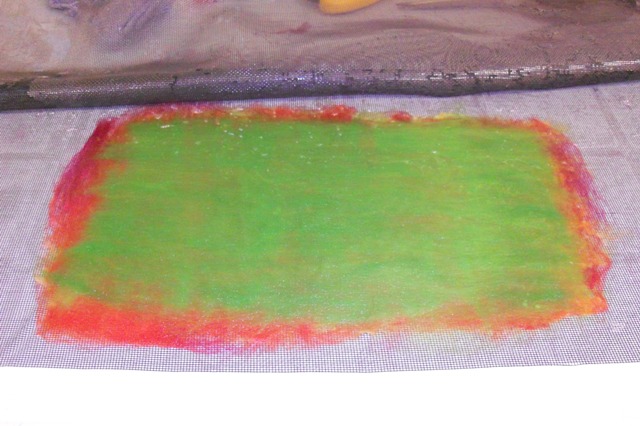
I haven’t been doing much that is interesting to look at lately. Everything is white and is waiting for the dye pot.  I thought I would show you some samples a made a little while ago. The first 2  are purple merino with some silk strips on them. I thought they came out nicely with lots of texture.

Purple wool with strips of silk before felting
Purple samples after felting

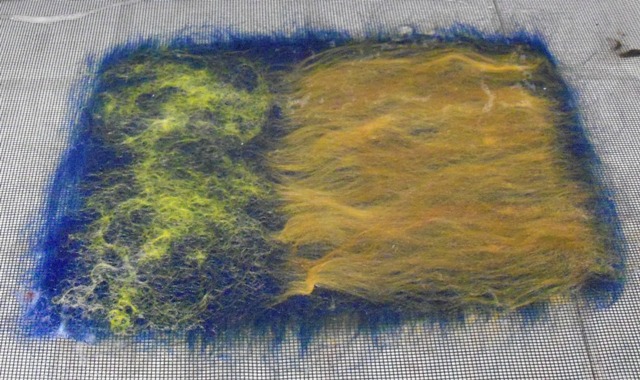
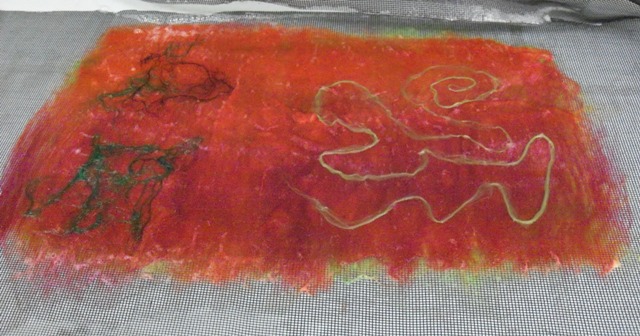
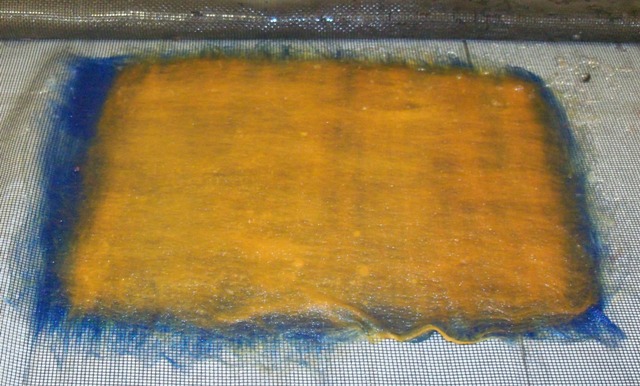
The second is orange merino with some silk and curls on it, here I wanted to felt the curls right into the background. I also wanted to see how it would stick if I put it over the silk. I really like the way the little blob of curls all became one with nice texture. The curls going across the silk stuck down very well. Enough wool migrated through the silk to grab the courser wool of the curls.

Orange wool with silk and curls before felting
Orange sample after felting

This last set I wanted the curls to be attached at the base and left loose and hanging for the rest of their length. I use a small piece of scrap floor underlay with a hole in it so the wouldn’t stick down. It worked very well. I am not sure how I ended up with one really long curl.

Small samples with curls with their resists on before felting
Small samples with curls after felting.

I am not sure what I am gong to do with these. I might make some buttons or hair clips. Do you have any ideas?