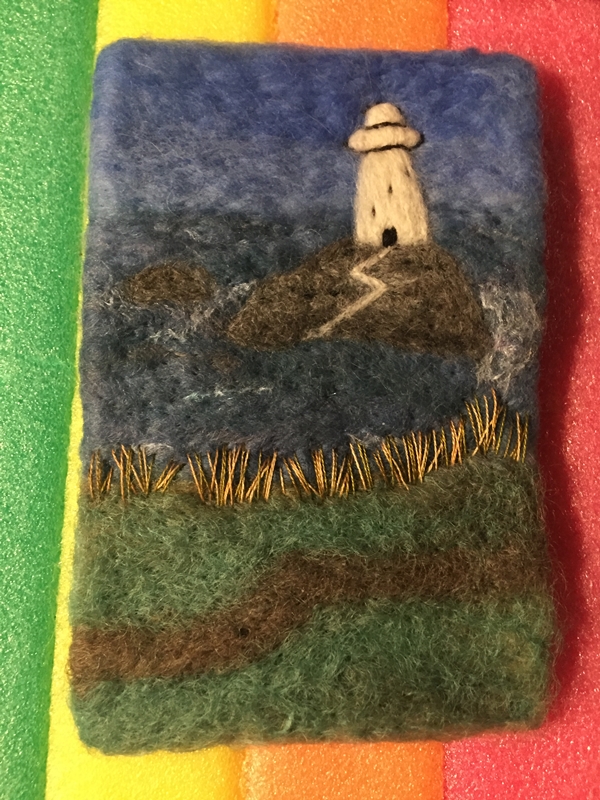
5 by 7 Needle Felted Ocean Picture
I seem to have been obsessed with water pictures for a while now. And today is no exception. I’ve been doing a lot of tiny images, so I moved up to 5×7 inches for this one. I have to pat myself on the back for actually measuring my piece of felt instead of randomly cutting a piece and then not having a frame that will easily work. Yay Me.
The felt I am using is from The Olive Sparrow. Monica has great service and great products. I think I might be able to felt this a bit more if I tried but not much. It is pretty solid and has the right density. It will hold its shape but isn’t hard to needle into.


I started with a nice blue sky. This is merino from World of Wool.

Then I added some wool from a wonderful art batt I got at the little fibre sale Jan and I went to, in April I think. I thought Jan did a post about it but I can’t find it. Anyway, I bought it because it made me think of the ocean. I love the name of their business.

I just used a small corner of this batt. I think I will make another using the sparkly stuff near the top.

I have it about half needled down, it’s fairly well stuck but I can still reposition it.

thin I just tucked the loose edges around the back to get a better look at it. I am not sure I shouldn’t straighten up the thicker white line. but I kinda like it not straight too. the ocean isn’t always in straight lines. I am not sure.

That’s as far as I have managed to get. It needs some clouds or birds or something to break up the sky, to make it more visually interesting. I think maybe a small sail in the water in that lighter blue on the left maybe. Not sure how big, a boat or a sailboarder? Maybe I should make a few sizes and try them out.