Browsed by
Tag: fiber

Hat Making Class

Hat Making Class

I thought a hat making class last saturday. We had a great time and everyone had a wonderful hat at the end. I forgot to take pictures till the end. After a year of blogging you would think I would be used to taking pictures of everything I do. However I do have some pictures from the class I taught last winter. They were given to my by Jan who is in the class. I lost most of my pictures in a computer crash. The hard drive is off hopefully getting my pictures recovered.

Trolley for class materials.

This is my trolley that I use for class. My bins of wool for embellishment and my tub that has the little buckets, pool noodles, bubble wrap, resist material and other odds and sods.

Jan starting to layout of the wool.

Here is Jan starting to cover her resist with wool and the 2 halves of her hat finished and ready to put together.

Laying out the wool for a pill box hat

Here is another student who decided to do a pill box hat in cow print.


This is a red and white hat with a few embellishments to help it not look so Christmasy.

Red and white hat ready to wet.

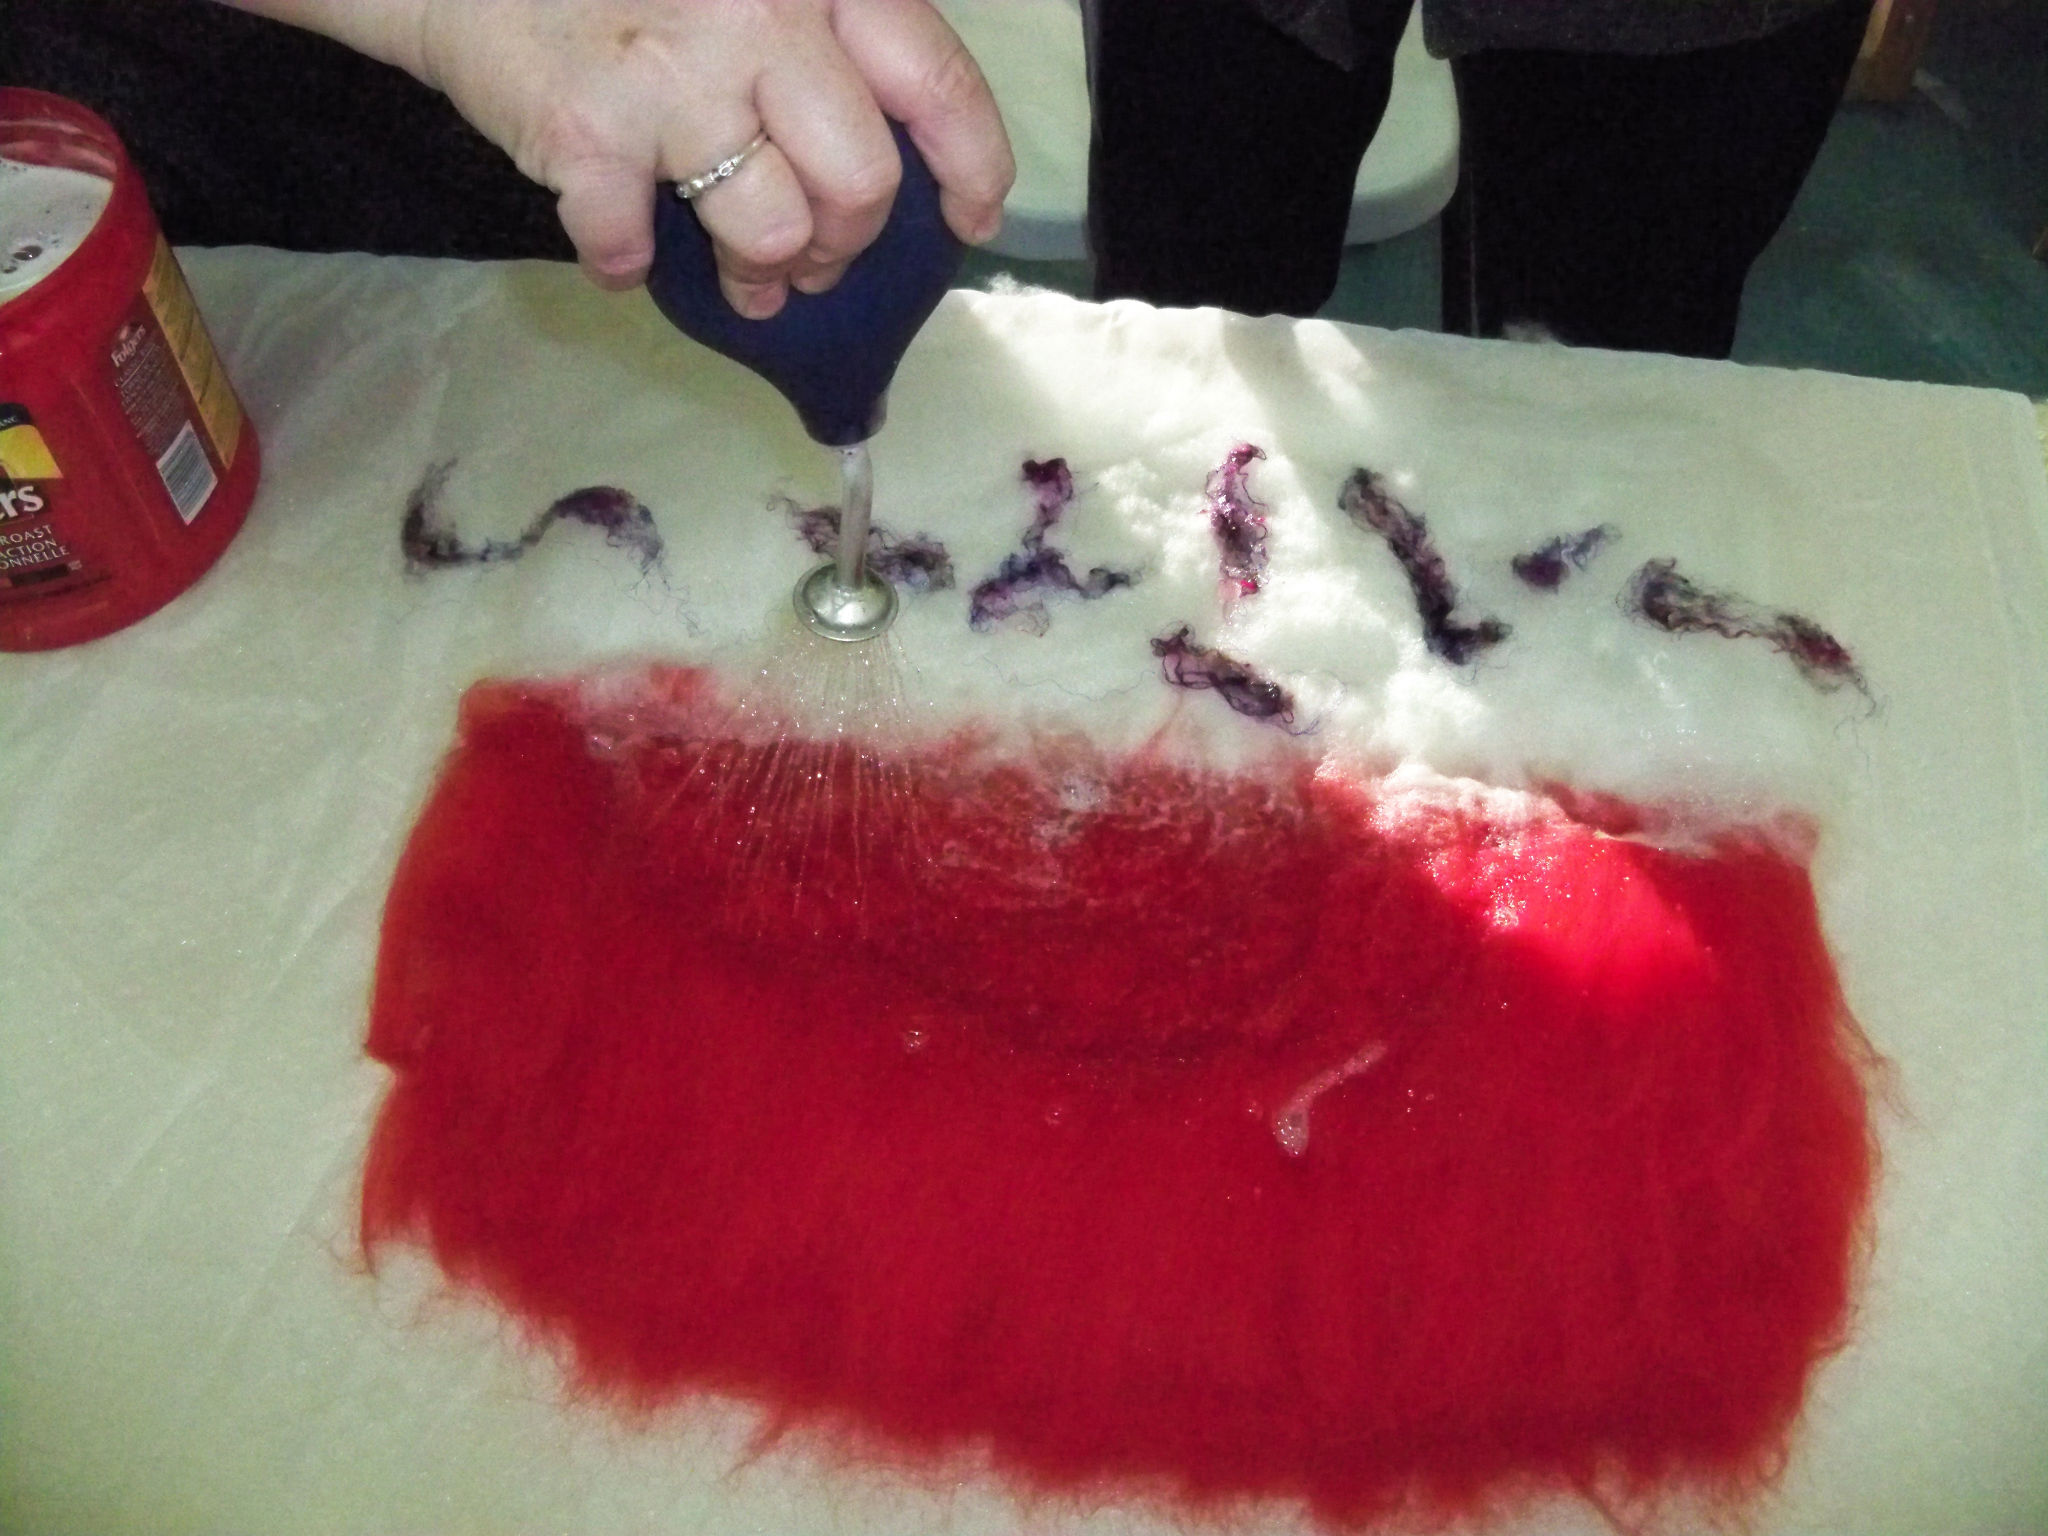
Getting the wool wet using a ball browser. It is a bonsai watering tool that felters are using now. It sprinkles the water just where you need it.


Sorry no pictures of the felting everyone was to busy to take pictures. They did some rubbing and then some rolling then some kneading and throwing.

This is Jan’s hat ready to do some shaping.


The 2 pieces of the cow hat are ready to sew together once they are dry. The sides are a bit floppy with being wet.

Jan modeling her hat form 2 sides. She did more shaping and ended up twisting the tale and inserting inside the brim.

Jan’s hat finished

and now the red and white hat

Red and White hat finished

And last but not least is the picture of my student from last Saturday  wearing their hats

Hat Class Oct. 2012

Everyone had a good time and ended up with a hat that fit them in a style they wanted. Whenever I here someone saying their head is small or large of too round or flat or whatever I always say well come to a class and make a hat tat fits you. The best hat block you have is your own head. So give it a try on your own or in a class make the hat of your dreams.

Making Felted Soap

Making Felted Soap

I have a show coming up soon and I am almost out of felted soap. They are always popular at Christmas time.

Here you can see some of my bins of small amounts of different colours, the pieces of nylon stocking I use for felting in and the first soap wrapped up in wool.

first a wrap a thin strip of wool around the edge of the soap then roll it up in a wider strip of roving. Next I pic a complementary or contrasting colour to wrap around the soap. I usually do a spiral from one side to the other.

I use small pieces of nylon stocking to put the wool in for felting. It’s the only thing I use nylons for these days. The reason I put the soap and wool bundle in a stocking is to keep it under control. the first thing that happens when you wet the wool is it gets bigger and its hard to keep it all in place.

Here is a soap with some silk added. this is silk roving that is teased apart. I also us pieces of silk hanky to give it a marble like appearance.

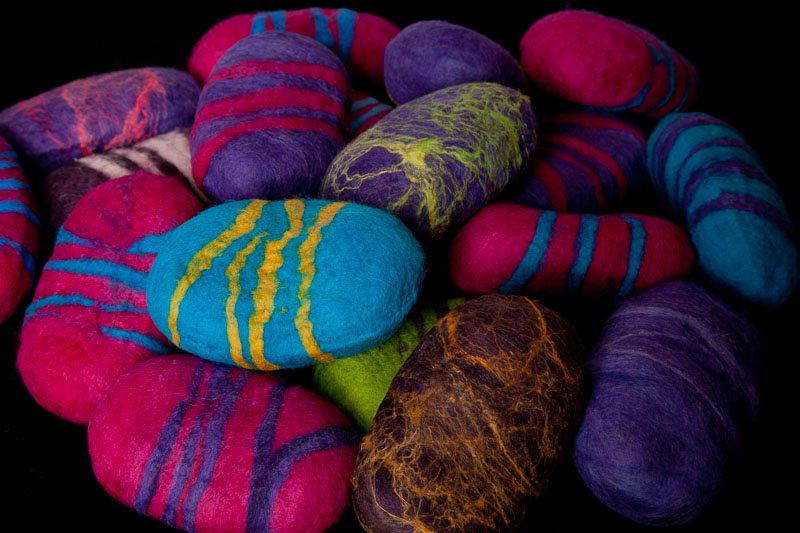
I managed to get this far yesterday but I didn’t manage to get them felted. so here is a picture of a different batch all finished. there are 2 with silk hanky on them.

That’ s the way I do it. If you have any questions or tales of soap making tell us about it.

4th Quarter Challenge _ Weather

4th Quarter Challenge _ Weather

We’ve actually had such a long cold wet winter here in oz that the site of some sunshine is so lovely and with the weather finally starting to warm up I found myself at the beach briefly the other day just taking in the ocean and some warmth, so I thought for this challenge we could felt a piece depicting our own weather no matter where in the world we live, and be it the ocean and sunshine or freezing temperatures with your lovely snow topped mountains, its your seasons.

And just a couple of lovely pictures of our Island in the sun !!

This is a place called the Nobbies were all the little fairy penguins live

Just a gorgeous sunset on the Island, would make a gorgeous felt piece

Looking forward to seeing everyone’s weather challenge to see the difference in our temps right now. Happy Felting and we’d love to see you in our interactive forum where we all love to share some great information or just have a chat, so come along and join in the fun http://www.feltandfiberstudio.com/

Demo at the Fair

Demo at the Fair

I belong to the Ottawa Valley Weavers and Spinners Guild. Every year we do demos at various fairs and events. This last week end we where at the Carp fair, http://carpfair.ca/ It is a typical fair with rides and concerts but it is in the country so there are horse shows, both western and english, as well as competitions for cattle, pigs and sheep. There are the quilt competitions and other domestic arts and the best corn, squash and forage contests. After you’ve seen all of that and you make it to the back on the fair there is the antique section with old cars and farm machinery on display and being demonstrated. That’s where we are, in a tent with the antiques. We don’t mind, the men who run the machinery are a great bunch. The only other woman we see demonstrating is the blacksmith.

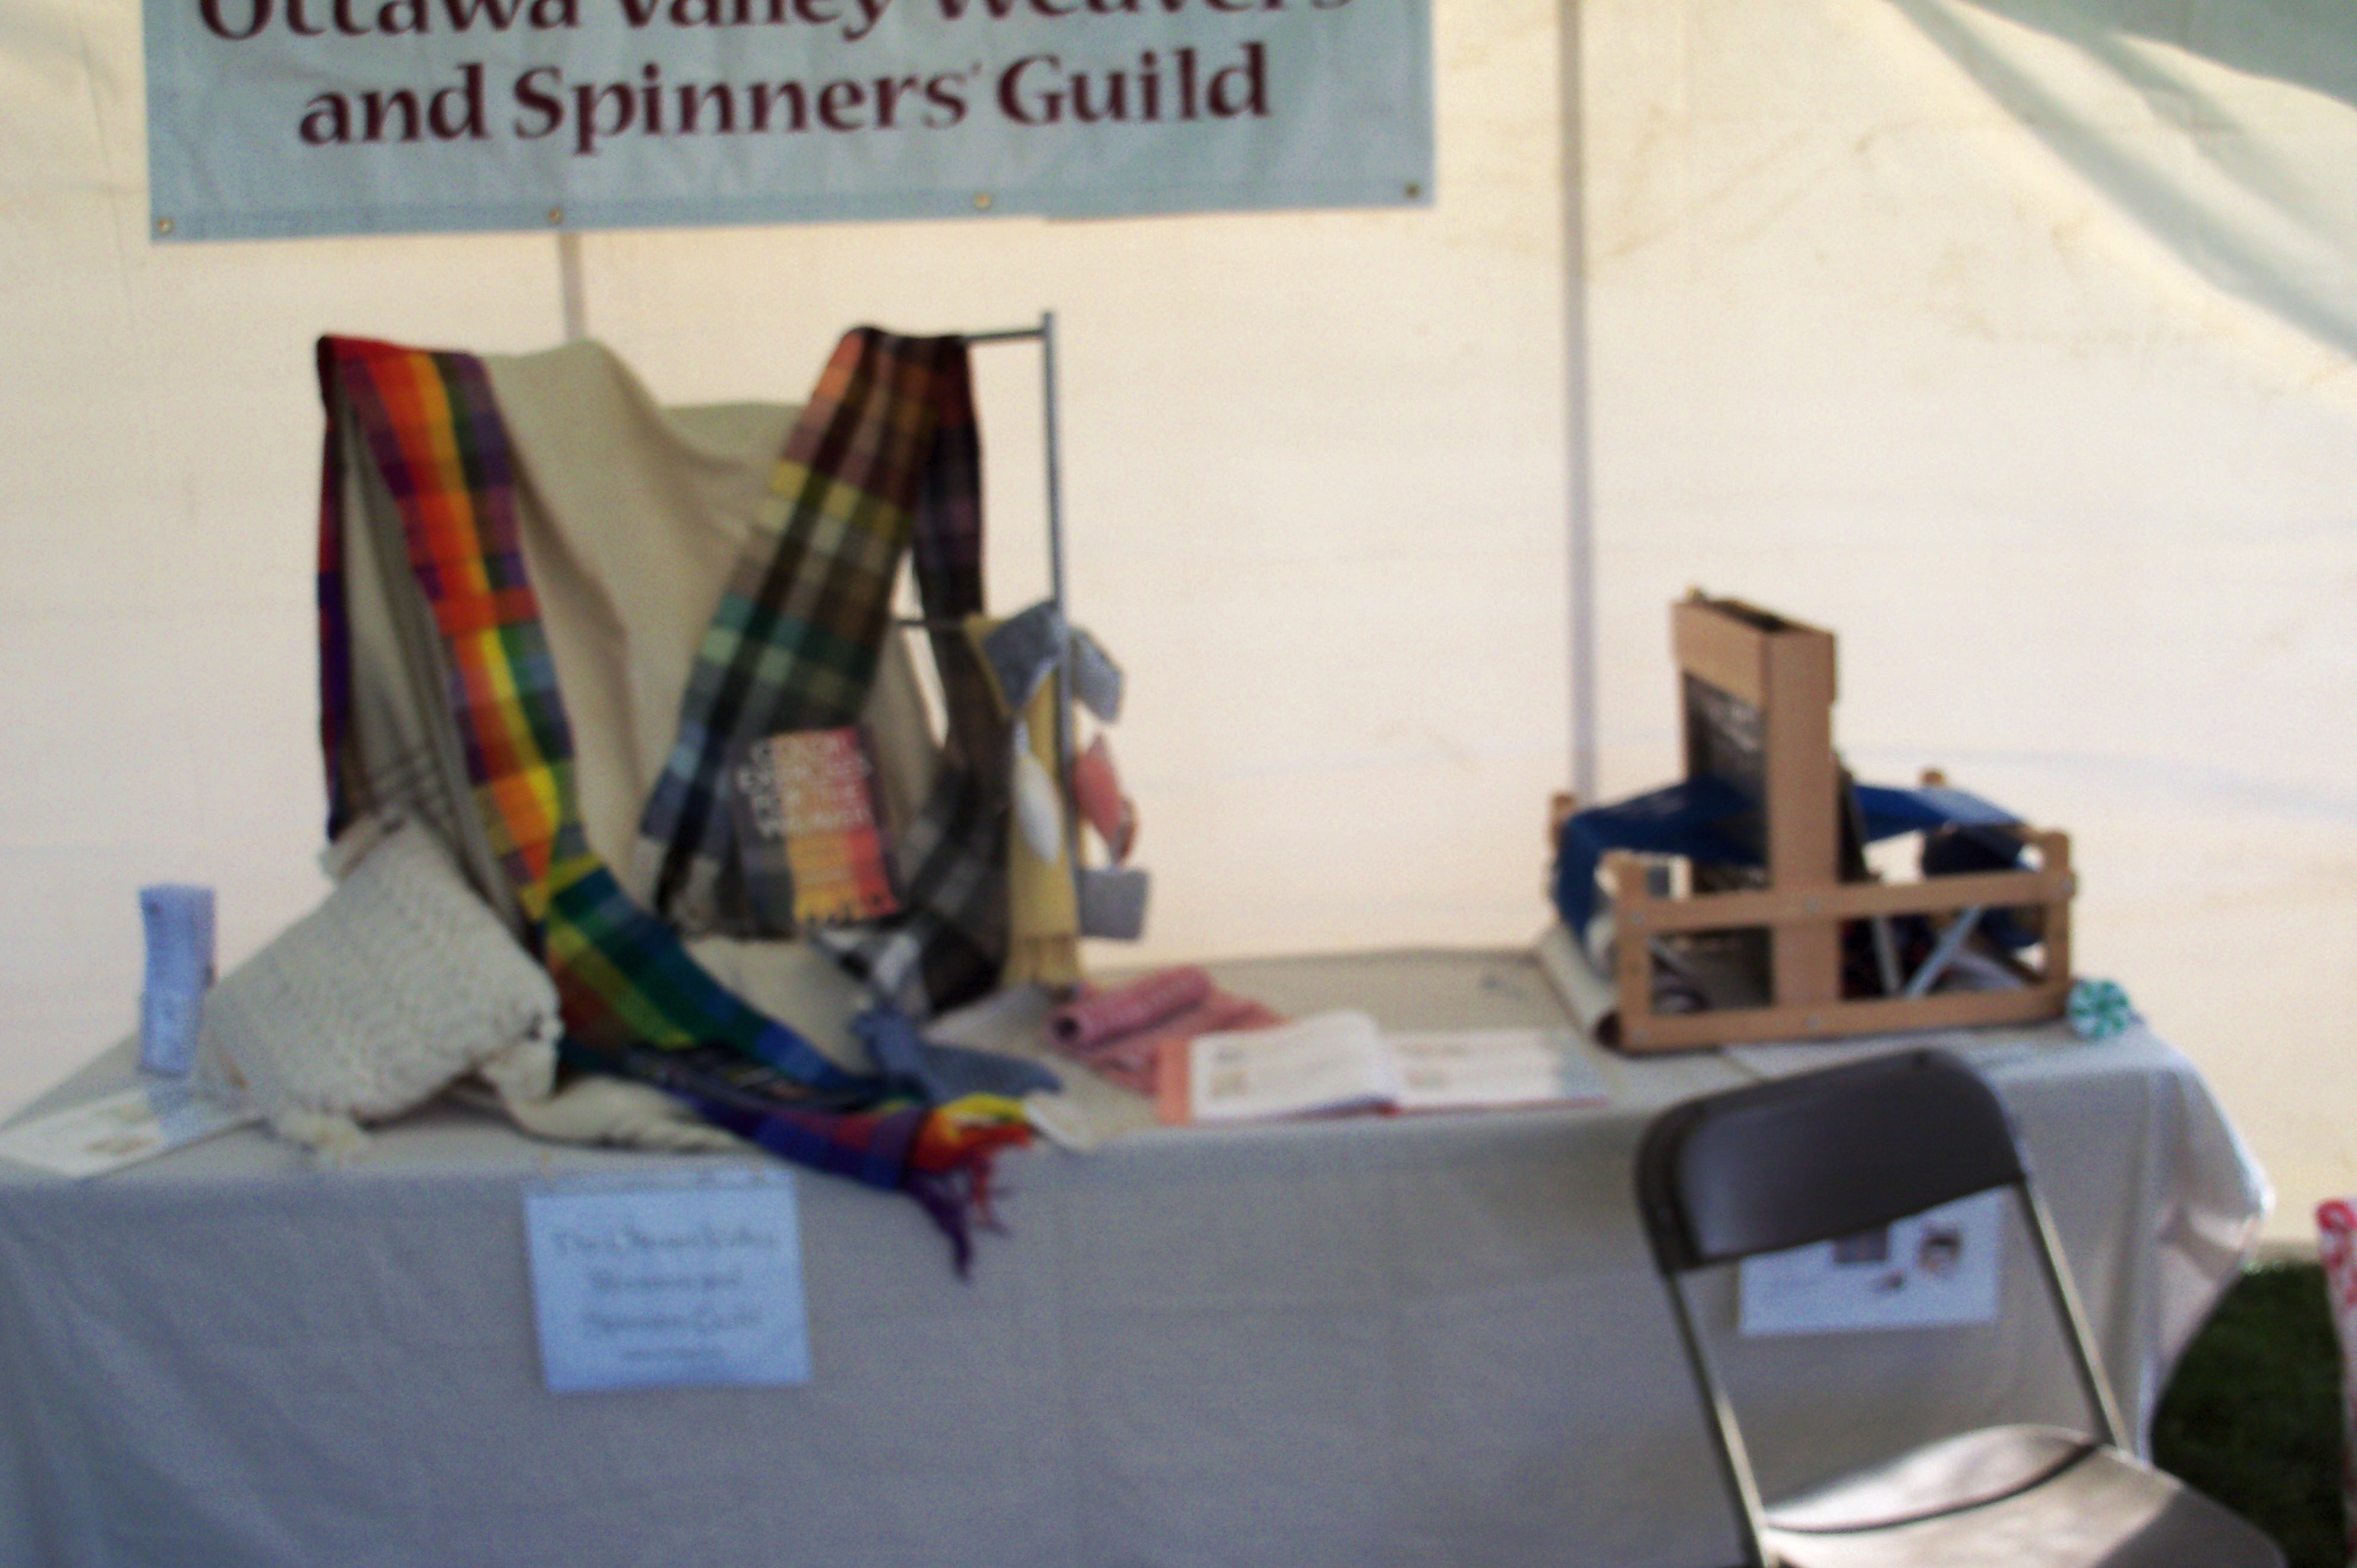
Here are our display tables. You can see tractors through the windows.


 That’s our demo loom on the end. Lots of people give it a try. It has some very interesting patterns on it.

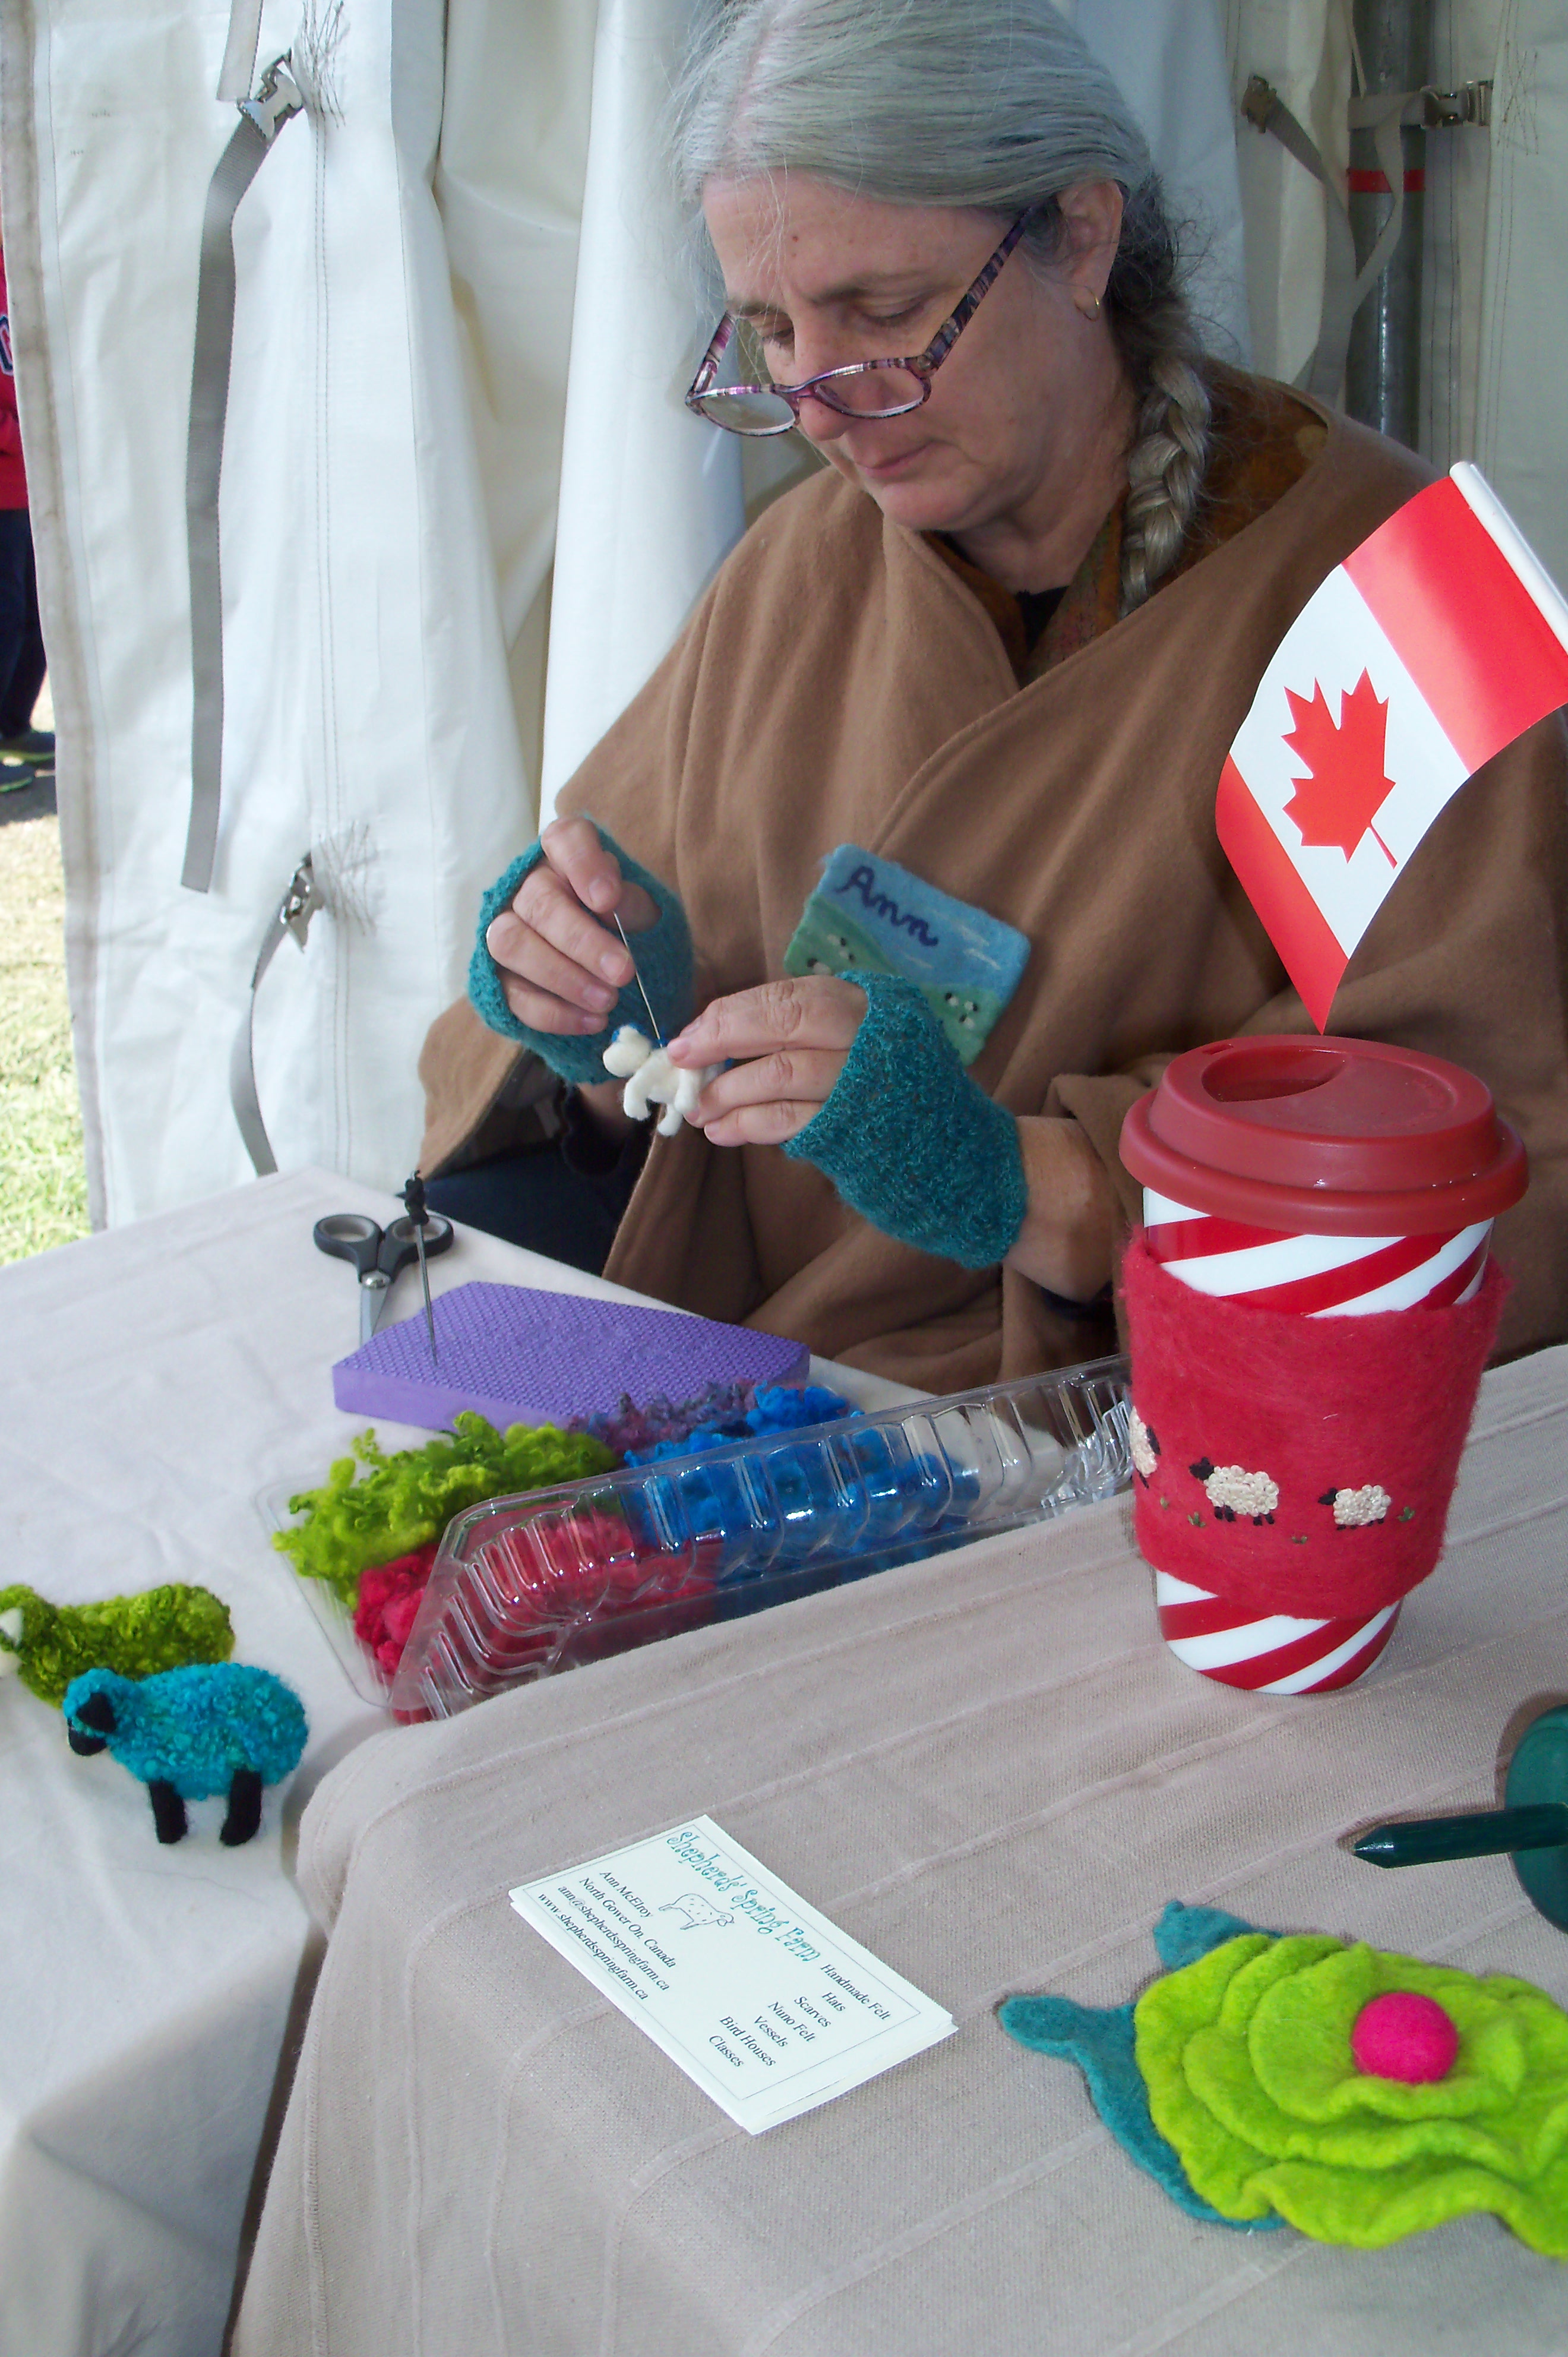
Here I am demonstrating  how to make a needle felted sheep. That’s my coffee in the foreground with its wool felt cozy. You will notice I am wearing long sleeves, my felt vest, my wool cape and some fingerless gloves. When we set up in the morning it was about 10 degrees celsius, or 50 fahrenheit. Once the sun came around to shine on me I started to warm up and shed layers. You can just see the tip on my drop spindle on the table. That’s the other thing I demonstrate.

Here are the ladies spinning.

Jan is out guild librarian and she handles the demo loom and is spinning on a road bug spinning wheel. It is designed to fit on the floor in the front of a van so you can spin while your driver whisks you down the highway.

Here is Linda first carding and then spinning from the rolags she made. She has  a Louet copy she bought second hand.


Last but not least is Bernadette who has a very pretty wheel but I don’t know what type it is.

We had a great day together. We met lots of new people , we handed out lots of bookmarks about the guilds up coming exhibition and sale.  We answered lots of questions and got a few people interested in joining the guild and learning more about fiber arts. Do any of you belong to a guild or go our demonstrating to promote fiber? I think next  year we should yarn bomb a tractor what do you think?

Felt Cuffs and Hats

Felt Cuffs and Hats

My last post showed you some bubble samples I made when visiting my friend Maureen. This time I will show you what we did with them. The first thing we did was try some wrist cuffs. We both used the same colours. They were two scrap pieces of pre felt that Maureen had. We felted them together and down to 22 inches long. The bubbles will bring them to a good length for around your wrist.


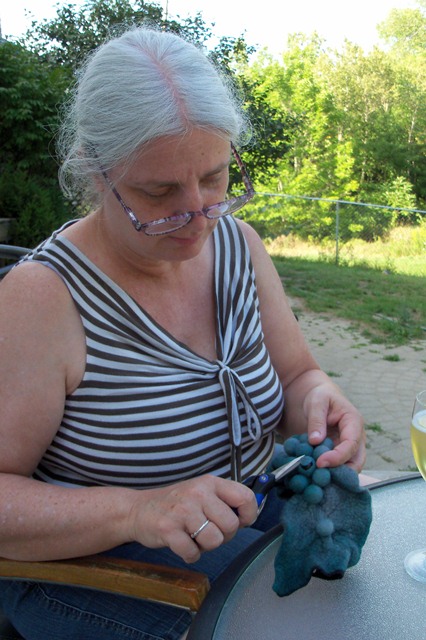
I won’t show you all the steps of felting and putting the marbles in but as you can see it was done in the sun on the patio with a glass of wine. We are not all work and no play. In the right hand picture you can see the marble inside the bubble I just cut open.


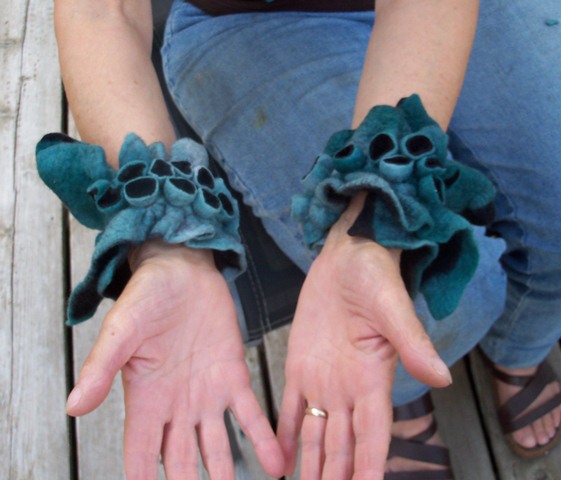
Here they are on and in the right hand picture you can see we left one bubble uncut. It acts as the button to fasten the cuff around your wrist. We put a felt ball in that one.  That was a success so we decided to do hats.


Here you can see the resist and the size of the finished hat with the marbles in it. On the right is Maureen with hers on. They are still wet at this point. We ran them through her laundry spinner and they were dry in the sun in an hour.


By then we had eaten dinner and it was back out the deck for a glass of wine and cutting. Here we are wearing them and a close up of mine so you can see the cut bubbles better. I stretched the large bubble after I cut it open to really show off the contrasting colours.

We had a great couple of days together felting and enjoying the weather. I have to say her husband was great he did most of the cooking and all of the clean up.

Felt Bubbles

Felt Bubbles

A while back I went to a felting friends for a few days fun.  She showed me how to make bubbles and cut them  open to great effect. Here are the pictures of what I did.

First of course I laid out some wool to felt. But these are samples so plain felt won’t do . I added silk threads and a silk square and some silk roving and other wools to see how it would all go. This is the underside.

This is what the top side looks like

Then of course there was the usual rolling and fulling.

rolling rolling rolling

Here they are all finished and ready for the marbles.

The next step is to put marbles in while it is still damp. You pull the felt tightly around the marble and secure it with an elastic and now it is a bubble. We used the elastics they use to put braids in horses tails and manes because they are small, stretchy,  strong and cheap.  You put in as many as you like and what ever sizes you like. You can also use felt balls. the felt balls are good if you want to leave them uncut. Marbles are to heavy for that.

Here they are all tied up.

Felt with marbles tied in to make bubbles

Here they are cut.  I cut the tops off , I cut x’s and star patterns and some I tuned inside out. if you cut more off you see more of the inside and you can stretch them flatter too.

Bubbles cut open

You can see how the underside becomes the inside of the bubbles. These samples started out about 6×8 inches and the finished pieces are about 1.5 by 2.5 inches. They take up a lot of room. I only have 2 of them left my friends dog ate one. I think I will glue them to some leather and make broaches out of them. They are lots of fun to do. I made some wrist cuffs with this method and I will blog about them next week.

Dyeing Some Waste

Dyeing Some Waste

Dyeing some waste.  Throwsters waste that is and I suppose it must have been trash at some point or they wouldn’t call it that. Throwing is was they call reeling silk for thread and this is the left over little bits.  I have a batch of white and needed some colours for a project.  The pictures of wet silk an bags did not turn out but I have some nice pictures of the end.

I dyed small amounts in plastic sandwich bags. First I placed each blob of waste  in a bag and added some soapy water to get it wet. I let it sit to soak while I got the dye ready. I used MX dye as it would be the fastest and easiest. I poured of the extra water out then poured in the dye,  just enough to get it all wet. I squished it around in the bag to make sure it all got dye.  No worries about felting the silk, a nice change from dyeing wool.  I did the same for all the colours and let them sit for 10 min. I added a solution of PH up and water. Buying the pool chemical is the cheapest way to buy Sodium Carbonate, especially at the end of the season.

I made a solution and poured in enough to cover the silk. I let it sit for about half an hour then drained and rinsed the silk. Here is what it looks like drying on my front porch.

Throwsters Waste Drying

Not so great looking. I had squeezed all the extra water out of them. However after they were dry I fluffed them up and they look like this.

Fluffed up
Second Half All Fluffed Up

As you can see fluffed up they barely fit on the same drying rack in 2 batches. My project didn’t work out, the waste I used  on the surface sank into the courser wool I was using and disappeared so I have nothing to show you right now. I am planing to use some more on hats so I will do a post with them later.


Outdoor Show

Outdoor Show

Over the years I have done several outdoor shows and they are great venues. This week-end I did one I hadn’t done before and it should have been a great show. It is primarily an art show with may visual artists, potters and unique jewellers. However it rained all week-end and hardly anything was sold by anyone.

A favourite topic is always booth design; how best to display your products and how best to entice people into your booth. A lot depends on the amount of space you have.  Here is a picture of my booth on a rainy weekend in June. For me it feels very crowded with the walls of the tent on. This was during a brief dry period so I could get a couple of things out front.

At The New Art Festival.

Although the sale wasn’t great I did get to meet lots of other artists and had time to chat with them. I have been inspired to knit myself a cool shawl. I am not sure how long it will take. I am not a knitter at all but when I get it done I will blog about it.

Here is a shot  inside my booth.

I am going to post some more pictures over on the Felt and Fiber Forum  if you want to give a long critique or detailed suggestions pop over and have a look.

My Year in 2011

My Year in 2011

It’s funny how a year can start off one way, and then take you in a whole different direction as we learn, grow and be inspired.

Needle Felted Santa

My year started out only ever having created needle felted characters, which did create a lot of laughs but I knew I hadn’t yet found my thing.

Needle Felted Character

As I watched  my friends create the most gorgeous wet felted pieces,  I took the plunge and gave it a go. I started out with some wet felted cuffs and a couple of wet felted bags, I really did enjoy the process but  I knew they weren’t right and really lacking something. So I went back to basics and purchased a Fabulous  e-book from RosiePink called  “Creating Felt Art”. The girls put so much information into that e-book it was very easy to follow and I was able to create this piece:

First Wet Felted Hanging

And so another new journey began into Wet Felting, the process of laying out those gorgeous fibres made me wonder why I’d never tried it before!

Laying out Fibres

From there I  purchased an online course with Susan Sorrell to create Fibre Collage incorporating Felt as the main fibre piece. It didn’t take me long to realise that mixed media and embellished felt is exactly where I want to be. I’m learning that you can add so much to a felt piece with simple stitches , beads or anything you feel the need to use!

Fibre Collage

I’m also learning to make textile beads using Tyvek, metallic threads & plastic strips. I am enjoying that thoroughly although I’m still trying not to burn them!

Textile Beads

I entered Zed’s spiral challenge and created my first journal cover using lots of beads and stitches!

Spiral Challenge

I’m  exploring  more mixed media  and this piece was made using paints for the backing board, Felt, Stitch, Beads and a Button:

Mixed Media

And I’m working on an Album Cover right now that has a long way to go yet but I’m really enjoying seeing that come together.

Album Cover

One of the most exciting parts to 2011 was being a little involved with Ruth and her book. That was definitely an eye opener and I know I didn’t do much, but just seeing the amount of work Ruth has put into that book and what was involved was totally awe-inspiring and I’m looking forward to seeing it in print and in my hands.

My absolute Favourite thing to happen was joining forces with  Ann, Ruth & Zed to bring this new site together , to learn, share , be inspired and talk all things felt and fibre to our hearts’ content. It amazes me how we’re oceans apart but working side by side for the love of Felt

Thank you Girls, I’m really looking forward to sharing the next 12 months alongside you all 🙂

A look back at the last year.

A look back at the last year.

Well time to look back at the year and see what has happened. There was lots of felting  for sale and some teaching along with family, work, farm and farmers’ market. I decide early I wanted to make a nice nuno felt vest for myself. It doesn’t sound very hard thing to do but I never seem to make the time to make things for myself. It took a month to design the resist and find the time to do the felting and I ended up with a not very good-looking vest. As it turns out it was a good thing because it allowed me to become better friends with Linda as she helped me reshape it with her sewing skills. We went on to design jackets for ourselves this summer. I am still working on the jacket, hems on the sleeves and bottom and it needs some form of closure but I haven’t decided what yet.

I managed to try a couple of new shows to sell my work and expand my felting skills with the help from felting friends when we got together for our annual spring fun felting weekend.

One exiting thing that happened was being asked by Ruth to send some felt to her publisher to have its picture taken to be in her new book. So soon I will be able to say I’ve been published. Supporting Ruth while she wrote her book was a real pleasure and an eye opener as to what is involved in getting a book put together.

Starting the new blog and forum with friends from around the world has been fun and hectic as we decided to do this at the busiest time of the year. It really is amazing how the internet has made it possible meet like-minded people, make friends and take on projects with people you may never meet in person and otherwise wouldn’t have met at all. I feel very lucky indeed. Now I need to have a good long think about what I want to get done this coming year.

Happy New Year everyone,

Ann