Browsed by
Tag: felting class

Felt Vessel Class

Felt Vessel Class

I taught an enthusiastic group of ladies how to make felted vessels last Sunday. They were a great group and without Carleen’s reminders to take pictures I would have nothing to show you today.

This slideshow requires JavaScript.

Three ladies chose to make pots that were a different colour inside.  and two made theirs a solid colour.

Then of course there was the wetting, rubbing and rolling and shaping


Blowing up a balloon inside  helps get a nice shape. In the back ground you can see Carlene rolling on a car mat.

For some reason I did not get a picture of all the finished pieces. This is the only one I have of this white and gold pot. It was very elegant and I think it would make a great light cover. She said she was rewetting it and reshaping it. I hope she remembers to send me a picture of it when it’s done.

There was also some very determined rolling on the glass wash board.

I do have some finished pictures.


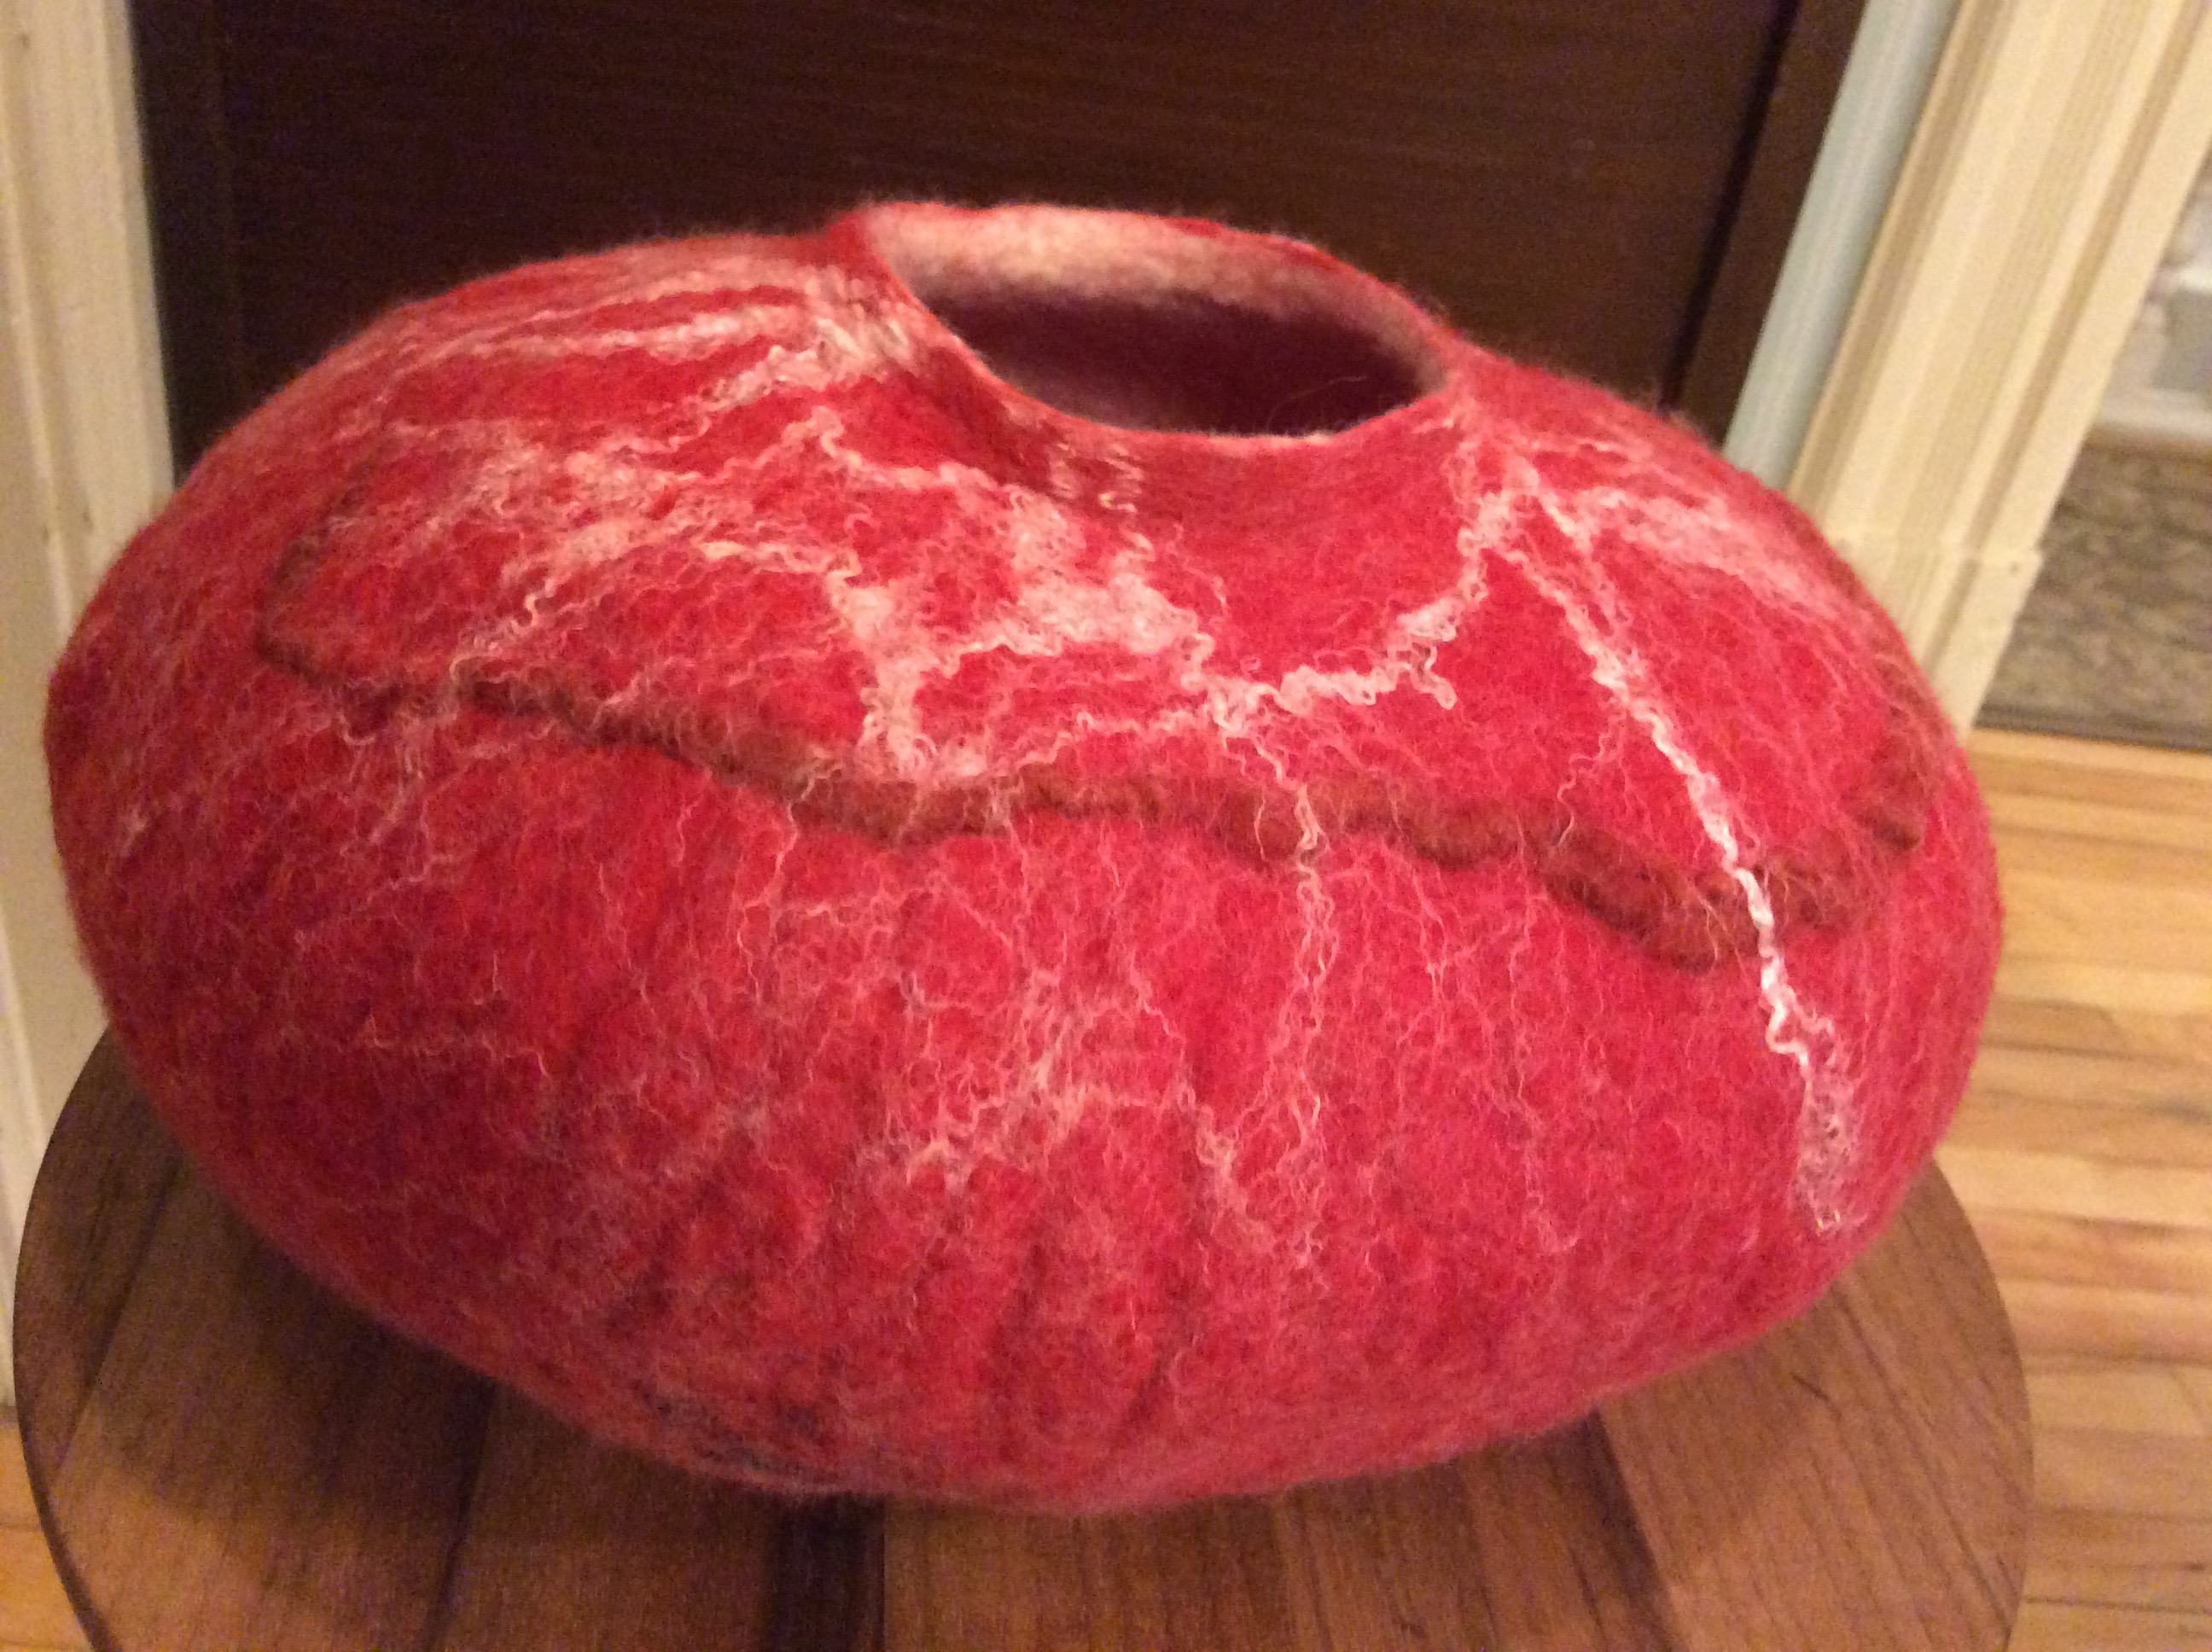
The blue one is Carlene’s. She wants to add to it. Here are 3 thoughts. The second and third pictures are the same yarn but different ends,  one has more blue in it.

Her husband thinks the yarn covers up to much of the pot. I like the spiral but think maybe make the lines farther apart. What do you think? It may have been better to felt it right in. It would still be texture but flatter, more integral to the pot. Hey Carlene, maybe you just need to make another pot.

Birdhouse Class and Lambs.

Birdhouse Class and Lambs.

It is spring! Saturday I taught a Birdhouse Class.

Everyone had fun decorating their birdhouses.

Bernadette bird house 2

birdhouse 3 birdhouse 4

Of course there was rubbing and rolling and throwing

rubbing rolling

throwing

and everyone ended up with great looking birdhouses. Bernadette (second from the left) wanted a feeder so she made her opening much bigger.

birdhouses finishedThe other way I know that spring is here I we had our first lambs . We started with a bang, quadruplets. They are less than an hour old here, so not even cleaned up properly yet.

quad lams

and the reason my post is late this morning is because I have a visitor.

Fynn


Final Project

Final Project

Happy holidays everyone and to those who celebrate,  Merry Christmas!

As we wind down for the year and start planning for next year, I’ve decided to share my final project from Fiona Duthie’s Surface Design class.   My intention is to use it as a reminder of incorporating more of these techniques in my felt work going forward.

I didn’t set out to use a specific number of techniques, but let the picture dictate which ones to use.  We learned many more than I used here.

I started with making a bridge using the lace technique and decorated it with pencil roving and stitching with yarn on the top  to create a handrail on top and matching decoration below.

2014-05-16 13.41

I added the cracked mud/tile effect to the ends of the bridge.

2014-05-20 16.03
Before adding techniques and felting


The water is fabric manipulation using some silk habotoi with some shadowing under the bridge.  The hills in the background were prefelt cut outs with silk embellishments for texture.  I also used pencil roving to define the shoreline in the distance.

2014-05-24 16.18

On the beach is a tree trunk made using the shibori and carving techniques then added beads, cotton batting  and gems as inclusions under silk gauze.  I used silk and locks for the water rushing over the sand and to embellish the sky.  There is a 3D water lily on the waters edge.

2014-12-07 12.14b

2014-12-07 12.14

I also added loops on the back to be able to hang the picture.   I debated straightening the edges, but decided I like the organic edges.  While its not gallery material, I enjoyed making it and am proud to hang it in my family room.

The class was fun and I learned a lot.  I would highly recommend it to anyone wanting to expand their felting techniques in a classroom setting working at your own pace.

What projects or techniques are on your list to try next year?


Felt Bird House Class.

Felt Bird House Class.

Last week I taught 3 ladies from my guild how to make felt Bird houses.

There was rubbing

Alison in working Nancy and rollingLinda rubbing

and rolling

Alison rolling

Cutting

Linda

and more rubbing

Nancy rubbing

Then the really fun part, scrunching and throwing. Sorry to say no non blurry pictures.

After that they rinsed their houses and blew up balloons inside so the will dry nice and round.

Nancy finished Alison finnished

Lynda made the hole a little bigger to use it as a bird feeder instead of a bird house.

Linda finished

Hat Making Class

Hat Making Class

I thought a hat making class last saturday. We had a great time and everyone had a wonderful hat at the end. I forgot to take pictures till the end. After a year of blogging you would think I would be used to taking pictures of everything I do. However I do have some pictures from the class I taught last winter. They were given to my by Jan who is in the class. I lost most of my pictures in a computer crash. The hard drive is off hopefully getting my pictures recovered.

Trolley for class materials.

This is my trolley that I use for class. My bins of wool for embellishment and my tub that has the little buckets, pool noodles, bubble wrap, resist material and other odds and sods.

Jan starting to layout of the wool.

Here is Jan starting to cover her resist with wool and the 2 halves of her hat finished and ready to put together.

Laying out the wool for a pill box hat

Here is another student who decided to do a pill box hat in cow print.


This is a red and white hat with a few embellishments to help it not look so Christmasy.

Red and white hat ready to wet.

Getting the wool wet using a ball browser. It is a bonsai watering tool that felters are using now. It sprinkles the water just where you need it.


Sorry no pictures of the felting everyone was to busy to take pictures. They did some rubbing and then some rolling then some kneading and throwing.

This is Jan’s hat ready to do some shaping.


The 2 pieces of the cow hat are ready to sew together once they are dry. The sides are a bit floppy with being wet.

Jan modeling her hat form 2 sides. She did more shaping and ended up twisting the tale and inserting inside the brim.

Jan’s hat finished

and now the red and white hat

Red and White hat finished

And last but not least is the picture of my student from last Saturday  wearing their hats

Hat Class Oct. 2012

Everyone had a good time and ended up with a hat that fit them in a style they wanted. Whenever I here someone saying their head is small or large of too round or flat or whatever I always say well come to a class and make a hat tat fits you. The best hat block you have is your own head. So give it a try on your own or in a class make the hat of your dreams.

%d bloggers like this: