Browsed by
Tag: Batts

This and That…

This and That…

I had been traveling during the holidays and on the return home I had to start working on baby shower favors for the shower I’m throwing in California for my daughter in law later this month.  It’s an exciting time, but also stressful with additional travels for graduations and birthdays coming up.

One of the first things I did when I returned was to go to The Fold to stock up on fiber.  I needed primary colors to work on the color wheel for our first quarter challenge.

2015-01-25 12.10.41

I also bought some Yak and ramie.

I’m not a pink person, but my first granddaughter will be born soon so I stocked up.  I’ve been making booties for party favors, but I don’t think I bought enough roving.  Thank you to forum member (Tina) Cherry for providing me with the template.

While we were in Hawaii my husband Craig and I  had the opportunity to meet Tina Cherry and her husband for lunch at Duke’s On The Beach.  Thanks for lunch Tina and Stan!  We had a great visit.


2015-01-24 15.09.53

Samples made.

2015-01-20 11.13.22

I wanted one side to be lighter than the other so I proceeded to make batts combining white and pink to lighten the color.

2015-01-24 14.53.58

I made 12 resists. Since I’m not sure how many people will attend the shower, I expect to make extras.  I used two layers. One light and one darker.

Process started.


2015-01-24 14.03.10

Here’s the third side done waiting to put the final layer on.

2015-01-25 16.32.01So far I’ve made 24 experimenting with different ways to speed up the process.  Since we are in the middle of a blizzard here in the Chicago area, I ordered more fiber from Paradise Fibers in Spokane.  I’m hoping it will arrive by Wednesday when I’m sure to be out.  And of course, I have to decide how to decorate and fill them.

Well, back to the resists for round two…


Pandagirl’s Year in Review

Pandagirl’s Year in Review

I know I’m late to the party, but I’ve been traveling and have several family affairs looming that need my attention.

I started out in 2014 as a forum member and then in March I was a Global Moderator!  This past year has brought many challenges and delightful learning and wonderful outcomes in terms of felting.

My year started with experiments in dyeing.

2014-01-24 16.29.52

I shared my venture into encaustics.

2014-01-16 11.13.59

Tried my hand at painting with wool.

2014-01-12 12.05.33

Experimented with different wools.

2014-02-07 14.53.01

Participated in the quarterly challenges.

Jackson Pollock - Marilyn

Stewart Stephenson - Marilyn
Stewart Stephenson – Marilyn


Monet 2 after felting
Monet 3rd quarter


2014-10-19 13
Land Art 4th Quarter


Tried framing methods.

burlap 2

I broke down to drum carder envy and began my foray into making batts.  Woo hoo!

2014-11-14 15.15

Cathy and I tried indigo dyeing.

silk and thick n thinMy marketing blogs…

addiction biz cards wool side


I know it’s been awhile, but its more fun felting than marketing…  Sorry.


I taught a felting  class.

Toni
Toni and her placemat


There was a period of obsession with pods and vessels.

After rinsing

I ventured into free motion stitching.

moy layout

Then I experimented with embellishments and making a book cover.

finished front

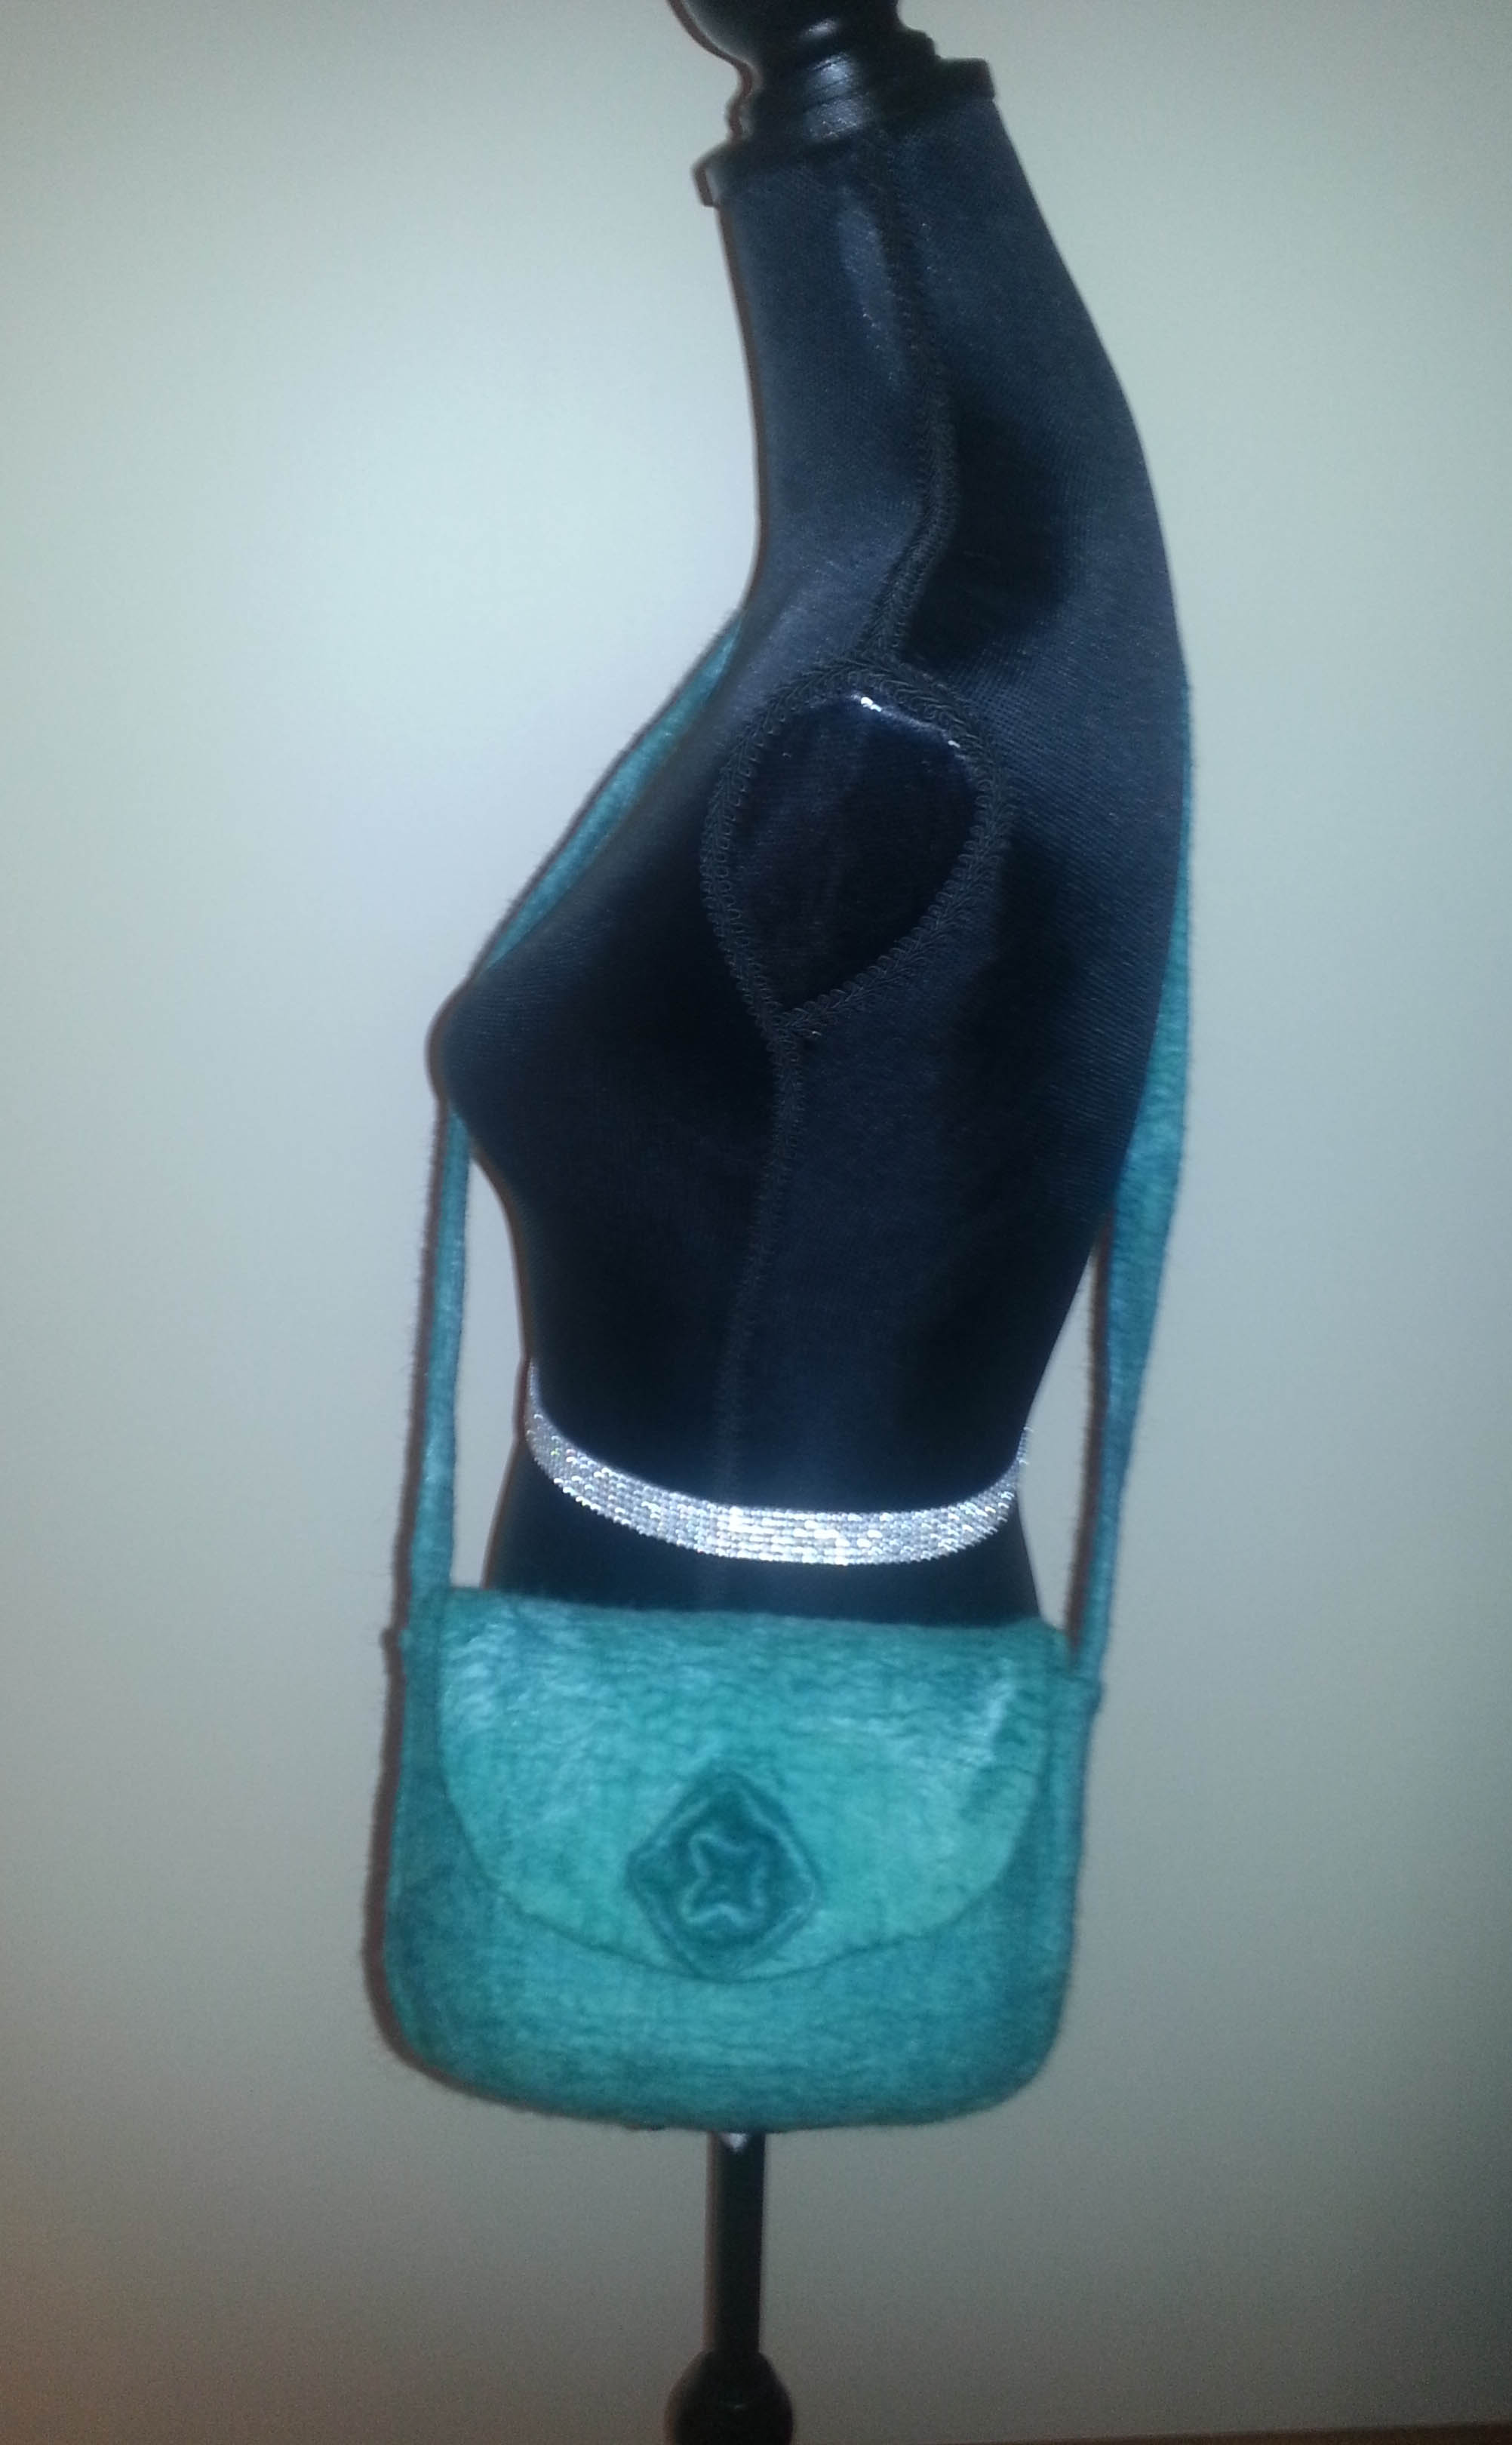
Designing and making a handbag was a huge accomplishment for me.

hanging

I  experimented with 3D felting – grapes and flowers.

finished 2

2014-10-29 12.29


I learned a lot of new techniques in Fiona Duthie’s class.

2014-06-03 11.07.12

It was a busy year visiting farms, mills and fairs.

susan democarder back


I made scarves including a cobweb scarf.

2014-10-17 13.45

A big project was a 3D free motion stitched bowl, oh my!

2014-10-28 12.12

Felting a rooster, I learned to combine wet and needle felting.

2014-11-10 16.24

Our holiday exchange was an experiment of combining beading and felting.

2014-10-29 11.47.04

All in all, it’s been a very productive and inspiring year felting. Of course, there were many more projects that were completed.  It has been a wonderful year.  I want to thank all of you for teaching, inspiring me and encouraging me to do and try more.  Thank you!  A special thanks to my fellow moderators and Luvswool (Cathy),  Leonor at Felt Buddies and Nada for pitching in and contributing to the blog.  It’s been a terrific, fun journey.  I can’t wait to see what 2015 brings and what I learn and try!


Scarves

Scarves

Just before the end of last year, I made a few scarves that I didn’t get chance to post about. The first one was a present for my sister’s birthday. I took the inspiration for the colours from a previous scarf I made, which was blue and purple. I blended up equal amounts of blue, purple and green 18.5 mic Merino on my drum carder. I can’t remember now how many times I put the batts through, I think it was only once because I wanted random variegation. This is the back of the scarf:

OLYMPUS DIGITAL CAMERAI added some silk top to the front:

OLYMPUS DIGITAL CAMERAAnd I just like the way this photo looks 🙂

OLYMPUS DIGITAL CAMERAI used what was left of the batts and added some more blue, purple and green, with a lot more green so I could make a scarf for my dad. You might remember the batt. I used some to make a nuno sample (which is now my nuno collar which I wear when I go out, though it looks more like a foppish cravat!) When I weighed it, there wasn’t enough for a scarf, so I had to blend up some more Merino. Even though I only needed about 10 grams to be on the safe side, I had to recreate the stages of the other one to get a similar blend. I think it’s my favourite one so far:

OLYMPUS DIGITAL CAMERAHere’s a close up

OLYMPUS DIGITAL CAMERAOne thing I noticed while carding the batts, was that the more the wool/batts were carded, or re-carded, the more I got soft little nepps appearing. I did pick a few out, but it wasn’t easy so I left them, hoping they wouldn’t be a problem since they were so soft. It might be my imagination because I certainly can’t feel them, but there definitely seems to be more texture on this scarf. I think the light here caught it just right:

OLYMPUS DIGITAL CAMERAI liked the way this photos looks too, I’d just casually dropped the scarf on the table and it folded like this:

OLYMPUS DIGITAL CAMERA

A Colorful Rooster

A Colorful Rooster

I know a rooster seems like an odd choice for a felt picture.  But I had seen a picture of this Dutch Bantam Rooster and I was intrigued.  The colors are vibrant and cheerful.

It took me a while to work up the courage and the process to try to capture this beautiful creature in felt.

First, I made two merino batts to use as a background.  One for the ground, one for the sky.  I laid them over a batt of Coopsworth fiber as a base.

batts

Then I cut out a prefelt backing for the rooster and the comb. I needle felted the head and  different colored feathers. The eye is a small garnet inclusion.

Rooster layout

When it was finished, I placed it on the background.  Since I wanted the rooster to be the star, I didn’t add a lot of detail only some different color fibers to give a feel of flowing tall grasses.

before felting

I was careful not to over full it.  I wanted the whole picture to have a hazy feel to it which would also help keep a feathery effect of the rooster.

2014-11-10 16.24

Once it was done drying,  I did some more needle felting to give it dimension and added a few more details on the grasses.

2014-11-13 16.13

If you’ve noticed that there is a lot of area around the rooster, its because I was thinking of putting it over a stretcher bars or canvas.  What do you think?


Carding Batts

Carding Batts

This last weekend I did some carding. I was making Monet batts.

First my daughter and I pulled apart small bits of wool and mixed it up.

mixing colours

Then onto the table and spread out ready for a trip through the carder.

ready to card

This is after the first pass through the carder. I split the batt into layers and put it through again.

first time through

This after the second pass through

second time through

I made 3 mixed colour merino batts

Batts3


I recarded some over dyed brown and white Romney wool I had .

Batts2 batts1


And one mixed colour Romney batt

mixed batt

They are fun to do and great for felting or spinning textured yarn. I was thinking I didn’t do anything for Felt United Day, October 4, but I guess I did. Did you do anything?

A Day in the Life of a Fiber Mill

A Day in the Life of a Fiber Mill

Last Friday, Cathy (Luvswool) and I took a lovely drive out to Belvidere, Illinois to tour the Illinois Wool and Fiber Mill.

Nestled in the midst of farmland, we were surprised to turn into a  homestead driveway. I guess we were expecting a huge factory, but it was a quaint store and small facility crammed with custom made machinery.  The idea for the mill started when Jane Zeien’s family purchased two ewes  for a 4 H project.  The family enjoyed working with the sheep and began raising Cheviot, Hampshire, Shetland and Cotswold sheep. They decided to expand their services to help promote the industry.

The Illinois Wool and Fiber Mill can handle everything from washing fiber, blending, picking, carding, pin drafting, custom dyeing, preparing batts and spinning.  All types of natural fiber are welcome  unwashed or washed.  And no order is too small and each fleece is processed individually.

Jane greeted us and led us into her workspace and into wool heaven.

We were surrounded by fleece waiting to be processed in a variety of  breeds and blends and piles of roving in a potpourri of colors and blends.

The picker has a big enclosed space behind it where the fleece piles up ready for the next step.

PickerThe carder dominated the center of the room.

front of carder carder back


Batts can be made on the carder by changing out the parts on the back of this machine shown here making roving.

This is the pin drafting machine.

pin draftingDepending on the job finishing the wool can be done on the spinning machine, then the skeining machine.

Spinning Skeining machineWhen the tour was over we visited the shop where everything is related to sheep from skins to finished good by Pendleton and Woolrich along with handmade items, books, roving and yarn. If you want to learn more about the mill visit their website http://www.ilwoolfibermill.com/

Of course, we both bought some new wools to play with. One of my treasures was an English Merino wool batt.

Eng Merino batt

Here are Cathy’s new treasures —

Cathy treasures


From Batts to a Handbag

From Batts to a Handbag

After my four days of dyeing experiment, I carded a bunch of batts with the different fibers I had dyed.  I decided I wanted to do something a little challenging using the batts. So, after doodling around with a few ideas I settled on a handbag using a couple of the techniques I learned in Fiona Duthie’s Surface Design Class.

I didn’t have a pattern. So, I used the general shape of the purse I carry now and added 30% for shrinkage and made a template. It took a lot more planning than I had anticipated so I got very engrossed in making sure I had everything organized and followed each step in the right order. Unfortunately, I worked intuitively and forgot to write down the procedure and take pictures at each step.

I wanted to use fiber for the shoulder strap, but I also wanted it to be strong and not stretch.  I made the shoulder strap first using a tightly woven scrim cut with the grain between layers of wool.  I left long ends unfelted and wrapped plastic at the ends to try to protect it from the water, not that it helped. This would be the part I would felt to the bottom and sides of the handbag so it would be all one piece.  Then I  used a dowel to roll the strap until it was partially felted.

handle end rolling handles


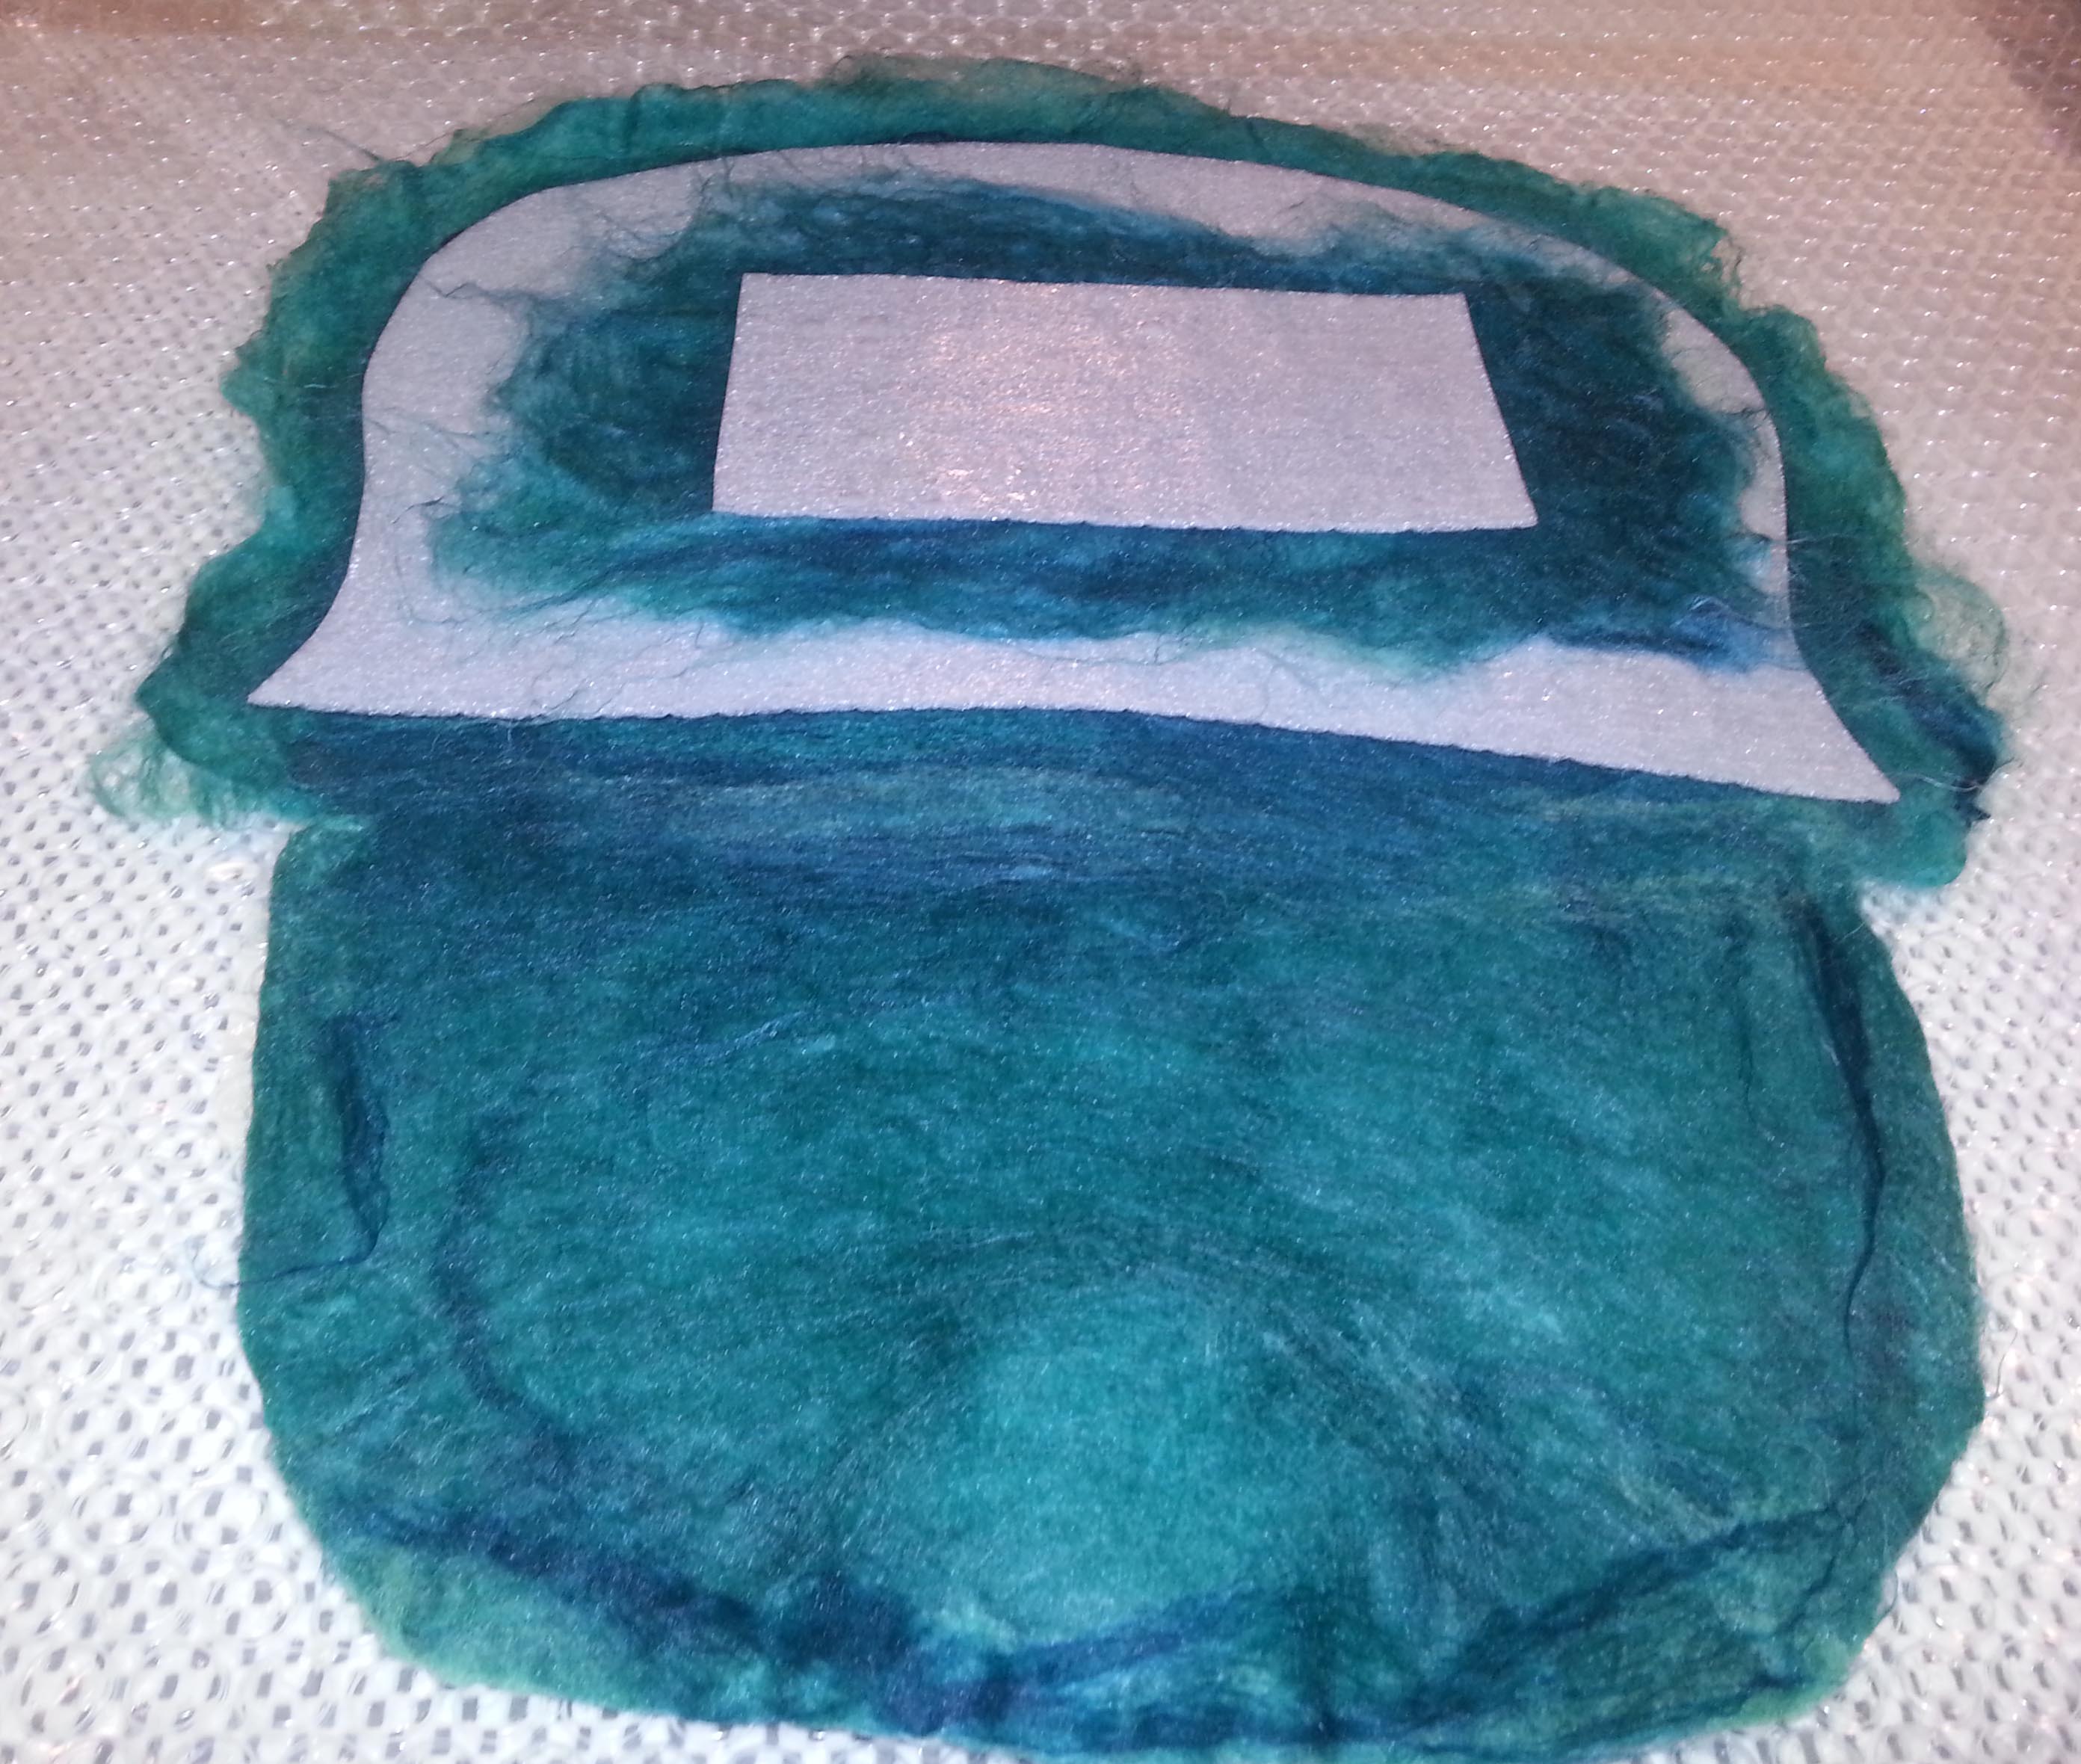
Here is one side of the purse with scrim lining between the wool layers, resist and a resist for one of the inner pockets. I wet one side then proceeded to lay out the other side working backwards from inside out. Laying out more pocket resists, the back and back pocket. I know that sounds strange, it was a little mind boggling.

layout

The decoration for the flap had to be done first before attaching it to the bundle to felt. The middle was felted by hand and the circle of fiber around it was left unfelted in order to add additional  fibers to felt into the bundle.

decoration

The handles were laid out on the bottom and the sides then worked on the sides first to ensure they held together during the felting process.

It was quite a thick bundle and once it was felted enough, I cut out the resists and continued to full and shape it until it sat up by itself.  When dry, it had that “thud” of being completely fulled.

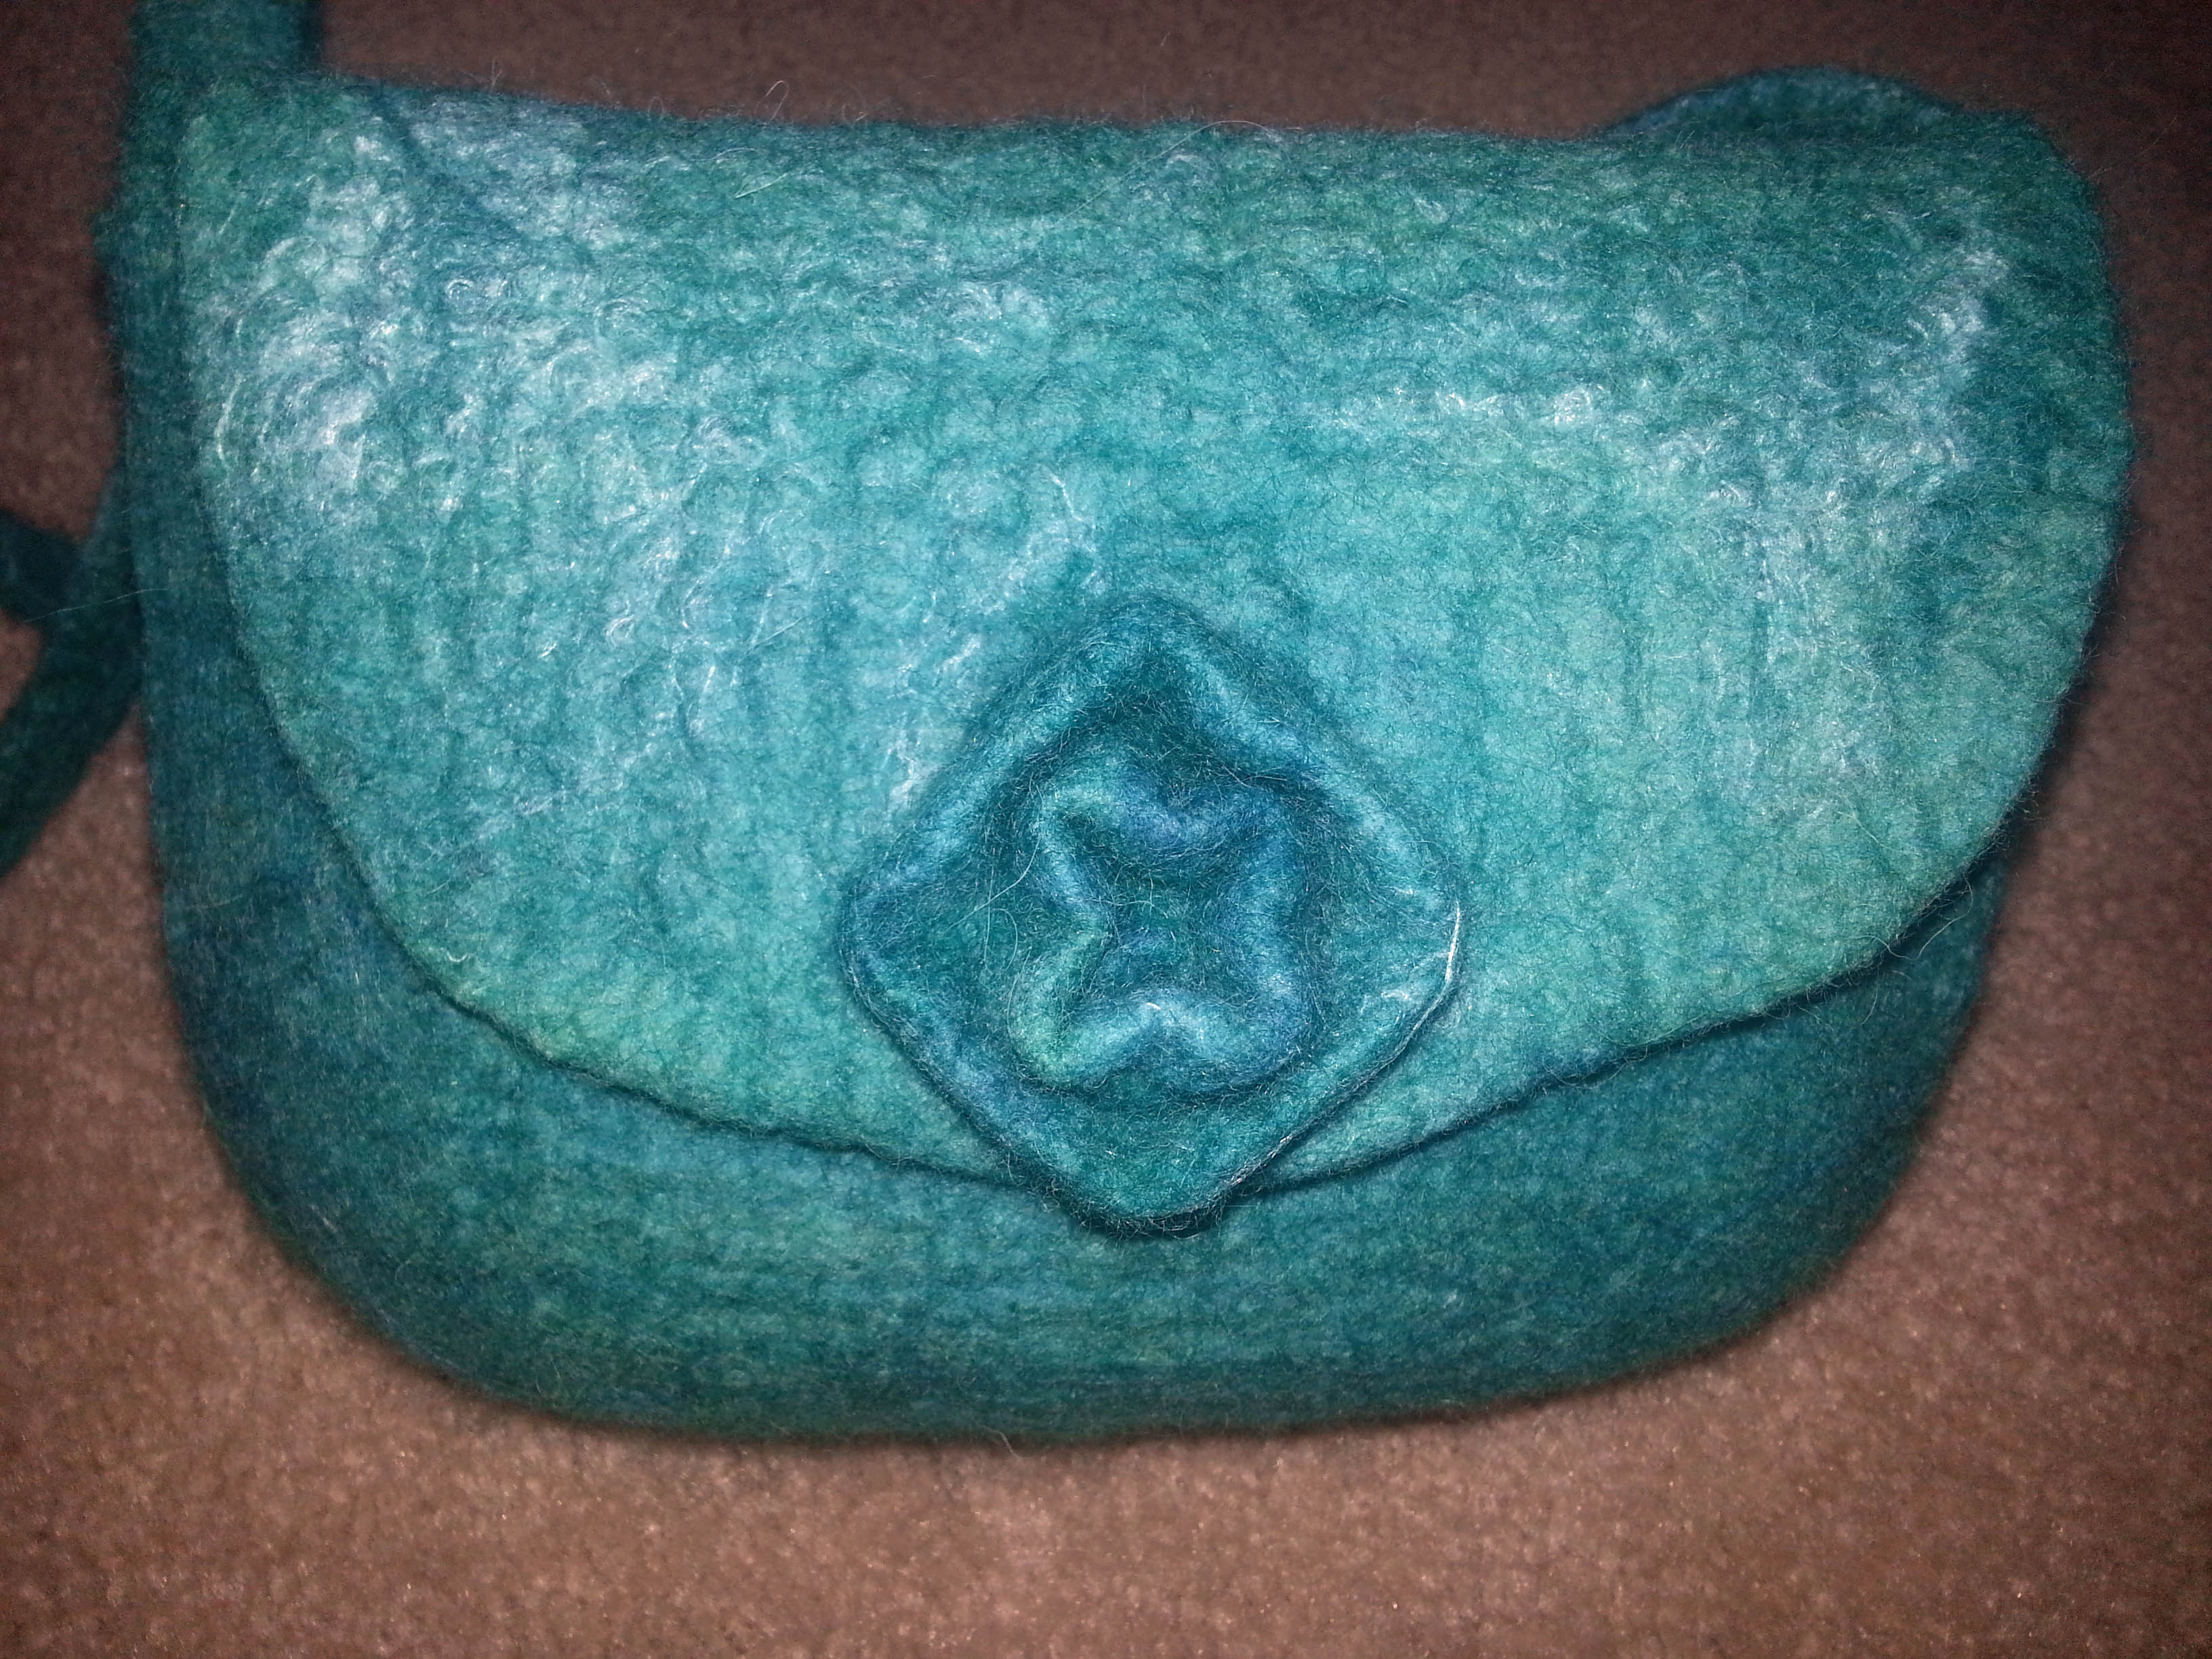
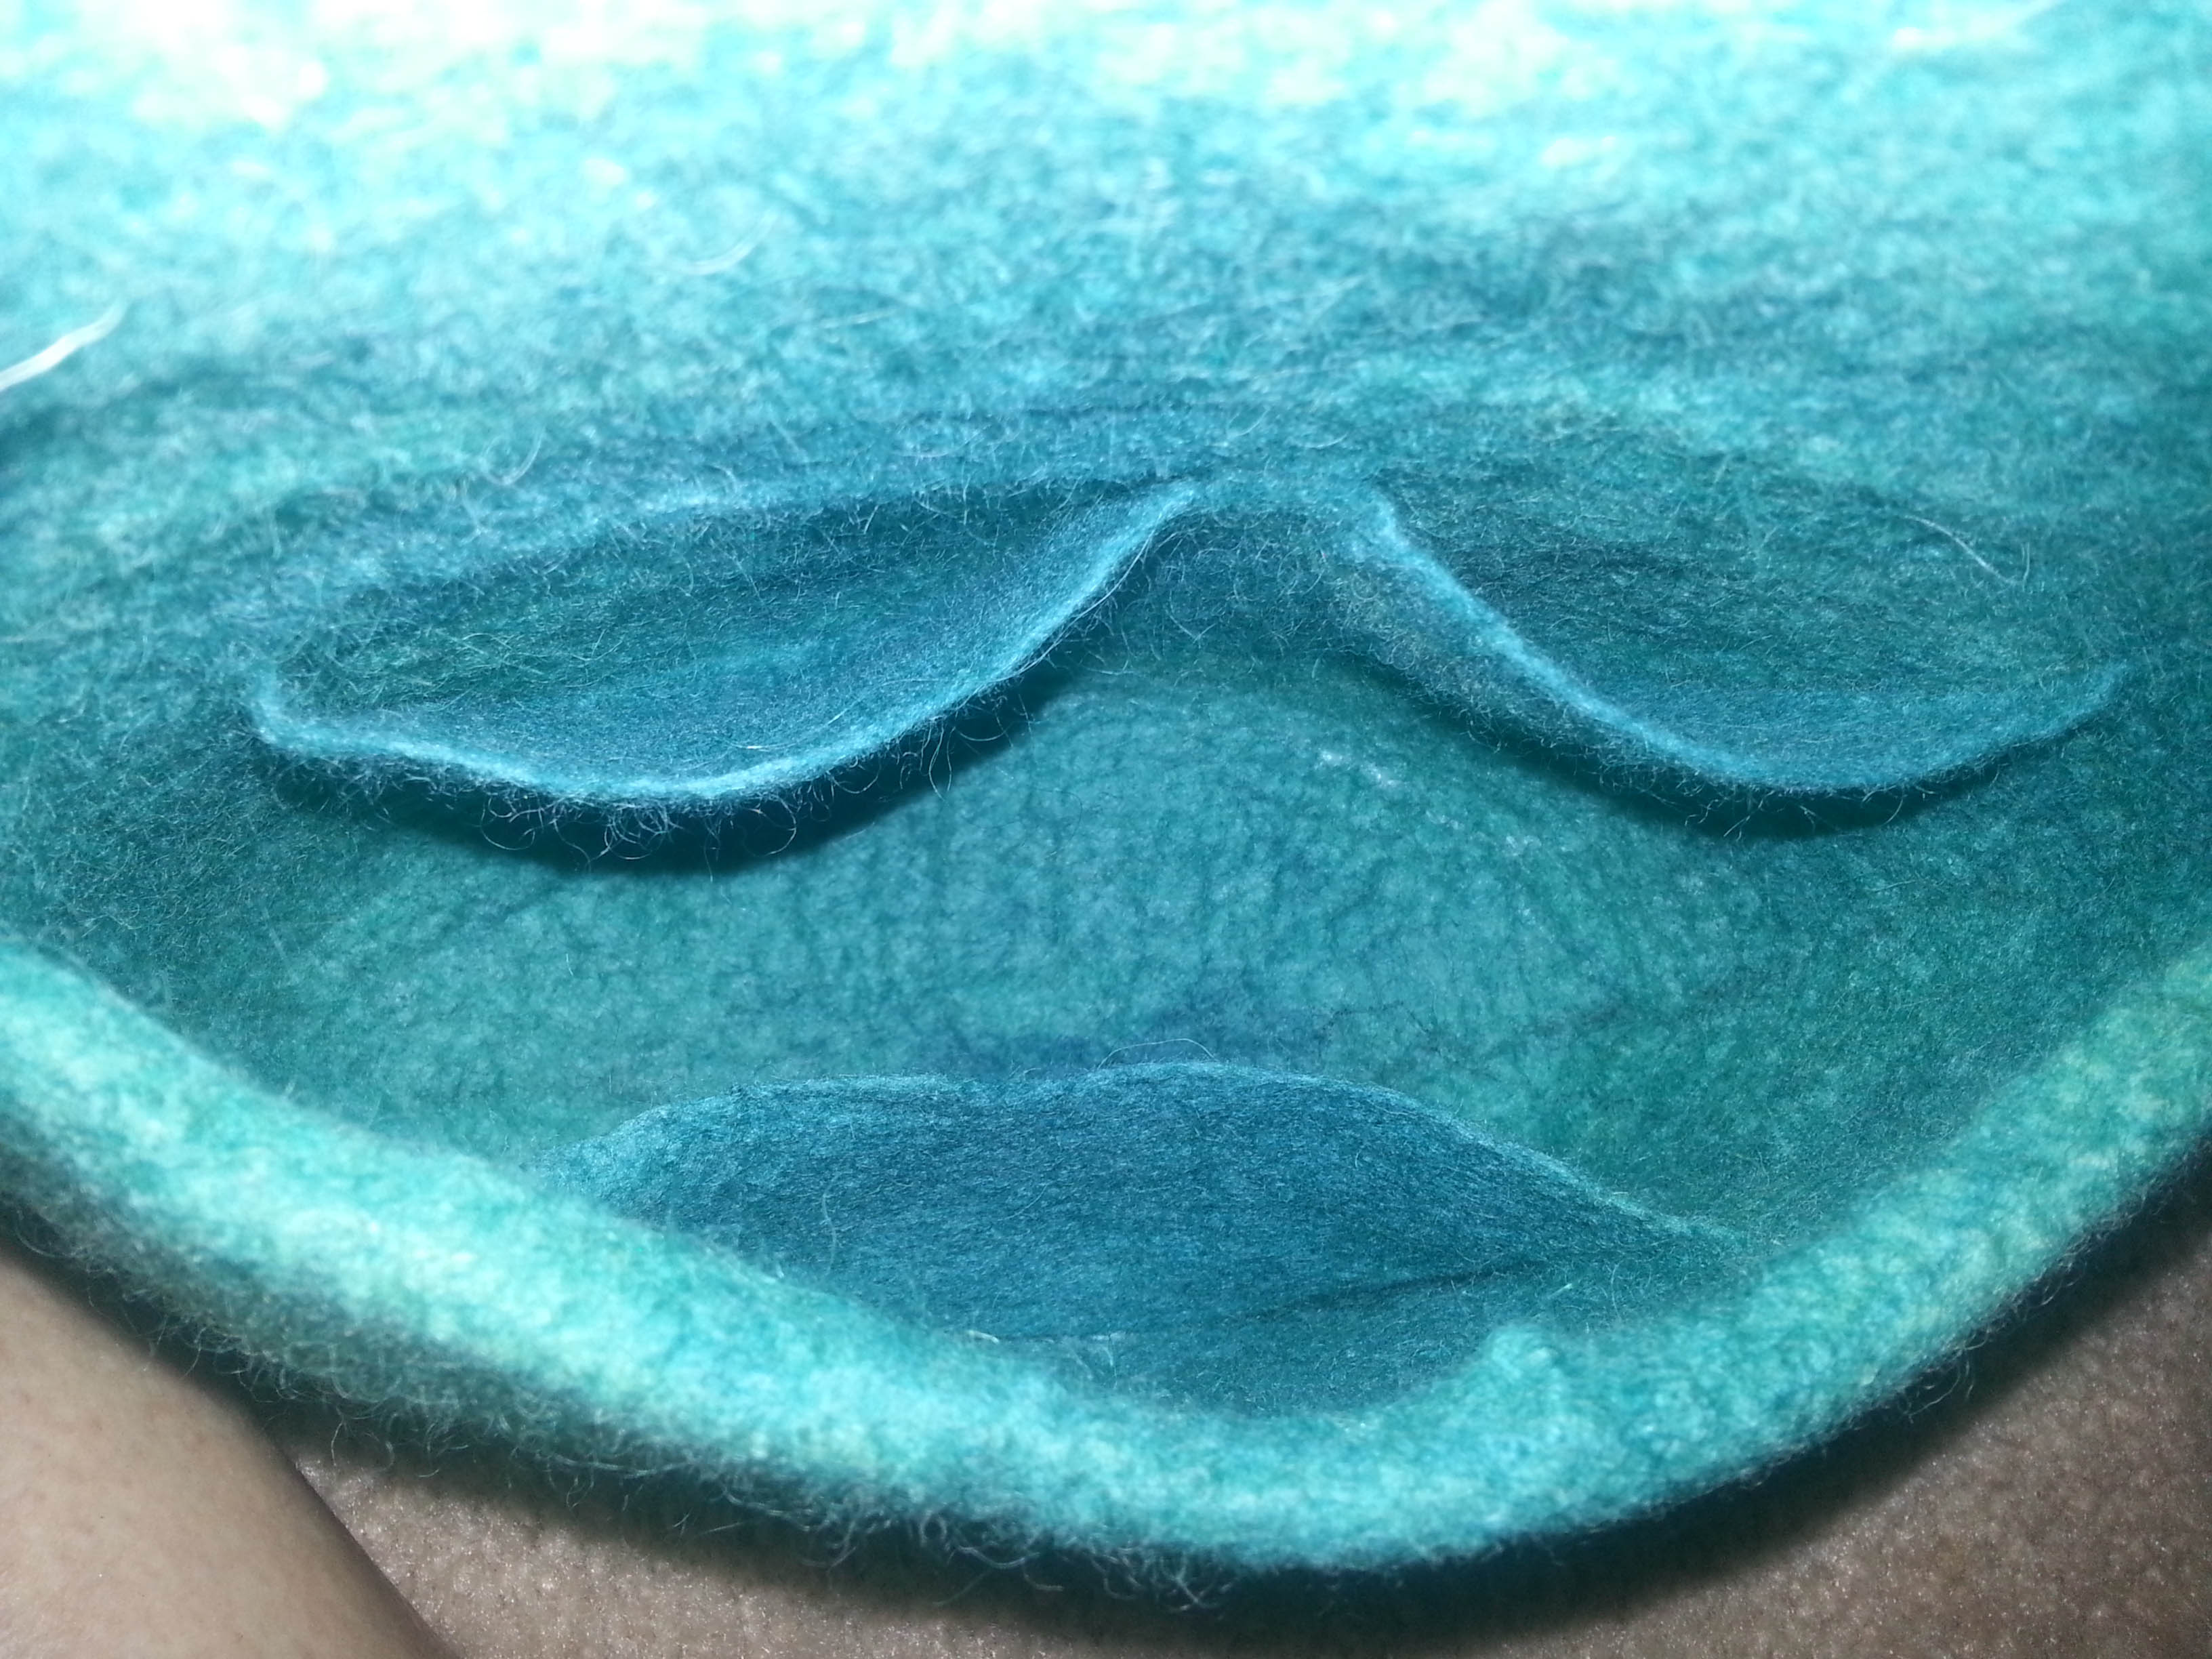
hangingcloseup front Three inside pockets.

insideOne back pocket.

top view

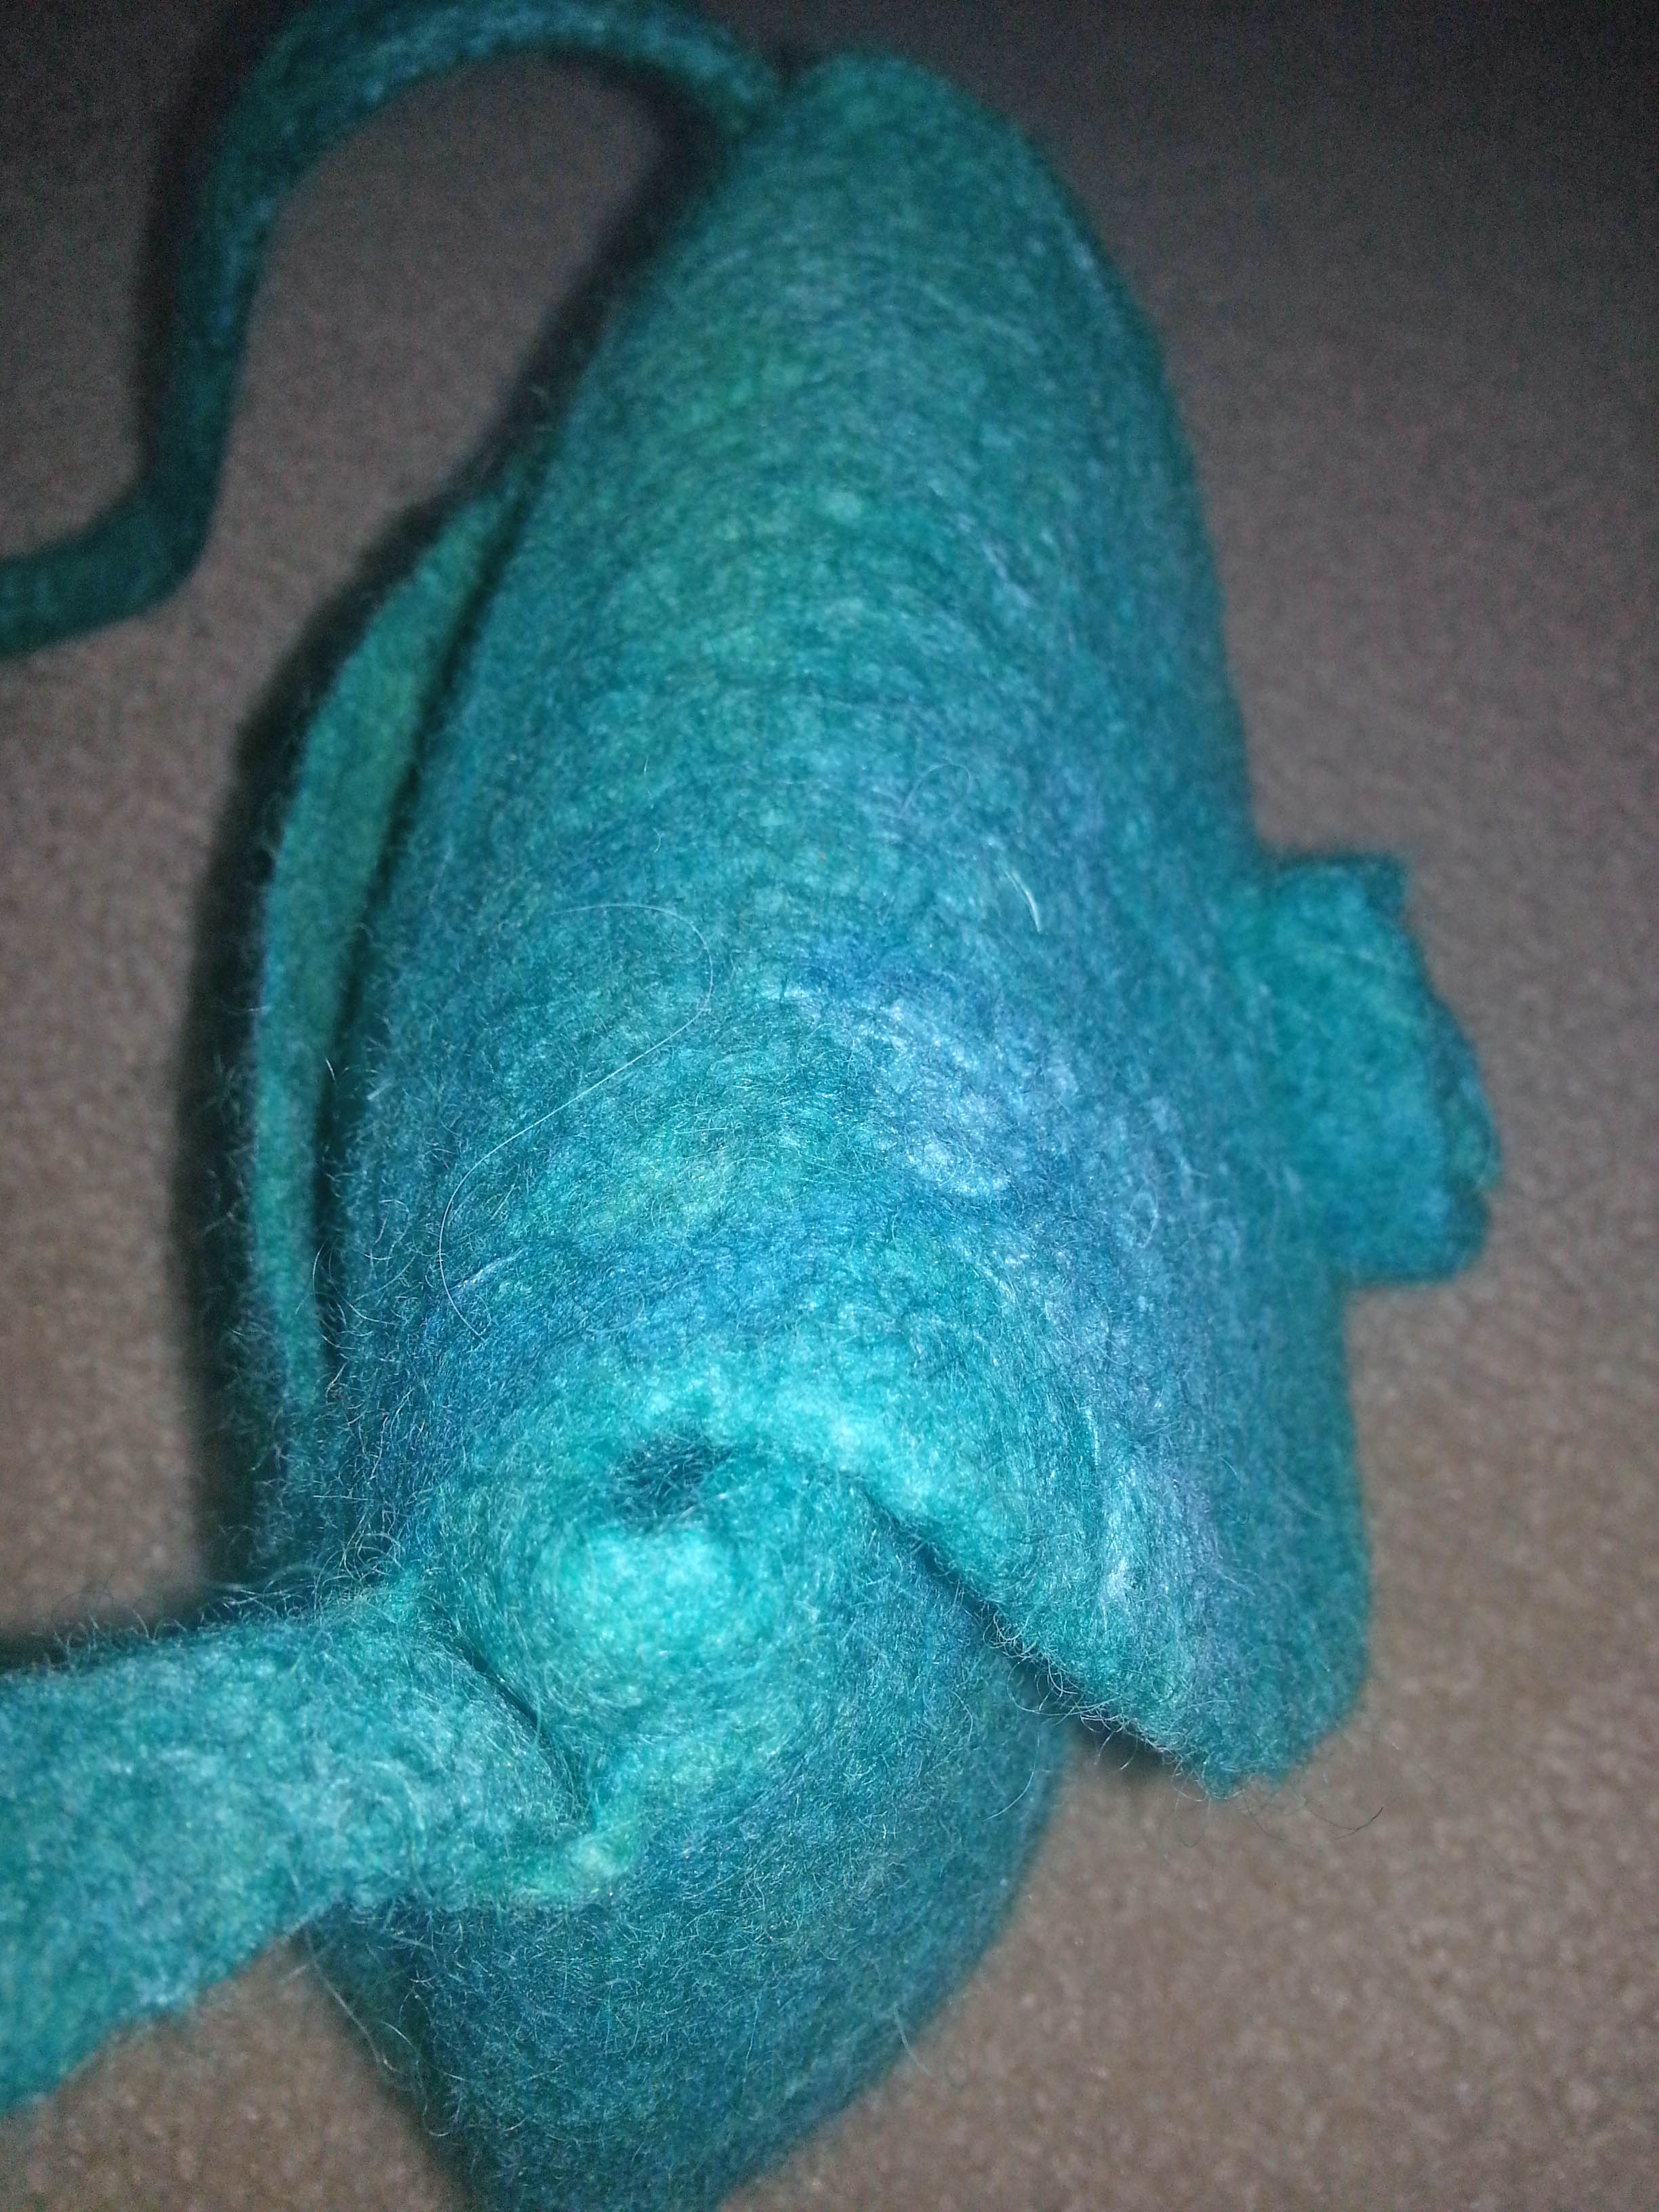
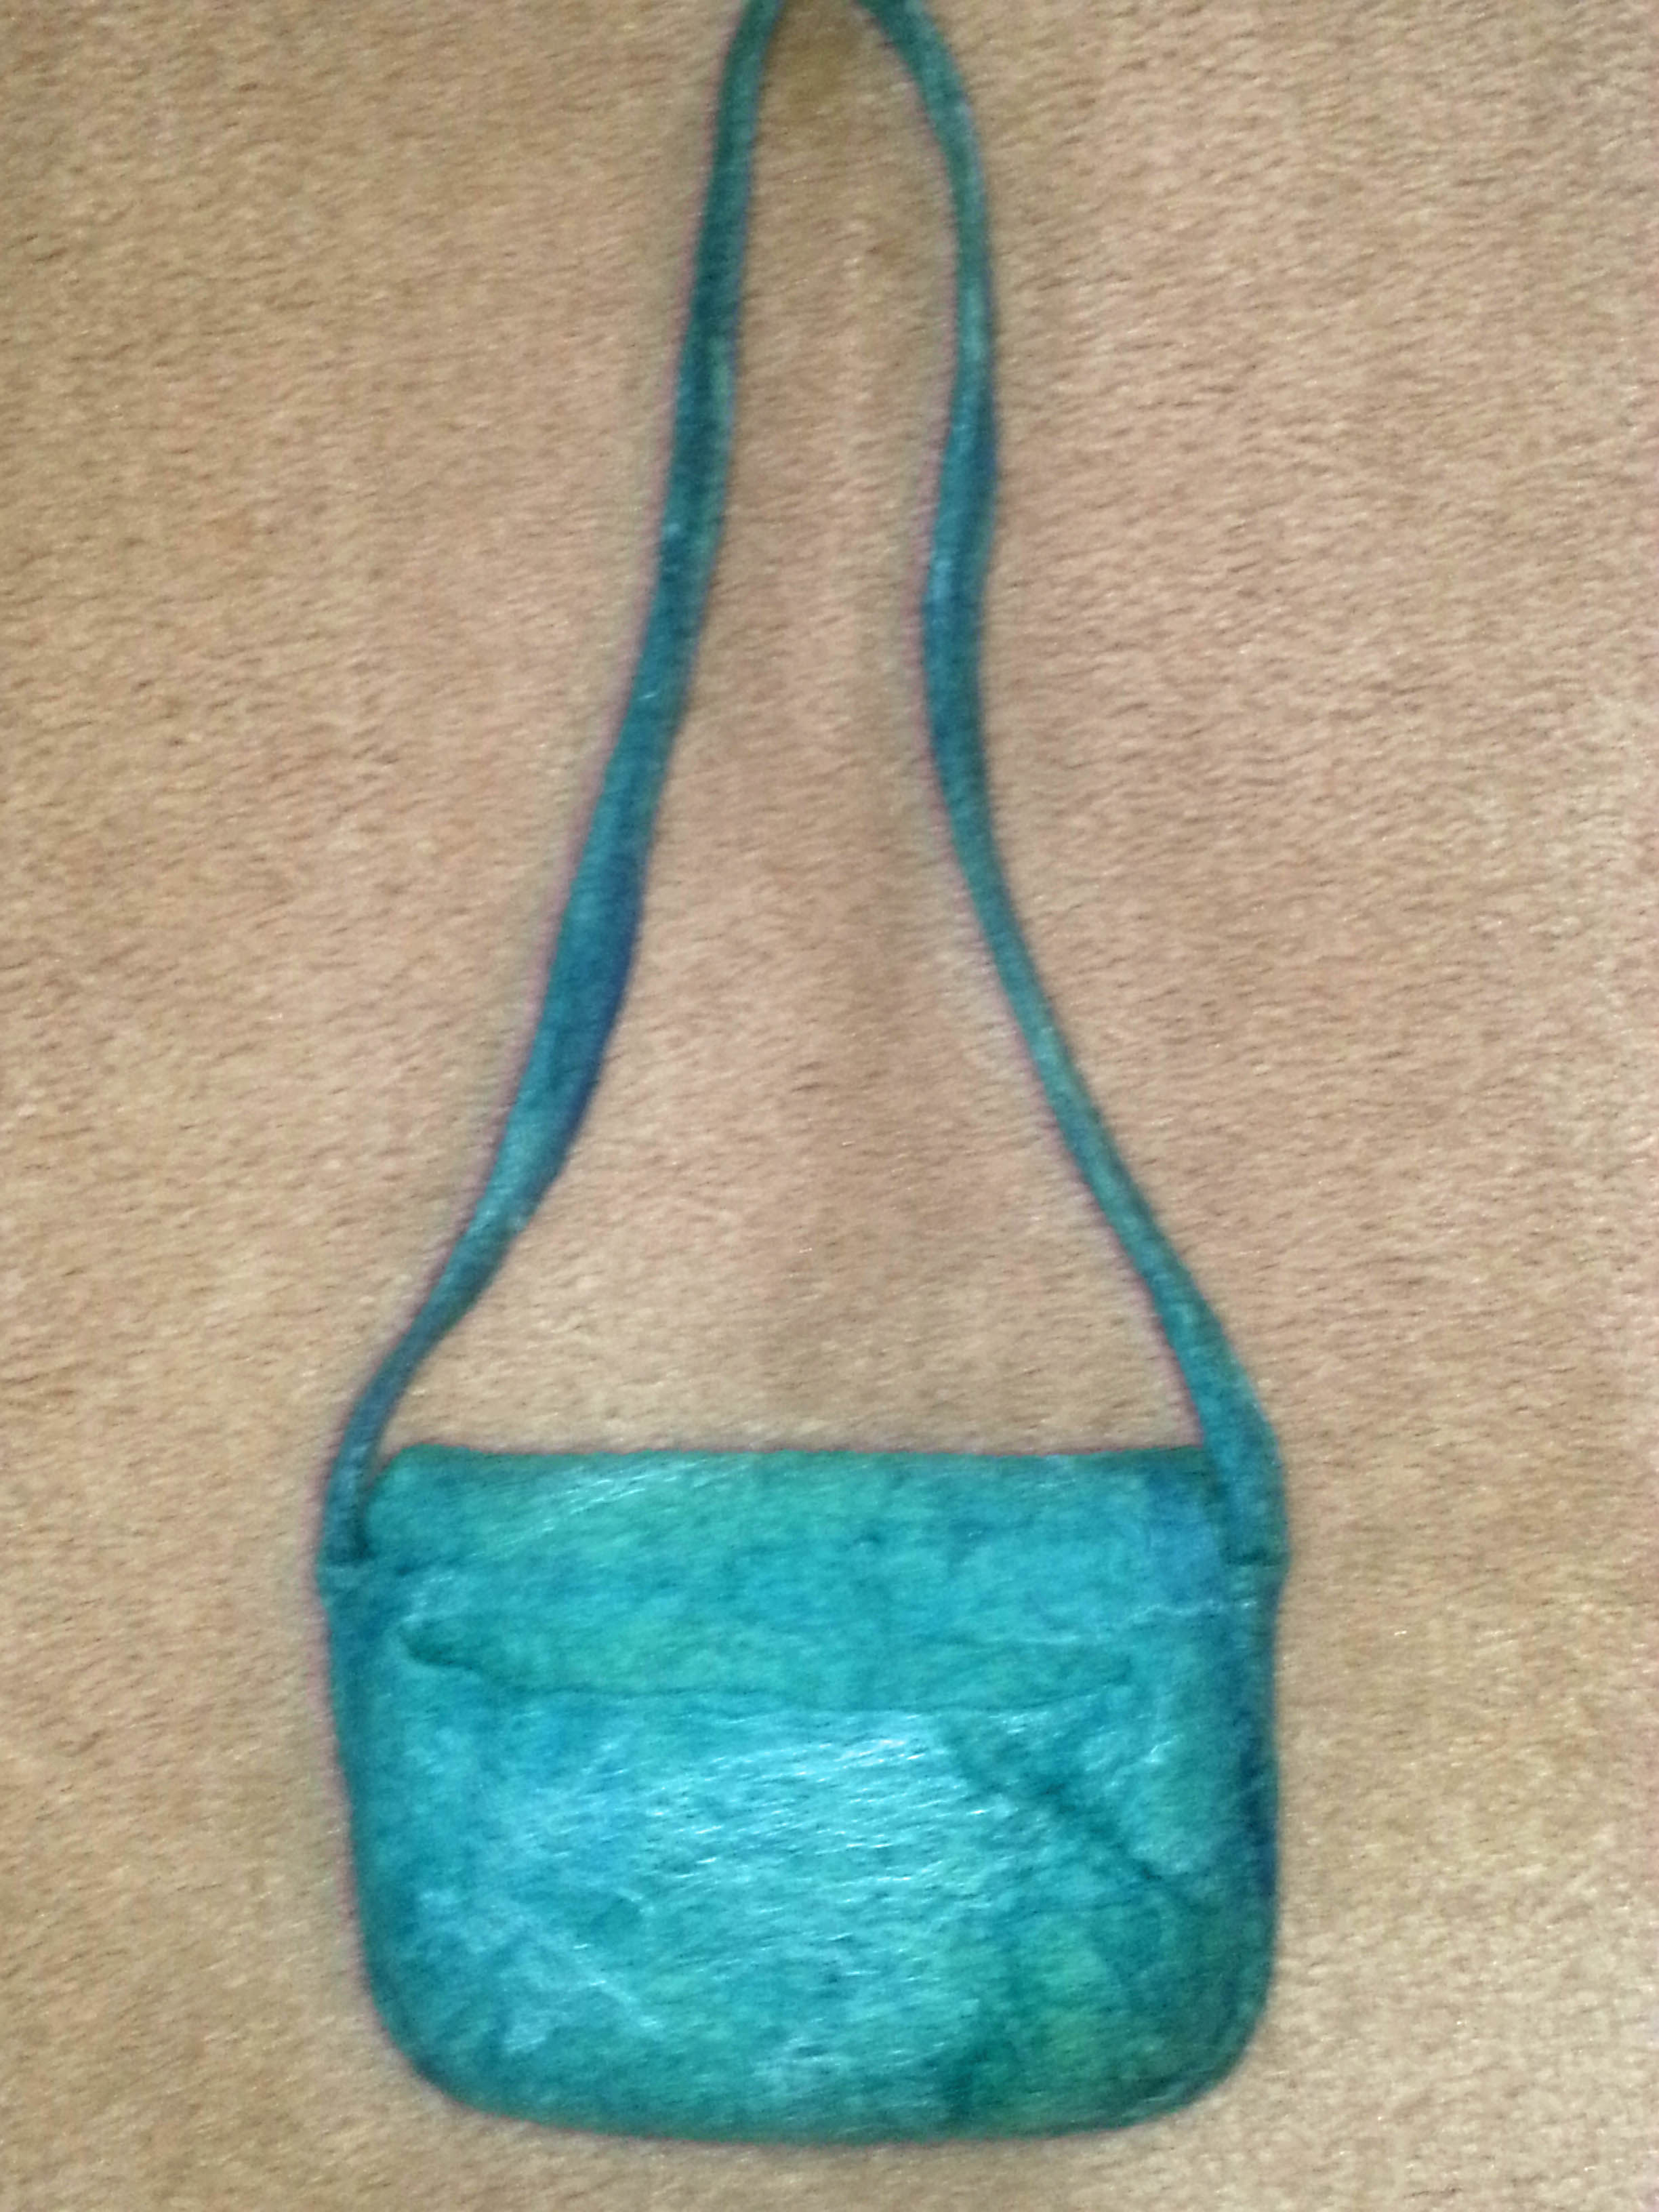
backI wonder if I could duplicate this again?  Maybe if I do I’ll write a tutorial.  The one thing I would do differently is to put the shoulder straps on the inside of the bottom and sides rather than outside.  That would be another challenge. What do you think?