What makes an Art Yarn Scarf into a Stole?
I’ve been practicing my spinning skills for a while now, and although I have mastered the technique of spinning finer yarn, I have a true passion for the more bulky, art yarns. I’m not a great knitter, I do occasionally enjoy crochet but I much prefer to weave. When I first took up spinning, like everyone I found that my yarn loosely resembled an ‘art yarn’ more than a fine yarn. It lacked a sense of purpose and it didn’t have that look of “yes, I intended to make this”! So my priority was to be able to spin an art yarn that looked like it was meant to be an art yarn! However, at the same time, having read so many comments about people who can only spin fine yarn or art yarn I didn’t want to reach a point where I was only able to spin one or the other. So I have tried really hard to chop and change my ideas, to try and avoid the pitfalls associated with spinning only one style of yarn. I’ve also tried really hard to make an art yarn that looks like it is meant to be an art yarn. I definitely think I am making some progress on this front. Let me know what you think…
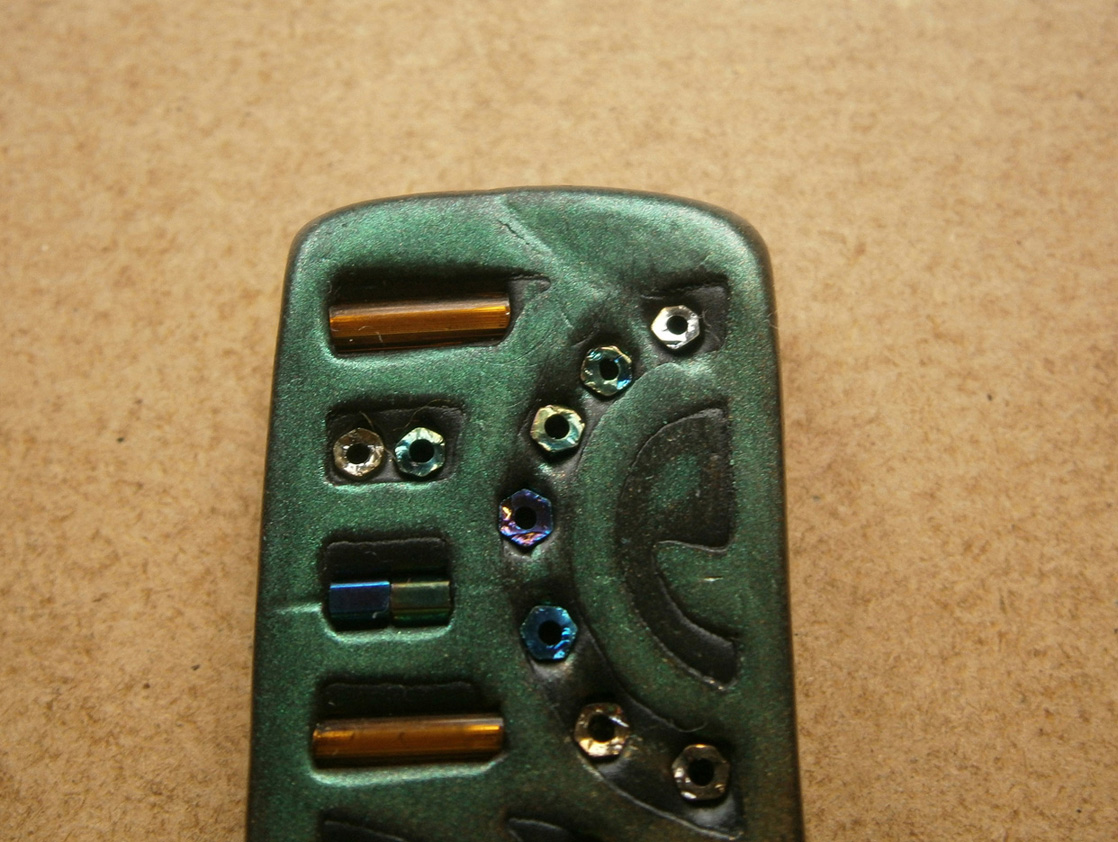
I started with a selection of merino wool top in various colours, including an orange, cerise pink and teal as a base for my art yarn. I then decided to jazz it up with some beautiful turquoise bamboo, which I thought would add some sheen and lustre to the project. Like all good art yarns, I wanted to add in some interest so decided I would use curly locks of various different colours. Finally, to finish the interest side of things, I decided to include some recycled sari silk that was made up of different random colours.
To start off, I began to add the base merino to the carder. Unfortunately, I have broken one of the belts on my carding machine – it’s the one that operates the smaller of the two drums. But for this project, it didn’t really matter as I was not wanting a fully blended batt. So I was able to add all of my fibre direct to the larger drum. I did use my little packing brush to flatten it down as I went along.


In this photo, I’m adding sari silk again to the the mix. It was helpful that it seemed to work using it like a bangle, wrapped around my wrist enabling me to place it where I wanted it. If I hadn’t done it this way, it would have been hanging down and could easily have got caught up in the drum.

Once I’d finished carding a nice thickness of batt, it looked like this…


I was happy with the way in which it turned out as I wanted to keep the definition and not have a muddy blend at the end of it. But before I started making any more, I decided to spin it, just to check I was happy with the way in which the colours turned out.
These are some shots of the spun art yarn on the bobbin but only after I plyed it! Unfortunately, I got slightly carried away because I was enjoying myself so much, I forgot to take any photos! For the main art yarn, I spun this using a fine mohair yarn to core spin around. I made a mixture of thick slubs and thinner spun yarn, so that when I came to plying I could make some nice twirly spirals to add interest. When spinning the core yarn I also added in some random curly locks, which were all sorts of colours, that contrasted with the base colours I’d used in the batts. I also added some extra sari silk into the spin at random points through the yarn when I felt it needed a bit of Va Va Voom!
I was quite pleased with the spin…but as I said, unfortunately I didn’t take any photos of the yarn before I began plying. However, I did take a photo of one of the fat singles in teal. I also spun some in orange but no photo sorry.

As you can see, there was quite a lot of twist in this as I was scared it would all fall apart when I was plying!
This was my first attempt at core spinning, so I was pleased to see it coming together as I intended. I started plying the art core spun yarn with the fat single, and it looked promising…


As you can see, I’m using an Ashford Jumbo Bobbin with my Ashford Traditional wheel.
I then transferred it to my niddy noddy. I didn’t want to soak the yarn in case I damaged the slubby spirals, so decided to set it using a hand held steamer. These are a few photos of the yarn on the niddy noddy.


 I tried to take different angles to show the range of effects.
All in all, I made two batts of art fibre, which were about 100g each that I used for the core spin. I didn’t weigh the fat singles but by the end, I had four skeins of art yarn, weighing approximately 300g.
Looking at three of the skeins hanging up together, it looks quite ‘jewel’ like. So pretty, I’m pleased with the colours…

I wanted to use my yarn to make a woven scarf. However, I’m not confident enough in my home spun yarn yet to risk using it as a warp. This was especially true as I was hoping to use this project for the blog. I was mindful that the art yarn was going to be quite chunky. I only had a 7.5 30/10 dent reed for my rigid heddle loom, which would have been much too small for the art yarn. This was another reason I had to choose a different yarn for the warp. Having used mohair in the core spinning, I toyed with the idea of using it as a warp. However, I had read that mohair is very ‘sticky’ when used in weaving, so I did some research first before trying it. I did find some advice that said you can use it, if you utilise a pick-up stick behind the heddle to help clear the shed. The only way to know if it would work was to try it! So, having looked at my reed, I decided that given the thickness of the art yarn I would only use every third reed. That way, I envisaged that I would be able to space the warp out evenly when I when I separated each strand. Also, it would allow more space for the art yarn to show in all its glory.
This is the warp before I started weaving. As you can see, I decided to use three different colours of mohair, just to see what the effect would be…

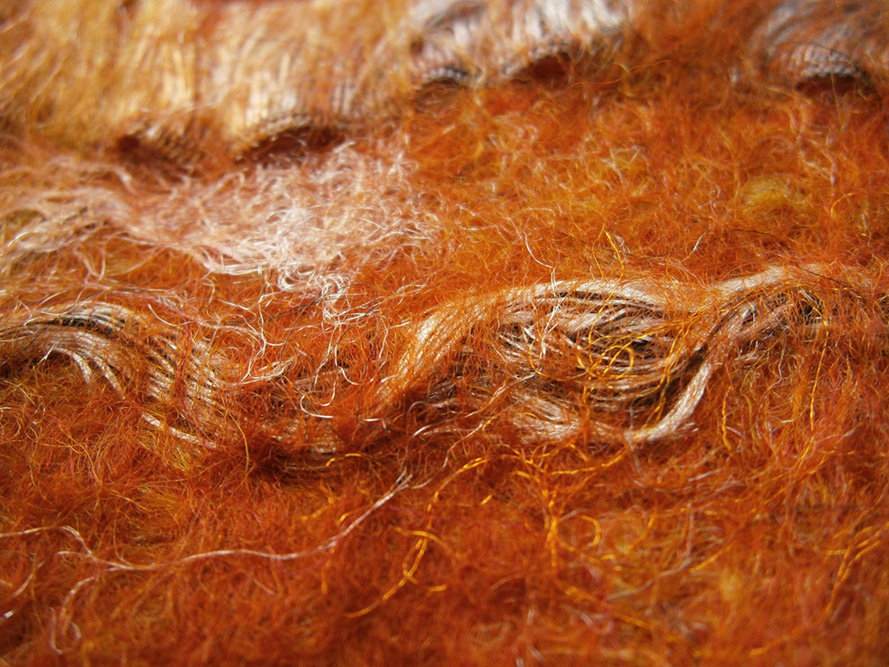
 This photo show how fluffy that mohair really is!
I started to weave with the art yarn, and to my surprise it was far easier to weave with than I had anticipated. The ‘stickyness’ of the mohair really didn’t present any issues for me. I think that because I had only warped every third reed, it didn’t have the impact it could have had, which was good.


I only took these two photos of the actual weaving process. One thing that I discovered when doing this project, was that I don’t actually have the weaving loom that I thought I did. When I first got this loom, as I always intended weaving with art yarn so I also purchased a freedom roller. I didn’t want to have the restriction in length of weave that I would face when using really chunky art yarns. Having never used the freedom roller before, I decided I would fit it onto the loom for this project as I really didn’t know how bulky the final weave was going to be.
However, when I got the freedom roller out and started looking at how it would fit on the loom, I soon realised that there was no way it was going to work! I struggled to understand why, so I took some photographs of the freedom roller and my loom, and sought some advice on a Facebook weaving group. It was only then, I discovered that my rigid heddle loom was in fact a samplet loom!!! I realised that what I thought I had ordered, was not in fact the loom I did order! School boy error on my part, as a complete novice!
In the end, all was good as it turned out, I didn’t need the freedom roller after all (she breathes a sigh of relief!). When the project was finished, I removed it from the loom, and considered what to do with the ends. The mohair was very thin and sparse, so would not make for a good fringe. Having twirled the mohair into little tassels, I then decided to tie some additional curly locks to pad out the effect.
Here, you can see one end completed…
 When I tried on the scarf, I realised that I had made it a little too wide to make it into a comfortable scarf. So it was at this point, I decided that rather than using it as a scarf, it would work better as a stole. However, this now presented me with another need…
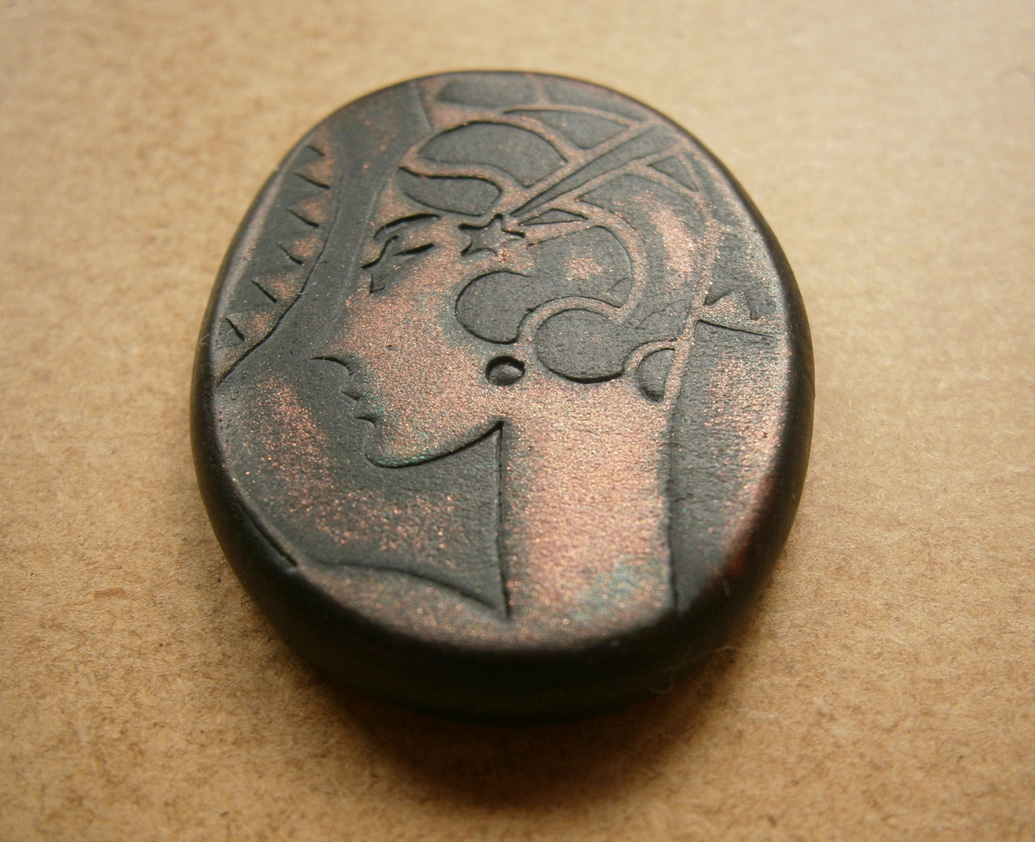
If I was going to use this as a stole, it would need to have some sort of decorative pin to hold it in place. I didn’t want to have anything too colourful or fussy, as that would be lost in amongst the art yarn. So I decided to make a wet felted butterfly, with wings that were primarily one colour, with some accents of a different shade.
Here is my blue butterfly…who does have an orange body, just to make the body stand out a little…. The wings and body are made from merino and the accents of paler blue, are made of the bamboo, which I fixed with wisps of the merino to felt them into place. I decided to leave the resist inside, just to provide a little more firmness to him.
 I did try to add some sequins as way of creating more sparkle, but as they were so small, I found them difficult to sew on (my fingers are not so nimble as they used to be!). I tried gluing them in place, but that didn’t work either! So in the end, I just left him as he was. I do intend making him some antennae, but I haven’t had time to add those in yet. He is attached to a large kilt pin, so he can be used to hold the stole in place.


I’m really happy with my first project, using my own spun yarn, hand woven, and completed with wet felted butterfly pin. I’ve used three different skills in this project, and I’m really pleased with the end result. I was surprised at how dense the weave turned out. Having only used every third reed, I expected it to be much looser than it ended up. Perhaps next time, I will try an even wider warp, using the whole loom and leaving a larger gap between the warp threads. It’s all a learning curve, but for now, I am really pleased with the results. It’s lovely and warm too! I’m almost sad summer is on the way, but I’m sure I’ll get lots of use out of it next winter,