Browsed by
Category: Dyeing

Doing some Dyeing

Doing some Dyeing

I realised I was running out of brighter colours.  I got the dye pot out from under the snow drift it had become to fix the problem. . I like to dye outside but it much to cold so It was in the kitchen. I was nice and used citric acid instead of vinegar in my dye water. I am not a pro at this. I do not measure as I don’t care if I can get the exact colour again. I like that my dye jobs are many times not an eve solid colour. I will recard it and it will have more life and not be so flat.

I started with yellow. I wanted a nice bright sunny yellow. It bled a lot when it was done.

yellow bleeding

After many rinses it was still bleeding. So I recooked it with more acid, that worked.

Here is some purple in the pot and you can see the dye take up was good.

IMG_2430

and this is all the wool done, some nice bright spring colours.

dyed wool

I have finally taken my own advice and got some PH strips. I always tell people having trouble with dye take up or bleeding to make sure the PH is right. Now I just need to find some tome to do some more dyeing so I can try them out.

Dyeing Some Silk Hankies

Dyeing Some Silk Hankies

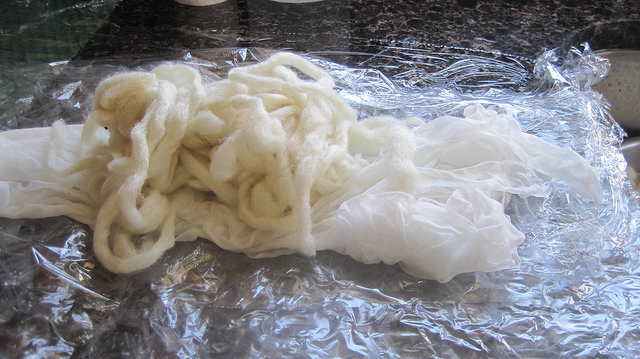
I was running out of dyed silk hankies so it was time to brake out the dyeing supplies. before I started anything I had to soak the silk Hankies. They do not like to get wet the way silk fabric does. They really resist. I soaked them for 24 hours in some water with a little soap.

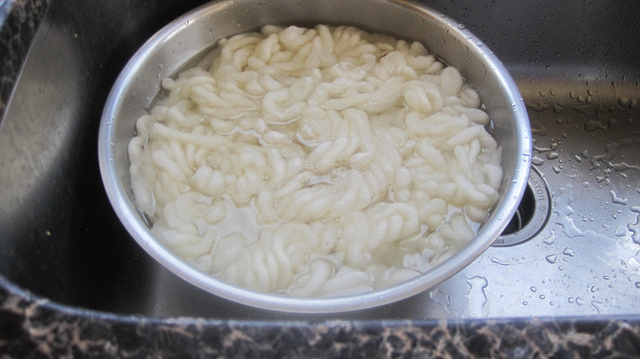
I used MX dye and a low water technique. I smooshed the silk in the bottom of some small containers form the dollar store.

silk ready to dye

Then I mixed up some dye in little measuring cups using only a small amount of water. Just enough so the silk will be covered after I add two colours.

dye for hankies dye sticks

I added the dye and let it sit for about an hour at room temperature. I mixed up some PHup ( the stuff you use for pools, sodium carbonate) 1 spoon full for each cup of water used in the dye and the water you are mixing it in. I poured some into each container and let it sit a while longer, about 15 min.

hankies dyeing

I then rinsed them in room temp water and then some soapy water then clear water. One was to much all one colour so I did a spot dye.

spot dyeing

And here they are drying on the table.

hankies1

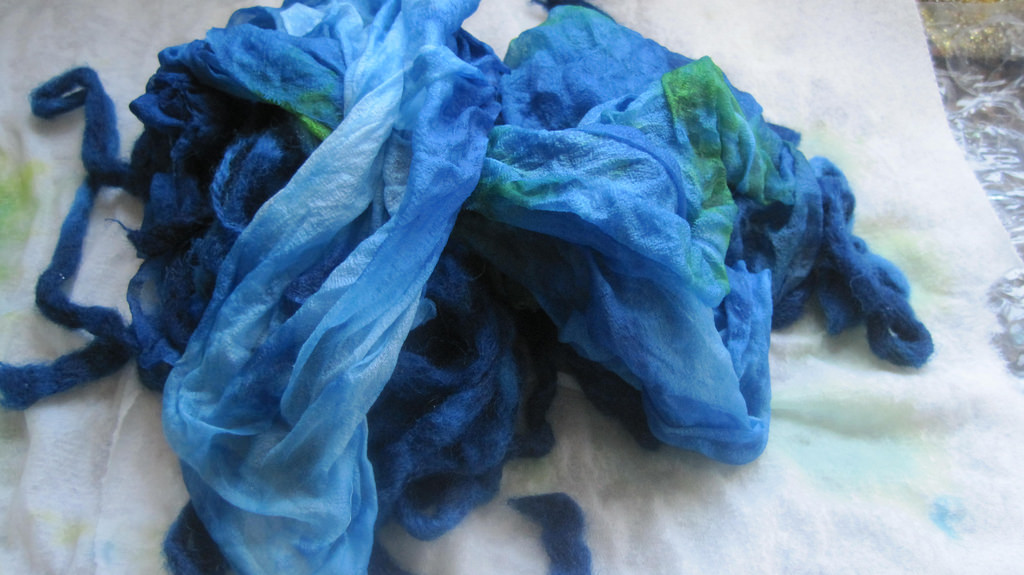
I will use them  for surface design on hats and pots and to make flower designs on surfaces by folding and twisting them. you can layer them or stretch them out thin. You can spin with them too if you like.

If you want full instructions on low water mx dyeing I learned about it here http://www.pburch.net/dyeing/lowwaterimmersion.shtml


Dyed Wool and Fibres

Dyed Wool and Fibres

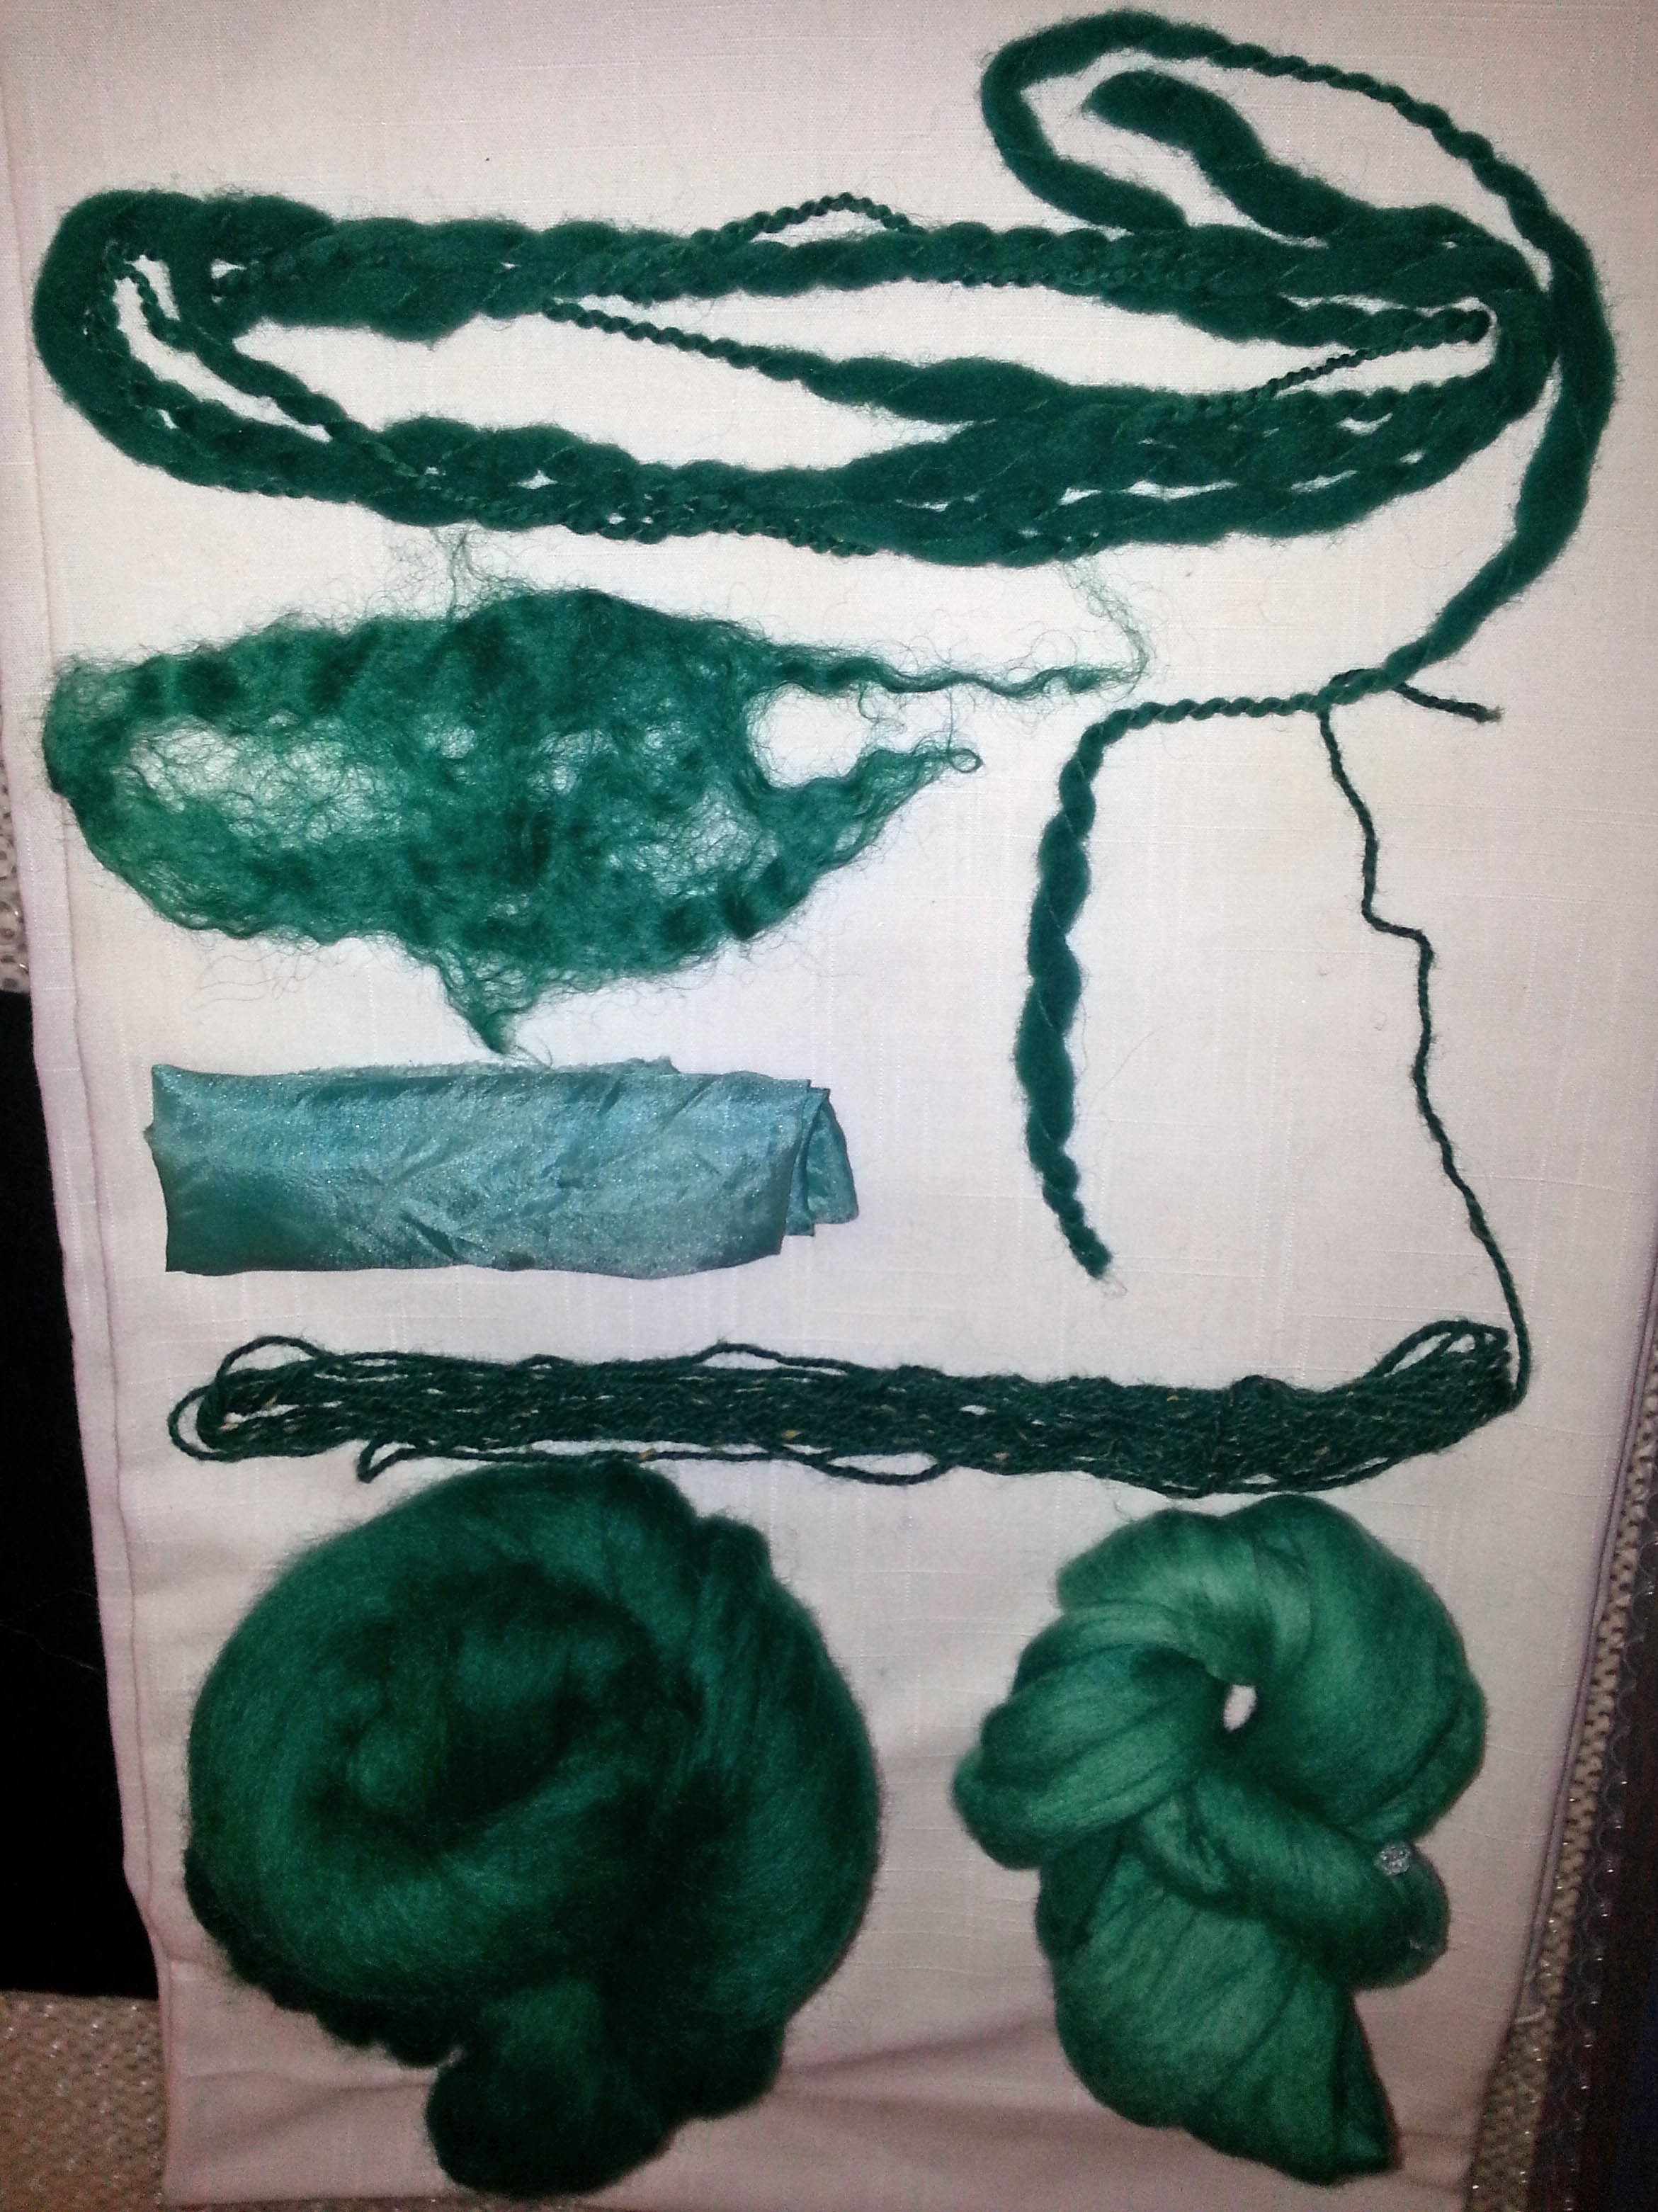
Last week I decided to dye some wool and fibres. I used up quite a lot of my dyed texturey wools when making batts recently, so I wanted to to restock those and thought I’d do a few fibres while i was making a mess. I ended up having to do it over three days, and it made a right mess, but it was worth it in the end 🙂 I bought some white Kent Romney lambswool to try for adding texture, I had a little bit of scoured Falkland fleece left over too so added that:

OLYMPUS DIGITAL CAMERAI’ve bought commercially dyed silk noil before, but it really isn’t good compared to the small amount I dyed once, so I thought I’d give that another go:

OLYMPUS DIGITAL CAMERAI also dyed some Tussah Silk tops – a good tip for anyone wanting to dye small amounts of fibre tops is to separate the amount you want to dye while the tops are dry, and soak them separately, it isn’t easy when they’re wet!

OLYMPUS DIGITAL CAMERAI used the same shades to dye some Soy top as I had on the Silk, and though they look similar, they soy definitely looks a lot shinier:

OLYMPUS DIGITAL CAMERANeither of them come close to the colours and shine of the Milk though, but I did do these on a separate day and they weren’t the same lot of dyes:

OLYMPUS DIGITAL CAMERAAt the last minute I decided I wanted to dye some Gotland, Teeswater and Wensleydale locks. These were all raw, unwashed, so the night before my last lot of dyeing I gave some locks a shampoo and rinse. From top to bottom: Gotland, Teeswater and Wensleydale.

OLYMPUS DIGITAL CAMERA

Teeswater locks
OLYMPUS DIGITAL CAMERAI do have some more stuff waiting to be photographed, some Bluefaced Leicester wool and locks, soy staple fibre and carded lambswool, I’ll add those to my ‘supplies’ album on flickr when I get good enough light. The last one I’ve got for now is Trilobal Nylon (sometimes labelled as ‘Firestar’ and sold at exorbitant prices) cheap nylon tops. The photo hasn’t really picked it up, but it has a lot of sparkle and these dyed really well:

OLYMPUS DIGITAL CAMERAIf anyone is interested in dyeing smallish amounts of fibres, I did a small tutorial on it a while ago: http://feltingandfiberstudio.com/wp-content/uploads/2011/12/direct-dyeing1.pdf  luckily this time, I had my fold out table for a larger work area! I used acid dyes which are good for protein fibres (animal fibres, soy, milk, silk, and nylon too as it is a synthetic version of silk).  I have tried it on bamboo before too and got some nice, pale results, so it’s worth trying a sample or two 🙂

Winner #1 and Shibori

Winner #1 and Shibori

The winner of the birthday giveaway #1 for The Complete Photo Guide to Felting is Sally Gulbrandsen. Congratulations and thanks to everyone who responded. It was good to hear from all of you.

Last week, my local group met and we tried some shibori techniques. Bunny, who hosted our shibori party, has lots of examples and samples of shibori that are gorgeous. So she showed us her samples to start.

This slideshow requires JavaScript.

Lots of them still have the folded textures and the amount of work they took is amazing. I always forget how much work shibori is until I start doing it and then I suddenly remember why I don’t do it very often. Then Bunny instructed us on doing arashi shibori which means ‘storm’ in Japanese. It is a technique where you wrap the cloth around a pole and wind tightly with thread or string. This technique gives a diagonal line reminiscent of rain. Several of us had also done a bit of stitching in advance. I stitched one of my pieces in the mokume (wood grain) pattern. Paula stitched a piece of felt with some half circles and a few straight mokume lines. After wrapping our poles, we put some in acid dye pots and the others we used Color Hue dyes that require no setting or heating for protein fiber. The Color Hue dyes are quick and easy so if you haven’t done any dyeing before, it might be an easy start for you to try. Bunny ordered them from Dharma Trading.

This slideshow requires JavaScript.

I think we got some really great results. We had a fun afternoon but we all decided that shibori gives you quite a workout! If you’ve done any shibori, we’d love to see what you have done. Come on over to the forum and post about it!

Carding Batts

Carding Batts

This last weekend I did some carding. I was making Monet batts.

First my daughter and I pulled apart small bits of wool and mixed it up.

mixing colours

Then onto the table and spread out ready for a trip through the carder.

ready to card

This is after the first pass through the carder. I split the batt into layers and put it through again.

first time through

This after the second pass through

second time through

I made 3 mixed colour merino batts

Batts3


I recarded some over dyed brown and white Romney wool I had .

Batts2 batts1


And one mixed colour Romney batt

mixed batt

They are fun to do and great for felting or spinning textured yarn. I was thinking I didn’t do anything for Felt United Day, October 4, but I guess I did. Did you do anything?

Summer Blues

Summer Blues

When Cathy (Luvswool) and I went to the Midwest Fiber Fair a couple of weeks ago, in our conversations I mentioned I had an indigo dyeing kit I’d like to try.  With some discussion on the forum about the smell indigo produced, I wanted to try to do it while the weather was still nice outside.  Neither of us had used indigo before, so, I invited Cathy to join me in a day of dyeing.

I didn’t have a plan for what I wanted to dye or any specific projects in mind to use the dyed materials.  But Cathy came well prepared with plenty of roving and fabrics to dye.

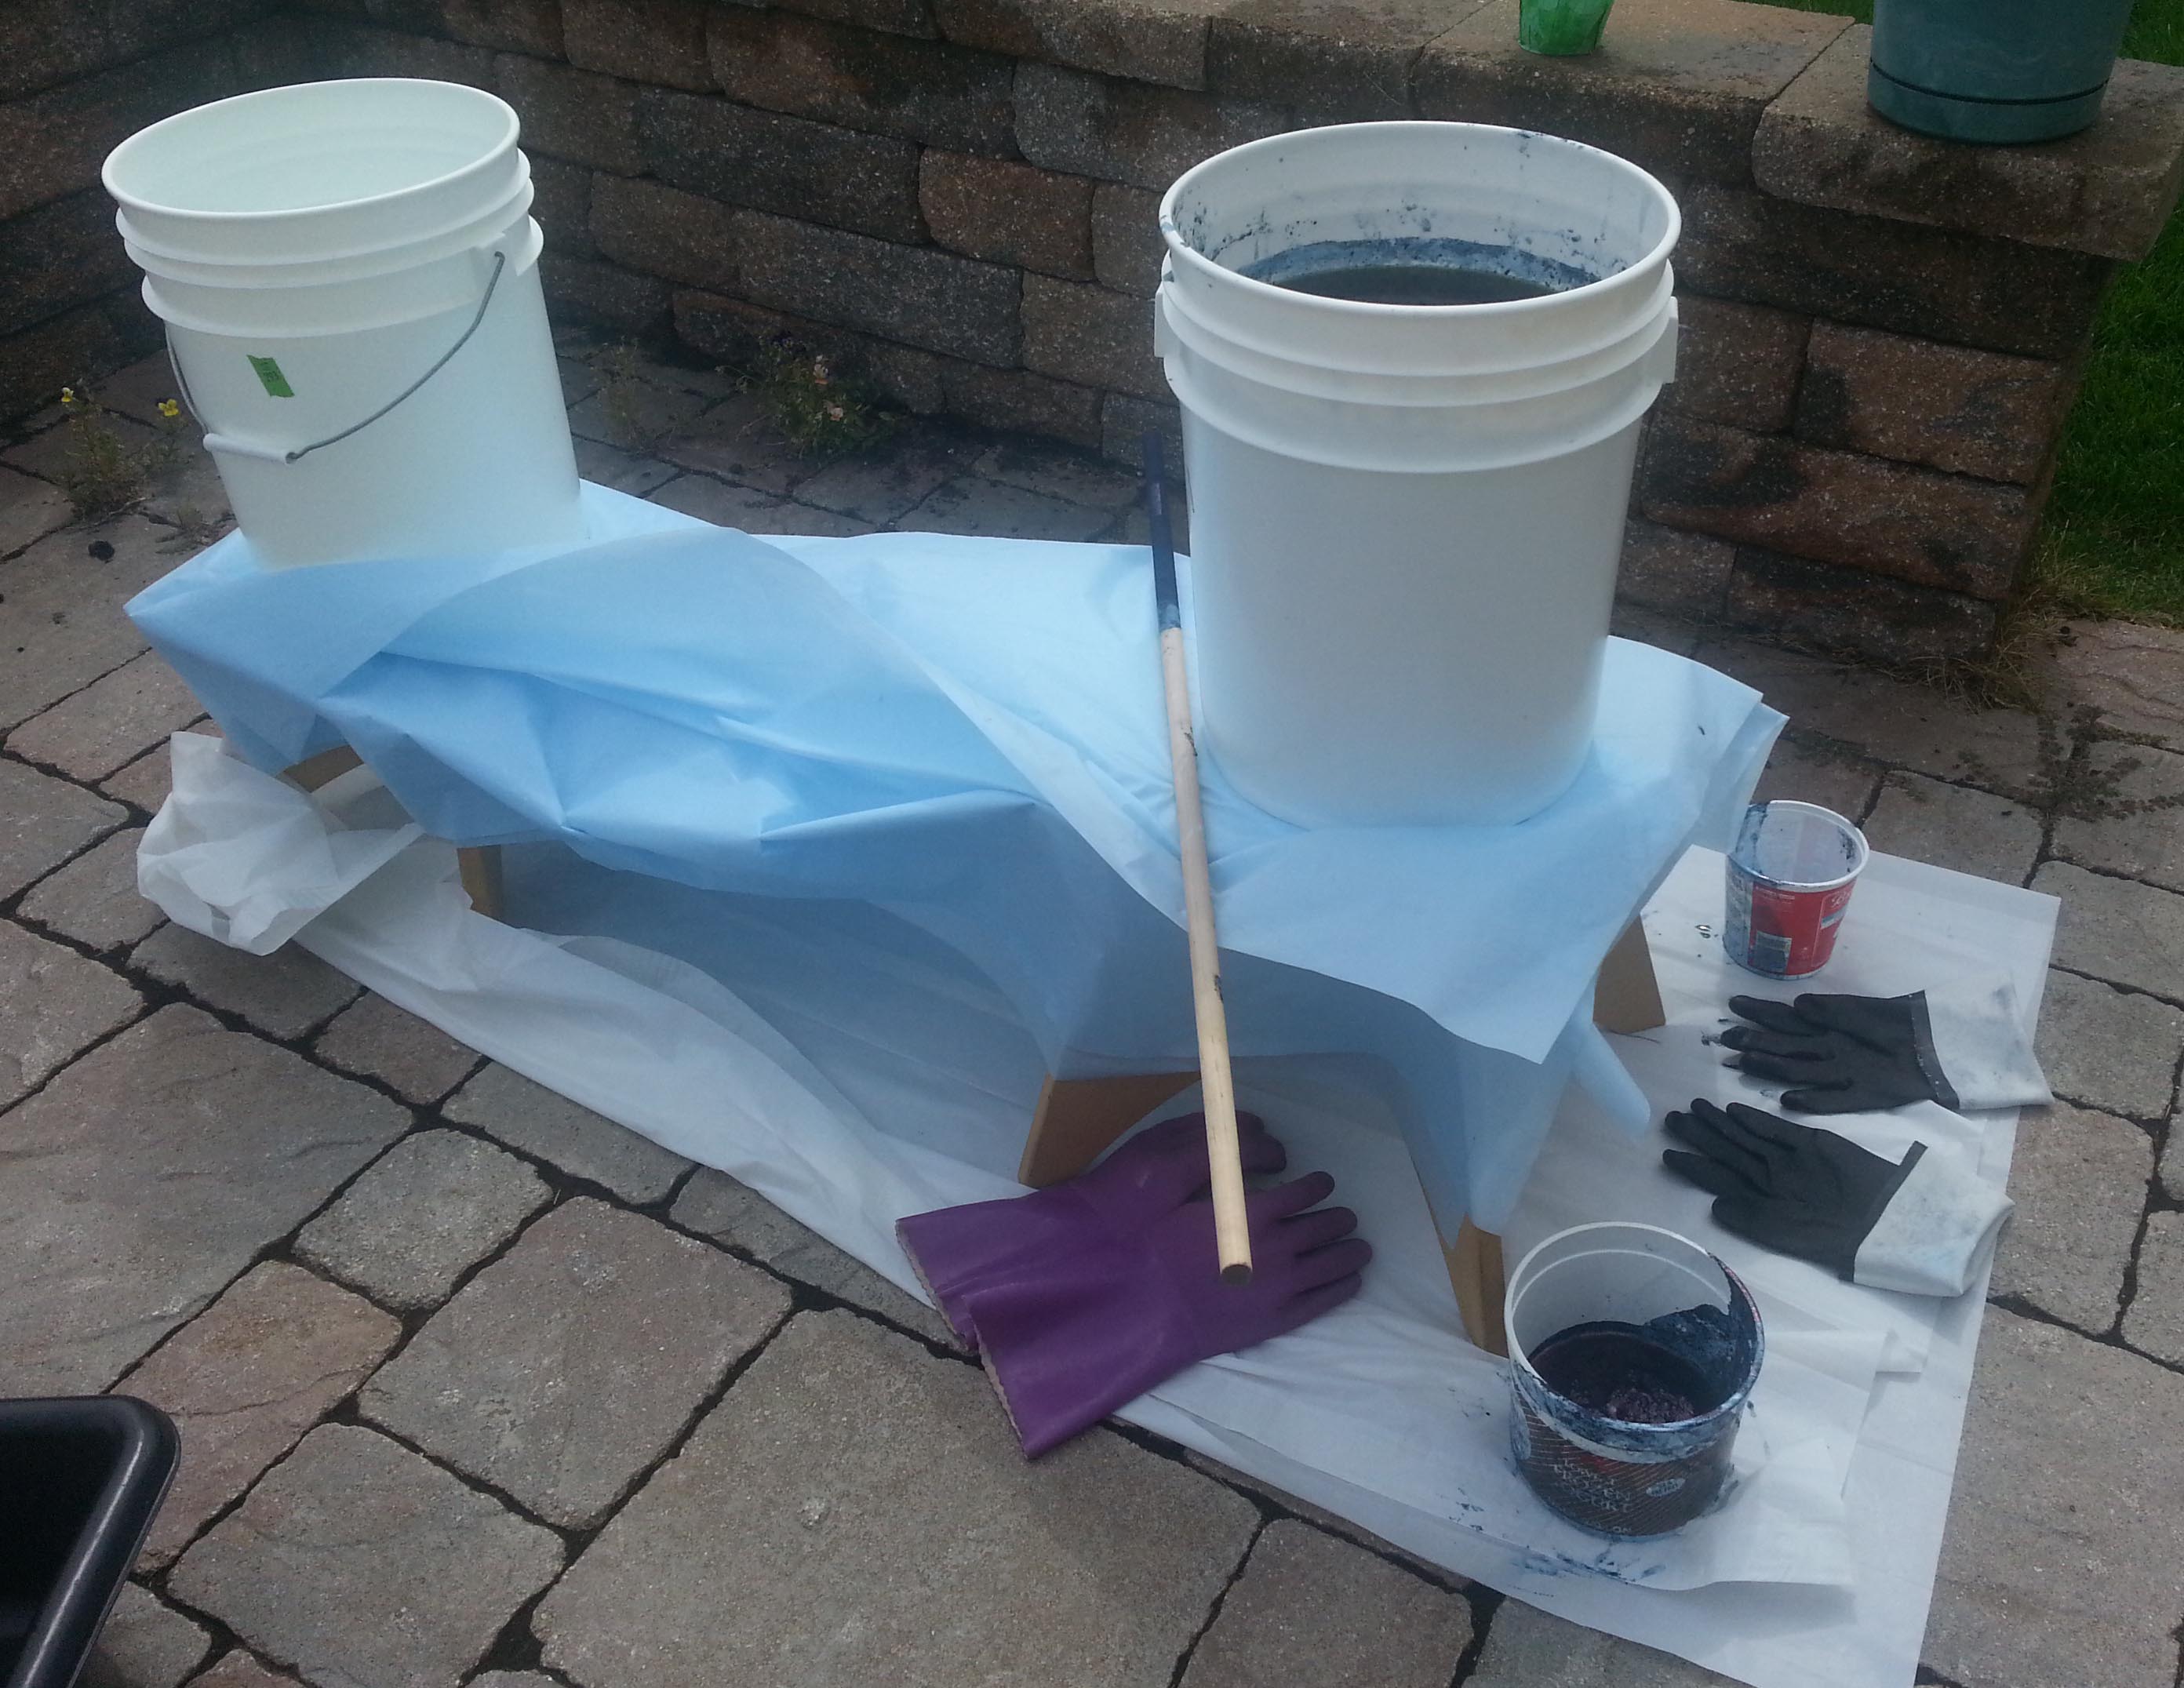
To save some time, I had set up the buckets for wetting and indigo along with the plastic coverings before she came. It was an overcast day to begin with with a nice breeze across the yard.

set upWe followed the instructions, mixing the indigo, then the chemicals and stirred it in then let it sit for an hour.  But there was no bloom as described.  We reread the instructions and stirred again; then decided to skim the top and begin.

After the first batch, we returned the runny bloom back to the bucket and let our fabric oxide.  It all looked fine, so we continued the process with the rest. Once the first batch was fully oxidized we tag teamed and I washed and rinsed while she dipped the next batch. Strangely enough after the first batch the bloom began to grow.

With a brief break for lunch, we managed to get everything into the pot we both had to dye along with the breaks for letting the pot sit after stirring.  It was a busy day with the dyeing, rinsing and washing. And the day got hotter and sunnier as we worked.

Cathy had spent the evening before rubber banding a large piece of cotton gauze.

Cathy tied corks

Cathy cork cloth

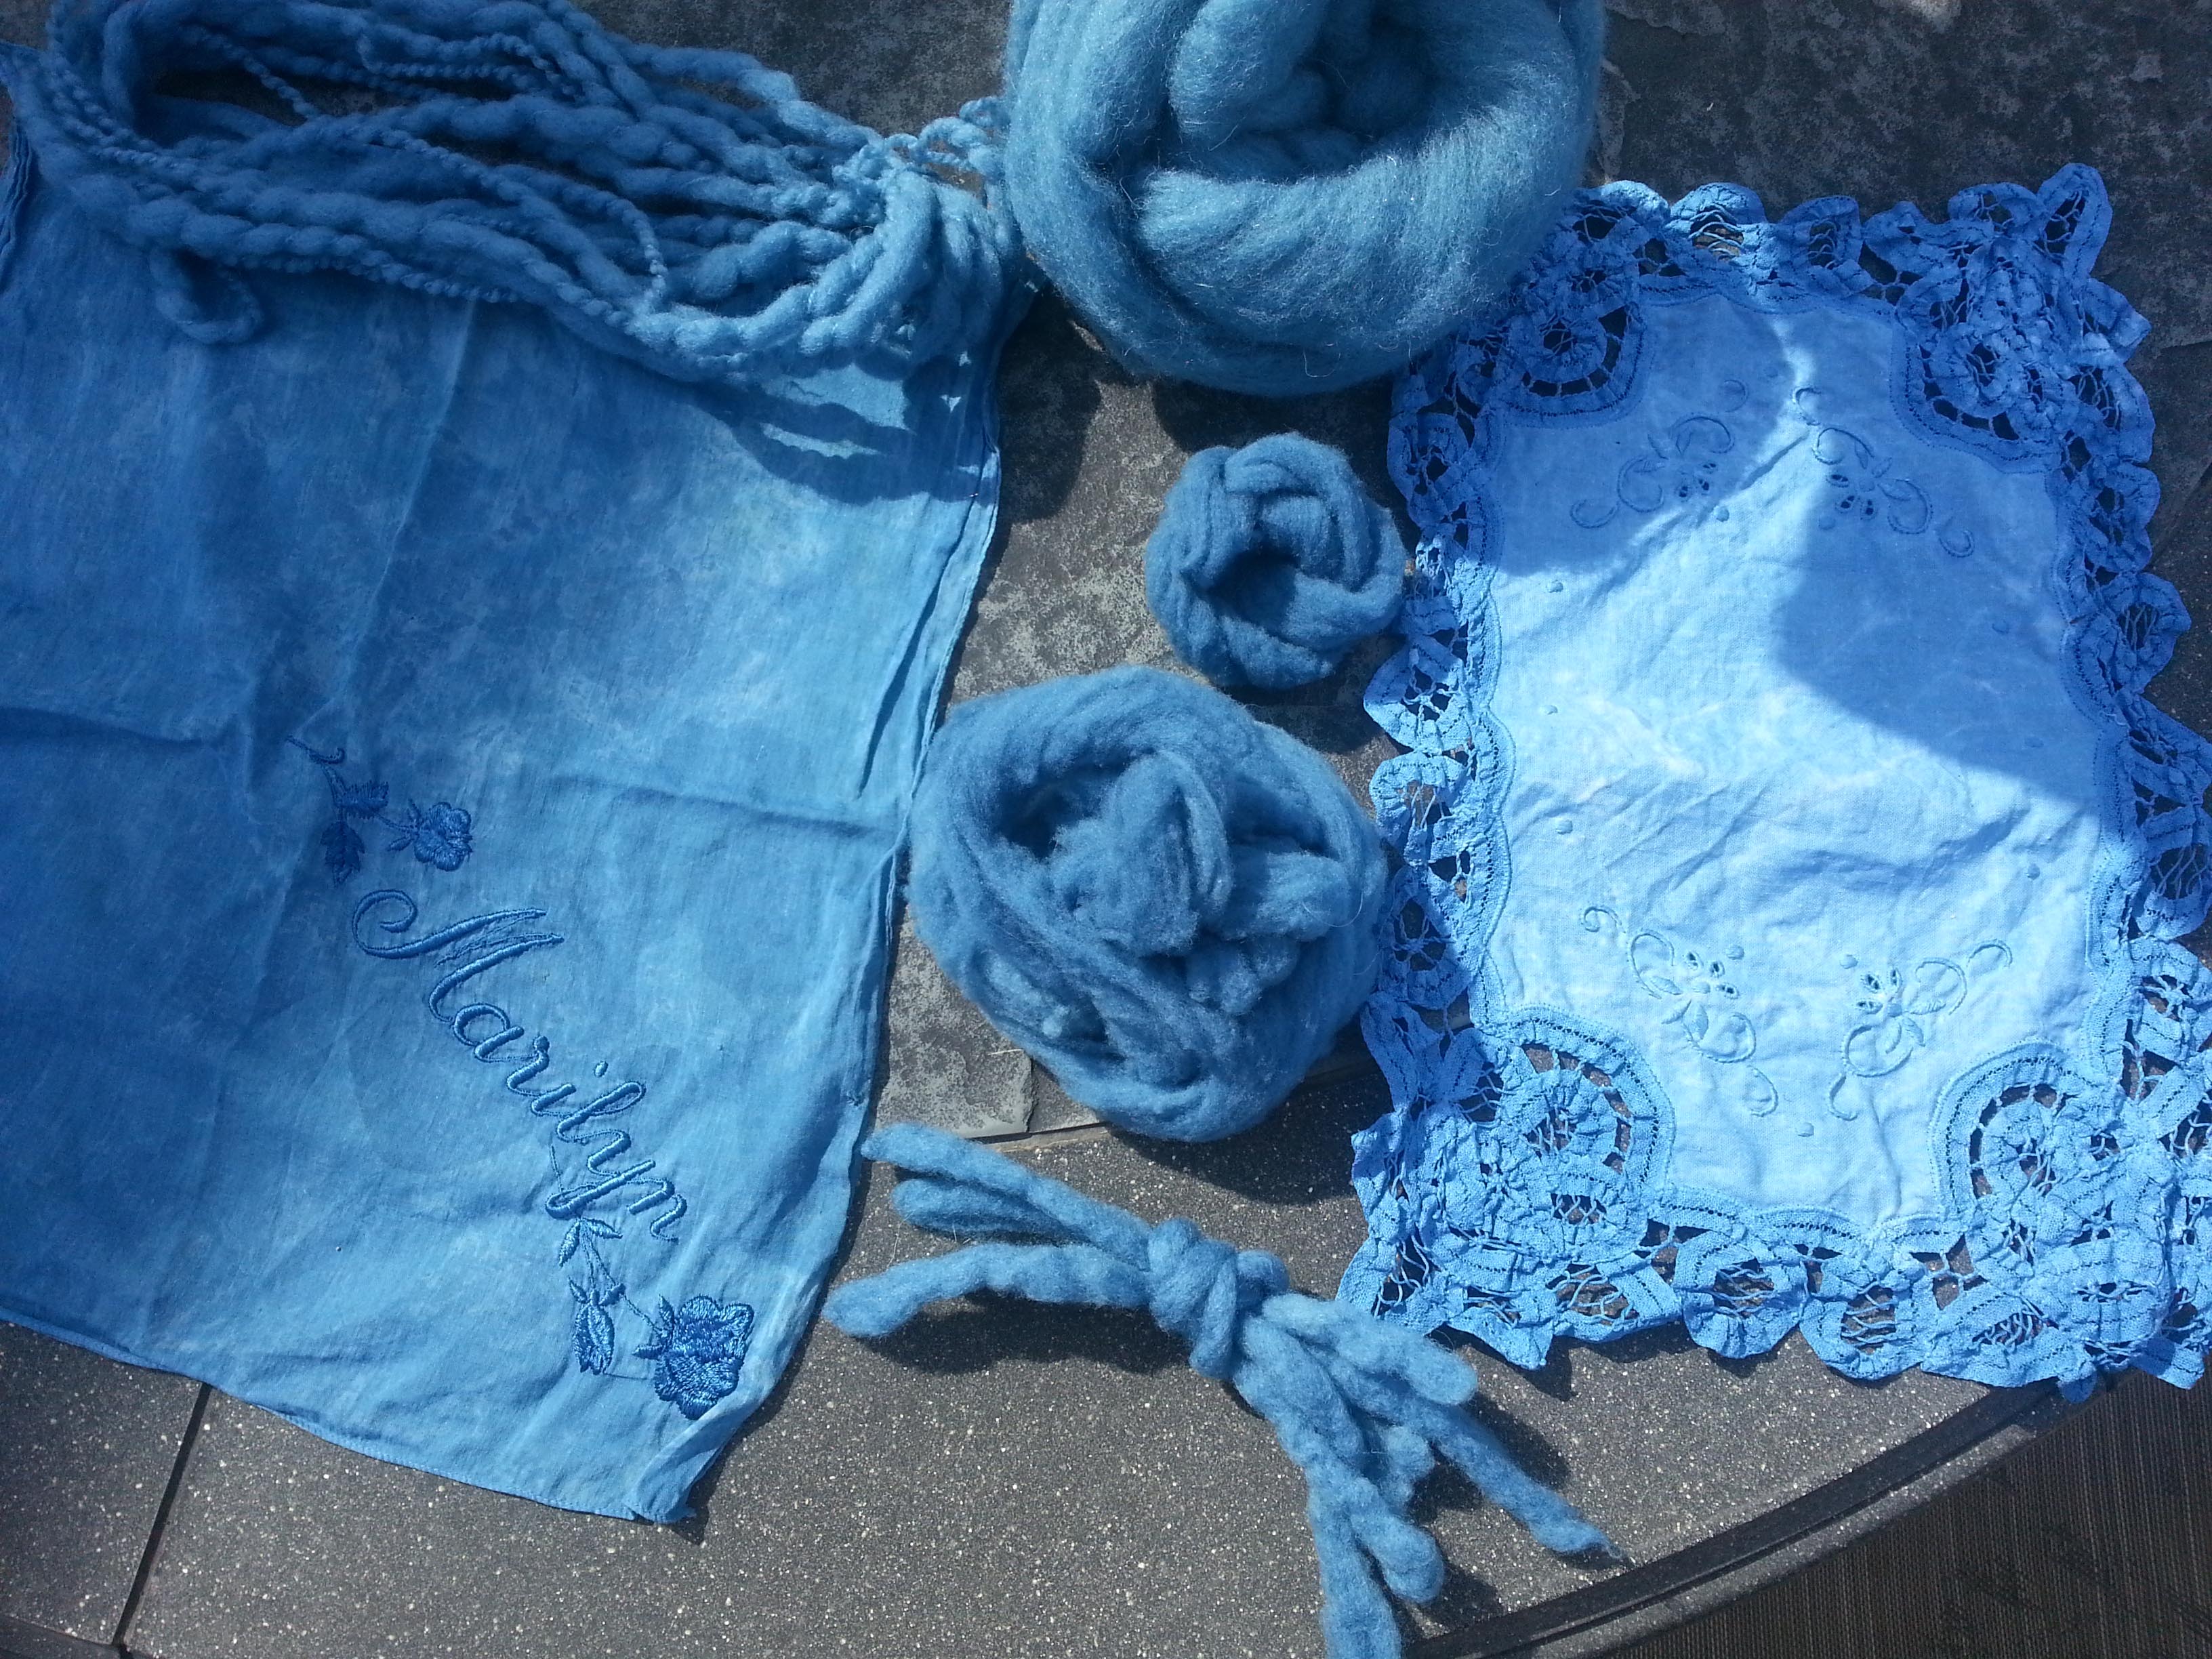
She also brought along a big pile of Domestic 56s roving, some kid mohair yarn, nettle and lace table cloth, miscellaneous bits and pieces of fabric.

Cathy domestic Cathy yarns rovingcathys laceI dyed two blouses that were old, but stained, a very old handkerchief with my name on it, yarn, mulberry silk, pencil roving, thick and thin yarn, a linen doily, some merino and cheviot roving.

sleeveless blouse


silk and thick n thin stuffI had wadded up some cotton voile and rubber banded it all around.  The end result is the piece draped on the chair.  I like the random patterns it produced.

cotton gauzeCathy brought some corks with her, so I used the corks on a piece of silk gauze.

silk n corksShe also dyed some old thrift store “lace” bedspread pieces, an old linen pillow case, a piece of muslin and a cat mat.  

Since it was getting late in the afternoon and Cathy had a long drive home, we packed up her goodies and she finished rinsing and drying some of her items at home the next day.

We were pleased with the outcome of our “Summer Blues” and the opportunity to give some old items new life and others some pretty blue color.

Cochineal and Indigo Dyeing

Cochineal and Indigo Dyeing

Yesterday my friend Linda and I did some natural dying with cochineal and indigo.  She had purchased a kit with several kinds of natural dye stuffs and instructions. We decided on cochineal and indigo so we could get fuchsia, blue and purple. cochineal is easy enough to prepare you boil it strain it and then reboil what’s left  and strain 4 times to get you dye solution. It was a lovely deep pink. you have to mordant your things to use cochineal. For cotton you have to first soaking in  tannin and in then in alum. For wool you just use alum.

mordenting for dyeing

Here are a couple of the pieces after they came out of the cochineal

cochineal dyed stuff.

The indigo is a little more involved to get ready and it stinks. first you make up a concentrate using the powder and chemicals. Indigo is used in an alkaline solution. You stir it together and then have to let the purple solution turn yellow/green.

indgo solution Then you have to carefully, under the alkaline water in your bucket, pour the solution in. You do not want to add any oxygen to the dye bath. Then you have to wait another 1/2 hour or so for it all to goes completely yellow again.

IMG_1456

When you add your wet articles to dye you have to carefully lower them into the bucket so as not to add any oxygen to the solution.

putin bundles in indigo The magic happens when you take things out of the indigo. Even after just a couple of min in the bucket things will start to go blue when pulled out.

start to change when you take them out after 30 to 40 min you get much better colour. Here is some cotton that was tied in knots so parts would resist the dye.

out of the indigo untieing the clothThe pieces that were in the cochineal where a disappointment. when we added them to the indigo all the red disappeared and only the blue took.  We discovered after doing some research that we were supposed to used the mordent for 24 hours. That would be  2 days of soaking for cotton and one for wool before you can start to dye.  a couple of the cotton gauze pieces did keep a little pink

cotton gauze here are the rest

dryingThese have all been in the indigo once

and these twice. The very dark ones are a natural dark gray Norwegian wool.

multiple dippings

The other thing I tried was my hair it has gotten long enough that it is becoming hard to handle so I am going to get it trimmed soon. So I thought why not have some fun with it first. I stuck it in the cochineal and then in the indigo.

and in cochiniel ann in the indigo

Unfortunately the cochineal washed right out in the indigo and the indigo did not take at all. In the end Linda had some stuff called panic manic that she used to give me the purple I was looking for.

hair dye anns hair

This was a fun day but I think I will go back to my acid and fiber reactive dyes, so much simpler to use and predictable results. If anyone knows why the indigo didn’t work on my hair I would like to know. I though with hair being a protein fiber it should work.

Clamp Dyed Felt

Clamp Dyed Felt

My friend Paula took a class from Chad Alice Hagen last summer to learn to make her little felt books. The class included clamp dyeing felt and Paula graciously offered to show us the technique out our most recent meeting of my local surface design group. We took tons of photos so I’m going to split them up in several slide shows for you to view.

This slideshow requires JavaScript.

We started with commercial white felt, soaked it in vinegar water and then clamped various pieces of metal or wood to the folded piece of felt. You use the pieces of metal or wood in pairs so that one piece is clamped on each side. The dyed pieces of felt that are in the slide show above are the samples that Paula made plus a few pieces that she purchased from Chad Alice Hagen.

This slideshow requires JavaScript.

We then set up three dye pots out on the patio and started with a light value color in each pot. The clamped pieces are put into the various pots and simmered for 15-20 minutes. We then took them out of the pot, took part of the clamps off (or all) and then re-folded and re-clamped the pieces with different metal/wood pieces. The dye pots were changed to a different medium value color and the clamped wool was put into a different color dye pot.

This slideshow requires JavaScript.

We then repeated the process of unwrapping and taking the clamps off and putting them back in different configurations. And the last set of dye was put into the pots using a very dark value. We used black, chocolate brown and deep purple for our last set of dyes.

This slideshow requires JavaScript.

And then the really fun part, opening up after the last dye pot. The patterns were amazing and we had a great time. Thanks Paula!

The Four Day Dye Experiment

The Four Day Dye Experiment

I recently read some new instructions for dyeing using citric acid and salt. Well not new,  I took a class a couple of years ago where the instructor used similar instructions. Normally, I use vinegar for dyeing.  But I like to experiment.  I have also been wanting to try some new fibers and have never dyed something I’ve already felted.  So, I decided to combine the experiments.

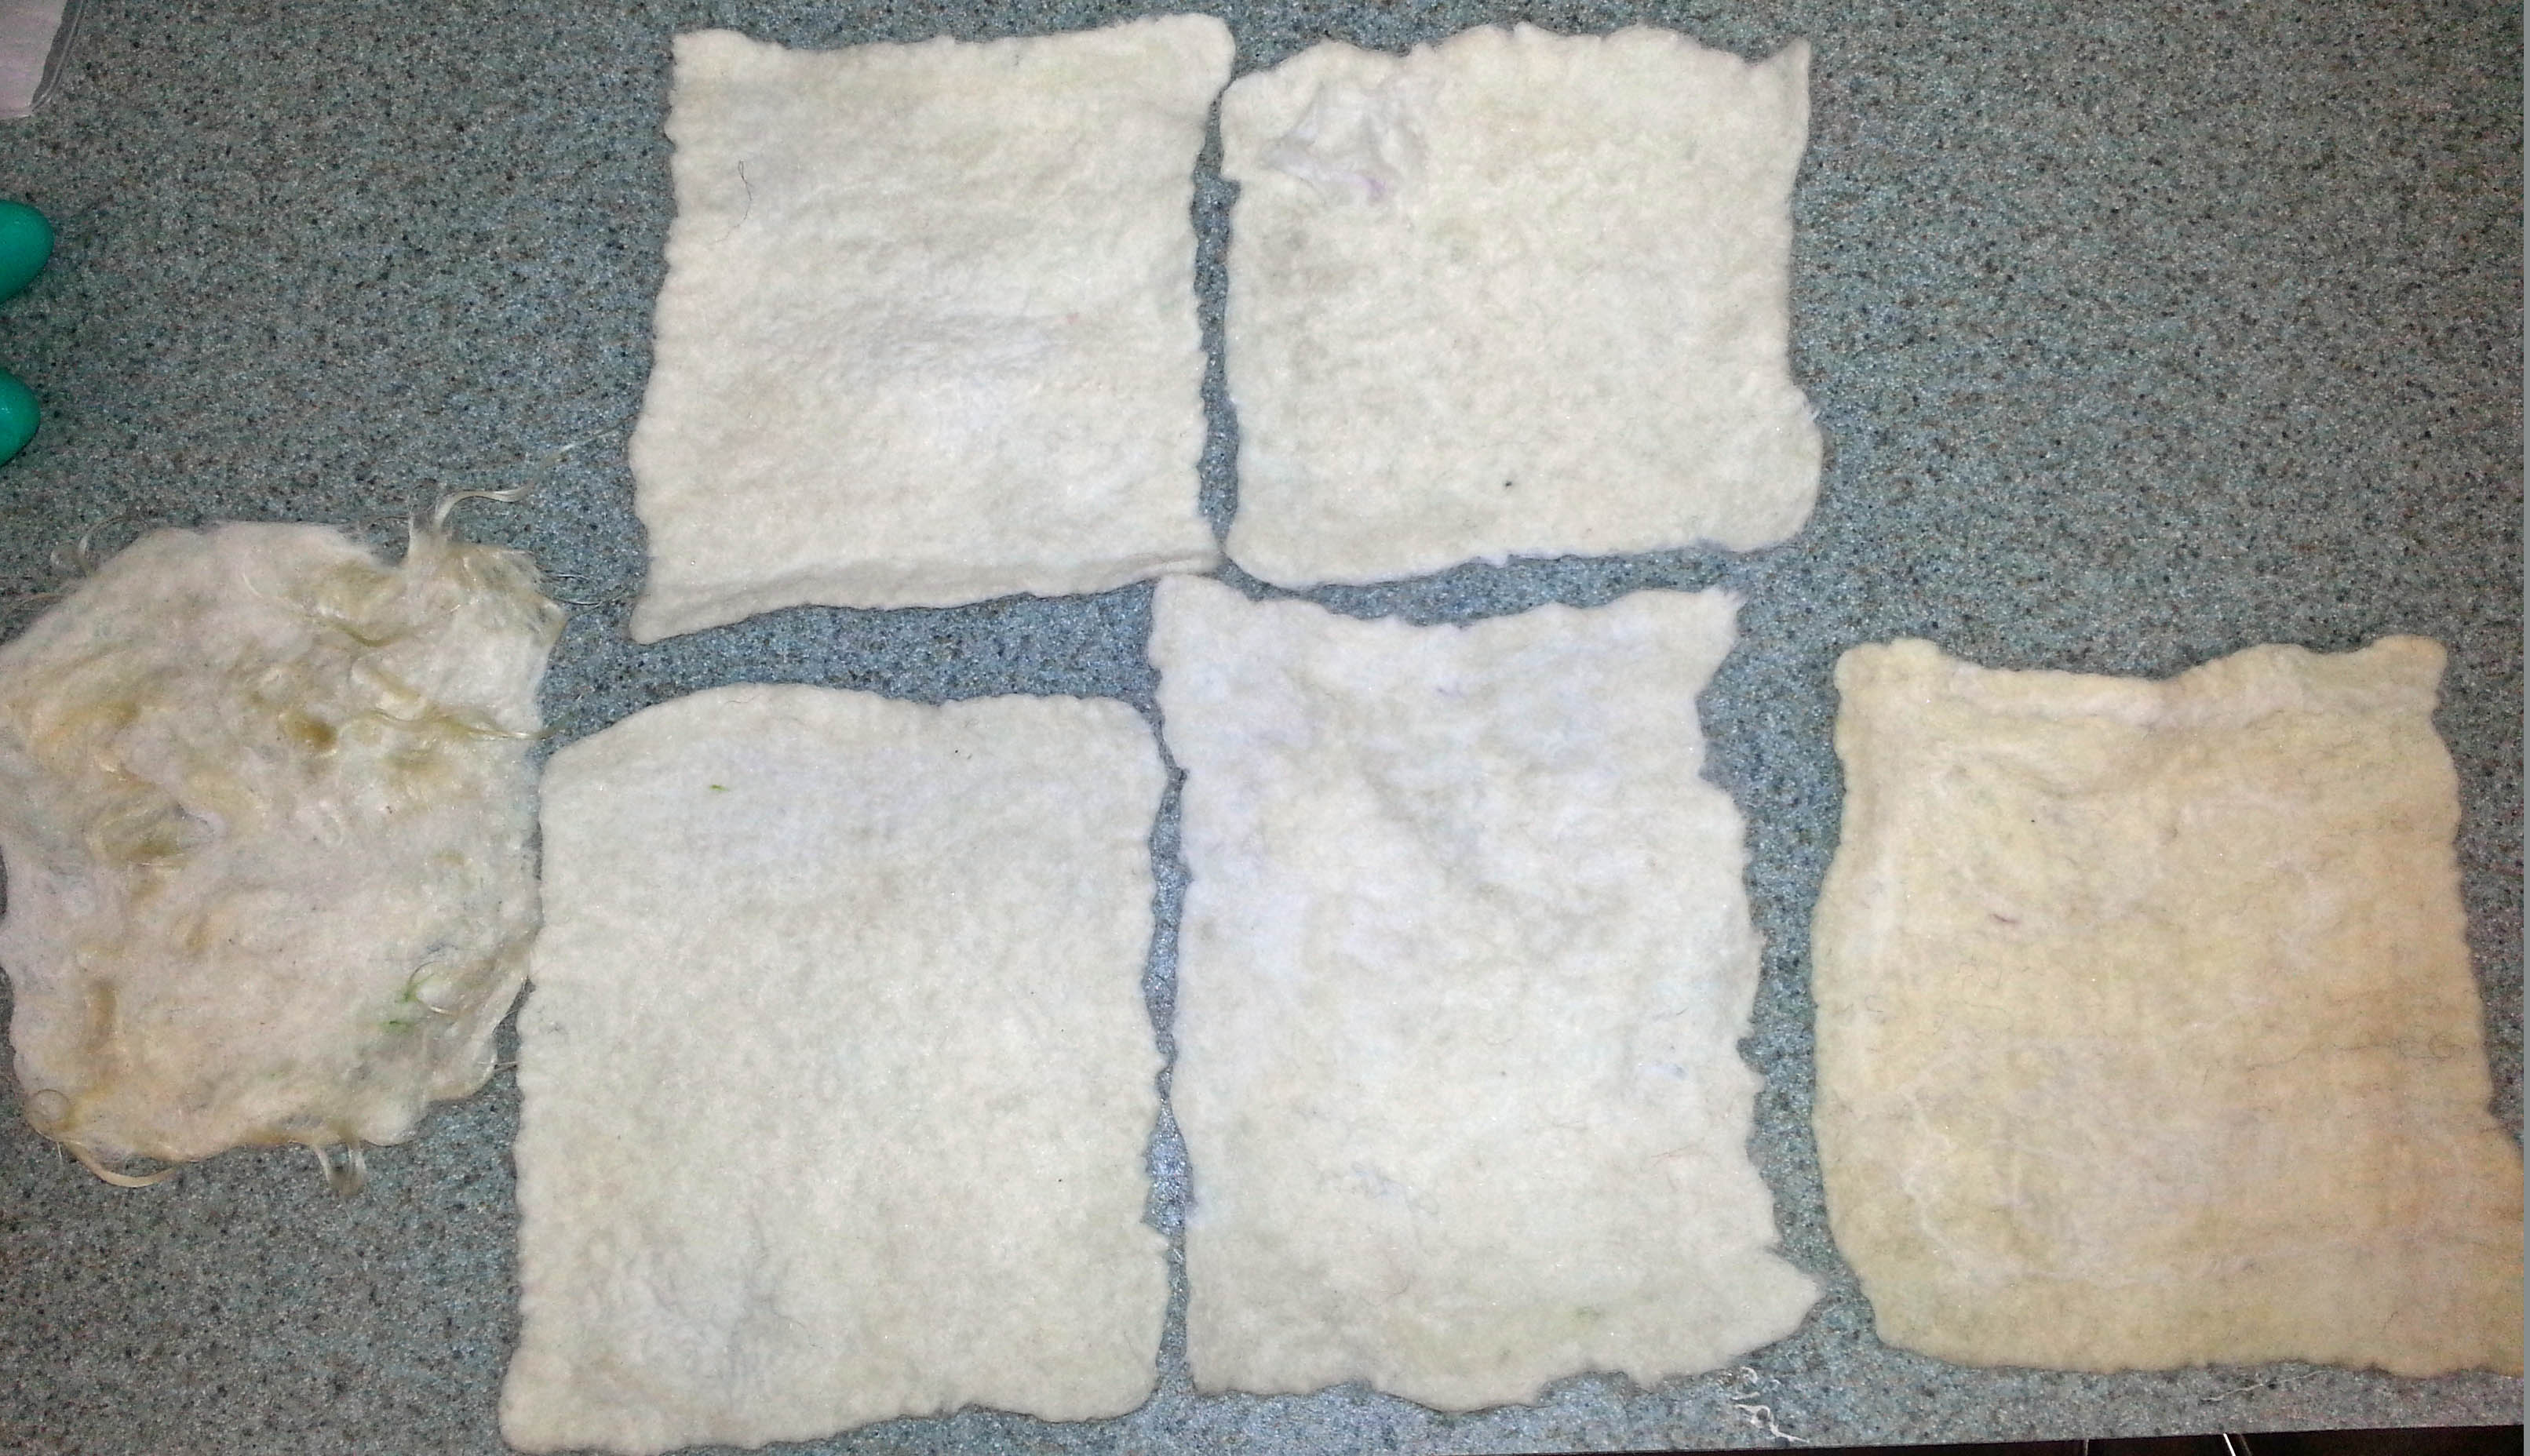
I made samples using Cheviot, Romney, Icelandic, Texas Mohair locks and Domestic 56’s.  On each sample I put a piece of silk Habatoi, silk gauze, thick and thin yarn, mulberry silk and prefelt. I was going to make a placemat out of them, but they all shrank differently, so I have to rethink what to do with them.

felted samplesAccording to the instructions, I had to weigh the fabric to dye (before soaking in synthrapol).  I had a large pot so I put together some Merino, silk habatoi, wool yarn, and wool thick and thin yarn along with my samples.  All total 128 grams.  Next, into the soak, then on to mixing the citric acid and salt solutions.

After a thorough search, I couldn’t find the citric acid I thought I had. Whoops.  Well, it should still work with vinegar, right?

1 gram of fiber= 1 milliliter of dye.  Then depending on the Depth of Shade desired the amount can be multiplied by 1 through 5 (light to dark.)  When I filled the syringe with 120 ml of dye, it looked like a lot so I decided just one DOS would be enough to start. Normally, I would use a tablespoon of dye.  If I wanted a darker shade, I could add more dye later or overdye it.  I used my own dye stock that I had on hand.  After getting the fiber and dye bath up to temperature (185 degrees), I let it simmer for 30 minutes and checked it.  The water was still very dark.  I added more vinegar and let it simmer for another 15 minutes. No change. Another 15 minutes, then I added more vinegar and turned the heat off and left it until morning expecting it to be exhausted.

day 1 BSurprise!  Beautiful colors, but plenty of dye left.  I removed the fibers, rinsed and rinsed then let them dry.

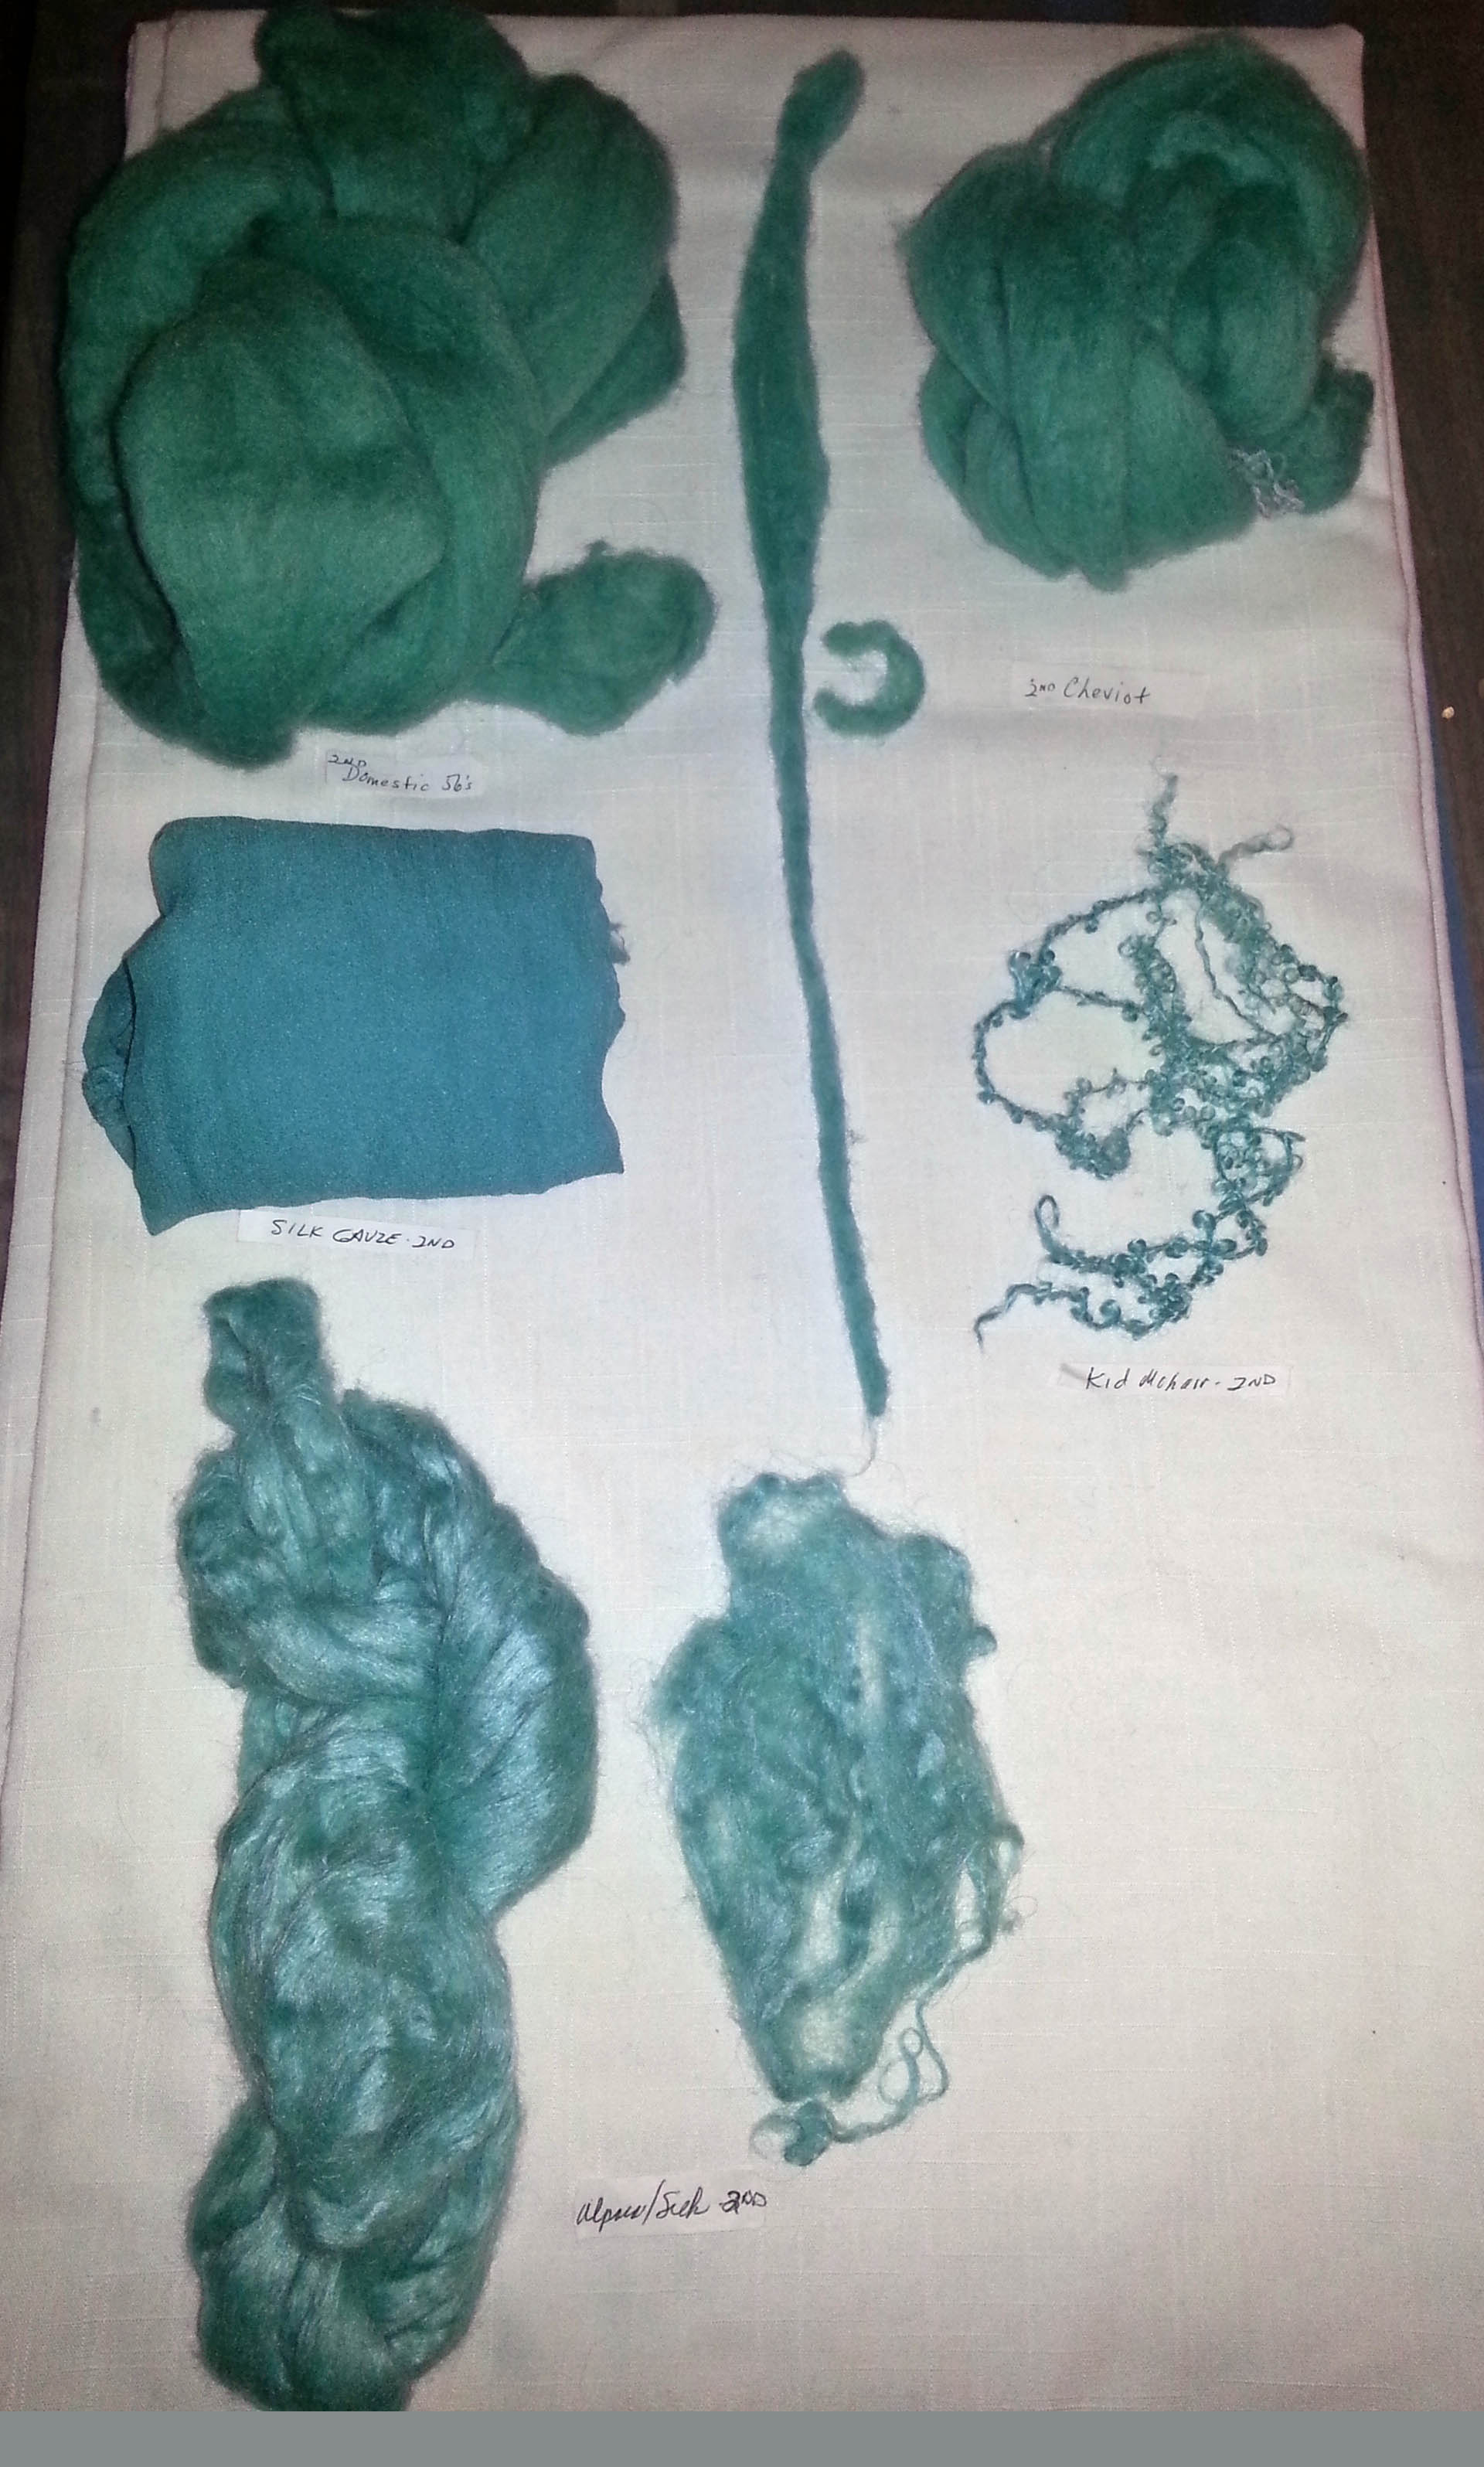
Back to the dye pot.  I decided I probably didn’t need more teal fiber, so I added a couple of teaspoons of yellow.  Then put in some Domestic 56s, alpaca/silk, kid mohair yarn, Cheviot and silk gauze after soaking in vinegar. I repeated the dye procedure.

day 2Staring at the dye pot the next morning, there was still plenty of color left.  So, on to day 3 with Domestic 56s and Cheviot.

Day 3bOkay, enough, right? Dont laugh. I had to see this through.  Day 4 included thick and thin yarn, wool yarn, a piece of felted Wensleydale, silk habatoi, Romney and Merino. I expected some pastel colors the next morning. No.

Day 4Finally, the dye bath was exhausted and I had the biggest surprise of all. The Romney was darker than the fibers on the first day.  It’s a good thing I like teal.

4 days

I finally realized my mistake — my prepared dye mix  is 1 teaspoon dye powder to 8 ounces of water which is double the concentration than what the instructions were for making the dye solution.  (1 part dye powder to 100 parts water — i.e. 5 gm dye powder to 500 ml of water.)  I didn’t pay attention to the dye solution instructions because I had already had some made.  My bad.

I haven’t given up.  I have citric acid now but will try a much smaller amount of fiber and the right amount of dye solution.  But now on to make some batts and start a new project.


Dyeing Fabric and Fibres – Guest Post

Dyeing Fabric and Fibres – Guest Post

Today we have another guest post from Cathy Wycliff (luvswool) who has recently been experimenting with different dyes.

***

Dyeing is one of the popular topics on the Felt & Fiber Forum, but I admit I was very reluctant to give it a try.  I read about the chemicals involved, the need for rubber gloves and a face mask, and I admit that scared me away.  But after I ordered 10 pounds of white wool (Domestic 56s), I realized I needed to do something, so–being the chicken that I am when it concerns “dangerous chemicals,” I opted for food colors, which are non-toxic and “easy to use.”  The Wilson icing gels I used met both of those criteria, so I happily dyed my wool in the microwave.  However, once I started wet-felting with the wool, I realized the colors bleed, even though I had followed the instructions (vinegar rinse).
That’s what led me to acid dyes, as I witnessed the beautiful results Forum members achieved through their use of acid dyes.  I went ahead and ordered Dharma yellow and blue (figuring I could make my own green), and began my dyeing journey.  I gathered my materials using Ruth Lane’s book “Complete Photo Guide to Felting,” even though Dharma offers instructions on their website.  I just do better with photos. Not pictured are the rubber gloves and mask I wore throughout the process.

5549Preparing to dye, I soaked the wool and silk according to the instructions.

5550While the wool was soaking I laid out the plastic as protection for my kitchen countertops.

5551I mixed the acid dyes according to Dharma instructions on the labels, double-checking with Ruth’s instructions.  I used glass jars, which are fine, but I have since ordered those squirt bottles for easier and more direct application of the liquid dyes.

5554 Here you see the wet wool and silk, ready to be dyed and steamed.

5555I poured the dyes on the wool and silk, first batch, and then repeated for two other colors, mixing the blue and yellow to make green).

5556Each different color of wool was wrapped separately in plastic wrap and stacked in a stainless steel vegetable steamer. Here you see my designated stainless steel large pot, never to be used again for pasta!  I put in an inch of water in the pot and covered.

5557I steamed according to instructions, used a soaking solution again …

5559… and rinsed well — and there you see my first packet of wool (green) laid out on plastic to cool.

5561bI continued the process with the blue and yellow packets of wool.

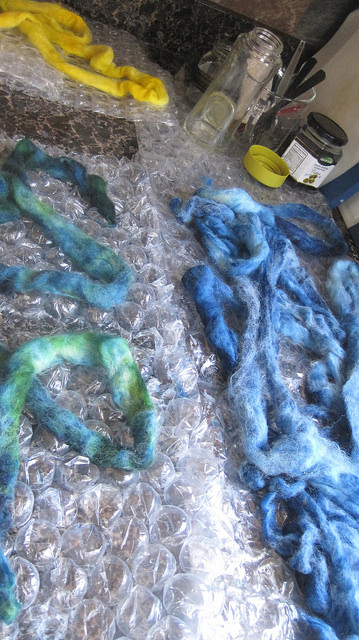
5563bHere you see all of the dyed, wet wool laid out to dry.

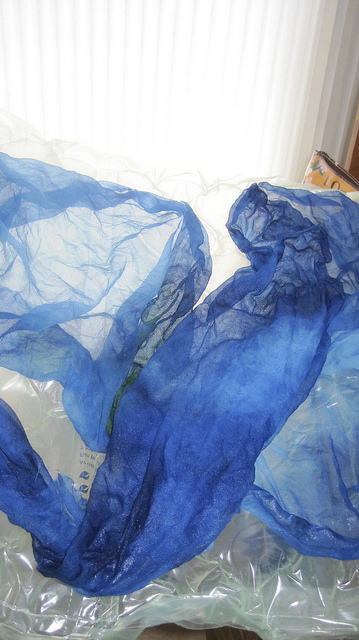
5564Here you see the beautiful blue habotai silk scarf stretched to dry…

5569… and the larger green silk habotai shawl as well.

5570bI now have a good supply of green, blue and yellow standard wool roving and pencil roving, along with a couple of silk pieces ready to be nuno-felted.  Would I do this again?  Absolutely!
Just received my new colors of Dharma dyes, ready to go again!