Browsed by
Tag: hand stitching

Small Bags

Small Bags

I have been listening to audio books on my phone. It’s a great way to “read” a book and still get some work done. The problem was that I am moving around. In and out of the kitchen or one end to the other of the studio and kept moving in and out of hearing range. I decided I needed a little bag so I could pop my phone in it plug in my ear phones and no more problem.

I made 3 little bags . Sorry I took no pictures of them being made.

This one I used oval shaped beads with and orange stripe for the petals of the flower. When I cut the holes to reveal the beads I cut one of them to large. The bead was staying in but only just. So I got out some orang embroidery thread and put some stitches all around to secure it. I did the rest so it looks like I did it on purpose.

green bag web greenbag stitching web

This one I want to embroider but haven’t decided how yet.  Maybe a couple of rows of yarn stitched along the edge of the spiral. The pin is just holding the flap shut for the picture

purple bag web

This last one I plan to either needle felt or embroider on some sheep.

sheep bag web

It will make a nice match for my name tag and my business card holder. The strap on the card holder is some of the first silk I ever spun. It whole bag is looking a little worn. It has been living in my purse for most of 10 years so I shouldn’t complain.

name tag web biz card holder web

I haven’t figured out what to do about straps for the bags yet. Felt ropes or some sort of webbing or woven strap. I don’t want it to cut into my neck when I am wearing it. What do you suggest?

A Little Hand Stitching

A Little Hand Stitching

In between projects and during waiting times, I work on hand stitch projects. I have been working on both of these for several months but I’m not progressing very quickly. I think one of the problems is that neither project is really my style. The reason I started both of these is that my local group is learning hand stitches and I needed a “sampler”. So both of these projects are samplers but I just haven’t gotten very excited about them.

Book Cover with Stem StitchThe first project is a little felt book. I had already made the book actually just to do the binding. It would have been simpler if I started with the pages and then bound the book together afterwards but I’m working backward. The flower design is done in all stem stitch. I used blanket stitch around the edges and then further embellished the edge of the blanket stitch with more detached blanket stitch.

Raised Chain Band BindingThe binding is done with raised chain band. I really like this binding and although it looks complex, it really isn’t that hard.

Thread Covered WashersHere’s the second page. I used brass washers and covered them with blanket stitch. I then stitched them down to the page and started adding detached chain stitch to make little flowers. I haven’t gotten very far on this page.

Crazy PatchOne of the members of our group made us all a crazy patch so we could embellish it with stitches. I have never done one of these before and somehow it just isn’t doing much for me. But I will fill it all up eventually.

Blue Flower Edge TreatmentThis is the first part that I did. Just a combination of blanket stitch, detached chain and French knots.

Stem StitchHere is more stem stitch (light blue line). We are supposed to be using the stitches we learn each month on these. I have a few I haven’t added yet including a spider web stitch and fly stitch.

Natural Dyed ThreadsActually to me, the most interesting part about this is that the wool threads that I dyed naturally recently are an exact match for the crazy patch. I hadn’t seen the fabrics before I dyed the threads so I had no idea they would match so perfectly. Do you like to hand stitch? I’d love to see what you’ve stitched. Feel free to add photos to Flickr or on the forum.


What I am working on

What I am working on

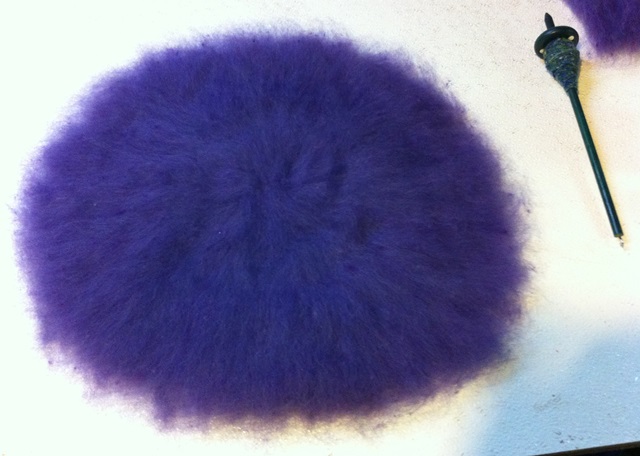
I was sitting here wondering what the post would be today when I realised it was my turn to post.  So you might guess I am running a little behind. It has turned cold her so I thought  better make myself a hat. Normally I can make several hats in a day. Not this one. It is a never ending project. I started the hat on Friday. Now its Wednesday and its not done yet. First I made a larger template than usual because I wanted to make a scrunched up hat.Then I looked for colours. I have nothing I want in large enough quantity to make a hat. That means the first thing is to blend all the purples together to get enough wool to make my hat.

Before Carding
Before Carding
First time through the carder.
Third time through the carder

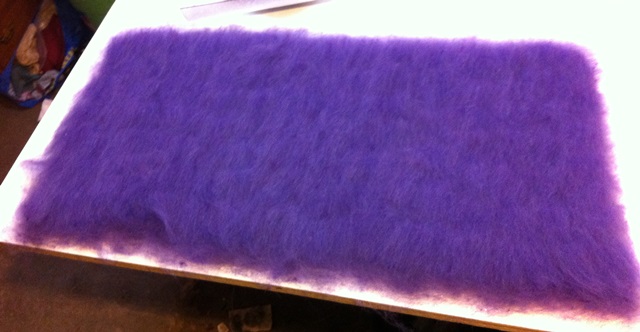
Here it is all the wool laid out on Friday.

layout top layout

The yarn on my spindle in the picture will end up on both parts. I also have a similar hand spun yarn in pinks that will go on the hat. I forgot to take pictures of that on Monday. Last night I sewed it up into tight scrunches ready to be steamed and ironed.

sewn up sewn up top

The part that is not sewn will be turned to the inside with the top attached to it.  The top was sewn towards the center. My hands were sore after the sewing do my plan is to do the ironing today and then I have to sew the top on and see if it looks any good on me. I will show you the finished hat in my next post. What have you or are you making for yourself ?

Small Felt Art

Small Felt Art

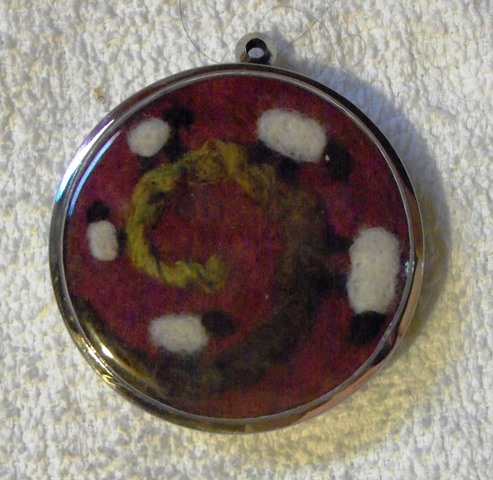
A little while ago I ordered some pendant blanks in a variety of shapes and sizes. They open up so you can put pictures in them but you can see the picture when it is closed.  I made some small art works. I used pieces of felt I already had and needled  and sewed on the designs. Do you recognise the spiral sheep background? It’s the “hole” form the round bird house with the spiral design.

cityscape sheep spiral purple tree abstract 1

You can se about how big they are from the keyboard in the city scale picture. I changed the black and pink sheep into a white and pink sheep before putting it into its locket. The black doesn’t show as well in person as it does in the picture.

locket 1 locket 2 locket 3 locket 4

I didn’t have another round one the right size for the city scape. The one with the purple curls in it is just that, some Blue Faced Leister curls. The locket is about one inch across and I didn’t think I could really make a picture for in it.  I like making these small pieces but now I have to decide what to charge for them.

group locket

First Quarter Challenge Drawing to a Close

First Quarter Challenge Drawing to a Close

A Daily Dose of Fiber challenge is coming to an end. I challenged everyone to take at least five minutes a day and do something creative. I personally had been doing this for a while but I wanted to add increased blogging on my personal blog. So I blogged every day during the challenge and I do have to say it was a challenge especially when I was traveling. I don’t own a “smart” phone and I don’t seem to be very mobile when it comes to online stuff. But I got a lot of creative stuff done and creating every day has been fun. Many times when I didn’t really feel like doing anything, I made myself get started because I had to do my 5 minutes a day. Once I got started, I ended up spending much more than 5 minutes because I quickly became involved in what I was doing.

Beaded Book
Beaded Book

So what did I accomplish with at least 5 minutes a day? In January, I spent the first half of the month completing my beaded book and making a beaded tassel for it. I also made three felt appliques, two turned edge appliques, two shadow appliques and a felt applique book. I researched broderie perse, the Bronze age, Kyrgyz design and reverse applique. I made a couple of pieces of flat felt, painted some commercial felt and finished the slipper bottoms for my husband’s slippers.

Applique Felt Book with Hand Stitching

February was my travel month so I wasn’t quite as productive since I had to go to the Buyers Market for the store and attend my last stitch class. But I did manage to frame some of my work for a mini exhibition, do a little machine applique, learn some new types of bindings for books including hand stitching and machine stitching, make a machine stitched book page, felt some cat toys, work in my sketchbook/studio journal, do a little Kantha stitching while traveling, finish up the last of the felt appliques, make a shadow applique card for hubbie for Valentine’s Day, try out a new painting technique, carve some linoleum stamps and make some stitched greeting cards.

Felt Applique with Couched Cording

In March I have been finishing up the last of my stitch class homework. I have almost completed two machine stitched cut back applique pieces, I practiced some new hand stitches, I completed my 5 page machine stitched book, I went and picked up 200# of wool and took it to the processing mill, I started reading up on yurt building, I did very tiny blanket stitch around one of the book pages mentioned above, had a painting party at my house, learned new insertion stitches for small book bindings, laced my Kantha bird in preparation for mounting, matted several of my print to stitch pieces and made some grey scale croppers.

MINOLTA DIGITAL CAMERA

Whew… I think I need to take a nap!

My Beaded Book

My Beaded Book

One of the things I wanted to start doing was adding more video tutorials to the site. So I thought I would give making a video a try. My husband is running the camera and I am turning the pages of my beaded book. This is very primitive and we obviously have a long way to go. But it’s a start and I learned the very basics about how to edit and upload a video. I hope you’ll be able to see a few details on my beaded book.

MINOLTA DIGITAL CAMERA

The front page has a beaded cabochon and a single “zipper” beaded edge.

MINOLTA DIGITAL CAMERA

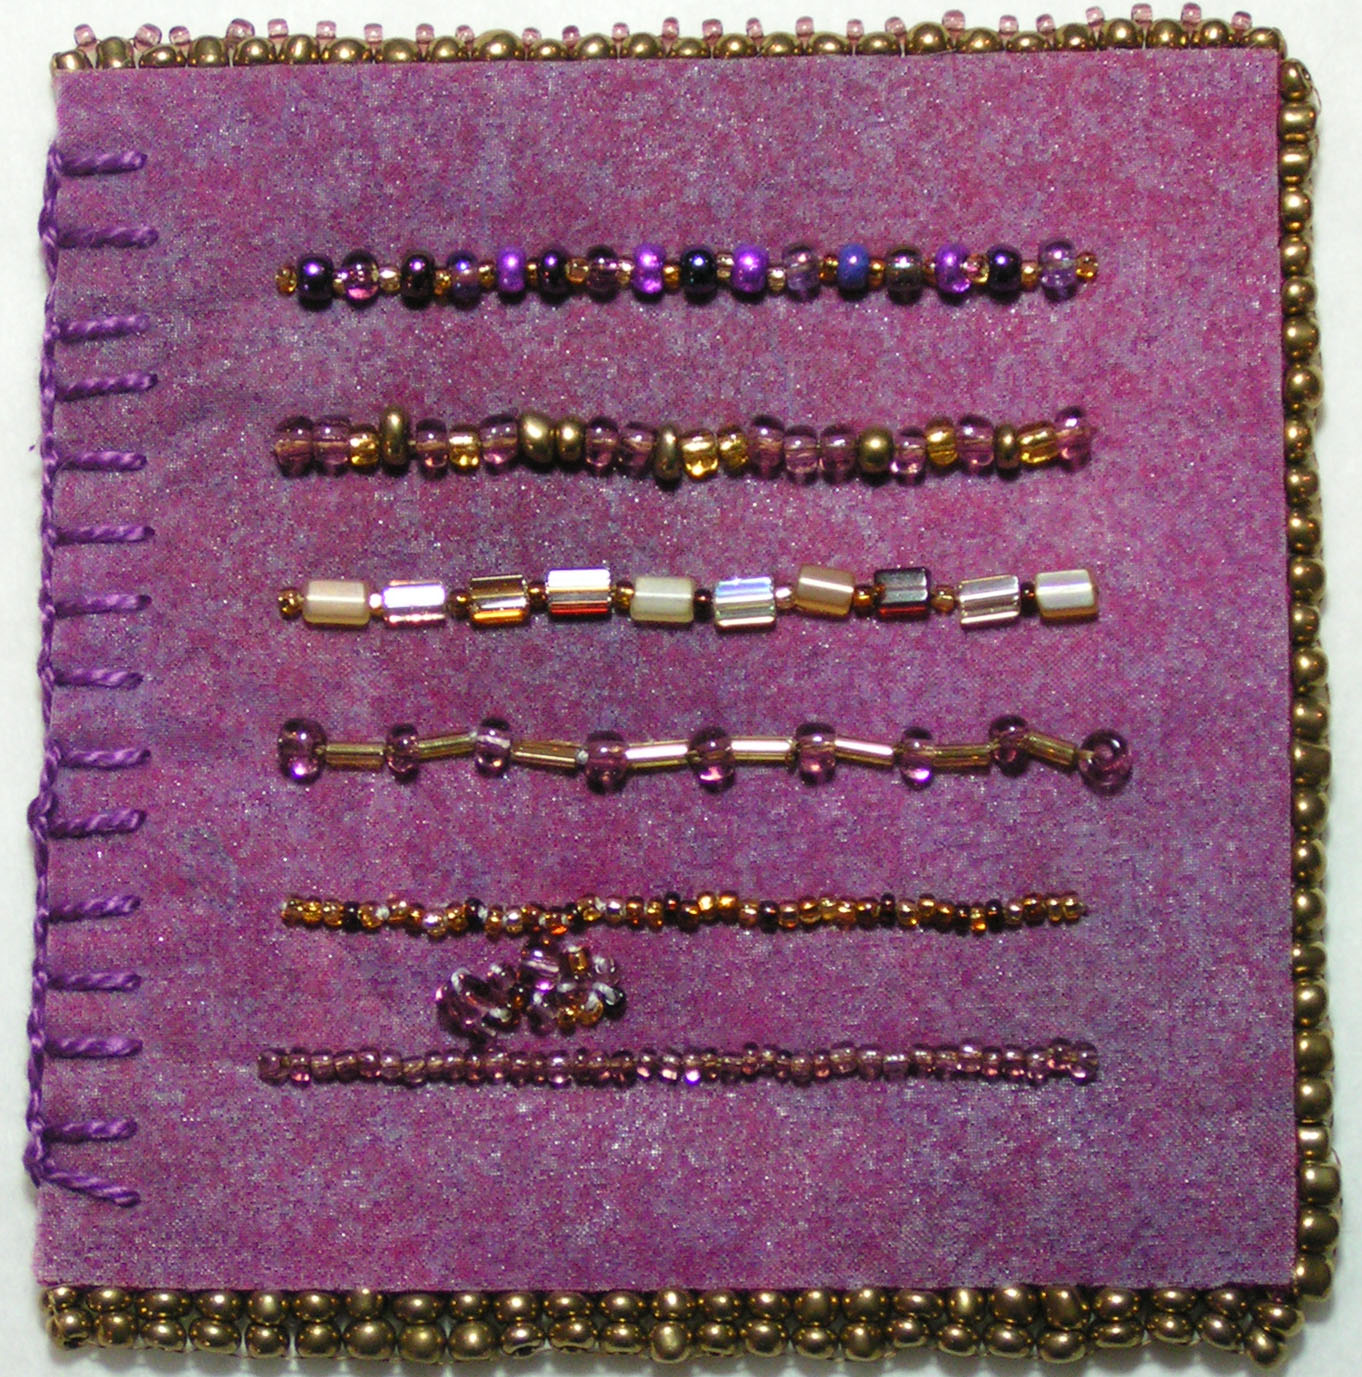
This page shows various ways of attaching rows of beads singly. The top edge is another “zippered” edge, the side is a single bead and the bottom is two stacked beads.

MINOLTA DIGITAL CAMERA

This page has various ways of stacking beads on top of each other. I have already forgotten what this edge is called but it makes a kind of diamond or vee shaped pattern.

MINOLTA DIGITAL CAMERA

This page is covered with brass washers. The ones on top are covered with buttonhole stitch and one is even beaded. The edge is a rope edge.

MINOLTA DIGITAL CAMERA

This page is various pieces of metal couched down with beads. The top and middle rows are couched down using raised chain band stitch. The edge is one I made up with two stacked beads and then connecting them with three smaller beads to make a “dome”.

MINOLTA DIGITAL CAMERA

This page I designed myself and is supposed to be an iris. It is a solid layer of beads. The edge is another one I have forgotten the name. I would definitely need to reread the instructions to remember how to do these all again.

MINOLTA DIGITAL CAMERA

This is the sequin page. A bit hard to get a good photo due to the shininess. The edge is a “wave” edge.

MINOLTA DIGITAL CAMERA

This is another page I designed myself. I wanted to use another cabochon and the long bugle beads. It looks like an Egyptian eye but the original design was from a birch tree if you can imagine that! The edge is two chains interlaced.

MINOLTA DIGITAL CAMERA

This is the scattered beads page. This is a “lacey” edging.

MINOLTA DIGITAL CAMERA

This page is making patterns with bugle beads. Again, a poor photo due to the reflection of the glass beads. The edge is a connecting type of short fringe.

MINOLTA DIGITAL CAMERA

This is the first fringe page. It shows a variety of ways to make fringe. The edge is a branched fringe edge. This edging took nearly a full tube of seed beads.

MINOLTA DIGITAL CAMERA

This is the last page and is another showing different fringes. The edge is made up of all different kinds of fringe and is a bit extravagant.

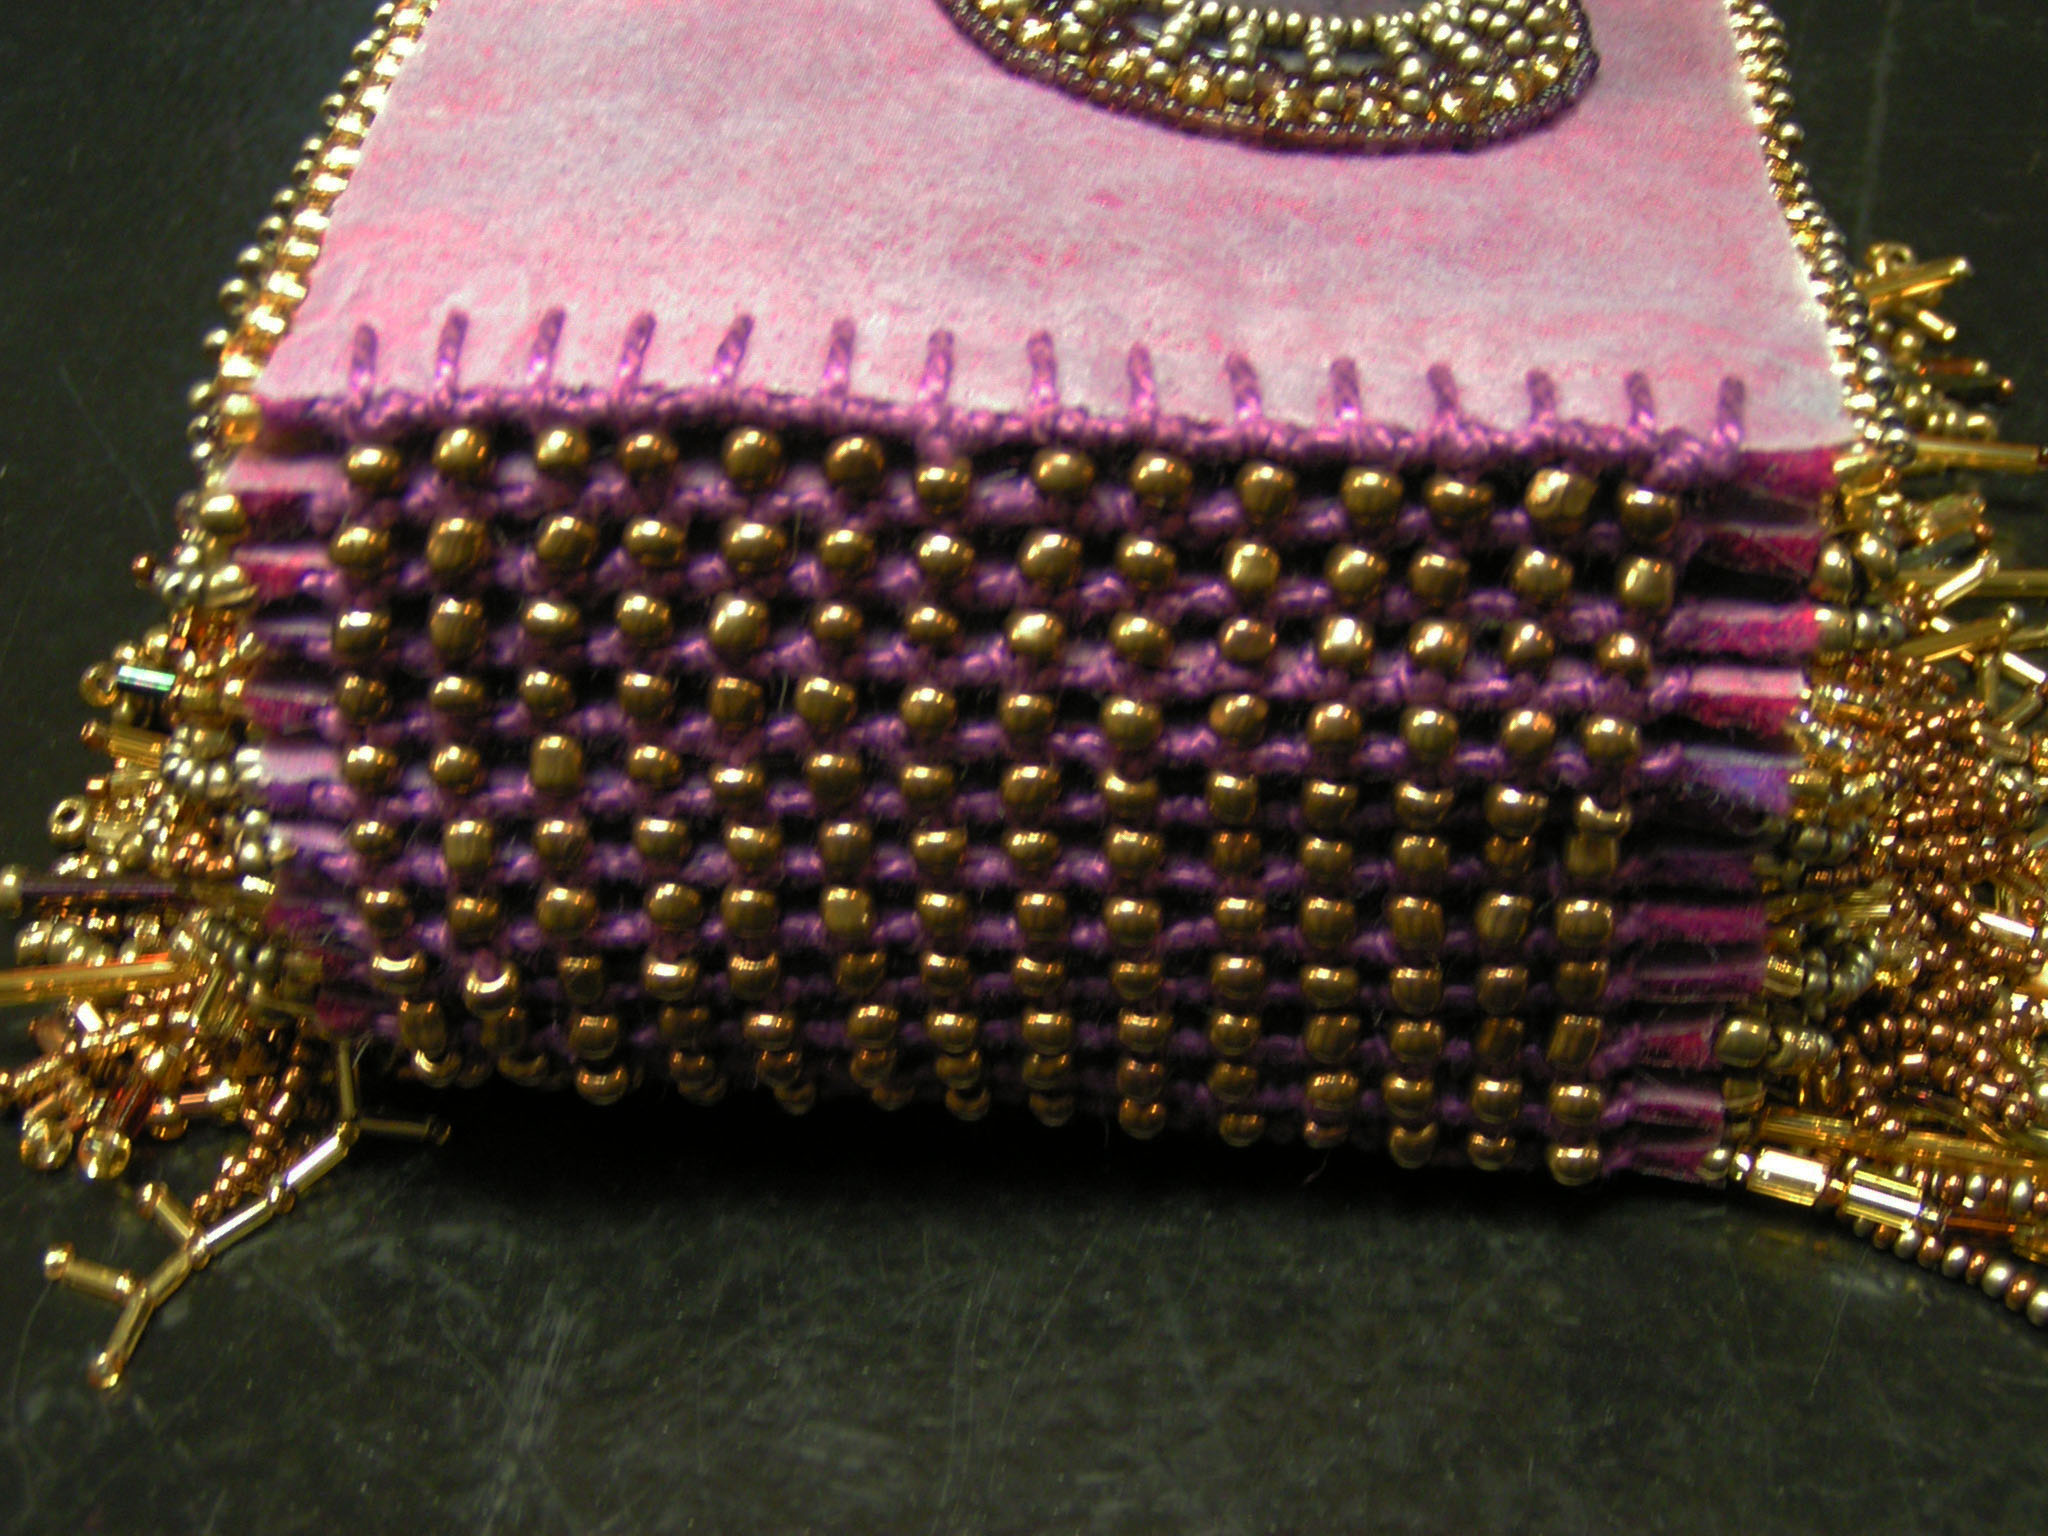
MINOLTA DIGITAL CAMERAAnd here is the binding which is done with raised chain band and I added a bead between each stitch for spacing. The book weighs over a pound and I did add a beaded tassel after this photo was taken. You can see it in the video above. I enjoyed making this book but it is probably the only one I will ever make. I hope you enjoyed seeing it closer. It was part of my homework for my Level 2 Stitch Class at the Gail Harker Creative Studies Center.

January Projects

January Projects

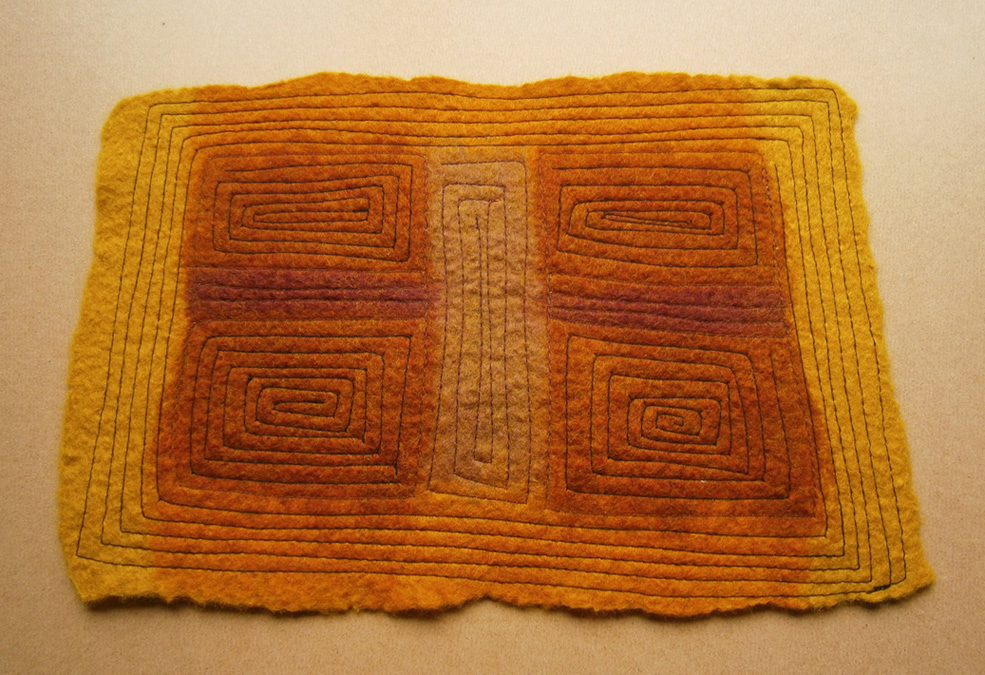
I’ve been trying to find ways of having a few projects on the go so I can work on them for a few minutes at a time where possible. A few months ago, I posted about a couple of felt pieces I’d made with the intention of practising stitches for the Take A Stitch Tuesday challenge. I didn’t keep up with the challenge, so had the pieces spare. I decided to add some stitching to the first piece. This is how it looked originally. I started by machine stitching around the patches of colour.

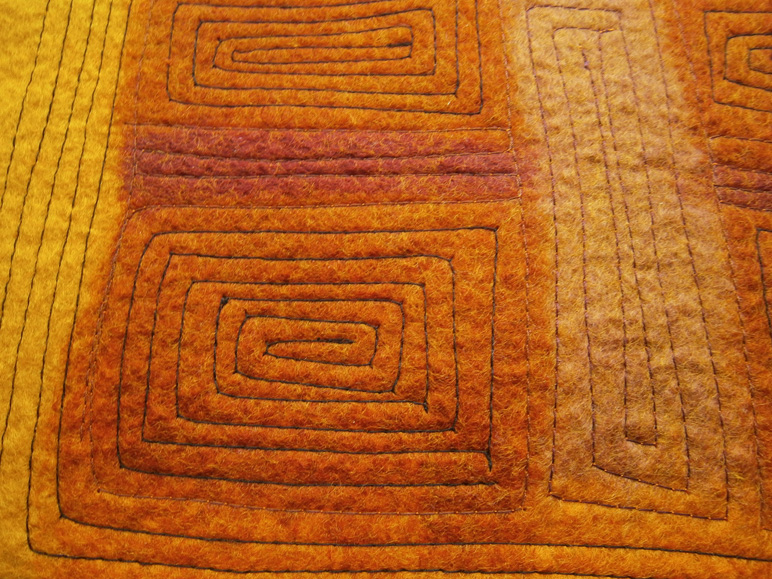
OLYMPUS DIGITAL CAMERAThis is a close up:

OLYMPUS DIGITAL CAMERAOver the next couple of days, I added some hand stitched straight stitches, first in in yellow and then added some in orange.

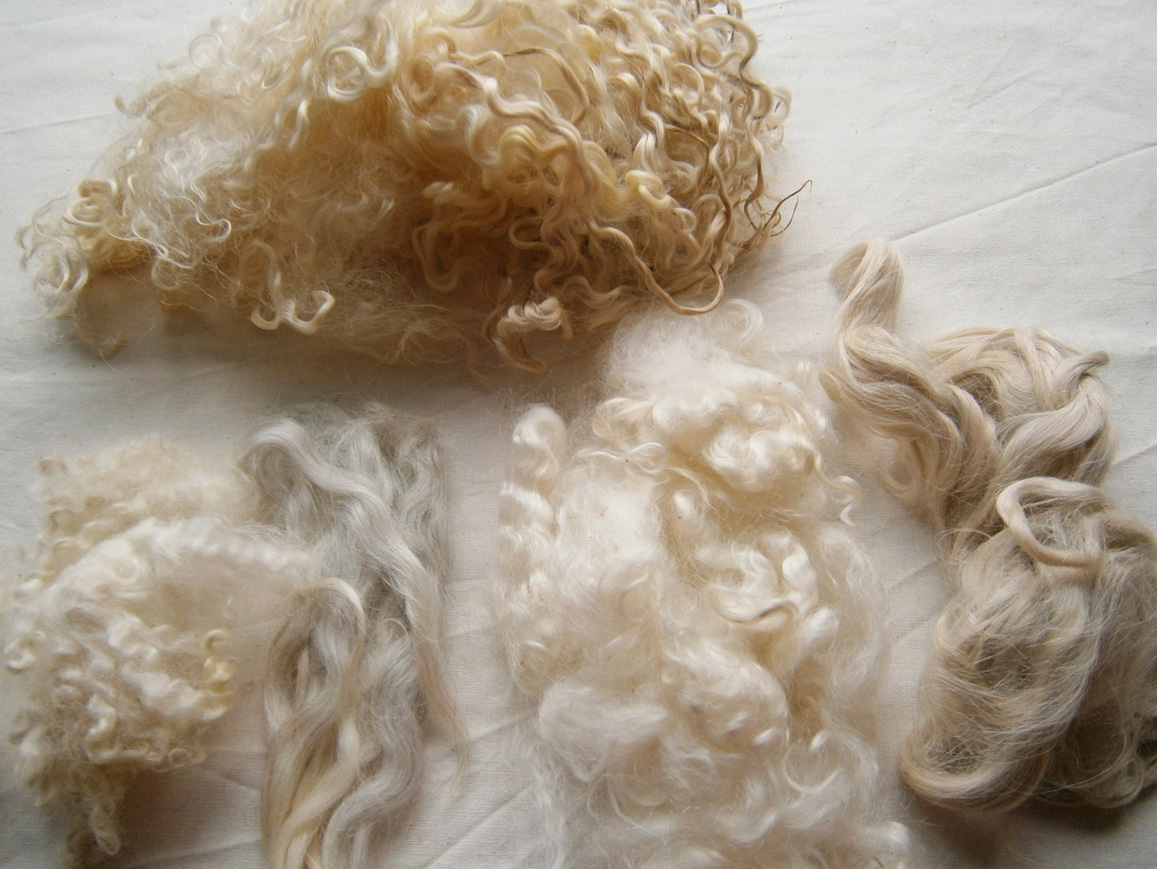
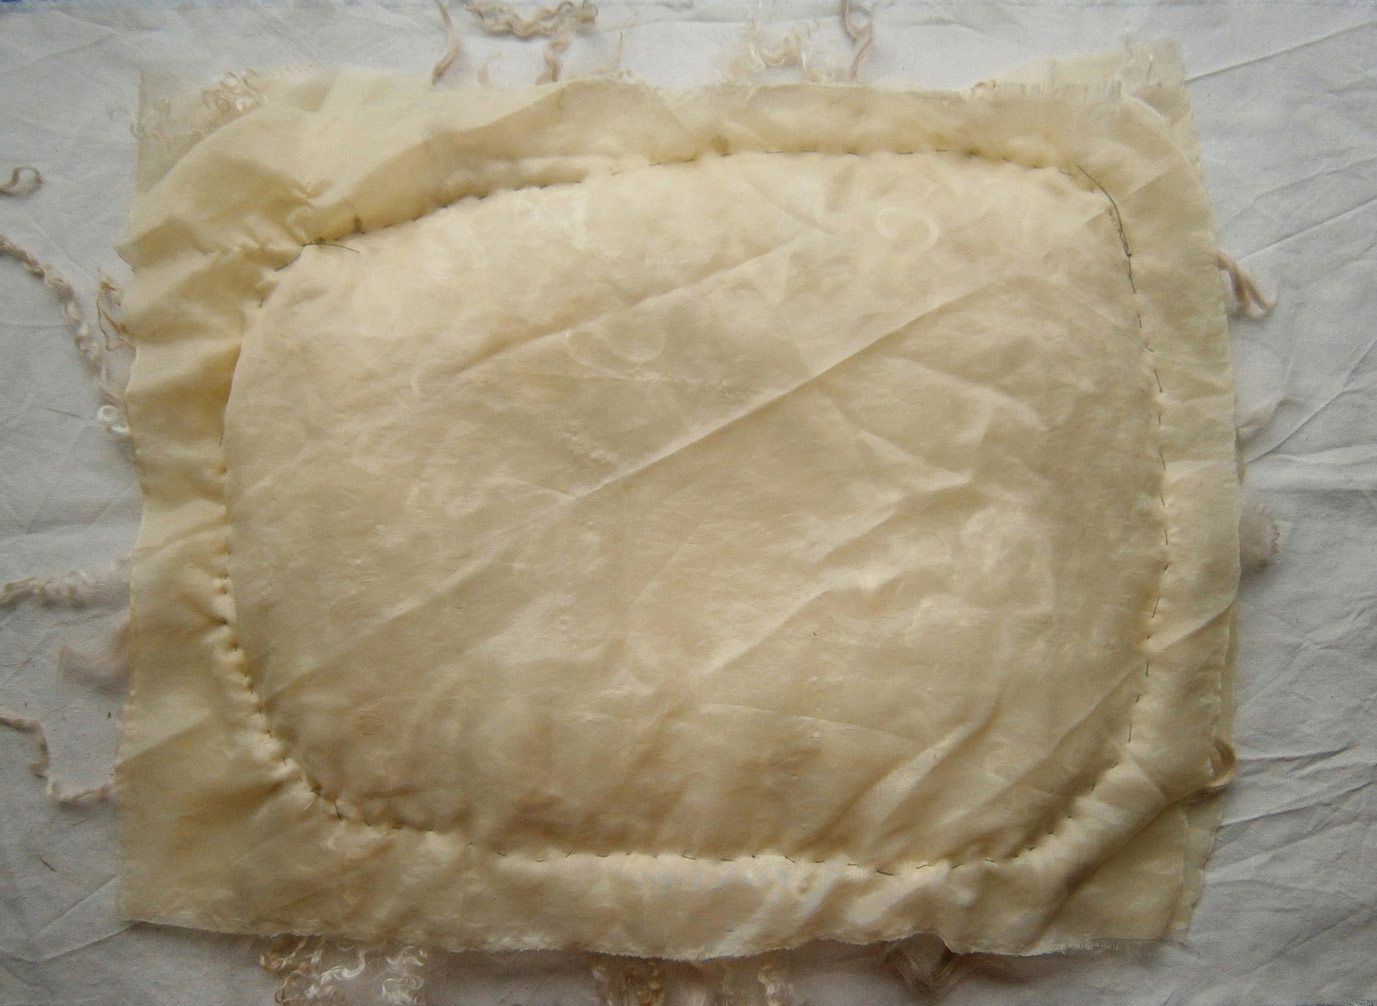
OLYMPUS DIGITAL CAMERAAnother project I got started on this week is a white texture felt piece. Liz from That Fuzzy Feeling blog, recently made a gorgeous piece of texture felt and it inspired me to make one. I decided to make a natural white one, so I got to play with (and smell!) my collection of wool, alpaca and mohair locks. They are mostly unwashed so my hands felt really nice afterwards.

OLYMPUS DIGITAL CAMERAThe first day I managed to get as far as laying it out and sewing up around the edges.

OLYMPUS DIGITAL CAMERAHere are some of the gorgeous locks I positioned around the edges:

OLYMPUS DIGITAL CAMERASo far, I’ve managed to add the stitches from the top to the bottom.

OLYMPUS DIGITAL CAMERAThanks to Ruth for encouraging us to find ways to fit in a few minutes of fibre time each day, I’ve managed to get a lot more done this week than I otherwise would have. It might not be much each day, but before long, it all adds up to finished projects I wouldn’t have had without the challenge 🙂

Sewing, Felt Hat to Purse, Felt Boots.

Sewing, Felt Hat to Purse, Felt Boots.

Last time I told you about organising one section of my room and clearing off the table. My next area is the sewing area. It’s coming along. It started like this:

sewing area before

There is also a bunch of stuff on the floor under and around it that you can’t see in the picture. I have made progress but the shelves to the bookcase have disappeared so it’s hard to fill them up. I did switch the old singer that needs a part for a newer one. I haven’t tried it but it may need a cleaning. I still have the pfaff I can use. I want to set it up for free motion embroidery. It is a work in progress

As part of trying to do some fiber art everyday I have been working on converting a hat to a purse, well, 3 hats actually. The hats started out looking like this:

hat to purse 2

I cut the holy part off and did this:

hat to purse 1

This should add some interest with great texture.

Here is one that has the texture done. The colour on the left one is more what it looks like I think it’s called Laurel.

hat to purse 3 hat to purse 4

I had planed to get the lining in before posting but that didn’t happen. I will show you when I get it done. It will also get a zipper too. I haven’t decided if it should be a clutch or I should find some sort of strap for it. What do you think?

Lastly I have started my on-line boot class. It took me  a while to convince You Tube to let me see the videos and then my Internet went out for a week. So all I managed to do was my sample and get my pattern drawn out.  The sample of gray Finn wool shrank a little more than 50%.

shrinkage

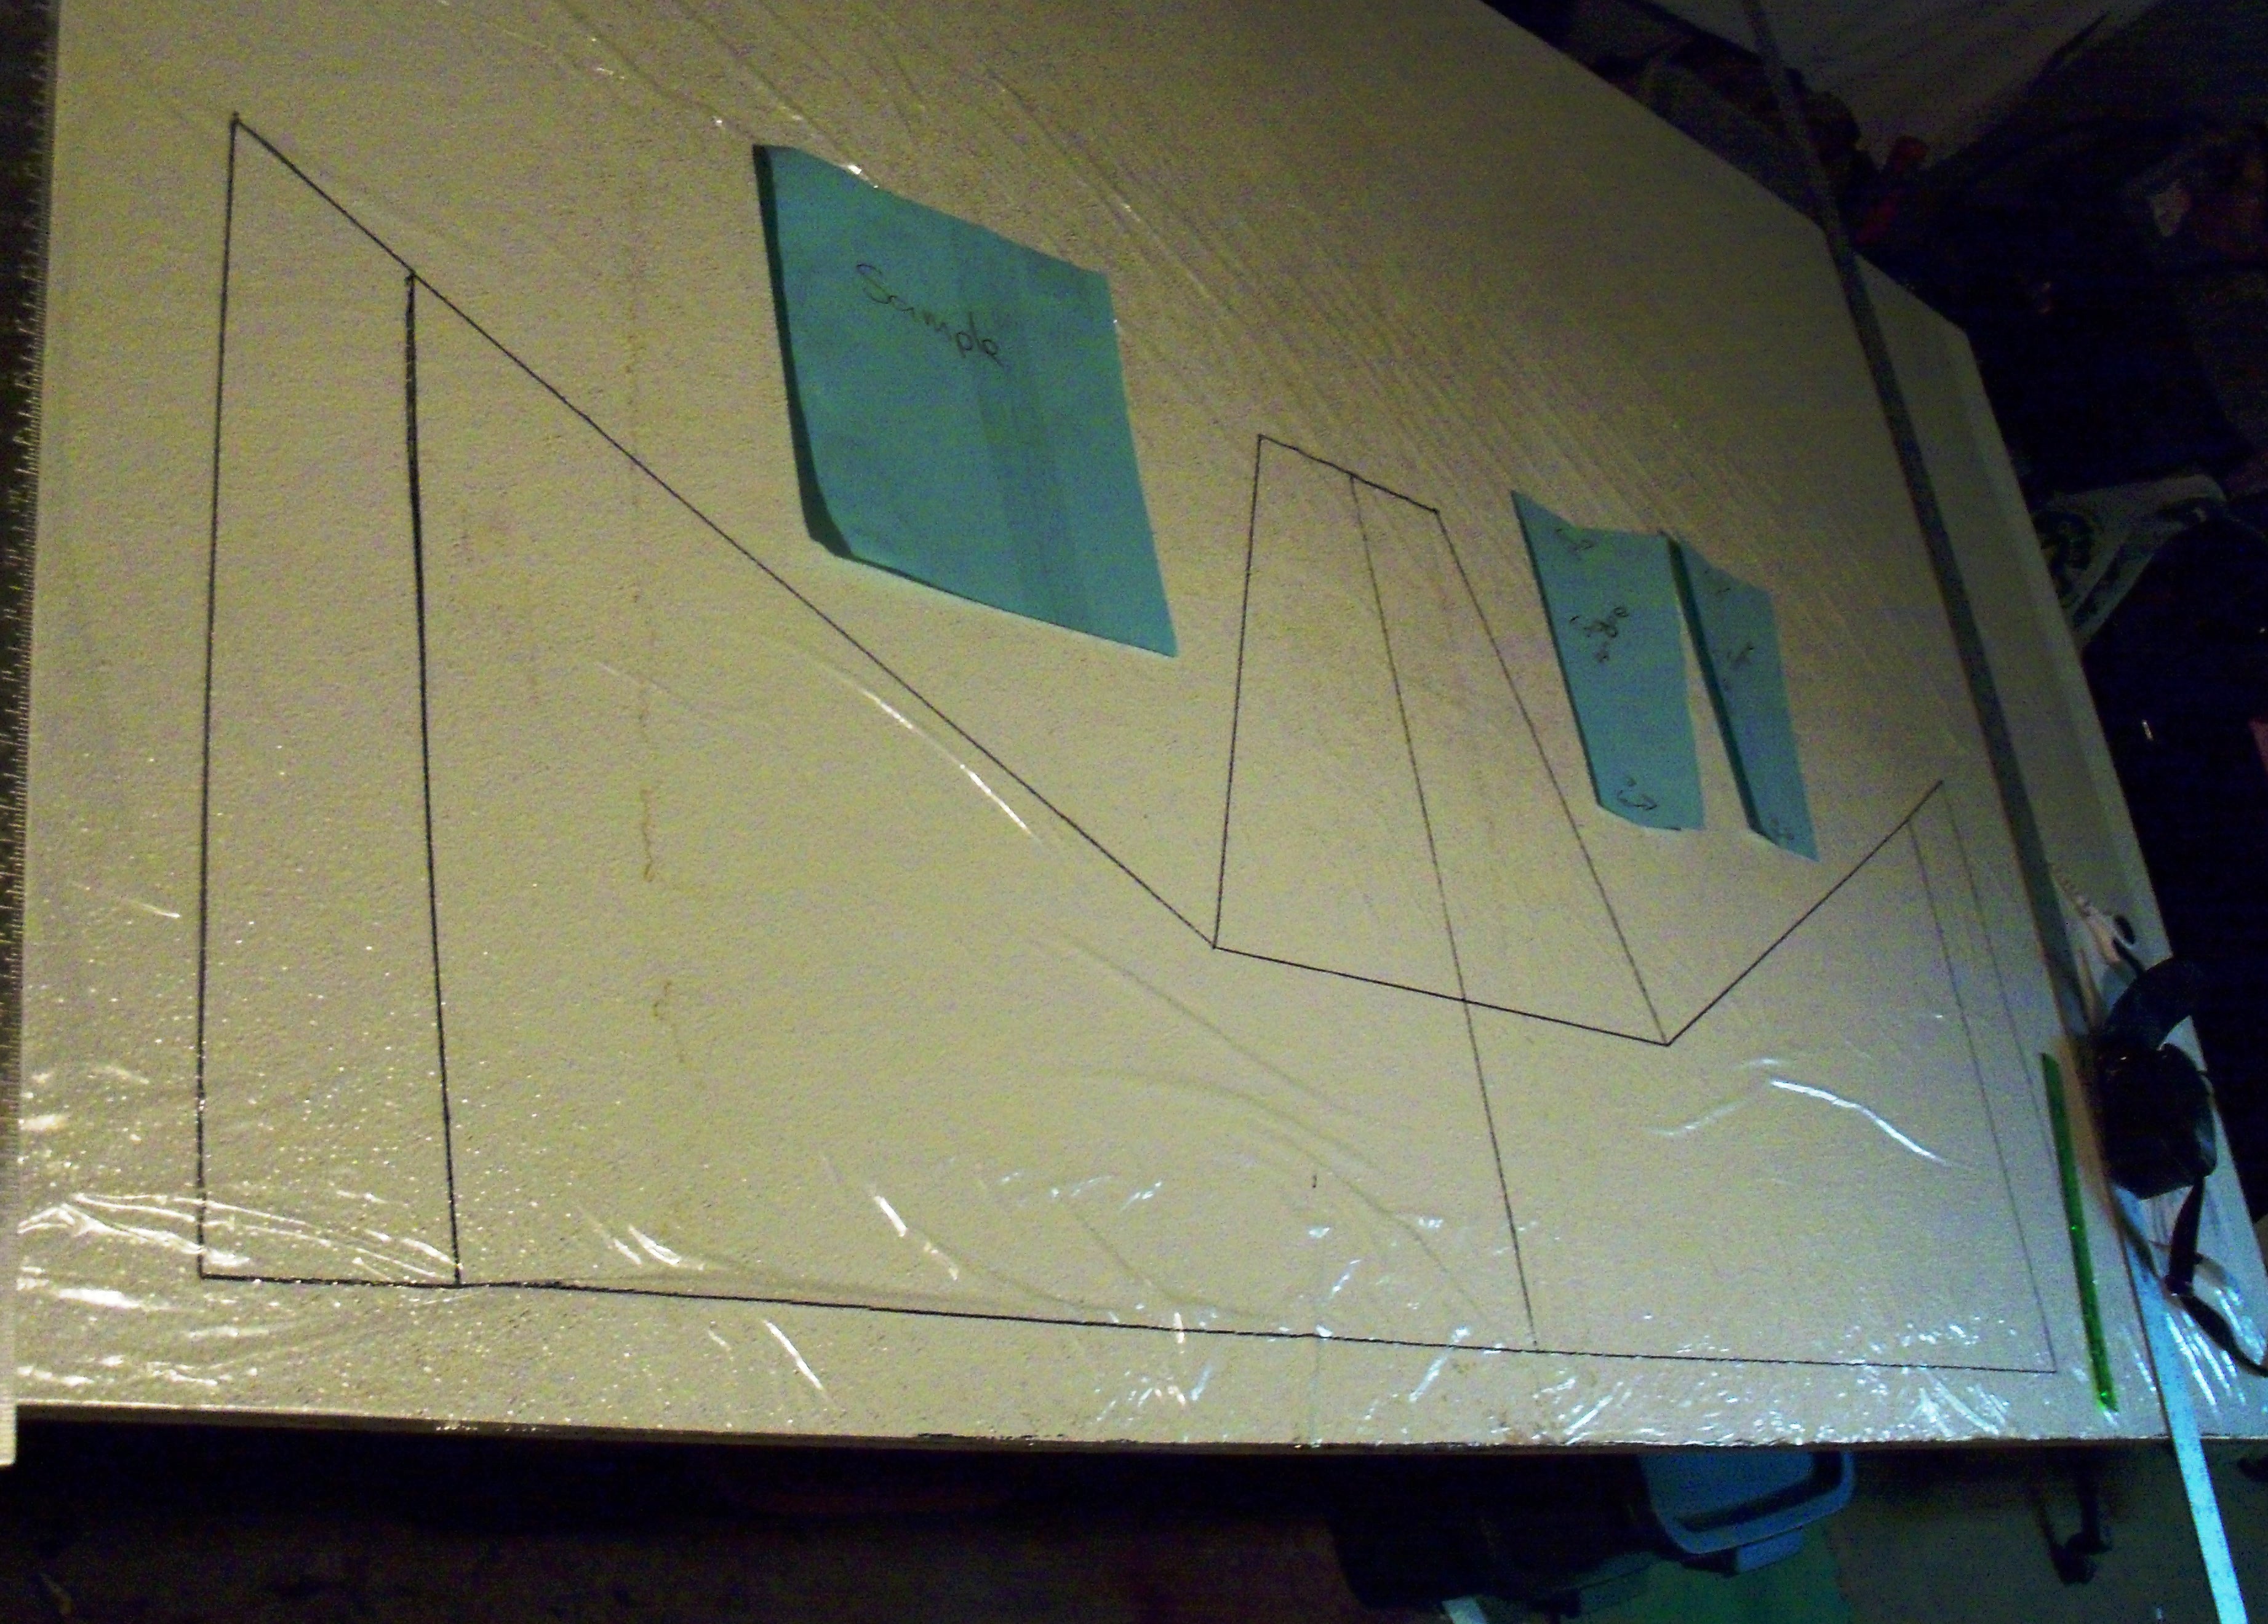
There was a lot of measuring and some math to get the pattern the correct size for the shrinkage.  This is what it looks like at the moment.

boot patten

My mom came for a visit so I couldn’t lay out the boots today. I decided I want to make a leave motif on the boots when they are done so I cut out leaf shapes in white and black. the booths are gray. I stretched a couple with some vintage “artisanal silk”. I am told it’s not real silk but its pretty.  I don’t know if I like it. I was thinking of sewing some veins on with my machine to see how that looks. I have some dissolvable interfacing I thought if I put the leaves on that I should be able to stitch them.

leaves

So I haven’t been able to actually do some fiber art every day but I have been thinking about it everyday and getting to play most days.

around the web

around the web

felting around the web 5 small 400

http://www.peaceindustry.com/page.php

Recycled Knits and Fabrics combined with Felt Scarf by Sassafras Design

Heather’s Red and Yellow Scarves

http://mjuliarossi.blogspot.ca/

Have you been following Liz’s journey with her students for Holocaust Memorial Day?

http://www.feltinhand.com/gallery.htm

http://woollove-functional-fiberart.blogspot.ca/2013/01/under-big-top-scarf-part-1-of-2.html

knitting around the web

http://vimeo.com/54243073

stitching around the web

http://www.wendyfeldberg.ca/galleries.html

Nell’s Textile Art Gallery

mixed media around the web

Simple Directions for Covering a Lamp Shade with Felt

Acrylic Leaf Printing for your Art Journal Pages

Shrunken Books Tutorial from Maggie Grey

http://cornit-felt.blogspot.ca/2012/06/about-our-roses.html

dyeing around the web

http://wendyfe.wordpress.com/2013/01/10/eco-prints-to-start-the-year/

Print to Stitch Lichen

Print to Stitch Lichen

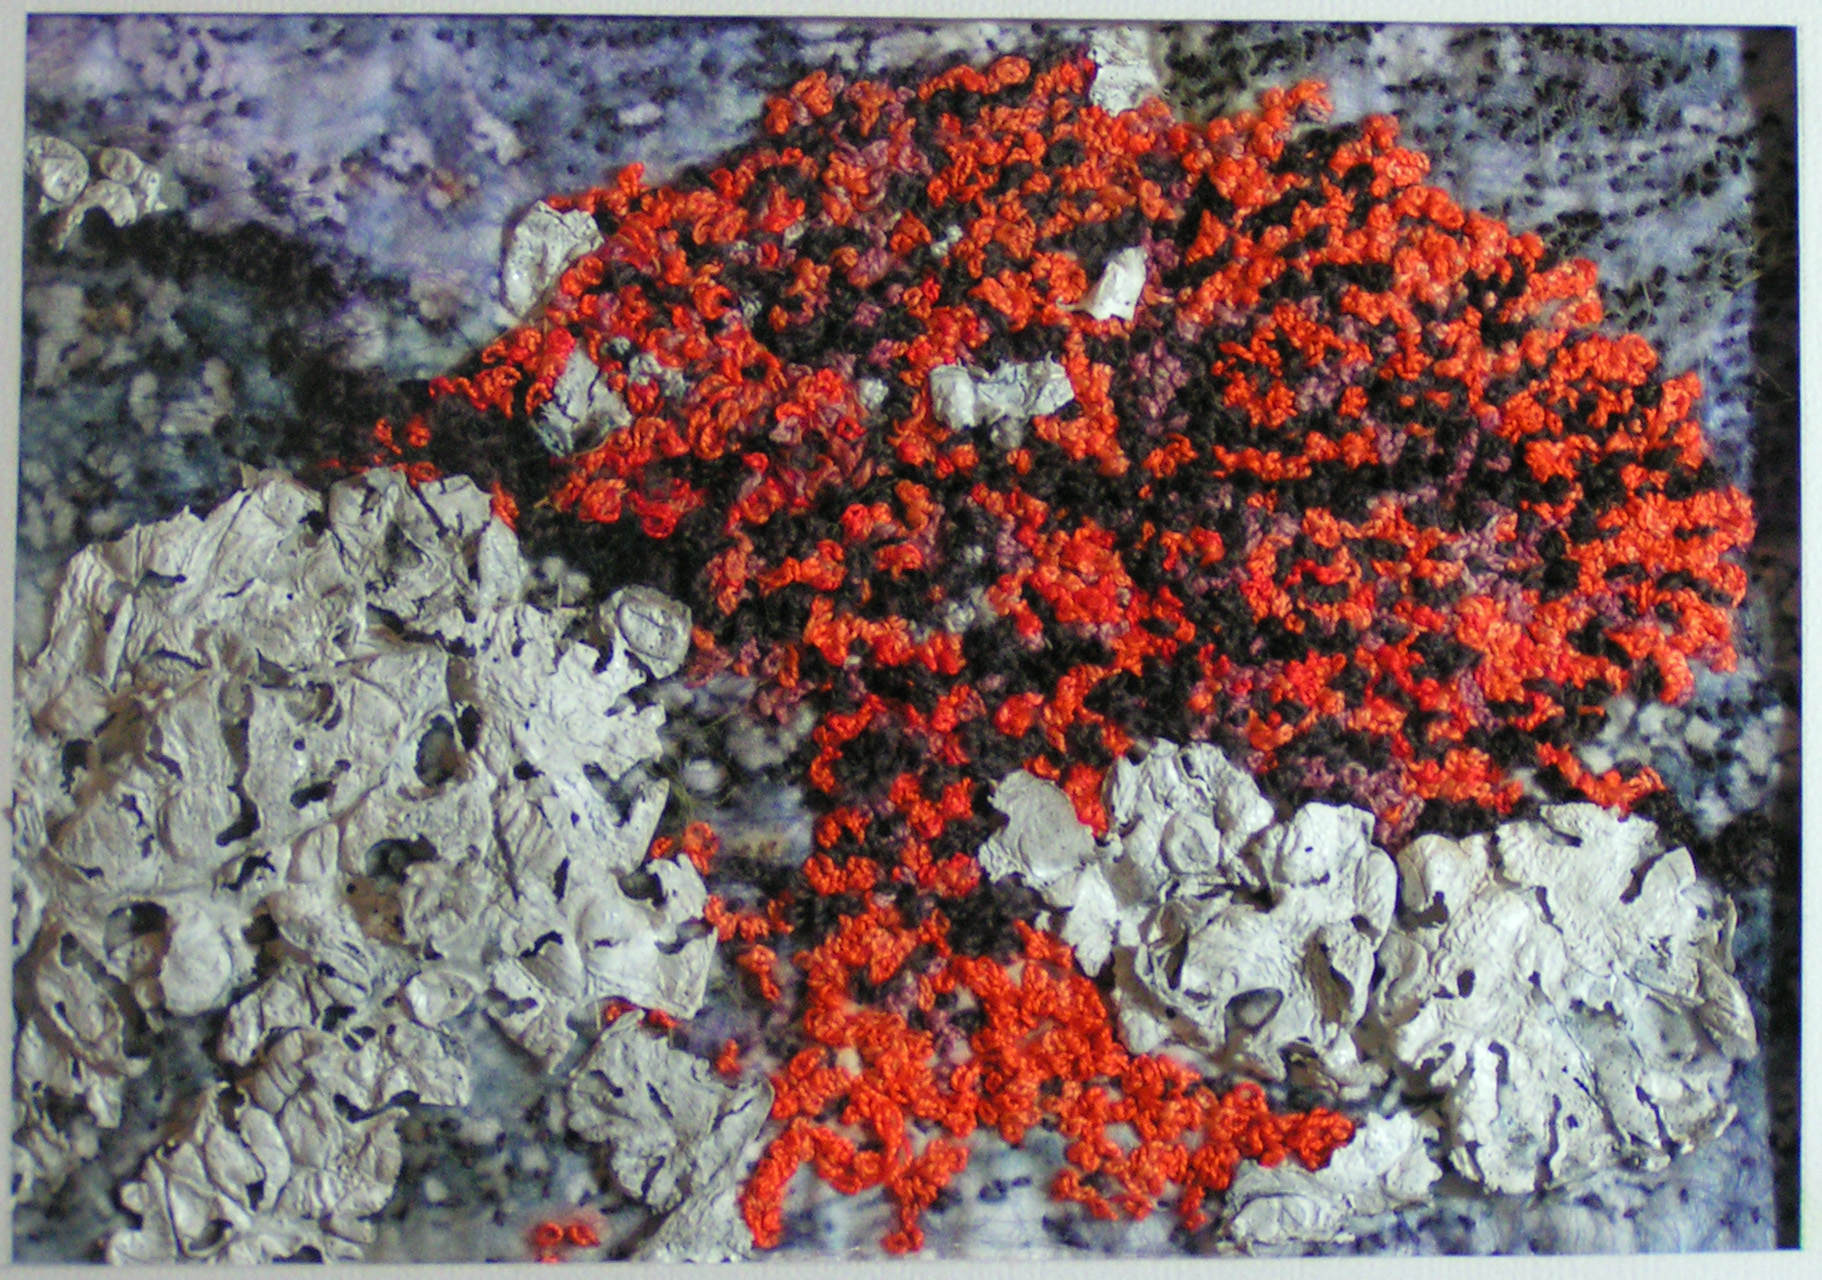
I finally finished my last print to stitch piece from my class homework. This piece was all stitched by hand and I started it in class on September 8th. I finished it on November 22. I can’t say that I worked on it every day but I did spend 3-4 hours per week on it. I thought it was never going to be finished. But I made it just in time. I go back to class on November 28th.

This is the original photo. It is a rock with various kinds of lichen on it. The photo was cropped and printed on to fabric. And then I started stitching. I stitched and stitched and stitched…

Here is the finished piece. You should be able to click on the photo to get a better look at the stitching. Most of the stitches are detached chain stitch with the thread left loose. The white parts at the  bottom are painted and heated Tyvek.  The background stitching is seed stitch. All the orange stitching was done with a variety of shades of orange which were hand dyed. I am so happy it’s finished!