Browsed by
Tag: felt samples

Felt Samples Notebook

Felt Samples Notebook

Recently, Jan posted about the documentation being done in her guild about weaving. When I commented that I had created a felt sample notebook while writing the book The Complete Photo Guide to Felting, Jan asked that I share the notebook. So here it is!

I want to thank all the people and companies that donated to this effort as I had asked for samples of different breeds of wool, other fiber that felts and different embellishments. That’s how I got a wider selection of fiber. For each sample, I documented the type of fiber, the type of processing (batt, roving, raw wool etc.), how long it took to felt, the amount of shrinkage and any comments about the felt that I thought were good to remember. Each sample started with the same size layout and were all felted in the same way. I guess I should have documented exactly what I did but this was in 2011 and now I can’t remember exactly how they were felted or fulled.

I put all the samples on black construction paper with a small piece of double stick tape and a label beside each piece. These were put into plastic sleeves and stored in a large loose leaf notebook. You can easily slip the pages out of the sleeve to be able to touch the samples and look more closely. Most of the felt samples (without embellishments) are the natural color of the fiber. You can click on any of the photos to get a closer look and be able to read my documentation about each fiber.

Pelsull/C1 Blend and Dorset

Blue Faced Leicester and Corriedale

Falkland and Finn

Gotland and Icelandic

Merino and Norwegian C1

Pelsull and Polwarth

Romney and Wensleydale

Alpaca and Angora Goat

Angora Rabbit (smaller sample due to limited amount of fiber) and Bison Down

Camel and Cashmere

Llama and Yak Down

The second part of the notebook is about embellishments. I used a merino wool and applied the embellishments to the surface. I didn’t do much documentation on these except to state what the embellishment fiber is.

Silk Top and Silk Cap

Silk Throwsters Waste and Silk Hankie

Silk Carrier Rods and Silk Noil

Rainbow Nylon and Angelina Fiber

Fake Cashmere and Tencel (viscose)

Banana Fiber and Sea Cell Fiber

Flax and Wool Nepps

Wool Slubs and Wool Locks (flat on surface)

Wool Locks (ends loose) and Pre Yarn

Specialty/Novelty Yarns and Cotton Fiber

Soy Bean Fiber

I have always been an advocate of doing samples before starting a project. I think it really saves effort, time and money so that you have an idea how something will work before doing a larger project. Do you make samples? Do you document the results? We’d love for you to share your sample process over on the forum.

If you have any questions about the samples above or about using a specific fiber, feel free to ask in the comments below.


Mystery Fiber – Identify It, Felt It, Take it Further

Mystery Fiber – Identify It, Felt It, Take it Further

Hello all.  My name is Arlene Toth and I am a Fiber Artist.  It sounds like I am owning up to an addiction, and I am.  I am addicted to working with wool.  If you don’t know me already, I have a blog called Adventures in Felt.  I took up needle felting in March 2019 where they were giving a demonstration at my local haberdashers.  The first thing I ever made was a bumble bee from a kit.  From then on I was hooked and it just snowballed from there.  As with any addiction, I eventually got hooked on the hard stuff, wet felting.  The first thing I ever wet felted was a very tiny vessel.  I used to paint for 10 years, but painting hasn’t had a look in for over a year.  I wonder at times how I have lived so long and didn’t know about felting until now.  I feel I have a lot of lost time to make up for.  Starting any new hobby is an adventure and I am always up for one of those.  I love this so much that I have immersed myself in it completely.  I have amassed a library of felting books, watched tons of videos (good and bad), and taken online classes.  I am so grateful to those out there that share their knowledge.  So I blog about what I learned.  As far as I’m concerned, it is all an experiment, and like painting, not everything is going to be a masterpiece.

One of the things I have learned is that making samples is important.  Most of the time I just jump right in, but there is value when making small samples especially if you are unfamiliar with the product you are using or the method you will be felting.  For instance, I bought some Botany Lap Waste from World of Wool.  I ended up with a lot of fiber that I thought was merino as it was so soft and felt like superfine merino, but turned out to be alpaca.  How do I know that?  Well, I initially felted with some of it, but it didn’t felt like the merino.  Fortunately, the item I was making was mostly merino, so this mystery fiber did ultimately felt.  I then decided to make some samples as I had a lot of mystery fiber.

Firstly, you need to identify your fiber if it isn’t labelled.  The first way to check if it is animal hair is to burn it.  Yes, burn it.  I used a fire lighter and took a piece of the fiber and it singed and smelled like burnt hair.  If it does that, it comes from an animal.  It doesn’t matter at this point which animal, but an educated guess reckoned that it was alpaca.  Alpaca is a lovely fiber, but some types will felt and some won’t. I have a lovely knitted alpaca hat I bought in Peru which is so soft and warm.  So either way I am going to be a winner here.

Now that you have determined that your fiber comes from an animal and it isn’t synthetic, you will then need to felt a sample, step two.

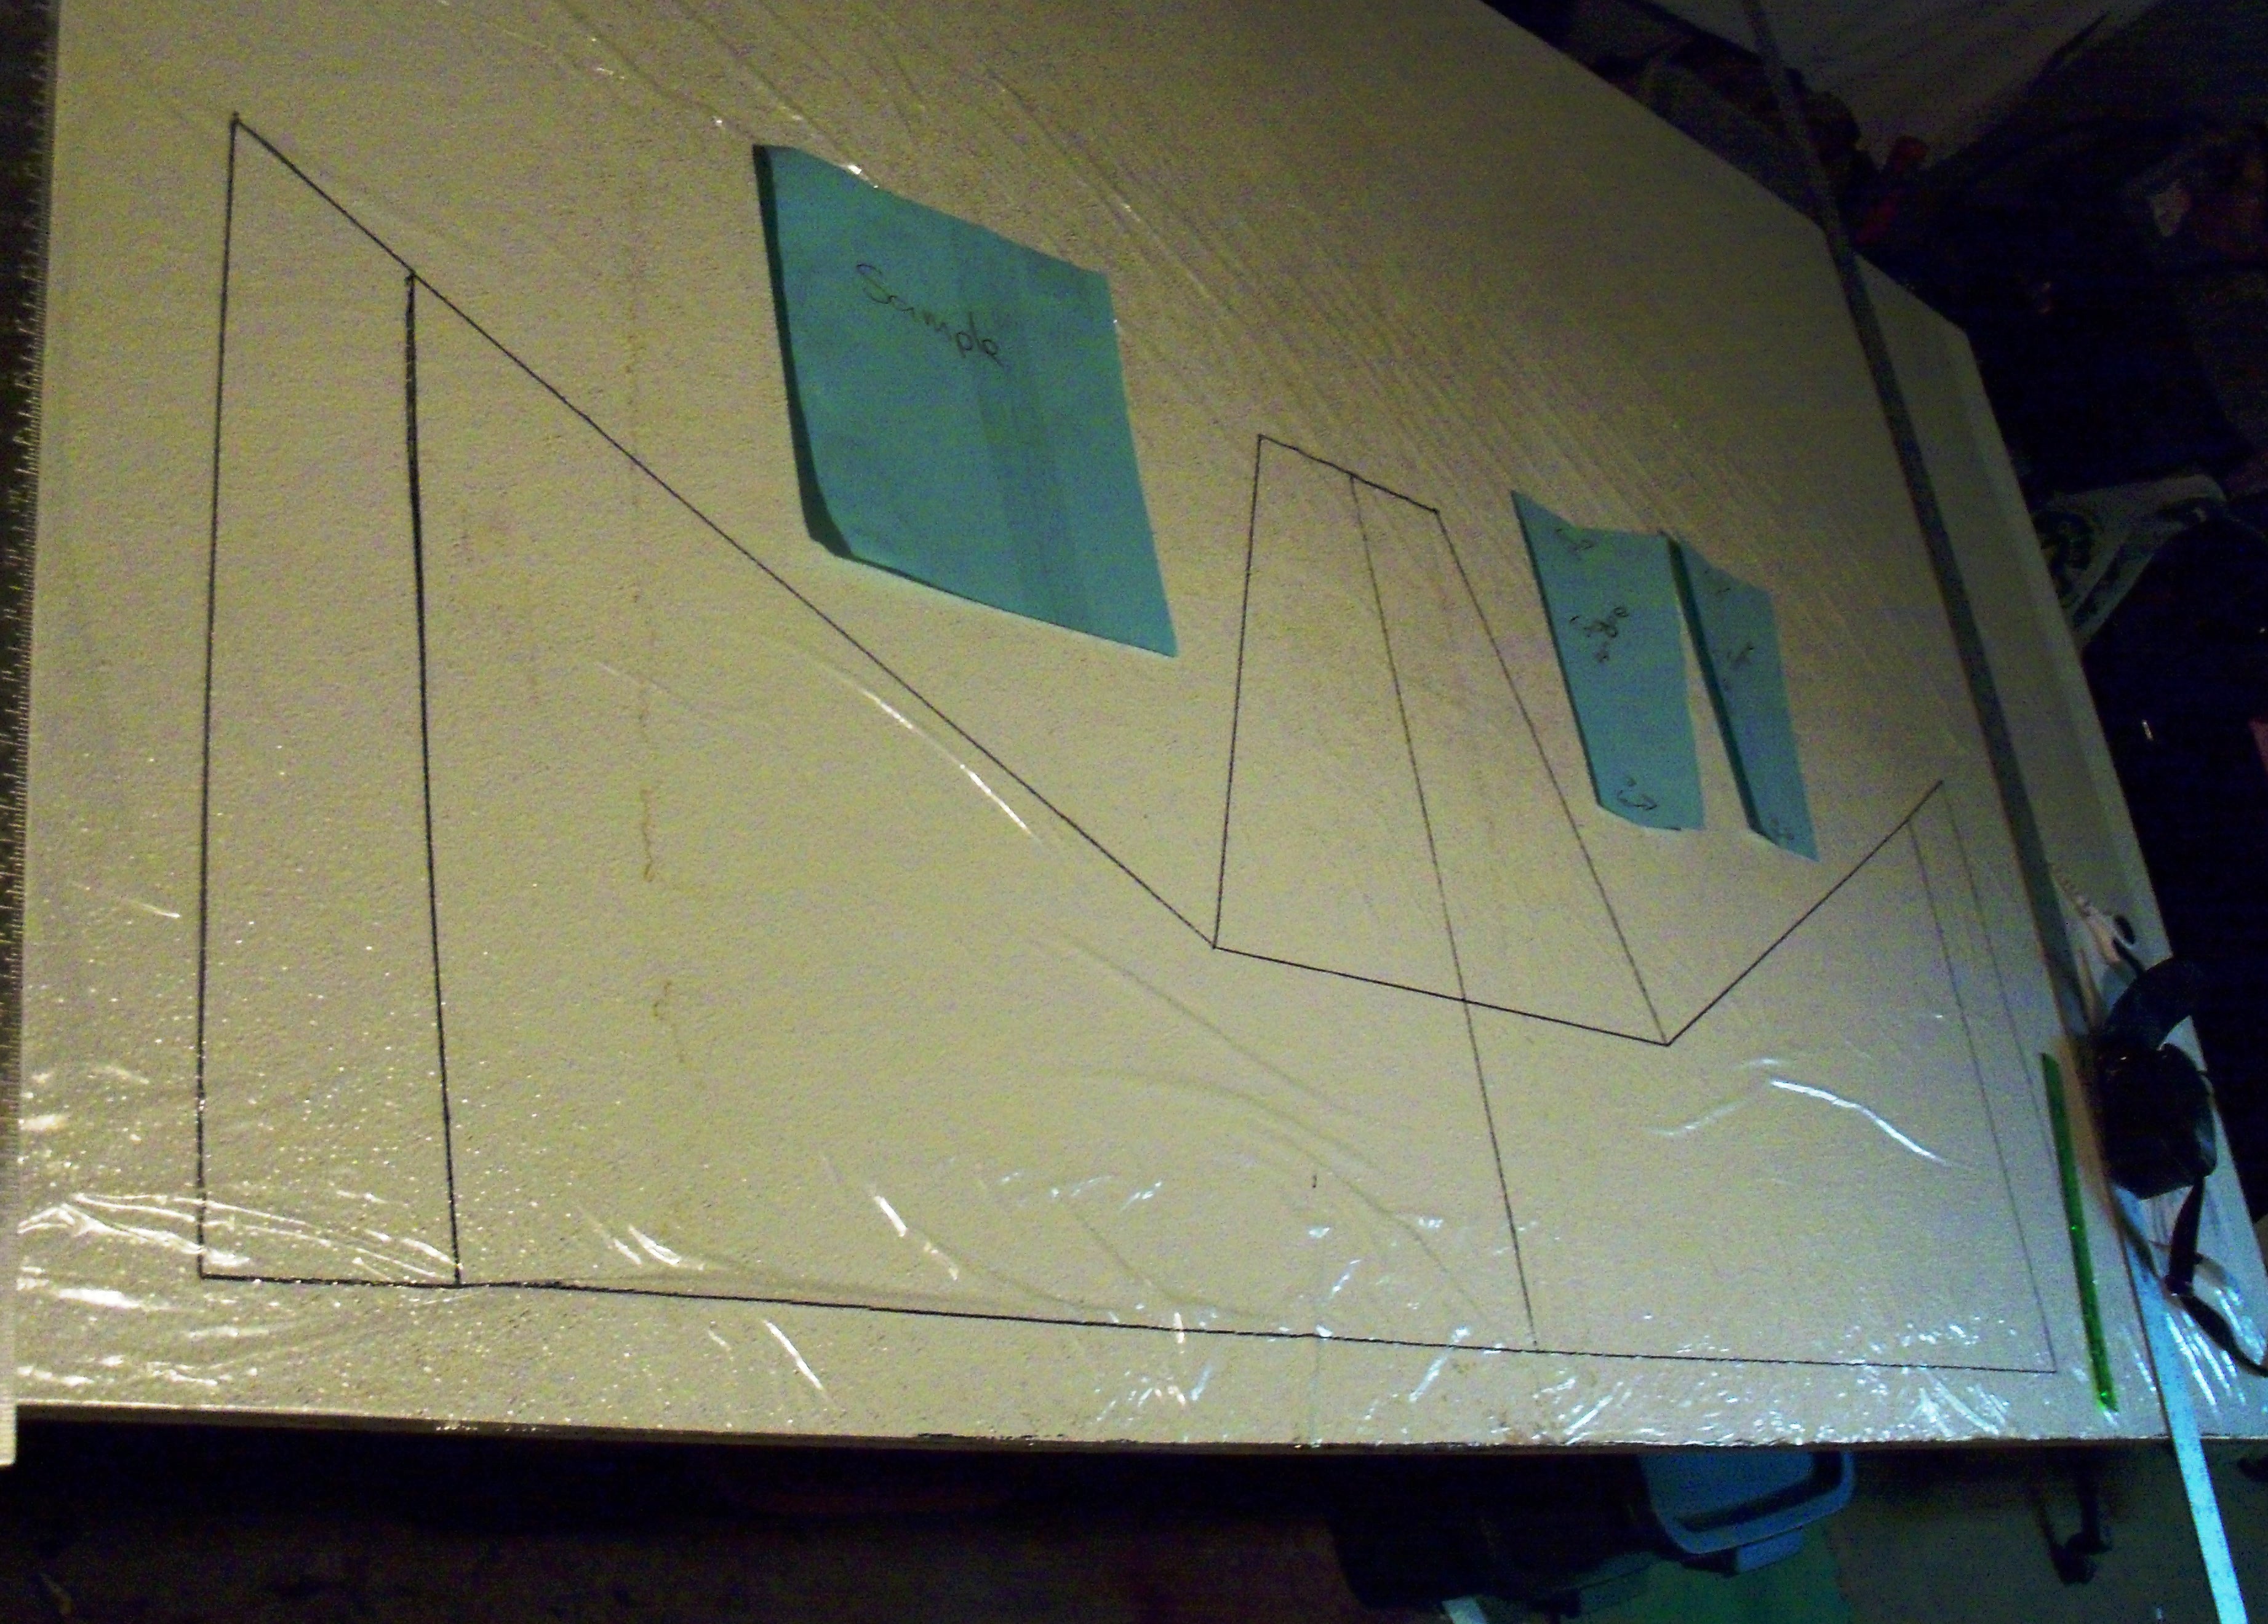
I had three mystery fibers in grey and the black is merino that I used for my control.  I laid them out with two layers.  I wet them out with tepid soapy water and started the felting process by sanding on boths sides, rubbing and rolling.  This is what they looked like.

B was looking as it should for merino, but neither A, C or D passed the pinch test.  I kept working at the samples and I finally got them to do a little something.

I can honestly say that if you want to become a good felter, you need tenacity as this is not a quick craft!  Not only was this fiber slippery and hairy, it was also squeaky!  You can see my lovely control Fiber B doing what merino is supposed to do.  Neither A, C or D is suitable to felt on its own.  D looked like a complete disaster!  Now, some people might think D was superwash, but superwash will not felt, at all, with anything.

So, I completely wasted my money right?  No!  You can stop right here, but if you know how to spin, you can spin with alpaca to make a lovely yarn.  I don’t know how to do that yet!  I was going to give some to a friend, but then we had lockdown, so I just labelled the bags as alpaca and put them away.  However, if you are like me, you will take it further, step 3.

How do you take it further?  You add wool to it.  Something you actually know is wool that will felt. People in the feltosphere suggested that.  So I did.  I got out the blending board and blended the alpaca with merino.  I used the black merino for the dark alpaca and natural grey merino for the other two.  Here they are all laid out as before.

I then wet everything out and felted as before.  As you can see below, adding the wool made a huge difference and made for a better felting experience.

Here we are above drying out in the sun.  They felted better than expected, especially D.  Here is the final outcome below.

Sample A) From 9 squares to 6 squares square, took the longest to felt, hairy, and has some fine holes in it.

Sample B) From 9 squares to 6 squares square, was the quickest to felt.  Sturdiest and best felted of the three.

Sample D) From 9 squares to 7 x 6.5 squares.  I couldn’t get it down any more than that, but considering it was falling apart on its own, this is a good result.  Has some holes, but more like superfine cobweb.

This is the condensed version of 3 blog posts regarding this mystery fiber.  My conclusion is that I shall only keep sample C as it felted the best with the merino.  The other two will be used for spinning, once I learn how to do it!  So, if you get given some fiber that you are unfamiliar with, make a sample and see what happens!

A Few More Samples

A Few More Samples

About a month ago I posted a couple of photos of some scruffy/tassley felt samples in more neutral/bolder colour schemes. The black one I’d made inspired me to make up some batts of various grey blends. Luckily (or not?) I’d got a load of grey tops in some Botany Lap Waste, but after recent experiences, thought I’d better make some samples! I had 4 shades of what felt like Merino tops, so I started with them. As it turned out, the felted just like Merino tops!

OLYMPUS DIGITAL CAMERAThe next one I tried felt like nice soft natural wool tops, it was a ‘humbug’ blend, which I usually associate with Jacob, but it felt much softer and looked as if there might be some ‘other’ fibres blended in too. I guessed at black viscose. There wasn’t much and it wasn’t any more obvious after felting, but it made a nice piece:

OLYMPUS DIGITAL CAMERAOften the tops in the Botany lap waste are the end of blend runs and custom orders. I think I got the leftovers from someone’s huge grey order, which was mostly fine, but there were some strange blends, like natural greys with nylon, and this next one which was a natural grey with a purpley Angelina sparsely blended in. You couldn’t see it at all afterwards though:

OLYMPUS DIGITAL CAMERAThis is it flipped over:

OLYMPUS DIGITAL CAMERAIt felted really quickly, was really soft, but also had quite a curl/wave to it, the shade of grey reminded me of Suffolk, but it didn’t feel like it. This is it held up at the window:

OLYMPUS DIGITAL CAMERAAnd a close up:

OLYMPUS DIGITAL CAMERAAnd just because there’s been so much grey in this post, a nice colourful bluey green piece:

OLYMPUS DIGITAL CAMERAAnd some scrap yarn coiled up:

OLYMPUS DIGITAL CAMERA

Sampling

Sampling

On my last post I showed a nuno felt piece I’d made using various wool tops I got in a recent bag of Botany Lap Waste from World of Wool. It became obvious that not all were Merino or even 100% wool, so I thought I’d try some samples. The first one is the kind of Royal Blue from the back of the nuno piece. I’d had a feeling at the time it might not be Merino, but it’s surprising how different various tops can feel and even look when you use lots of different ones together, even when they’re all 23 mic Merino. I know sometimes it’s because they’re old and a bit dry, but I think it has something to do with the dyes too:

OLYMPUS DIGITAL CAMERAThe staple length was really long, and it wasn’t exactly coarse, but wasn’t as soft as Merino, so I’m guessing it’s Corriedale. This is on an angle:

OLYMPUS DIGITAL CAMERASome other tops I got were obviously not Merino or Corriedale. I’m going to guess at Shetland, because WoW don’t do many different breeds of dyed tops, and because it looks similar to some green Shetland I got:

OLYMPUS DIGITAL CAMERAIt looks different on a different background:

OLYMPUS DIGITAL CAMERAYou can see on the close up it’s coarser and hairier than the previous one:

OLYMPUS DIGITAL CAMERAI don’t think I used this next one on my nuno piece either, but it was very similar to the turquoise I used on the back (I only got as far as wetting down that sample). It was obvious straight away that this was never going to felt:

OLYMPUS DIGITAL CAMERAIt’s just two very loosely holding together layers, holding together more by tangling of a few fibres rather than felting, I think:

OLYMPUS DIGITAL CAMERAIt’s not even pretending to hold together at one end, where it started to ‘drip’ when I held it up wet:

OLYMPUS DIGITAL CAMERAAnd this is what it looks like at the window:

OLYMPUS DIGITAL CAMERAI don’t know what it could be, the only similar experience I’ve had to this is trying to felt Suri Alpaca locks. I know Superwash has been suggested, but I don’t think they do dyed Superwash or put it in the Botany Waste.
And inspired by Ruth,  a nice Autumnal photo:

OLYMPUS DIGITAL CAMERA

Sewing, Felt Hat to Purse, Felt Boots.

Sewing, Felt Hat to Purse, Felt Boots.

Last time I told you about organising one section of my room and clearing off the table. My next area is the sewing area. It’s coming along. It started like this:

sewing area before

There is also a bunch of stuff on the floor under and around it that you can’t see in the picture. I have made progress but the shelves to the bookcase have disappeared so it’s hard to fill them up. I did switch the old singer that needs a part for a newer one. I haven’t tried it but it may need a cleaning. I still have the pfaff I can use. I want to set it up for free motion embroidery. It is a work in progress

As part of trying to do some fiber art everyday I have been working on converting a hat to a purse, well, 3 hats actually. The hats started out looking like this:

hat to purse 2

I cut the holy part off and did this:

hat to purse 1

This should add some interest with great texture.

Here is one that has the texture done. The colour on the left one is more what it looks like I think it’s called Laurel.

hat to purse 3 hat to purse 4

I had planed to get the lining in before posting but that didn’t happen. I will show you when I get it done. It will also get a zipper too. I haven’t decided if it should be a clutch or I should find some sort of strap for it. What do you think?

Lastly I have started my on-line boot class. It took me  a while to convince You Tube to let me see the videos and then my Internet went out for a week. So all I managed to do was my sample and get my pattern drawn out.  The sample of gray Finn wool shrank a little more than 50%.

shrinkage

There was a lot of measuring and some math to get the pattern the correct size for the shrinkage.  This is what it looks like at the moment.

boot patten

My mom came for a visit so I couldn’t lay out the boots today. I decided I want to make a leave motif on the boots when they are done so I cut out leaf shapes in white and black. the booths are gray. I stretched a couple with some vintage “artisanal silk”. I am told it’s not real silk but its pretty.  I don’t know if I like it. I was thinking of sewing some veins on with my machine to see how that looks. I have some dissolvable interfacing I thought if I put the leaves on that I should be able to stitch them.

leaves

So I haven’t been able to actually do some fiber art every day but I have been thinking about it everyday and getting to play most days.

Direct Dyeing Felt Samples

Direct Dyeing Felt Samples

A few days ago, on the Direct Dyeing post, Shana was asking whether the same method could be used to dye felt pieces. I hadn’t tried it, but I had a couple of white sample pieces of felt that I thought would be good to try it with, so I did that yesterday. The first piece I tried it with was a sample made from two layers of 23 micron merino with wisps of egyptian cotton top between the layers and on the top. It started out roughly 9 x 12.5 inches, and after steaming for 30 minutes, it was 7.5 x 11.5 inches. The interesting thing with this piece was how the cotton took the dye, in some parts where I’d used a colour made from two shades of dye, the cotton took just ones of the shades

The second sample piece was made from two layers of 18.5 micron merino with milk protein fibre tops between the layers and on top. This piece started out 7 x 14.5 inches and ended up 6.5 x 13 inches. Both pieces were soaked in water and vinegar before dyeing.

I probably should have rolled the pieces instead of folding, from the photos of the backs, it’s easy to see where they have been folded. They didn’t take the dyes as well as wool tops or silk does, and there was still dye in both pieces that had to be rinsed out. The results were interesting though, both pieces felt the same afterwards, they didn’t feel extra fulled or less soft. Thanks for the idea, Shana 🙂

Click ‘Permalink’ under each photo in the carousel to see larger pictures.

%d bloggers like this: