Browsed by
Category: Online Classes

New Online Class!

New Online Class!

Do you want to learn about nuno felting, adding fabric to your wool to create a wonderful piece of textured cloth? My new online class is an affordable and easy way to learn about nuno felting. Registration begins tomorrow (August 10, 2026) and the first session will begin August 21, 2026. Click here to find more information.

Nuno Felted Scarf with Prefelt Leaves

You will learn the basics of nuno felting, creating samples first and then working into scarves and a nuno felted “painting”. The course has four weeks of PDF and video instruction and two weeks of further instructor interaction. You don’t need to be present at any specific time over the six week course.

Manipulated silk roses nuno felted to background

You will also learn other ways to use fabric and paper in your wet felting. There is even a bonus PDF with dyeing information and resources so that you can dye your own fabric to create beautiful nuno felted pieces. Click on the link below to register and read all about the class.

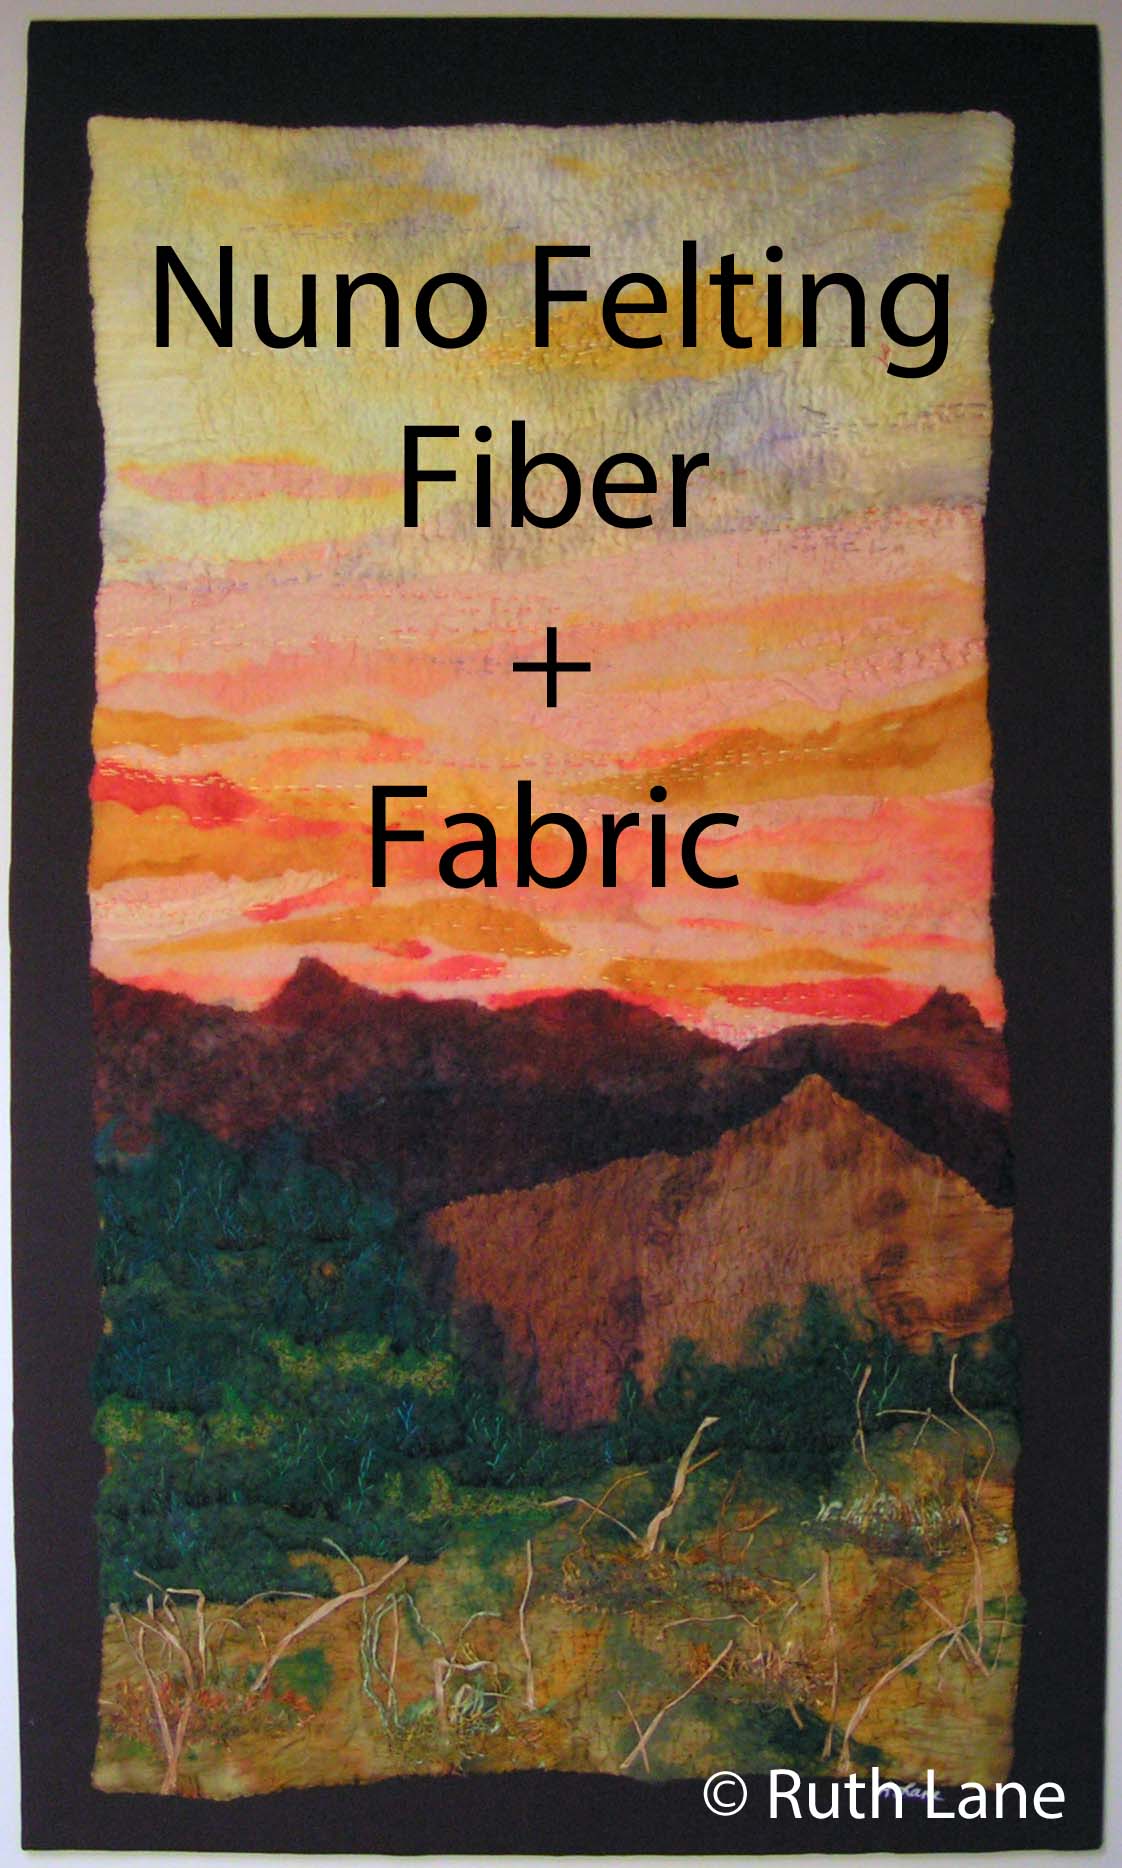
Nuno Felting – Fiber + Fabric

Other online classes available:

3D Multi-Part Resist

Hanging Felted Spiral

The finished pod

Wet Felting a 3D Pod

Wet Felting for Beginners

Transitions

Transitions

I had a wonderful sales month at the 4 Ravens Gallery in Missoula and sold four pieces in the space of 30 days! Yay, happy dance and then… I suddenly realized that the gallery only had 2 small pieces left. I needed more work and it’s summertime and I don’t want to miss the tourist season.

Multi colored nuno felt background with tree shapes placed.

I found I had a multicolored piece of nuno felt big enough to split into two pieces. You can see the edge of the second piece on the right. My trees always seem to sell quickly so of course, more trees it is. I found a piece of handdyed fabric that I had used as “matte” fabric and it was perfect for making tree trunks. I worked out a configuration of trunks that I liked.

Multi colored nuno felt background with tree shapes stitched and auditioning different leaf types with cheesecloth.

Then I hand stitched the trunks in place and tried out some cheesecloth as foliage. I had created a piece before with cheesecloth and tried that idea on the left. It looked too Dr. Seuss in these colors. So I chopped up smaller pieces and thought that would work better.

Multi colored nuno felt background with trees and beginning of placement of leaves and undergrowth.

So I added more, spread the pieces out a bit and added some cheesecloth to the foreground for undergrowth.

Multi colored nuno felt background with trees and foliage.

Here it is before I stitched it all down. The cheesecloth moves around easily so it changes as I stitch but hopefully, that makes it more organic and less regular.

Multi colored nuno felt background with trees and autumn foliage

Here is the piece after all the stitching is complete. The funny thing I noticed is that there are several areas that look like shadows in the foreground from the tree trunks. They weren’t planned but I guess I must have noticed them subconsciously, as they seem to work perfectly. I’m calling this one Transitions.

I dyed a piece of muslin in dark burnt orange for the “matte” fabric, laced it to a backing and took it to the framers.

Framed nuno felted landscape with autumn forest

Here’s the piece framed. I have worked on two other pieces and traded around some pieces that I had at a gallery in Kalispell, so I will have 5 pieces to take to Missoula in a week or so.

Cover Page for Nuno Felting Online Class

In other exciting news, I have a new online class that will be starting on August 21st. Click here to learn more about the class.

Registration Opens for Surface Design on Felt Online Classes

Registration Opens for Surface Design on Felt Online Classes

Registration is now open for the four online classes Embellishing Felt with Surface Design Techniques – A Mixed Media Approach. These are all a fun, experimental approach to adding different types of surface design to felt. Any of these approaches will encourage you to create unique felt in your own style. I hope you will join me this summer in learning something new! This is the last time that this set of classes will be offered. If you have been on the fence about taking one of these classes, now is the time to sign up. After this session, these classes will be removed from our list of available online classes.

All classes are online and last a total of 6 weeks with 4 weeks of instruction and 2 more extra weeks of tutor/instructor support. All classes are taught with PDF’s and videos. PDF’s are available for download for future use and videos are available for the 6 week time period. Classes will begin July 17th and cost $45 US each.


Nuno Felting with Paper Fabric Lamination

Paper fabric lamination is a technique of essentially gluing paper to sheer fabric in a specific design. It is not a new technique and has been used by fiber artists for a long time. When  I first learned the technique, I wondered how I would use the result. Many artists use paper fabric lamination and layer the results together with stitching and other methods. When I looked at my samples, I saw sheer fabric with a design and thought “Why not try nuno felting with it?” I tried it, it worked, and I loved the results. It was a way to use my own designs and create a piece of nuno felt that was completely different and in my own style. Click on the link above to register, scroll down the page and fill out the contact form.

Experimental Screen Printing on Felt

Screen printing has long been one of my favorite techniques and I love its quirky look on felt. This class shows you the basics of many different screen printing techniques and you will learn an experimental approach that will allow you to take these ideas and expand them into your own unique style. Click on the link above to register, scroll down the page and fill out the contact form.

Printing, Stenciling, and Playing with Thickened Dye on Felt

What you will learn:

How to make a print board
How to make thickened dye
How to transfer your designs
Choosing what designs are appropriate for stencils and stamps
Creating stencils from a variety of supplies
Cutting and burning stencils
Creating stamps from a variety of supplies
Cutting a linoleum type stamp
Burning a stamp from insulation foam
Looking at items around the house with a new eye for use in creating patterned felt
How to play with thickened dye
How to stamp and stencil with thickened dye on to felt

Click on the link above to register, scroll down the page and fill out the contact form.

Free Motion Machine Stitching on Felt

You will learn the basics of free motion stitching. I will show you the basic techniques and equipment needed as well as give you lots of practice ideas to improve your skills. Next you will learn about machine lace techniques and how to incorporate them into felt making. You will learn to use a hoop in the machine with water soluble fabric. Then learn about thread sketching. We’ll start out with easy designs and then progress to how to use water soluble fabric to transfer a design and free hand thread sketching. Lastly, you will learn about experimentation and moving forward with your newly found free motion machine skills. I will show you how to add stitch to a felt painting as well as other ideas in how to use your sewing machine to enhance felt. Click on the link above to register, scroll down the page and fill out the contact form.

Don’t miss your chance to take one of these online classes about surface design!

Wet Felting For Beginners

Are you a beginner and have just found this site? If so, learn how to wet felt and get started on your felting journey. Our Wet Felting for Beginners Course is always available. Click on the link above to register, scroll down the page and fill out the contact form.

3D Multi Part Resist Workshop Opens for Registration

3D Multi Part Resist Workshop Opens for Registration

Where did time go? It is almost spring. The 3D musti-part resist (book resist) workshop opens for registration today. A Masterclass on Book Resists. You can sign up using this form on the workshops page: 3d-multi-part-resist

The class runs from March 1st to March 29 2026. The instructor is available multiple times a day to answer any questions and give advice, so you can take the workshop from anywhere in the world.

This class is for people who have done some basic felting and used a simple resist and want to try something more challenging, learn some new skills and have some fun with them.

Here are some pictures from the last class.

There is a full class description and registration form here: 3d multi part resist


Online Classes for 2026

Online Classes for 2026

Happy Holidays from all of us here at The Felting and Fiber Studio! We hope you have a wonderful holiday season and a creative 2026. We have our dates up for our 2026 online classes and we hope to have some new additions to these as the year progresses.

You can see all of the classes available and the calendar of class dates here.

Screen Printed Felt Journals by Ruth Lane

The Embellishing Felt with Surface Design (4 Modules) registration will be opening soon on December 29th. There will be two sessions of these courses in 2026 and then the courses will be discontinued. So any of you that have been putting off taking any of these fun classes, 2026 is the last year they will be available. These include:

Nuno Felting with Paper Fabric Lamination

Experimental Screen Printing on Felt

Free Motion Machine Stitching on Felt

Print, Stencil and Play with Thickened Dye on Felt


Ann M’s new class learning to create a 3D multi part resist for felt will be offered in March and September. Ann is adding another PDF to this course about how to use fabric to see what the outcome will look like from a multi part resist without completing the entire felting process. You can see her first classes creations here.

Learn to make a hanging felted spiral from Helene in March and October. You can see here students work here. This course teaches you about complex resists and how to add movement to your felt.

Wet felting a 3D pod is always available. Take that next step from being a beginner and learn to create 3D felt with a resist. You will also have access to private Facebook page with this class so that you can interact more readily with fellow students.

Wet Felting for Beginners is also always available. Learn the basics of wet felting for a good start to your felting journey.

If registration has not opened for the class you are interested in, please fill out our Contact Us form with the name of the class and we will add you to our mailing lists. Take that creative leap in 2026 and learn some new skills!

Registration Now Open for Hanging Felted Spiral Online Class

Registration Now Open for Hanging Felted Spiral Online Class

Helene is teaching another session of her Hanging Felted Spiral online class and you can register now. Registration opens today and class begins on October 18.

This is a four week online course and you don’t have to be present at any certain time. You will have access to videos and Helene’s support throughout the four weeks and will be able to download the PDF’s for future reference.


Have you wanted to learn more about sculptural felt? This is a great way to learn about how to layout fiber for more elasticity, how to use a book resist with multiple “leaves” and Helene’s ideas on how to further these ideas into future projects.

Here are a few of Helene’s students own spirals. Aren’t they fantastic out in nature?

Jump into spring and learn to make a spiral with Helene. Online class starts on October 18. Learn more about the class and register here.


Helene also has an ongoing class, Wet Felting a Vessel Using a Simple Resist which can be taken at any time.  If you know the basics of wet felting but want to move forward into creating three dimensional objects with a resist, this is the class for you. Click here for more information and to register.

If you are a beginner and want to learn the basics of wet felting, our beginner class is always available and you can sign up here. This course has unlimited access and is a great place to start if you want to know how to wet felt.

Exciting News – New Online Classes!

Exciting News – New Online Classes!

We have two new online classes available, one for newer felt makers and one for more experienced felt makers.

The first online class, Wet Felting a Vessel Using a Simple Resist, is taught by Helene and will teach newer feltmakers how to use a resist. If you know how to wet felt a flat piece of felt but want to move on to making 3D felt objects, this class is for you. The class is online and can be started and accessed at any time. You will have continual access so that you can keep coming back to the class videos and PDF’s at any time as you progress in your felt making. Students will also have access to a private Facebook group to show their work and ask questions of Helene.

You will learn about making resists, what materials to use, how to layout your wool, prefelting and felting over the resist as well as fulling and shaping your vessel. Helene will also show you how to progress from a simple shape to other options only limited by your imagination. Click here for more information and to register now.

The other new online class which will start October 17, is 3D Multi-Part Resist by Ann M. This class is designed for intermediate felt makers who have made vessels or other items over a resist. If you have seen more complex vessels and wondered how they were made, this class will teach you how to create a “book” resist and create a multi-part vessel.  Ann will be posting more about her class soon. If you’re interested, you can fill out our contact us form to get on the email list to notify you when registration opens.

If you are just starting on your felting journey, our Wet Felting for Beginners online class is always available. If you take this class first, you will be ready for Helene’s vessel class and then move on to Ann’s more complex vessel class or Helene’s hanging spiral class.

I Need a Seat Cushion.

I Need a Seat Cushion.

Last time, at the end of my post, I said my next project needs to be a seat cushion. I have a plastic roller chair for my studio. It is pretty comfortable as these chairs go. However, after spending a long time in it, taking pictures for the book resist workshop, I decided it needs some padding.

I thought about just felting a thick piece of felt, but I don’t think it is that easy to get really thick felt.   But what about 2 flat pieces? Then sew it together with some wool stuffed between. That would mean I have to find the one bobbin I have for my sewing machine ( after uncovering the machine). Then I thought, just do it over a resist. Then it’s twice as thick, and I can still stuff it with some wool. I would need to wash some wool for stuffing, but I could do that.

I think the resist is the best one. Have you made felt seat pads or cushions?

I can calculate shrinkage easily enough. I know it means I have to make a sample. I am always advising others to make samples; I guess I should listen to myself and not skip it.  I have some Swiss Mountain Sheep batts that should work well for a cushion.

I need to design a picture or motif for the top of the cushion, or maybe both sides. I don’t want a boring cushion. I am thinking that on one side, I could use the wet wool outline technique I learned from Ildie here on the blog/ I could probably do my farm logo. Here is one of Ildie’s posts https://feltingandfiberstudio.com/2022/08/22/modern-art-wallhanging/. I did a mirror cover for my car in this style.

After shaving

My logo and farm name are not that exciting, so I will need to do something more interesting on the other side.

Maybe a mountain scene on the other side? But in real or bold colours, subtle or bold lines. I can’t make up my mind.

Maybe a bigger version of this Monet-inspired fish pond I did.

I have been working on the online Book Resist workshop. I have all the pictures taken and edited. I added them to the instructions, and now I need to fiddle with the layout.  I do have someone taking a look at it to find the glaring mistakes. After a while, it sort of all blurs together. In-person workshops are so much easier. I had planned the workshop as a 3-part workshop. Each part is self-contained, so I will do the first part as a workshop this fall and get the other two parts done for the spring, and then expand it.

Registration Open for Felt Hats and Felt Bags Online Classes

Registration Open for Felt Hats and Felt Bags Online Classes

Teri’s online classes are open for registration today. The classes will begin on July 17. Teri teaches two great classes, one on how to felt concertina style hats and the other one on how to create felt bags. Both of these classes will teach you methods of improving your felting techniques so if you have felted around a resist before such as to make a felt pod, you should consider taking the next step on your felting journey.

For more information and to register for the felt hat class, click here. 

Have you taken a look at other student’s hats that have taken Teri’s class? There are some really fun hats and the variations are quite creative. Take a look at the student hat gallery here.

Teri’s felt bag class is an excellent way to learn how to create a variety of shapes of bags, as well as features such as straps, multiple compartments and pockets. You can find more information and register here.

And the student gallery for felted bags is here.

So what are you waiting for? Jump in and learn some new felting techniques.

Or if you’re just starting out and want to learn the basics, try our Wet Felting for Beginners class. This class can be taken at any time with unlimited access. For more information and registration, click here. 

Mostly just a question.

Mostly just a question.

School is almost finished, this is the last week. I hope that school ending will let me get back to my felting life. I have managed to finish the first part of my planned book resistance workshop, but haven’t had time for much else.  I want to get your opinions on the best background to take the pictures for the next part of the workshop. I can’t use my tabletop as it is much to reflective.


I will be using pink wool for the workshop. Please ignore the fold lines, I will wash and iron the cloth before using it for taking pictures. Here are the choices

Grey

Blue stripes

multi coloured stripes

and Poka dots


I am leaning towards the grey. The white resist shows up well, and the pink does too. I kinda like the blue stripes (they look grey on my screen)as it gives me something to line up with.


I will need to add something to the background to let me know I am in the frame properly. I think just some painter’s tape will do it. This is the view from the tripod, right now.


Jan bought me this doohickey to extend my camera further away from the tripod. It works with the ring light, but the ring light is too tall.  The screw on the tripod is to short to add the ring light I have. I will have to find out the name of this thing and see if I can find one with a hole at one end and a screw at the other. It adds about 2.5 inches of reach for the phone/camera.

Back to the original question, which background do you like best?