Browsed by
Category: Felted Hats

A Felt Beret

A Felt Beret

The other week I decided to make a beret to see if I remembered how as I haven’t made one in years.  They seem to be making a bit of a comeback where I live.

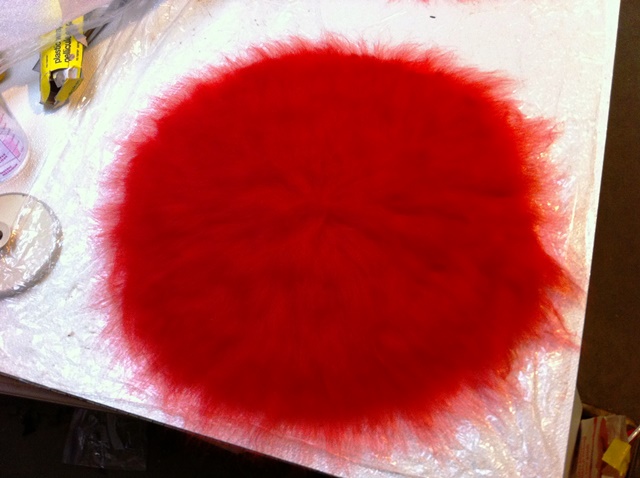
I decided on a nice bright red

side one first side wet

I added some white throwsters waste for some interest

silk on beret silk on beret close up

After some rubbing and rolling I cut a small hole to get the resist out and to make a hole for my head.

cut out for head

The whole stretches easily to the correct size

fulling and stretching the head hole beret finnished

As it turns out a little bigger ( not much) would have been better it is a size small so tight on my head.  I stretched it as much as I could.   Just as well as I do not look good in a beret. I could make it bigger by cutting and adding sewn on brim but I am lazy.

finished beret 1 finished beret 2

I really like how the silk worked. It is quite big but I was thinking the you could put your hair inside it.


Another Hat

Another Hat

A couple of weeks ago, I posted about my first felt hat. I had a think about how I could improve on the design and resist and thought I’d give it another go. I also thought more about shaping it and blocking it to get a better shape. This time I used an upturned glass bowl with a couple of microfibre towels and bubble wrap on to finish the felting/fulling. Last time I said I’d used mt head and for some reason most people had a vision of me with soggy soapy roving wrapped around my head frantically rubbing for hours! 🙂 What I really meant was for pulling the hat into shape and the final fulling stage, I used my head. This was the finished hat:

OLYMPUS DIGITAL CAMERAAs it dried, I removed the bubble-wrap and added the lid from a storage tub, this gave the top a flatter shape. I kept checking the size, and removed another towel and let it dry with just one towel and the lid over the bowl. This is the flatter top.

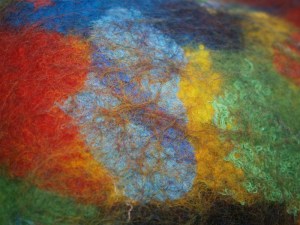
OLYMPUS DIGITAL CAMERAI increased the size of the resist slightly, but this time only used 2 layers of wool, I thought this would keep it softer, and not shrink so much. The idea worked in theory, but the amount of fulling I had to do to get the correct shrinkage caused a lot of wool migration which makes the hat look very fuzzy and the colours are dulled. This is the wool migrating through and over silk:

OLYMPUS DIGITAL CAMERAYellow and red wool migrating through blue:

OLYMPUS DIGITAL CAMERAWool over silk and cotton gauze:

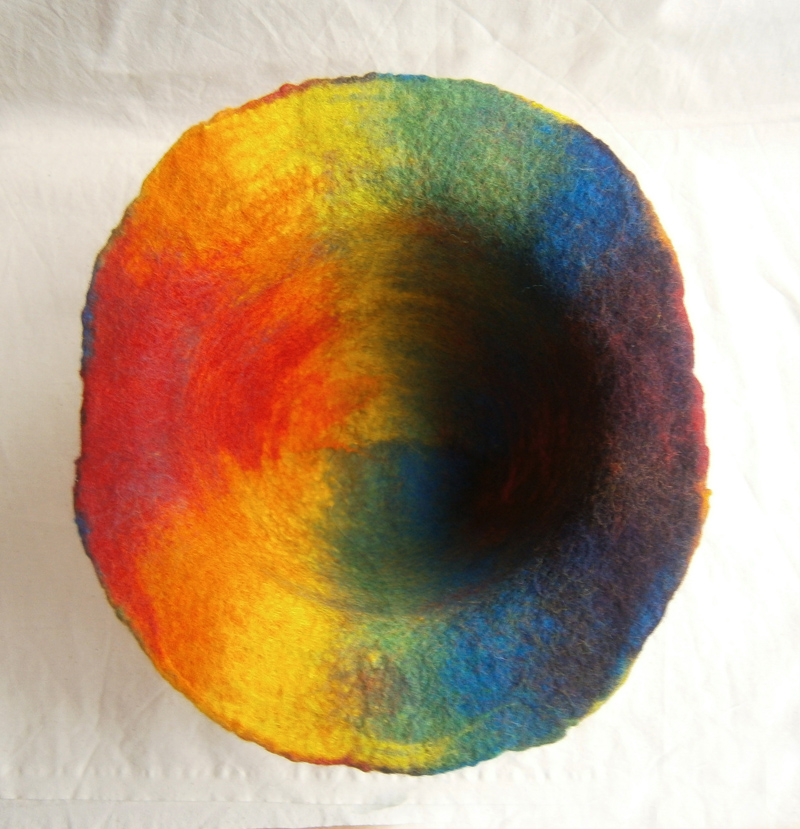
OLYMPUS DIGITAL CAMERAI might shave it carefully to remove some of the fuzz. You can see the shape a bit better from underneath, and I had the narrow sides again, where the edges of the resist were, I’m working on ideas to prevent that for next time.

OLYMPUS DIGITAL CAMERAI mentioned in my bag post last week that I’d been looking at eyelet kits, but couldn’t decide. I’m glad I couldn’t, because while I was out on Friday I had a good look around a ‘bargain’ shop and found myself a kit for £2.50. I also found a pack of 2 rainbow luggage straps, which I’m hoping will be perfect for the drawstring channel of my Pollock bag. If not, they will be perfect for something else! I also found some woven cord too, which will be ideal for drawstrings. I got a couple of different colours of this.

OLYMPUS DIGITAL CAMERA

Felting with friends Weekend- Hats

Felting with friends Weekend- Hats

More on my felting weekend.  We all meat at Maureen’s ( http://www.dreamspinfibres.ca/ ) A great place, she has so much fiber to choose from.

Three of us made hats based on a hat in Judit Pocs video. It seems to be gone from the internet. It was mostly about making a rug.  This is Diane and Susan( http://www.suzannetowns.ca/ ) sizing up a template.

Diane and Susan

They made their hats on the first day. They like a really firm hat so their scaled up the template and added more layers than I do.

laying out fiber laying out fiber 2

more colour and embelishments 3 dianes hat half done 2

Susan added come great colour  and Dian used some resists to reveal some fabric on the layer underneath.

Diane and Susan finnished hats 2

Diane added a string of small felted yarn balls to her hat. The parts that stick down were up to high so the pulled them down and twisted them to get them in a better position.

On the second day I did my hat. I adjusted the pointy parts so they would be lower. and left the pointy top smaller.

my hat ready to felt my hat finished my hat finnished 2

I should have used a different colour yarn for the embellishments. The colour was much to close the hat colour.
Dian made another hat on the second day. I didn’t get any pictures of it in progress. the template was like witches hat.

dianes seconed hat 3 dianes seconed hat 4

I have to give one of these a try. I like the way it is folded in on itself.


My First Felted Hat

My First Felted Hat

Last time I posted, I’d been working on a hat template. A couple of days later I got a chance to work on it. I made a resist out of a large piece of dense plasticy foam stuff I had, probably some kind of packing material.

OLYMPUS DIGITAL CAMERAI made a batt from some browns, greens and rusty orange Merino for the first couple of layers. I laid the first layer on the resist, wet it down, flipped it over then folded the wool in and finished the first layer on the other side. I repeated this colour on the second layer, but laid the wool at 90 degrees. For the third and fourth layers, I used more greeny shades, then I added some torn silk pieces (bottom right photo)

hat comp 1I felted it until it was holding together, then removed the resist. I knew it would be hard work, but hadn’t realised just how hard! I seemed to rubbing and shaping for ages. I thought a bowl I had would be good for fulling and shaping, but it was only good for a while, so I finished fulling and shaping it on my head. I didn’t consider that it would shrink some more so it ended up a bit too small. Using my head made it more of a cloche hat than a bucket hat too. But, not bad for a first go, I think.

OLYMPUS DIGITAL CAMERAThe brim wasn’t very even, though it did feel good being smaller at the back.

OLYMPUS DIGITAL CAMERAI don’t think the brim was wide enough, at the front either. Some of the silk pieces came off and I realised I should have worked inside out.

OLYMPUS DIGITAL CAMERAAnd, upside down it does look a bit like those moulded cardboard bed-pans 🙂

OLYMPUS DIGITAL CAMERAI might rework the template and try again. Maybe 🙂

Folder Cover and Hat Template

Folder Cover and Hat Template

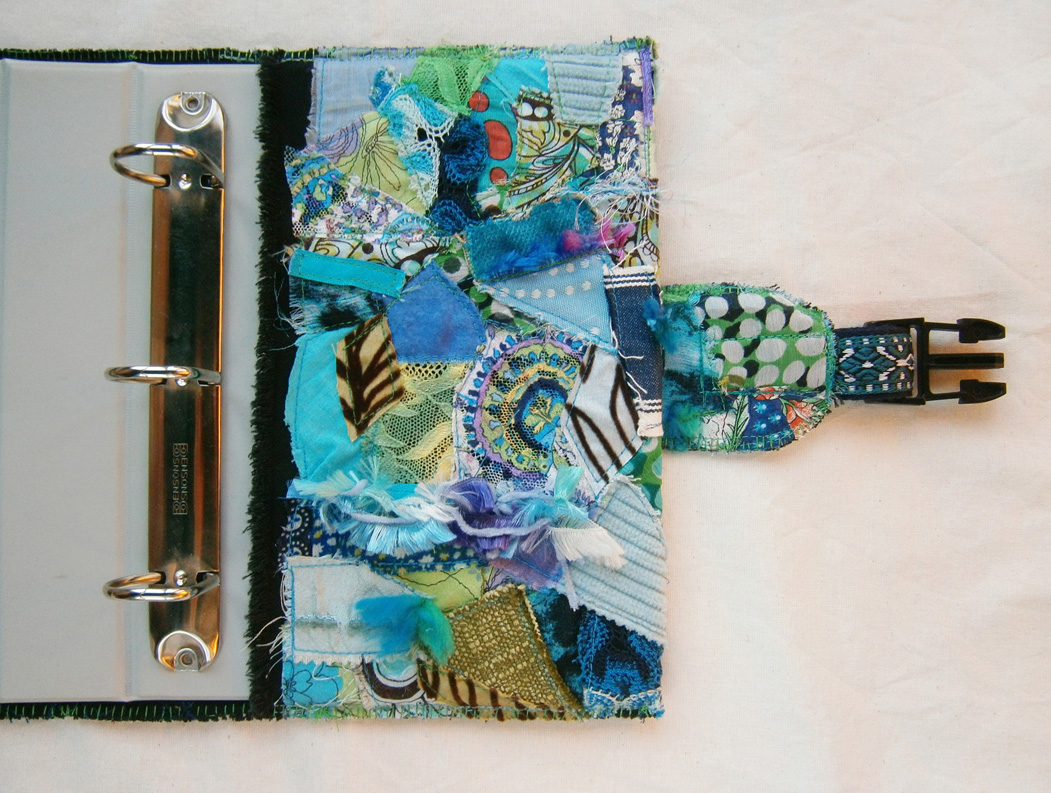
A few years ago, I made some fabric collages. I didn’t do anything with them for a long time, but eventually they all became notebook covers. I had one left, a large blue one:

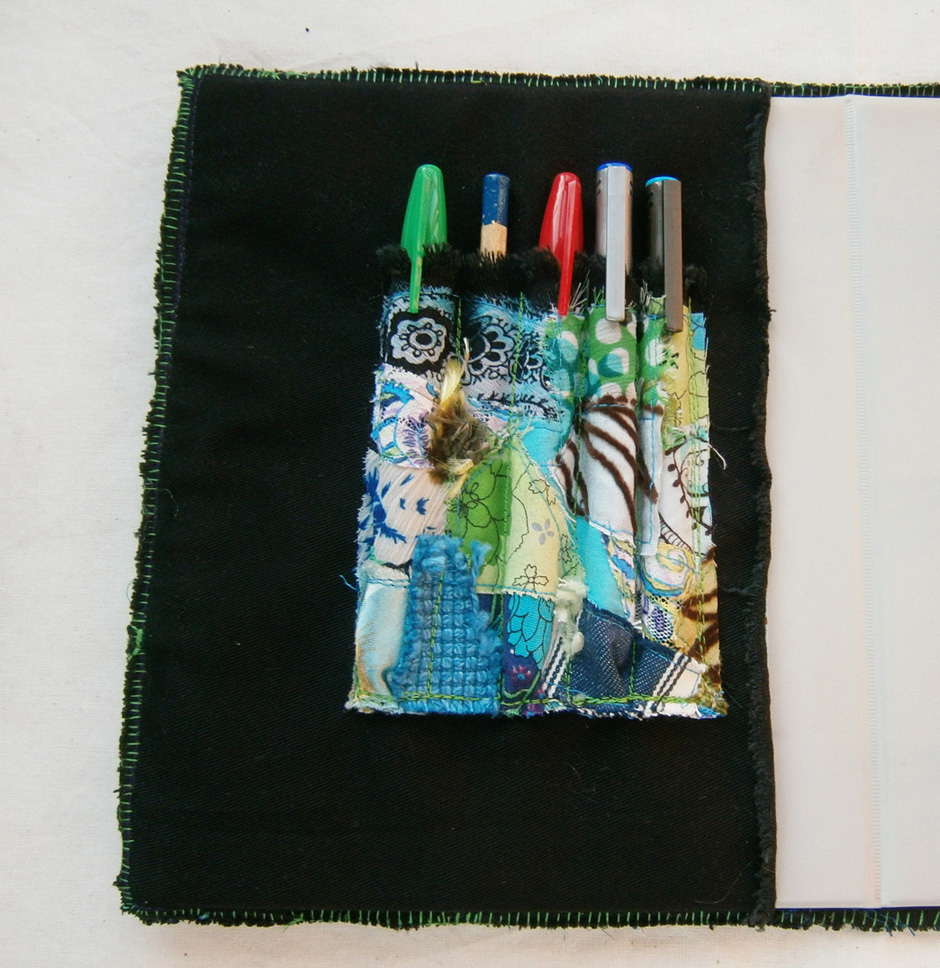
fabric collageOn a whim, a few days ago I decided to make a cover for a ring-binder out of it. It wasn’t quite big enough, but luckily after a bit of a search, I found some of the backing fabric I’d sewn the collage onto. I used this to make the front sleeve. But first, I used a spare piece of the collage to make a little pen holder.

OLYMPUS DIGITAL CAMERAI used an offcut for the back sleeve

OLYMPUS DIGITAL CAMERAI used some nice braiding I got a while ago for the straps, and hand stitched the edges with regular sewing thread, and little blanket stitches.

OLYMPUS DIGITAL CAMERAThe other thing I worked on this week was making a hat template. I had the same one for years, but when I cut my hair, it was too big, I have another, but I’ve worn that in the garden, so I used it to make a template. It was a bit like tracing around a lampshade or coffee cup to make a template, I had to roll it…and then squash it, and  bend it 🙂 Eventually I had what looked like my hat. Using Photoshop, I went over the curves with the circular selection tool and drew lines between the edge to where the top curves intersected. Just to make sure it was even, I copied one half, flipped it over and joined the two halves.

hat template actual size geometric outlinesNow, all I have to do is find the time to make it 🙂

Teaching a hat Class.

Teaching a hat Class.

Yesterday I had a great time at Alpaca Tracks. We did use wool instead of alpaca only because it felts faster so works better for a class. Now they are all ready to make hats from there lovely alpaca’s fibre.

As you can see I am not the only one taking pictures with my phone.

alpaca tracks decoratingEmbellishing

alpaca tracks rubbingRubbing and rollingalpaca tracks rolling

alpaca tracks not quite thereThis one is coming along but is not quite there yet.

The best part of this day was this hat. Not be cause it is an unusual or far out but because it was a reluctant hat. The lady was not sure she wanted to make a hat, she not a hat person, maybe she would sell it.

alpaca tracks reluctant hat

But at the end of the day she loved her hat and was going to keep it for herself.

alpaca tracks happy hat

These two hats turned out great, very mysterious.

alpaca tracks mystereus hat alpaca tracks second mistery


I didn’t get any other hat pictures. wit was a very staggered ending and there where 3 pill box styles that will have to be sewn together after they are dry.

All in all a great day. I think everyone had a good time and was happy with there hats.   And we had crepes for lunch.alpaca tracks crepes


The finished hat

The finished hat

Just a short post today to show  you how my hat turned out. The top looked really cool on the form but when you put it on the over sized top looked funny.

large top  large top 2large top 3

so I trimmed it down.

Hat trimmed 3 Hat trimmed 2Hat trimmed

I think it looks better. I hope you think so too. sorry for the bad pictures of it on my but I am not good at selfies.

What I am working on

What I am working on

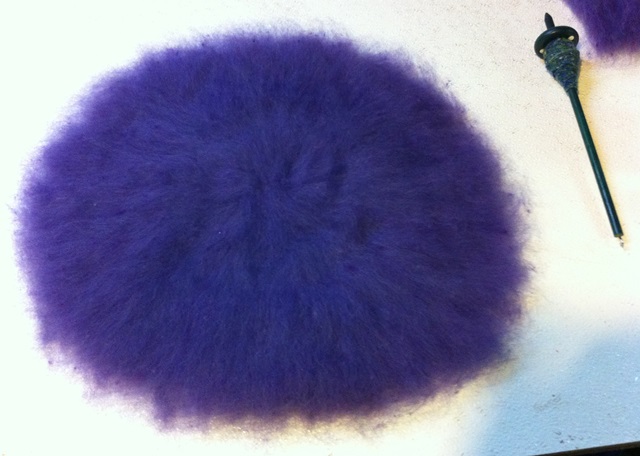
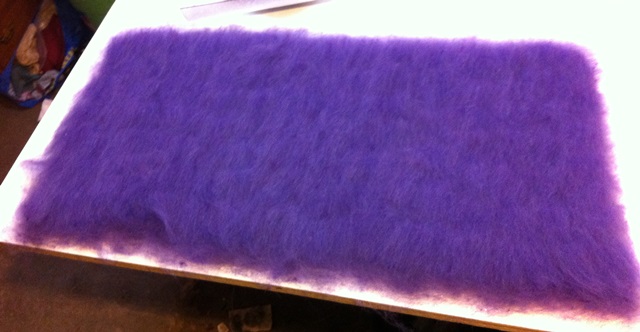
I was sitting here wondering what the post would be today when I realised it was my turn to post.  So you might guess I am running a little behind. It has turned cold her so I thought  better make myself a hat. Normally I can make several hats in a day. Not this one. It is a never ending project. I started the hat on Friday. Now its Wednesday and its not done yet. First I made a larger template than usual because I wanted to make a scrunched up hat.Then I looked for colours. I have nothing I want in large enough quantity to make a hat. That means the first thing is to blend all the purples together to get enough wool to make my hat.

Before Carding
Before Carding
First time through the carder.
Third time through the carder

Here it is all the wool laid out on Friday.

layout top layout

The yarn on my spindle in the picture will end up on both parts. I also have a similar hand spun yarn in pinks that will go on the hat. I forgot to take pictures of that on Monday. Last night I sewed it up into tight scrunches ready to be steamed and ironed.

sewn up sewn up top

The part that is not sewn will be turned to the inside with the top attached to it.  The top was sewn towards the center. My hands were sore after the sewing do my plan is to do the ironing today and then I have to sew the top on and see if it looks any good on me. I will show you the finished hat in my next post. What have you or are you making for yourself ?

Working on some Hats

Working on some Hats

I have been working on some hats. this week. A couple of weeks ago I sold my last Viking hat so needed to make some more. Theses are the 2 bases for the hats. They will have horns felted onto them.

viking hats start

I do not know what colour to do the horns on the blue one. Last time I did yellow but I do not have any yellow wool right now. What colour would you use?

I also finished the felting on 2 more pill box type hats.

hat sides hat tops

The purple hat has green blue faced leicester curls.   The pink one has silk throwers waist. I will sew them together this weekend.  I need to make scarves but what i really ant to do is more fingerless mitts. I am having fun with them.

A Fingerless Mitt Experiment

A Fingerless Mitt Experiment

Christmas is coming so I am still working on fingerless mitts for my guild sale the first weekend in November. One of my scarves made the poster.

OVWSGposter2012-3-400

I decided to try an experiment with a couple of pairs of Mitts. I wanted to make long cuts to reveal another colour.  I wrapped some shrink tubing and some regular tubing like you might use in a fish tank in some wool. I gave it a quick felt to get the wool tight around the tube. I thought this might be the best way to keep the fibers where I wanted them. I placed them between the layers of the mitts.

tubes collage

It worked really well.  After I cut the felt and took the tubes out I steamed them and opened up the slits. They are purple and pink and pink and purple but the cameras seems to think the purple is blue. I think it is because the wool of the table is so yellow.

purple and pink pink and purple

This is what they look like on. Sorry the pictures are bad I had to take it on my own arm.

purple and pink on pink and purple on

They turned out really well . I think I could have used less wool around the inclusions. I think I might felt them more next time too.

the other thing I did recently was make a matching set of hat and mitts. I added some silk to both, scrunching it  up to make it very textured. One small part didn’t stick down properly on the hat and will need a couple of stitches.

gray hat and mitts

I have more hats on the go and need to do some scarves before the sale but I think things are going well so far. Have you tried anything new recently?