Browsed by
Author: zedster66

Cotton Gauze

Cotton Gauze

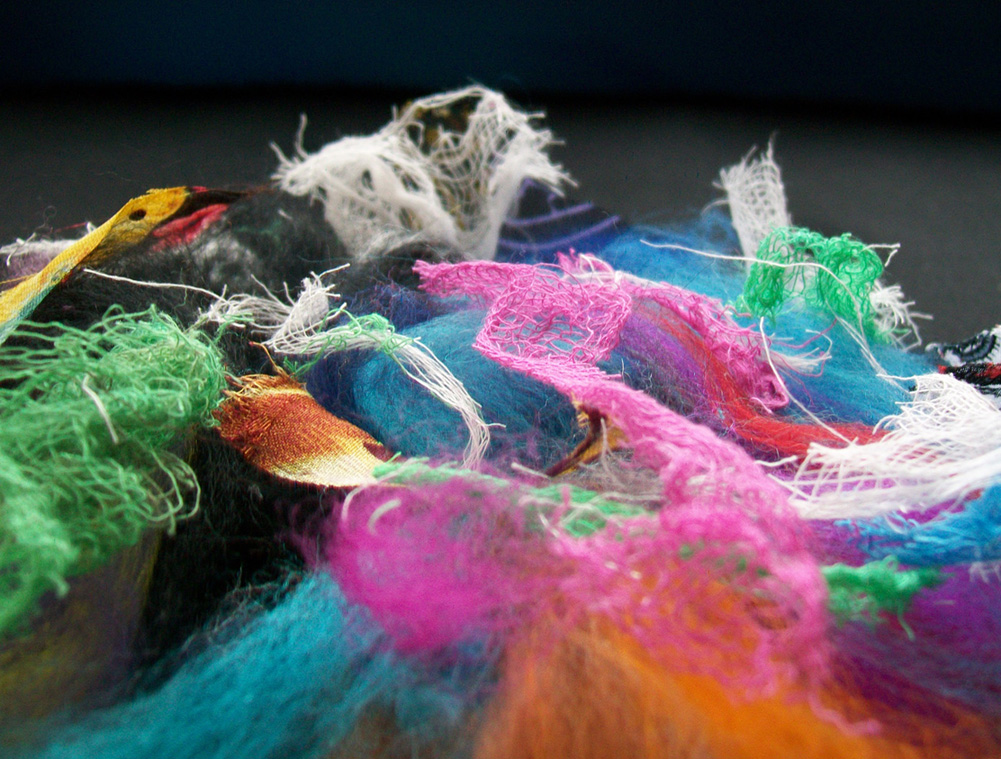
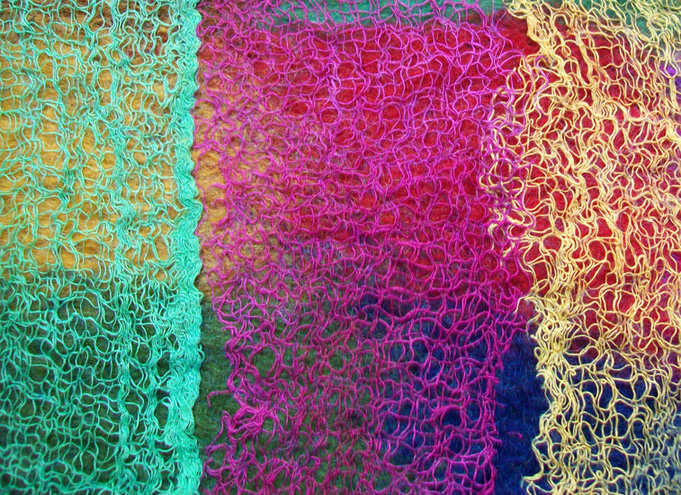
I’ve been quite busy lately working on my project of ‘other’ fibres and fabrics used in felting. I’ve been making a lot of felt pieces using lightweight cotton fabrics like muslin and cheesecloth. Another fabric I’ve used is Cotton Gauze, this is sometimes called ‘Scrim’, and I’ve used a couple of different types. Here is a selection of some dyed pieces I have.

It’s really good for creating texture and effects. I’ve been making large bold pieces to use for bookcovers.

I’ve also made some smaller pieces with resists, using the gauze for texture. This piece was for making into a pouch.

and this became a textured sculptural vessel

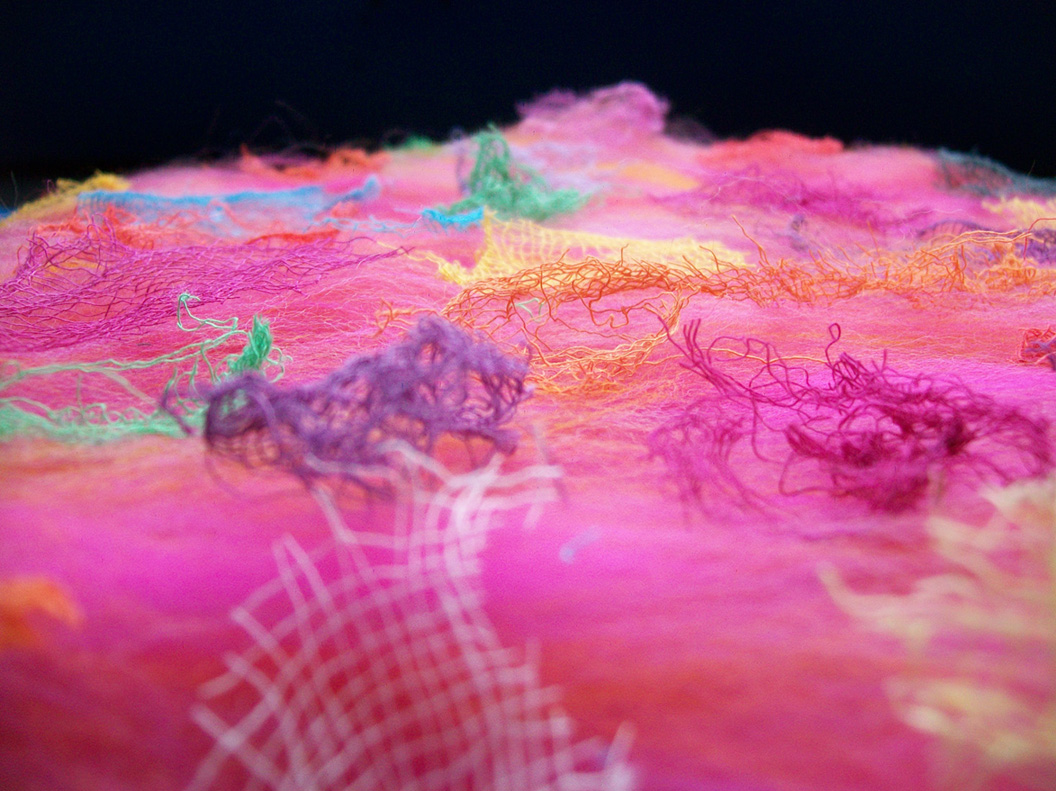
I’m starting to have a huge pile of colourful, texturey felt pieces all waiting to be made into something once the weather gets too hot for felting. This is a close up of a large piece I made for making a purse and matching mirror case out of.

The lightweight cottons also work really well for using in scarves and wraps instead of the usual silk. Do you use scrim or cotton fabrics in felting, or fibre art? How do you find it to work with? Have you ever dyed your own? I’d love to hear about your experiences with it and see photos if you have links 🙂

Silk Paper

Silk Paper

Over on the Felting and Fiber Forum, we’ve been talking about silk paper on and off over the last few weeks. It started when Pam showed us this gorgeous silk vase and then a beautiful silk box made from delicate silk hankies, threads and Angelina fibres. Then Karen was inspired to try making silk paper and after finding some silks work better with different methods, made some gorgeous pieces.

Once all the hard work had been done 😉 I thought I’d give it a go too. I decided to just jump in and try it with spray starch. I’d read a few years ago that it was possible to make silk paper by spraying a layer of silk fibres with laundry starch, adding another layer of silk fibres and spraying that, then covering with baking parchment and ironing until it was dried. Well, it’s almost that easy. It’s hard to get the spray from the can of starch onto the fibres without blowing them away, so it takes a bit of practice to get the spray to ‘drizzle’. I found it helpful to spray first, so after a few trials, I got an old piece of cotton cloth and layed it onto brown parcel paper, sprayed the cloth with starch, added a layer of silk, drizzled then sprayed starch onto that, then added more silk, more starch, then covered with another layer of cloth, another piece of parcel paper and ironed it on both sides until it was dry.

The results were mostly really good. A few times, the layers wanted to separate, but then I had two layers of finer silk paper. I used one of these thinner layers to test out the silk paper before I made more. You can see a photo of before felting here, and after felting here. These are some of the silk papers I made, they are mostly dyed mulberry and tussah silk.

I did a small trial piece of felt using the tufty bits from around the edges of the silk paper. From this, I realised I needed to use bolder colours for the background so the silk paper could stand out more for the result I wanted. For this second piece, I started off with a layout approximately 34.5 x 34.5 cm

It shrank a lot from top to bottom, and finished up roughly 22 x 33 cm. I didn’t particularly position the silk paper pieces so that the fibres were running top to bottom, and a lot were two layers, so I’m not really sure why there was so much uneven shrinkage, but I’d noticed it on the trial piece too. Both pieces had two even layers of merino tops.

There were a few pieces of the silk paper which were thicker or had a lot of starch on, which took a little more work to felt in, but as you can see from this angle, the silk paper felts in well to the surface.

Lyn from rosiepink recommended the book ‘Handmade Silk Paper’ by Kath Russon, so I’m hoping to have a read through that soon and try the wallpaper paste method of making silk paper. Have you made silk paper or paper from any other fibres? Do you use it in felting or something else? I’d love to hear about it or see photos if you have 🙂

Colour

Colour

I was looking through my photo albums and flickr photostream for some colour inspiration. I ended up with a large folder of photos and thought I’d share a few here:

This was an experimental piece using lots of layers and lots of pieces of prefelt, yarns, curls and coils. It eventually became a placemat and coaster set.

This is a close up of a very early piece of felt I made when I had a limited amount of colours.

This was part of the layout for a piece of felt for a notebook cover

Trying out new colour blends. I usually blend my own colours and add in other fibres that I like, but when I saw some colourful blends on World of Wool’s site, I thought I’d give them a go. They’re really nice and I re-order. I made two purses from this piece.

A very texturey needlefelted piece, made from hand dyed alpaca, coarse wools and wool locks.

Another piece using prefelts and coils. One thing I learned from my first piece was to add all the ‘extras’ equally over the piece for equal shrinkage. This was a placemat and coaster set for my girlfriend.

An experimental texture piece using lots of different fibres like silk, silk carrier rods, dyed scrim, dyed locks, bamboo tops, silk scraps.

Do you have an inspiration folder? Do you ever look back over old work and rework ideas?

Quarterly review

Quarterly review

It’s hard to believe that 4 months have already gone by this year, I’m not sure that I’ve done a quarter of the things I planned to do. I did try out a lot of the fibres that Karen sent me and even made a nice piece of felt from some silk threads that came off the sari silk ribbon.

I haven’t used any of the gorgeous threads that Ruth sent me, hopefully when I’ve learned a good variety of stitches from the TAST challenge I can do them justice. I’ve enjoyed learning new stitches, one I really enjoyed exploring was running stitch. My first thought was ‘running stitch?! what can you do with that?’ A lot as it happens 🙂

I haven’t had chance to explore dyeing further yet this year, but there’s still plenty of time for that. I’ve enjoyed the Studio Challenges so far, not only producing pieces for the challenges, but also exploring the themes in depth, taking photos, altering photos, always looking for things to fit the themes.

Last week after Ruth’s Challenge post, I chose some of my old abstract acrylic paintings to get some inspiration from. I started with a small acrylic in blues, greens and yellows.

And made a small felt piece inspired by it.

I’ve done quite a lot of work on my project for using ‘other’ fibres and fabrics in felting. I still haven’t worked out what format or formats it will be in, but I think that will become clearer as I go along and have a better idea of how all the info would best be presented. I’m working around a loose outline, but as usual there’s always something new to learn with each piece of felt, or a new idea forming wanting to be explored. I’m trying to stick to the outline and write down the other ideas for exploring later, but I don’t want to forget them while they’re fresh, either 🙂

I’ve already been inspired by the great felting and fibre community we’re part of. It’s great to read all the comments we get on the studio site each day and I love logging onto the forum and seeing everyone’s new projects. I really like the way we get inspired to try out new things from each other’s posts, compare our results and share techniques. I think I’m adding to my list of things to do rather than ticking them off, but that’s alright 🙂  How are your lists of things for the year? Are you getting much ticked off or are they growing, like mine?

Giveaway Winner and some Texture photos

Giveaway Winner and some Texture photos

The winner of the notebook giveaway is….. Mattie! 🙂 

Thanks to everyone who joined in and left nice comments.

Textures

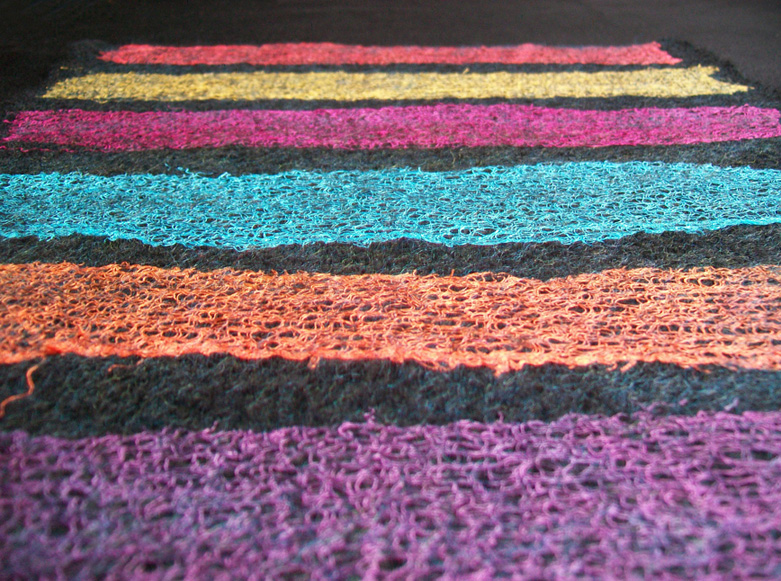
I’ve been working on a project about using ‘other’ fibres in felting and noticed that ‘texture’ has been a common theme lately. I thought I’d post some photos showing different textures from wet felted pieces I’ve made. This first piece is green organza which was used as a base:

This is the top, strips of organza over blocks of coloured Merino:

This is another organza base, a slightly stiffer gold:

This is a piece of cerise organza:

This is a close up of silk in textured nuno felting:

This is a blue-green piece of textured felt, made with lots of layers and inclusions and felted mostly in the washing machine:
 
And lastly, this is a piece of texture felt using reds, pinks, oranges and yellow shades:
 

Do you have any photos of textural felt? How do you like to create it? Do you like to add to your felt to create texture with stitch or other fabrics and fibres? I’d love to see photos of your work 🙂

Giveaway

Giveaway

We thought it was time for another giveaway!

A few weeks ago I did a post about a piece of felt I’d made with lots of natural fibres, with the intention of making a notebook cover out of it. Well, I’ve finally made the cover 🙂 So if you’d like to win a notebook with a handmade, hand sewn felt cover, all you have to do is leave a comment on this post.

This is the front of the book:

Back:

And inside:

The notebook is lined and a standard A6 size, which is about 4.25 x 6 inches.

The competition ends next Tuesday at 10 am UK time. I will announce the winner sometime on Tuesday, so please check back then, and if you have won, please leave a comment on the post so I can contact you for shipping info. Thanks a lot and Good Luck!

Not quite what I’d imagined

Not quite what I’d imagined

I mentioned the other day that I’ve been working on Ann’s Abstract Challenge. I had a folder full of ideas and photos that I’d worked on, but couldn’t quite see how they’d translate into felt or maybe fabric. After looking at the photos with me, my girlfriend suggested looking at something more simple and bold, like maybe a cup. So I started looking at different photos, found some with simpler shapes and lines, bolder features. One that I really liked was a simple photo of a shell. It was almost colourless so I gave it a blue tint.

I then played around with it until I was happy with an abstract design.

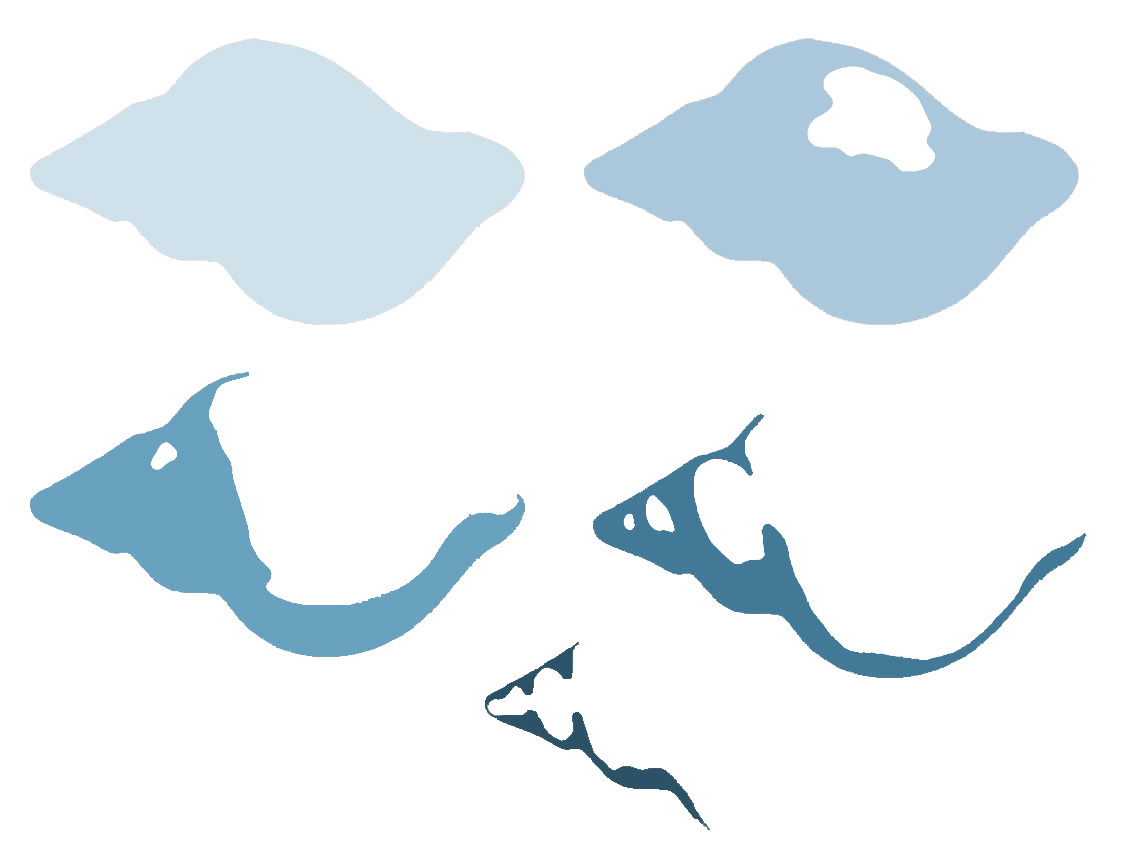
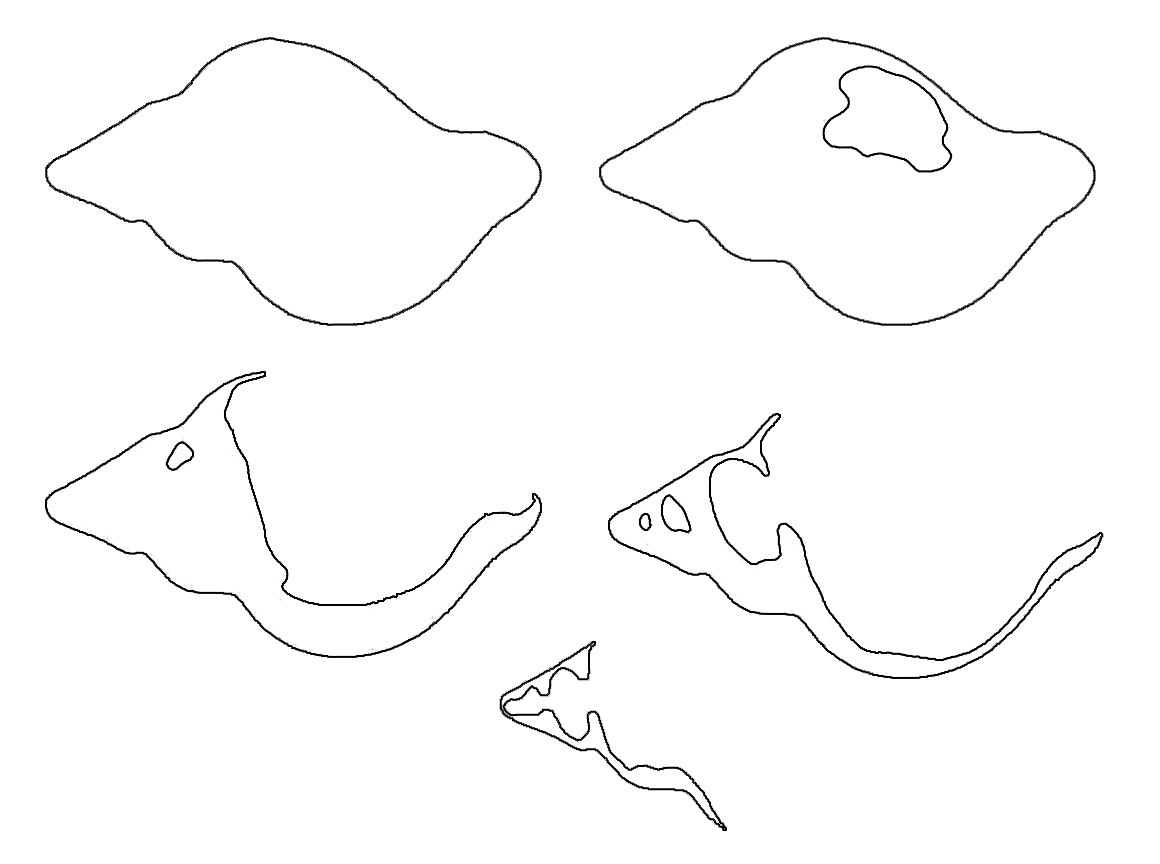
This seemed like a perfect picture to try with my idea of layering organza. So I worked out how many layers I’d need and what shapes those layers would need to be. I wanted a black background, so I thought it’d be a good idea to have a base layer of white felt the same shape as the first organza layer.

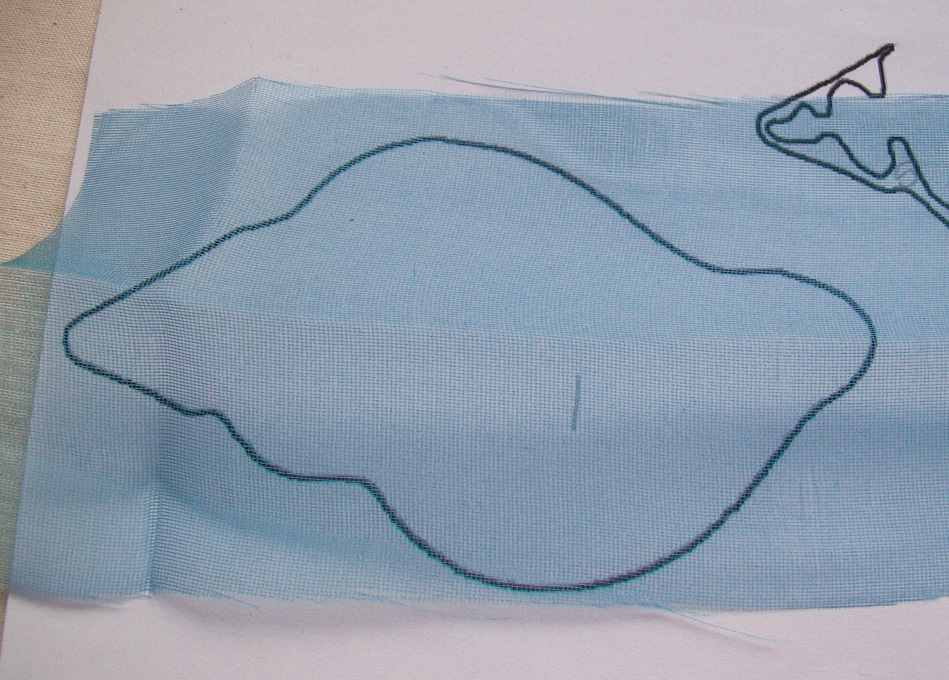
I then made the shapes into outlines, so I could print them out and trace the shapes onto the pieces of organza for cutting out.

I chose the colours of organza I liked and layered them together to see if they would work.

I then traced all the outlines onto the organza pieces and cut them out. It was then that I started to realise this wouldn’t be quite as simple as I’d first thought. Some of the organza was very thin and distorted while I traced, so I had to re-do a couple of pieces.

Layering the shapes together wasn’t easy either, they just wanted to slide about, so I started with sewing the first couple of layers together. That seemed to go alright. It wasn’t looking as tidy as I’d hoped-the organza was fraying, but the abstract design had outlines around the sections/layers, so I hoped these would hide the edges. When I started to add the 3rd and 4th layers, my sewing machine (hand cranked ancient Singer 🙂 ) started to make weird noises. When I looked at the back of the piece, it was a mess, all the thread from the spool had looped up underneath. I don’t know if there was a tension problem, but I decided to abandon it as a failure.

I left it on my work table and tried to think of other ways I could interpret the design with the supplies I’ve got, but all I could think of was using 5 shades of blue cotton fabric, which I don’t have. Looking at it in daylight this morning, it didn’t look quite as bad as it did yesterday, so I decided to put a bit of effort into finishing it. I had to patch up the second layer, as it had frayed so much it wasn’t attached at the edges. I also had to recut the top layer as when I was sewing it on by hand, the thread caught on it and tore it. It didn’t really turn out how I’d expected and hoped it would, (maybe some fabric stiffener and a bigger scale would help?) but it wasn’t the complete disaster I thought it was yesterday 🙂

How would you have interpreted the abstract shell picture differently? Would you have used different fabrics, or maybe wet felted or needlefelted the design? If you’d like to use the design, please feel free to do so. I’d love to see what you come up with.

Nuno Felt and Abstracts

Nuno Felt and Abstracts

I’ve been doing a lot of nuno felting recently, mostly a lot of samples for reference, but also quite a few pieces for using to make into things at a later stage. One thing I like to do with nuno felting is use different types of silk together. I think the differences in thickness, sheen and texture work well together and highlight each others’ properties. These two pieces use hand dyed silk ponge 5mm, which is floaty and shiny, and also silk chiffon 3.5mm which, though lighter, almost seems heavier than the ponge because of its ‘rough’ texture. For this first piece I used strips of silk in roughly equal widths.

This close up shows the difference in the textures of the two types of silk, and also the differences in the way they felt. The silk chiffon seems to sink into the felt, becoming more a part of it than an embellishment or surface texture.

For the second piece, I used smaller pieces of silk to create a kind of mosaic effect.

Close up:

Another thing I’ve been working on lately is Ann’s 2nd Quarter Studio Challenge. I’ve been looking through photos for inspiration, taking photos, editing, altering… trying to think what technique would work best with different pictures etc. One of my favourite photos is of a bunch of tulips in the snow. I tried a few different techniques in Photoshop to alter the photo and make it more abstract. This is a collection of the original (top left) and 3 abstract versions.

Thinking about the simplest way to achieve all the different shades of pink, I thought about organza and how using 3 pieces of the same colour can give 3 shades when layered. So I got out my organza collection to have a look through the shades. I hadn’t realised I had so many until they were all out together!

Seeing all the shades brought me back to one of the first pieces I started working on, a photo of a Mahonia bush. My first thought was to make different colours of prefelt, cut the shapes out then felt together, but I think this could be achieved more effectively with a combination of fabrics and organza.
Have you thought about joining in with the Abstract Challenge? It doesn’t have to be figurative. Do you often make abstract pieces from fabric, fibres or felt? Do you have any good tips to share? We’d love to see your work if you’d like to share with us 🙂

Even more Natural Wools and Fibres

Even more Natural Wools and Fibres

Earlier this year, I made a piece of felt intending to make a notebook cover out of it. The base is natural grey Merino and on the top there is: crimped viscose; black viscose top; banana fibre; hemp; soybean fibre and top; milk protein fibre; black and white bamboo top; ramie; ingeo; flax; silk top; egyptian cotton and cotton gauze.

I’d really like to use a yarn or thread spun from natural grey wool to sew it up, preferably not too expensive. If anyone knows anywhere selling natural yarns, I’d be really grateful to know 🙂

Every now and again, I like to try felting with things found in the garden. A while ago I tried bamboo leaves between layers of felt which turned out really well. I also tried some pampas grass flowers (Cortaderia) at the same time, and was surprised how well that felted with very little anchorage. The pampas is felted to the surface and on this piece is just artistic/decorative, it wouldn’t stand up to handling etc.

I don’t know what plant I used in the third piece, it is some little branches from a tumbleweed my girlfriend saw while out walking her dog and brought home for me. I love the way it looks held up to the light, it almost looks stitched.


*** Sorry for the lay out and the use of the carousel yet again. I did originally format the post so that the photos appeared between the text in the relevant places, but, like Ann last week (and me every time I try to include photos) what was published was nothing like how it was originally layed out. After 3 attempts to get it to stay how I write it, I’m giving up. To see larger photos, click ‘permalink’ under the photos in the carousel.

Lots of ‘other’ fibres

Lots of ‘other’ fibres

Although a lot of the speciality fibre tops seem to look very similar at first, especially the white ones, they all have their own unique qualities. It’s interesting to try the different fibres on different types of wool to find out how they work together. Sometimes, they really compliment each other. Other times, like Banana fibre on grey Suffolk, they give interesting textural results. One thing I like to try is lots of different fibres on one type of wool. This shows the differences in how the fibres work with the same wool and also which would work well together with the same wool. I recently got some nice brown Finnish wool tops and tried 7 different speciality fibres with it. I alternated between the white/silvery fibres and the creamy/golden fibres. In order from Top to Bottom, I used: Banana fibre tops; Soybean tops; Ingeo tops; Flax; Milk Protein fibre tops; Hemp and Ramie tops.

Earlier this year I made a Merino and Hemp pouch which was ‘lined’ with cotton gauze. The texture was gorgeous. I’ve used the gauze a few times along with other fibres, and it always looks great, so I thought I’d try it on its own with some dark brown Corriedale. I’d planned to use it just as a test piece, but I really liked how it turned out, so I tried it in a frame I’d recently bought and loved the way it looked.

What have you been working on lately? Do you have a favourite combination of other/speciality fibres that work well together? Or a fibre or fabric like the gauze which makes a great feature by itself?

*** If you want to see decent sized pictures, click on ‘Permalink’ under the photo. For some reason that carousel thing makes them ridiculously small