Browsed by
Author: zedster66

Online Suppliers

Online Suppliers

Do you buy fibres, wool or other felting supplies online? Could you spare a minute or two to tell me your favourite places to buy supplies online and what your most commonly bought items are? I’d also like to know what fibres you would like to try that you haven’t yet. For a long time, I’ve been planning to do a blog post comparing the prices of online suppliers. I’d like to choose one main supplier each from Australia, Canada, UK and USA, then compare the prices for a few commonly bought felting supplies and the shipping costs to each of the same countries.

I know everyone would like to support their local communities and small businesses, but with the current economic situation, we also like to save as much money as we can wherever possible. I know too, that for a lot of us, we just don’t have local shops that sell fibre supplies or nearby farmer’s markets, or there are other reasons which make buying online a necessity.

I’m hoping that by being more informed about the costs of supplies online, we can find the best places to buy from. Hopefully, it will make a wider variety of fibres more affordable and accessible.

I think it will really help new felters too, it can be overwhelming searching for online suppliers and trying to compare prices in different currencies and a variety of weights.

I’d also like to post about any bargains or exceptional quality wools or fibres, so if you have a favourite seller/supplier who you think deserves being more widely known, I’d love to know about these too. They don’t have to have a huge range of items, just something of great quality and great value for money.

Thanks a lot for your help and input 🙂

Supermacro

Supermacro

My camera started to die a few weeks ago, I could hear the focusing mechanism straining and the majority of photos were blurred, even more than I usually get trying to focus on soft fibres 🙂  So, a lot of my time has been taken up with a photography backlog, taking photos, retaking them as I work out my new camera settings, checking and editing photos, and getting distracted a lot with the Supermacro setting! It is so cool, it can see things I can’t see with the naked eye, tiny fibres on fingerprints, tiny cobwebs in the holes of volcanic rock, eyelash roots…. Oh, and the weave of fabrics or a dark guard hair on a piece of white felt, even tiny strands of fibre on the individual threads of a fabric 🙂

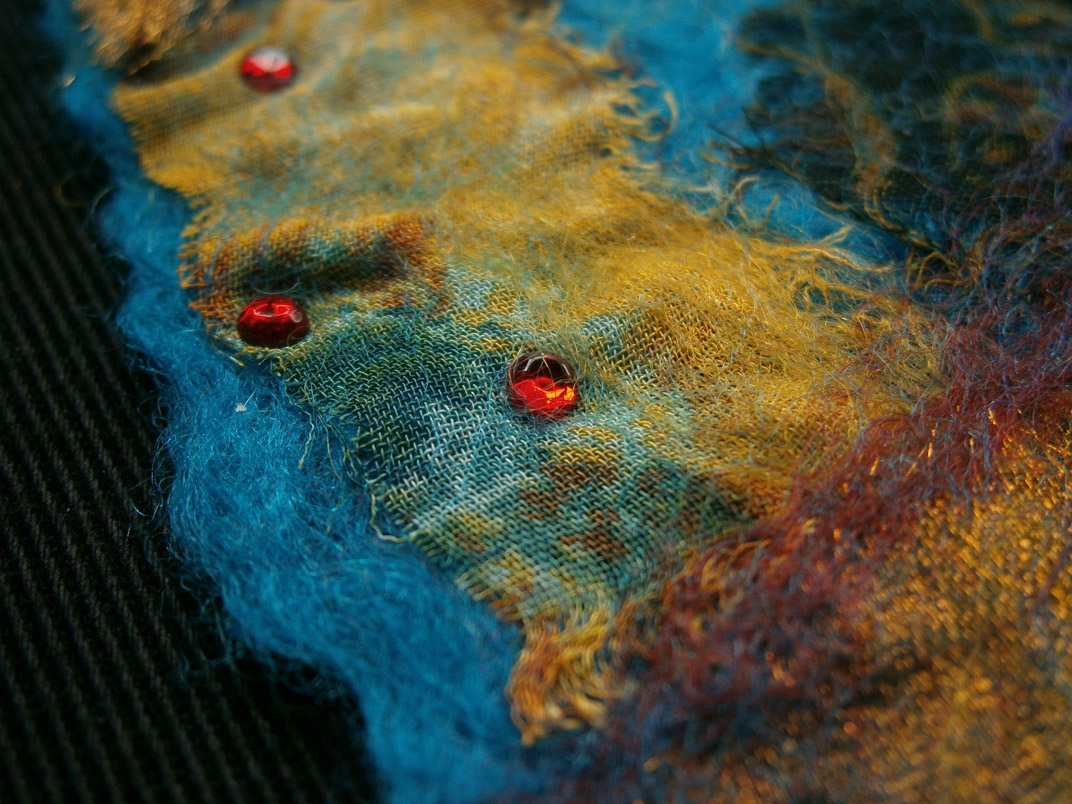
I thought I’d share a few of the fabric and fibre photos I’ve taken recently, I’ll upload them to flickr aswell in case you’d like to click on the full size images to see in even more detail. This first photo is cotton gauze and a chiffon scarf felted with merino prefelt.

This is a photo of just the cotton gauze and blue chiffon.

This is part of a pattern on printed cotton, it is about 55mm wide.

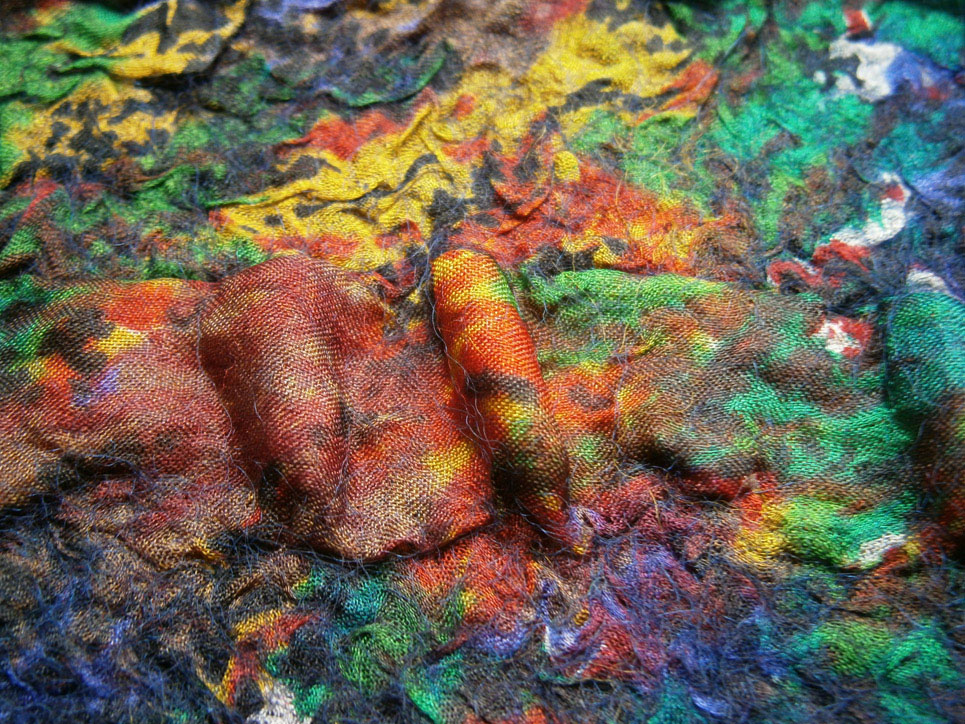
This is a synthetic fabric nuno felted, and some organza at the bottom of the photo.

This is one small piece of organza, aproximately 25 mm top to bottom.

 This is one piece of silk paper aproximately 25mm wide. It is taken from this piece of felt, I’ve added a note to show which square it is.

This is nuno felted silk.

This is Bamboo and Teeswater.

This last piece is blue nuno felted fabric.

I hope you enjoyed the photos, I love seeing the detail and texture of fibres, so I’d love to see your photos if you have any to share.

Third Quarter Studio Challenge

Third Quarter Studio Challenge

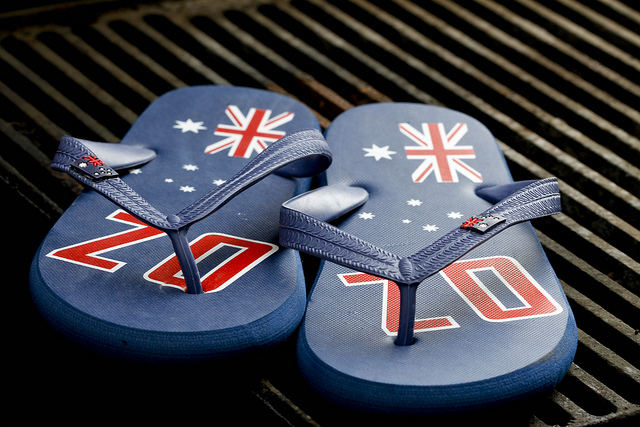
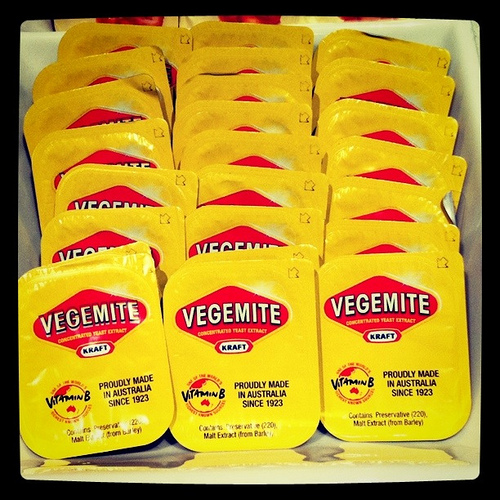
The theme for this quarter’s Studio Challenge is ‘Australia’.

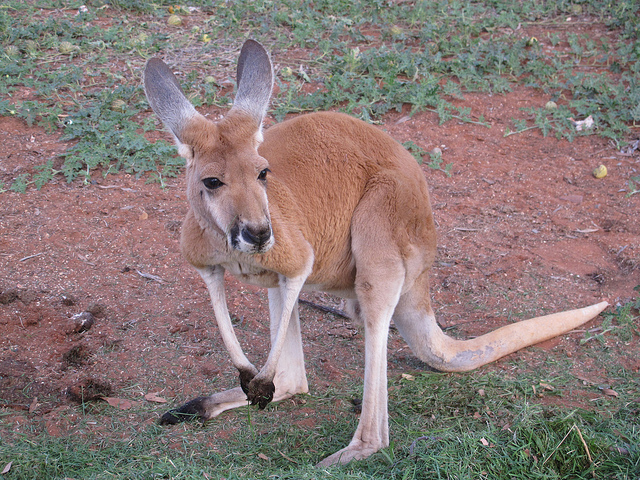
What do you picture when you think of Australia? Is it the unique wildlife like Koalas, Kangaroos or maybe the Duckbilled Platypus?

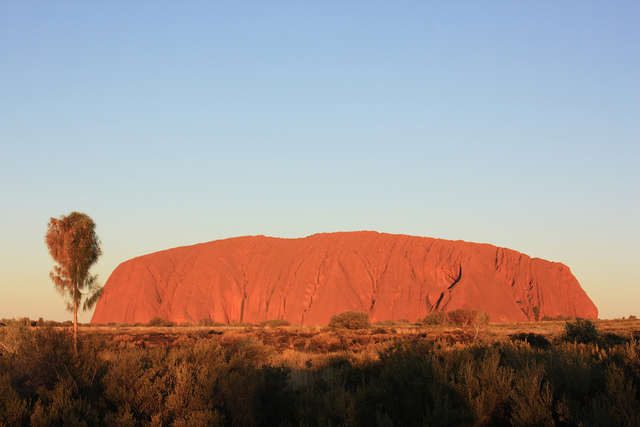
Maybe it’s the red soil and impressive landscapes?

Perhaps it’s something more political like stolen land or the stolen generations.

Or maybe it’s aboriginal art, the dreamtime or their excellent films?

We’re a bit late posting this quarter, so there’s just over two months for this challenge, but that’s plenty of time 🙂 You can use any medium you like as long as it includes fabric, fibres or felt, and it can be any size or shape you like. If you’d like to join in, please join our Flickr group and post your photos there with a tag of “Australia Challenge”. Or if you have your own blog, post about the challenge and then come back here and leave us a comment with a link so we can check out your Australia inspired piece or even just your thoughts and inspirations.

Photo Credits:

Flip Flops by Nina Matthews http://www.flickr.com/photos/21560098@N06/6729009541/

Vegemite Photo Betsy Weber http://www.flickr.com/photos/betsyweber/6091424118/

Kangaroo by Los viajes del Cangrejo http://www.flickr.com/photos/viajescangrejo/5560524886/

Western Australia by Daren CK http://www.flickr.com/photos/65449462@N00/211002531/

Pinnacles Desert Dandaragan by Ian Sanderson http://www.flickr.com/photos/iansand/3971380914/

Uluru by Jan Smith http://www.flickr.com/photos/26085795@N02/7389623936/

Invasion Day by Tali Caspi http://www.flickr.com/photos/pic-chic/6978667405/

Wrist Cuffs

Wrist Cuffs

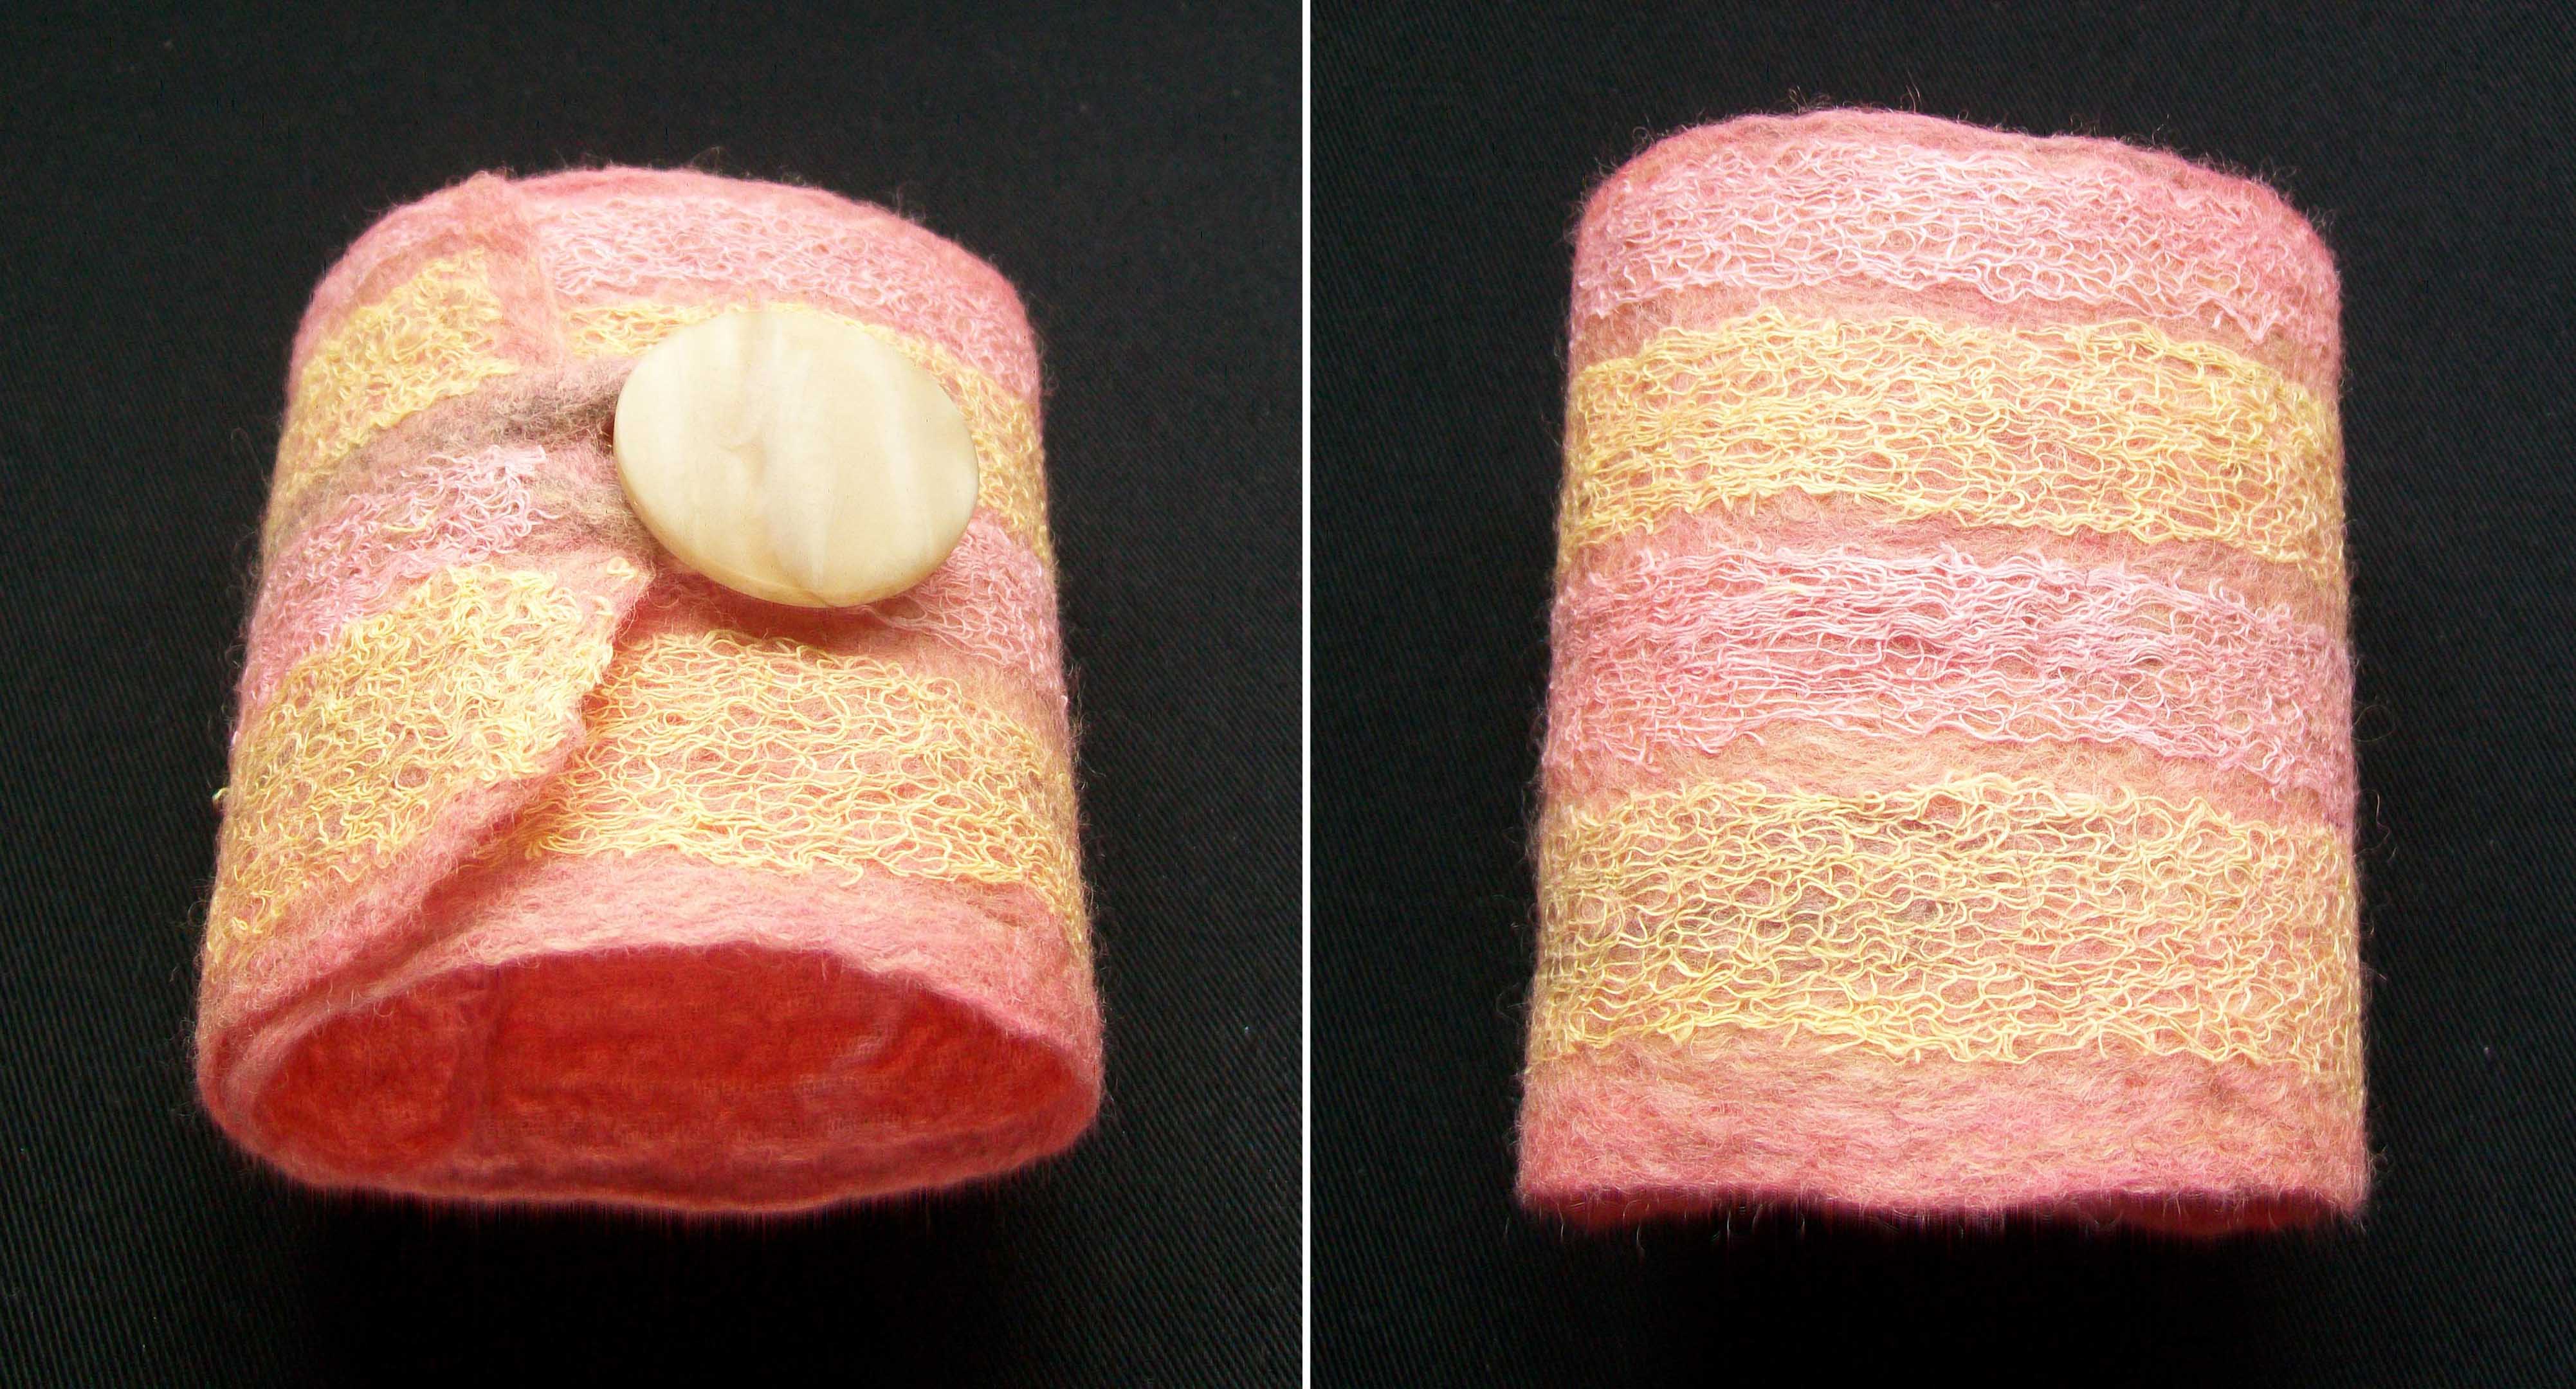
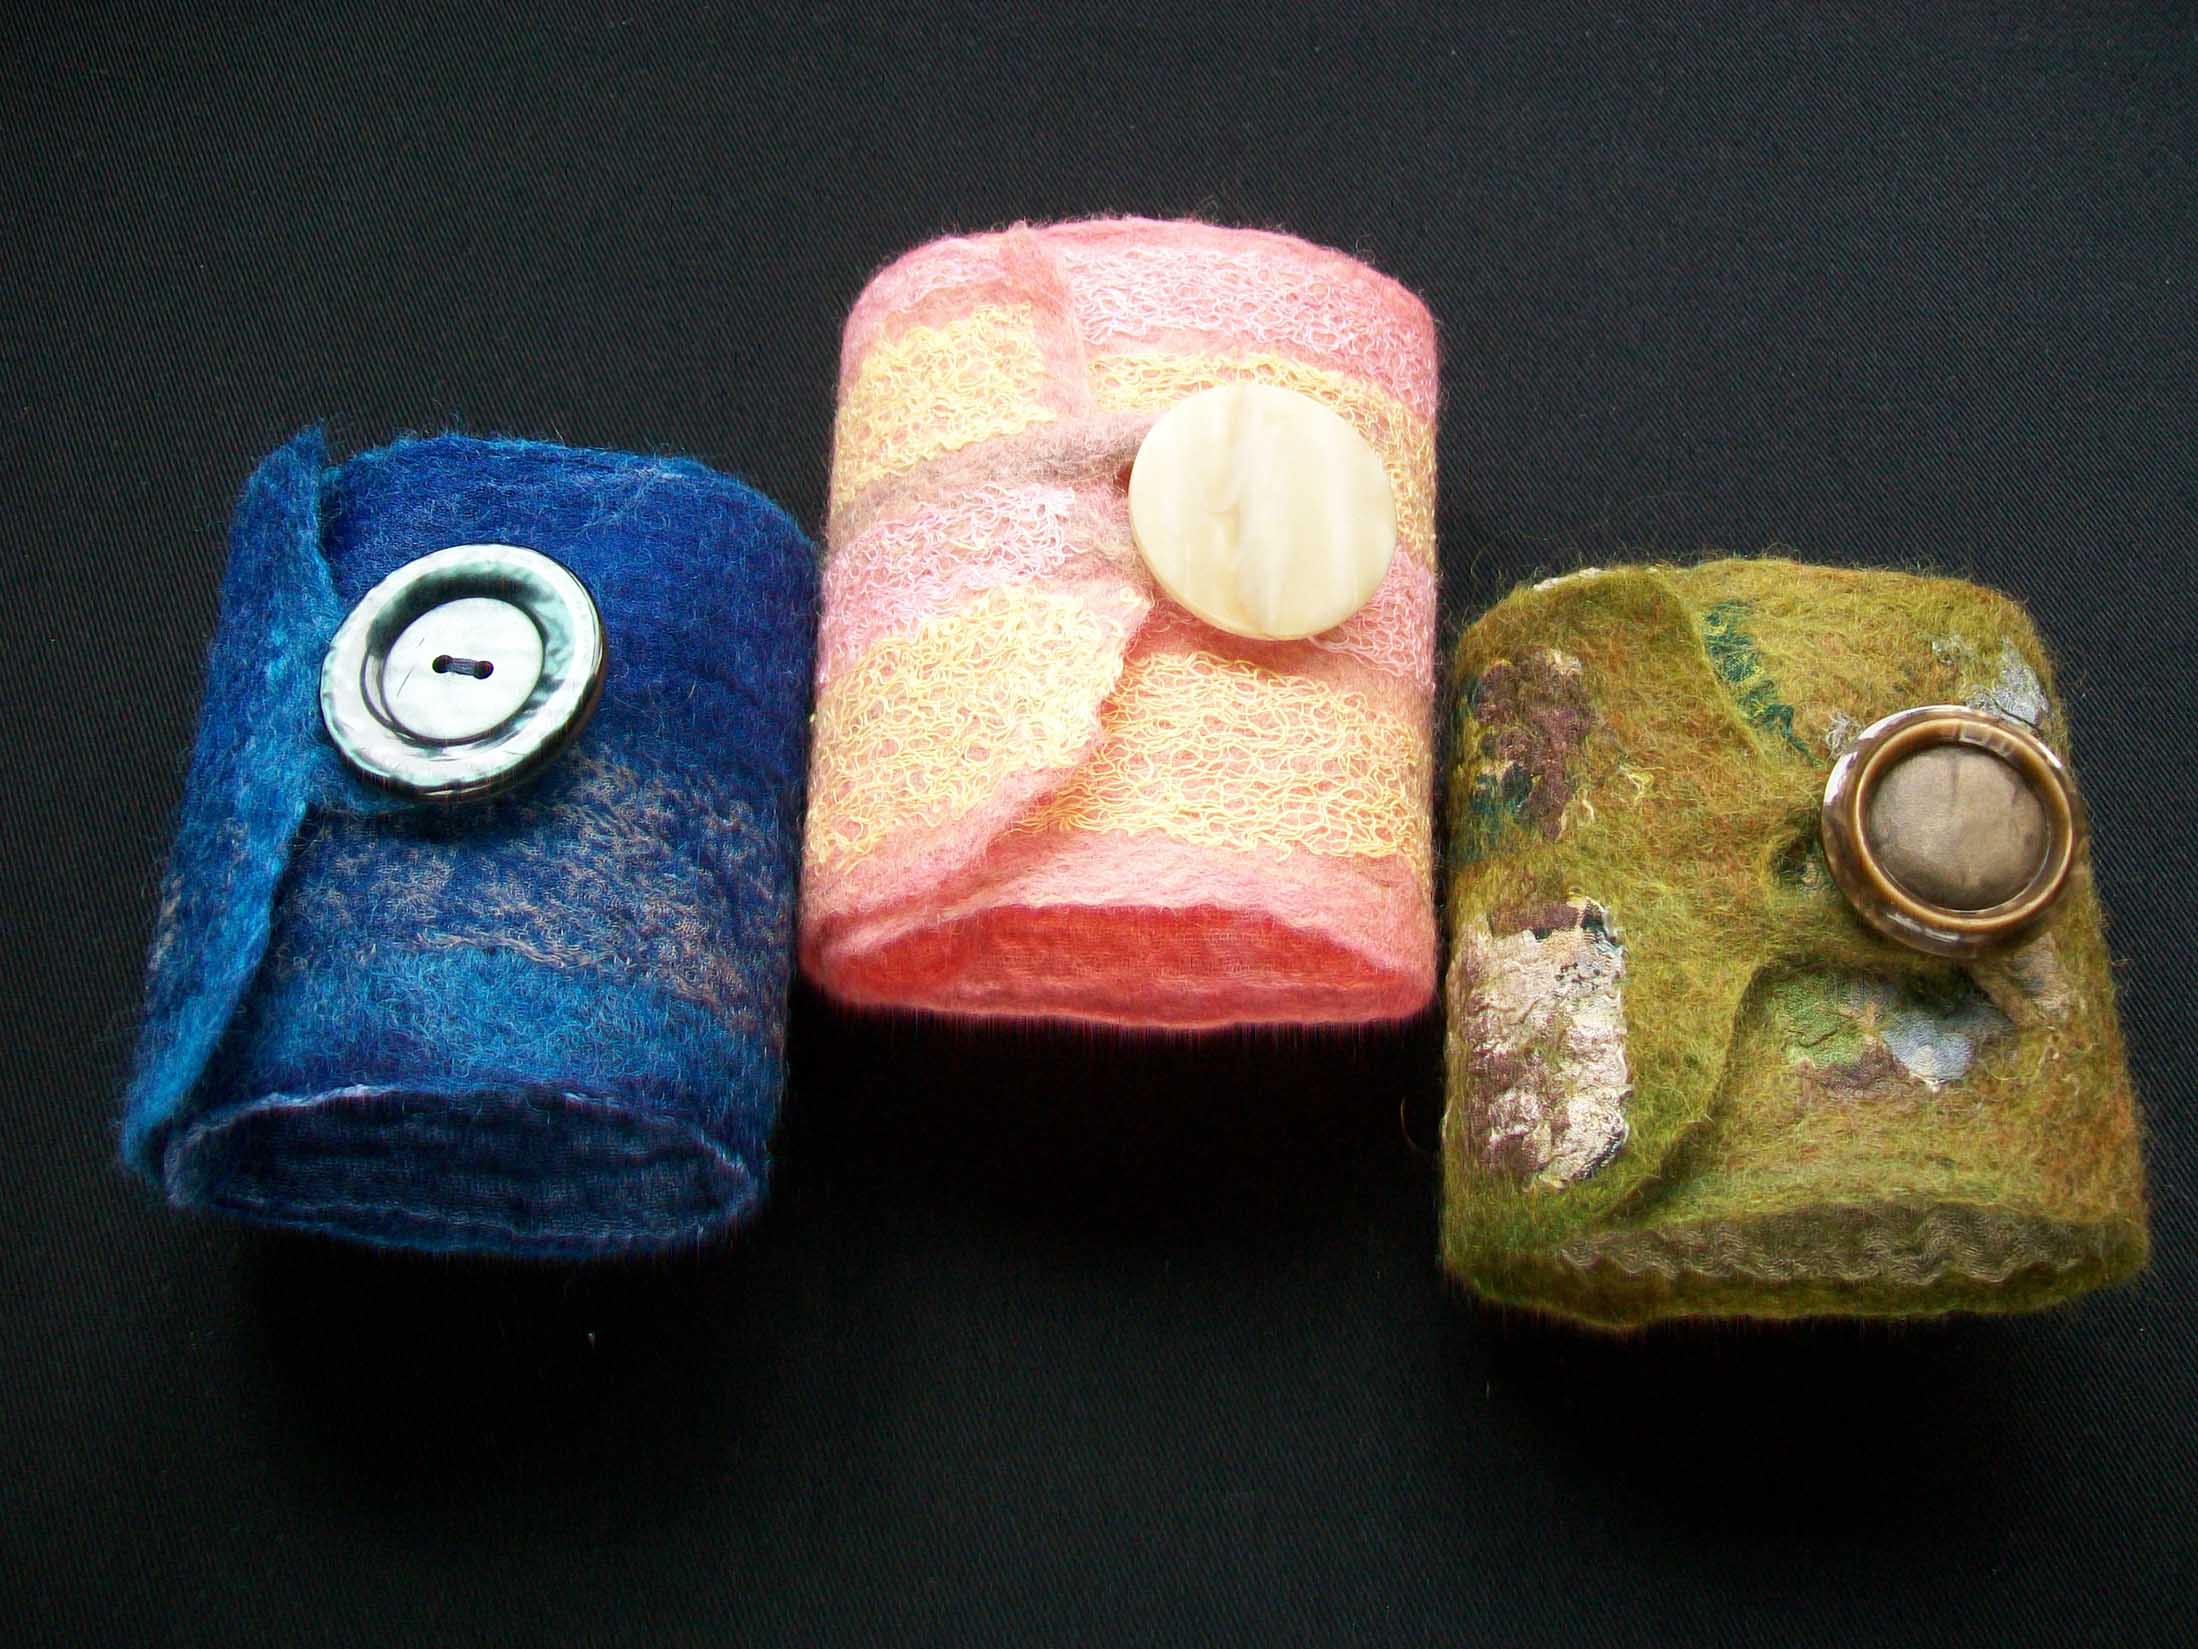
A couple of months ago, I thought I’d have a go at making a wrist cuff and really liked the results. I’ve been using a lot of fabrics in my felting lately and thought I’d try a few more cuffs with some different fabrics. The first one I made was similar to my first attempt, I used some salmon pink and lemon merino wool tops and added some strips of pink and lemon cotton gauze on the top.

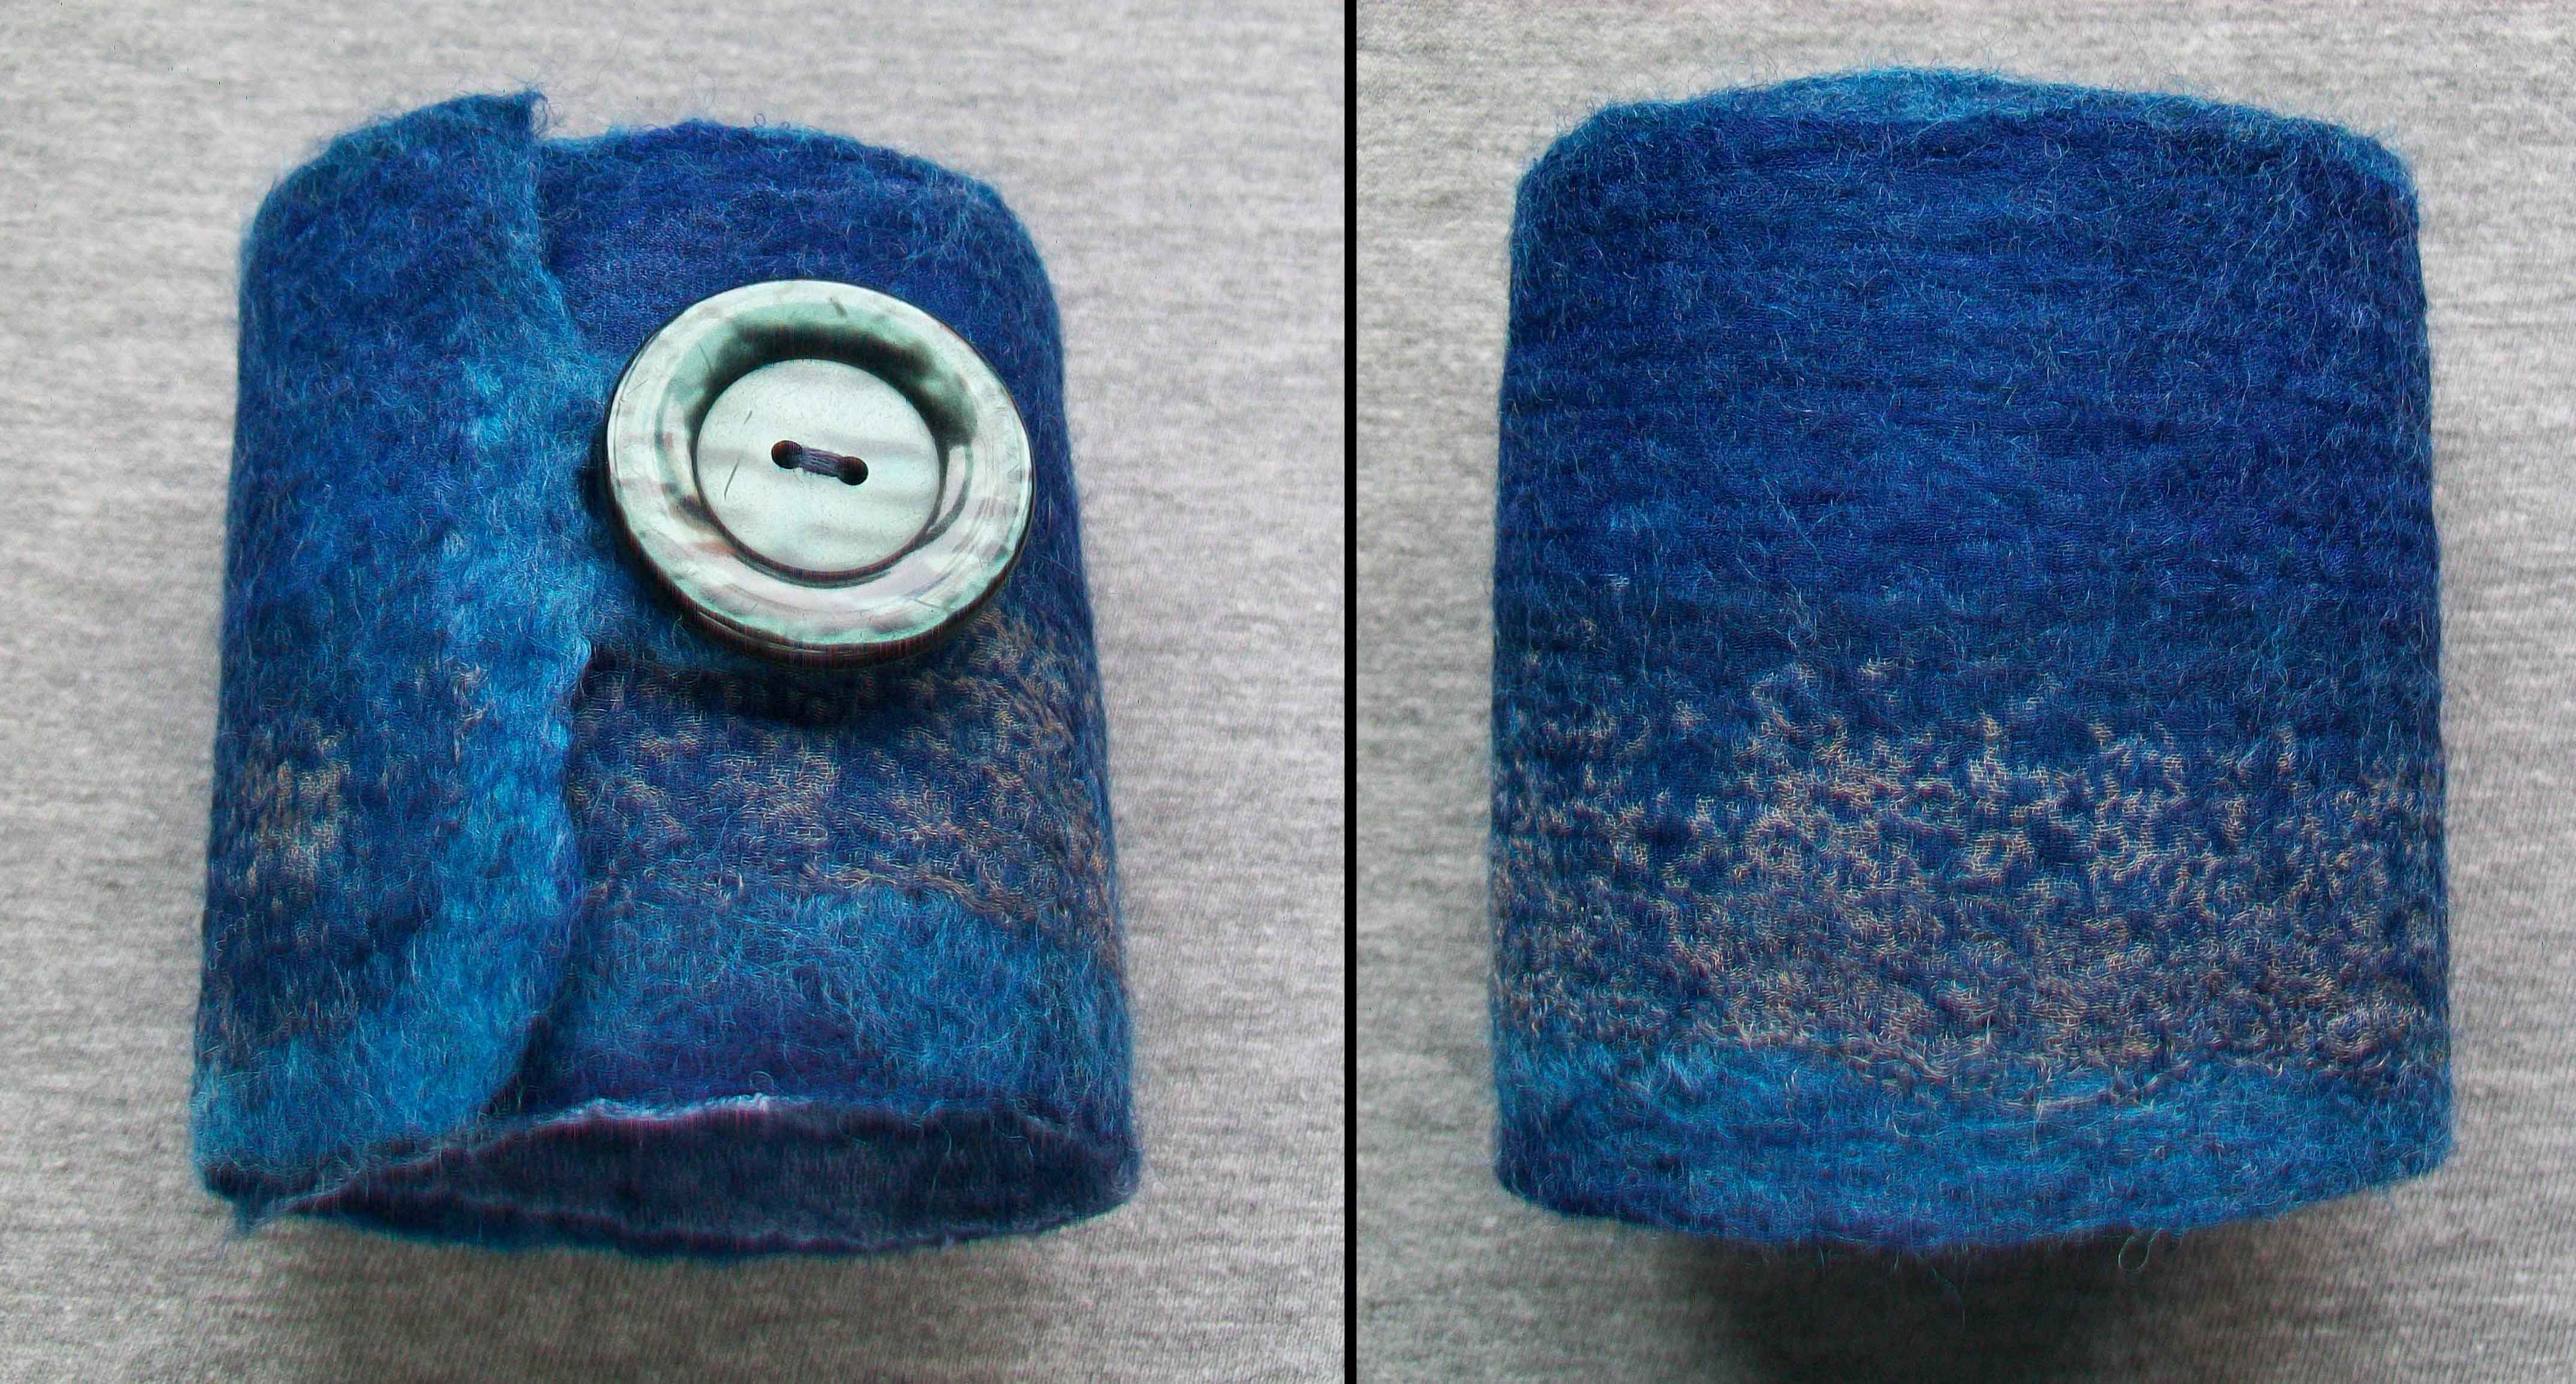
For the second one, I blended some different shades of blue merino tops and cut a strip of blue and pinky grey fabric from an old synthetic scarf.

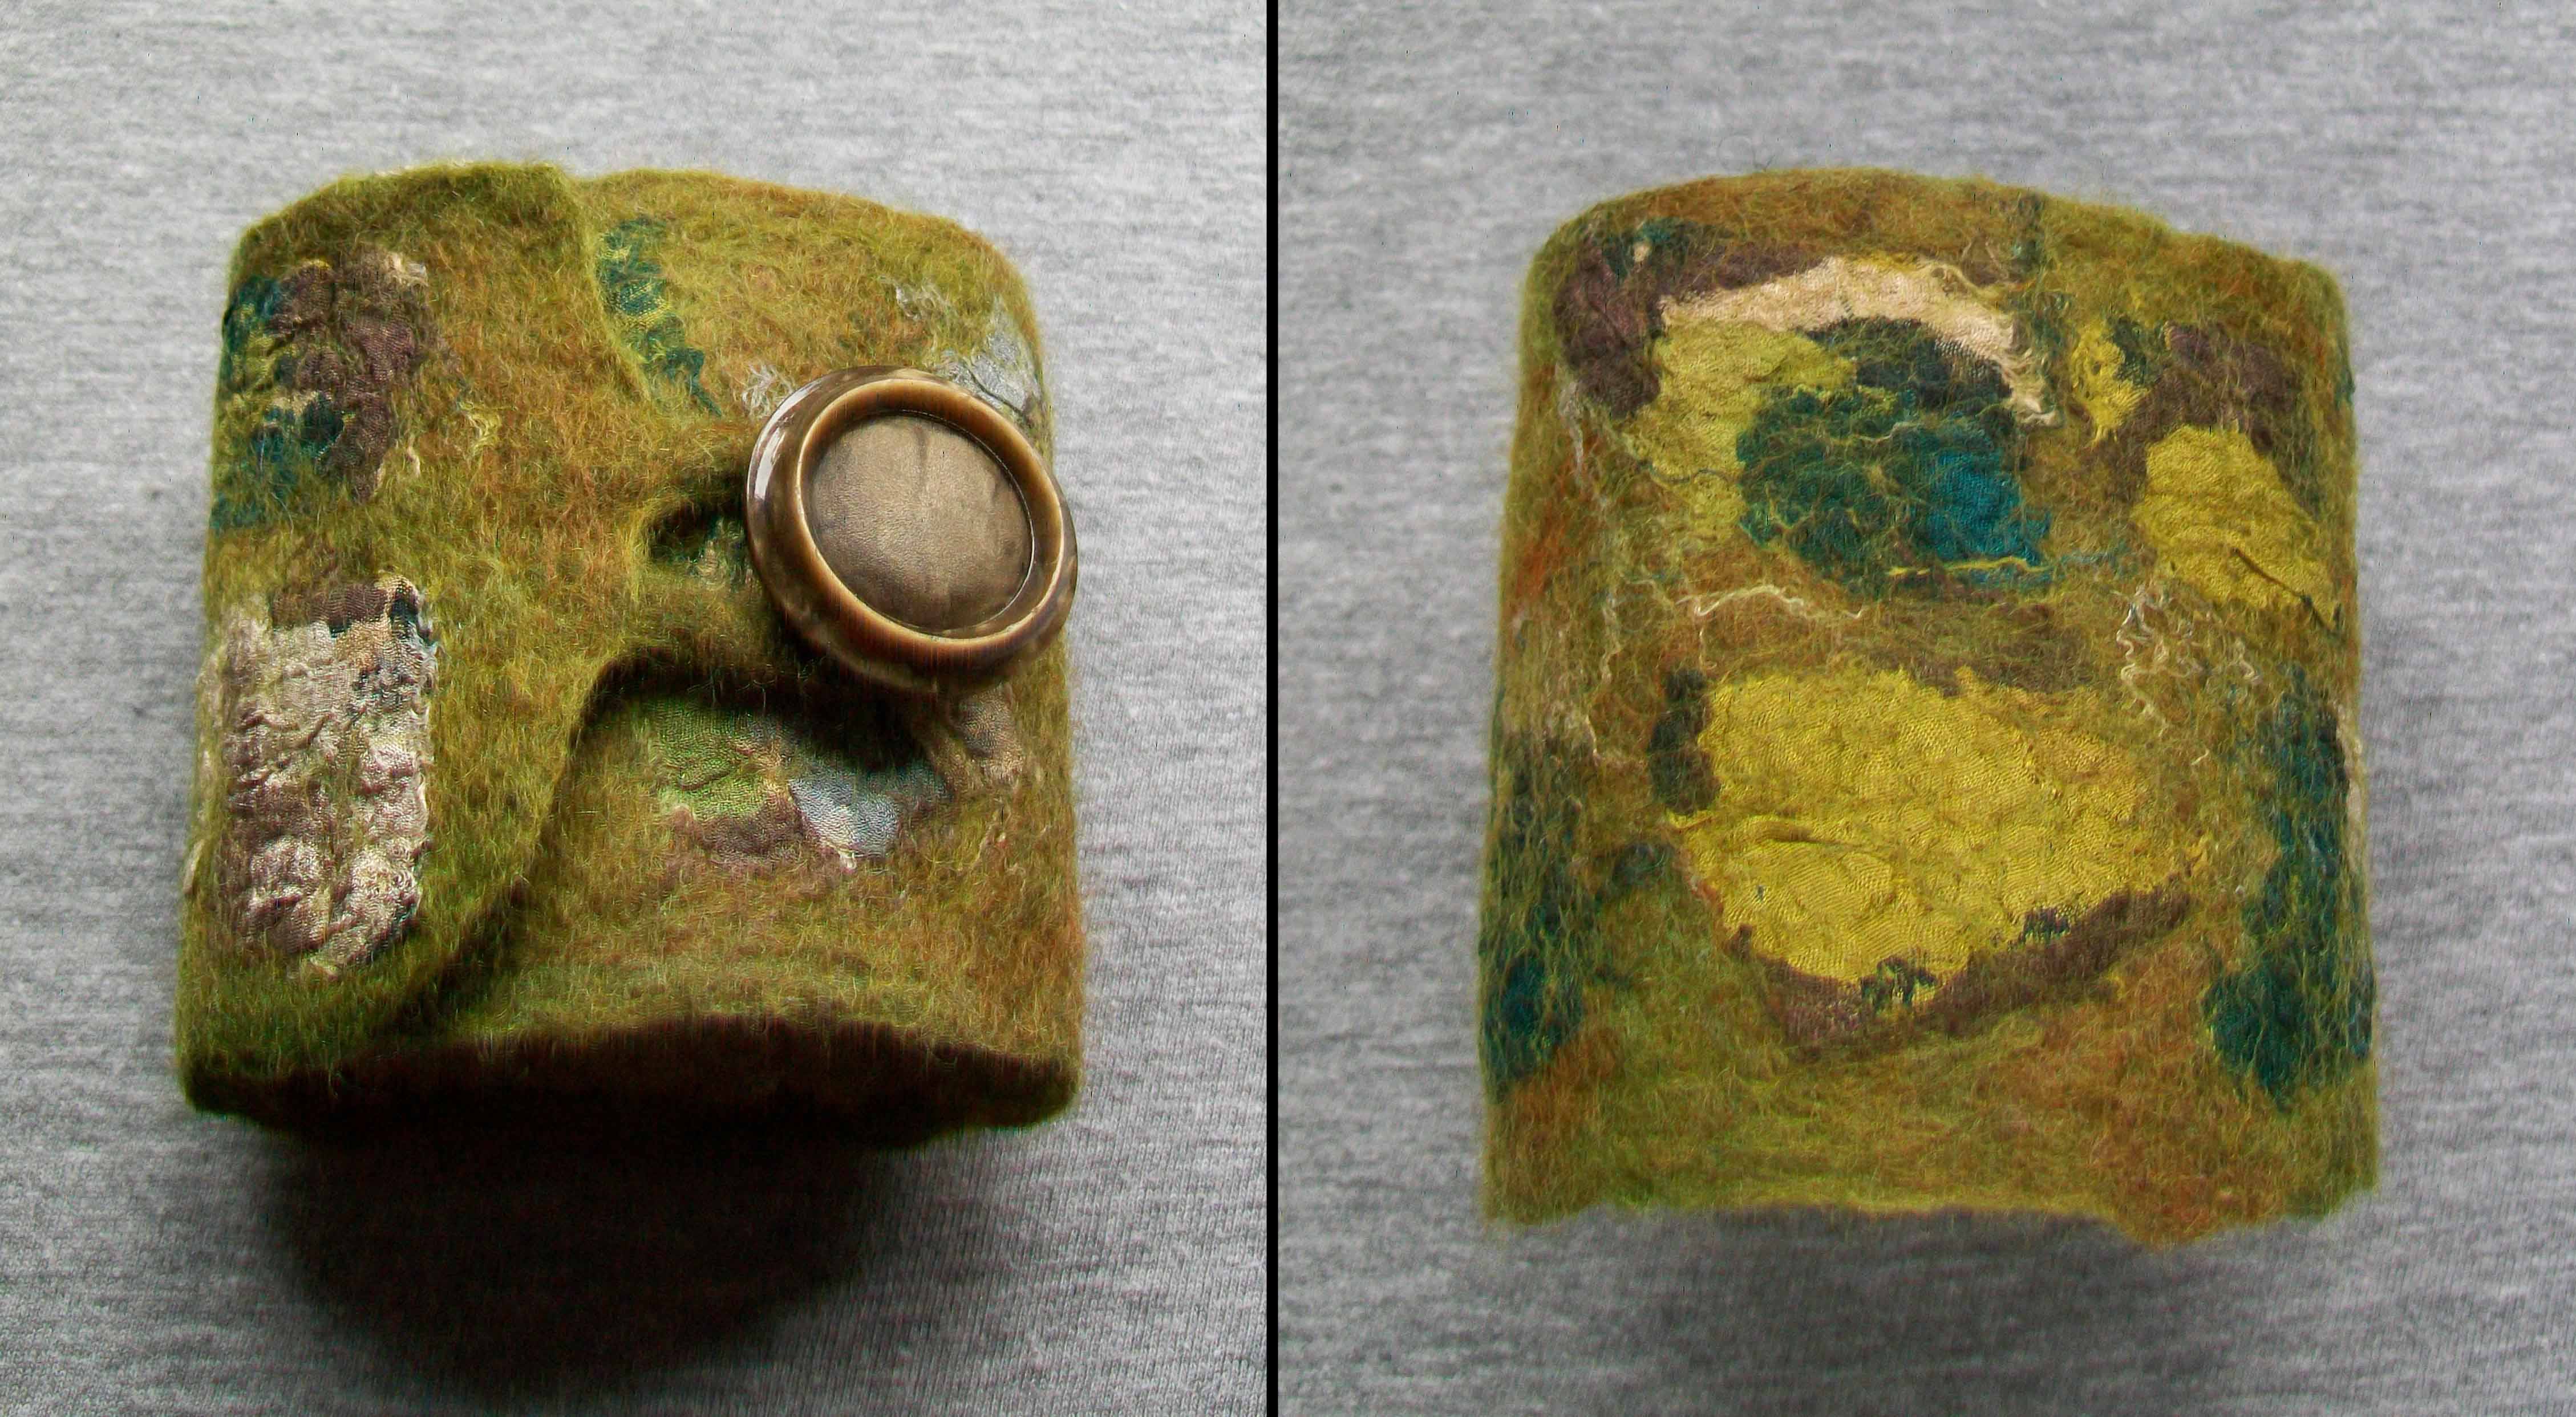
I made my third one in camouflage style by using lots of different shades of green merino and some greeny brown pieces of silk.

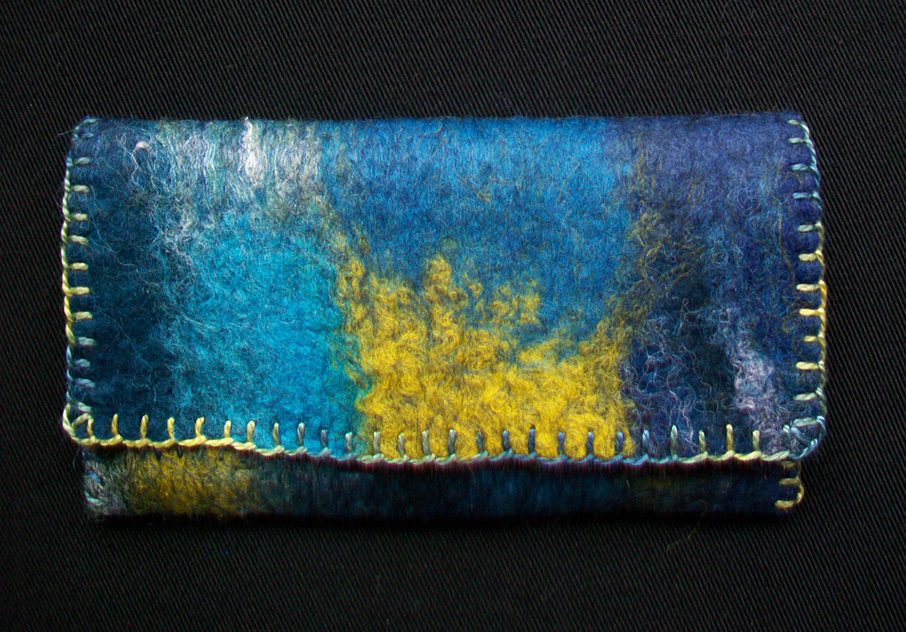
I really liked the way this one turned out, so I made a coin pouch to match it. It was made the same way, except I made it a bit sturdier by sewing lines down it, and then edged it with blanket stitching.

All the cuffs have a loop and button closing. I made the loops out of the same colours but just felted the centre part and left the ends fluffy, then sandwiched them between the wool layers. The buttons are all vintage ones from my collection.

What have you been working on lately? Have you tried something new recently? We’d love to hear your comments 🙂

Dyeing Cotton Fabrics

Dyeing Cotton Fabrics

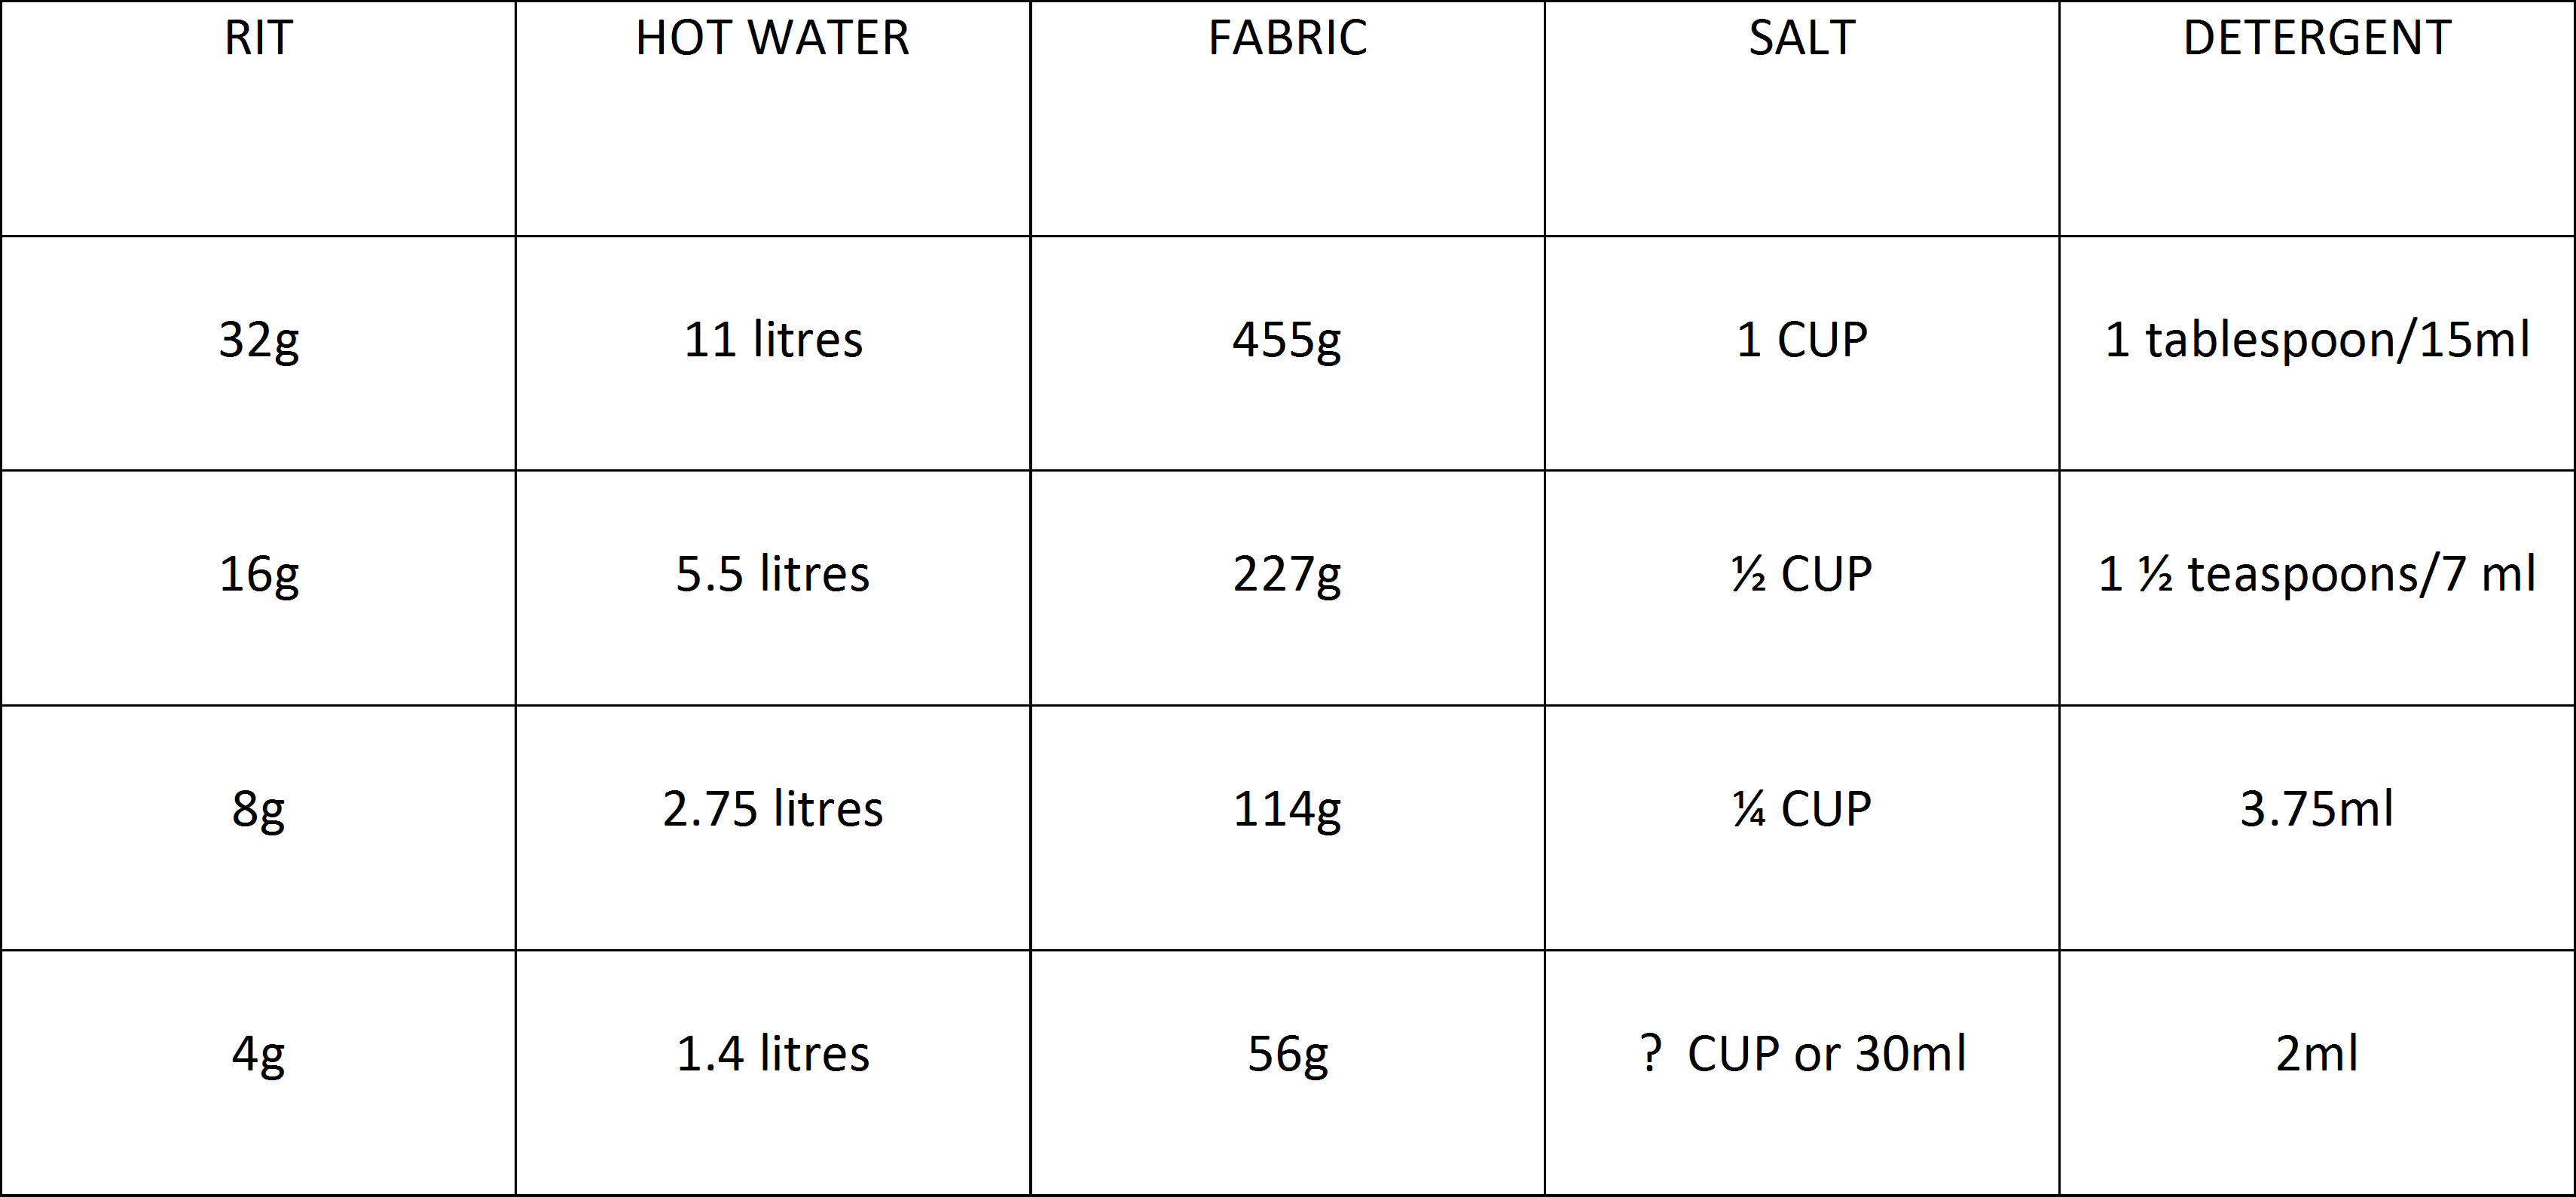
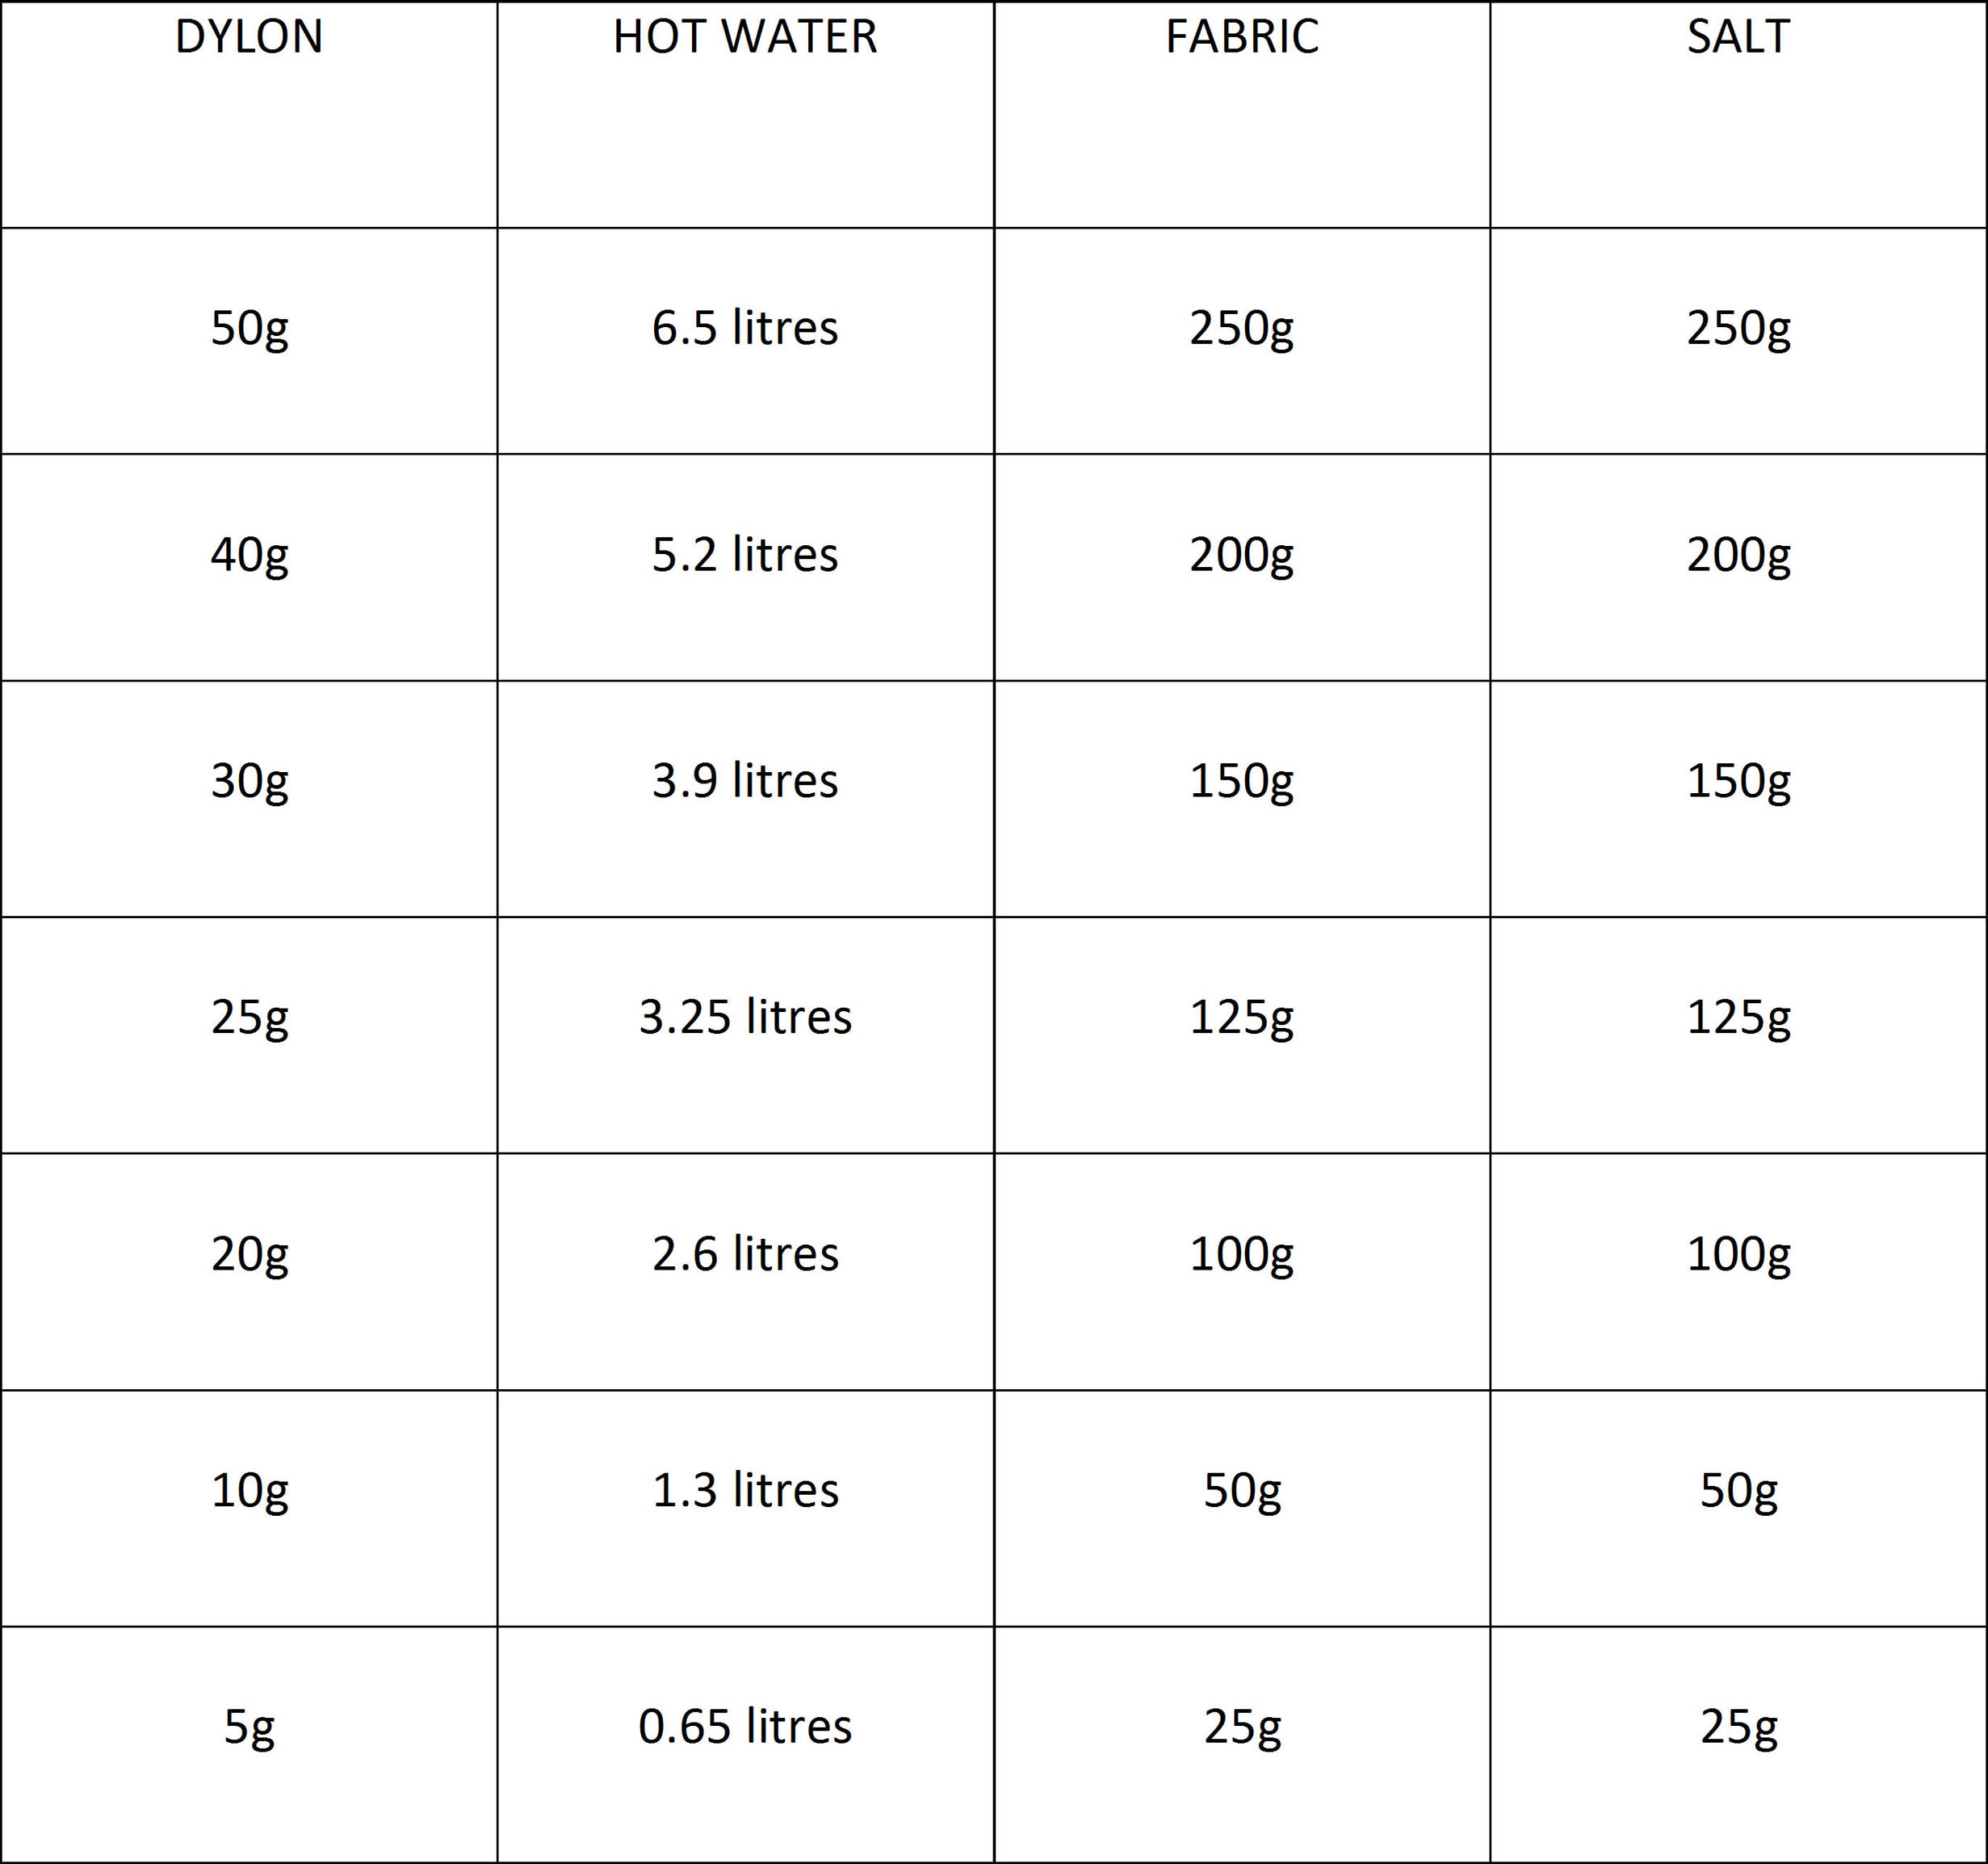
A few weeks ago I decided to dye some of the cotton fabrics I was using in felting: Cotton Gauze, Cheesecloth, Muslin, a few lightweight cottons and some cotton/synthetic mixes. I started out using some Scarlet RIT dye and I was really pleased with how easy it was to use and how well the colours turned out. I used the ‘Hot Water in a bucket’ method. I weighed the amount of fabric I had and then ran some really hot water into a bucket and measured out how much I needed. I poured this into the dyeing bucket, saving a little in a jug to add to the dye I’d measured out  into an old glass jar. I added salt to the dyeing bucket, then poured the dye solution in, and gave it a stir around. The instructions had said to wet the fabric before adding to the dye bath, so I’d put the fabrics in the other bucket while I prepared the dye bath. The instructions said to stir constantly for about 30 minutes until the desired colour is reached, but I just stirred occasionally. I also added fabric at different stages or tied/scrunched to get different shades/effects. Using the instructions on the RIT packet, I made some calculations for dyeing smaller amounts of fabrics and used this as a guide for dyeing the fabric a medium shade.

The second dye brand I tried was Dylon, I bought the 50g hand dyeing pack. I used to buy the Dylon Multi purpose dyes years ago, they were meant for using in a pan on the stove, but gave excellent results just using hot water in a bucket, so I expected these Hand Dyes to be really good. The instructions were pretty much the same as for RIT except no laundry detergent was used. I bought a dark brown so that I could add fabrics at different stages and get lots of gorgeous natural looking shades. What I actually got was a load of fabrics all very much the same pale shade of beige 🙁  I think I would have got richer colours using tea or coffee. I made some calculations for dyeing smaller amounts of fabric for the Dylon too, though I’m not sure I’ll use it again.

The next time I dyed some cottons, I used a RIT dye again, Navy Blue. I was really pleased with the way those fabrics turned out too. I even dyed some egyptian cotton top, which turned out nice, the photos didn’t though 🙂

Do you have a favourite dye for cottons or maybe a favourite method? Do you have any hints or tips to share with us? We’d love to hear your opinions. Click on the pictures for bigger images.

Guest Artist

Guest Artist

Our Second Guest Artist to be featured on the Studio site is Rachelle Gardner, a mixed media artist originally from Kansas City, Missouri, now living in Mission, Kansas, USA

Felting 3, 2, 1
Q-3 Three types of fibre you can’t live without?

Thread, of any kind, which I don’t know counts as a “fiber,” but it’s hard to make lace without it! I also keep a stash of dyed and natural Shetland wool around at all times, as I never know when I’ll need it. The third is admittedly, a toss-up between angora or silk fiber for use in detailing and accents.

Q-2 Two tools you use all the time?

My sewing machine, a new one that was partially funded by the Arts Council in my area, and water soluble stabilizer. I still feel like I’m just scratching the surface of possibilities with this material. 

Q-1 One fibre art technique you love the most? 

I am amazed at what water does to these materials. Both in wet felting and in working with the water soluble stabilizer, the utter transformation that occurs is symbolic to me. It impresses on me vital nature of water; it’s power to sustain us, it’s power to cleanse. It also reminds me of the concept that individual consciousness is like a drop of water in the ocean of universal consciousness. So, in short, I love working with water!

How did you get into fiber arts?

My path to the fibers arts was long, slow, but I think inevitable. When I was in high school, my parents adopted three Shetland sheep, which I, as a teenager, thought was most “uncool.” Eventually, I recognized my mother’s talents as she picked up every bit of the process of raising the animals, shearing, cleaning, dying, spinning, knitting, designing the patterns, over and over again, until it was finally time to say goodbye to the dear creature that provided so much over the years. And I can’t tell you how much time my father spent on fencing! So I eventually began picking up things here and there, and felting was my first interest and attempt at the fiber arts. While I consider myself a mixed media artist, I often work with felt or wool fiber in some way. 

Did you study art at college?

No! My degree is in interior architecture and my first job out of college was working as an apprentice at a small mom-and-pop wood shop building and designing custom furniture. But soon enough, the call of the fine arts drew me back. 

What you working on at the moment?

Right now I am preparing lace samples in preparation for studying at The Anderson Ranch Arts Center in Colorado. There I will learn how to cast large scale fabric sculpture. I’m interested in creating large scale lace sculpture exhibitions in art centers in my city and cities around me. This has been a project long in the making with support from the Anderson Ranch Arts Center, The Arts Council of Metro Kansas City, and hopefully people who love lace as I’m in the last few days of crowd-sourcing project funds through an online fundraising platform. I’d have to say it’s the most involved project I’ve yet to embark on.

What do you like to do when you aren’t creating art?

Yoga is my other main passion and I am a certified and registered yoga teacher. Between my day job, making art, and teaching yoga, whatever time is left is spent with my boyfriend and our 14-year old rescue kitty, Ellie.

Many thanks to Rachelle for taking the time to answer our questions, and share her work and enthusiasm with us 🙂  If you’d like to see more of Rachelle’s work, please visit her website www.rmgardner.com and her blog http://rmgardner.wordpress.com/ .

If you’d like to find out more about Rachelle’s adventurous project turning 2-D lace work into large 3-D sculpture,  visit her Aspen Project website, there’s even the opportunity for you to be involved and help with the costs of the project. Everyone who helps out receives a credit and also a reward of beautiful unique artwork, made individually for each person. But hurry, there’s less than a day left for that.

Handmade Greetings Cards Using Felt

Handmade Greetings Cards Using Felt

I was talking about making things from spare felt recently. I never throw any pieces of felt away, however ugly or small. Even the tiniest slivers cut from the edges of felt get saved up for re-using, usually between the layers of textured felt. I was looking at some of my smaller pieces and wondered if they’d be any use to my mum who makes her own greetings cards, so I asked on the forum if anyone knew the best way to attach felt or fabrics to card. I got some good advice and when Ruth and Lyn both said the easiest way is to sew them on, I thought I’d give it a go myself.

I spent a good few hours cutting, measuring and scoring card, cutting out felt, choosing colours of thread to use…and then my machine wouldn’t work 🙁 I think I must have done something to it when I tried to sew organza, no amount of cleaning and oiling seemed to help, it just kept making grinding noises and chewing the thread. But, a few days later, it was back to normal! It must have needed the oil to soak in or something.

So, I got all my supplies out again and started sewing away. Before long, I had a nice pile of almost finished felt greetings cards.

When I was asking on the forum about attaching the felt, Lyn also suggested using cards with a double fold, so that the sewing on the back could be hidden. I do have some of these, but they have an aperture, so weren’t any use.
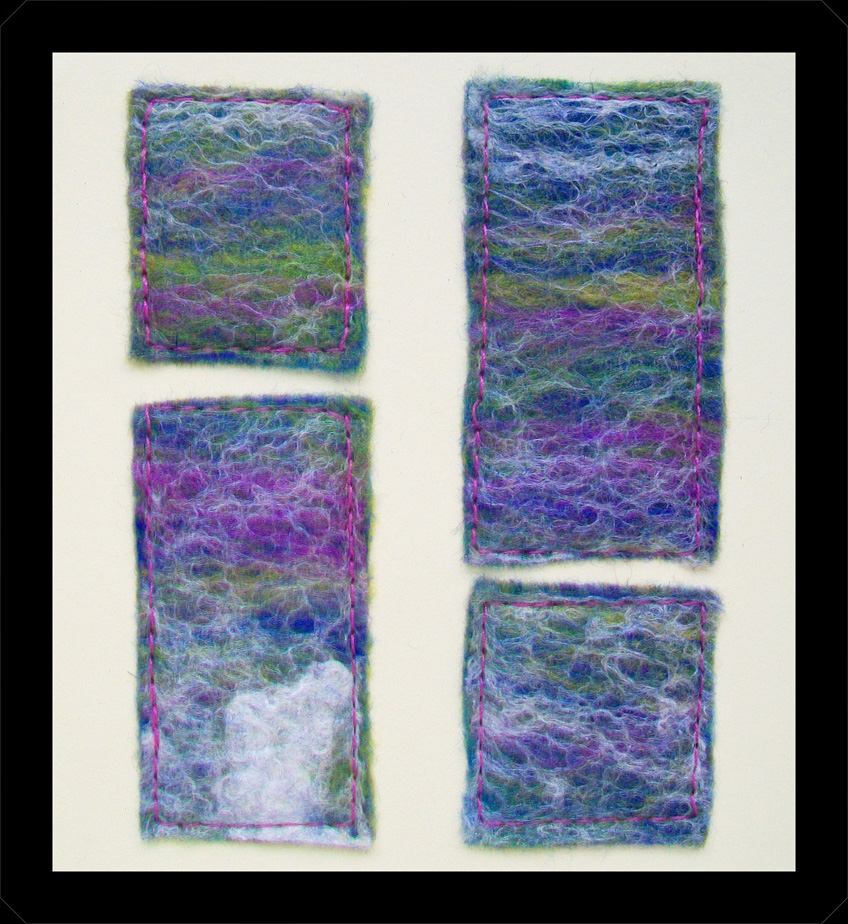
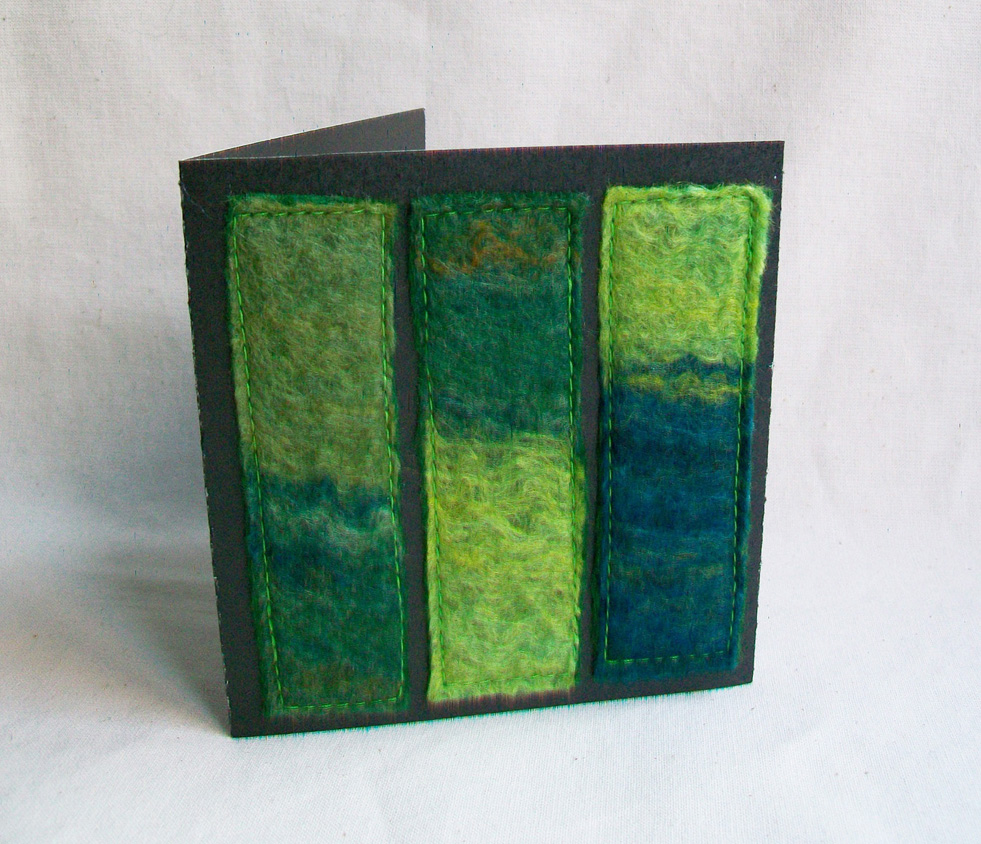
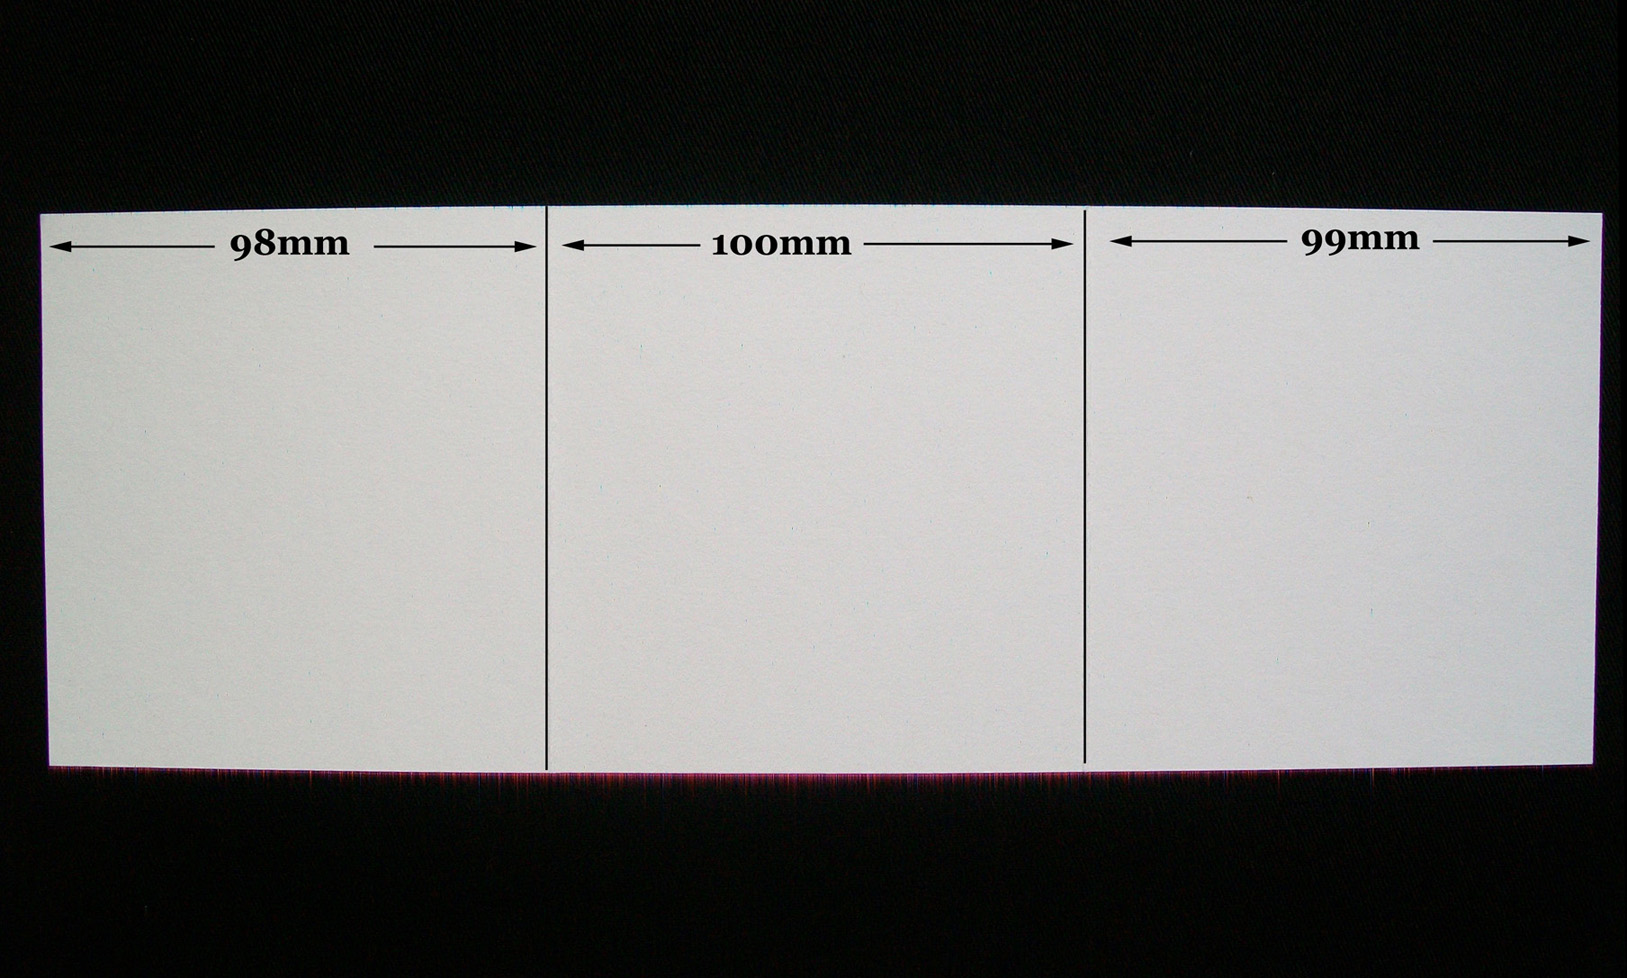
After lots of measuring and dividing and practising, I worked out a good system for scoring the cards so they folded well. I used standard A4 size card, cut in half, so that I had two long strips. On the back side, I measured 98mm in from the left side, and 99mm in from the right, and scored gently. This left the centre panel where the felt would go, approximately 100mm wide.
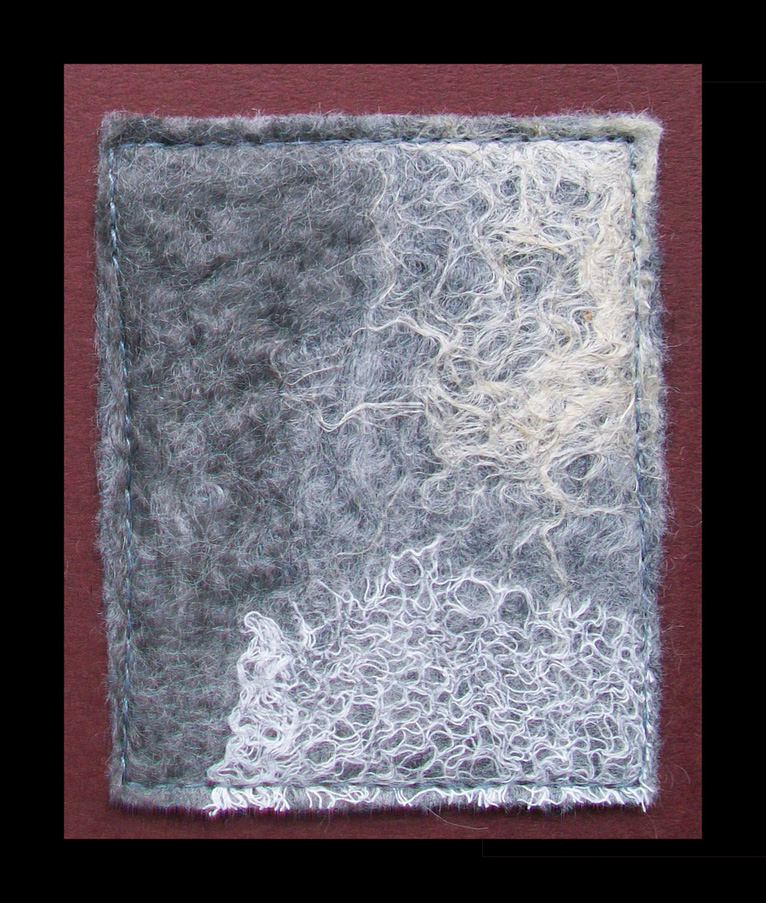
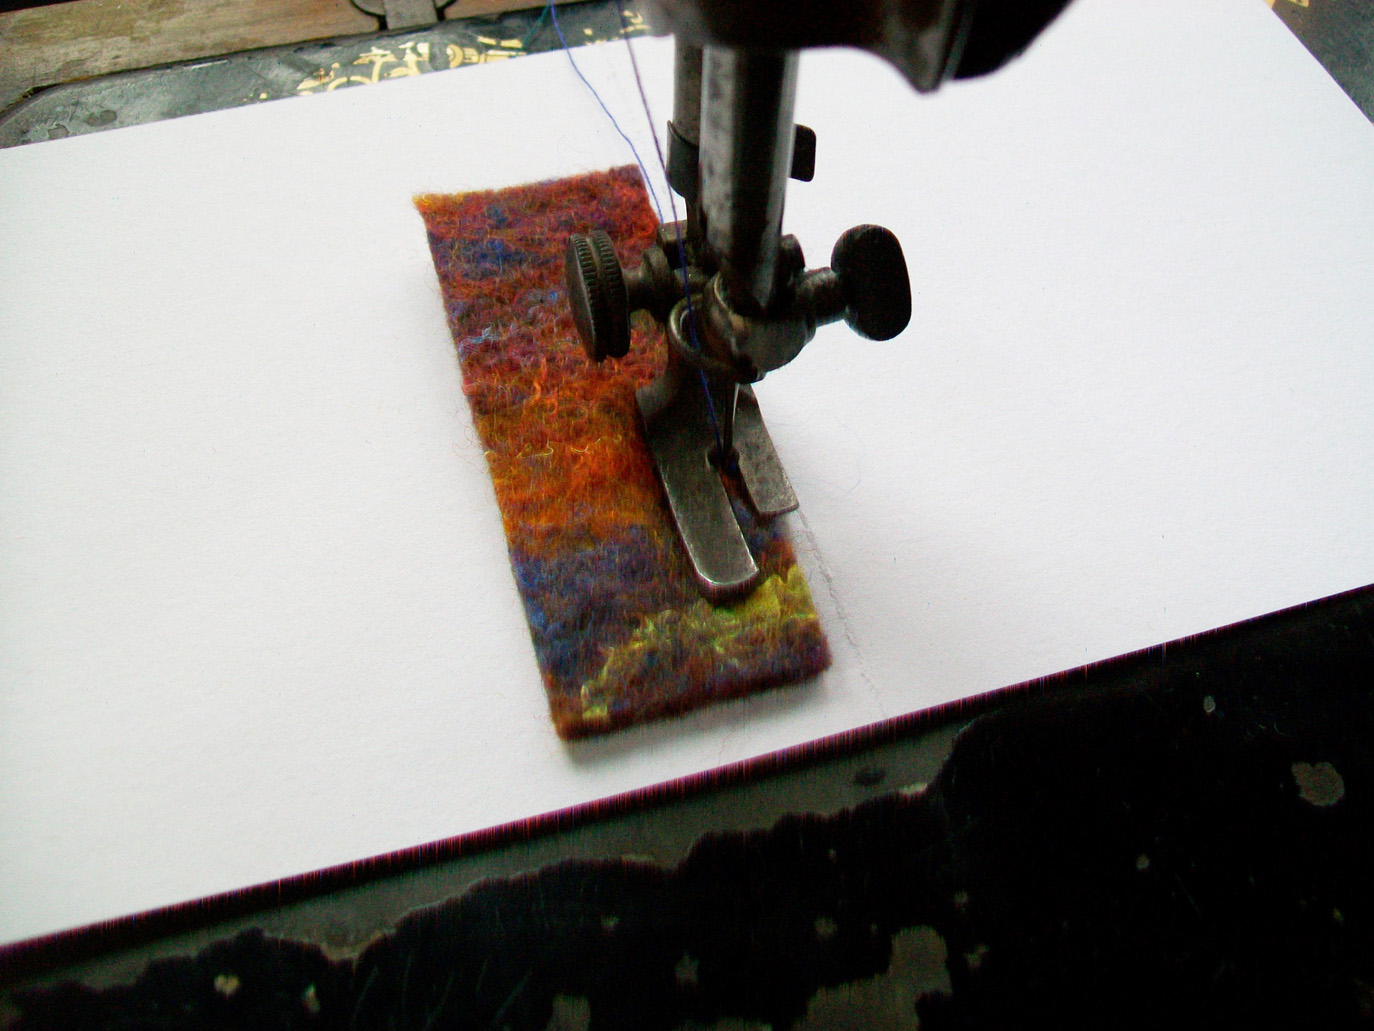
After working out where the felt would go, I then sewed it into place. You don’t need a fancy machine, mine is an old electric Singer without power 🙂

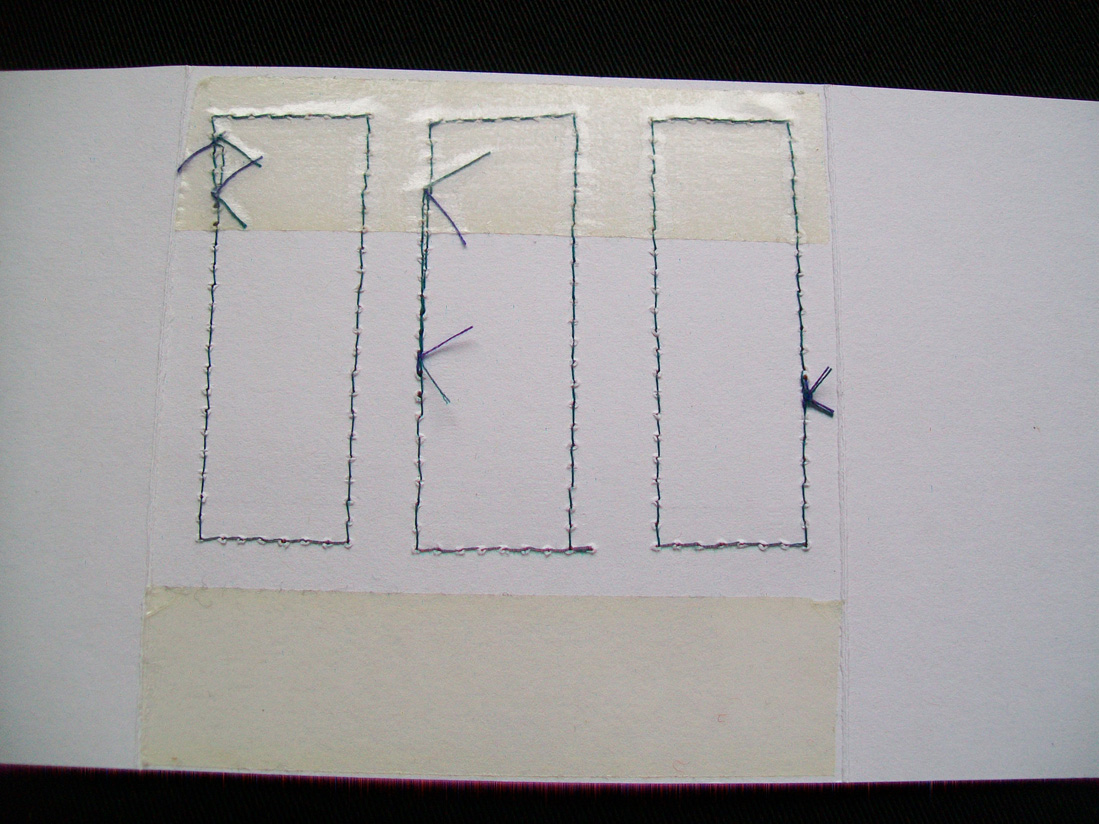
Once all the felt was attached, I turned the card over and added a couple of strips of double sided sticky tape.

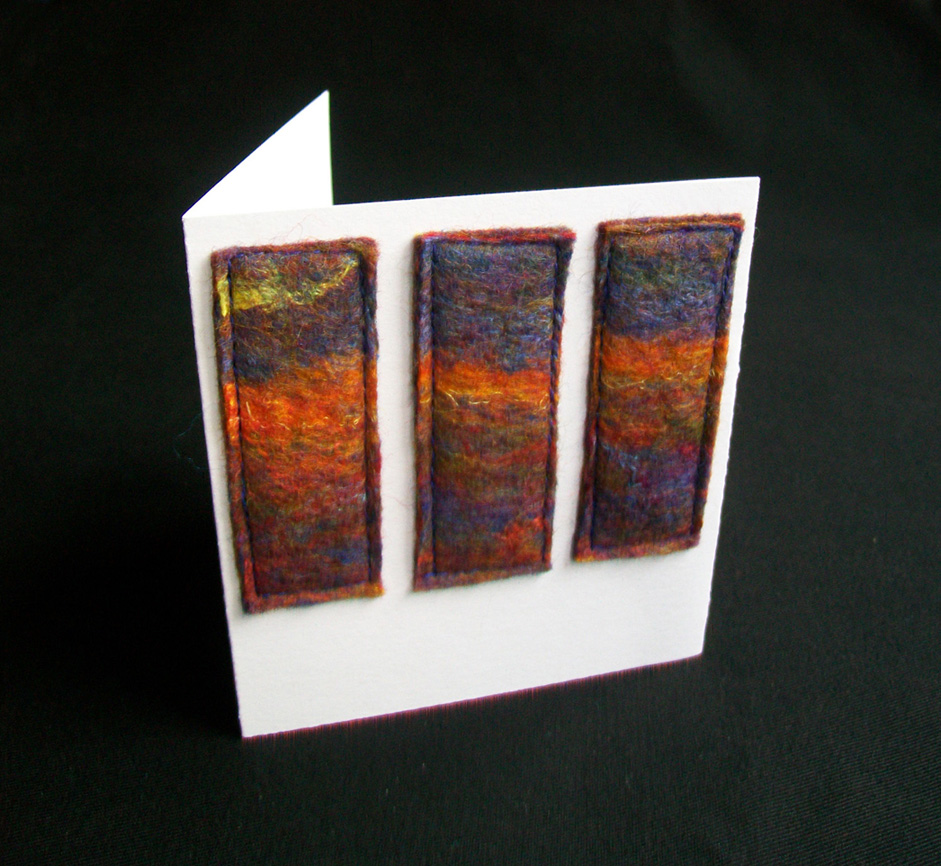
Once the flap is folded over to cover the sewing you have a gorgeous, unique greetings card 🙂

I’ve made a PDF file with more photos and more detailed instructions. If you’d like more info on how to make your own cards, just click the link below

Handmade Greetings cards Using Felt

Do you use fabric, felt or fibres for greetings cards? Do you have any photos or tips you’d like to share?

Book Review: Creating Felt Artwork

Book Review: Creating Felt Artwork

Creating Felt Artwork: a step by step guide

This is an excellent, information packed, 60 page, full colour e-book by Rosiepink fibre artists Annie and Lyn. Using one of their own pieces, ‘The Meadow’ as a guide, they show you a step by step process and give you all the information you need to make your own beautiful, unique felt artwork. There are lots of nice, clear photos throughout, and simple but detailed instructions with lots of excellent tips and advice. Before the main part on how to create your felt wall hanging, there is a great section about finding inspiration, how to interpret your ideas into a design and planning your artwork.

The information in the main step by step guide is excellent. It starts with a detailed equipment list with lots of hints for using inexpensive items you’d find around the house, and advice about preparing your work area. The instructions for how to lay out the wool for your design are very clear and detailed, and there are lots of photographs to illustrate each stage. There’s a very detailed explanation of the whole felting process and valuable information about choosing other fabrics and fibres to add to your design.

The next section teaches you how to enhance and embellish your artwork with simple machine embroidery. This part is packed with information and advice too. There’s everything you need to know about stabilising your felt artwork and choosing the right colours and types of thread to work best with your design. There’s information about techniques to create the effect you want and how to add detail. This section also has advice about adding hand stitching and how to use machine and hand stitching to create effects and texture and also about using other fibres for adding extra texture and detail.

Once you’ve finished your felt art wall hanging, you’ll want to display it. There is a great section on how to back and hang your artwork simply and effectively, with clear instructions and photos. But if you’d like to display your artwork a different way, there is also a separate section on alternate ways to display your artwork and how to care for it.

There’s information and tips throughout the book for techniques to help you realise your own design and create your own unique artwork. This includes how to make and use prefelt for more control over your design; how to re-use spare felt in the same way; using yarn and small drafted sections of wool for design, and adding other fabrics and needlefelting to enhance your artwork.

So, what if you’ve followed all the instructions and you’re not happy with the way it turned out, or maybe you made a few sample pieces to try out your colour choices and don’t know what to do with them? There’s even a section for that, with some great ideas on what to do with spare pieces of felt.

And don’t worry if you’re an absolute beginner and have never tried felting before, or don’t really know what all the felting terms mean, there’s a glossary at the end with everything you need to know and an appendix with a complete step by step guide to making felt, with lots of clear photos.

This really is excellent value for money. It’s an invaluable source of information and advice about creating beautiful feltwork and enhancing it simply with easy tips and techniques. And the great advantages about being an e-book is you can have it instantly and zoom into the photos for even more detail 🙂

If you’d like to own a copy, visit Annie and Lyn’s website http://rosiepink.typepad.co.uk/rosiepink/creating-felt-artwork-ebook.html   It’s also available on Craftsy http://www.craftsy.com/project/view/Creating-Felt-Artwork/43696

Navy Blue Merino and Soy Bean Top

Navy Blue Merino and Soy Bean Top

A while ago I made a few pieces of felt using soybean top and navy blue Merino. This is the layout stage for a felt vessel:

I love the soft, golden sheen of soy bean top

I softly felted the piece, then when it was holding together, I shaped it over a glass jar. It turned out roughly how I’d expected though I’m thinking that it might make an interesting purse with a few adjustments and some sewing.

This is a close up of the texture, it reminds me of something woven or knitted felted into the wool.

I also made a large flat piece of felt using the same coloured blue and lots of soy tops. It’s such a nice colour combination, I just have to decide what I want to make from it now, then dare myself to cut it 🙂

Making things from spare felt

Making things from spare felt

A lot of the times when I make a piece of felt, I don’t really have anything specific in mind for it. I just have an idea for a colour scheme, or want to try out new fabric or fibres or see how different things work together. Unless I’m doing a sample to keep, I try to make pieces that will be big enough to be used for something, like a book cover or a purse. I know from discussions we’ve had on the forum that I’m not alone in doing this, others have a ‘felt box’ where finished pieces go until the day we realise they are just ‘perfect’ for what we have in mind 🙂

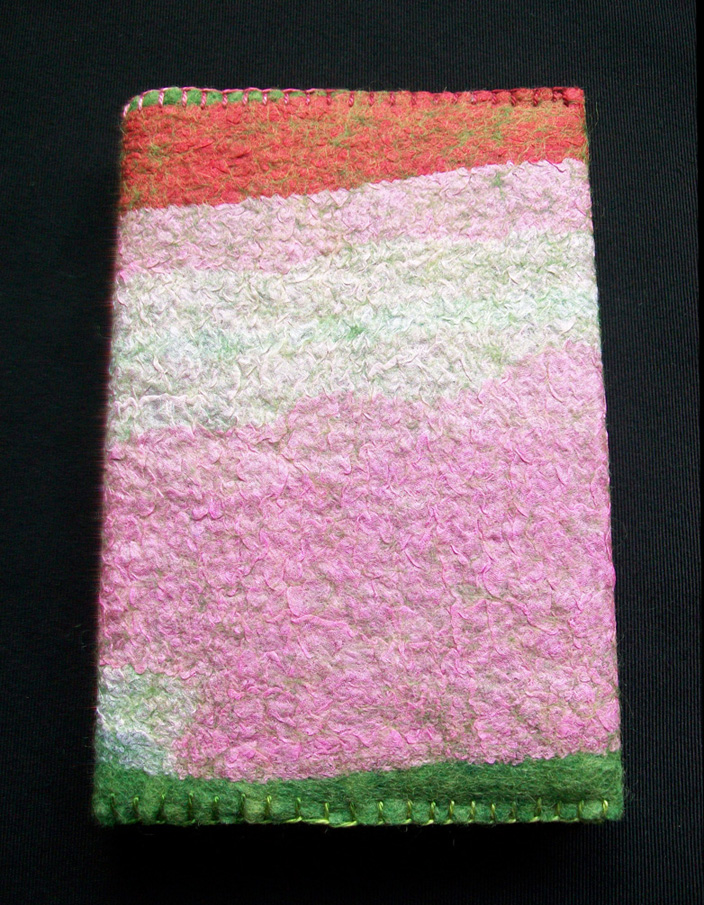
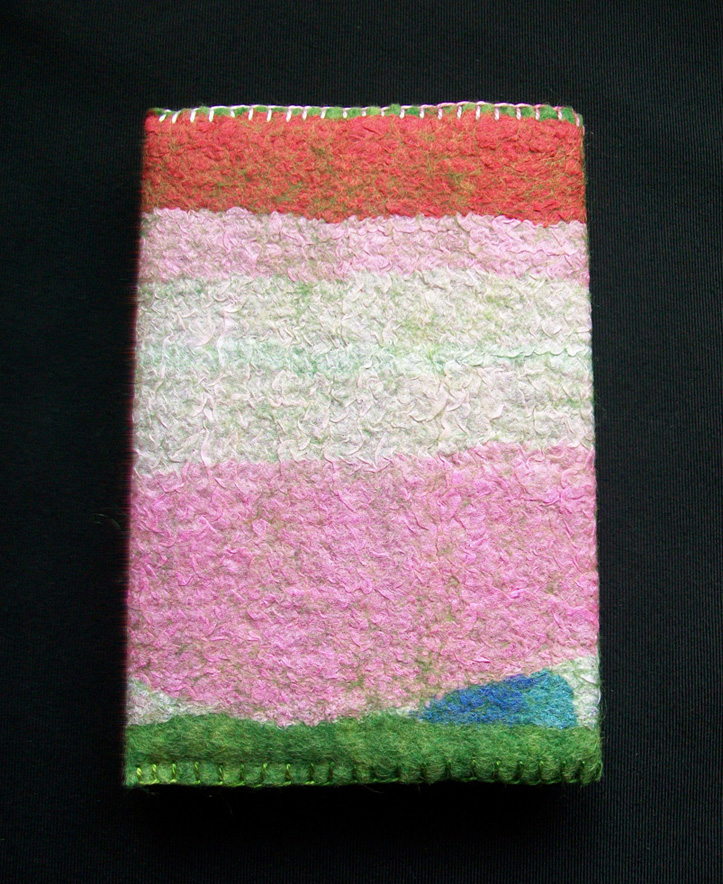
Recently, I had a look through my box and found a nuno felted piece I made a while ago, it was just the right size for a small book-cover. I usually use three layers of wool when I make pieces that will become book-covers, but when I made this piece, I wanted to keep some of the nuno texture in the silk, so just used two.

This is the front:

And this is the back:

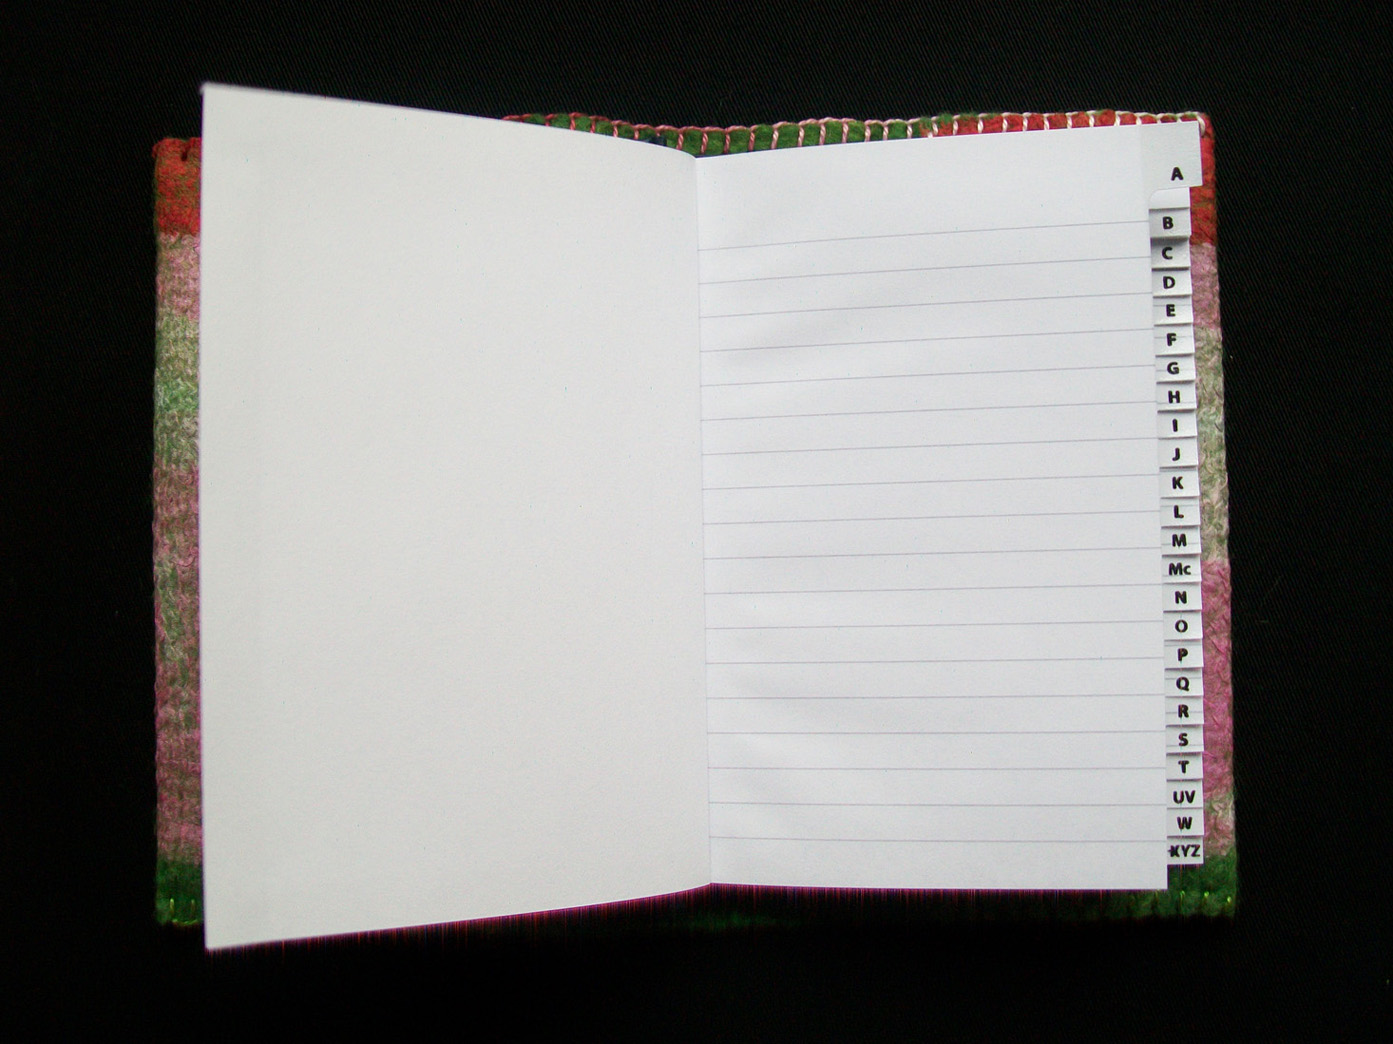
I know most of us stay in touch with friends and family by email today, but I still like to keep an address book, just in case and I do have some odd relatives who don’t have the internet!

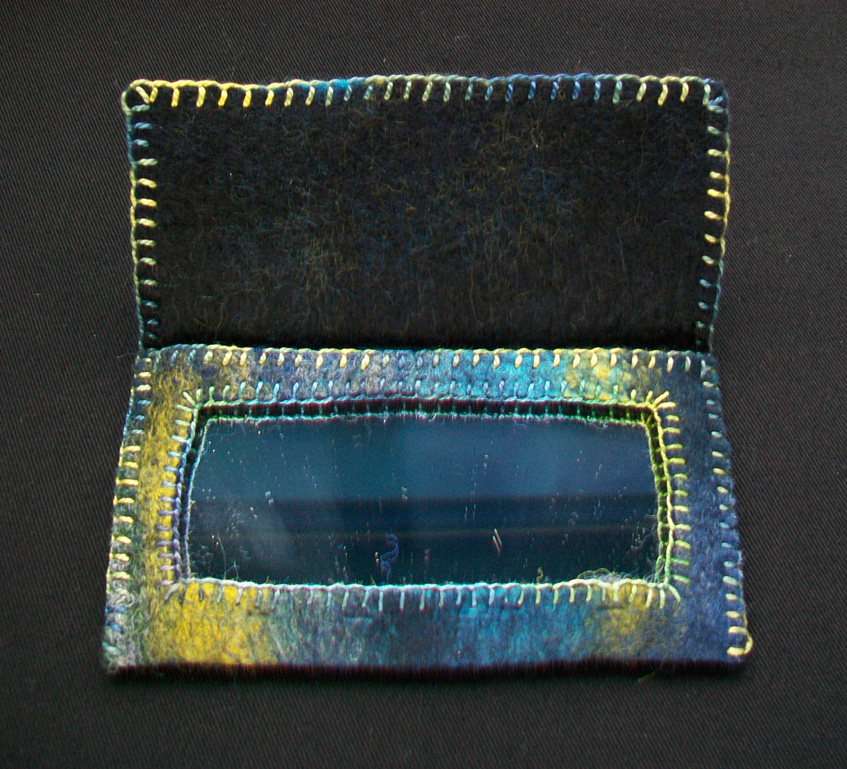
Many years ago I bought some small mirrors to use with some mosaic tiles that I had, but they were too thick, so they stayed on a shelf. Then a few years ago I made a case for one and gave it to my mum as a present. I have another couple of boxes for felt off-cuts and looking through one, I found a piece I thought would be perfect for another mirror case, it was an off cut from a piece of felt I’d made for a trivet. I made this one slightly different and cut a hole in the centre of the felt so the mirror could be seen.

I should have wiped the mirror 🙂

Do you have a box or place to store your unused pieces of felt? What do you use your offcuts for?