The Mother of Invention
There’s a proverb I like: “necessity is the mother of invention”. Apparently it started with Plato. I’m going to test it today in two ways. Firstly, I’ve had a lot of sales and exhibitions recently and I haven’t made much new work. I’m writing this while stewarding an exhibition. So, as my blog is due and I’ve nothing new to show you (necessity), I’m drawing on some work I did earlier in the year and reflecting on that (invention). Secondly, it was actually the need to create a lot of pictures quickly (necessity) that led me down the different style of pictures (invention) that I’m going to talk about.
As I’ve covered in previous blogs, I had a large exhibition to fill in April/May this year so had a big push from January to March to make lots of new pictures. As all wet felters will know, wet felting is not a quick process and there’s no mileage in trying to hurry it. So, as well as making my usual style of pictures, I had a think about the quickest felt pictures I could make while not skimping on the quality of the felting. Quicker pictures would also allow me to offer them at a slightly lower price than my other work.
Nuno felting (which is including fabric in felt) with patterned fabric is a quick way of creating colour and pattern as it bypasses complicated and time-consuming wool layout. And now that I can print onto felt (again covered in a previous blog) that’s a comparatively quick way of introducing images.
This was my first picture.

The fabric was a lovely fine wool scarf that I had bought (as always) in a charity shop. I have the solid beech frames made for me in batches in advance so I knew what size I was aiming for. I used a commercial prefelt of merino wool and silk – again trying to minimise the layout time and it’s also lovely to work with. There are plenty of legitimate, free-to-use images on the internet. Sourcing, scaling, printing and transferring them to felt is quite time consuming, especially as I only planned on using each tree once for this first set of pictures, but I’m sure I will come back to them.


For the next (and subsequent) ones I decided to make them slightly smaller than the frames, leaving a small border around the felt. I added a line of recycled tapestry wool at the top of the fabric, just because I liked the look of it, and decided against patterning the sky.
I then fished out some black and white silk scarves from my charity shop finds and used those instead of the wool scarf.


I added a crow silhouette in the tree on the left picture. A bit fiddly but I liked it.


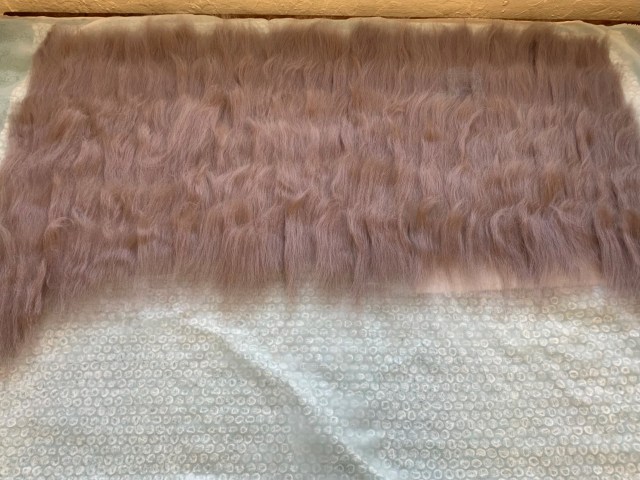
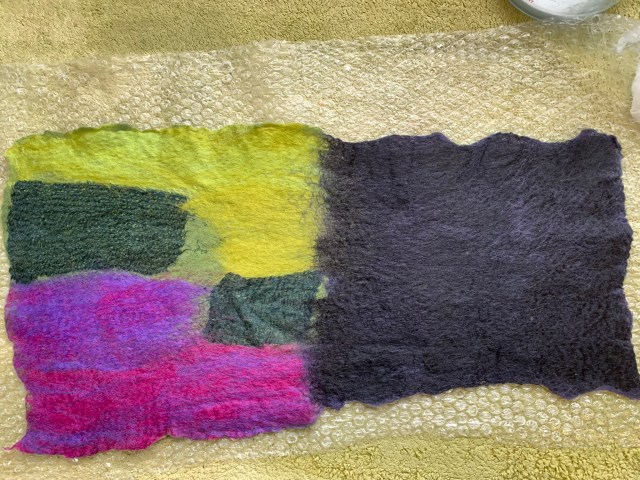
My next experiment was to switch from black and white to coloured silk, tapestry wool and trees.


When I was printing on Green Tree #1 I accidentally pressed a fold in the corner. It came out with a hot iron but I didn’t remember to photograph it again afterwards.
After I’d made these two, it occurred to me that I could double the width of the wool and fabric to make two pictures at the same time, cutting them apart before printing on the trees. Why hadn’t I thought of that sooner? Super-speedy.
Continuing with the limited colour palate, I chose a silk scarf that was red / orange with some colour fade across the scarf.

When the felting was finished I wasn’t sure I liked how much the white fibres showed through the red / orange silk. The previous fabrics had either been partly white or were light coloured so the movement of the white wool and silk fibres through the fabric had been less visible.
As I contemplated this, I decided that I liked the long rectangular shape for a change. I happened to have some frames that were more or less the same shape and proportions….and so “Red Trees” became a double-width landscape with two trees.

That wasn’t where I thought I was heading but it’s fun to take an unexpected turn,
I have now sold more than half of these pictures, and I’d say they’ve sold slightly better than other work. I’m a little ambivalent about this. I like the new pictures but I don’t feel as much for them as my usual bird, beach and/or water pictures. I suppose that shouldn’t matter. They have definitely attracted a slightly different audience. When I get back into the studio I will be making some more. Not because of their speed as I’m not now under the same pressure, but because people seem to like them and I’ve enjoyed trying something new. I think I will stick to the monochrome fabrics but try out some different colours. Having a group of different strong colours like the red and green might make a good display.
And so, it seems, on this occasion, that necessity was indeed the mother of invention. I made a new line of work and I have a blog to post!