Same Picture, Different Techniques and Outcomes
A while back, I purchased Moy Mackay’s book Art in Felt and Stitch. I like her use of bold colors and particularly like her flower and bird pieces. While chatting with Cathy (Luvswool), I learned she also had Moy’s book and we both liked one particular vase of flowers in the book called Anemones. We decided to do our own interpretation of that picture below. (The quality is not great because I took a picture of the picture in the book.)
 Cathy —
Moy lays out her fibers from start to finish, with “brushstrokes” of fiber, much as a painter applies paint to the canvas. When she is finished laying out her merino roving, she then felts the entire picture as one piece. Later, she needle felts details and then embroiders with machine stitching.
My approach was a bit different, in that I prefer to layout my base first then wet felt it so that I end up with a pre-felted white base on which to paint my picture. I had previously used this technique in creating other felt painting and so was comfortable with the approach. After my white domestic 56’s base (2 layers) was completed and dry, I began the process of laying on merino fibers in various colors, not exactly the same as Moy. I added tussah silk highlights and then wet-felted the entire piece.
After drying, I began to needle-felt details, such as shadowing for the vase, some detailing for the flowers. I chose not to machine stitch or hand embroider, rather I allowed the needle felting to be my finishing.

Newly armed with a stapler gun and some stretcher bars, I backed the 12″ x 12″ piece with blue commercial felt and framed it.

Marilyn —
I chose to follow Moy’s method as mentioned above in Cathy’s description. For me there were a few firsts — I had never “cut” roving, had done free motion machine stitching or embroidered felt.
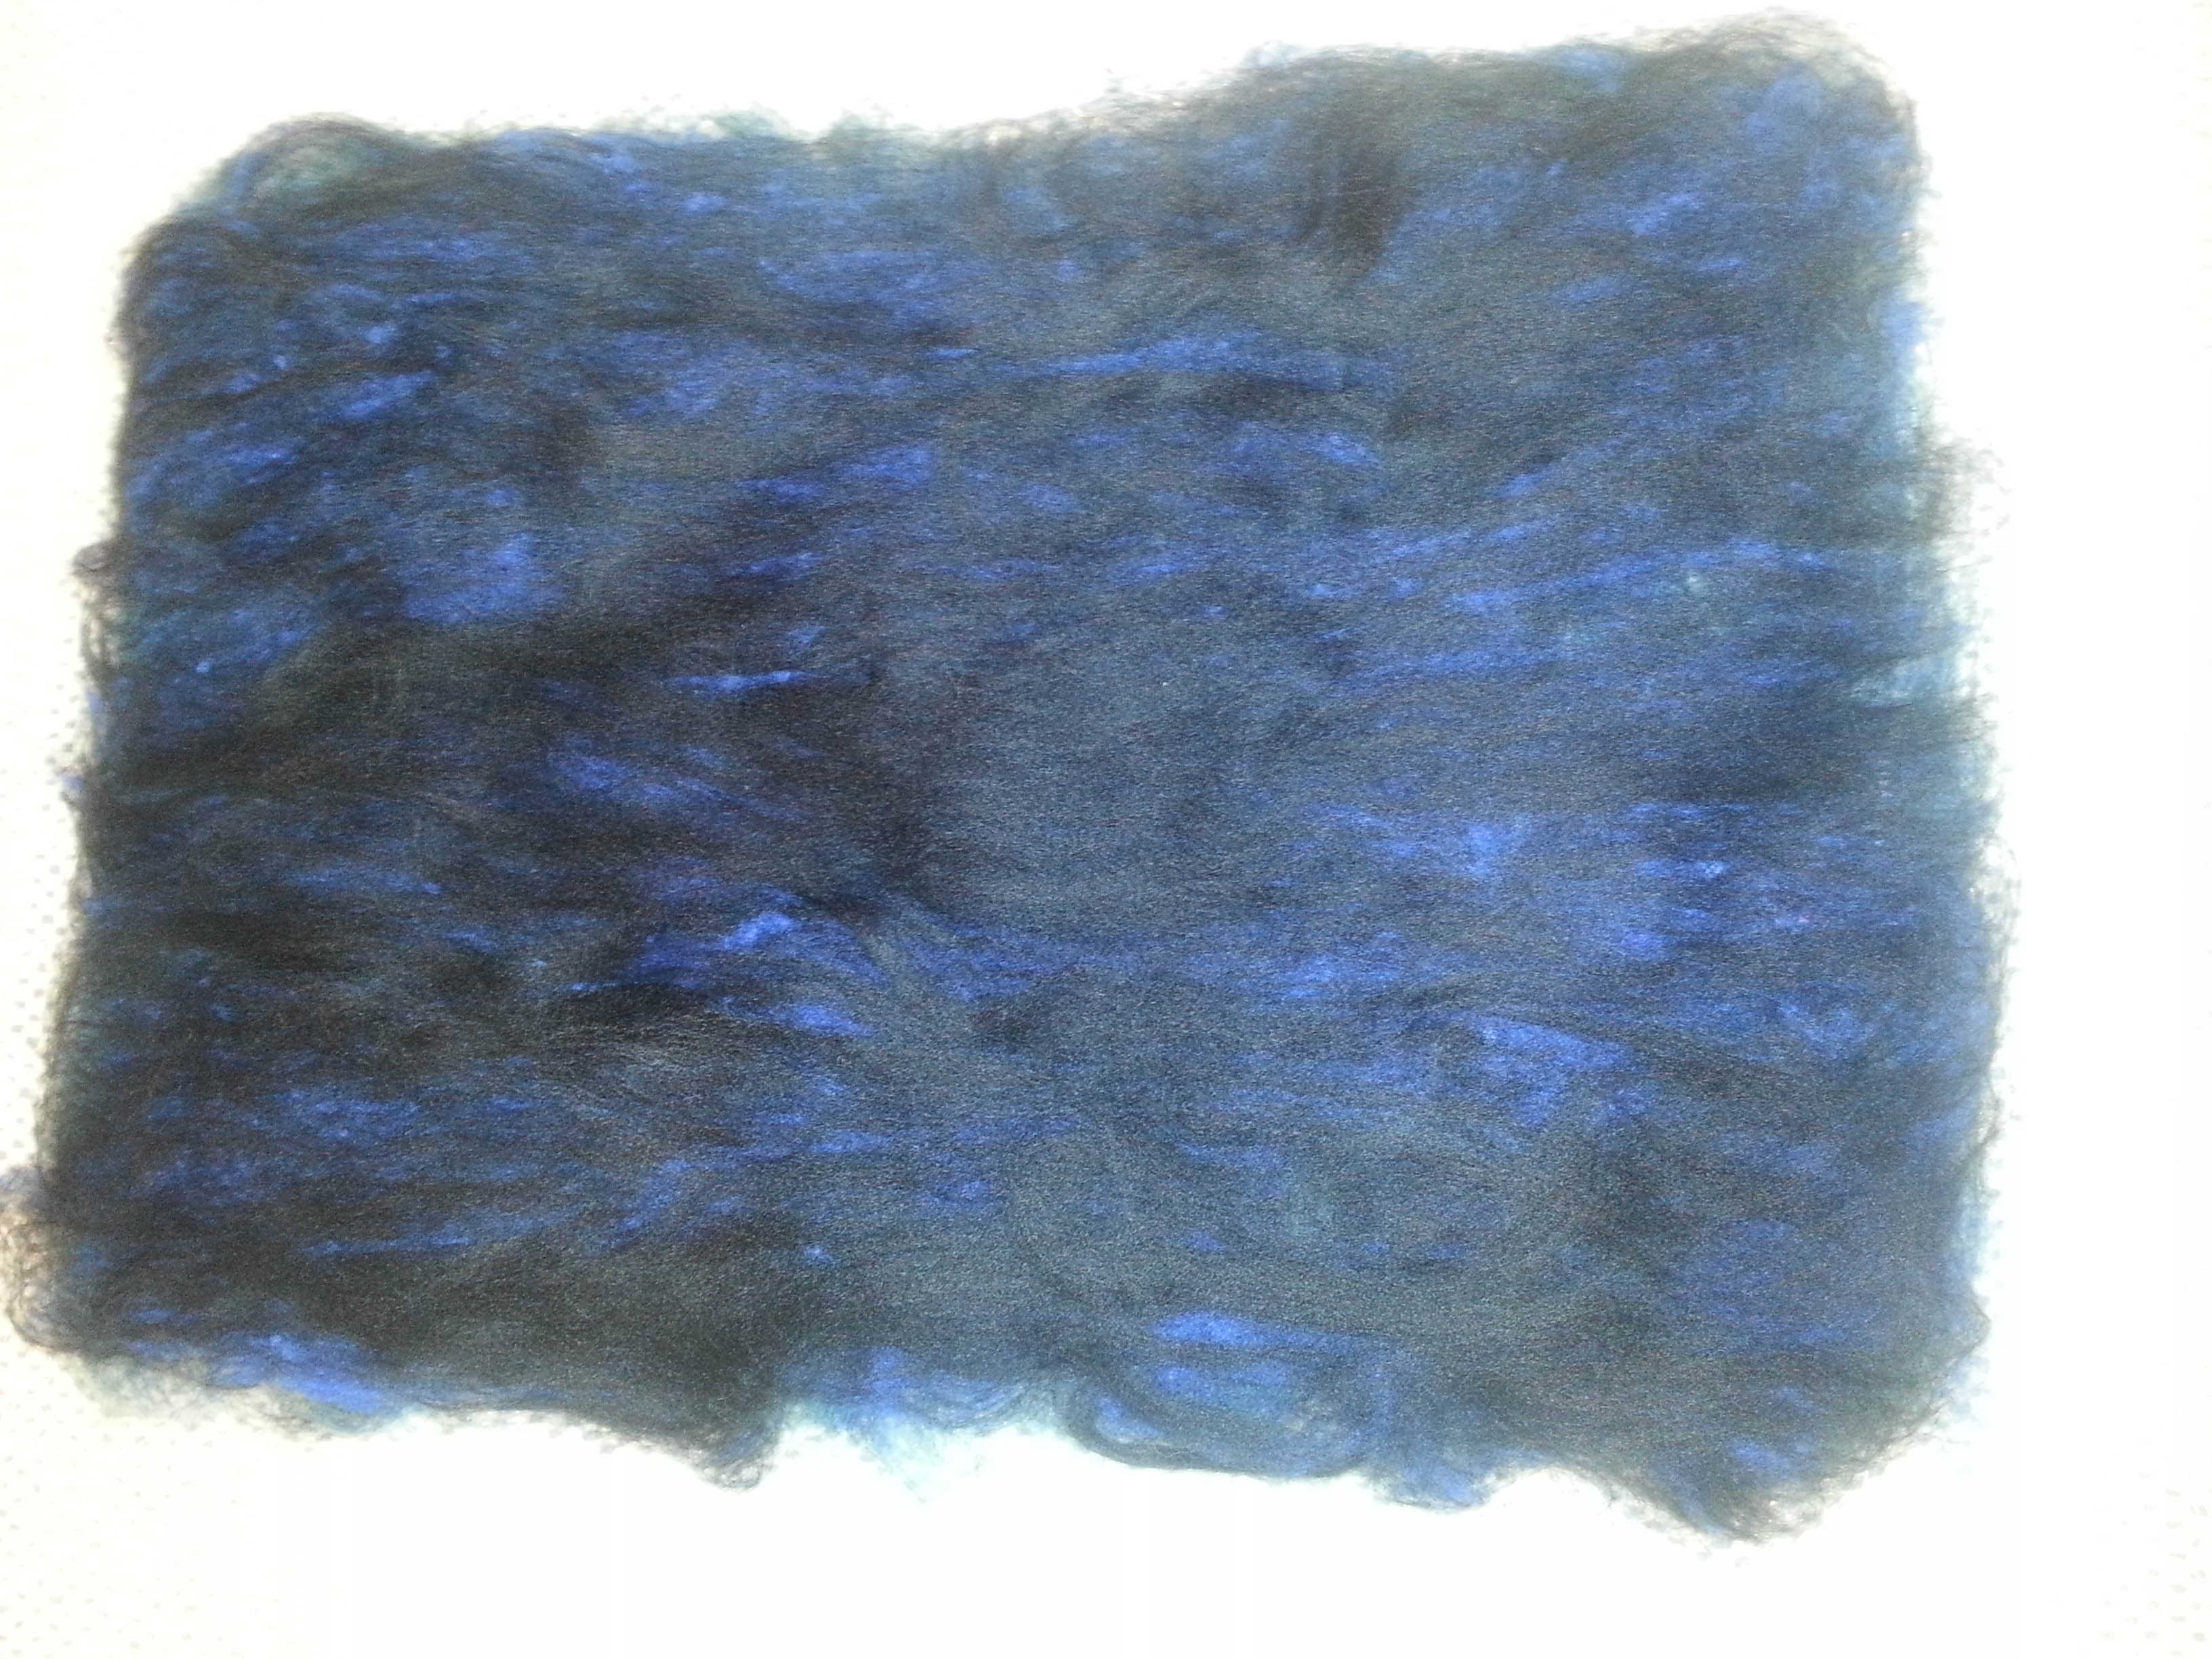
I made the base from batts I had made using dark colors, then added the lighter accents, the vase, then built the picture from the background forward laying out the background leaves then cut the flowers and laid them out. I added some silk embellishments, angelina and nepps, then I wet felted the piece.
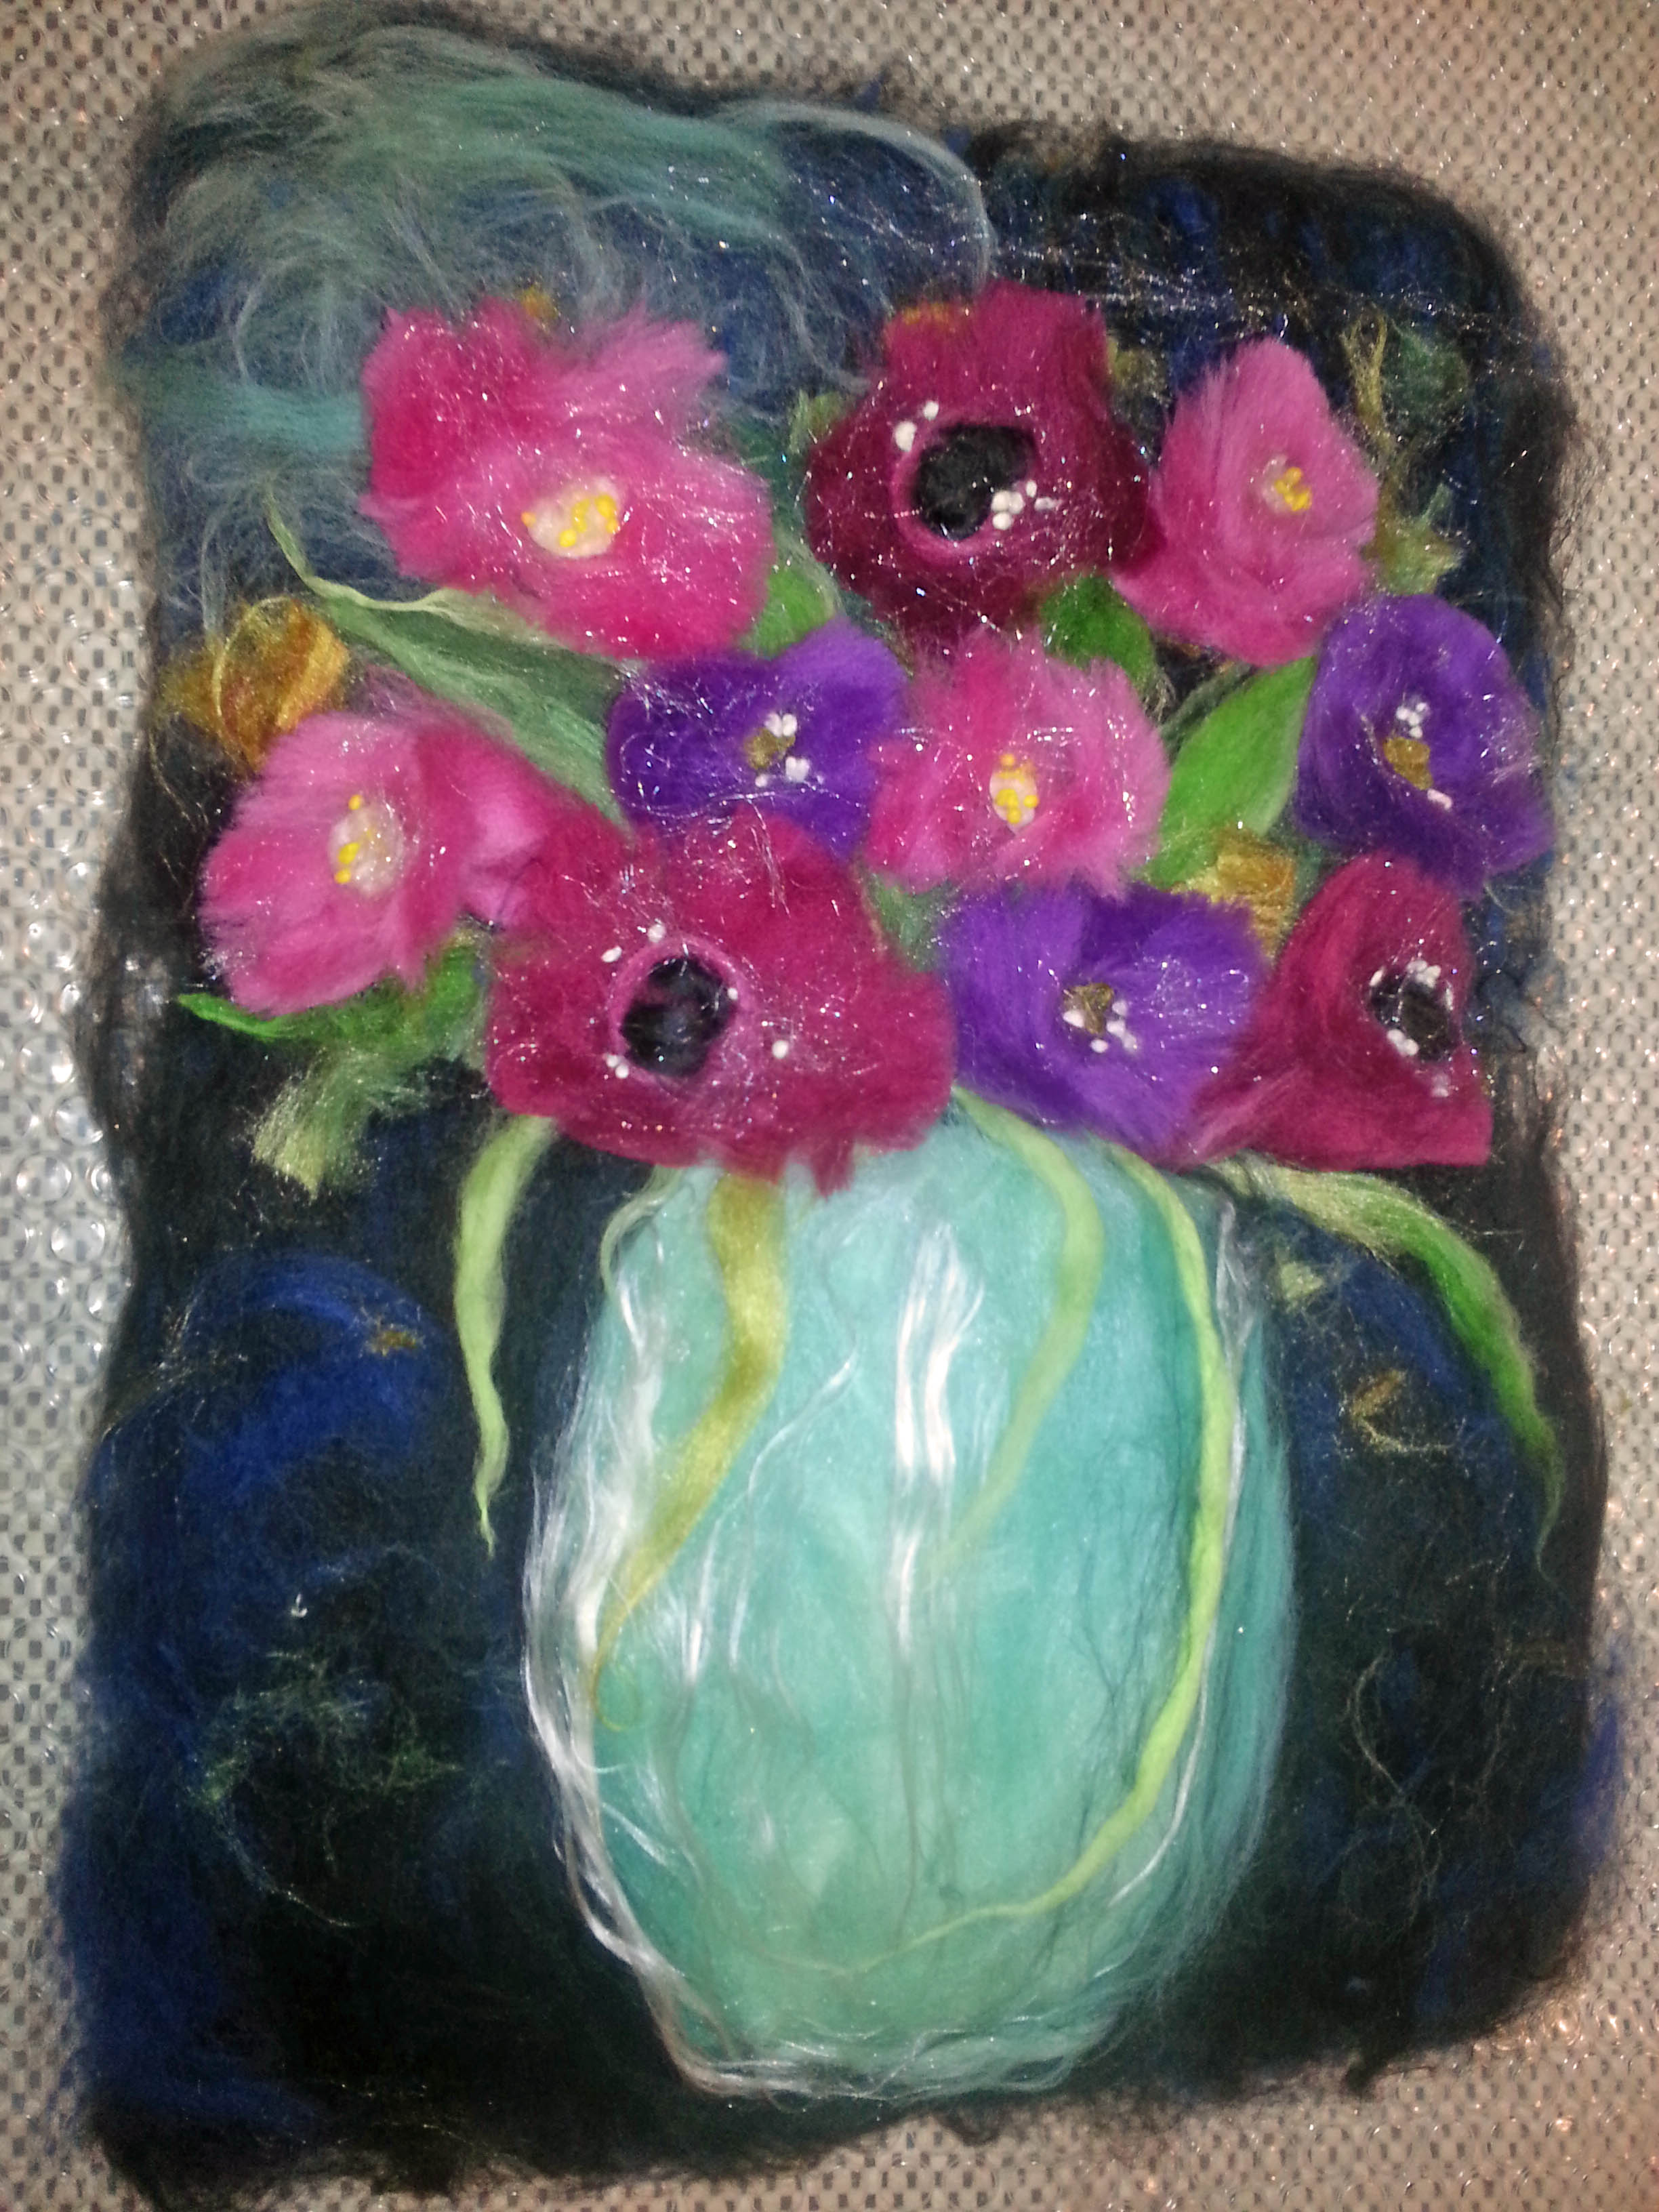
After it was dry, I needle felted around the vase and added needle felted shadows on and around the vase and some details in the flowers. My challenge came when I started the machine embroidery. The felt around the flowers was thick because of the layering of the background leaves. My machine wasn’t happy about that. After a couple of broken needles and a lot of frustration, I finally finished. I added a couple of hand embroidered flower details to finish it. I enjoyed trying a new technique, but will keep in mind the potential thickness issue when doing anything similar again.

After cleaning it up a bit, it is now sitting in the “to be framed pile.”
28 thoughts on “Same Picture, Different Techniques and Outcomes”
Both very lovely…. I did much the same thing only using Van Gogh’s sunflowers as my subject. Would like to post a picture but I am not sure how.
Thanks Annette! You can post a picture on the forum http://feltandfiberstudio.proboards.com. I’ll set up a thread under wet felting. We would love to see your sunflowers.
They are both pictures of which to be proud! Very pretty. Interesting post to read too, thank you.
The thickness of the felt is an issue when machine stitching – depends how much texture you want really. (Backing the felt with lightweight stabiliser really helps it to slide around during stitching – pin it in place until there’s enough stitching to hold it.)
Thanks Lyn! I did use a light iron stabilizer to help it move around. It was just too thick in spots. Lesson learned. 🙂
Both flower projects are very pretty. Interesting to read how you both approached your projects. I have never used pre-felt before and I wonder if adding layers of wool on top of it if the wool would really felt into the Pre-Felt??? Lovely work and than thanks for explanations. Hugs Judy
Thanks Judy! While I didn’t use prefelt in this project, I use it frequently as a base and it felts beautifully with wool layers on top. Give it a try and post your results on the forum. We’d love to hear about your experience.
This is interesting because this is pretty much the same process I use to make my Tapestry wall hangings, only I use all fabric snippets. I may explore this a little using needle felted pieces. I have done machine embroidery on these before.
Thanks Judy! That’s good to know. Please let us know how it turns out for you. I look forward to seeing your results.
I pre-felted the base but only to the wet stage with a very light felting and had no difficulty getting the additional fibers to “felt in.”
I will try the prefelt method the next time I do a picture – it must give you better control of laying your fibers especially silk on a damp piece of prefelt – Both pictures are lovely.
Thanks Frances! I think you’ll like working with the prefelt especially laying out silk on the wet base.
Both are very pretty and wall worthy. 🙂 An interesting challenge!
When stitching onto felt or any thick fabric you need to adjust your tension. Loosen off the needle thread tension (ie. to a bigger number on the dial) . I also increase the bobbin thread tension. My machine has a little hole in the ‘finger’ on the bobbin case and by threading up through it the bobbin tension is tighter and prevents the bobbin thread from poking through to the top.
Thanks Judith!
I did adjust the needle tension, but didn’t think to do anything other than that and reduce the foot tension. It’s a new machine for me, so I’m just getting familiar with it. I’ll keep that in mind next time. Thanks for the tip.
What a great challenge for you both. It’s interesting to hear the different approaches. The results are fantastic. Machine stitching on felt takes a little practice and the thickness issue can be a problem. You can remove the darning foot all together to free motion stitch on really thick pieces. Just remember to lower the lever on the missing foot before stitching. But I find it works best if you avoid the really thick felt as you’ve learned with this piece.
Thanks Ruth! I will definitely try to avoid the thick felt, but will try to remember to remove the foot if I get in that situation again. 😉
Thanks all for your nice comments! It was a fun challenge to do and provided a great incentive to move the project along.
Great challenge. You both did great jobs. I always love to se how different peoples works turn out when they are doing the same thing.
Thanks Ann! It was a fun project for both of us.
Beautiful pieces!! I have that book, too, has a lot of beautiful things to try in it. I’ve done a little free motion stitching on felted pieces and didn’t have problems, but I use a pretty “un-fussy” sewing machine that sews through pretty much anything. Love the tip to sew without the foot, as I’ve had my FM foot catch on pieces of yarn or other embellishments once in a while, removing the foot would take care of that problem!
Thanks so much, Ann & Laura! I do love that about art–give the same scene or photo to ten different artists and you will get 10 very different art works. It was fun doing this project with Marilyn.
I eliminated the machine stitching because presently I am interested in slow felting, slow hand embroidery…nothing with speed. Guess I am showing my age. ;-))
Sort of like eyewitnesses at a crime scene, Cathy! :-). Everyone sees things differently, that’s what makes us all unique especially as artists.
As far as getting older, I’ve lost my patience so I want to keep things moving. 🙂 Actually, the machine stitching probably took as long as hand stitching with all the tearing out and redoing I did. 🙂
But it was fun doing this project with you Cathy! Let’s find a new challenge!
Thanks Laura! My problem is I have a new very fussy machine. I’m tempted to drag out my old machine to do this type of stitching. But I’ll definitely try without the foot, too, if I find something too thick. I’d love to see some of your work. Please come by the forum and post some pictures!
http://feltandfiberstudio.proboards.com
They both turned out really nice 🙂
It’s interesting to see different interpretations of one piece.
Thanks Zed!
Thanks, Zed! Well, on to a new challenge. Hmmm, there’s always the 3rd Quarter Challenge…
challenge within a challenge, Marilyn?
Ok Cathy! Let’s pick a Monet. 🙂
Lovely to see both your pieces from the Anemones project. They are wonderful and funny reading all the stitching challenges. Yes in areas where the felt is too thick your machine will complain. Very frustrating I agree but in time we learn what thickness is right for our machines. Happy Felting.
Moy
Thank you so much Moy for your wonderful instruction and beautiful creative pieces for us to learn from. I hope some day to take a class from you and learn the techniques first hand. I’m new to free motion so I was a bit nervous using my new machine. :-). I’m sure I’ll get the hang of it, eventually.