
A Felt Christmas Card
I sent a card to my partner for the Christmas card on the forum. holiday-exchange-2017 She has it now so I can tell you all about making it.
First I went through my old felt bin to find a thickish piece of felt and cut out a tree shape. It’s a blueish green even if it doesn’t look like it.

I then cut out some red prefelt I had for the background. I did 2 layers for each of these. I did the extra on so if this didn’t turn out I could go with plan B. 
Then I roughly cut out a tree shape form a silk scarf I got at the second hand store. I then layers the pieces and wet it all and trimmed the silk a little. 

Even with 2 layers the prefelt is not very thick so I added red merino to cover the extra silk and make it thicker and more sturdy. I cut the wool to give it a nice straight edge to put up against the tree and give a nice clean line.
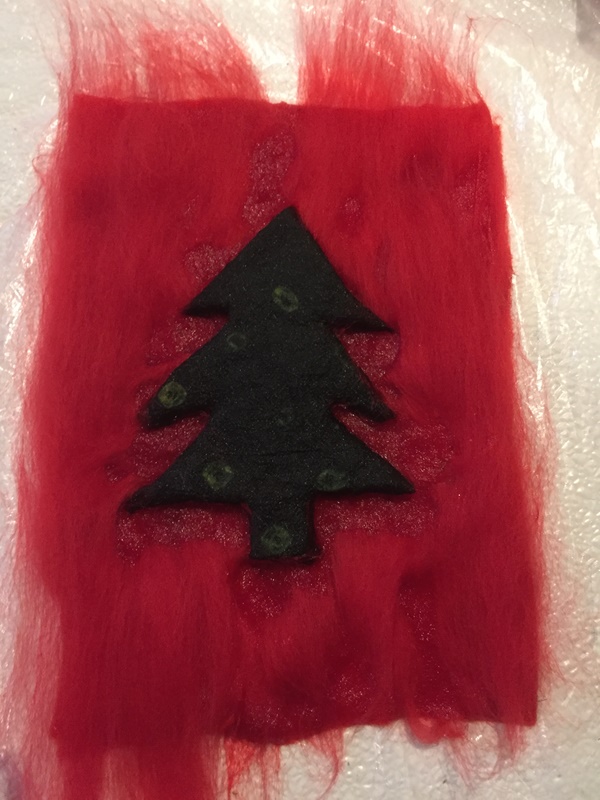
After that was done I flipped it over and wrapped the excess around to the back. I wanted to make sure the tree would stick to the finished felt so I did some poking with my felting needles.

This after the fulling. I blocked them to square them up. The blue colour of the tree came through the silk more than I wanted so I gave it a shave to bring the green back.
I went through my stash looking for some fuzzy gold yarn to use as tinsel but instead found this yarn with beads that I think looks like lights. I sewed it on and then added some shiny pony beads as Christmas balls and a star.


I thought it looked ok but lacking something. So I added some 3D sheep. I think they improve it and make it look finished. 
I printed off a post card template from the internet and using fusible web ironed it to the back of the felt. I forgot to take a picture of that but I am sure you all know what the back of a postcard looks like. I like it and my exchange partner seemed to be very happy with it. No I just wait for Canada Post to decide to get mine to me. I am hopeful it will arrive before Christmas.
Here’s wishing you all a great holiday season,
Ann


