Browsed by
Tag: wensleydale

Dyed Wool and Fibres

Dyed Wool and Fibres

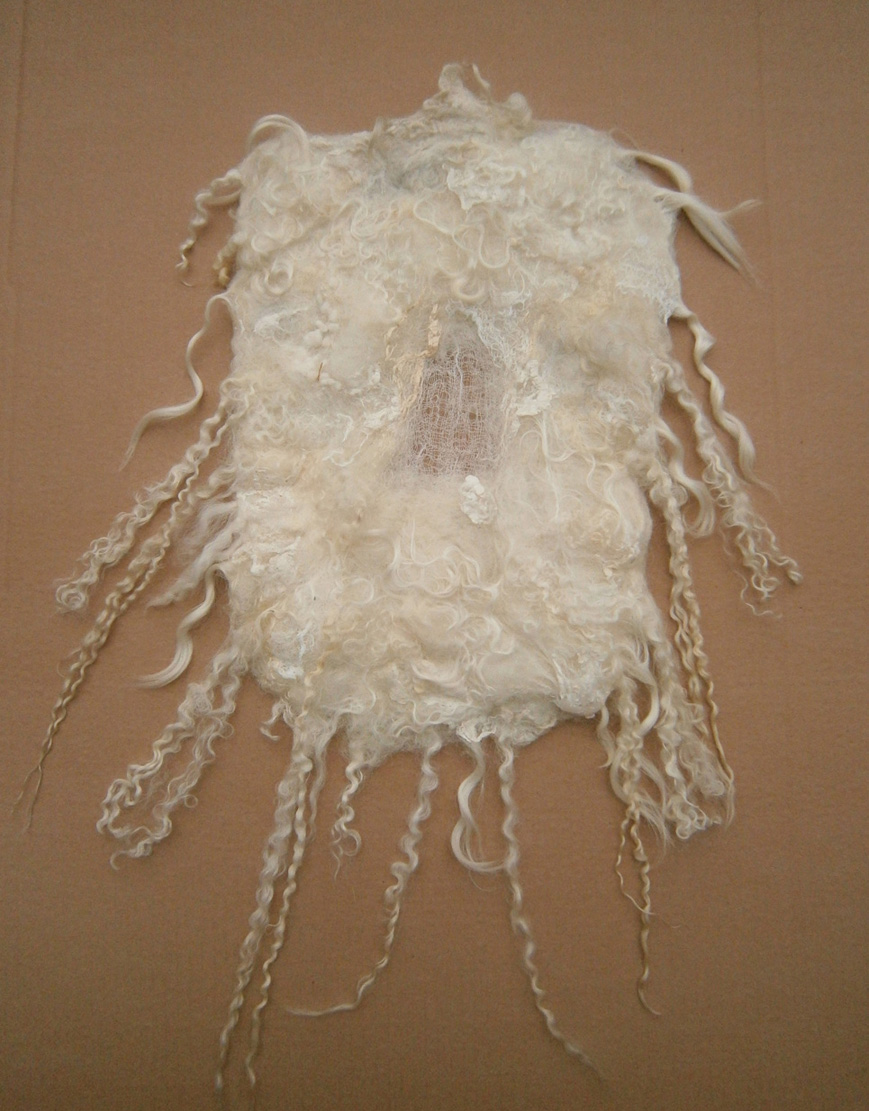
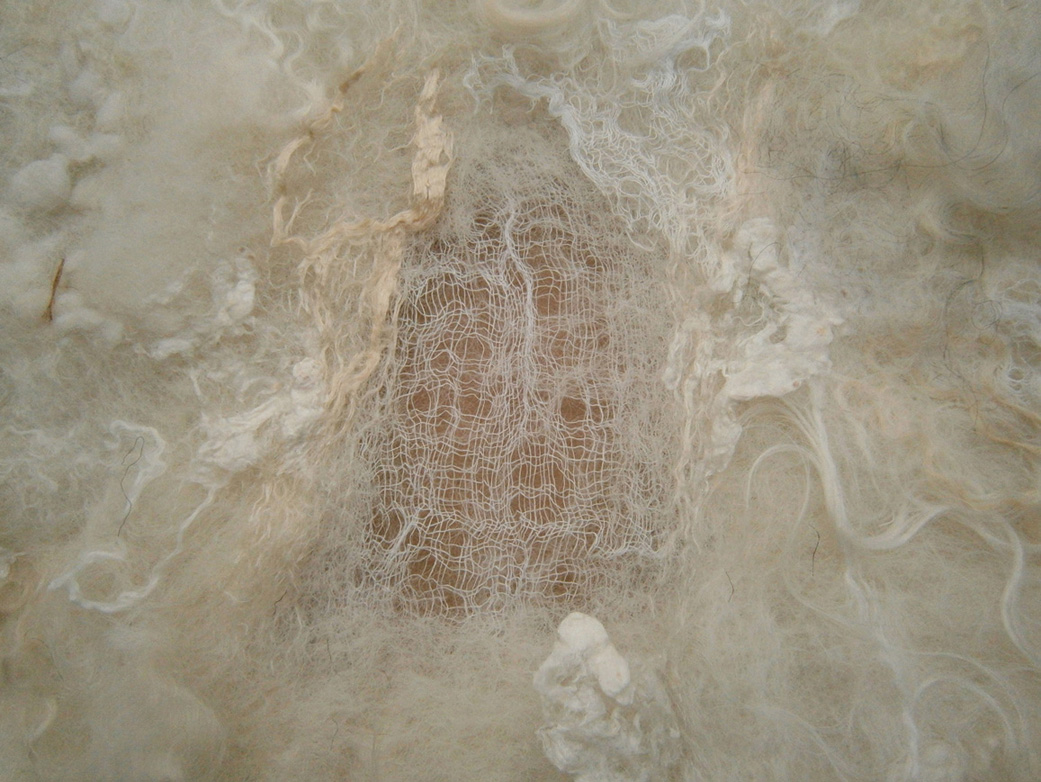
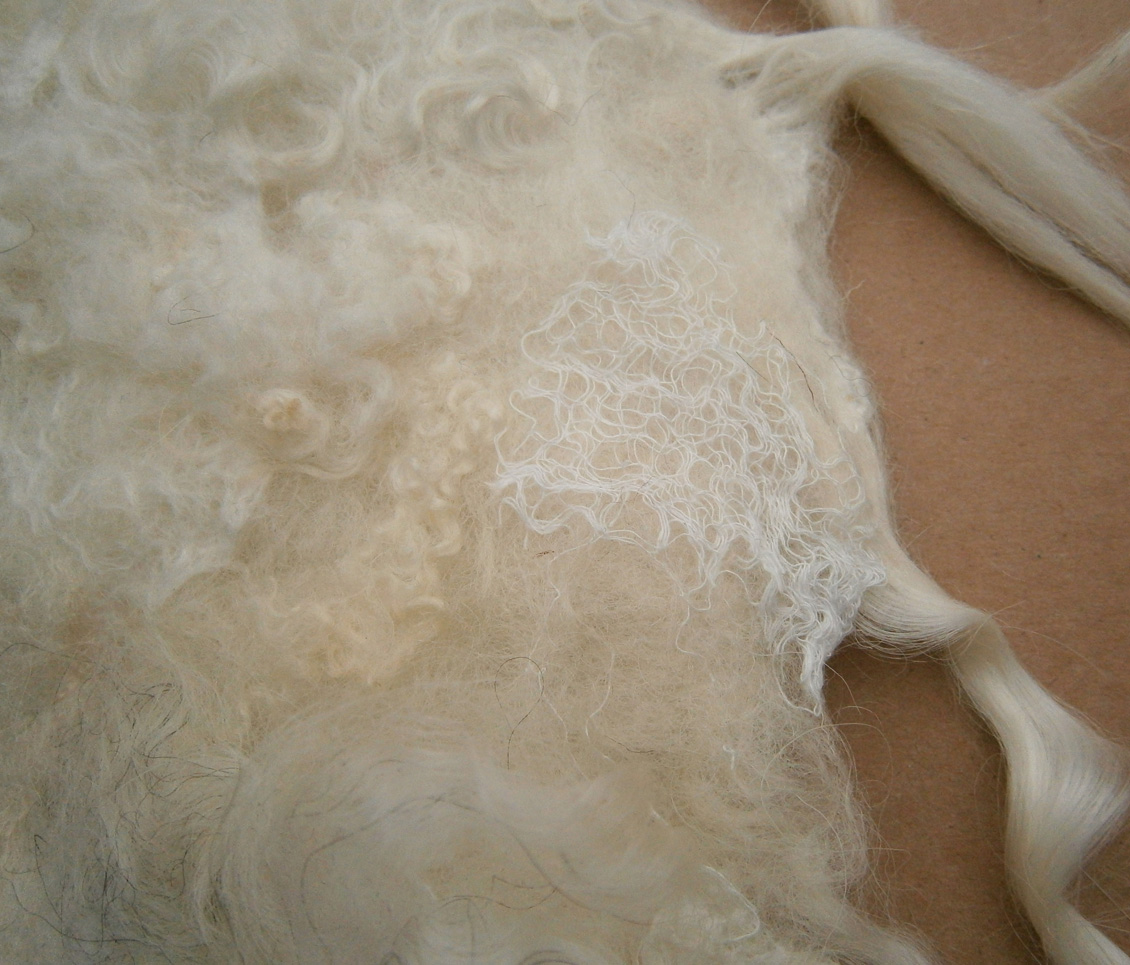
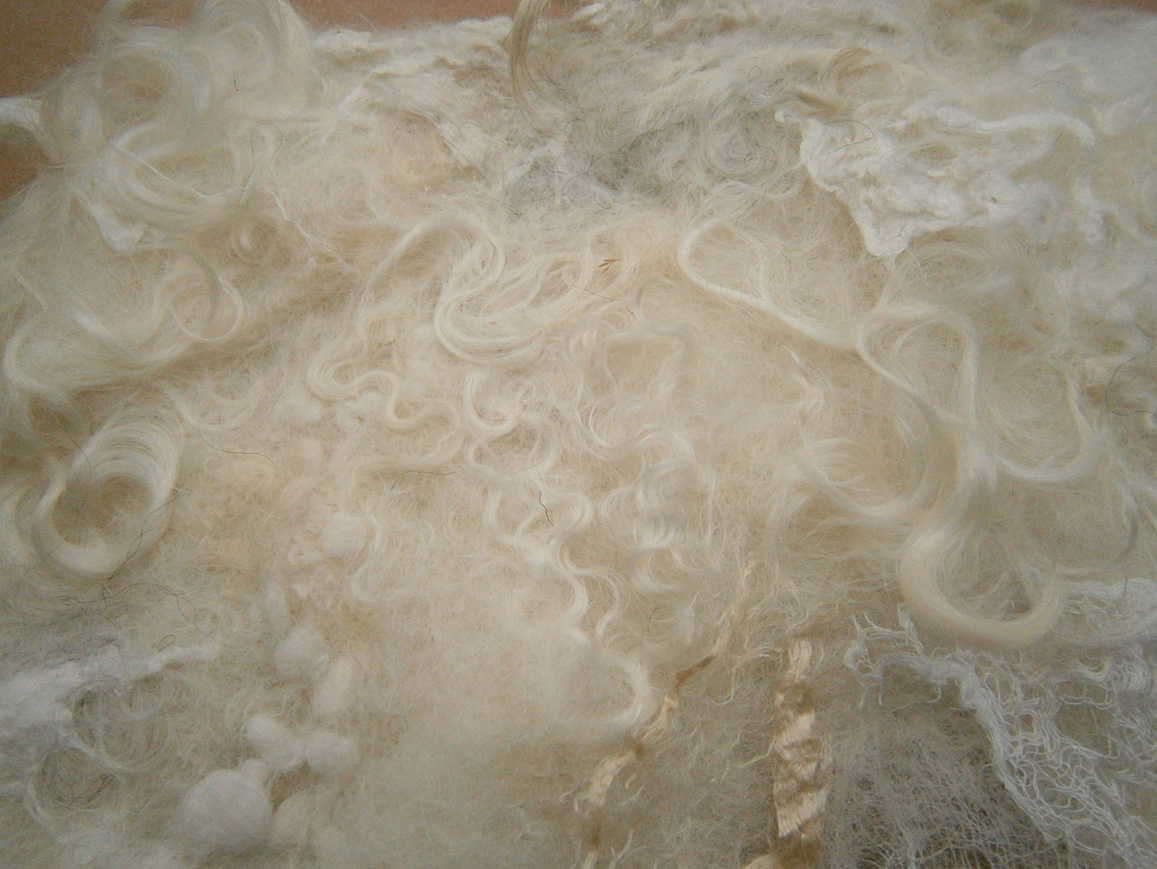
Last week I decided to dye some wool and fibres. I used up quite a lot of my dyed texturey wools when making batts recently, so I wanted to to restock those and thought I’d do a few fibres while i was making a mess. I ended up having to do it over three days, and it made a right mess, but it was worth it in the end 🙂 I bought some white Kent Romney lambswool to try for adding texture, I had a little bit of scoured Falkland fleece left over too so added that:

OLYMPUS DIGITAL CAMERAI’ve bought commercially dyed silk noil before, but it really isn’t good compared to the small amount I dyed once, so I thought I’d give that another go:

OLYMPUS DIGITAL CAMERAI also dyed some Tussah Silk tops – a good tip for anyone wanting to dye small amounts of fibre tops is to separate the amount you want to dye while the tops are dry, and soak them separately, it isn’t easy when they’re wet!

OLYMPUS DIGITAL CAMERAI used the same shades to dye some Soy top as I had on the Silk, and though they look similar, they soy definitely looks a lot shinier:

OLYMPUS DIGITAL CAMERANeither of them come close to the colours and shine of the Milk though, but I did do these on a separate day and they weren’t the same lot of dyes:

OLYMPUS DIGITAL CAMERA
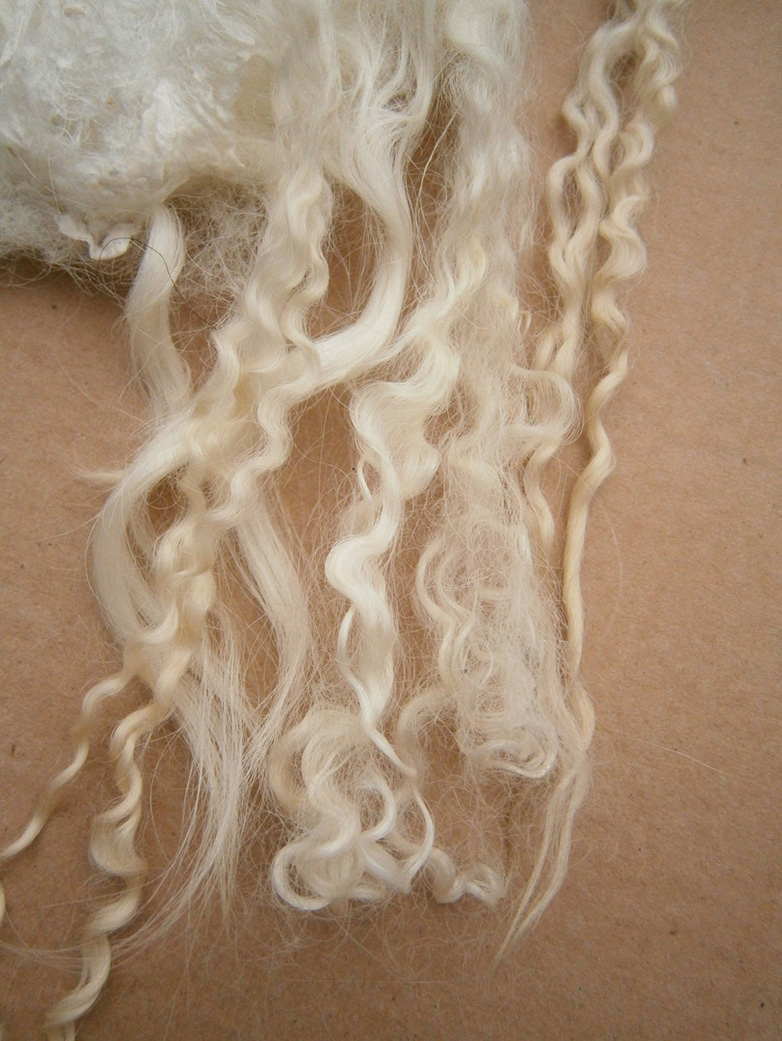
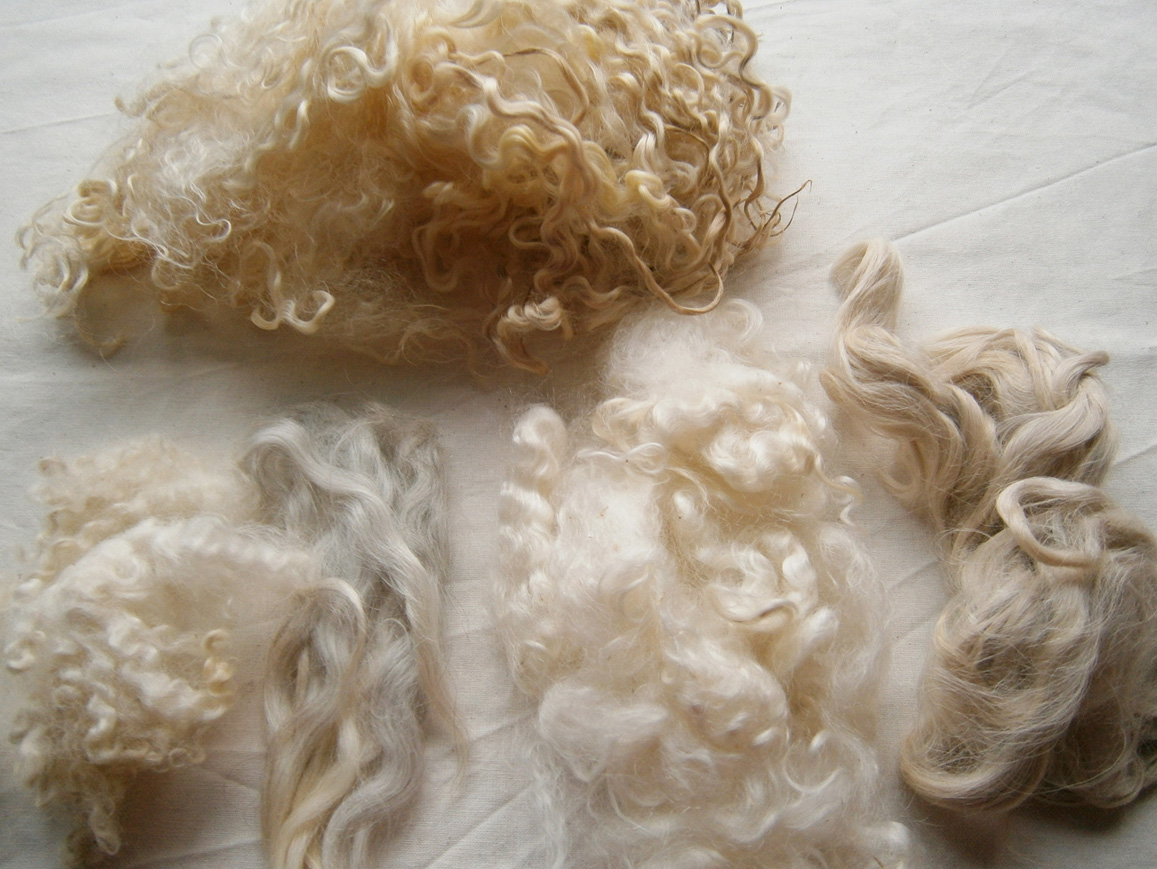
At the last minute I decided I wanted to dye some Gotland, Teeswater and Wensleydale locks. These were all raw, unwashed, so the night before my last lot of dyeing I gave some locks a shampoo and rinse. From top to bottom: Gotland, Teeswater and Wensleydale.

OLYMPUS DIGITAL CAMERA

Teeswater locks
OLYMPUS DIGITAL CAMERAI do have some more stuff waiting to be photographed, some Bluefaced Leicester wool and locks, soy staple fibre and carded lambswool, I’ll add those to my ‘supplies’ album on flickr when I get good enough light. The last one I’ve got for now is Trilobal Nylon (sometimes labelled as ‘Firestar’ and sold at exorbitant prices) cheap nylon tops. The photo hasn’t really picked it up, but it has a lot of sparkle and these dyed really well:

OLYMPUS DIGITAL CAMERAIf anyone is interested in dyeing smallish amounts of fibres, I did a small tutorial on it a while ago: http://feltingandfiberstudio.com/wp-content/uploads/2011/12/direct-dyeing1.pdf  luckily this time, I had my fold out table for a larger work area! I used acid dyes which are good for protein fibres (animal fibres, soy, milk, silk, and nylon too as it is a synthetic version of silk).  I have tried it on bamboo before too and got some nice, pale results, so it’s worth trying a sample or two 🙂

And Then There Were Four

And Then There Were Four

I had hoped to have a completed lampshade to show you today. But the frame is still in pieces and I haven’t figured out exactly how the cobweb felt is going on to the frame.

Wensleydale Lampshade Covers

But I do have four pieces of cobweb felt to go over the frame. One piece is a bit thicker than the others but I don’t think most people would notice.

close up Wensleydale cobweb felt

The textures from the Wensleydale are wonderful.

Lamp Shade Frame Parts

Here’s the frame. Hmmm… place part A on part B and attach with screw Q…

Trying out cobweb felt over a lamp

But I thought a preview was in order. Here is one of the pieces of felt over an existing lamp.

Cobweb Felt Lit

And a little closer view. I think it might do 🙂

Next time (hopefully), the finished lamp shade!

Wensleydale Cobweb Felt

Wensleydale Cobweb Felt

I found two of these lampshade kits at the local thrift store about a year ago (or maybe longer). I thought it would work well with cobweb felt so since they were only $7.00 each I bought them. Then they sat around for a year. I had them on my list of things to do but never seemed to get anything done with them.

Thrift Store Find

Finally, last week I decided I would make the felt to cover the lampshade. The pattern assumes that you use commercial fabric and has you cut pieces from yardage. I decided I would make each side of the lampshade as a separate piece of felt. I have wanted to make a piece of cobweb felt with Wensleydale wool for a while now so I thought this project would be perfect for it.

Pattern

This is a very bad photo of the original pattern. I just doubled the size of the original middle section of the pattern as I thought that the cobweb felt would shrink at least 50% or more.

Enlarged Pattern

I marked the enlarged pattern on a piece of plastic and then laid out the Wensleydale wool. I got this wool when I first started felting so I think I’ve had it for about 10 years now. I have used some of it over the years but I still have quite a bit left.

Beginning Layout

I laid the Wensleydale out in a random manner starting with the edges. I used only one thin layer.

Layout Complete

Here’s the wool after I finished laying it out. I did have to patch a few places so next time I will make it slightly thicker.

Wet Down of Wool Complete

I then wet it out and started felting. I rolled a little but then mainly just finished by rubbing.

Completed Felt on Original Pattern

After fulling and shrinkage, you can see that it did shrink 50%. The lampshade needs a total of four of these. One down…

Wensleydale Cobweb Felt

I really like the texture that the Wensleydale gives.

Texture of Cobweb Felt

You can see it better with the light behind it.

Cobweb Texture

I think this will be really pretty on the lamp with the light shining through. I may use a lining fabric in a darker color but I haven’t decided yet. Of course, I still have three more of these to make. I hope it won’t take another year to complete 🙂

Finished Texture Piece

Finished Texture Piece

I mentioned in my last post that I’d finished my white texture piece that I’ve talked about recentlyHere is the photo from the last post of it all sewn up.  I finally managed to get a bright enough day to take a photograph.  With all of the locks it’s really quite big, so I had to take it outside and photograph it on a large piece of cardboard.  It’s roughly 16 inches x 11 inches, but the locks at the bottom are almost 11 inches long.

OLYMPUS DIGITAL CAMERAI wanted to try something different, so when I laid it out I left a space in the centre without any wool then added a piece of cotton gauze after the second layer of wool.  It was here that I added the wool locks around the edges as well.  I then added another two layers of wool. The surface texture around the edge of the gauze is soybean top, a piece of cotton gauze and silk noil.

OLYMPUS DIGITAL CAMERAIn this close-up, you can see a few wisps of wool have crept behind the gauze.

OLYMPUS DIGITAL CAMERAThe wool locks all kept their shape really well and none of them tangled together.  The Angora, Wensleydale and Teeswater locks in this next photo show how nicely they turned out.

OLYMPUS DIGITAL CAMERAI kept the whole texture piece soft and spongey by using wools like English 56s, Swaledale, Texel and Cheviot.  For surface texture I used cotton gauze, scoured Bluefaced Leicester and Wensleydale as seen in this photo.

OLYMPUS DIGITAL CAMERAI also used Mohair, wool nepps, raw Gotland, Teeswater and Wensleydale locks, and embellishment fibres soybean top and silk noil.

OLYMPUS DIGITAL CAMERAI’m really pleased with the way it turned out, especially the gauze panel in the centre.  Doing this piece has given me some good ideas for future projects.

January Projects

January Projects

I’ve been trying to find ways of having a few projects on the go so I can work on them for a few minutes at a time where possible. A few months ago, I posted about a couple of felt pieces I’d made with the intention of practising stitches for the Take A Stitch Tuesday challenge. I didn’t keep up with the challenge, so had the pieces spare. I decided to add some stitching to the first piece. This is how it looked originally. I started by machine stitching around the patches of colour.

OLYMPUS DIGITAL CAMERAThis is a close up:

OLYMPUS DIGITAL CAMERAOver the next couple of days, I added some hand stitched straight stitches, first in in yellow and then added some in orange.

OLYMPUS DIGITAL CAMERAAnother project I got started on this week is a white texture felt piece. Liz from That Fuzzy Feeling blog, recently made a gorgeous piece of texture felt and it inspired me to make one. I decided to make a natural white one, so I got to play with (and smell!) my collection of wool, alpaca and mohair locks. They are mostly unwashed so my hands felt really nice afterwards.

OLYMPUS DIGITAL CAMERAThe first day I managed to get as far as laying it out and sewing up around the edges.

OLYMPUS DIGITAL CAMERAHere are some of the gorgeous locks I positioned around the edges:

OLYMPUS DIGITAL CAMERASo far, I’ve managed to add the stitches from the top to the bottom.

OLYMPUS DIGITAL CAMERAThanks to Ruth for encouraging us to find ways to fit in a few minutes of fibre time each day, I’ve managed to get a lot more done this week than I otherwise would have. It might not be much each day, but before long, it all adds up to finished projects I wouldn’t have had without the challenge 🙂

Curly Cobweb Felt

Curly Cobweb Felt

I adore crimpy and curly locks. My favourite curly wools are Gotland, Wensleydale and Teeswater and I love the shiny fibres from Angora goats and soft fibres from Alpacas. Inspired by the Twists, Twirls and Spirals challenge (and my recent obsession with Egyptian cotton top), I pulled out some of my favourite fibres and made a couple of cobweb-type pieces of felt. The main fibre I used was Wensleydale, laying down rows of raw Wensleydale locks, adding some locks of raw mohair, and Suri and Huacaya Alpaca and adding a few wisps of cotton top between the two layers and on the top. There were a few tight crimpy curls of Bluefaced Leicester too.