This is probably going to be the least informative post I’ve ever done, but it has nice pics! A while ago, Cathy sent me some wool and fabric which she’d dyed with natural/plant dyes. I tend to be a little bit ‘messy’ and had misplaced them, but found them last weekend. I took them with me to the well-being centre and made a piece of felt with some English 56’s and lots of the wool and locks Cathy sent. Unfortunately, I forgot to write down what I used and left everything at the centre, so I will edit the post once I get the info! So, this is the finished piece with all the samples:
On a bit of an angle to see the textures more:
Closer along the surface to see the locks:
These grey locks looked really silvery:
This rose coloured wool had a nice rich colour:
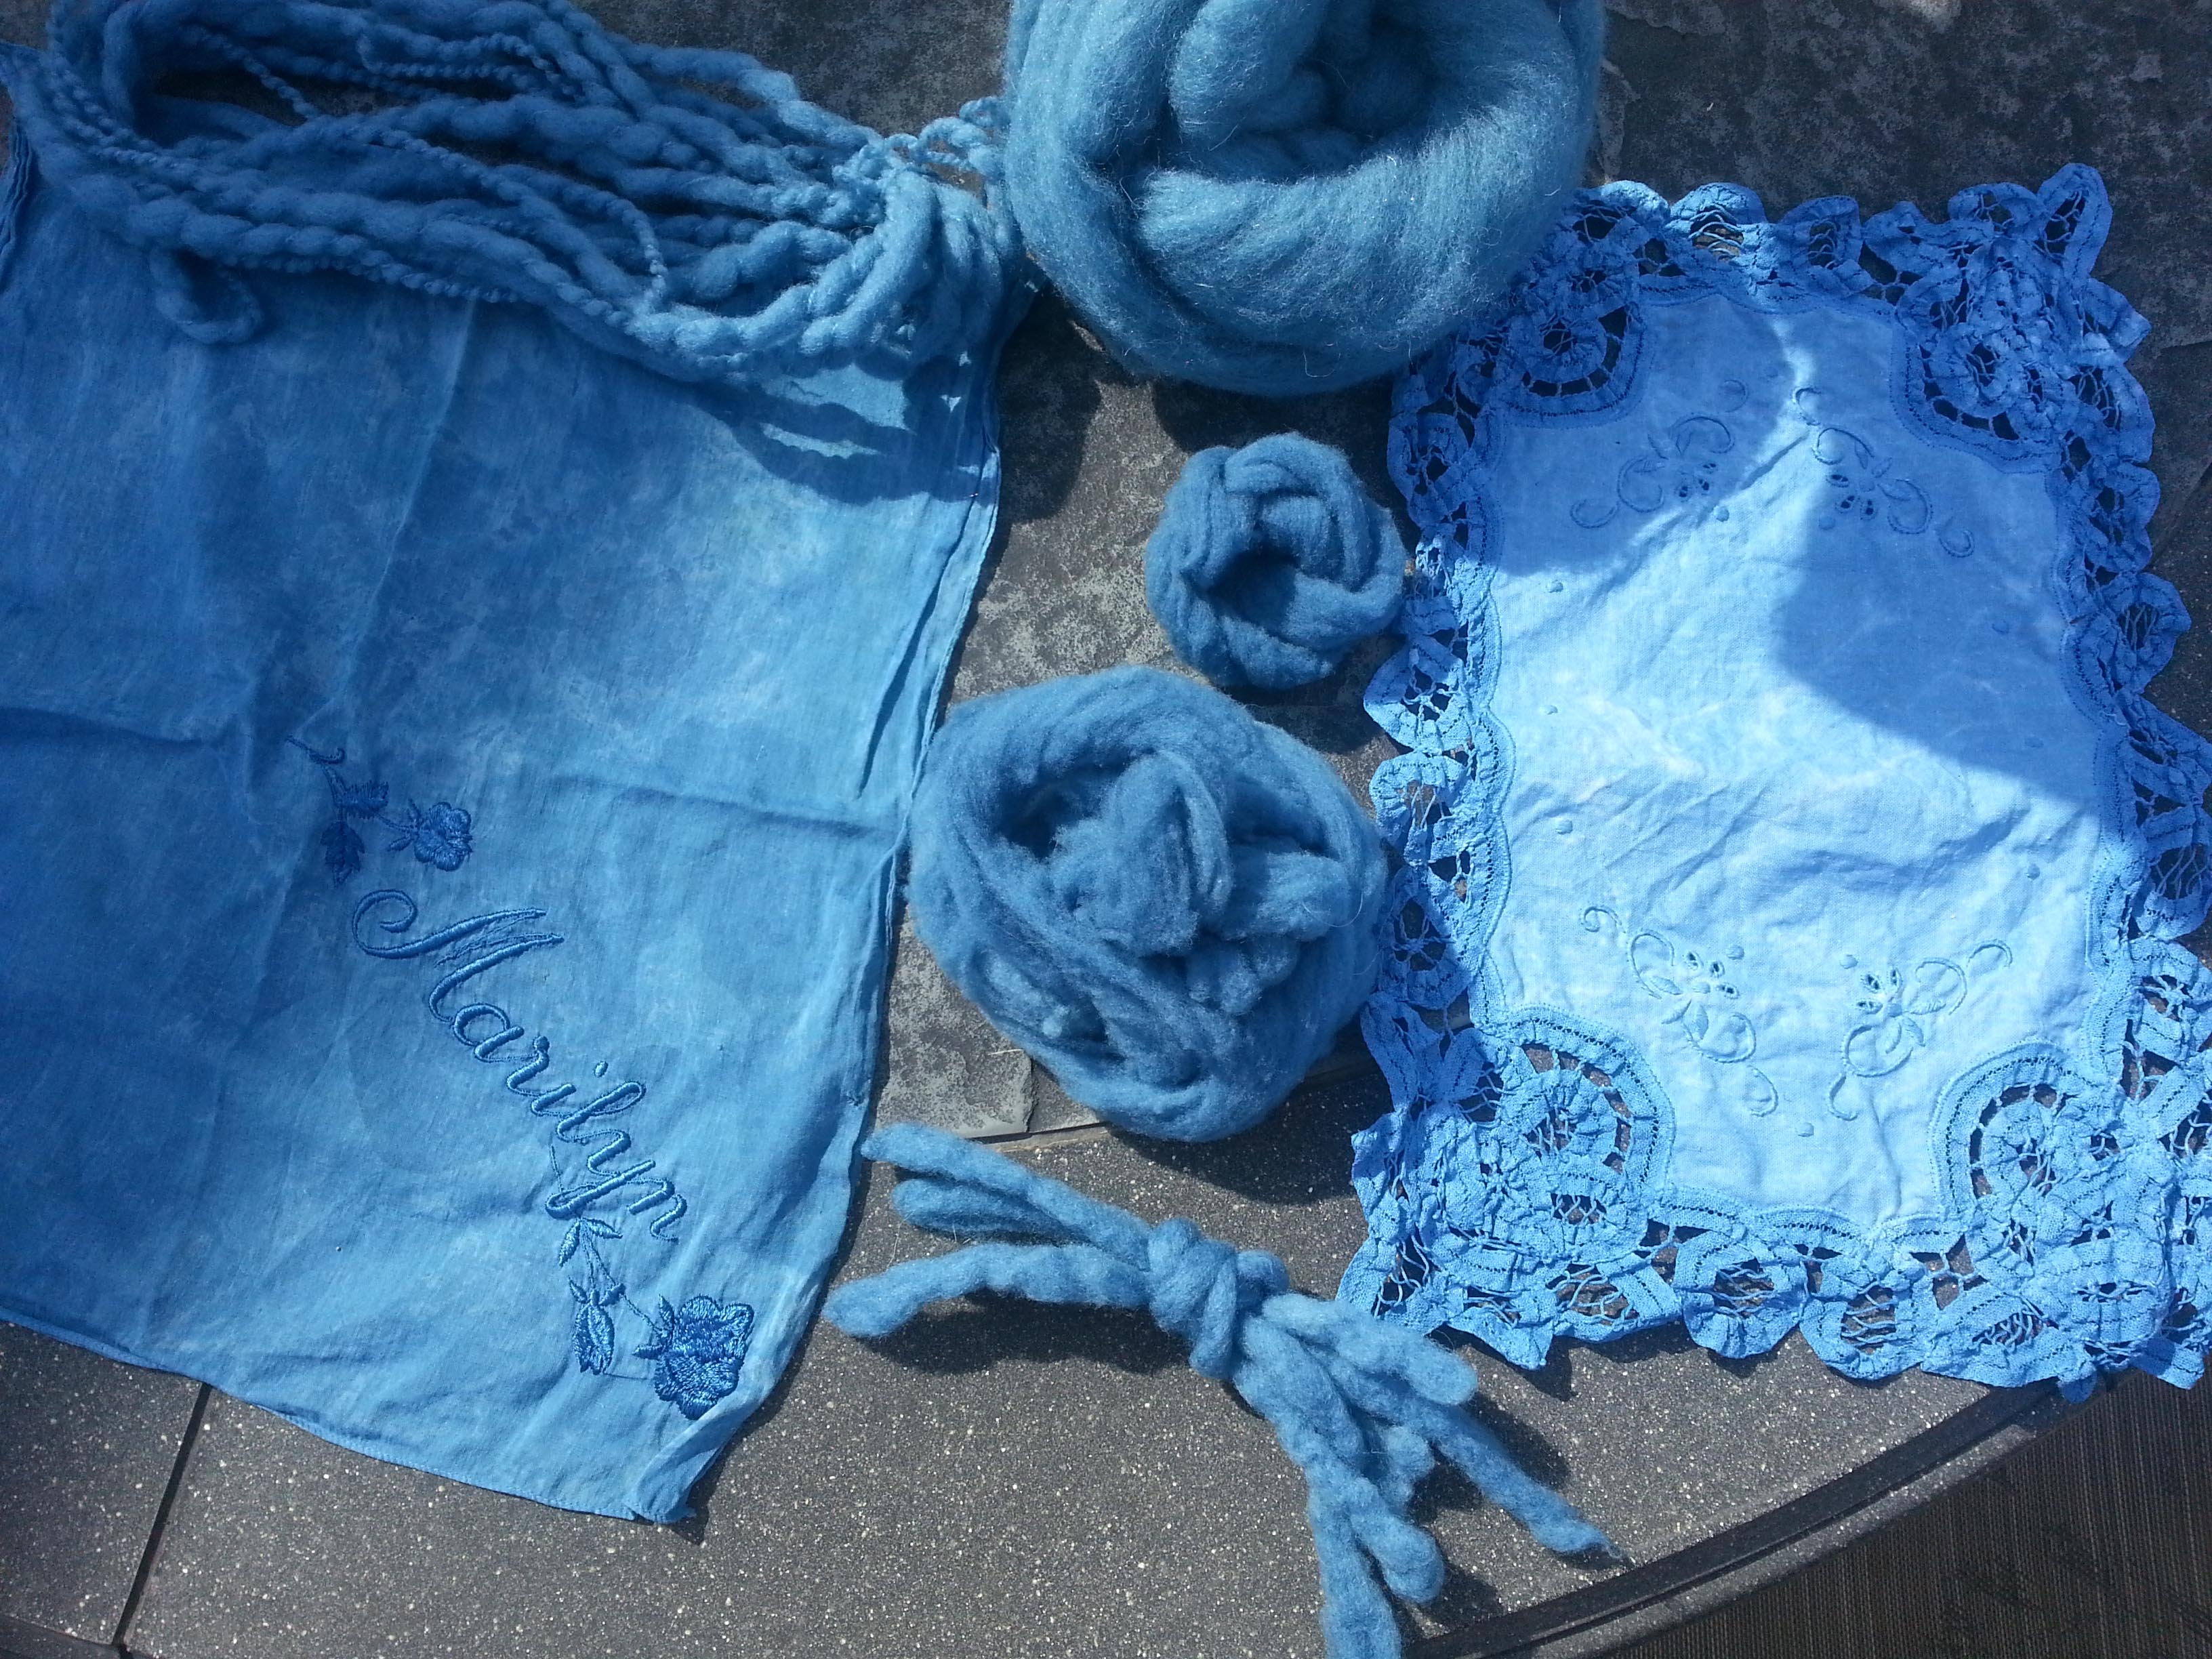
I think this was Indigo dyed, I wish I’d used more of this:
I love the colour of these locks, I think they were Turmeric dyed:
How gorgeous are these, with the rich yellow and subtle orange, and gorgeous sheen?
I don’t think these locks had been dyed, I love ones like this, with small, tight crimp, they remind me of crinkle-cut chips!
I think these are the same as the Turmeric dyed ones, but natural:
Sorry, for the complete lack of info! But I hope you enjoyed the pics 🙂 One thing I can tell you is that none of the wools I used lost any colour.
I hope everyone had a nice holiday and are ready for the New Year.
It’s almost the end of 2016 and looking back on the things I’ve done, there seems to be a few themes.
I did a lot of natural dyeing. Avocado skins, pits and the combo.
Cochineal
Alkanet/Logwood
Osage
Madder
Cutch, Rhubarb and Indigo
Eco printing
Resists
Under the sea theme
2nd Quarter challenge working with scraps – the former credit card case turned into an ear bud case.
Then the cityscape with scraps.
A scarflette with locks
Ginkgo stitching
Crochet piece felted and embellished with stitching
Felting wit my grandsons
Silk scraps into a free motion stitched vase
3rd Quarter challenge adding dimension from Kristy Kun’s class
Ruth’s Paper Lamination class
Teri’s hat class
Mini weaving wall hanging
More work with scraps for a sewing machine case
4th Quarter Challenge with embellishments for a coupon case.
And blue booties for a shower
Of course, there were also plenty of samples during the year including using the needle felting machine to felt some unfeltable fabrics.
A big thank you to Cathy Wycliff for her post on weaving and felting; my sister Carol Olson for sharing her new sheep with us; Nada for sharing her workshop experience in Slovenia; Zara for her posts on Felting on a Trampoline and her Yak, Mongolian, Churro and Zwartables samples; Leonor for her soap tutorial and Terri Simon on sharing her projects from Kristy Kun’s class.
It was a great year for me in terms of learning new things and doing some recycling. How was your 2016 year of fibers?
This summer I’ve been playing with a lot of natural dyes with the help of Cathy (Luvswool). This is the third in my series of natural dyeing experiments.
As with the other dyeing sessions all the silk and wool rovings were mordanted with alum potassium sulfate. I used the same silk habotai, silk gauze, silk organza, merino and corriedale roving and wool yarn as I did in my previous experiments.
I started with cutch which was in powder form.
The colors for silk and wool were pretty much the same gold peach except for the the organza which seemed to soak up all the color.
I decided that I wouldn’t use a modifier with the Cutch because I had enough browns and goldens.
So, I moved on to rhubarb liquid extract.
The resulting colors were also in the peach/gold family.
A couple of years ago Cathy and I had an indigo dyeing day. I had a piece of dark crimped silk left over and decided to use this as a modifier for the second rhubarb batch.
I thought perhaps I’d get a muted green, but here’s what I did get:
There is a hint of green, but it’s not obvious in these pics. the silk gauze and habotai closest to a light turquoise. The organza is dusky turquoise blue. The wool is more of a baby blue.
Here is the indigo silk piece after being used as a modifier. Still a nice indigo color.
Our guest artist today is Cathy Wycliff aka Luvswool.
After several months of taking a hiatus from felting–due to a work project and family health issues–I was starving to get back into it.
Fortunately, Marilyn suggested a lesson in carding batts. I don’t own a carder and my experience with blending fibers has been minimal, that is, using my dog brushes to blend a few bits of wool roving. Last Friday, Marilyn came over with two carders: a Louet Junior with a very coarse cloth (40 tpi?), and a standard Brother with fine (120 tpi) cloth.
I felt more comfortable beginning with the Louet, and grabbed some neutrals to begin the carding process. I used these fibers with no particular plan for my first batt: Mystery fiber chunks and fibers, possibly some Finn hand-spun; hand-dyed vintage yarn (early 80s); small amount of Domestic 56s and Navajo churro–all in various neutral shades, mostly gray.
Then it was time to move on to the Brother for some finer carding. This time I went for color: Indigo-dyed Domestic 56s, dark blue Merino, hand-dyed mulberry silk, white Tencel, green mystery fiber, possibly Corriedale. The machine was a bit more sensitive, and so the fibers needed to be fed more carefully onto the drum.
I tried the Brother once again, using slightly different fibers and colors: Hand-dyed Indigo Domestic 56s, dark blue Merino, white Tencel, unknown white fiber (possibly cotton), and Milk protein. Marilyn suggested we make two passes through with the fibers.
Some things that surprised me about the carding experience: it took a lot of time and was more difficult than I imagined; the fibers don’t necessarily cooperate, in that bits get caught on the smaller drum; and finally, it’s probably a good idea to have a plan of what you want to make with the batts before you begin. This was an experience I really enjoyed and I have made a couple more batts with the Louet coarse carder, which Marilyn generously has loaned me. The neutrals below were passed through three times.
More mystery fibers in green and yellow.
Thanks Cathy for sharing your first experience with carding batts. Do you still have carder envy? Personally, I am happy to have the carders. They have come in handy more than once. I love making batts just for fun. I don’t always have a use for them and often give them away. Its always a creative learning experience!
I know I’m late to the party, but I’ve been traveling and have several family affairs looming that need my attention.
I started out in 2014 as a forum member and then in March I was a Global Moderator! This past year has brought many challenges and delightful learning and wonderful outcomes in terms of felting.
My year started with experiments in dyeing.
I shared my venture into encaustics.
Tried my hand at painting with wool.
Experimented with different wools.
Participated in the quarterly challenges.
Stewart Stephenson – Marilyn
Monet 3rd quarter
Land Art 4th Quarter
Tried framing methods.
I broke down to drum carder envy and began my foray into making batts. Woo hoo!
Cathy and I tried indigo dyeing.
My marketing blogs…
I know it’s been awhile, but its more fun felting than marketing… Sorry.
I taught a felting class.
Toni and her placemat
There was a period of obsession with pods and vessels.
I ventured into free motion stitching.
Then I experimented with embellishments and making a book cover.
Designing and making a handbag was a huge accomplishment for me.
I experimented with 3D felting – grapes and flowers.
I learned a lot of new techniques in Fiona Duthie’s class.
It was a busy year visiting farms, mills and fairs.
I made scarves including a cobweb scarf.
A big project was a 3D free motion stitched bowl, oh my!
Felting a rooster, I learned to combine wet and needle felting.
Our holiday exchange was an experiment of combining beading and felting.
All in all, it’s been a very productive and inspiring year felting. Of course, there were many more projects that were completed. It has been a wonderful year. I want to thank all of you for teaching, inspiring me and encouraging me to do and try more. Thank you! A special thanks to my fellow moderators and Luvswool (Cathy), Leonor at Felt Buddies and Nada for pitching in and contributing to the blog. It’s been a terrific, fun journey. I can’t wait to see what 2015 brings and what I learn and try!
When Cathy (Luvswool) and I went to the Midwest Fiber Fair a couple of weeks ago, in our conversations I mentioned I had an indigo dyeing kit I’d like to try. With some discussion on the forum about the smell indigo produced, I wanted to try to do it while the weather was still nice outside. Neither of us had used indigo before, so, I invited Cathy to join me in a day of dyeing.
I didn’t have a plan for what I wanted to dye or any specific projects in mind to use the dyed materials. But Cathy came well prepared with plenty of roving and fabrics to dye.
To save some time, I had set up the buckets for wetting and indigo along with the plastic coverings before she came. It was an overcast day to begin with with a nice breeze across the yard.
We followed the instructions, mixing the indigo, then the chemicals and stirred it in then let it sit for an hour. But there was no bloom as described. We reread the instructions and stirred again; then decided to skim the top and begin.
After the first batch, we returned the runny bloom back to the bucket and let our fabric oxide. It all looked fine, so we continued the process with the rest. Once the first batch was fully oxidized we tag teamed and I washed and rinsed while she dipped the next batch. Strangely enough after the first batch the bloom began to grow.
With a brief break for lunch, we managed to get everything into the pot we both had to dye along with the breaks for letting the pot sit after stirring. It was a busy day with the dyeing, rinsing and washing. And the day got hotter and sunnier as we worked.
Cathy had spent the evening before rubber banding a large piece of cotton gauze.
She also brought along a big pile of Domestic 56s roving, some kid mohair yarn, nettle and lace table cloth, miscellaneous bits and pieces of fabric.
I dyed two blouses that were old, but stained, a very old handkerchief with my name on it, yarn, mulberry silk, pencil roving, thick and thin yarn, a linen doily, some merino and cheviot roving.
I had wadded up some cotton voile and rubber banded it all around. The end result is the piece draped on the chair. I like the random patterns it produced.
Cathy brought some corks with her, so I used the corks on a piece of silk gauze.
She also dyed some old thrift store “lace” bedspread pieces, an old linen pillow case, a piece of muslin and a cat mat.
Since it was getting late in the afternoon and Cathy had a long drive home, we packed up her goodies and she finished rinsing and drying some of her items at home the next day.
We were pleased with the outcome of our “Summer Blues” and the opportunity to give some old items new life and others some pretty blue color.
Yesterday my friend Linda and I did some natural dying with cochineal and indigo. She had purchased a kit with several kinds of natural dye stuffs and instructions. We decided on cochineal and indigo so we could get fuchsia, blue and purple. cochineal is easy enough to prepare you boil it strain it and then reboil what’s left and strain 4 times to get you dye solution. It was a lovely deep pink. you have to mordant your things to use cochineal. For cotton you have to first soaking in tannin and in then in alum. For wool you just use alum.
Here are a couple of the pieces after they came out of the cochineal
The indigo is a little more involved to get ready and it stinks. first you make up a concentrate using the powder and chemicals. Indigo is used in an alkaline solution. You stir it together and then have to let the purple solution turn yellow/green.
Then you have to carefully, under the alkaline water in your bucket, pour the solution in. You do not want to add any oxygen to the dye bath. Then you have to wait another 1/2 hour or so for it all to goes completely yellow again.
When you add your wet articles to dye you have to carefully lower them into the bucket so as not to add any oxygen to the solution.
The magic happens when you take things out of the indigo. Even after just a couple of min in the bucket things will start to go blue when pulled out.
when you take them out after 30 to 40 min you get much better colour. Here is some cotton that was tied in knots so parts would resist the dye.
The pieces that were in the cochineal where a disappointment. when we added them to the indigo all the red disappeared and only the blue took. We discovered after doing some research that we were supposed to used the mordent for 24 hours. That would be 2 days of soaking for cotton and one for wool before you can start to dye. a couple of the cotton gauze pieces did keep a little pink
here are the rest
These have all been in the indigo once
and these twice. The very dark ones are a natural dark gray Norwegian wool.
The other thing I tried was my hair it has gotten long enough that it is becoming hard to handle so I am going to get it trimmed soon. So I thought why not have some fun with it first. I stuck it in the cochineal and then in the indigo.
Unfortunately the cochineal washed right out in the indigo and the indigo did not take at all. In the end Linda had some stuff called panic manic that she used to give me the purple I was looking for.
This was a fun day but I think I will go back to my acid and fiber reactive dyes, so much simpler to use and predictable results. If anyone knows why the indigo didn’t work on my hair I would like to know. I though with hair being a protein fiber it should work.