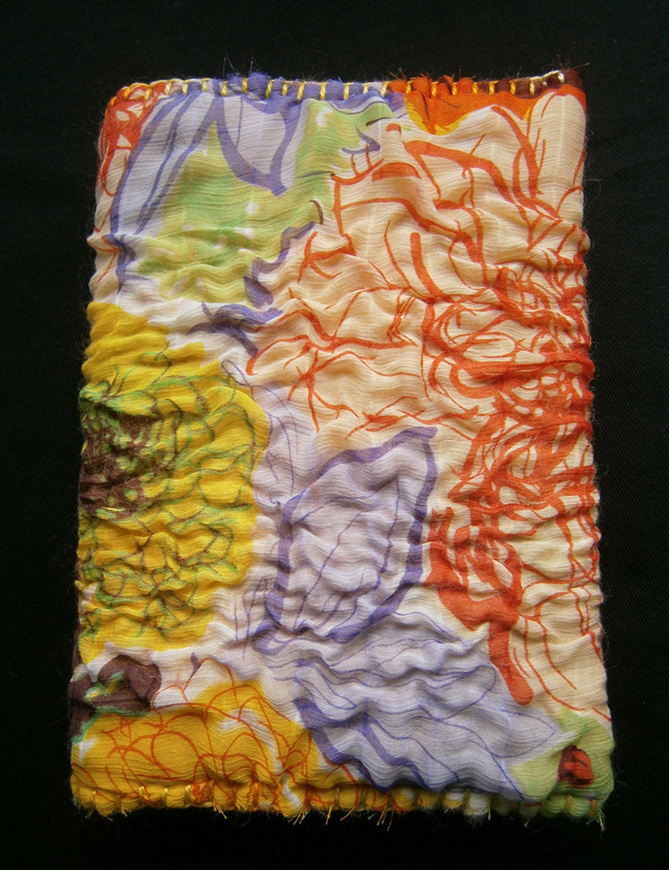
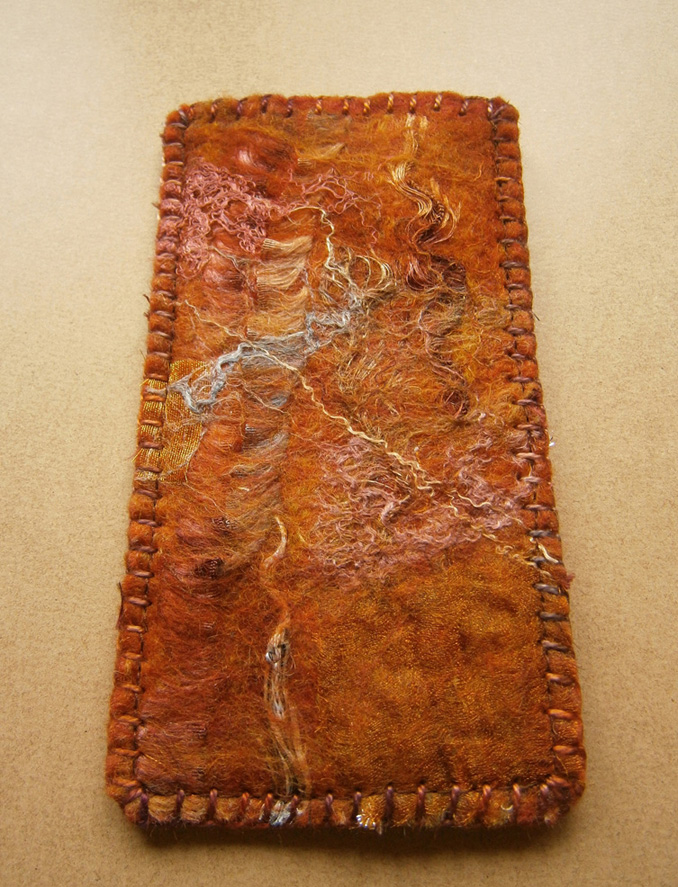
Browsed by
Tag: handmade felt

Felted Case

Felted Case

This week, I made a case for my best friend’s birthday. I made it all in one piece using a resist. I laid out a piece of silk on the resist first so that the back inside had a nice pattern, I also thought this would help strengthen the flap so it doesn’t stretch if it’s opened often. This is the front with the flap open:

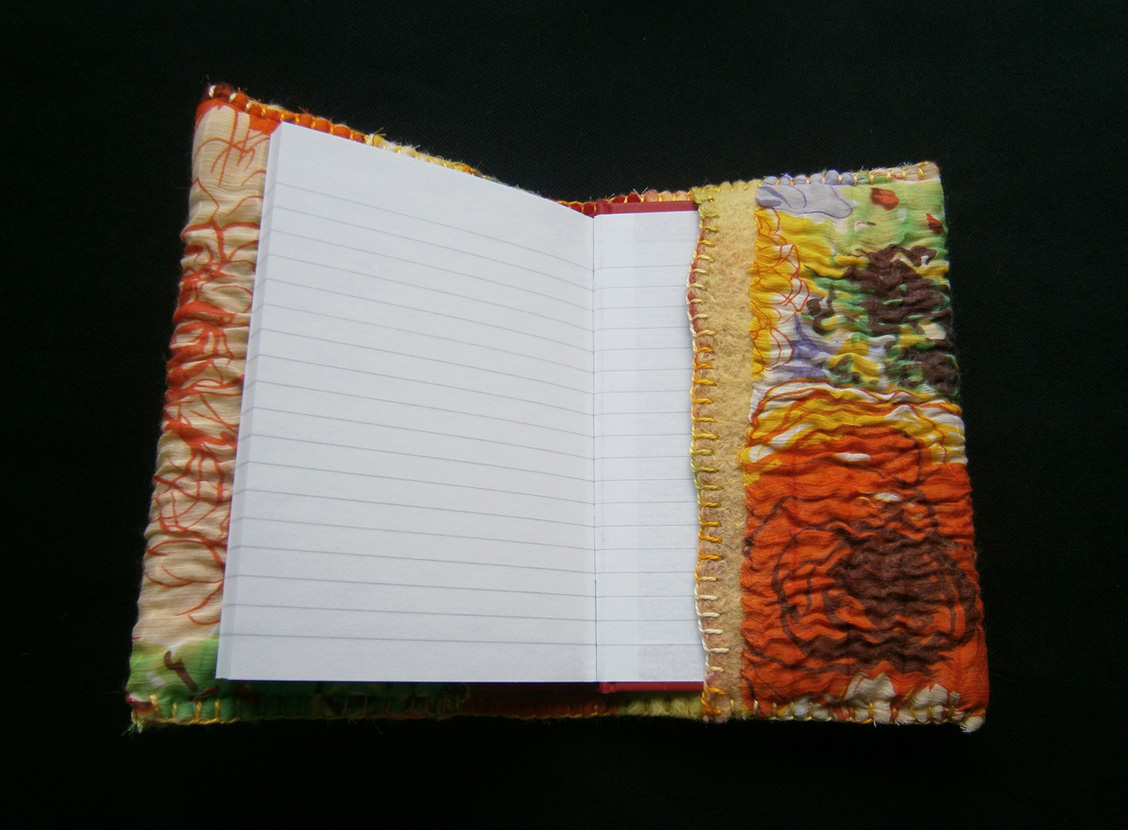
And the back with the flap open:

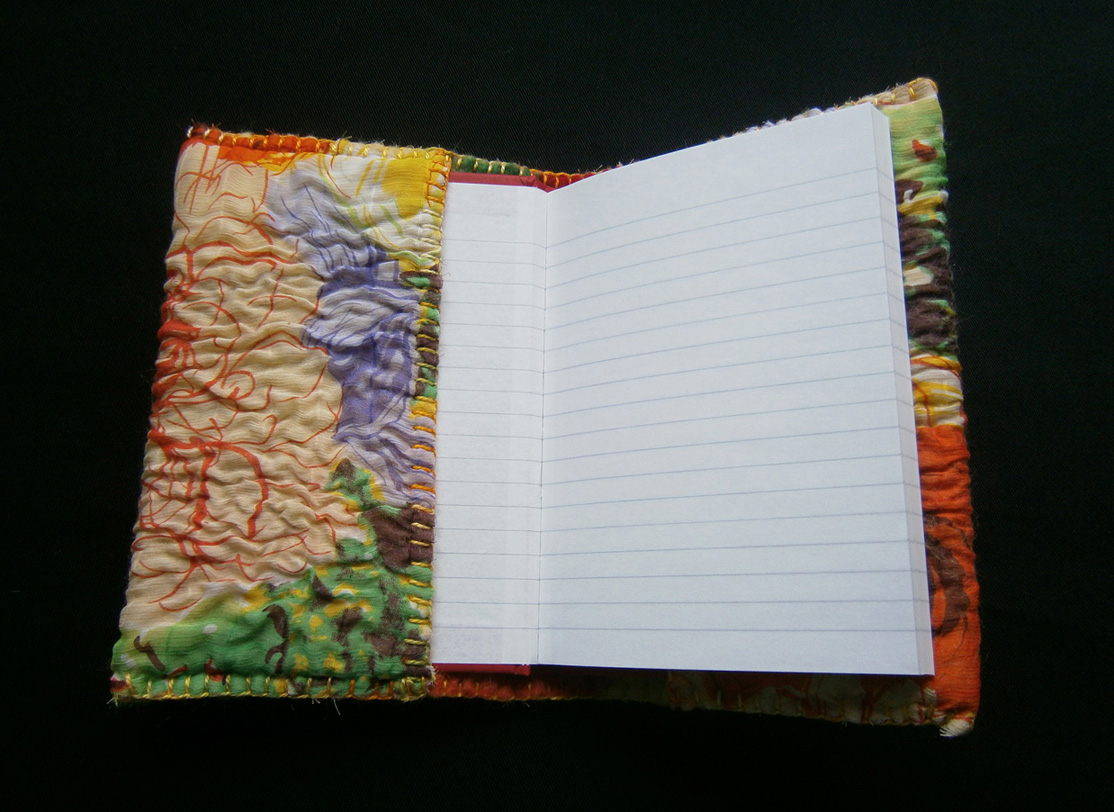
This is how it looked with the flap closed:

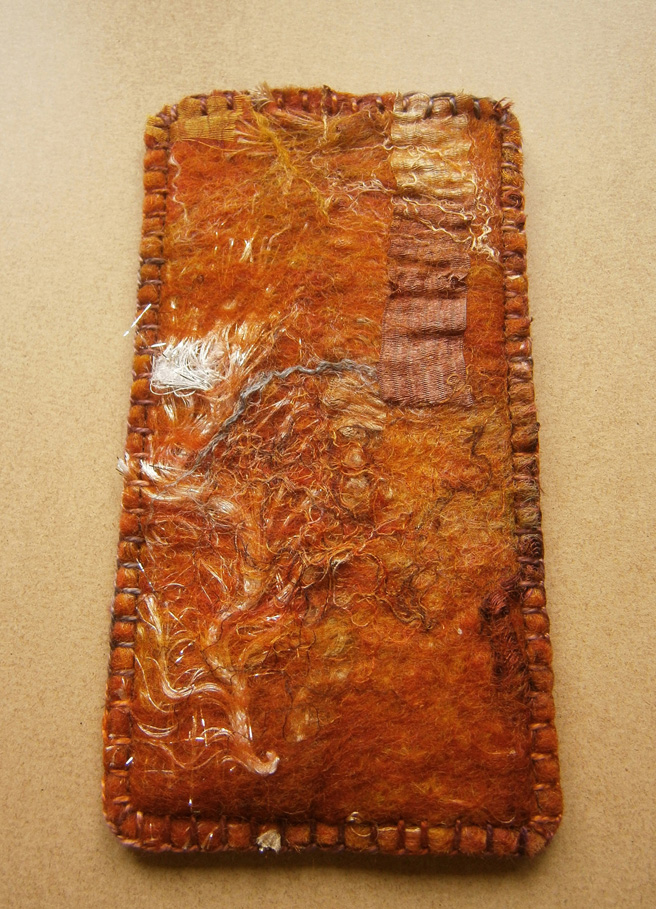
I used some dyed silk throwster’s waste and dyed soy staple for the embellishments:

The silk has a paisley design on it, which can still be seen, but close up you can’t tell with the texture:

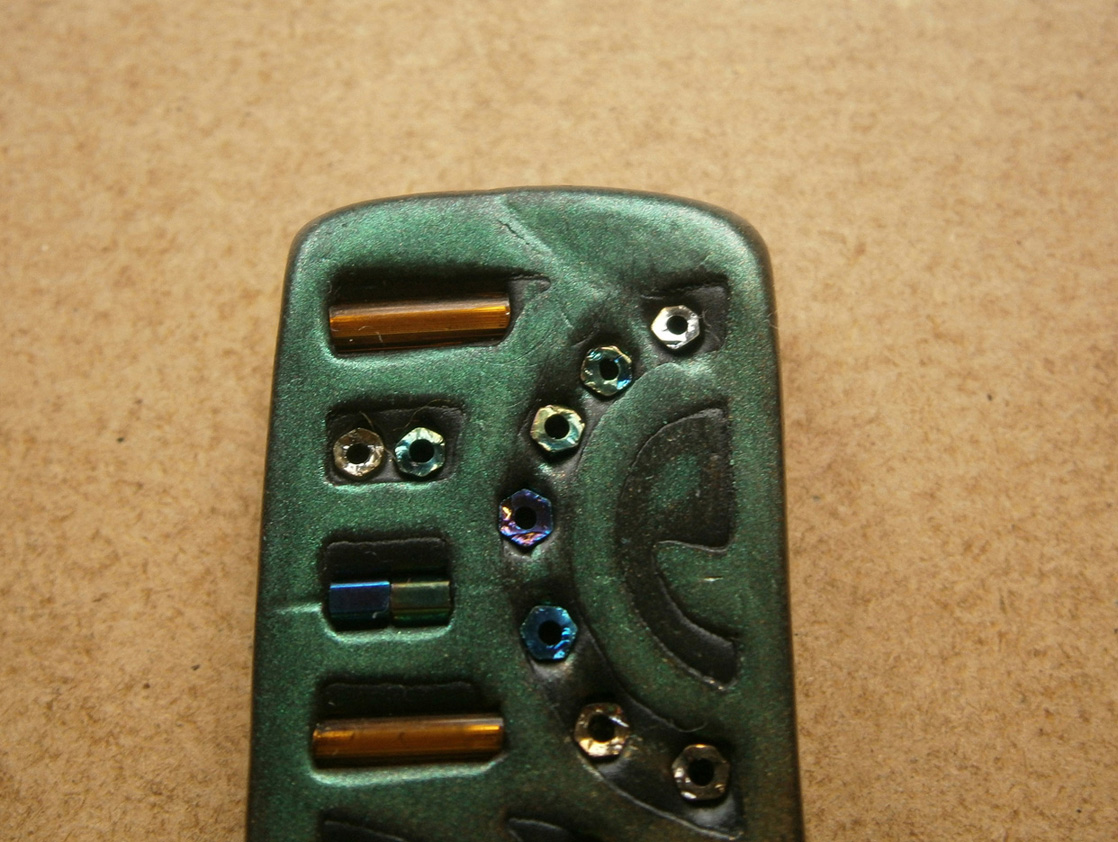
I always have trouble choosing buttons for cases/purses etc. I’m sure I said this last time, but I really need to make some more buttons out of polymer clay. I bought a bag of green buttons at a hobby fair about a year ago, I thought this one was quite nice, but a bit small:

I liked this ‘fancy’ button, but it’s a bit big and too thick:

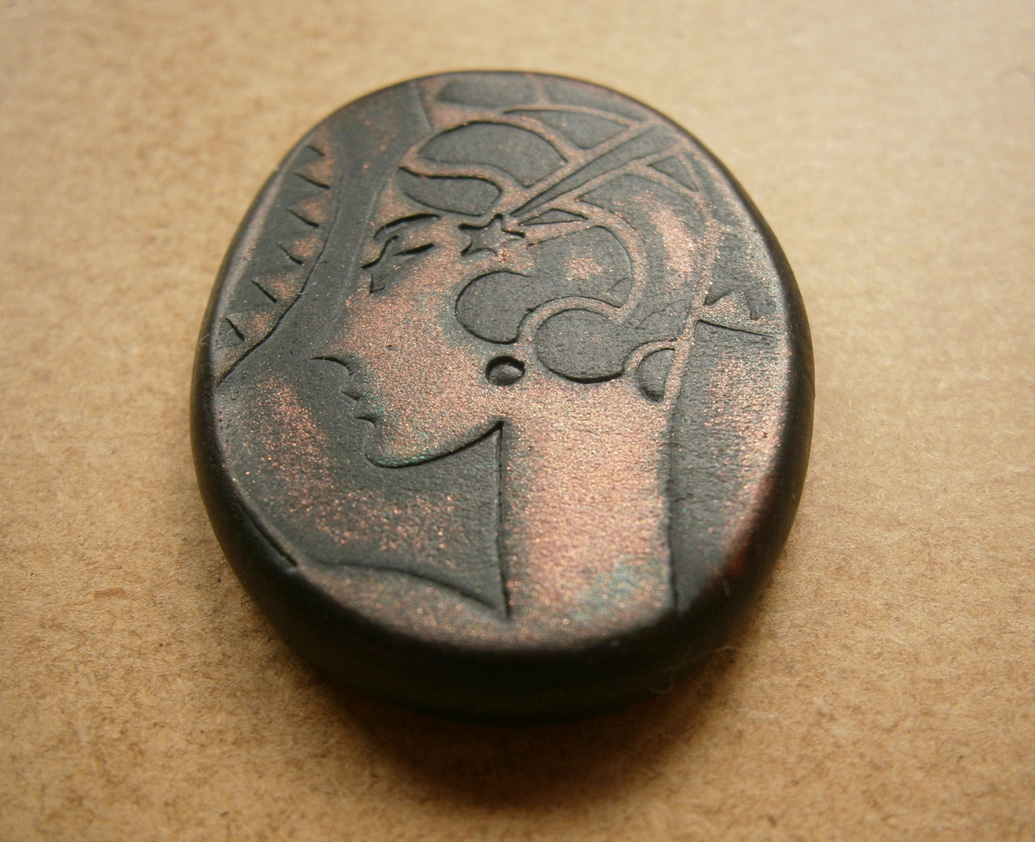
This was my favourite and what I ended up using:

I blanket stitched around the button hole and around the opening/flap, but didn’t get chance to photograph it finished. My friend loves it and he’s already using it 🙂

Playing Some More with Stencils Part 3

Playing Some More with Stencils Part 3

Ruth’s Printing and Stenciling with Thickened Dye class has come to an end, but I’ve been continuing to experiment on felt and paper.  This week I’ve had some interesting results I wanted to share.

For this project on felted merino, I used several different colors and objects to try.

The lower left is a type of silver netting used at Christmas for wreaths and other projects. a dried Maple leaf, a plastic bottle sleeve and a tree stencil.  I used a combination of thick and thin dyes. And the red did bleed again when setting the dye.

The gray/silver color is the mesh, the red is the plastic bottle wrap.  The leaf is the green but not very distinguishable.  I used a brayer for all of them.  The stencil didn’t do well at all.  You can only see a few lines here and there.  I didn’t have a plan,  just wanted to see how each would print.

Then I decided to try acrylic on commercial felt.  For this I used a roller type stencil with different textures I made in class with purple metallic paint for a background. It didn’t print very clearly so I didn’t take a pic.  Then I  used handmade leaf stamps in metallic green and a commercial leaf stamp in the corners and a couple of metallic gold accents.

I thought the metallic paint would pop more on the dull smooth felt surface.

Cathy (Luvswool) loaned me a geometric stencil I wanted to try.  She had done some nice stenciling with acrylic on cloth.  I wanted to try it with dye on felt.  Here is the stencil on the felt.  You can see the one rectangle that is solid.  This is what I thought I wanted to do, make each shape solid, but it took a lot of dye and time.  When I just started stippling with an old brush, I liked it better. I also added extra colors in a couple of places.


Here it is with the stencil removed and the dye set.

I couldn’t undo the solid teal area, but I did add a couple other solid areas just for balance.  What do you think?

I had fun learning these techniques and as with anything it takes practice.  I’ll have a few more projects to share later.


Natural Wools and Embellishment Fibre Panels

Natural Wools and Embellishment Fibre Panels

I was thinking recently that I might have to change my plans a little bit, and make some different sized templates for my felt panels. Quite a few of the wools I’ve got have a very long staple length, much bigger than my current template. And the varying shrinkage rates makes a lot of the panels similar but not quite the same; so I think a variety of squares and rectangles might work out better to piece together in the end. I haven’t really thought too much about how I would actually ‘construct’ the hanging, one idea was the sew the edges of the panels together, kind of like seams on clothes, but visible so they formed little ridges, but I don’t want to lose the cool wavy edges some of the wool breeds like Lincoln create.
This is Brown Finnish wool with a covering of flax:

OLYMPUS DIGITAL CAMERAThis is a close up:

OLYMPUS DIGITAL CAMERAThis is another Finn piece, with a diagonal band of hemp, which is quite similar to flax.

OLYMPUS DIGITAL CAMERAClose up:

OLYMPUS DIGITAL CAMERAThis is a felt panel made with  ‘Humbug’ (stripes of black and white) Jacob, I used black and white viscose tops for this:

OLYMPUS DIGITAL CAMERAThis is more of a straight on shot:

OLYMPUS DIGITAL CAMERAClose up:

OLYMPUS DIGITAL CAMERAThis last panel is Black Jacob wool tops and Soy bean staple fibre.

OLYMPUS DIGITAL CAMERAI love the effects you can get with the staple fibres.

OLYMPUS DIGITAL CAMERADo you like to try different breeds of wool for felting? Do you have a favourite or ones you think are better suited to particular projects? How about embellishment fibres, do you have any favourites?

Nuno and Bamboo

Nuno and Bamboo

I found time last week to make a notebook cover from the bright flowery nuno piece I recently made. The finished felt piece turned out bigger than I’d expected and I did play with the idea of making a passport style shoulder bag. Maybe if I’d had a nice button or some Delrin clips I would have, but in the end I thought a book cover would look nice. This is the front:

OLYMPUS DIGITAL CAMERAAnd this is the back:

OLYMPUS DIGITAL CAMERAI usually leave the natural felt edges on the inside front flap, but when I worked out the best position of the felt for the cover, it ended up on the inside back :

OLYMPUS DIGITAL CAMERASo the ‘neat’ cut edge is on the inside of the front.

OLYMPUS DIGITAL CAMERAI’ve been mostly working on some ideas using natural wools and fibres recently. As much as I like nuno and brightly coloured Merino, the natural shades of wools and fibres and the different textures and properties of the wools and fibres and how they work together is a bit of an obsession for me 🙂 I made a few pieces with different bamboo fibres this week. Some were just samples as I worked out the crinkles of ideas and played with the fibres to get the look I want. This is a sample piece I made using black bamboo blended with black merino:

OLYMPUS DIGITAL CAMERAThis piece worked out just how I imagined and wanted it. It’s 18.5 mic Merino with bamboo staple fibre for subtle shiny texture:

OLYMPUS DIGITAL CAMERAWhat have you been working on lately?

New Diary Cover

New Diary Cover

Before the black Merino and multi fibre notebook cover I made recently, I’d started to make a greeny blue one for a diary. The first batt I was happy with on my drum carder was blues and greens so I used this for the top layer. As well as Merino, I added some texturey Icelandic wool, and locks of Bluefaced Leicester and Wensleydale that I dyed a few years. I added lots of surface embellishments: silk fabric, cotton gauze, organza, silk top, silk throwster’s waste, some synthetic curly fibres and some more of the dyed texturey, curly wools.

OLYMPUS DIGITAL CAMERAIt was too large to get a decent clear ‘after felting’ photo, but this is almost all of it:

OLYMPUS DIGITAL CAMERAThis notebook took even longer than the black one as it was the first one I’d made like this, using felt off cuts for the straps and hand sewing all around the edges:

OLYMPUS DIGITAL CAMERAI machine stitched the smaller strip onto the wide closure strip

OLYMPUS DIGITAL CAMERAAnd I machine stitched the two pieces onto the back

OLYMPUS DIGITAL CAMERABut I finished all the edges with blanket stitch

OLYMPUS DIGITAL CAMERAI kept the natural edge of the felt for the inside front flap, I like the little detail of pink and yellow on the silk at the top.

OLYMPUS DIGITAL CAMERA

Coppery Felt and Fimo

Coppery Felt and Fimo

Do you remember the coppery bronzey felt piece I posted about last month? I cut that up recently and started to make a glasses case and purse out of it. I have so many cut out or part made up items at the moment, I think I’ll be working on them all year 🙂  I did actually finish the glasses case though. This is one side of it:

OLYMPUS DIGITAL CAMERAAnd this is the other side:

OLYMPUS DIGITAL CAMERAI used some gorgeous hand dyed cotton perle 5 from Rainbow Girl on etsy. The variegated colours work perfectly. I also managed to do quite a lot on the purse. I managed to sew it all together already.

OLYMPUS DIGITAL CAMERAI still need to choose the right button, which always takes forever, and sew the buttonhole.

OLYMPUS DIGITAL CAMERAI’ve also been working on a Fimo tutorial the last few weeks. Taking photos has been harder than ever, it’s been really dark, stormy and rainy, which is nice but not great for taking phtotos inside. We did get a few really bright sunny days, so I worked on the opposite side of the house to the sun and managed to get a lot done, or so I thought. When I downloaded the photos, what looked good when I set up a shot, didn’t look good once hands were in the photo! I thought Monday would be perfect for working outside, it was bright but cloudy, but also really windy, so back indoors. I did get quite a few good photos all in all, including this one, which captures perfectly my attempt to get rid of the dent I caused when I released the camera from the tripod without holding it first!

OLYMPUS DIGITAL CAMERAAnd here’s a sneaky peek at one of the other pieces I worked on:

OLYMPUS DIGITAL CAMERAI’m nowhere near finishing it yet, but when I have, I’ll put it for sale on etsy, it won’t be expensive, but I want to put as much in it as possible, so if anyone has any ideas, suggestions or requests, if it’s something I know about, I’ll do my best to include it 🙂

%d bloggers like this: