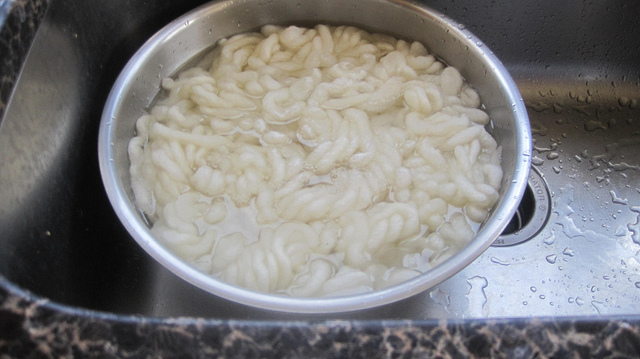
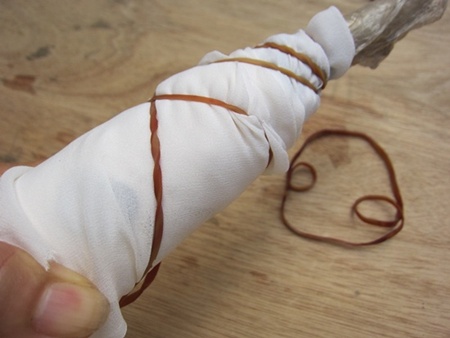
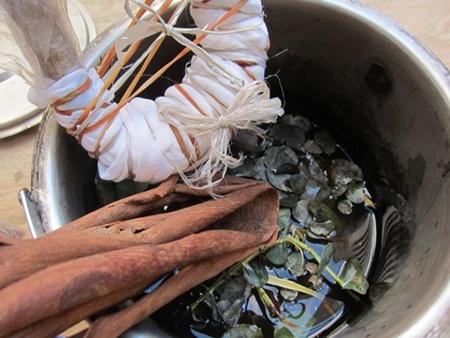
Browsed by
Tag: dyeing silk

Dyeing Silk

Dyeing Silk

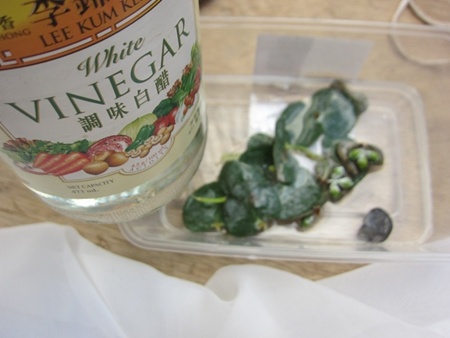
Since the house was tidy for Christmas I used the opportunity to do some dyeing. I mostly did fibres, but I also wanted to dye some silk. I have lots of patterned silk scarves, but wanted some more ‘plain’. This first pices is some silk Karen (who used to do the blog with us) sent me years ago. It’s labelled ’tissue silk’, is similar to silk chiffon, but different more like crepe. I dipped it in darker blue first, then lighter blues at the other end.

OLYMPUS DIGITAL CAMERAThese pieces are silk habotai. The photo doesn’t do them justice, they have such a gorgeous shine. I’m kicking myself I didn’t buy lots of silk from wollknoll when the exchange rate was in our favour!

OLYMPUS DIGITAL CAMERA
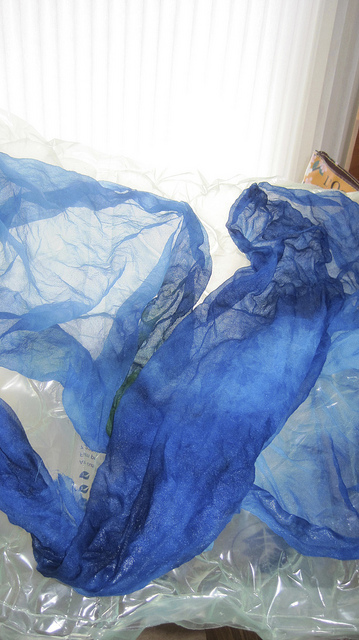
These are some pieces of silk chiffon, there’s less colour variation in these than in the tissue silk and habotai pieces. They came out really nice though:

OLYMPUS DIGITAL CAMERA
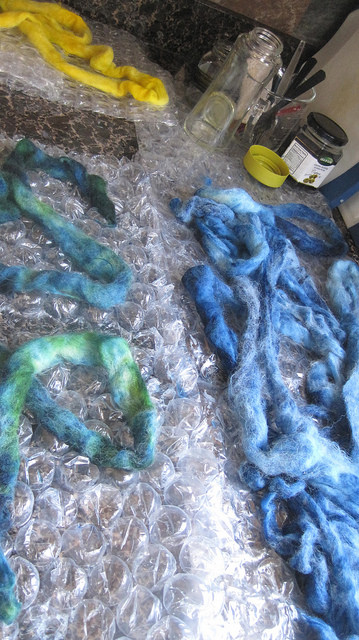
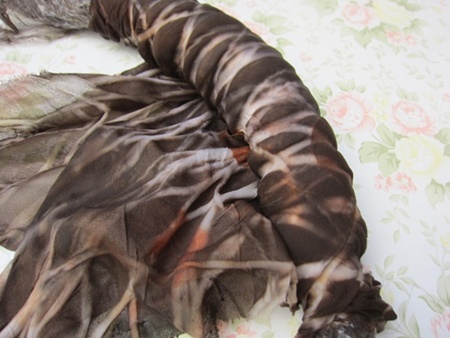
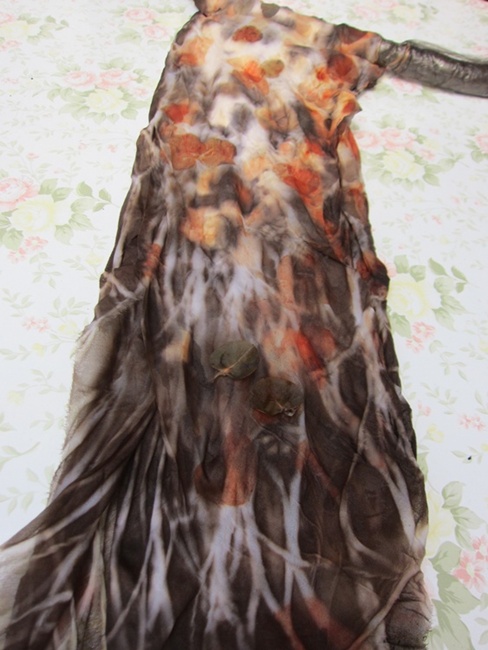
These strips are from a piece of silk I got in a charity shop, it was a green to white blended piece, so I tore it where the green was palest, and dyed strips from those parts with blues and greens, and the whitest part burgundy with some purple shades.

OLYMPUS DIGITAL CAMERAI also overdyed some printed silk I had. I can’t find any photos of it here, but I used it on a couple of notebook covers. It was nice in an unusual kind of way, but not so nice I didn’t mind completely changing it! This first piece was overdyed with blues and greens, it doesn’t look massively different, but it toned down the yellows:

OLYMPUS DIGITAL CAMERAAnd this isn’t the best photo, but the over-dyeing turned out better than I expected using oranges and reds over greens/blues:

OLYMPUS DIGITAL CAMERAAnd here’s a rolled up batt I made from multi scraps a while ago:

OLYMPUS DIGITAL CAMERA

Mysterious, Disappearing Blue Dye

Mysterious, Disappearing Blue Dye

My local surface design group doesn’t meet in the summer months but we had a challenge for over the summer. Each of us was to use surface design techniques on a 2 yard piece of silk. I can’t remember exactly what type of silk it is but it is very heavy and not really suitable for nuno felting. So I decided to try some dye techniques on the silk.

Someone on the forum posted a technique using plastic cups to direct the dye to look like flowers. I couldn’t find the link and hadn’t really paid that much attention to the technique other than you use cups, put the fabric in the cup and pour the dye into the cup. So I decided to try this and go for the look of poppies. The first step with the red and orange dye went very well (sorry, no photos) and I ended up with very large flower like dyed areas on the silk.

The next step was to over-dye to get a green background. I used fiber reactive dyes but the first set of dye had been mixed up at least a month ago. I mixed yellow and blue to get a light, sage green. But the blue disappeared and I ended up with a golden-yellow background.

Green Paper Towel

So I decided to try again and mixed up a new, dark green dye. You can see on the wipe up paper towel above, that it was dark green. So I soaked my silk in soda ash solution for about an hour, laid the silk out on plastic still wet and applied the green dye with syringes. I didn’t really try to make exact leaves as I wanted to keep it fairly abstract. I also added some black dye into the center of my “poppies”. It looked great when I finished. I rolled it all up in plastic and let it batch for 4-5 hours.

Silk - Not Green

But then when I rinsed it out, all the blue in the green mixture washed out. I am back to very little green and a whole lot of golden-yellow in the background. This shot probably shows the most green in the entire two yards of silk. Sigh.

Green on Shirt

This photo doesn’t show the colors well but I used the remaining dye on my work shirt. It stayed nice and green. So it wasn’t the dye. It seems this silk somehow doesn’t like blue. Weird. So back to the “drawing board”. I think the solution is paint. I will use Dye-na-Flow paint on wet fabric to achieve the dark green leaves that I have envisioned for this piece. I’ll let you know how it goes. All these steps I’m sure will be worth it in the end as it will give it more depth. Or so I keep saying to myself.

Dyeing Some Silk Hankies

Dyeing Some Silk Hankies

I was running out of dyed silk hankies so it was time to brake out the dyeing supplies. before I started anything I had to soak the silk Hankies. They do not like to get wet the way silk fabric does. They really resist. I soaked them for 24 hours in some water with a little soap.

I used MX dye and a low water technique. I smooshed the silk in the bottom of some small containers form the dollar store.

silk ready to dye

Then I mixed up some dye in little measuring cups using only a small amount of water. Just enough so the silk will be covered after I add two colours.

dye for hankies dye sticks

I added the dye and let it sit for about an hour at room temperature. I mixed up some PHup ( the stuff you use for pools, sodium carbonate) 1 spoon full for each cup of water used in the dye and the water you are mixing it in. I poured some into each container and let it sit a while longer, about 15 min.

hankies dyeing

I then rinsed them in room temp water and then some soapy water then clear water. One was to much all one colour so I did a spot dye.

spot dyeing

And here they are drying on the table.

hankies1

I will use them  for surface design on hats and pots and to make flower designs on surfaces by folding and twisting them. you can layer them or stretch them out thin. You can spin with them too if you like.

If you want full instructions on low water mx dyeing I learned about it here http://www.pburch.net/dyeing/lowwaterimmersion.shtml


Dyeing Fabric and Fibres – Guest Post

Dyeing Fabric and Fibres – Guest Post

Today we have another guest post from Cathy Wycliff (luvswool) who has recently been experimenting with different dyes.

***

Dyeing is one of the popular topics on the Felt & Fiber Forum, but I admit I was very reluctant to give it a try.  I read about the chemicals involved, the need for rubber gloves and a face mask, and I admit that scared me away.  But after I ordered 10 pounds of white wool (Domestic 56s), I realized I needed to do something, so–being the chicken that I am when it concerns “dangerous chemicals,” I opted for food colors, which are non-toxic and “easy to use.”  The Wilson icing gels I used met both of those criteria, so I happily dyed my wool in the microwave.  However, once I started wet-felting with the wool, I realized the colors bleed, even though I had followed the instructions (vinegar rinse).
That’s what led me to acid dyes, as I witnessed the beautiful results Forum members achieved through their use of acid dyes.  I went ahead and ordered Dharma yellow and blue (figuring I could make my own green), and began my dyeing journey.  I gathered my materials using Ruth Lane’s book “Complete Photo Guide to Felting,” even though Dharma offers instructions on their website.  I just do better with photos. Not pictured are the rubber gloves and mask I wore throughout the process.

5549Preparing to dye, I soaked the wool and silk according to the instructions.

5550While the wool was soaking I laid out the plastic as protection for my kitchen countertops.

5551I mixed the acid dyes according to Dharma instructions on the labels, double-checking with Ruth’s instructions.  I used glass jars, which are fine, but I have since ordered those squirt bottles for easier and more direct application of the liquid dyes.

5554 Here you see the wet wool and silk, ready to be dyed and steamed.

5555I poured the dyes on the wool and silk, first batch, and then repeated for two other colors, mixing the blue and yellow to make green).

5556Each different color of wool was wrapped separately in plastic wrap and stacked in a stainless steel vegetable steamer. Here you see my designated stainless steel large pot, never to be used again for pasta!  I put in an inch of water in the pot and covered.

5557I steamed according to instructions, used a soaking solution again …

5559… and rinsed well — and there you see my first packet of wool (green) laid out on plastic to cool.

5561bI continued the process with the blue and yellow packets of wool.

5563bHere you see all of the dyed, wet wool laid out to dry.

5564Here you see the beautiful blue habotai silk scarf stretched to dry…

5569… and the larger green silk habotai shawl as well.

5570bI now have a good supply of green, blue and yellow standard wool roving and pencil roving, along with a couple of silk pieces ready to be nuno-felted.  Would I do this again?  Absolutely!
Just received my new colors of Dharma dyes, ready to go again!

Eco Printing Onto a Silk Chiffon Scarf by Terriea Kwong

Eco Printing Onto a Silk Chiffon Scarf by Terriea Kwong

Our guest writer today is Terriea Kwong who has very kindly written a tutorial for us about eco printing onto silk.

********

This is the basic and simple way to do prints on silk chiffon.

a1. Materials used : eucalyptus cinerea leaves (silver dollar), 100% silk chiffon, vinegar, paper core roll, string and rubber bands. Well wash the fabric before use. Can be used when it’s wet or after it’s dried.

b2. Before putting leaves over the chiffon, dip in vinegar water.

cc3. Put the leaves over chiffon, 2-3 folds diagonally, put a little more leaves over it.

dd4. Then half fold it.

ee5. Roll up with the paper core roll tightly.

ff6. Bundle with rubber band, then tie with string.

gg7. Boil with some eucalyptus barks and the same sort of euc leaves (silver dollar) with 1/4 cup of vinegar.

hh8. After 1.5-2 hours boiling, unbundle it. The dye pot can be re-used.

ii9. Dark when it’s still wet.

jj10. Remove all leaves.

kk11. Dry in shade, then rinse and dry in air.

ll12. A scarf is made.

mm Tie lines and shades of eucalyptus leaves prints:

nn Soft and airy scarf:

oo This is silk chiffon, so color is a bit soft:

ppI’m pleased to share with like-minded and workshops can be arranged individually. Contacts via below:

My blog : http://terriekwong.blogspot.com

My email : terrieakwong@gmail.com

My page : www.facebook.com/TerLingCreation

******

Thanks a lot to Terriea for this excellent guide to eco-printing and dyeing 🙂 Terrie gets great results printing and dyeing, here is a gallery of some of her other work:

%d bloggers like this: