Browsed by
Category: Felt bags

Felted Knitting Bag

Felted Knitting Bag

I was asking people on face book what they make to sell in warm weather. One suggestion was a knitting bag.

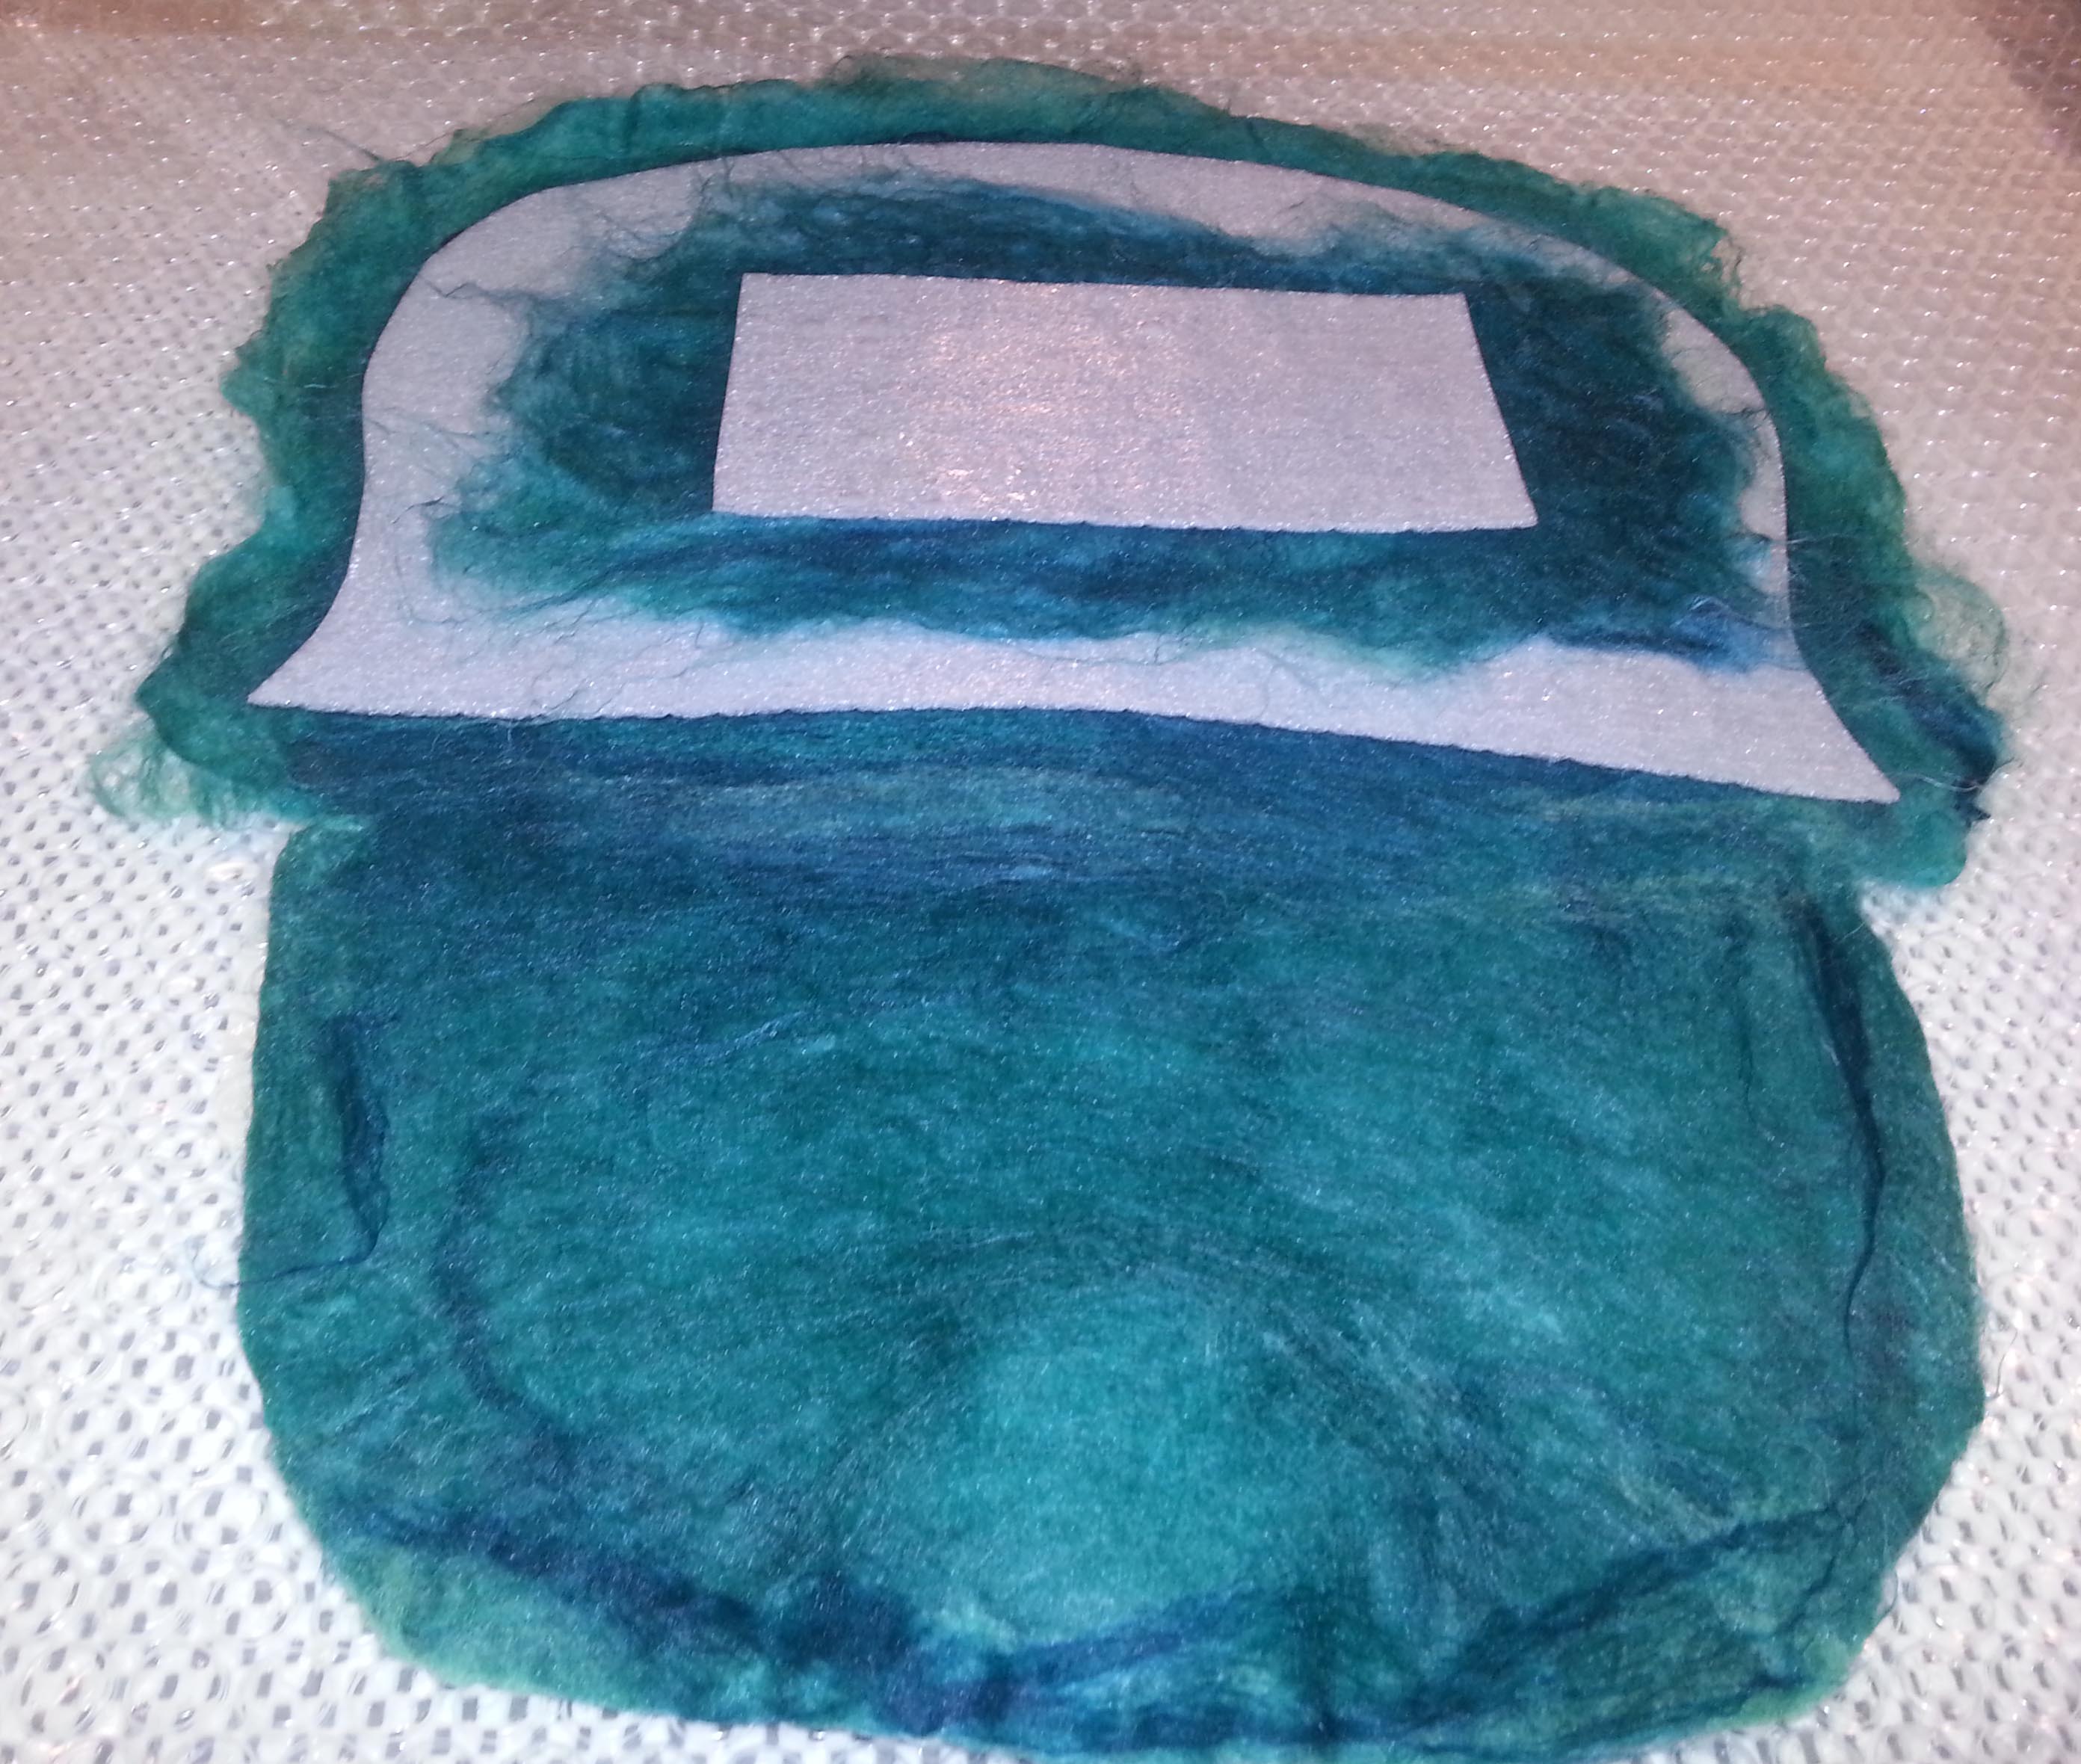
I used the flat resist method and cut the handle and flap form the top of the resist.

yarn bag

After cutting the handle and flap I blew up a balloon inside it and wrapped it up and let it bounce around the dryer for a while.

yarn bag ready for a tumble

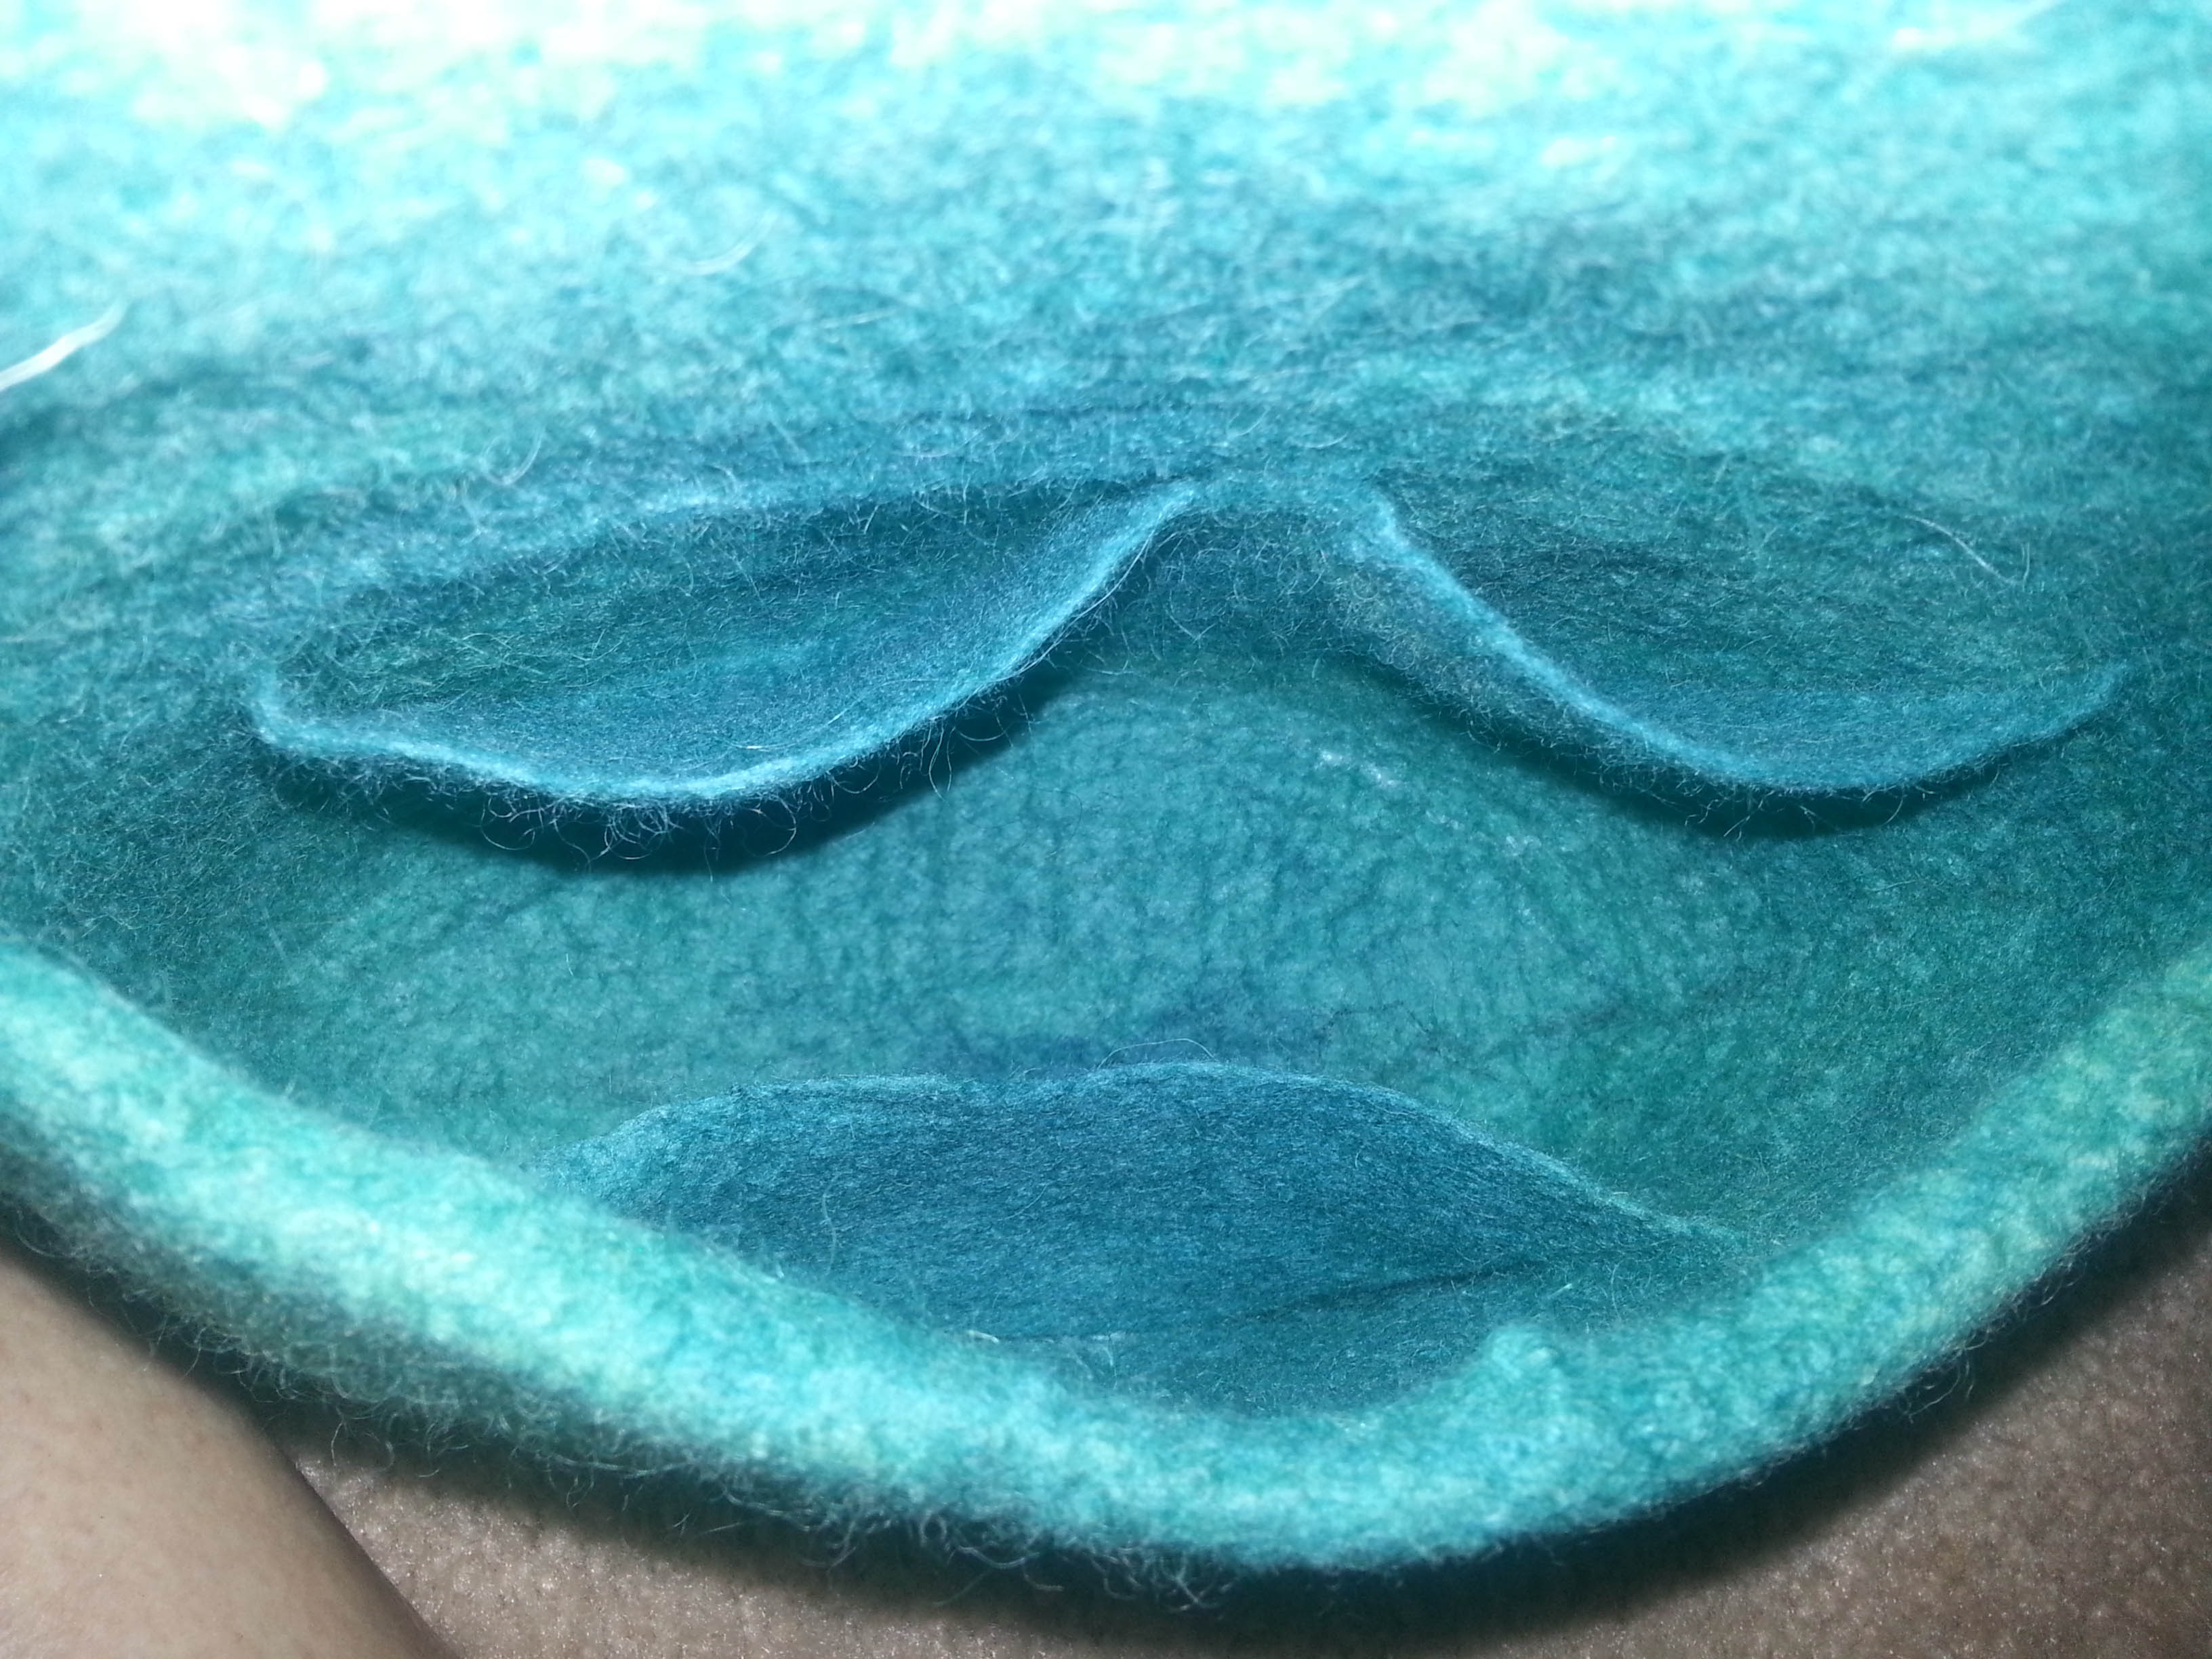
Next I cut the J. Thinking of the bag like a portable knitting bowl. Then another tumble.

yarn bowl J cut yarn bowl another tumble

I wanted to bind the edge. I tried leather but that wouldn’t work at all. Then I tried some bias tape. That worked better but not great. It was ugly but part of that is the bad sewing too.

yarn bowl binding attempt

I took that off and used a blanket stitch. that worked much better.

yarn bowl  finnished

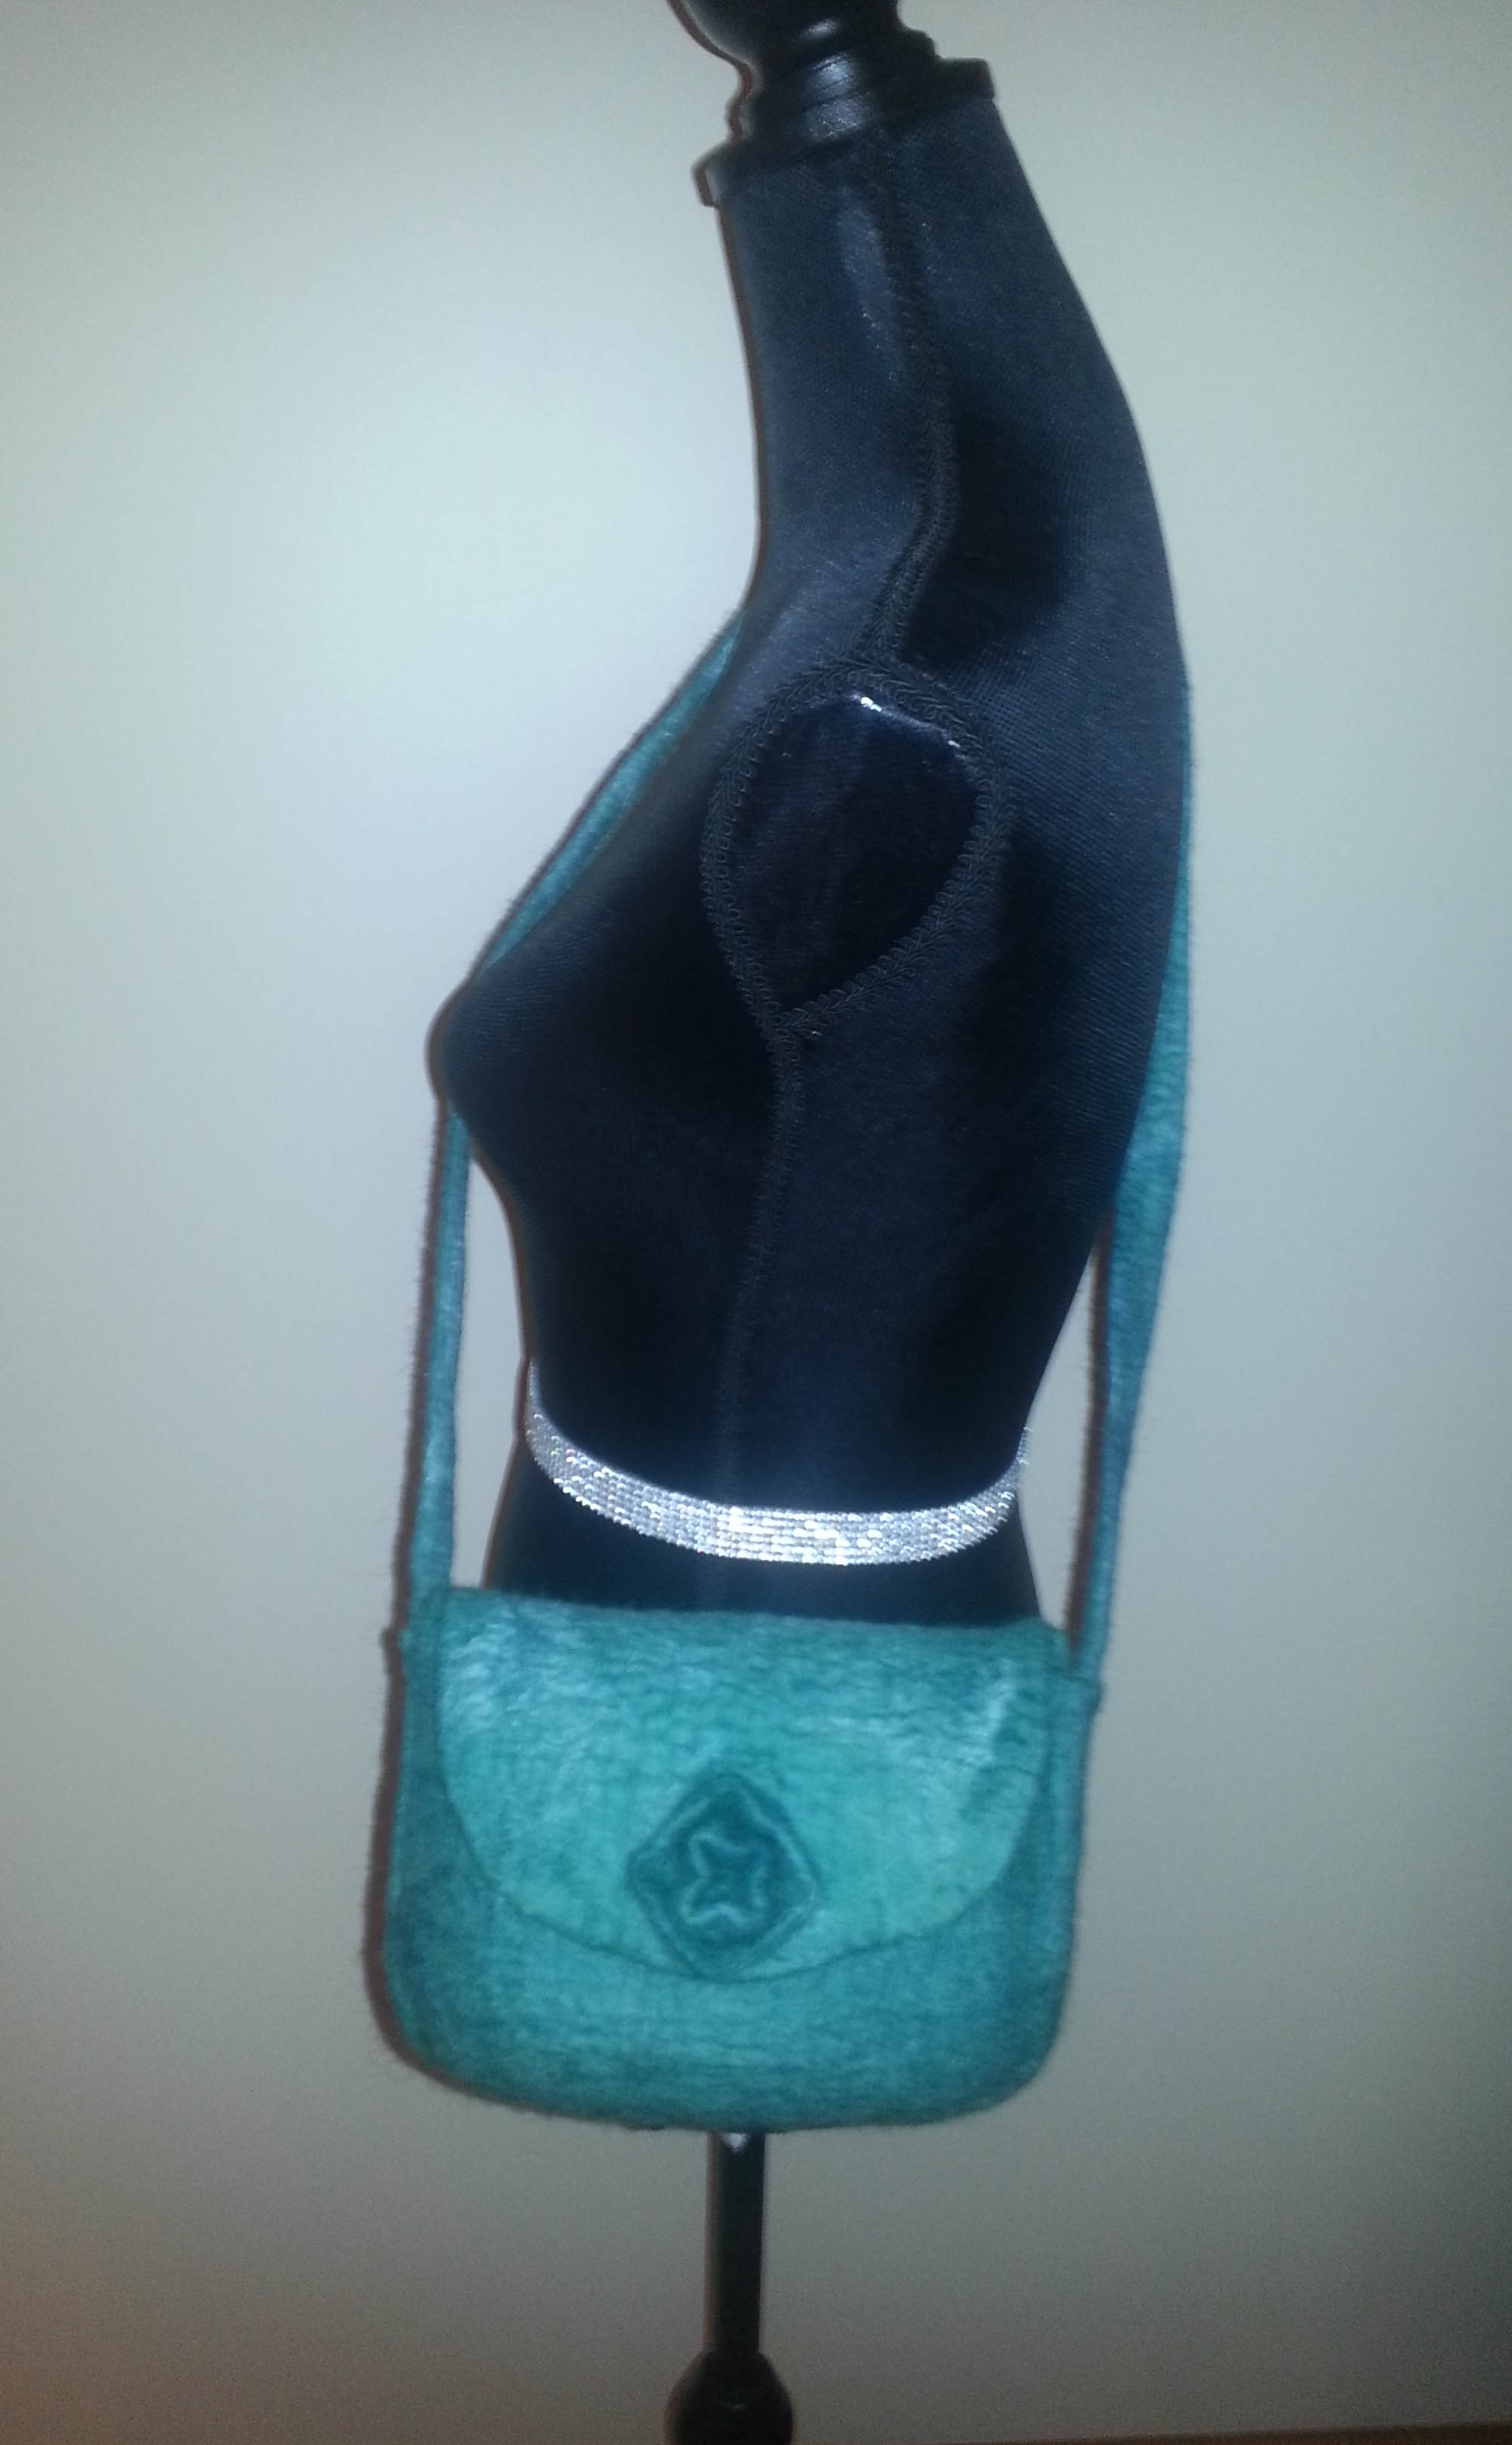
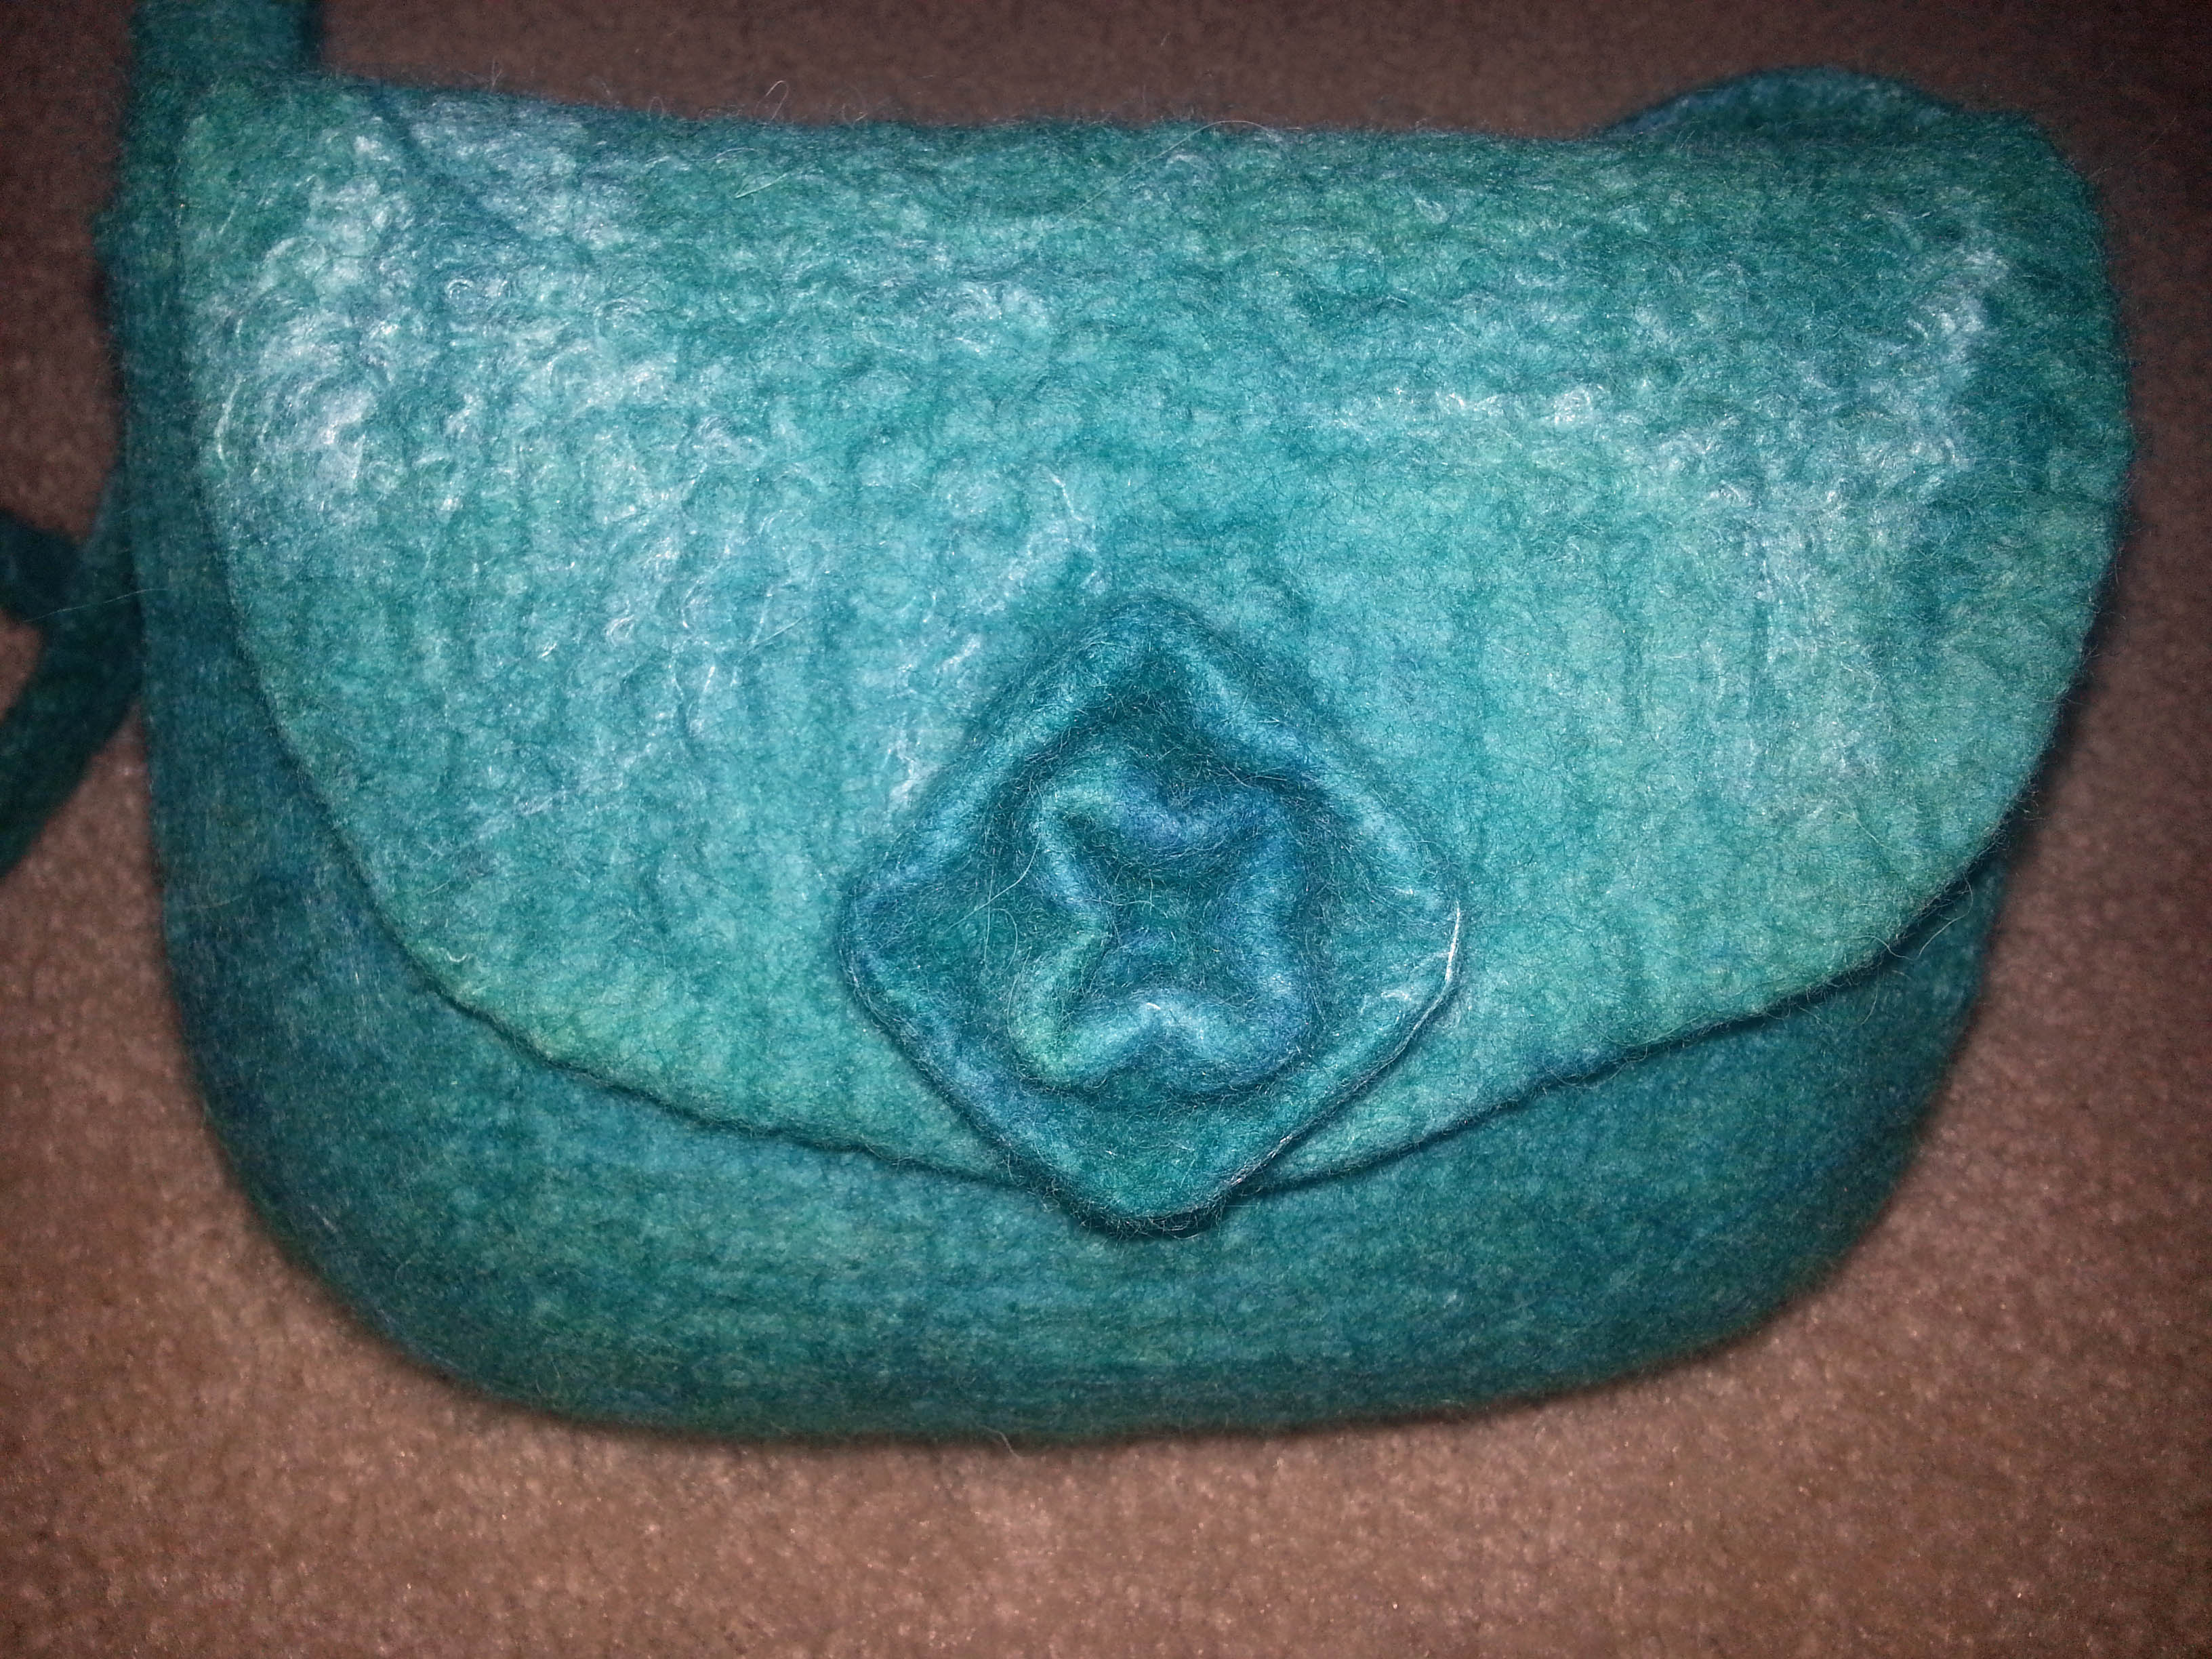
I don’t like the way the jay effects the shape or the way it hangs open. Not bad for a first design. I will make some changes in the next one. I will make the handle longer so I have a bigger flap. I will make a smaller slit for the yarn to come out of the bag.  I realised with the bag having a flap over the top to stop the ball bouncing out I don’t need to make a J at all. I did see a bag with a grommet in the back near the bottom that looked very neat and tidy but if you use a hole you can’t take the yarn out of the bag without breaking the yarn. Ideally a little U shaped metal frame that could be squeezed shut around the felt (similar to when you put snaps onto a bag) would be best but I haven’t found anything like that. Purse frames work like that; you slide the felt into the channel of the frame and squeeze it shut and it grabs the felt or in some cases you sew the frame on. The problem is I just want a small U shaped piece. I always seem to be looking for things that don’t exist


From Batts to a Handbag

From Batts to a Handbag

After my four days of dyeing experiment, I carded a bunch of batts with the different fibers I had dyed.  I decided I wanted to do something a little challenging using the batts. So, after doodling around with a few ideas I settled on a handbag using a couple of the techniques I learned in Fiona Duthie’s Surface Design Class.

I didn’t have a pattern. So, I used the general shape of the purse I carry now and added 30% for shrinkage and made a template. It took a lot more planning than I had anticipated so I got very engrossed in making sure I had everything organized and followed each step in the right order. Unfortunately, I worked intuitively and forgot to write down the procedure and take pictures at each step.

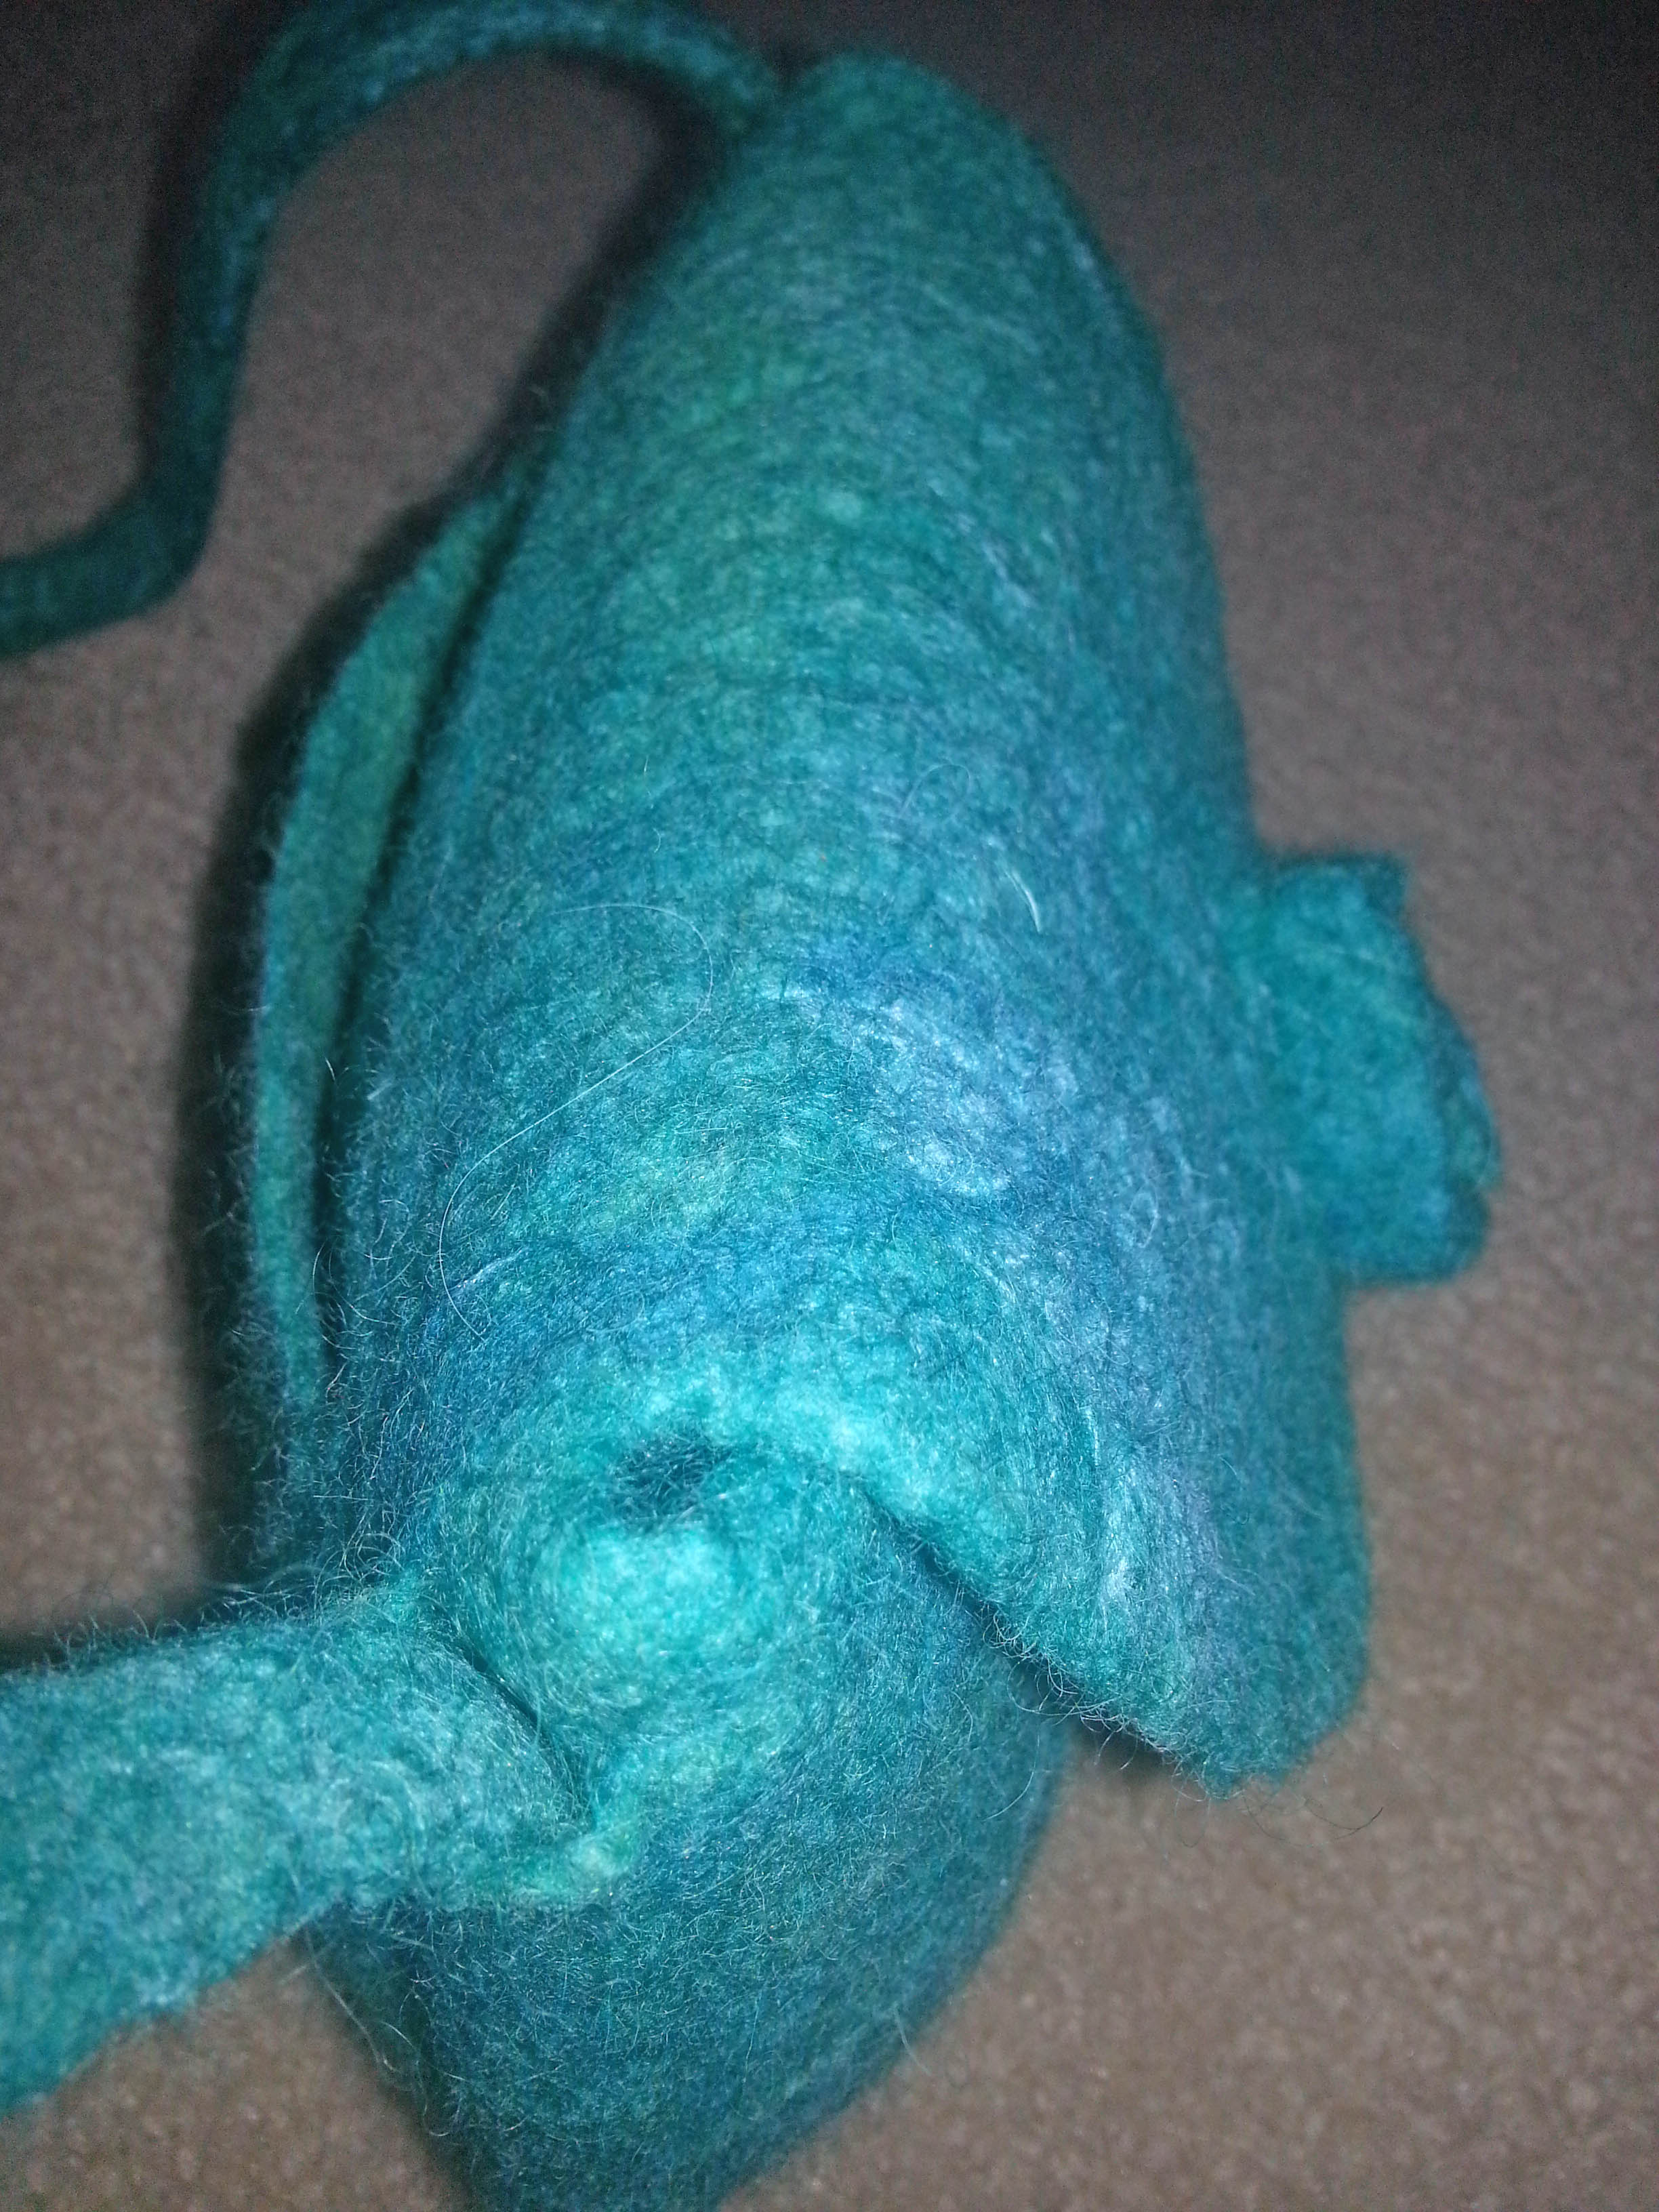
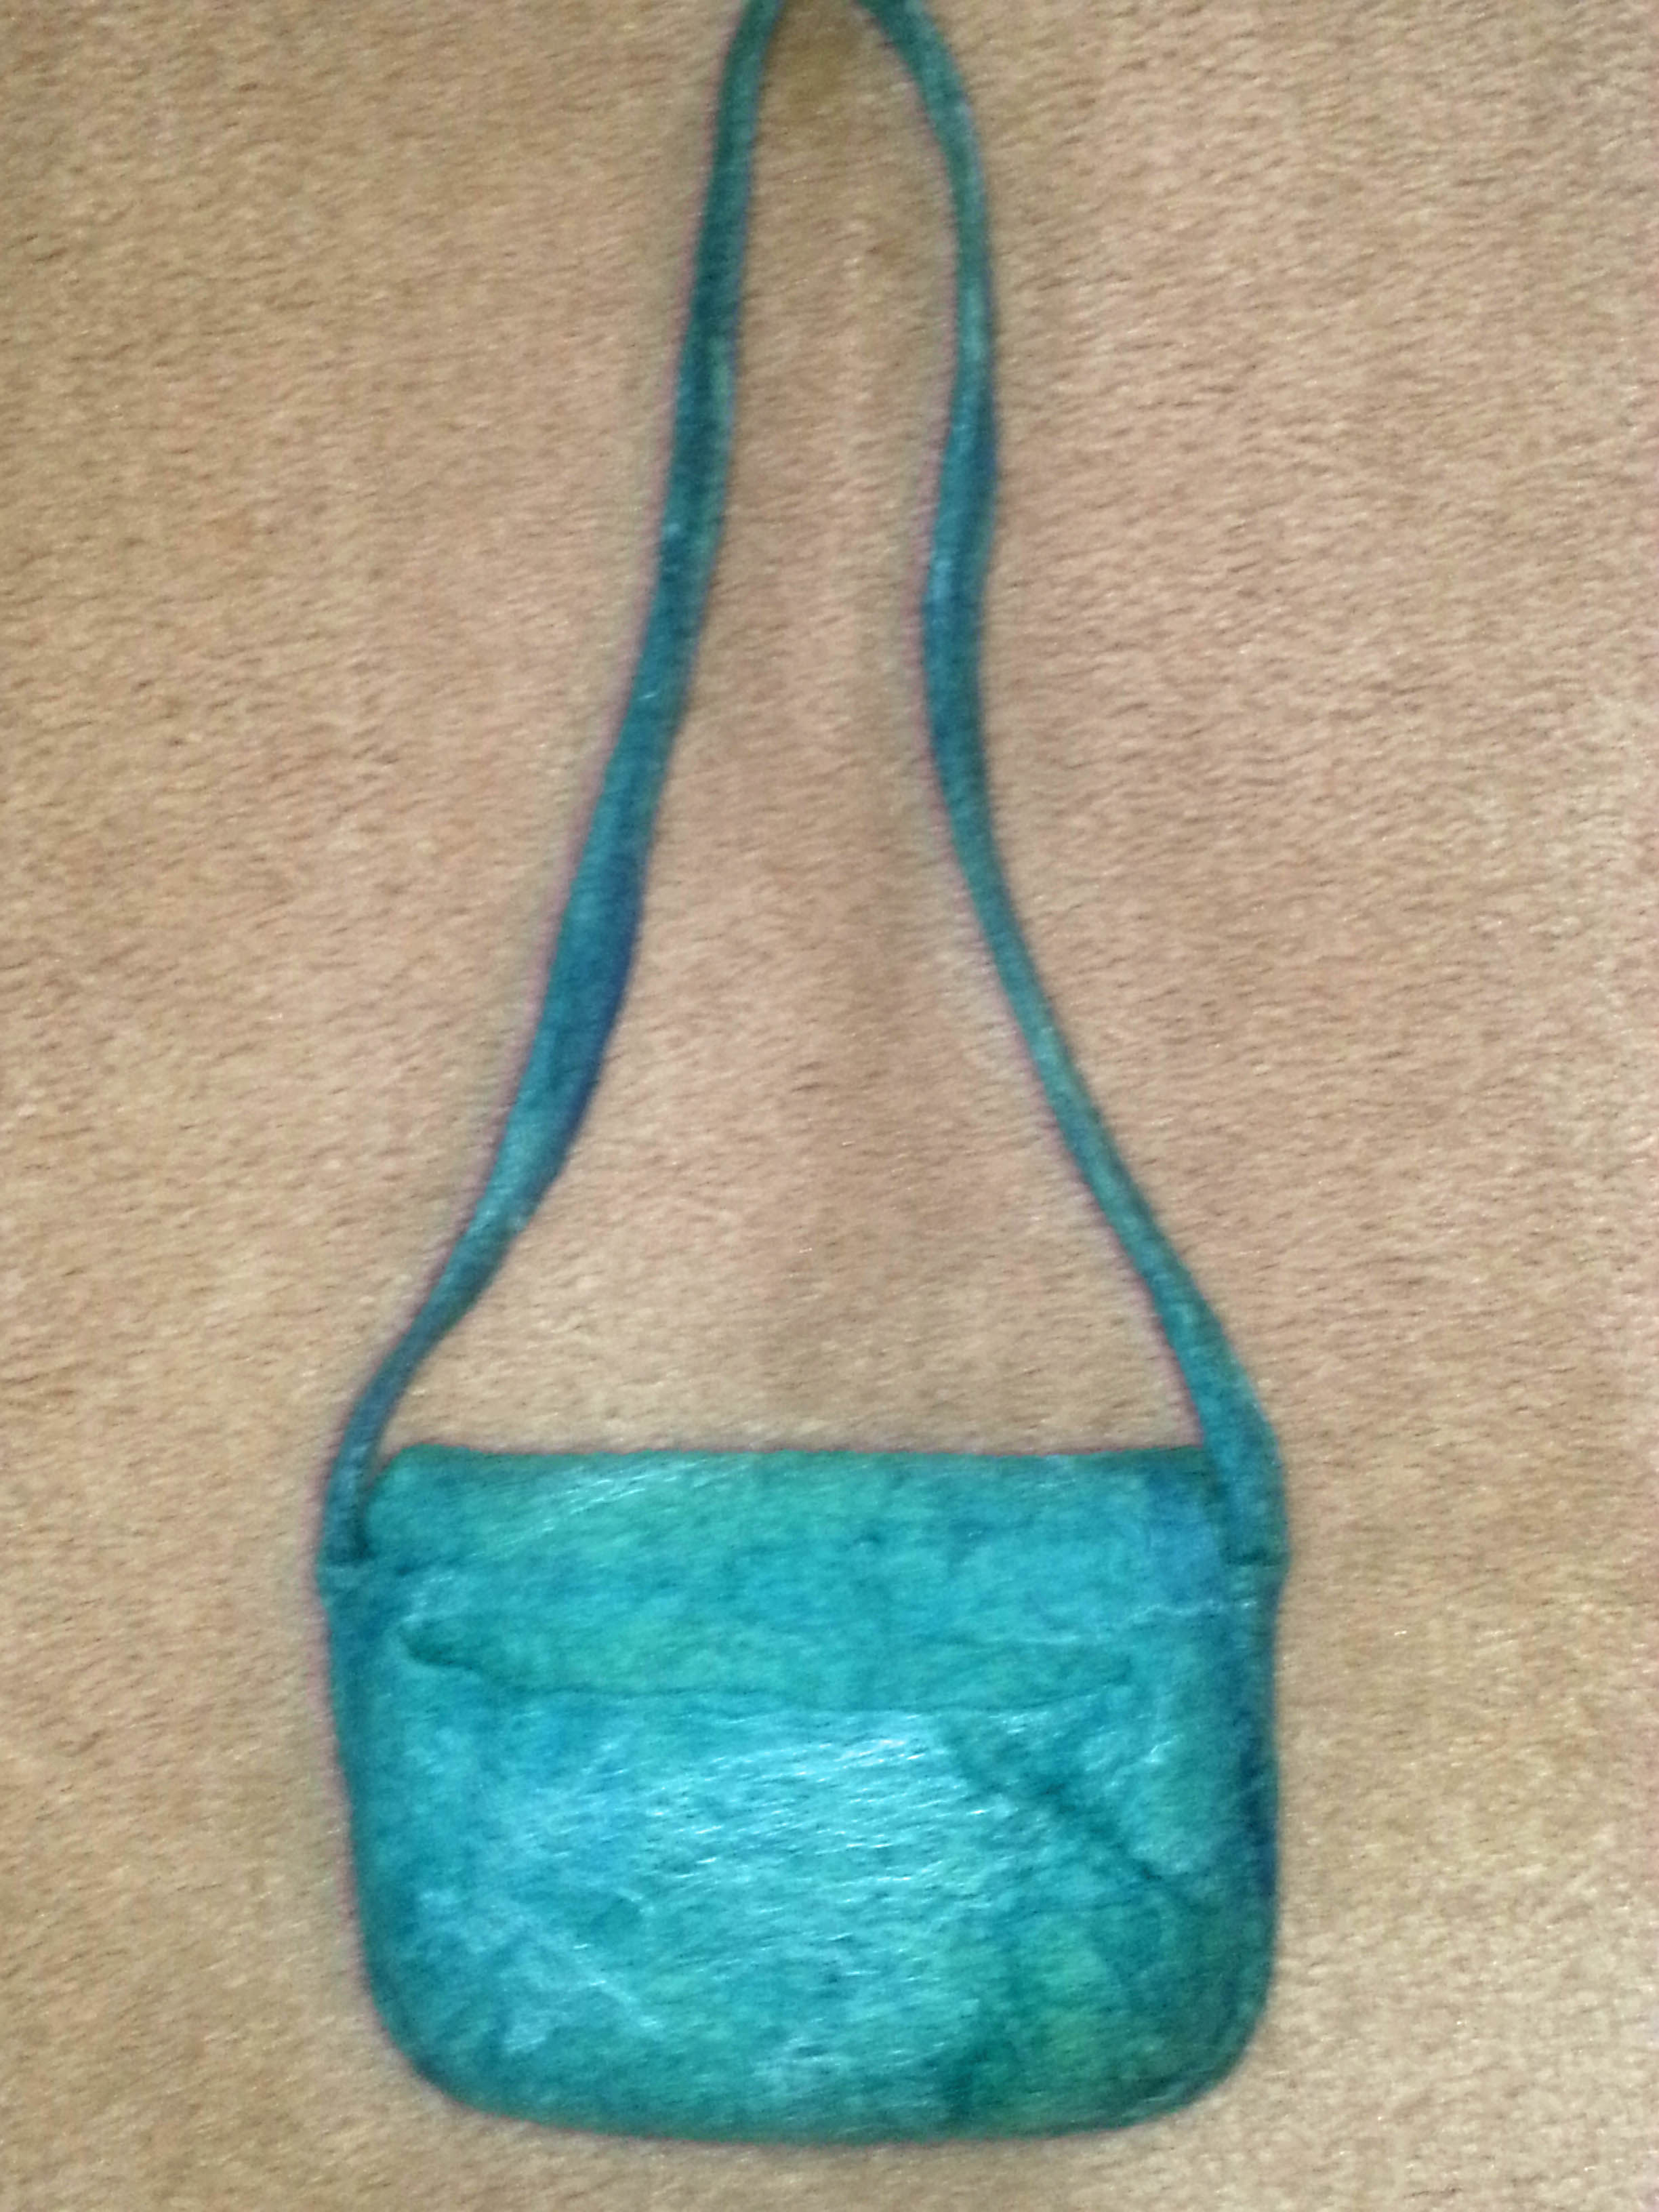
I wanted to use fiber for the shoulder strap, but I also wanted it to be strong and not stretch.  I made the shoulder strap first using a tightly woven scrim cut with the grain between layers of wool.  I left long ends unfelted and wrapped plastic at the ends to try to protect it from the water, not that it helped. This would be the part I would felt to the bottom and sides of the handbag so it would be all one piece.  Then I  used a dowel to roll the strap until it was partially felted.

handle end rolling handles


Here is one side of the purse with scrim lining between the wool layers, resist and a resist for one of the inner pockets. I wet one side then proceeded to lay out the other side working backwards from inside out. Laying out more pocket resists, the back and back pocket. I know that sounds strange, it was a little mind boggling.

layout

The decoration for the flap had to be done first before attaching it to the bundle to felt. The middle was felted by hand and the circle of fiber around it was left unfelted in order to add additional  fibers to felt into the bundle.

decoration

The handles were laid out on the bottom and the sides then worked on the sides first to ensure they held together during the felting process.

It was quite a thick bundle and once it was felted enough, I cut out the resists and continued to full and shape it until it sat up by itself.  When dry, it had that “thud” of being completely fulled.

hangingcloseup front Three inside pockets.

insideOne back pocket.

top view

backI wonder if I could duplicate this again?  Maybe if I do I’ll write a tutorial.  The one thing I would do differently is to put the shoulder straps on the inside of the bottom and sides rather than outside.  That would be another challenge. What do you think?


Felt Shoulder Bag

Felt Shoulder Bag

A few weeks ago, when I made my Camouflage type hat, I also made a satchel type bag. I used a more brown shades of wool and slightly less rusty/orangey colours. I used some camo print silk from an old scarf, some cotton gauze and also pieces of dyed muslin that Ruth sent me. On the back of the bag, I used a large piece of silk because I thought it would pill/bobble less where it rubbed against clothes.

OLYMPUS DIGITAL CAMERAThis is a slightly different angle:

OLYMPUS DIGITAL CAMERAI also used a piece of cotton scrim to line the insides

OLYMPUS DIGITAL CAMERAI attached D rings to the side, for the shoulder strap to attach to. I tried to find webbing the right thickness to make my own strap, but couldn’t get the colour and thickness I wanted, so I’m going to use one from a bag I bought.

OLYMPUS DIGITAL CAMERAI did think about using straps and buckles for closing the bag, but decided that would be a bit fiddly

OLYMPUS DIGITAL CAMERASo, in the end I used magnetic clasps, and folded the bottom flap up about an inch. I don’t like the way the machine stitching turned out though, the clasp distorted it, so I might unpick it and do it again.

OLYMPUS DIGITAL CAMERAHere it is with the strap attached

OLYMPUS DIGITAL CAMERA