Tutorials and E-Books
I really haven’t had the time to do anything but work on my Fimo tutorial lately. I didn’t think that would make a very long or interesting post so I thought I’d do one about what goes into writing tutorials or e-books. Looking at a really good one, you’d be forgiven for thinking that it’s pretty much just getting someone to take photos while you go through the stages, or at the most, stopping to take photos if you’re doing it alone. Then just adding some text to the photos in Word. Ah, if only it was that simple 🙂 Sometimes the shorter ones can be straightforward if it all goes well, but even then there is usually lots of photo editing, cropping, resizing, etc. and rewrites of the text.
So, what does happen? Well we probably all do it a little differently, but usually I start off with a rough idea, a few things jotted down, then write a brief outline of what I want to include.
 I’ll type this out onto Wordpad, then start to give it more definition, separate it into sections then add info about the content I want in each section. I usually do a copy of this new outline with a list of all the photos I need to take for it or sets of photos, then print it out and start on the photos.
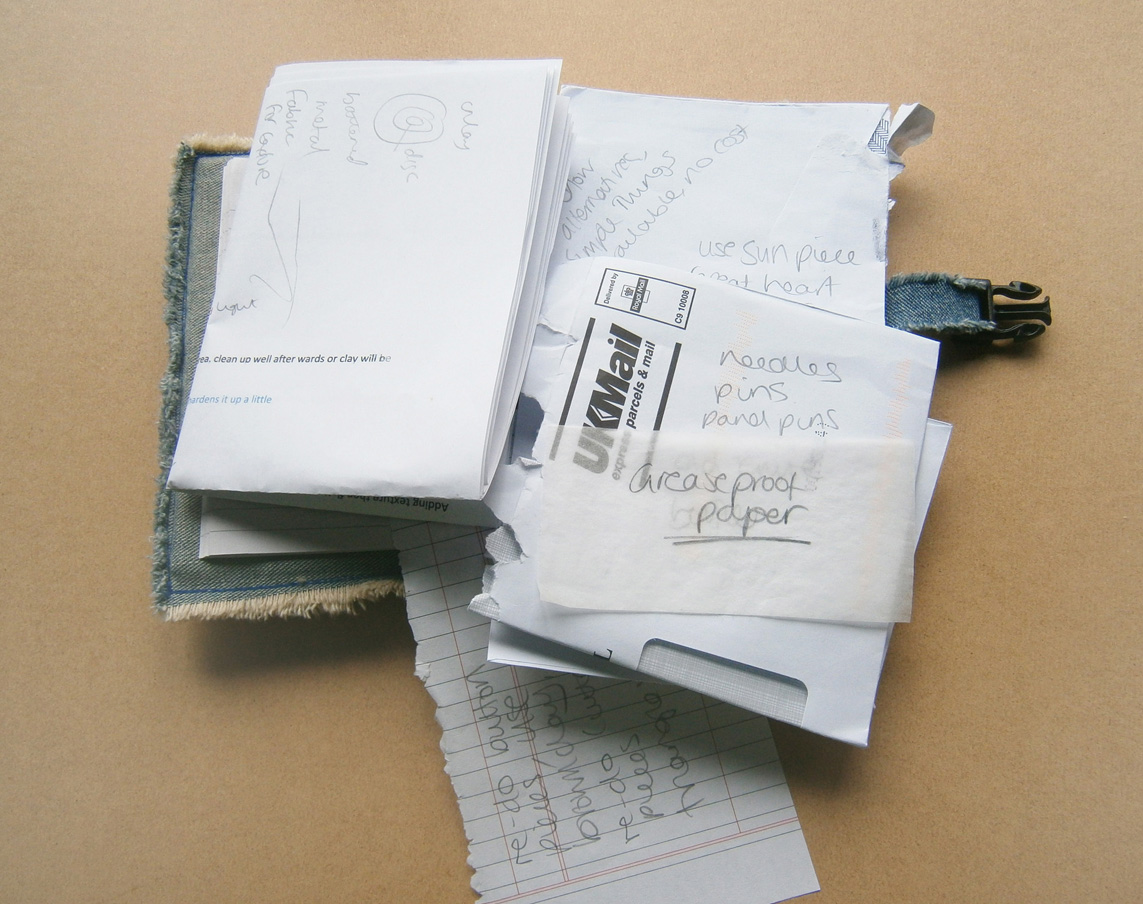
 I’ll probably re-print the list quite a few times as I work through it and change my ideas. I like to keep a notebook close by when I take photos because I usually end up with ideas for something else I need to include or an idea that will help make another set work better. Also it’s good to take notes about what you’re doing in the photo and at certain stages because it will help to explain the process more clearly.
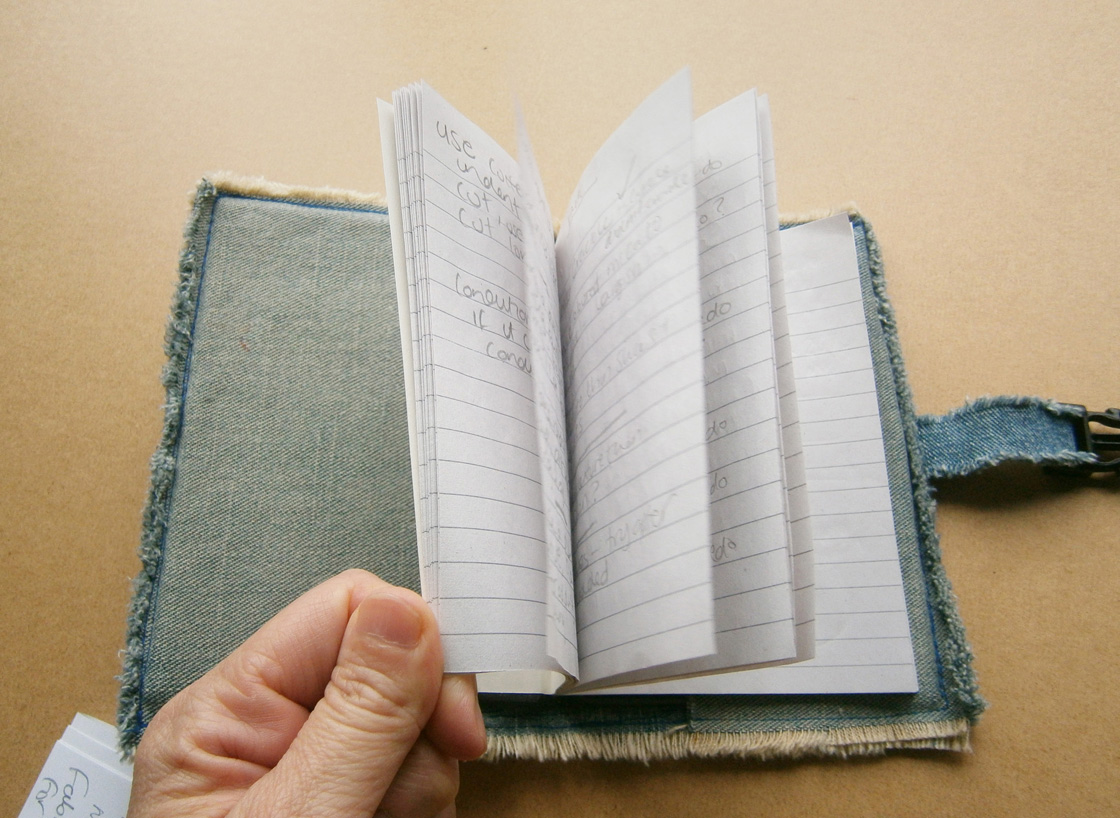 Even when I’m not actually working on the tutorial, something will pop into my head, so I usually end up with lots of loose pieces of paper with little notes on. It’s like one idea inspires others and you can’t see how you can leave something out without it seeming incomplete. I thought from the original idea for my Fimo tutorial it would be several pages long and just take a few days to do with careful planning, but by the time I wrote down my outline it was already turning into a mini e-book!
 Once all the photos have been taken, the most laborious part I find, is going through all the photos…deleting blurry ones first then going back and looking through the rest carefully to choose the final ones. And if you’ve ever taken photos of felt or fibre, you’ll know it usually takes a lot of photos to get the one good shot you need 🙂 I then usually make duplicate folders for resizing. It isn’t unusual for me to have 4 duplicate sets all at different sizes.
 When it comes to the writing, I usually start by simply describing the process, trying not to overthink it, and use the photos to illustrate this. Then I pester my girlfriend to read it through for me, it’s really good to get the opinion of someone who hasn’t tried what your tutorial is about, they can ask all the questions you need to answer but might have missed. Once the first draft is finished, I’ll probably ask Ann, Ruth and Karen from the studio site and Lyn from the forum to read through too, it’s good to make sure it’s understandable to people all over, and that there aren’t any words or phrases that are unfamiliar, even to English speakers. It’s strange the words we take for granted that are often questioned. Once I’m happy with all the words and pictures, I work on the layout. That’s where the duplicate sets of photos come in, if a photos used in the tutorial only needs to be small and doesn’t show any detail, using photos of smaller dimensions and file size can reduce the overall file size of the document and subsequent PDF.
I’m just past the first draft stage of my Fimo tutorial and ready to start work on fine-tuning the text and working on the layout. I keep getting more ideas for things to include though!

15 thoughts on “Tutorials and E-Books”
Very comprehensive and organized, great work. I can’t wait to see the finished tutorial. It is the curse of every writer to add or change things. Good luck!
Thanks Marilyn 🙂
Yeah, and just as photos inspire other ideas, so does the writing 🙂
It is tons of work to get a good tutorial or book. I do know about notes everywhere and notebooks full of scraps of paper, rewrites, what photos where etc. Your fimo tutorial is going to be wonderful 🙂
Thanks, Ruth 🙂
I have a notebook from when I did the nuno e-book, and it has pages and pages of numbers in it from photo editing, I always think it’ll be funny for people to find and try to decipher the code 🙂
I am not a writer and have never put a book together, but I am doing a little teaching and it takes an enormous effort to make everything understandable. It is a communication hurdle to scale. Not to mention the never ending revisions of instructions. I guess it might get easier with experience.
A lot of my flickr friends/commenters are foreign, so as well as trying to make things clear for novices, I try to make it understandable for people who have English as a second language which is a good way to try to keep it simple. It does get easier over time.
I never realised how much work goes into creating a book or e-book until Ruth did her book and you did your first e-book, your both legends as far as im concerned and your new fimo one is going to be wonderful Zed 🙂
Thanks, Kaz, I hope so 🙂
You do it really well Zed. Writing clearly can be very difficult. It is so easy to skip things because they are obvious to you or you’ve done it so many times you don’t even think about a step you just do it. Planning is where I fall down. I keep meaning to ask you do you have some sort of fancy tripod for taking the pictures with your hands in the shot?
Thanks, Ann 🙂
That’s why the notebook is handy when taking photos, I think how I will describe what I’m doing in the steps I’m photographing and realise there needs to be another step photographed, often what you think will be 5 or 6, turns out to be 10 photos/steps.
I do have a tripod, it was just a good cheap one from Aldi. It is difficult getting it set up and having to stand behind, work out the shot, set the timer, reach around it etc 🙂
It was especially hard for the fimo ones, trying not to create hand shadows but still demonstrate. I bought a little cheap table tripod, but as soon as the camera is angled, it’s unbalanced 🙂
I love that button and you are inspiring me to think about developing new skills. LizSeville.Wordpress.com Principally Felt
Thanks, Liz 🙂
I also wrote an eBook and it is a tremendous amount of work and effort. If anyone is interested in it, the link is here:
https://www.smashwords.com/books/view/142823
It’s a great book with step by step directions for Nuno felting with lots of tips to make the process easier. I certainly appreciated all the work effort that went into it!
I really like your writing style – it’s clear and enjoyable to read and your photos are so good I’m envious.
I’m sure this tutorial will prove popular – the buttons you make are beautiful.