Browsed by
Tag: silk scarf

Nuno felt scarf class

Nuno felt scarf class

Hi all, although I haven’t been doing much felting myself I have been teaching others to do it. I ran my Nunofelt scarf class again this last weekend. I had five lovely ladies at the Ottawa Valley Weavers’ and Spinners’ Guild classroom.

The first part of the class is talking about all the fibres. Students are amazed at all the kinds of silk. I usually bring hankies, tops, throwsters waste and recycled sari silk along will wool BFL locks and sparkly nylon. They get to pick their hand dyed scarf blanks and then spend at least 15 min trying to decide what embellishments they want to use. It’s lots of fun watching and helping with colour and texture choices.

It is so hard to pick.

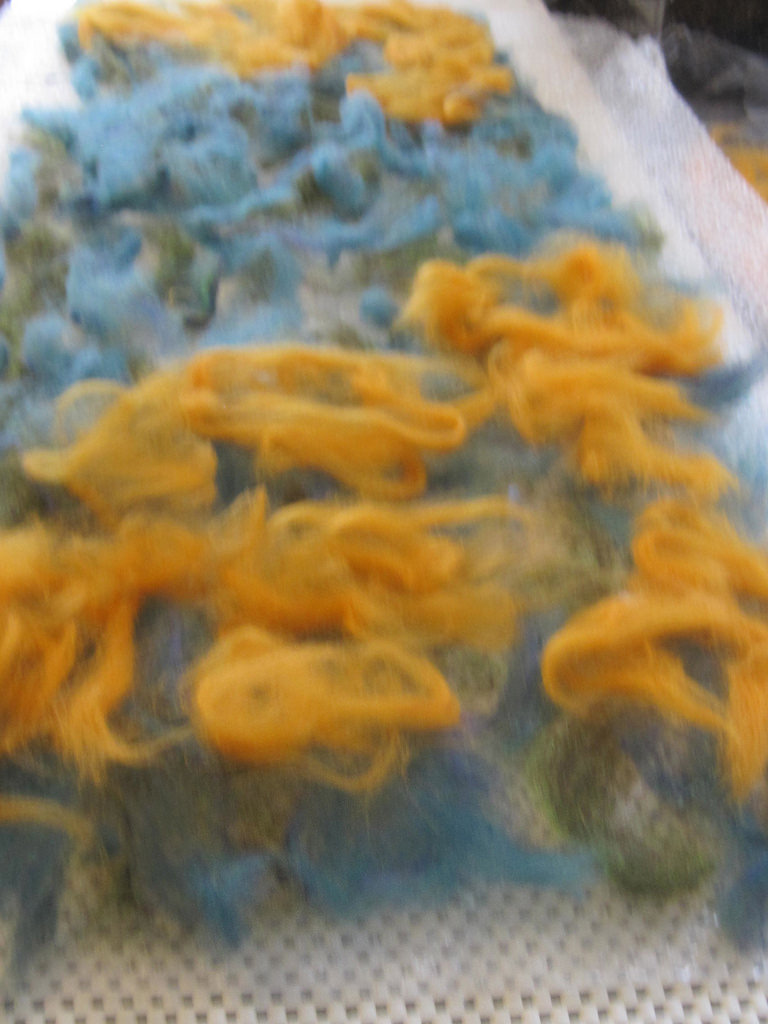
Then it is on to lay out the wool. Once this starts I put the silk blanks away so no one is tempted to change their mind halfway through the layout. I keep all the wool and embellishments out until they wet everything.


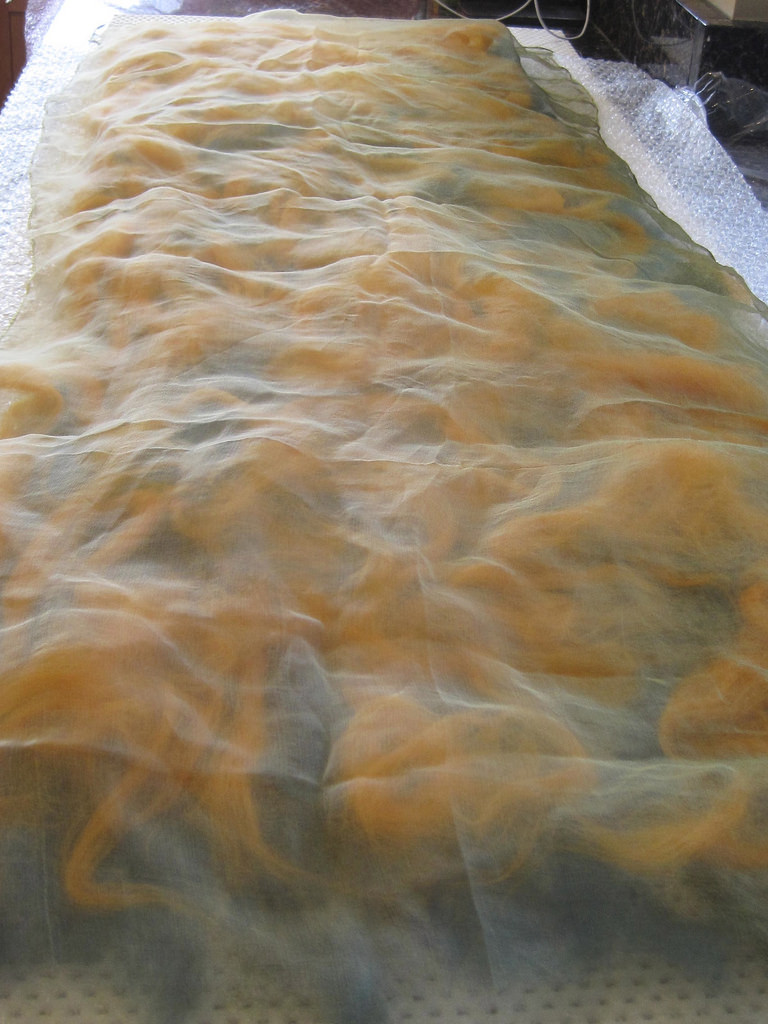
Everyone enjoys using the ball browser sprayers to get everything wet.


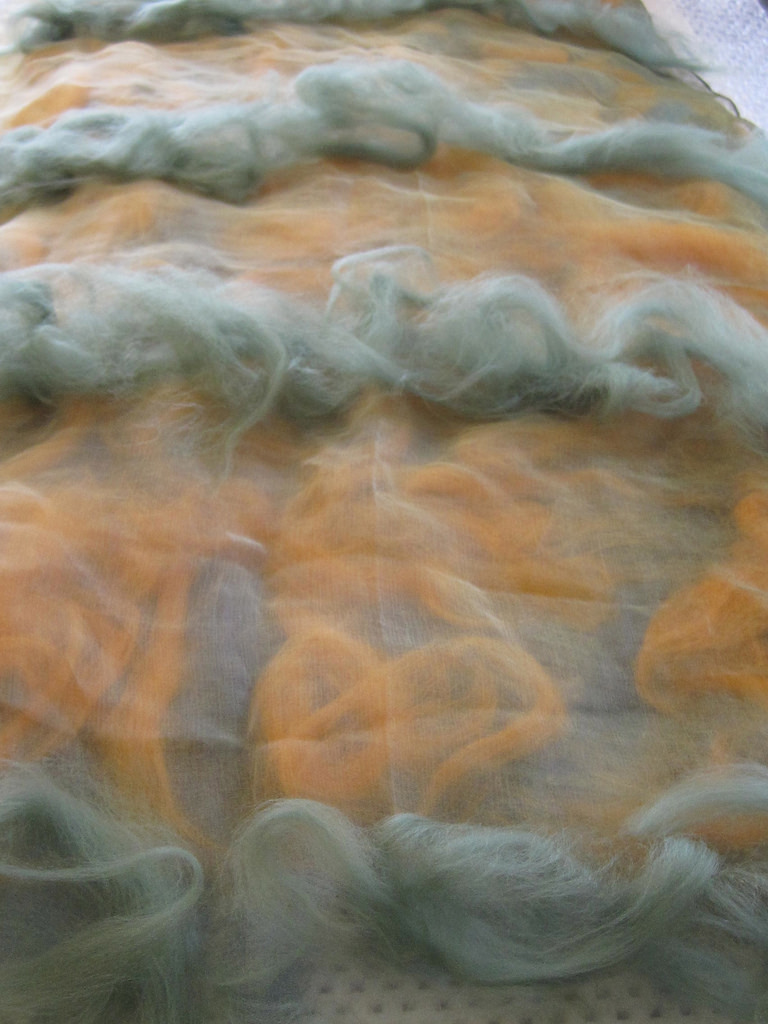
In this group, they all stayed together during the different stages of felting. Often they become staggered; someone wants to be first done and another will be very relaxed and go slower. In the end, they always finish  and it’s interesting to see the different styles of learning and doing the same thing.

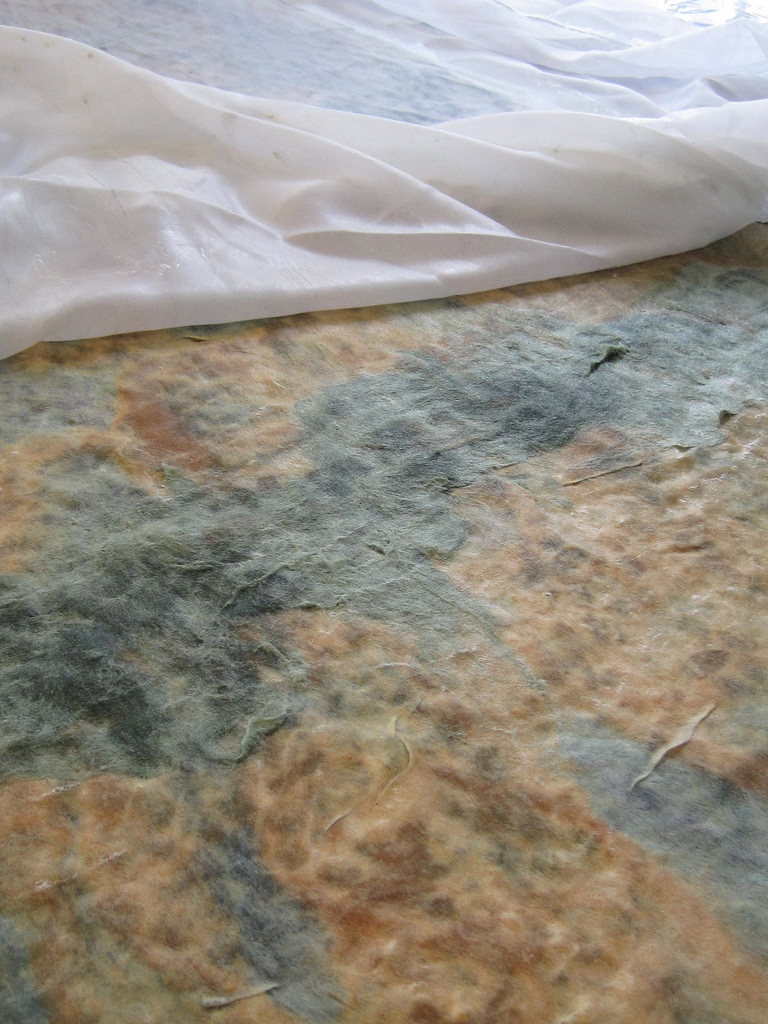
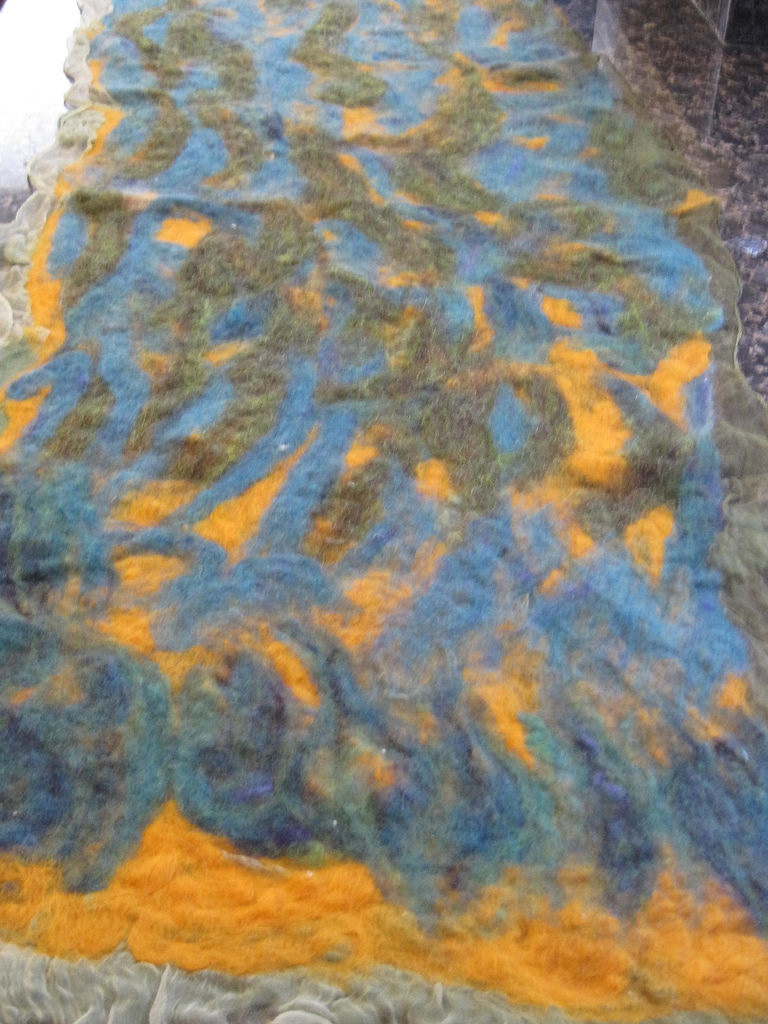
I didn’t get any pictures of the gently squishing and tossing to full but here they are finished.

All in all a great class with happy students.

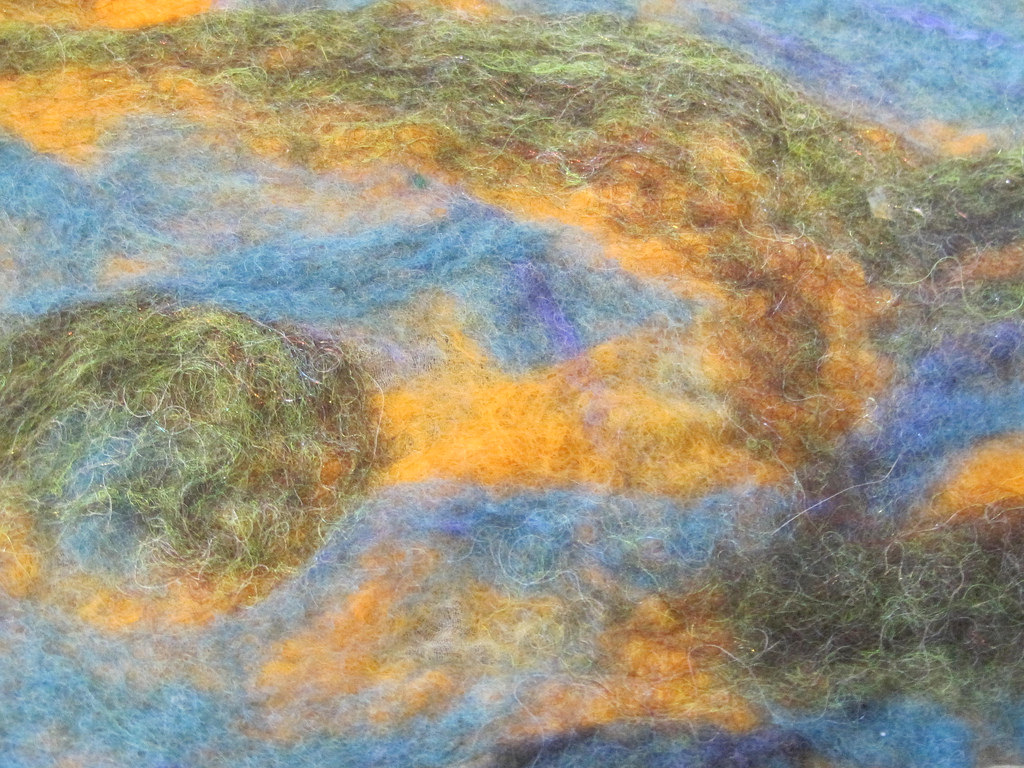
The only odd thing that happened was one lady had brought her own wool, marked merino and she was sure it wasn’t superwash. She added my embellishments. One of her colours did not stick to the scarf anywhere. My first thought was it was superwash. However, it did seem to felt and grab the silk embellishments on top of it.  Nowhere she had used the copper coloured wool stuck to the silk backing. It was attached by other colours surrounding it so it’s all one piece but I have no idea what was/is going on with the wool, any ideas?


Cathy’s Nuno Felt 2

Cathy’s Nuno Felt 2

Today we have another guest post from Cathy about Nuno Felting. If you’d like to read the previous post and all the comments, please click here.

***

Recently, I posted for the blog my first experience with nuno-felting, which was not too successful.  Many of you replied with terrific advice and tips on nuno-felting.  I used those tips, along with Zed’s e-book on Nuno Felt, to make another attempt.  I am happy to report success!
I began with a pale green silk gauze scarf, hemmed, measuring 56″ x 20″.  This was purchased on Etsy, as was the orange scarf used in my first nuno-felt experience.

Pic 1Armed with my new knowledge, I laid out merino roving in green, teal and gold, covering one side with 3 layers.  This time I used a rubbery rug mat as my base, covered by bubble wrap,  then wool.

Pic 2…and then flipped the package over…

PIC 3and laid out pale green merino in bands, about every 6 inches.

PIC 4This time I covered with a white polyester curtain sheer and began spraying using a Brauser ball and olive oil soap water–COOL this time–I began hand rubbing, spreading the water and continually rubbing GENTLY.    I lifted the sheer to make sure fibers were not coming through (but they were!)  Repeated process on underside of scarf, replacing bubble wrap with curtain sheer.

PIC 5After sufficient felting by hand rubbing, I laid on bubble wrap…

PIC 6… and began rolling my wooden foot massager over the nuno-felt package.

PIC 7I remembered to turn several times, so as to cover all angles.  Repeated the process on underside. I forgot to time myself.  After sufficient rolling, checking first side … then second side … I now felt ready to try the washer spin method of felting/fulling.  So I rolled the package in a wet towel, leaving bubble wrap inside and tied shoelaces around it.
Four minutes in washer spin cycle, then popped the scarf only into a lingerie bag and put in dryer for 4 minutes.  Good thing I looked after 4 minutes, because the scarf jumped out of the lingerie bag and was folded in half.  I carefully peeled it apart (phew!) and there you go!
Long view:

pic 8Close up:

Pic 9Underside, see prominent green bands:

pic 10Close up of underside:

pic 11There was a little shrinkage (finished scarf measures 49″ x 15″) but I would have liked to see more ruching or ruffling effects. I consider this a success and am ready to try my third scarf, hopefully improving along the way!
Many thanks to all of you who wrote in and provided sound advice to a newbie nuno-felter!