Browsed by
Tag: machine stitching

A Little Stich Practice

A Little Stich Practice

I finally put the free motion embroidery foot on my Sewing Machine.  I did a small sample to see what different movements did.  I used contrasting thread so I could see what I had done better. As you can see I did a few things. I tried to sew down some loopy yarn. this was hard. The yarn moves and you can’t really pin it very well. Its to easy to run the machine over the pins.

machine stitch sample

The solid red, with lots of stitching is a piece of silk  carrier rod. I tried moving the felt at different speeds and having the machine sew at different speeds.  Fast machine and slow hands seemed to work best so far. You can see near the end I was getting better at controlling what I was doing and managed to write my name. I like the way the stitching looks on the tree best, well the green part anyway.

Here is a shot at the back side.

machine stitch sample back

The machine stitching looks so different than hand stitching. I think the combination of the two will be great. But for now I need to practice my machine stitching. Anyone have any tips or suggestions about machine stitching?

January Projects

January Projects

I’ve been trying to find ways of having a few projects on the go so I can work on them for a few minutes at a time where possible. A few months ago, I posted about a couple of felt pieces I’d made with the intention of practising stitches for the Take A Stitch Tuesday challenge. I didn’t keep up with the challenge, so had the pieces spare. I decided to add some stitching to the first piece. This is how it looked originally. I started by machine stitching around the patches of colour.

OLYMPUS DIGITAL CAMERAThis is a close up:

OLYMPUS DIGITAL CAMERAOver the next couple of days, I added some hand stitched straight stitches, first in in yellow and then added some in orange.

OLYMPUS DIGITAL CAMERAAnother project I got started on this week is a white texture felt piece. Liz from That Fuzzy Feeling blog, recently made a gorgeous piece of texture felt and it inspired me to make one. I decided to make a natural white one, so I got to play with (and smell!) my collection of wool, alpaca and mohair locks. They are mostly unwashed so my hands felt really nice afterwards.

OLYMPUS DIGITAL CAMERAThe first day I managed to get as far as laying it out and sewing up around the edges.

OLYMPUS DIGITAL CAMERAHere are some of the gorgeous locks I positioned around the edges:

OLYMPUS DIGITAL CAMERASo far, I’ve managed to add the stitches from the top to the bottom.

OLYMPUS DIGITAL CAMERAThanks to Ruth for encouraging us to find ways to fit in a few minutes of fibre time each day, I’ve managed to get a lot more done this week than I otherwise would have. It might not be much each day, but before long, it all adds up to finished projects I wouldn’t have had without the challenge 🙂

Finishing Projects

Finishing Projects

I’ve been trying hard with Ruth’s Daily Dose of Fiber challenge, but so far that mostly consists of me rewriting the same list each day 🙂  I have managed to complete a few projects recently though. The first one was a small shoulder bag I started a while ago when I was using my felt offcuts. I think these kinds of bags are known as ‘passport bags’, it’s big enough to fit a camera and coin purse in. I had some nice fabric that I salvaged from a worn out camera bag, so I used this on the inside flap. It might look familiar because I took photos of the magnetic closures for a post not so long ago.

BagI covered over the tops of the magnetic closures with felt-craft felt on the inside and a nuno felt offcut for the front, before sewing the sides together-that’s usually something I’d forget to do!

bagOnce it was all sewn up, I finished around the edges with blanket stitch in the same maroon colour I’d used for sewing. Another project I finished recently was a felt placemat. I made the felt sometime last year and used a piece to make a mirror case, and cut out the placemat, but I never got around to blanket stitching the edges, so one day last week when there was about 30 minutes of light, I finished it off.

coasterThe last project I managed to complete this week was a set of two coasters for by the kettle. I used a plain piece of felt and cut an 11 x 7 inch rectangle, and a square roughly 6 x 6 inches. I zig-zag stitched around the edges then did random straight stitching, first one way, then the other. This thickened up the felt and because I wasn’t aiming for neatness, I didn’t need to concentrate hard or strain my eyes 🙂

trivet

square coaster

What have you been working on lately? Have you finished any projects you had waiting for a while?

Looking Forward into 2013

Looking Forward into 2013

Like last year I chose not to make a resolution per say but to choose a word.  I could easily make the usual resolutions that would be good for me like loosing weight and getting more aerobic exercise. Although these would be good things to do I know they are not likely to get done. I like to eat and I hate exercise.  A resolution to make myself miserable is not one I want to make.

This year I chose  two words that go together. Explore and Perseverance.

Explore

I want to do more “art”. I want to do this with felt. I love to make scarves and hats and other useful things but I would like to make things that are just to look at. Thread painting and free motion embroidery are one of the ways I plan to do this. I love the way stitching looks on felt. So I want to explore some of the possibilities of this to make pictures to hang on the wall and maybe later to wear. This is where perseverance comes in . It will take much effort in my busy life to do this. Not only to find time for felting but to find time to do felt that doesn’t  have a material end. I find it hard to make things that won’t generate income.  I want an end product some one might want to buy. I am getting better at doing things for my sanity with no “real” benefit. I anticipate much self talk about not thinking about the end product but enjoying learning how and being creative. You  know, all that stuff about it’s the journey and not the destination.

persevere

I am sure I will be distracted along the way but that’s OK. I am an older ADD person. I am from the generation where they told you to smarten up and buckle down and your just not trying. It’s taken a long time to come to terms with. This is the way I am and it is a good way to be. I have insatiable curiosity so I like to look down all the side streets( allies, paths, through the door, over the fence….)  along the way. It takes longer to get to the end of the road but it is a much more satisfying trip.

From Here to There
From Here to There

I hope you find what you are looking for this coming year and I hope you enjoy hearing about how we are getting along and what we are doing through this Blog and our Forum.

Felt and Fibre scraps

Felt and Fibre scraps

I thought it was time I tidied out my felt and wool scraps as the boxes and bags they were in were getting too full. I know it’s really geeky to categorise scraps but whenever I try to find the right size pieces for a project I seem to spend more time sorting and searching than anything else. I never throw anything felt, fabric or fibre away, everything is good for something. This is from my bag of scraps that aren’t usable for anything else, so I save them for using between layers of texture felt.

Often when I’m laying out a project for felting, I end up with a few wisps of wool or fibres here and there, so I put them in a bag and keep adding until it’s full, then card them together. I get some really nice heathery blends, and they always add a lot of interest to felt with such a variety of colours and fibre blends.

Sorting out my box of big spare pieces was fairly easy, I mostly sorted it into thick, regular and cobwebby pieces. The box of smaller spare pieces took a lot longer. In the end I had about 8 or 9 separate piles: thick, regular and cobwebby pieces, and, as shown in this next photo: long wide strips; medium regular strips;  thin strips; regular short strips and really thin and short strips.

I bought some water soluble stabiliser a while ago, so hopefully I’ll find time to use the really short thin strips for making a bowl using Ruth’s tutorial. The longish thin strips are great for making into loop fasteners. I wet them with soapy water and roll between my palms until they’re felted and sew them onto my project. If the piece is long enough I can leave the ends dry, fluff them out and the loop can be felted in with the project.

Once I’d finished sorting all my pieces, I chose some to use for my project-a collage book cover. I’d make a similar one a few years ago using felt pieces and ‘invisible’ thread, but I wanted to use my fancy new machine and zig zag stitch to sew strips and pieces.

This is the front of the finished cover:

And this is the back:

What do you do with all your felt and fibrey scraps and offcuts?

Blue and Zig Zags

Blue and Zig Zags

I made another piece of felt just for fun recently, this time using blue shades of merino wool and blue, green and purpley shades of fabrics and fibres.

I really love this part, it’s synthetic fibres from a novelty yarn, but looks like curly wool.

For the last 25 years or so, I’ve been using an old Singer sewing machine. The electrics were too dangerous, so I removed them and worked it by hand. It was slow going and gave me Popeye forearms (or ‘arm’, just the one on the right!) but it worked well enough for what I needed it for. When I started felting and the world of fibres and fabrics opened up, I started to covet other people’s fancy machines, especially ones that could do zig-zag stitch. I did occasionally think about buying myself a new one, but it seemed a bit frivolous to spend money on something just to add zig-zags to things occasionally 🙂 And then a couple of weeks ago, my Mum gave me her machine. I was worried that now I had a fancy machine I wouldn’t even be able to thread it, but it was quite easy really. I started off by practising straight stitches and trying to control the speed-I still can’t do that, it seems my foot only has two speeds, full pelt or excrutiatingly slow. But I managed to add stitching to a nuno sample I’d made. Feeling a bit more confident, I added some shapes from scrap felt, and finally used the zig-zag stitch

I’ve got a big collection of felt off cuts, so I cut a few into strips and made some bookmarks too

I know I need to practise a bit more, especially using zig-zags to do edges, but I’m not as scared of it as I was a week ago! Have you tried anything new recently?

Guest Artist

Guest Artist

Our Second Guest Artist to be featured on the Studio site is Rachelle Gardner, a mixed media artist originally from Kansas City, Missouri, now living in Mission, Kansas, USA

Felting 3, 2, 1
Q-3 Three types of fibre you can’t live without?

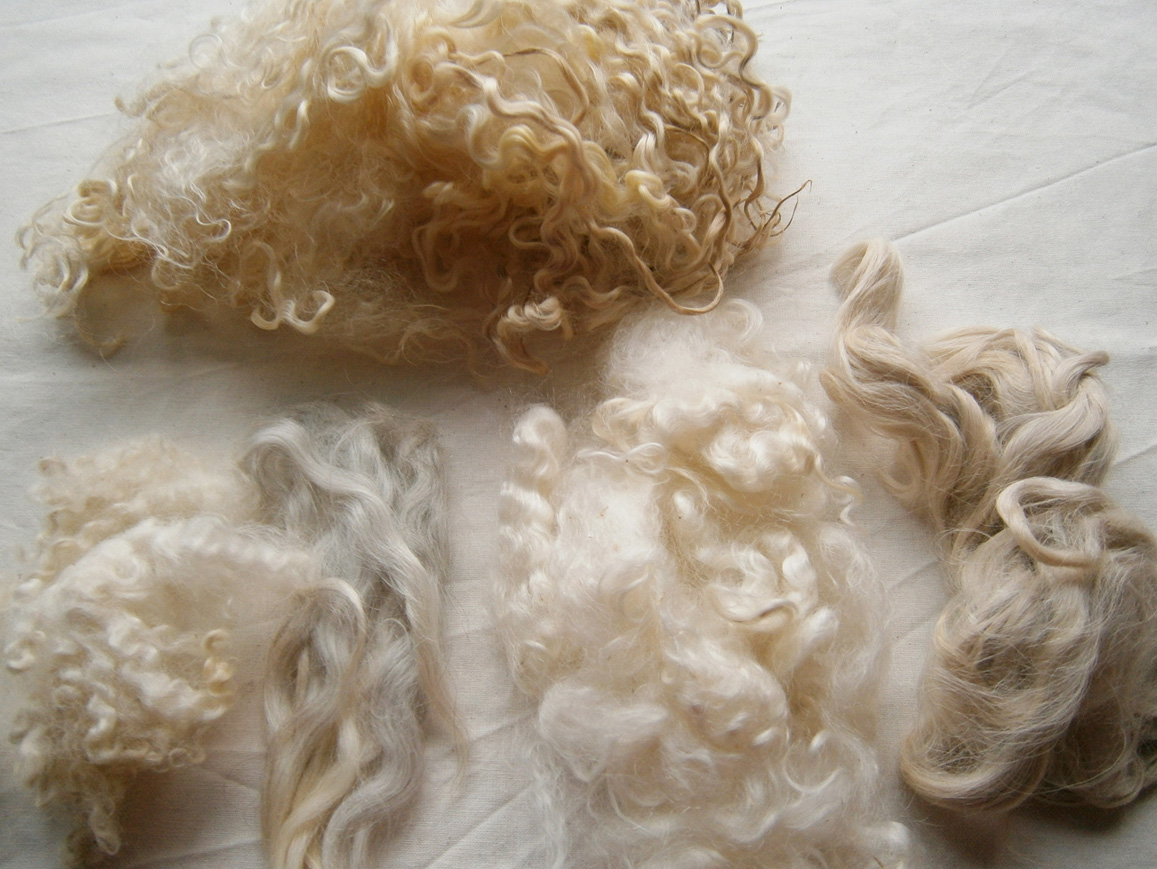
Thread, of any kind, which I don’t know counts as a “fiber,” but it’s hard to make lace without it! I also keep a stash of dyed and natural Shetland wool around at all times, as I never know when I’ll need it. The third is admittedly, a toss-up between angora or silk fiber for use in detailing and accents.

Q-2 Two tools you use all the time?

My sewing machine, a new one that was partially funded by the Arts Council in my area, and water soluble stabilizer. I still feel like I’m just scratching the surface of possibilities with this material. 

Q-1 One fibre art technique you love the most? 

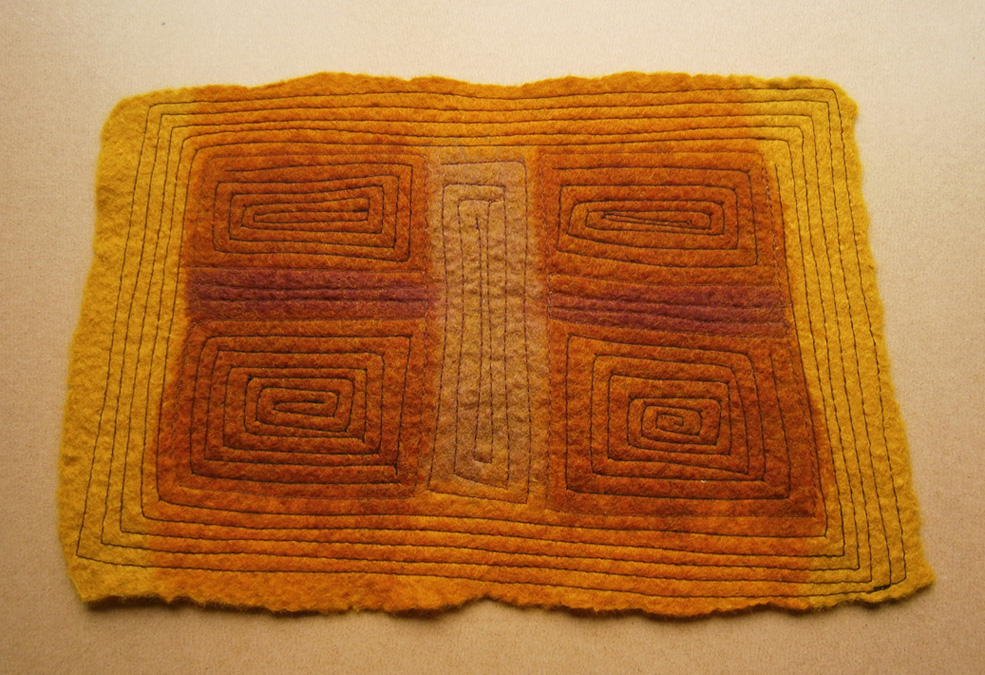
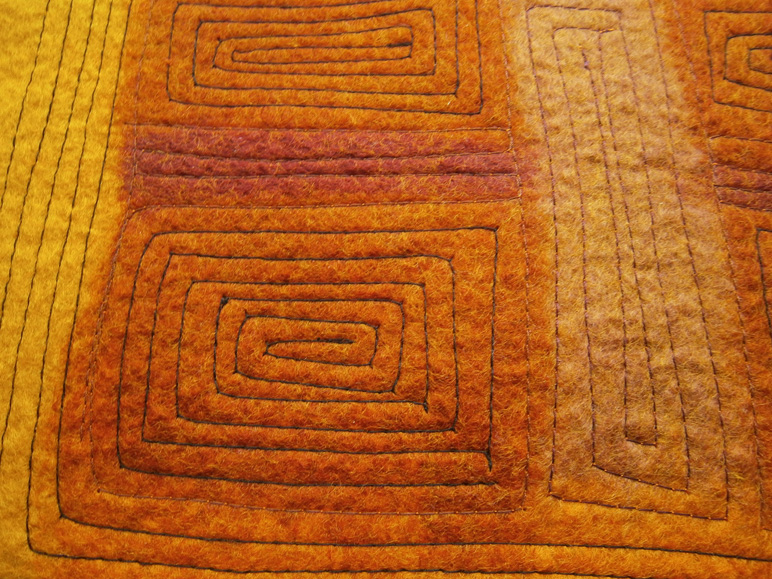
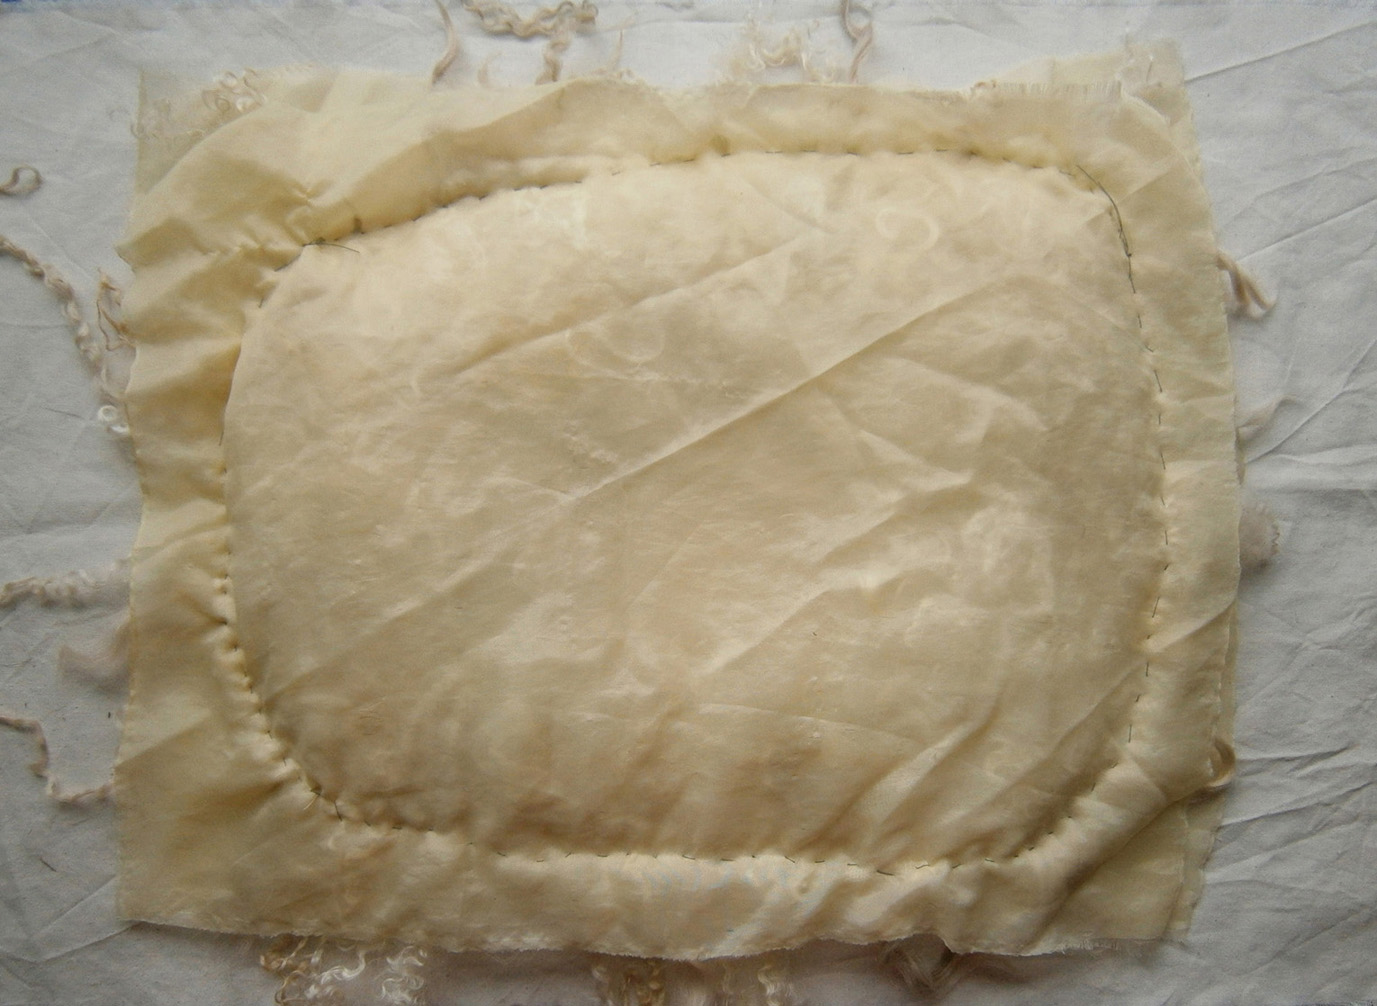
I am amazed at what water does to these materials. Both in wet felting and in working with the water soluble stabilizer, the utter transformation that occurs is symbolic to me. It impresses on me vital nature of water; it’s power to sustain us, it’s power to cleanse. It also reminds me of the concept that individual consciousness is like a drop of water in the ocean of universal consciousness. So, in short, I love working with water!

How did you get into fiber arts?

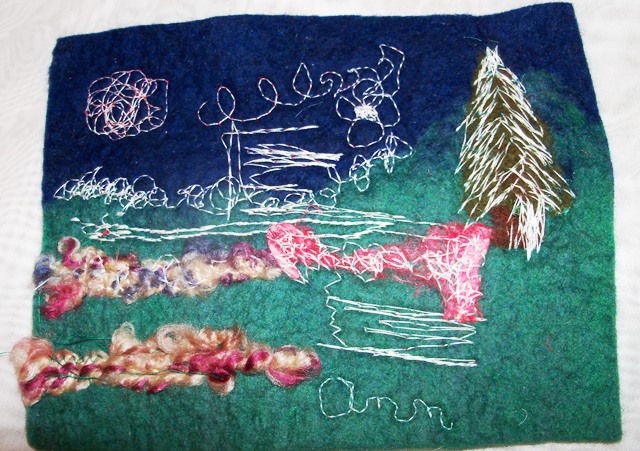
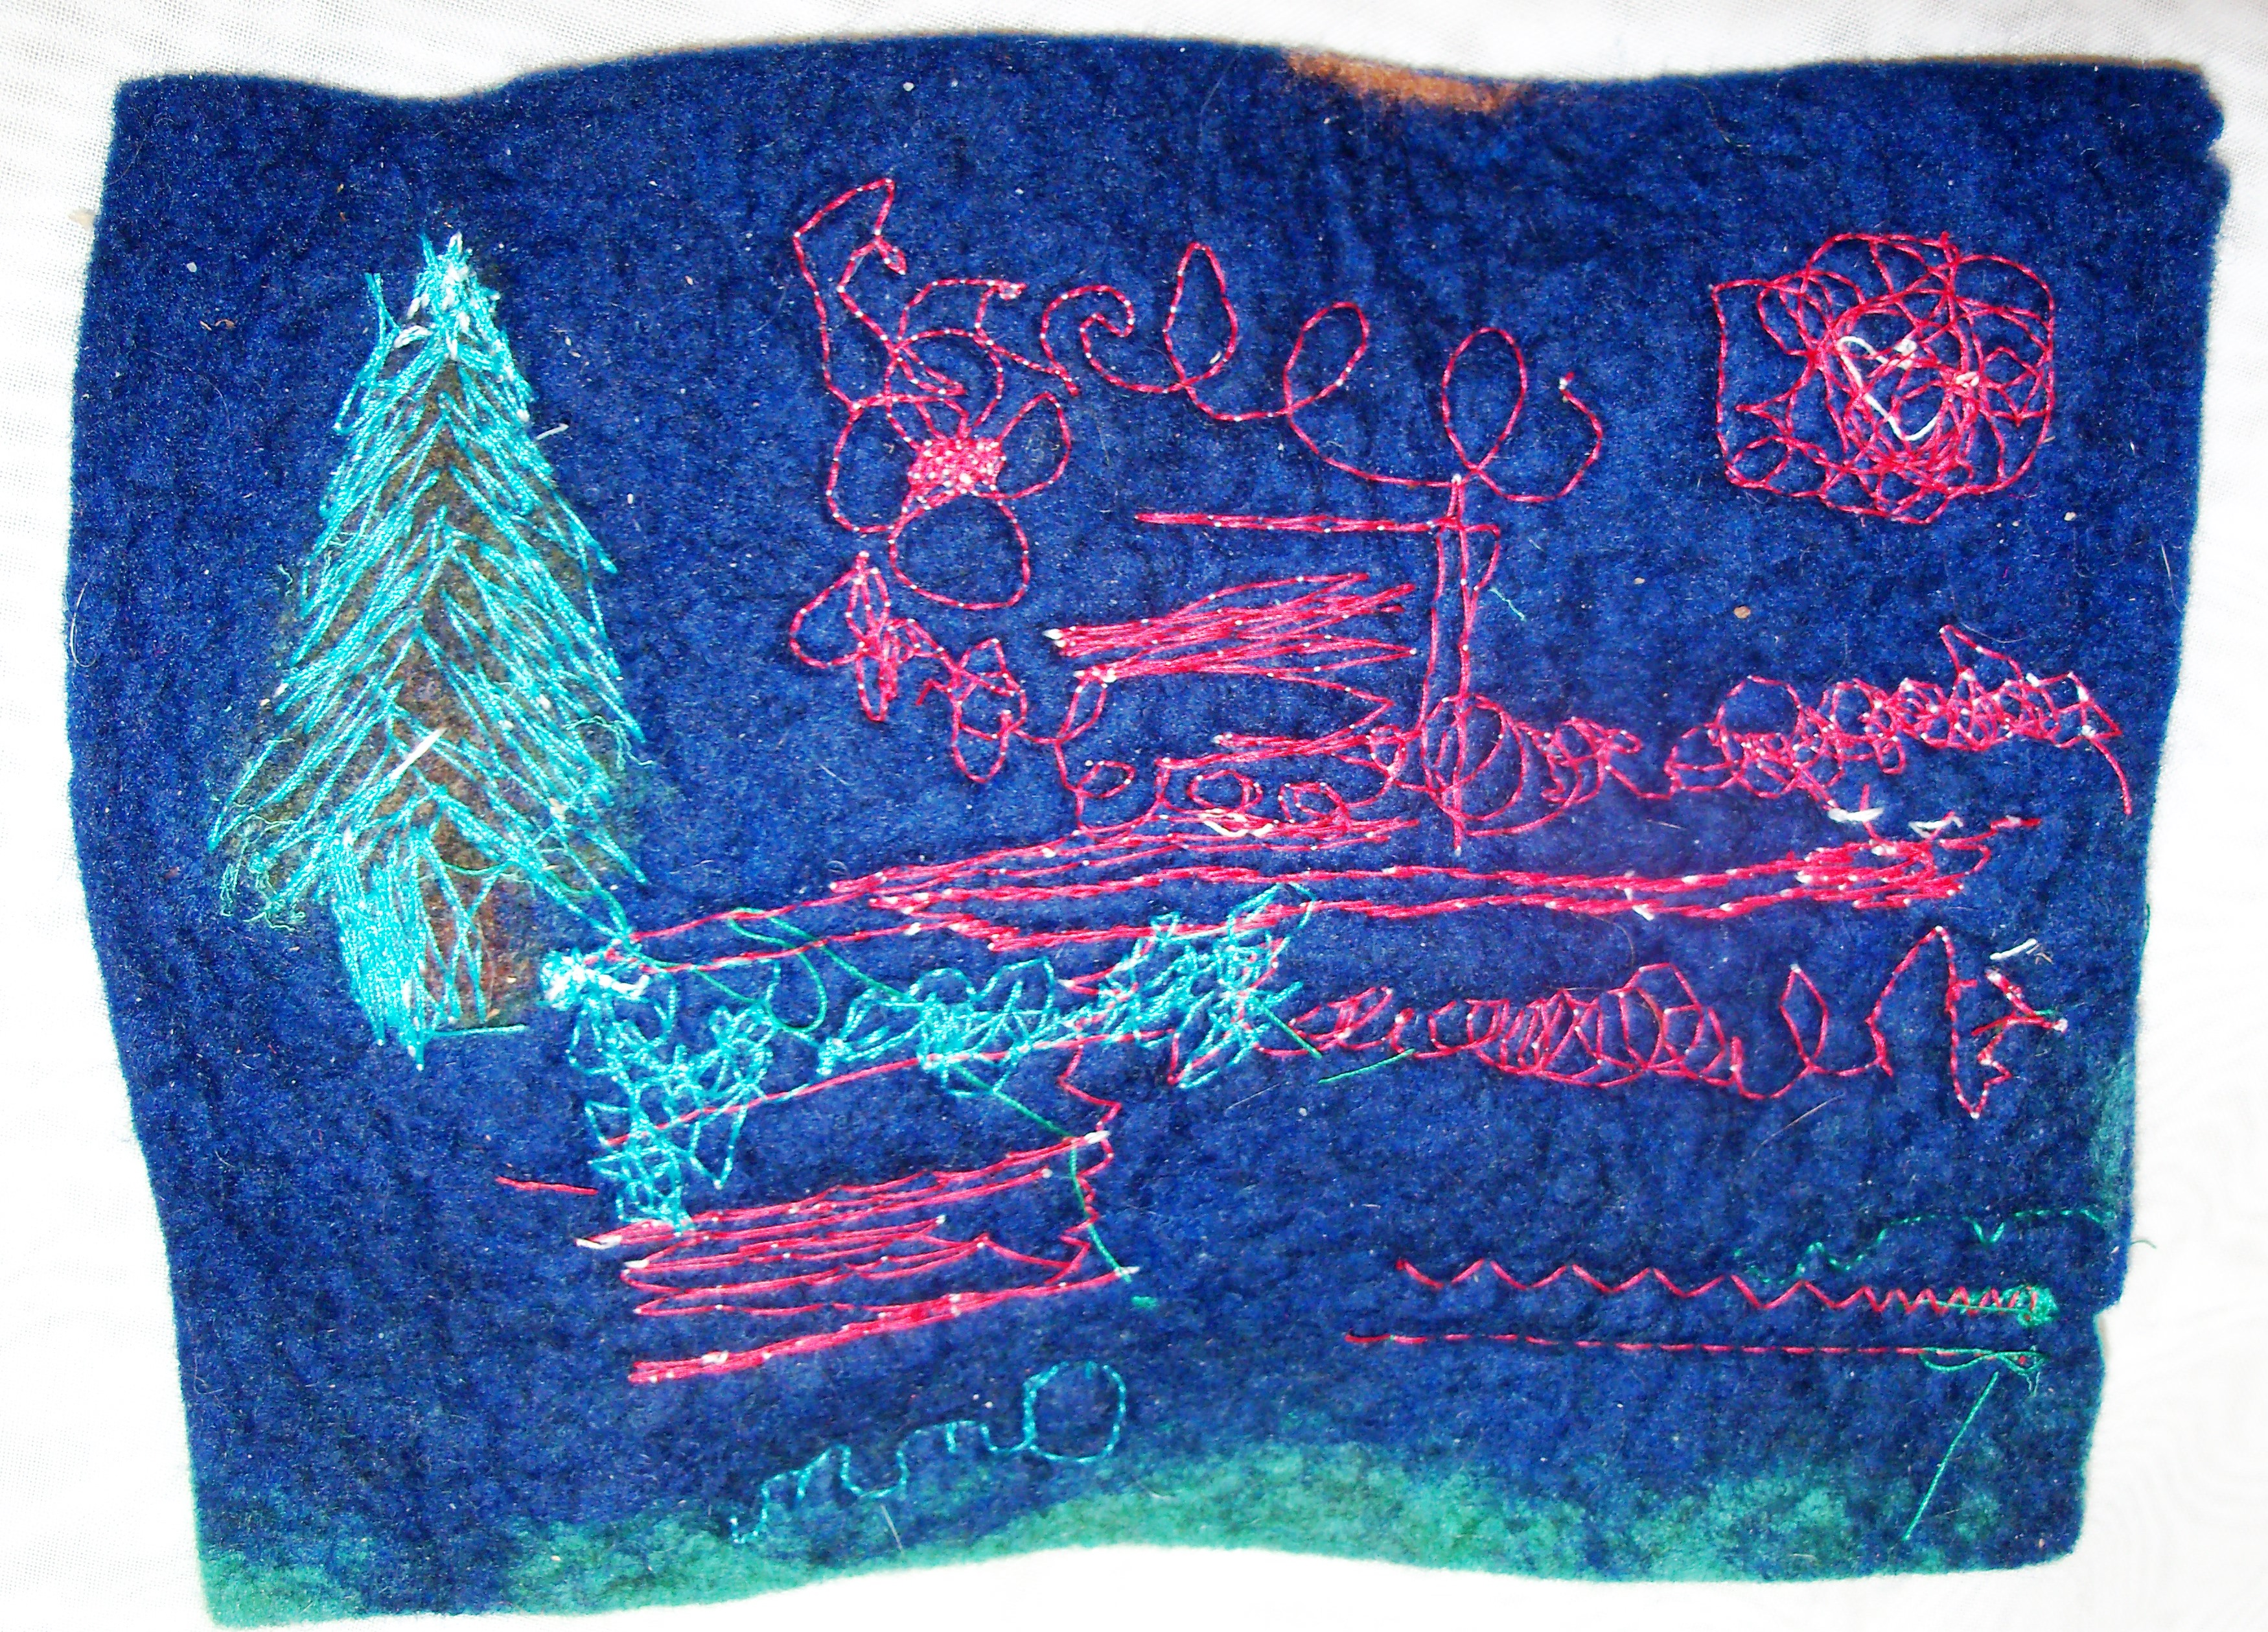
My path to the fibers arts was long, slow, but I think inevitable. When I was in high school, my parents adopted three Shetland sheep, which I, as a teenager, thought was most “uncool.” Eventually, I recognized my mother’s talents as she picked up every bit of the process of raising the animals, shearing, cleaning, dying, spinning, knitting, designing the patterns, over and over again, until it was finally time to say goodbye to the dear creature that provided so much over the years. And I can’t tell you how much time my father spent on fencing! So I eventually began picking up things here and there, and felting was my first interest and attempt at the fiber arts. While I consider myself a mixed media artist, I often work with felt or wool fiber in some way. 

Did you study art at college?

No! My degree is in interior architecture and my first job out of college was working as an apprentice at a small mom-and-pop wood shop building and designing custom furniture. But soon enough, the call of the fine arts drew me back. 

What you working on at the moment?

Right now I am preparing lace samples in preparation for studying at The Anderson Ranch Arts Center in Colorado. There I will learn how to cast large scale fabric sculpture. I’m interested in creating large scale lace sculpture exhibitions in art centers in my city and cities around me. This has been a project long in the making with support from the Anderson Ranch Arts Center, The Arts Council of Metro Kansas City, and hopefully people who love lace as I’m in the last few days of crowd-sourcing project funds through an online fundraising platform. I’d have to say it’s the most involved project I’ve yet to embark on.

What do you like to do when you aren’t creating art?

Yoga is my other main passion and I am a certified and registered yoga teacher. Between my day job, making art, and teaching yoga, whatever time is left is spent with my boyfriend and our 14-year old rescue kitty, Ellie.

Many thanks to Rachelle for taking the time to answer our questions, and share her work and enthusiasm with us 🙂  If you’d like to see more of Rachelle’s work, please visit her website www.rmgardner.com and her blog http://rmgardner.wordpress.com/ .

If you’d like to find out more about Rachelle’s adventurous project turning 2-D lace work into large 3-D sculpture,  visit her Aspen Project website, there’s even the opportunity for you to be involved and help with the costs of the project. Everyone who helps out receives a credit and also a reward of beautiful unique artwork, made individually for each person. But hurry, there’s less than a day left for that.

Second Quarter Abstract Challenge

Second Quarter Abstract Challenge

I have been working on Ann’s abstract challenge throughout the quarter but haven’t had that much time to put into it. If you didn’t see my earlier posts, here is the first one and the second post. Basically, I took one of my sketches and then “abstracted” it in Photoshop Elements. I’m not sure it is really that abstracted but it is certainly a change from the original sketch. I was planning on felting a piece but just didn’t have the time. Instead, I machine stitched a piece and can use it for my stitch class homework too.

This is the original sketch in my studio journal done with watercolor pencils.

Here is the photo after being “abstracted” in Photoshop.

Here is my interpretation on fabric. The colors are off as this was taken indoors. I fused a lightweight cotton to heavy Kona cotton and then stitched the outlines of the trees. On the foreground trees, I stitched outlines of the black marks on the trunks. I then colored in the piece with permanent markers and added the shadowing with colored pencil. I forgot to take any photos just showing the stitching.

Here it is in my sketchbook. I stitched around the edge and trimmed it. This is closer to the true colors of the piece. I like how it turned out but it isn’t really that abstract.

Here’s closer view so perhaps you can see the stitching. You can click on any of the photos to see a bigger view. I really enjoyed this challenge and for me, it was a challenge. As I said in my prior posts, I don’t feel comfortable doing abstract work. And I’m not sure that this piece would be really classified as abstract but it is certainly different from what I would normally do. So thanks Ann for the challenge!