This year we all decided to do a Christmas card exchange within the Felting and Fibre Studio group. It is just so lovely to make for another creative! It’s a bit frightening too as I wanted to give it my all. I also thought it might be a nice time to try something new and experiment – no personal pressure at all! I was so excited to be partnered with Leonor who I know has received her card at this point.
So, I put my thinking cap on. My first attempt was, and I am being perfectly honest here, an unmitigated disaster and the memory is probably best confined to the bin in which it quickly landed. So it was time to move on and put the thinking cap back on.
Okay so, by way of background. I had a poinsettia plant which I managed by some miracle to keep alive for about 5 years. I will quickly add that this had nothing to do with green fingers, it just liked its position in my sun room with my orchids as companions (again the orchids like the room). This summer the poinsettia developed a honey fungal disease which is a total disaster if it hits orchids so we had to part ways. I managed to stem the spread of the disease and the orchids are safe for now.
As a tribute to that most beautiful poinsettia, I thought it could be my focus for the card exchange. I wanted mixed media so I felted each petal, then I did some free motion embroidery on each one. I hand sewed it onto a felted backing and added hand dyed stamens to the centre. It was then mounted on the Christmas card. It was a little too big for the card so I decided to mount it in a frame before posting it off. The postal service can be a bit dodgy but I am pleased it worked on this occasion. From Leonor’s message to me, I think she likes her card and I have made more since.
Here is a little slide show of the highlights of my process. Sorry, I forgot to photograph the hand sewing so you will have to use your imagination for that part. Some of the photos are slightly distorted so apologies for that too.
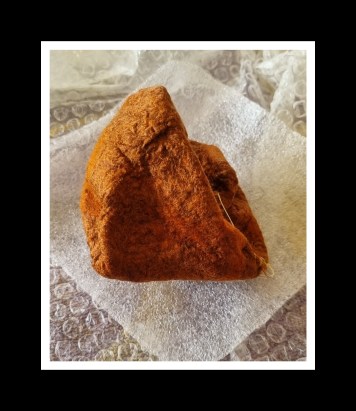
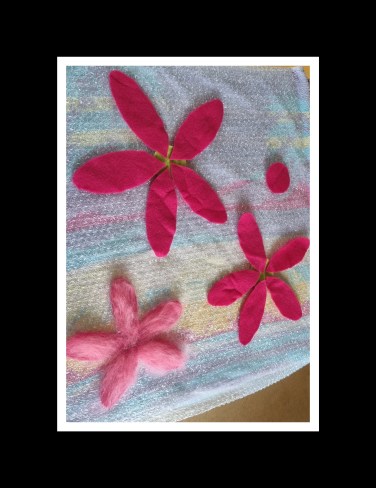
I laid out merino and viscose for the petals
Wetting down the petals
The rolling stage for the petals
I dried the petals on a baking rack
I prepared the petals for free motion embroidery. I started with tear away stabiliser but it was proving difficult to get all the bits of paper out of the sewing!
I changed across to Solvy for the machine embroidery
It only takes a few seconds to dissolve the Solvy
Dissolving the solvy
Nearly there!
The template was actually a circle. The photo is distorted
The base, again a circle
Here is the finished Poinsettia after I hand sewed it onto the base
As the finished flower was a bit too big for the card, I mounted both in a frame.
Here’s a close up of the stitching and the stamens which I hand painted
This was a fun make with a bit of learning thrown in for good measure. You might like to make some too. If you do, I would love to see it! Also if you have any questions on the making just pop them in the comments section and I will be glad to answer them!
Wishing you peace, love good health and happiness and, of course lots of creativity over the Festive Season and for 2024!
The last twelve months have, as my Irish granny would have said ‘put manners on me’. Cataracts, which were a ‘by the way’ diagnoses in my late 40s finally and quickly caught up with me. Eight increments of sight deterioration over a three month period! No more night driving, reading became a challenge and my creative curiosity disappeared. And so, the waiting game began. I am currently recovering from surgery on eye number 2. What a difference it has made and while it will be some time before I get my new glasses, I can function without them for the first time ever! Also, life in all its facets is so beautifully colourful.
So why do I mention it in my post. It feels awkward mentioning it as I am a very private person. Awkward, but necessary. Many of us go through times in life where we lose our creative mojo. Initially, I found myself angst ridden and questioning my abilities. The feeling never really went away but I had to find a way to go with the flow and tap away at bits and pieces for a while.
So now that the eyes are fixed I have started playing. Nothing too serious (well except for my last piece but more of that later). I am now a week and a half after the operation and here is what I have made over the past week.
Sample 1:
First up, a bit of a back story. I have committed to a felt swap later in the year. The theme is brooches so I thought I should start thinking about this. I used to like felting with basic resist shapes and distorting them so I thought this might be a starting point for this experiment.
First of all, I cut a 15cm square resist and rounded the corners. Then I covered both sides of the resist in eight thin layers. I started and finished with a rich orange colour and sandwiched in between were two layers of mustard and two layers of green. I used 16 micron merino which I purchased from Leiko Uchiyama https://www.leikofelt.com/merino/. Leiko’s fibre is hand dyed and the colours are sublime. She is based in Ireland and ships worldwide.
Sample 1 fibres laid out and wet down 8 thin layers
I made a prefelt in the usual way. I wanted the prefelt to be strong so I kept working it until it started to distort the resist.
solid pre-felt shrinkage has started
Then I made a small incision on one side of the resist, extracted the resist and sewed the raw edges back together with some nylon thread:
Sample 1: repairing the hole which was cut to remove resist
Then it was time to play with the square shape. I brought the edges of the square to the front of the piece and I started playing and shaping it. Once I was happy with the shape I handsewed them to hold them in position. Then I worked hard at felting the edges together and to the flat back side of the piece.
Sample 1: working on manipulating the shape
Sample 1: working on a pleasing shape
Sample 1: Shape has been secured with stitching and fulling begins
Once it was felted, fulled and rinsed, I removed the threads and started cutting. Lots of cutting!
Sample is fully felted, stitches are removed and cutting has started
I got a bit scissor happy! I sliced through a little at a time
Here is the finished piece. I have popped it on top of its original resist to give it perspective:
Sample 1 finished piece laid on original resist for size comparison
Here is a close up of the piece. The inch ruler underneath gives some perspective on size. Do you think it would make a suitable brooch?
Sample 1: close up of finished piece
Sample 2
Next up, a flower. This year sees the 20th anniversary of the founding of the Irish felting group Feltmakers Ireland, by our esteemed member and incredibly creative Elizabeth Bonnar. There is a celebration planned for later in the year where members will focus on making pink flowers. I thought I might take this down time to make at least one. But I wanted to play and not produce my usual style of flower. I wanted to make a three layered flower but I also wanted to do some free motion embroidery on each petal. I decided to make the three layers separate, felt them to my satisfaction then attack them with the sewing machine. I cut out a template for the petals (small, medium, large) and then cut these shapes from prefelt as a foundation. I laid different tints of pink merino on top and finished it off with some tints of pink viscose. Once this was wet felted and fulled, my work with the sewing machine began as I did free motion stitching on each petal. After that, I needle felted the layers together and added a central yellow disk which I needle felted and then cut back the fibre until I was happy with the dome shape. Here are some photos I took of my progress. I was really getting into it so forgot to take photos as I went along (maybe the mojo is returning):
Sample 2: prefelted flower petals and the start of the layering of the lighter colour pinks
Sample 2 is ready for wetting down
Sample 2 has now been fulled
Sample 2 dried and ready for free motion embroidery
Sample 2 with free motion embroidery completed
Sample 2 Layers are joined together and central disk has been needle felted into the flower
Sample 2: view of finished flower (still damp so not fully shaped).
Sample 2: view of finished flower (still damp so not fully shaped).
Sample 2: view of finished flower (still damp so not fully shaped).
Sample 3
My last piece this week is a personal piece I felt a compelling urge to complete. When I left the hospital I was given instructions and bits and pieces to help the eyes heal. Among these were non woven swabs which I found were really soft and well aerated. I have no idea what they are made from but I reckoned they would work nicely on felt and I had lots left over. So I made a bowl using two layers of undyed merino. I wet this down, and then placed the non woven fabric on top, cut the pieces to size so that they fitted around the curves. I then felted it in the normal way. I cut a hole in the piece and removed the resist. Then I sealed the raw edges. When it came to fulling the pot I threw it quite energetically as I wanted to get additional texture on it. Then I dried it. There was nothing particularly spectacular about the result except that it was really soft and tactile. I did not take any photos of this process as it was just the result of some personal urgency. Using the 3cm hole at the back of the pot as an access point, I did some free motion embroidery stitching on my sewing machine. It was as close as I will ever come to performing keyhole surgery! It was challenging but I am pretty pleased with the result, Again, the ruler at the bottom of the photo gives size perspective:
Sample three: small bowl covered with free motion machine embroidery
Sample 3 rear view featuring 3cm hole through which the embroidery was worked
Back to the question of creative block. I don’t know if it is lifted but I think two things are helping me at the moment. The first is making that commitment, whether it is to a person or a project, the second is keeping things small and manageable, that way I can handle complexities if a notion hits me on how I might enhance a piece. Oh yes something else too, I have started to consciously seek not to be too precious about these pieces. I have thrown paint and ink on pieces and woven stuff through them. Not always producing happy little results (to paraphrase the artist, the late Bob Ross) but the process is freeing.
Have you had issues with creative block? I appreciate that it is a personal journey to find what will work to free yourself up. What may work for me may not necessarily work for someone else but if you would like to share your journey I would love to hear from you. Together, we may be able to help others free themselves up and immerse themselves once again in this beautifully creative world we occupy.
I was getting a bit concerned about the card that I sent to Janet in Canada. I sent it out on November 4th and she didn’t receive it until November 27th. That is one of the reasons that we have people send their cards early so it has more time to arrive safely during the busy holiday season. But at last, she got it! So now I can tell you how I made the card.
Here’s the layout. I used a piece of white prefelt for the background and then added short fiber merino in blue green for the sky. I left patches very thin to make it look more snowy. I used “white” mixed 56’s for the snow but it wasn’t very white so I added a bit of white cashmere fiber that I have been saving. It was very white. Then I added silk noil to create a more snow like effect on the ground and in the sky. Finally over top of this, I added white prefelt tree trunks. I started with only one layer of prefelt but decided to add another layer over the trunks in the sky section as I felt that the blue green was going to bleed through too much.
Here it is after felting. I liked how the tree trunks overlapped on the top so I left them for awhile.
Next up was to add a little free motion machine stitching. I used an off white thread to give a slight shadow and more texture on the trunks. It’s kind of hard to see here but you can click on the photo to enlarge it.
Then I added a dark grey thread to give the characteristic birch tree look. I don’t use black for this because it feels much too stark. I think the grey looks more natural. Then I had to decide whether to crop or leave it as is. I finally decided on the cropping because it was just slightly too big to fit on my 5″ x 7″ card. I trimmed it up with a rotary cutter and attached it to a greeting card to send to Janet.
So here it is. I do think it looks very wintery which was the goal. I am going to have to make some more of these to sell as small art pieces.
And this is the wonderful card that I received from Janet. This is Janet’s first attempt at making a fiber/felt card and didn’t she do an awesome job? Thanks Janet for this beautiful card.
Recently, I got an order from Sulky for more machine threads and a product that I have wanted to test out for a while.
It’s called Sticky Fabri-Solvy. I have used the Fabri-Solvy for machine lace and liked it. But this one has a sticky surface, so you can press it down on a piece of fabric or felt and it sticks. Or you can stick smaller bits of fabric or felt down to it and then stitch. You can also run it through the printer to print a design on it and then use the printed design for your stitching guidelines. I haven’t tried that yet but I’m planning on testing that out as well to see how that works.
Here is a piece of the Sulky Sticky Fabri-Solvy. It has a backing paper which you pull off to reveal the sticky surface. I did a small square about 6″ x 6″ for my sample. I cut two pieces the same size.
I then cut up some old printed felt in small bits and place it over the surface. The felt sticks down and holds fairly well.
I kept adding felt in a variety of colors filling up the blank spaces. You could certainly leave blank spaces if you wanted the result to be more open and lacey.
Once I had all the felt laid out, I then put the other piece of Sticky Fabri-Solvy on top with the sticky side down. I should have left a bit more room around the edges but it ended up working out OK although the edge pieces tended to bulge out and want to jump off before being stitched.
I then used four of my new thread colors to free motion machine stitch over the sandwich. I didn’t use a hoop and it seemed to work just fine. You have to be careful that the edges don’t get sucked down into your machine though. I used a meandering stitch to give an organic feel. I didn’t want any straight lines.
And here is is with all of the stitching done. You need to catch all of the pieces of felt with your stitching to prevent the pieces from falling apart once you dissolve the water soluble fabric.
Then you just stick the whole thing in some warm water, let it soak for a bit and the Sticky Fabri-Solvy dissolves and disappears. If you don’t wash it all out, you can use it to help hold the shape in different positions. It acts like a stiffener. I washed mine mostly all away so there is no residual stiffness. I plan on trying this technique with some sheer fabric pieces too.
Here is the fifth in my series of nuno felted landscapes. It is called Up the North Fork after a portion of the Flathead River here in Montana.
Here is the layout and after wet down and felted slightly.
And here it is after felting. You’ll notice that the foreground has wool on top in browns and orange. I decided to remove that because I wanted it to look more like a river and I think the silk does that better than the wool.
I added fabric trees and fused those in place before machine stitching. This is before I decided to remove the foreground wool. The plan was to shave it off. I tried that but finally decided just to pull it off. Then I shaved the edges a bit at the edge of the “river”.
And here is the finished piece after much stitching of trees and a huge variety of green threads changed in and out of the sewing machine. The photo on the left shows the organic edges and the one on the right is cropped as if matted and framed.
I did talk to a framer about these 6 pieces and he thought I should keep the organic edges. His suggestion is to attach each piece to a matching background fabric, stitch the piece in place and then wrap the background fabric around foam core board. Then I could use a simple black frame and the background fabric will look like the matting. And you can still appreciate the organic edges. So I think I will try that and see how I like it. Only one more piece to finish and I’ll start choosing the background fabrics and get the pieces ready for framing.
The winner of the felt notebook is Rhonda Lynn! Rhonda Lynn please contact me with your snail mail address at laneruthe at gmail dot com and I will send you the notebook. I used a random number generator to pick the winner and the number was 11. So congratulations to Rhonda Lynn.
Back in October, I told you about a project I am working on with Deb Stika using her contemporary and modern designs. So I am posting another free design today in PDF format that you are welcome to use in your work. I would love to see if you make anything. Last time, Teri Berry made a beautiful nuno felted creation from one of the designs. You can see her piece here.
This next design is in the Psychedelic category.
This is Deb’s hand stitched representation of the design. The background fabric is a piece of screen printed fabric that I made several years ago.
And this is my machine stitched cut back applique made with two layers of felt. Since several people thought it would be a good idea to have some tutorial aspects in the proposed book, I did a short tutorial to show you how I made this.
I started with the printed design on paper. I then taped down water soluble fabric over the design and traced it. Use a regular pencil, not a colored pencil. Colored pencils have wax that gum up your sewing machine needle.
I then chose a couple of pieces of screen printed felt in different colors. It helps if the colors are different either in value or hue.
I placed the design over the felt and then…
pinned it down. It would probably be better to baste all the layers together but I was being lazy and it actually didn’t shift that much with stitching.
I then began free motion stitching the outer edge. With free motion stitching you need to use a darning foot, lower the feed dogs and set your stitch length to zero. I stitched all the lines at least twice over.
Here’s a little bit closer view of the stitching.
Then I started working on the inner lines. I made sure to stitch in place at the end of each inner design to lock the thread and then just moved the needle to the next spot. At the end, you have to trim off all the threads that are between the stitched designs.
And then I stitched, stitched and stitched some more. It took a while.
I cut off the excess threads and trimmed off the extra water soluble fabric from around the edges.
Then I soaked the piece in warm water to dissolve the water soluble fabric. Then I let the piece dry completely. I forgot to take any photos of the cut back process. While carefully looking at the paper design, I decided which areas to cut out. Use a sharp pair of embroidery type scissors and cut inside your stitched lines. Only cut the first layer of fabric or felt as close to the stitched line as possible. But don’t cut through your stitching.
And here you can see the green beneath showing where I cut out portion of the upper blue felt.
I then did some really dense stitching on the “black” part of the original design.
And this is the result. I think if I was going to mount this piece, I might cut around the outside of the design to give it more definition. But I am leaving it how it is for right now. So here’s another mini challenge, use this design in your own work with whatever media you choose. You can increase the size of the design if you’d like or leave it as it is. Have fun!
I have written several posts about a collaboration between artists which will result in an upcoming exhibition and a coffee table type book. The original sketches that all of these are based on are by Nanci Williams who works at the store with me. We see a wide diversity of people and fashions. It’s getting closer to the deadline to have all the pieces completed and so I’ve finished one more. His name is Norman.
I started with Nanci’s sketch and on the left, you will see an attempt to thread sketch Norman without any guidelines. I could have done him that way but I just seem to get the proportions a bit off. So I decided I would try using colored pencil to trace the sketch and then use that to free motion machine stitch over. So that is the middle piece. He definitely looked better than the first attempt. So now to determine size. I increased the original sketch 180% and that is on the right side of the photo. I had some linen that I had dyed naturally and I can’t remember now what it was dyed with. (Note to self – keep better track of experiments.) I backed it with Osnaberg fabric by fusing it down to the back after I had traced the sketch with “Beige” colored pencil.
Then I free motion stitched him on the machine. Here he is after stitching. I actually really liked him without color but I was persuaded that he needed color.
So I colored him in with colored pencil. And I’m glad I did. He turned out just like I wanted.
So here’s a little closer view. Since I have one more on the list to do, I decided to make the next one with this same method. But I didn’t have any more of the fabric. So I dyed some heavier cotton fabric with tea and coffee. I dyed more than I needed and I’m sure that was a mistake because now I want to use the rest of the fabric with three extra sketches. Because of course I have nothing better to do! So I’ll see how many I can get done before the March 1st deadline.
And although it marks a significant point in time,
You don’t need a brand new year to begin living
if you simply make the choice and begin
from the place where you are right now.
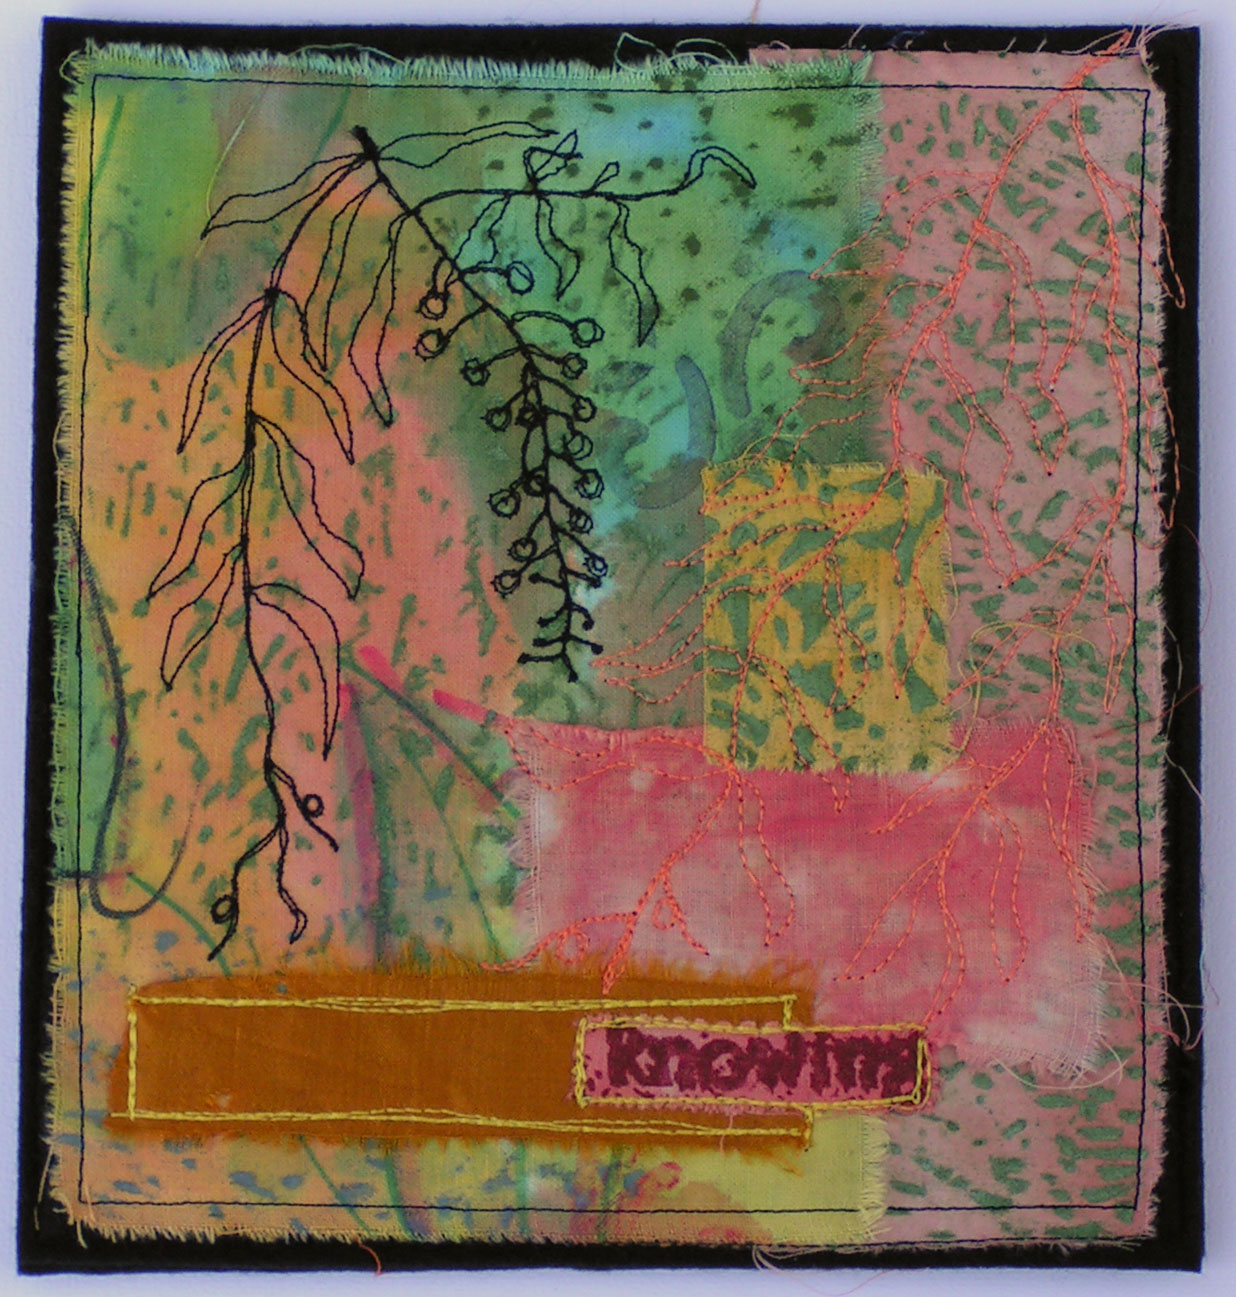
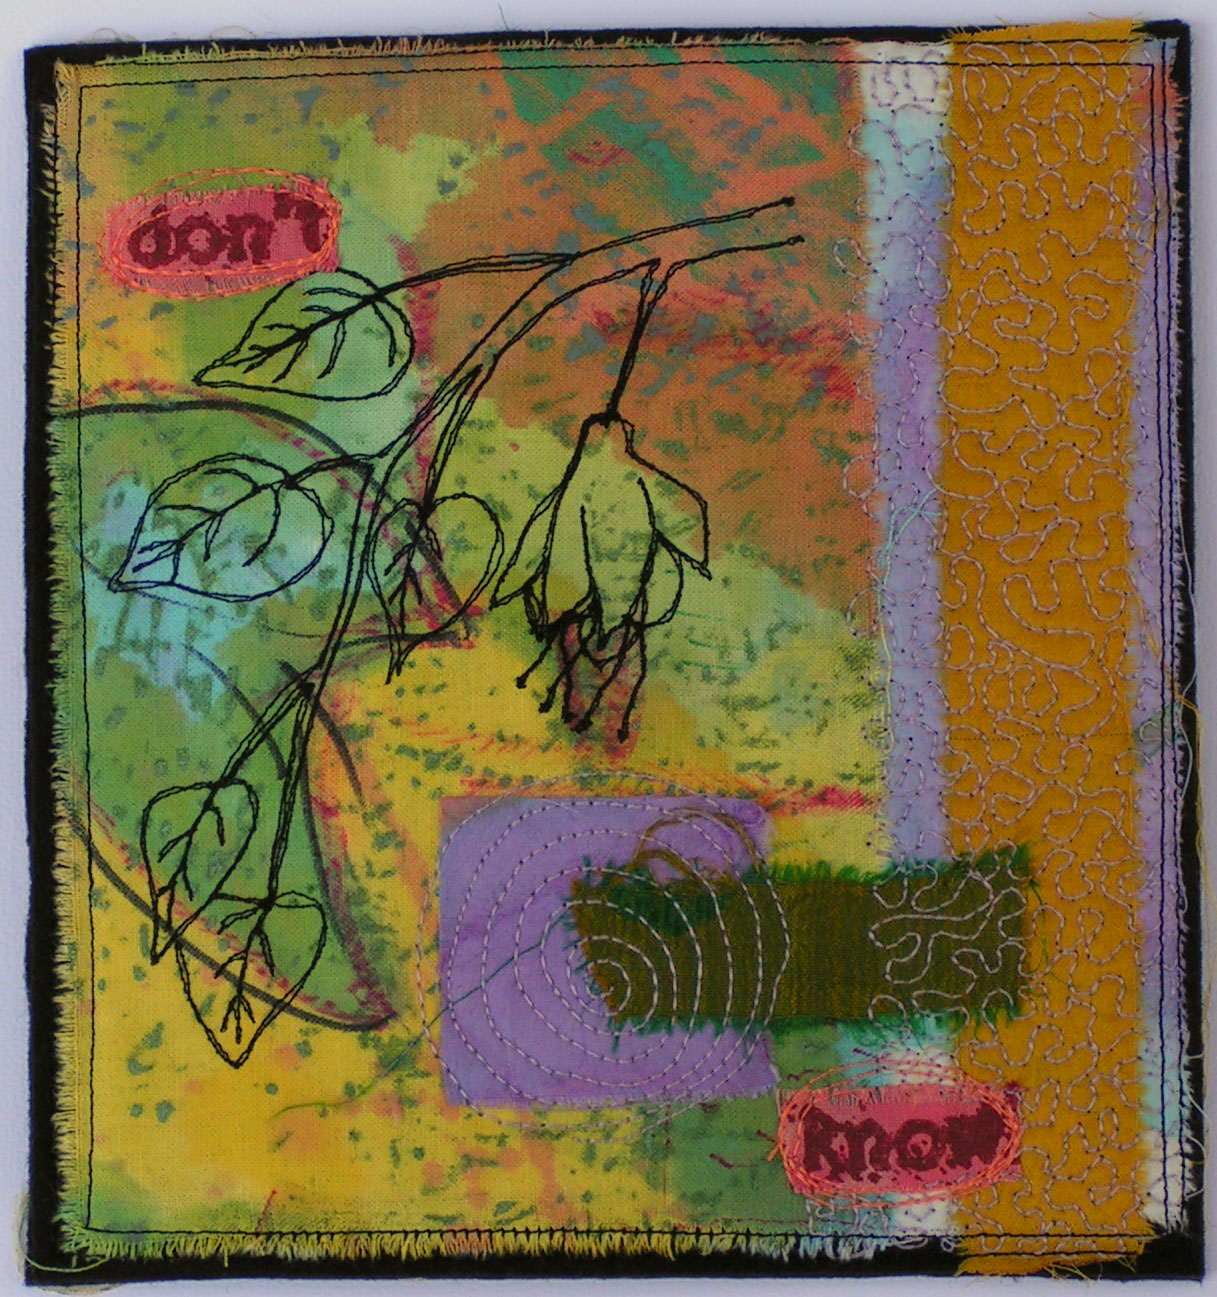
This is a book that I made for my stitch class homework. We were supposed to look at others who do contemporary machine embroidery work and this book is based on Cas Holmes work. She uses a variety of repurposed fabrics and layers with machine stitch. I was going to cover a small notebook that a friend challenged me to “re-do” but it didn’t quite work out that way.
I started off with the orange-colored fabric rectangles that I already had cut out to make cards. I backed them with Stitch N Tear and stitched flowers, leaves and bugs with black thread. I free motion machine stitched and didn’t draw ahead of time, just did it by eye.
Then the notebook I was covering was just a bit bigger than the stitched rectangles. So I had to add more fabric. All of the fabric came out of my stash. Some of the lovely bits of silk ribbon came from Karen (thanks kaz!).
The poem was from my friend Carole. She had made a silk screen with the poem and I had tried it out on a scrap piece. It was imperfect letters with some very obscured, to match the poem. I don’t know who the poem is written by but would love to give credit if someone knows. I looked online but couldn’t find it.
Once I had the collaged pieces together, I decided that if I was going to stitch over them to hold them down, I would need a backing fabric. I picked black felt to emphasize the black stitching and to calm down the overall random color scheme.
I was trying to be a bit looser in my design and not try to make everything perfect. This flower was particularly ugly so I thought the word “imperfectly” fit it perfectly 🙂
I then added a variety of stitching to the background. This is really not my style but it was fun.
I then stitched around the edges of the page with black to hold everything down that hadn’t yet been stitched and to give a more finished look.
Then I went back to cover the spiral notebook and the pages were too thick to fit. But I decided that didn’t really matter too much as the pages were beautiful and I could do a hand sewn binding.
So then I sewed the pages back to back.
Each of the left edges of the book pages then needed to be marked at 1/4″ intervals so that the blanket stitch would come out evenly. If the stitches don’t line up, the binding doesn’t work very well.
Once all the pages are marked, then the left edges were sewn with knotted blanket stitch. The knot is added to increase the strength of the bars on the edge of the page formed by the blanket stitch.
After I stitched all the knotted blanket stitch edges, then I lined up the pages and connected them together with big safety pins.
The binding is then formed by doing raised chain band stitch over the bars of the blanket stitch. If you look back at the first photo you can see the binding.
The first time I did this type of binding, I found it a bit cumbersome but this time went much more quickly and smoothly. I guess my mother was right, “Practice makes perfect”.
Oh but I wasn’t supposed to be perfect!! Note to self, don’t listen to that voice in your head that sounds like your mother.