Browsed by
Category: Mixed Media

Felt and Fibre scraps

Felt and Fibre scraps

I thought it was time I tidied out my felt and wool scraps as the boxes and bags they were in were getting too full. I know it’s really geeky to categorise scraps but whenever I try to find the right size pieces for a project I seem to spend more time sorting and searching than anything else. I never throw anything felt, fabric or fibre away, everything is good for something. This is from my bag of scraps that aren’t usable for anything else, so I save them for using between layers of texture felt.

Often when I’m laying out a project for felting, I end up with a few wisps of wool or fibres here and there, so I put them in a bag and keep adding until it’s full, then card them together. I get some really nice heathery blends, and they always add a lot of interest to felt with such a variety of colours and fibre blends.

Sorting out my box of big spare pieces was fairly easy, I mostly sorted it into thick, regular and cobwebby pieces. The box of smaller spare pieces took a lot longer. In the end I had about 8 or 9 separate piles: thick, regular and cobwebby pieces, and, as shown in this next photo: long wide strips; medium regular strips;  thin strips; regular short strips and really thin and short strips.

I bought some water soluble stabiliser a while ago, so hopefully I’ll find time to use the really short thin strips for making a bowl using Ruth’s tutorial. The longish thin strips are great for making into loop fasteners. I wet them with soapy water and roll between my palms until they’re felted and sew them onto my project. If the piece is long enough I can leave the ends dry, fluff them out and the loop can be felted in with the project.

Once I’d finished sorting all my pieces, I chose some to use for my project-a collage book cover. I’d make a similar one a few years ago using felt pieces and ‘invisible’ thread, but I wanted to use my fancy new machine and zig zag stitch to sew strips and pieces.

This is the front of the finished cover:

And this is the back:

What do you do with all your felt and fibrey scraps and offcuts?

The Rhythm of Autumn

The Rhythm of Autumn

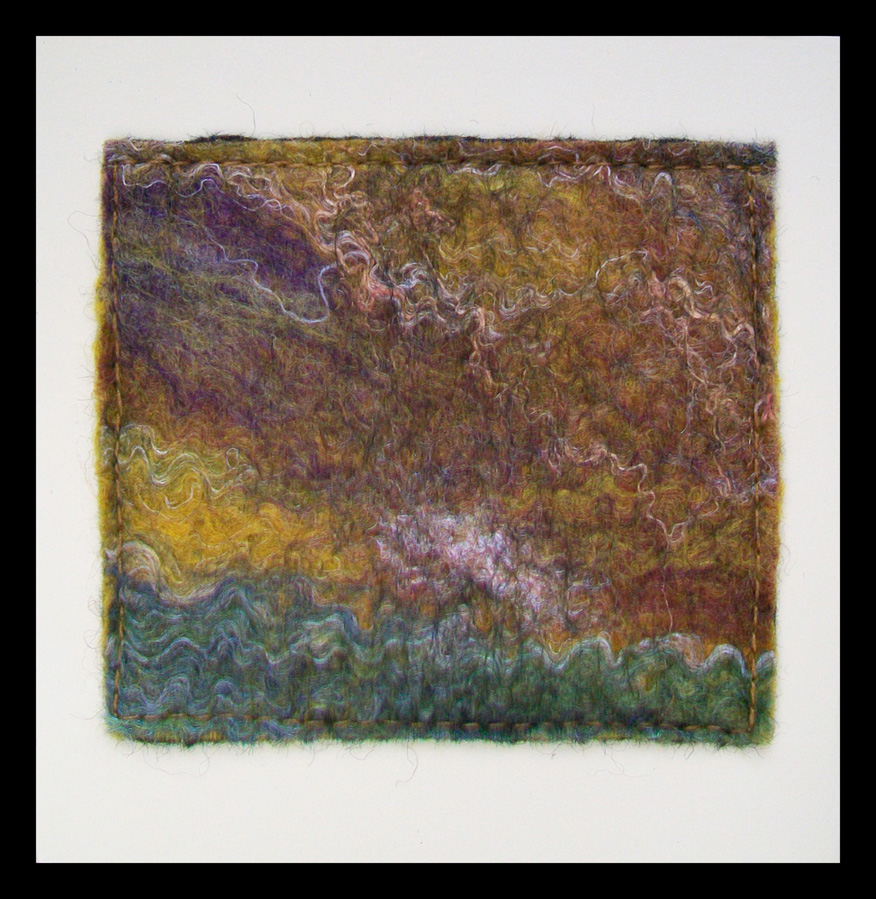
The Rhythm of Autumn is a felted mixed media piece that I made several years ago. At the time I was making it, I thought I might do a tutorial on the process so I took a lot of process photos. It originally was going to be cut up and made into covers for various small kitchen appliances such as a toaster cover or a cover for a mixer. Once it was partially completed, I changed my mind in mid stream. So it ended up being a wall hanging. The final piece measures almost four feet across by 2 1/2 feet wide. Due to all the changes I made in the original plan, it took over a year to complete.


This is the original layout. I think I used mixed 56’s wool but actually I can’t remember for sure. I partially felted the piece into prefelt.


Then I wrapped the prefelt around some rusty pipes to rust dye it. The prefelt was wet and presoaked in vinegar water.


Then I put the rolled up bundle in a pail of salt water and covered it with a plastic bag. I left it for two weeks to rust.

Here it is after two  weeks.


This is the entire piece.The sad part was that a lot of this luscious color washed out with the subsequent felting.


I added fabric  leaves cut out of commercial fabrics. These  were too heavy a fabric to nuno felt so I  stitched them on. I was originally  planning to machine sew them on but that proved impossible. So I  ended up hand stitching them down. That took a while.

Here’s a closer view after stitching and felting.


I had also added some silk bits prior to felting.


Here’s the entire piece after felting. I decided not to cut it up at this point but was unsure what to do with it.


This was an idea of adding more interest by putting darker lines through the piece with machine stitching. I used yarn to mark the lines through the piece.


I did end up cutting along the yarn lines and adding dark wool in the space between the  cut pieces of felt.


I covered the lines with water-soluble fabric and pinned it all in place.


Then I machine stitched a “pebble” design over the cut areas making sure that I stitched over the felt edges. The stitching would now hold the cut pieces together. Once it was all stitched, I washed out the water-soluble fabric.


Unfortunately, at this point, I had given up the idea of doing a tutorial so I don’t have a photo of the piece after all the machine stitching was completed. I wasn’t happy with the result and left the project uncompleted for a while. Then I took it to my local fiber group and Bunny suggested that I crumple the entire piece, stitch and stuff as needed to hold it in place and then make it a wall hanging. The photo above shows the mesh I used to back the piece. It is usually used for rug hooking. I crumpled the piece until I got the shapes I wanted, stuffed some areas with extra wool and pinned it all in place. I then hand stitched on the back side to hold everything together and stitched the mesh in place.


Here you can see some of the stuffed areas on the back.


Here is the finished piece. I ended up covering the mesh on the back with acrylic felt and applying a “quilt sleeve” for hanging. I guess the moral of the story is to never give up. That piece of felt you don’t like all that much can be turned into something entirely different!


Starting Over

Starting Over

It’s okay to start over again

knowing what you know and what you don’t know.

Moving on imperfectly,

and being at peace with that decision.

You don’t need a brand new book

 to begin writing a brand new story,

And although it marks a significant point in time,

You don’t need a brand new year to begin living

if you simply make the choice and begin

from the place where you are right now.

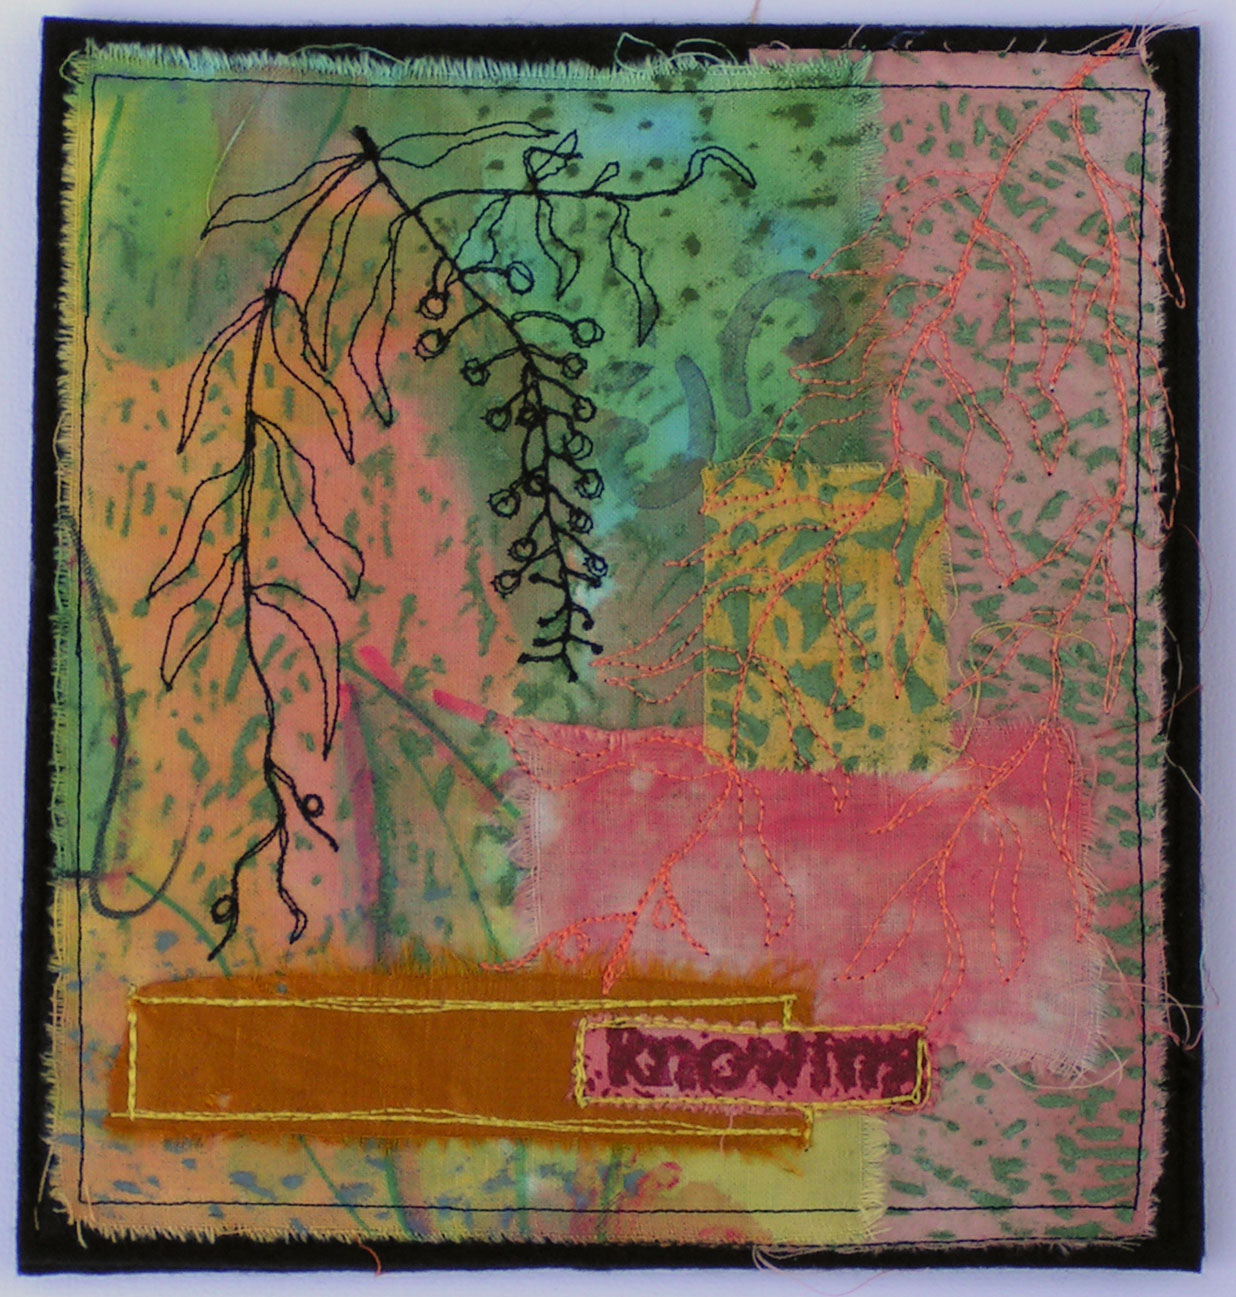
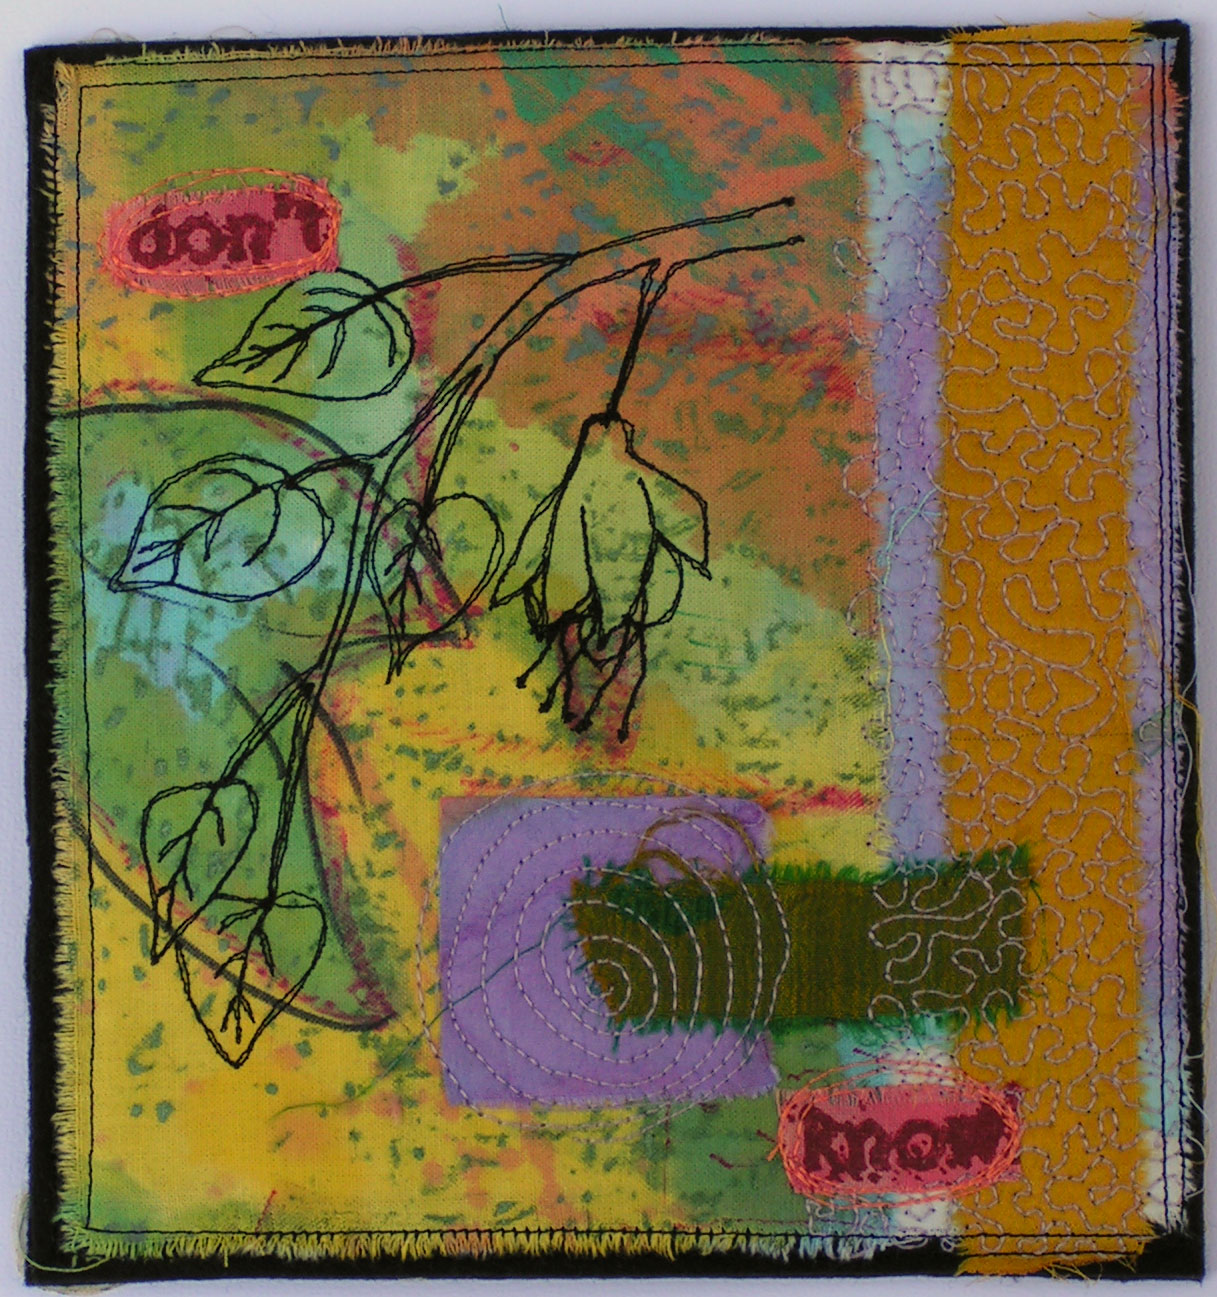
This is a book that I made for my stitch class homework. We were supposed to look at others who do contemporary machine embroidery work and this book is based on Cas Holmes work. She uses a variety of repurposed fabrics and layers with machine stitch. I was going to cover a small notebook that a friend challenged me to “re-do” but it didn’t quite work out that way.

I started off with the orange-colored fabric rectangles that I already had cut out to make cards. I backed them with Stitch N Tear and stitched flowers, leaves and bugs with black thread. I free motion machine stitched and didn’t draw ahead of time, just did it by eye.

Then the notebook I was covering was just a bit bigger than the stitched rectangles. So I had to add more fabric. All of the fabric came out of my stash. Some of the lovely bits of silk ribbon came from Karen (thanks kaz!).

The poem was from my friend Carole. She had made a silk screen with the poem and I had tried it out on a scrap piece. It was imperfect letters with some very obscured, to match the poem. I don’t know who the poem is written by but would love to give credit if someone knows. I looked online but couldn’t find it.

Once I had the collaged pieces together, I decided that if I was going to stitch over them to hold them down, I would need a backing fabric. I picked black felt to emphasize the black stitching and to calm down the overall random color scheme.

I was trying to be a bit looser in my design and not try to  make everything perfect. This flower was particularly ugly so I thought the word “imperfectly” fit it perfectly 🙂

I then added a variety of stitching to the background. This is really not my style but it was fun.

I then stitched around the edges of the page with black to hold everything down that hadn’t yet been stitched and to give a more finished look.

Then I went back to cover the spiral notebook and the pages were too thick to fit. But I decided that didn’t really matter too much as the pages were beautiful and I could do a hand sewn binding.

So then I sewed the pages back to back.

Each of the left edges of the book pages then needed to be marked at 1/4″ intervals so that the blanket stitch would come out evenly. If the stitches don’t line up, the binding doesn’t work very well.

Once all the pages are marked, then the left edges were sewn with knotted blanket stitch. The knot is added to increase the strength of the bars on the edge of the page formed by the blanket stitch.

After I stitched all the knotted blanket stitch edges, then I lined up the pages and connected them together with big safety pins.

The binding is then formed by doing raised chain band stitch over the bars of the blanket stitch. If you look back at the first photo you can see the binding.

The first time I did this type of binding, I found it a bit cumbersome but this time went much more quickly and smoothly. I guess my mother was right, “Practice makes perfect”.

Oh but I wasn’t supposed to be perfect!! Note to self, don’t listen to that voice in your head that sounds like your mother.

Guest Artist

Guest Artist

Our Second Guest Artist to be featured on the Studio site is Rachelle Gardner, a mixed media artist originally from Kansas City, Missouri, now living in Mission, Kansas, USA

Felting 3, 2, 1
Q-3 Three types of fibre you can’t live without?

Thread, of any kind, which I don’t know counts as a “fiber,” but it’s hard to make lace without it! I also keep a stash of dyed and natural Shetland wool around at all times, as I never know when I’ll need it. The third is admittedly, a toss-up between angora or silk fiber for use in detailing and accents.

Q-2 Two tools you use all the time?

My sewing machine, a new one that was partially funded by the Arts Council in my area, and water soluble stabilizer. I still feel like I’m just scratching the surface of possibilities with this material. 

Q-1 One fibre art technique you love the most? 

I am amazed at what water does to these materials. Both in wet felting and in working with the water soluble stabilizer, the utter transformation that occurs is symbolic to me. It impresses on me vital nature of water; it’s power to sustain us, it’s power to cleanse. It also reminds me of the concept that individual consciousness is like a drop of water in the ocean of universal consciousness. So, in short, I love working with water!

How did you get into fiber arts?

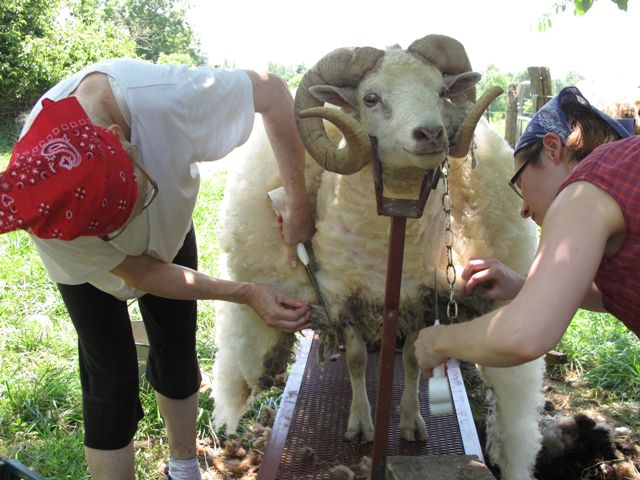
My path to the fibers arts was long, slow, but I think inevitable. When I was in high school, my parents adopted three Shetland sheep, which I, as a teenager, thought was most “uncool.” Eventually, I recognized my mother’s talents as she picked up every bit of the process of raising the animals, shearing, cleaning, dying, spinning, knitting, designing the patterns, over and over again, until it was finally time to say goodbye to the dear creature that provided so much over the years. And I can’t tell you how much time my father spent on fencing! So I eventually began picking up things here and there, and felting was my first interest and attempt at the fiber arts. While I consider myself a mixed media artist, I often work with felt or wool fiber in some way. 

Did you study art at college?

No! My degree is in interior architecture and my first job out of college was working as an apprentice at a small mom-and-pop wood shop building and designing custom furniture. But soon enough, the call of the fine arts drew me back. 

What you working on at the moment?

Right now I am preparing lace samples in preparation for studying at The Anderson Ranch Arts Center in Colorado. There I will learn how to cast large scale fabric sculpture. I’m interested in creating large scale lace sculpture exhibitions in art centers in my city and cities around me. This has been a project long in the making with support from the Anderson Ranch Arts Center, The Arts Council of Metro Kansas City, and hopefully people who love lace as I’m in the last few days of crowd-sourcing project funds through an online fundraising platform. I’d have to say it’s the most involved project I’ve yet to embark on.

What do you like to do when you aren’t creating art?

Yoga is my other main passion and I am a certified and registered yoga teacher. Between my day job, making art, and teaching yoga, whatever time is left is spent with my boyfriend and our 14-year old rescue kitty, Ellie.

Many thanks to Rachelle for taking the time to answer our questions, and share her work and enthusiasm with us 🙂  If you’d like to see more of Rachelle’s work, please visit her website www.rmgardner.com and her blog http://rmgardner.wordpress.com/ .

If you’d like to find out more about Rachelle’s adventurous project turning 2-D lace work into large 3-D sculpture,  visit her Aspen Project website, there’s even the opportunity for you to be involved and help with the costs of the project. Everyone who helps out receives a credit and also a reward of beautiful unique artwork, made individually for each person. But hurry, there’s less than a day left for that.

Handmade Greetings Cards Using Felt

Handmade Greetings Cards Using Felt

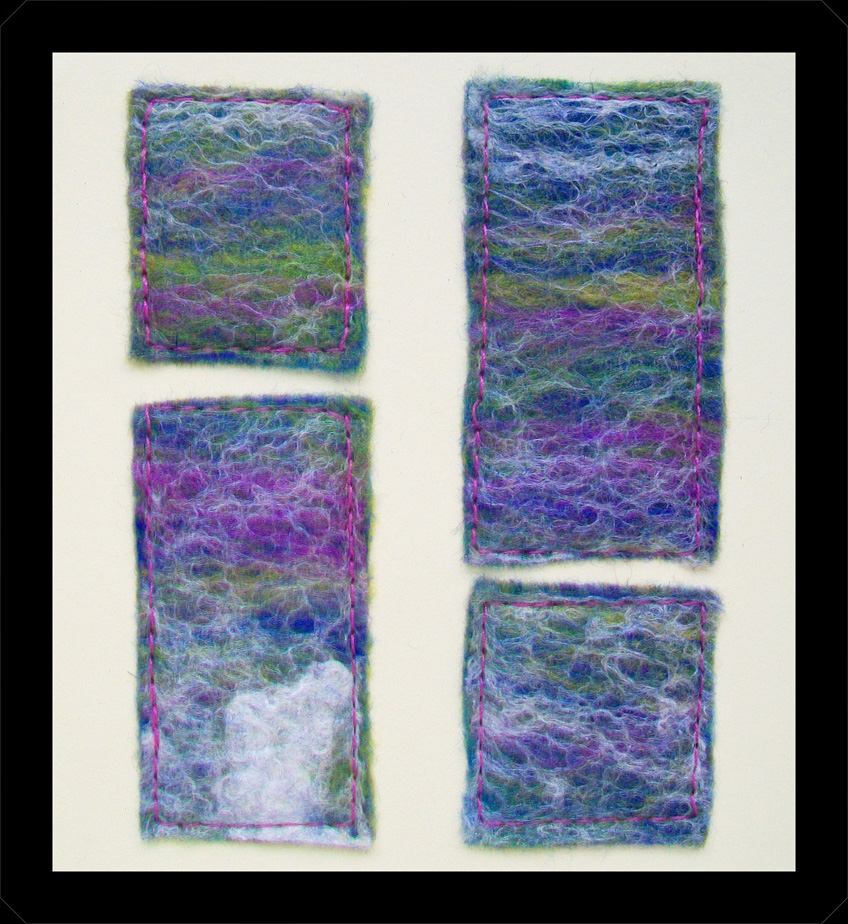
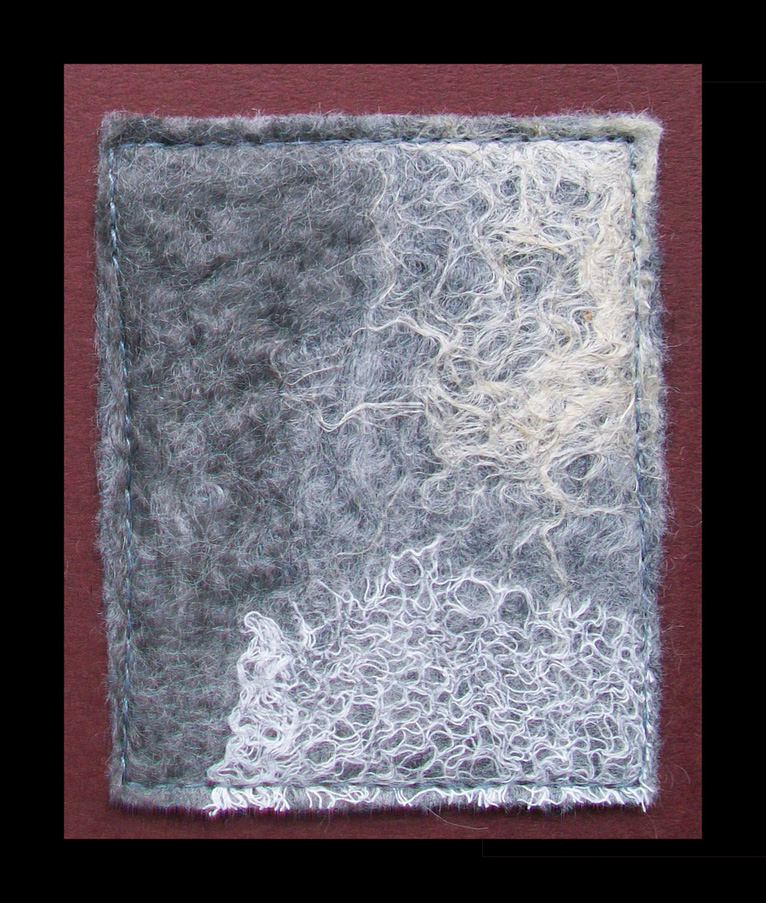
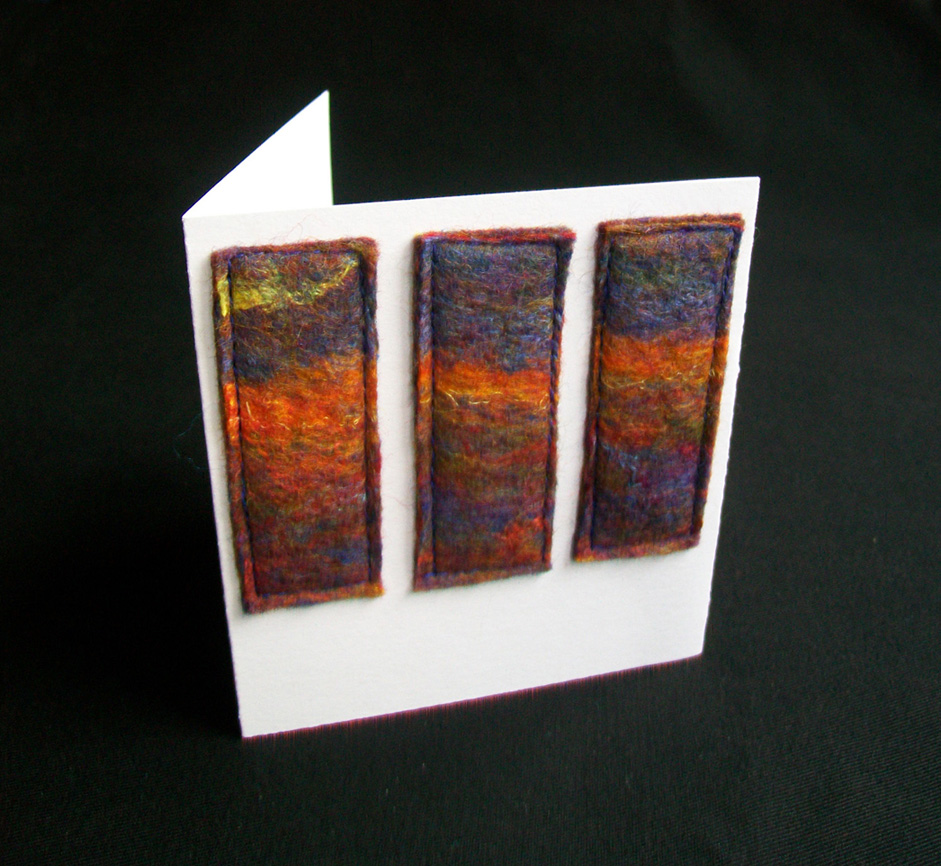
I was talking about making things from spare felt recently. I never throw any pieces of felt away, however ugly or small. Even the tiniest slivers cut from the edges of felt get saved up for re-using, usually between the layers of textured felt. I was looking at some of my smaller pieces and wondered if they’d be any use to my mum who makes her own greetings cards, so I asked on the forum if anyone knew the best way to attach felt or fabrics to card. I got some good advice and when Ruth and Lyn both said the easiest way is to sew them on, I thought I’d give it a go myself.

I spent a good few hours cutting, measuring and scoring card, cutting out felt, choosing colours of thread to use…and then my machine wouldn’t work 🙁 I think I must have done something to it when I tried to sew organza, no amount of cleaning and oiling seemed to help, it just kept making grinding noises and chewing the thread. But, a few days later, it was back to normal! It must have needed the oil to soak in or something.

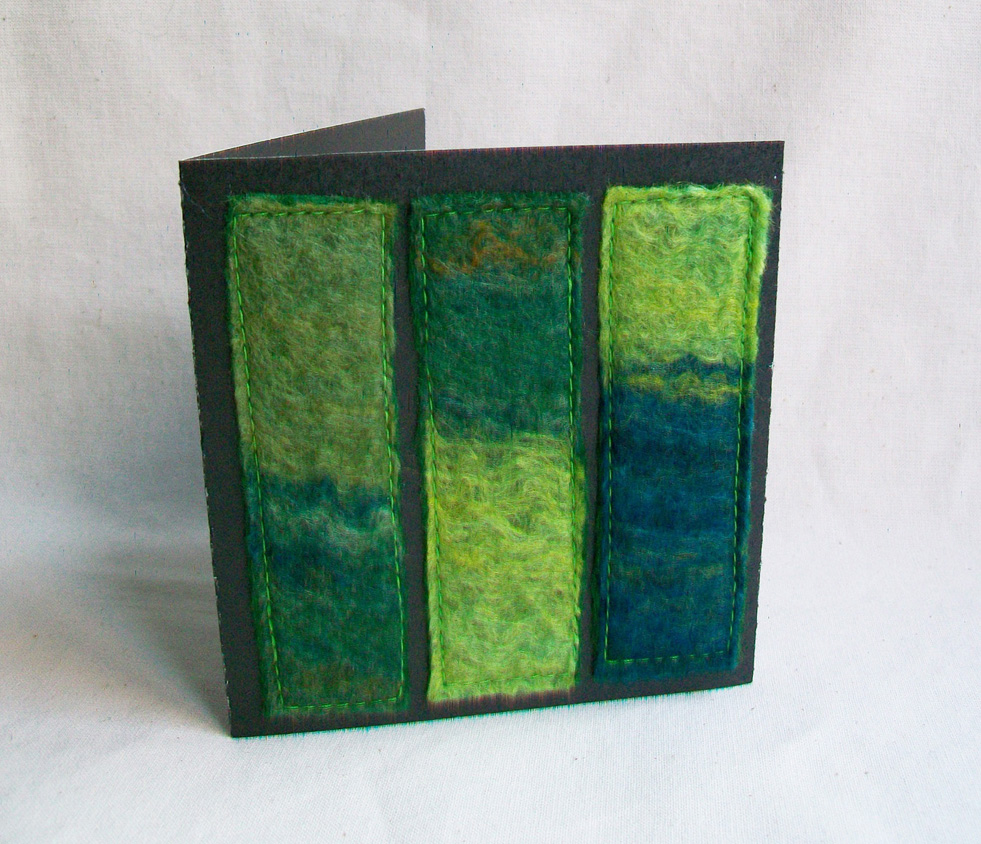
So, I got all my supplies out again and started sewing away. Before long, I had a nice pile of almost finished felt greetings cards.

When I was asking on the forum about attaching the felt, Lyn also suggested using cards with a double fold, so that the sewing on the back could be hidden. I do have some of these, but they have an aperture, so weren’t any use.

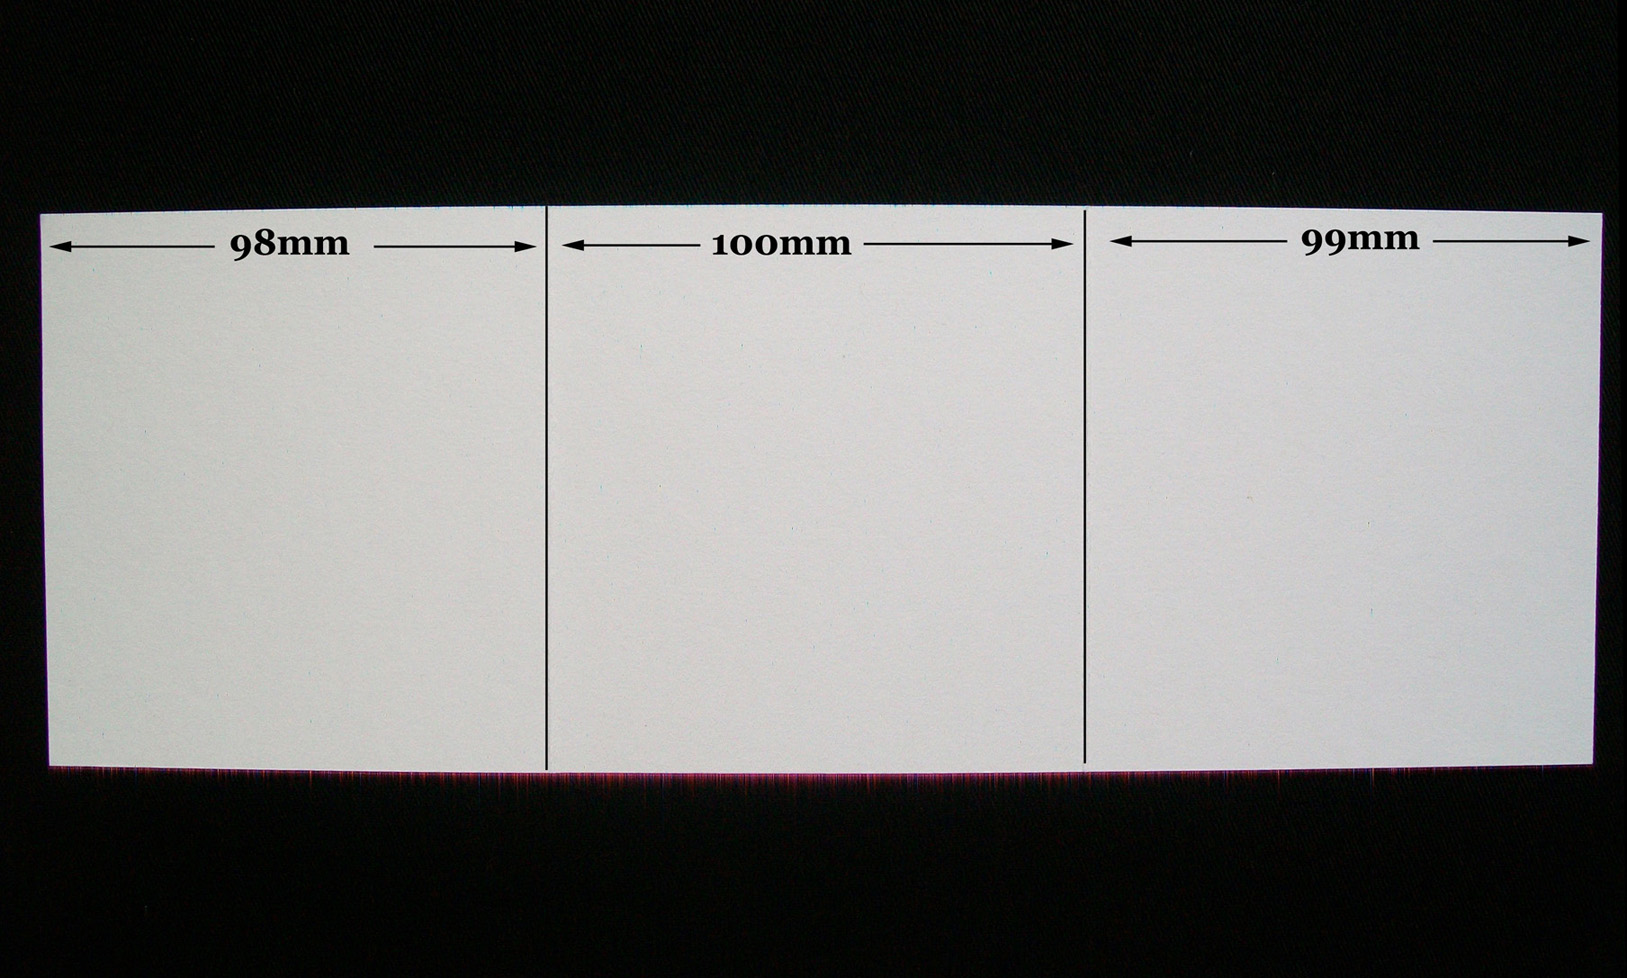
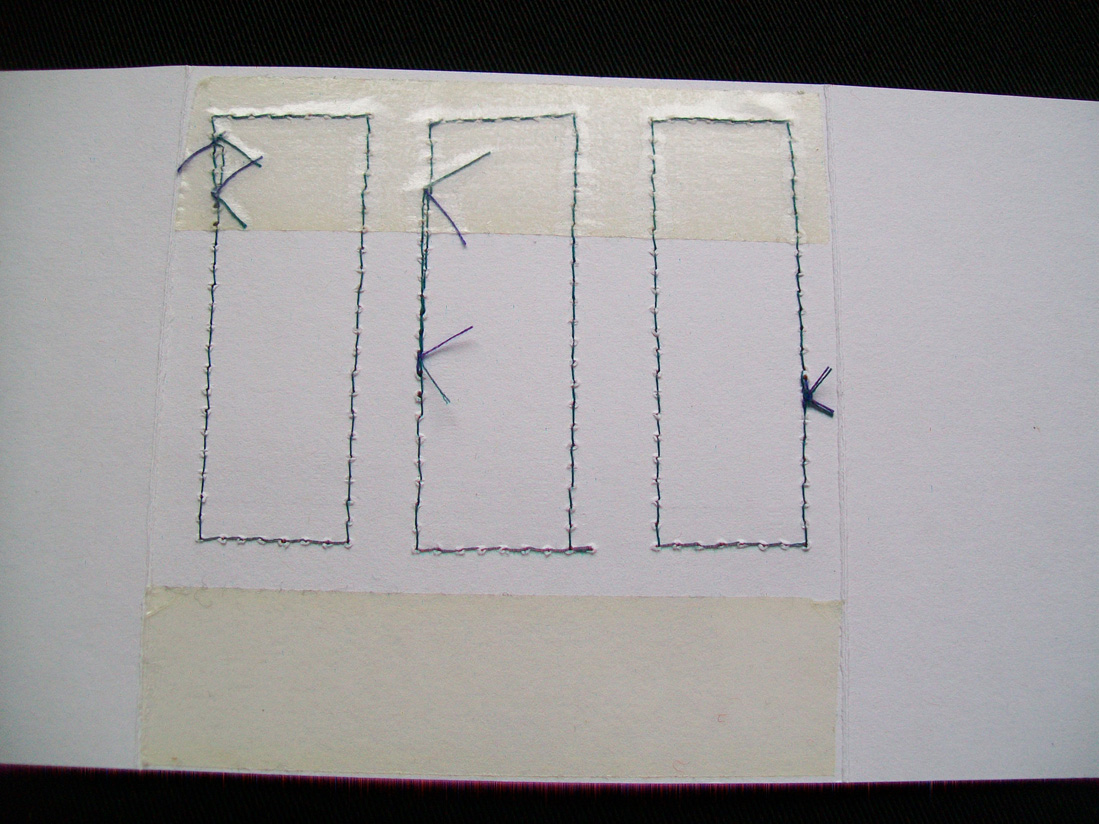
After lots of measuring and dividing and practising, I worked out a good system for scoring the cards so they folded well. I used standard A4 size card, cut in half, so that I had two long strips. On the back side, I measured 98mm in from the left side, and 99mm in from the right, and scored gently. This left the centre panel where the felt would go, approximately 100mm wide.

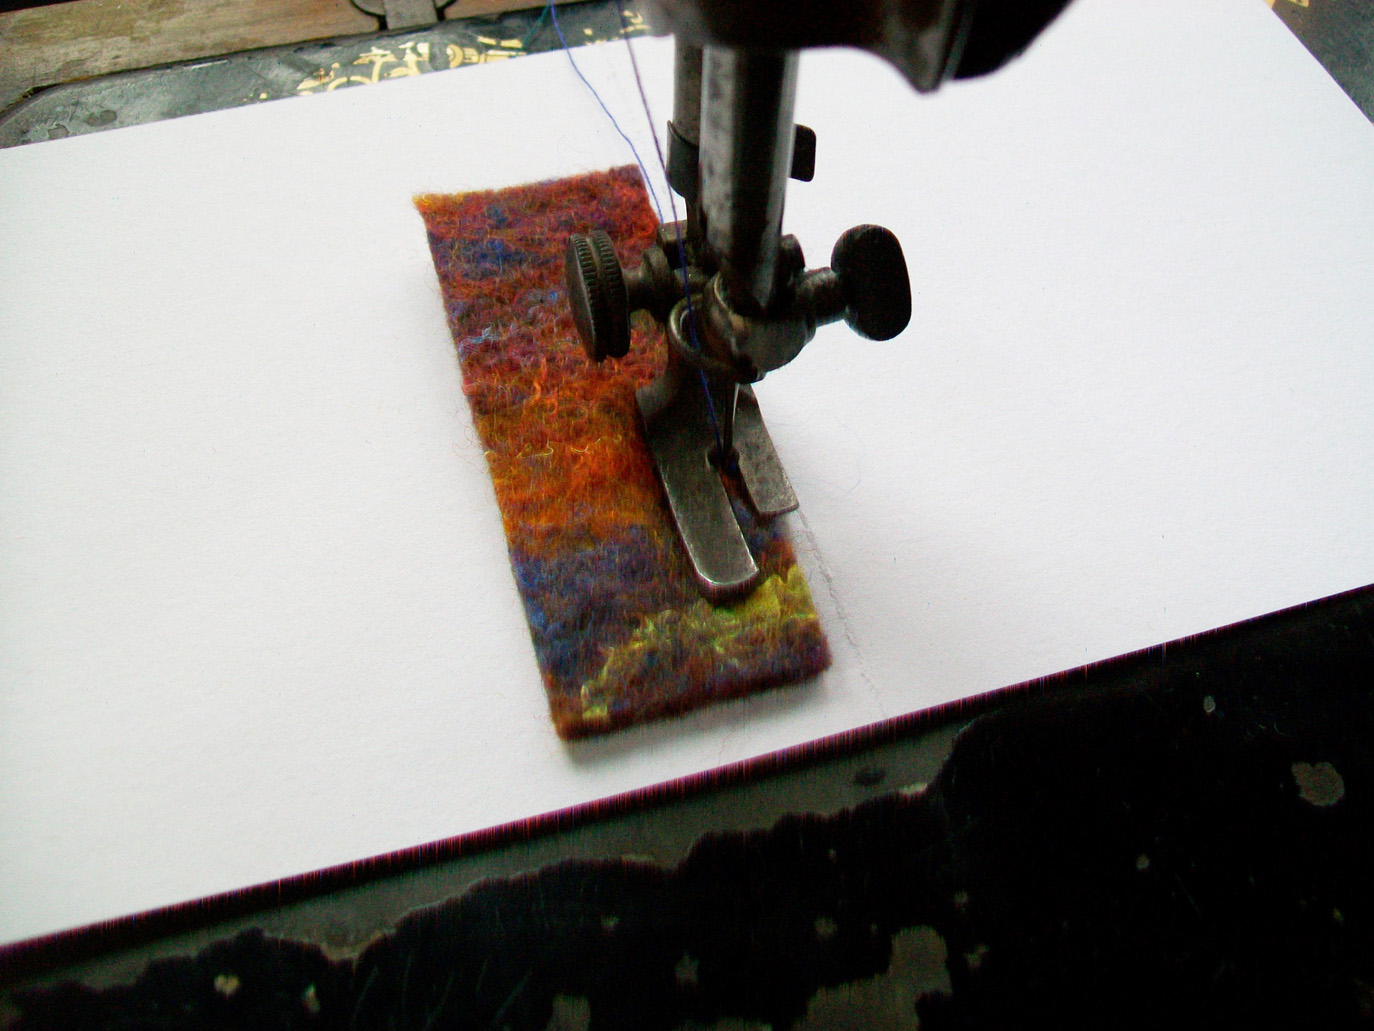
After working out where the felt would go, I then sewed it into place. You don’t need a fancy machine, mine is an old electric Singer without power 🙂

Once all the felt was attached, I turned the card over and added a couple of strips of double sided sticky tape.

Once the flap is folded over to cover the sewing you have a gorgeous, unique greetings card 🙂

I’ve made a PDF file with more photos and more detailed instructions. If you’d like more info on how to make your own cards, just click the link below

Handmade Greetings cards Using Felt

Do you use fabric, felt or fibres for greetings cards? Do you have any photos or tips you’d like to share?
NYC Travel Journal Update

NYC Travel Journal Update

This is an update about my trip to NYC and filling out my travel journal that I made. Everyone else was happy with their books but only my brother-in-law (besides me) filled his in. My sister and husband just saved things to paste in later. We were busy for the entire time we were there and I only had a few moments each day to work in my journal. I would collect lots of paper bits during the day to paste in the journal. I then would paste in a few things and write about the day with a permanent pen. The extra sketches and embellishments were done on the trip home. I used Inktense pencils and a water brush to do the “watercolor” portions. This works great if you used a permanent pen but won’t do well if your pen will run with water. You are welcome to click on the photos for a larger view and you can read what we did in NYC if you’re interested.

I still have a few blanks spots for photos and the last three pages to fill in with some photos and subway maps. We were in the studio audience for The Chew which is on ABC while we were in NYC. The show airs on August 2nd. We might be visible in the studio audience.

I really enjoyed filling the journal out and since I can never keep things straight about where we went and what we did, this will be an excellent reminder of our trip. Have you used a travel journal? Do you take any art supplies with you when you travel? I’d love to hear about it or see your journals if you have any.


Making a Small Travel Journal

Making a Small Travel Journal

By the time you read this post, I will be in New York City. My mom and dad kindly let us use their timeshare condo in downtown Manhattan. My sister and her husband are joining us there and we’ll be there for a week. In preparation for our trip, I thought it would be fun to make a small travel journal to keep memories of the trip in. Since I was making one for me, I thought I’d make one for each of us. I thought it would be interesting to see what each person chose to remember in their book. I’ve made a mini-tutorial of how I put the books together.

The covers were made with some hand-made paper that I made about a month ago with my local surface design group. I didn’t really have plans for the paper when I made it but it was the perfect size for a small book cover. It’s about half the size of an 8 1/2″ x 11” sheet of paper. You could use a piece of hand-made felt, a couple of layers of heavier cotton fused together or a piece of cotton canvas to use as a cover. It needs to have a little weight to it but not be completely stiff.

I then painted some paper with a light wash of acrylic paint and cut the sheets in half. This paper is slightly heavier than computer paper but not by much. I painted some in green, blue and orange. You can choose any color scheme to match your cover.

I painted enough sheets so that I would have 12 half pages per book. I then took three sheets and folded them in half, one inside the other to make the signatures for the book. That’s just a fancy word for the sheets of paper that go together in a group to be sewn into the book. Oops, I forgot one step. Before I folded the signature, I made a fancy center page of the New York City sky line.

Here is the pattern that I drew. I found a photo of the NYC sky line and sketched it out. I then used a ruler to make the lines a little straighter and then used a felt tip marker to make the lines a little darker.

I then traced the pattern on to a piece of freezer paper and ironed the freezer paper to one of the blue pages to use as a stencil. I then sprayed the paper with black spray paint. This is the stencil after it’s been used several times. It worked to use the same stencil four times. The last use didn’t give as clear an edge so if you want a really clear edge each time, make a new freezer paper stencil each time. But I was being lazy and it really didn’t make that much difference in the end result.

Here’s the painted sky line. I did draw in the pointy part of the top of the Empire State Building later with a black Sharpie. Looks more like a castle to me but I guess it looks somewhat like a city skyline.

I just got this new Pfaff sewing machine. My old machine was a cheap Brother machine and it just wasn’t working like I needed for machine embroidery. This machine is really fancy but I really like how it sews so far. I used it to sew my little books.

Previously, I had searched online for maps and photos to use in the books. I thought it would be good to get everyone started and give the books a feeling of being in New York City. I used Google maps for the front covers.

I used a piece of double stick tape to apply the map to the front cover to hold it in place while I was stitching. When you stitch through paper with a sewing machine, you should increase your stitch length. If you put your stitches too close together it tends to tear the paper. I used orange thread and stitched around the outside of the map. This book is put together with all straight seams so you only need basic sewing machine skills. Remember to put the map in the correct position so that when the book is closed, that the map ends up on the front of your book and right side up.

This is the trickiest part. Open one of your signatures and place it on the inside of your book cover. You can see the seam where you stitched the map on the front. Line up the fold with that inside seam about 1/2″ to the right of it. Carefully stitch along the folded line. You can tie the ends of the thread either on the inside or outside. You could leave them long to tie beads or other decorative fibers on the outside if so desired. I tied mine on the inside and cut them short. Keep lining up your signatures alongside the previous one about 1/4″ apart and stitching them into place.

This photo shows the outside cover of the book after two signatures had been sewn. I tried to take a photo of the spine of the book after all the signatures had been sewn but couldn’t get a photo in focus. Sorry.

Here are the four books after having all four signatures sewn in place. I really had fun with these books. I’m not sure if it was because I like making books or if it was finishing a project. I’ve been making so many samples for my class that I never feel like I’ve really made a project. It was nice to have a finished piece.

I then found some painted paper that kind of matched and glued it into the front cover to hide the stitching from the map on the front. I also glued in some of the photos I had found online. This is graffiti on the right hand page.

I also sewed two pieces of paper together to make a pocket. I then glued it into the back cover. We can put tickets or other memorabilia in the pocket.

This photo shows the hosts of The Chew. It’s a cooking show that’s filmed in NYC. My sister got us tickets to be in the studio audience. I’ve never even seen the show but I like cooking shows so it should be fun. I’ll let you know if we’ll be on TV!

A friend of ours got us tickets to go to a Mets baseball game while we’re there. My husband is excited about this. So now we’ll all have a little book that we can journal in, draw sketches, paste photos, tickets and other ephemera about our trip. I’ll post some photos of the completed journal when I get back.

Do you use a journal? Have you made a travel journal before? I’d love to see yours if you have any samples.

Silk Paper

Silk Paper

Over on the Felting and Fiber Forum, we’ve been talking about silk paper on and off over the last few weeks. It started when Pam showed us this gorgeous silk vase and then a beautiful silk box made from delicate silk hankies, threads and Angelina fibres. Then Karen was inspired to try making silk paper and after finding some silks work better with different methods, made some gorgeous pieces.

Once all the hard work had been done 😉 I thought I’d give it a go too. I decided to just jump in and try it with spray starch. I’d read a few years ago that it was possible to make silk paper by spraying a layer of silk fibres with laundry starch, adding another layer of silk fibres and spraying that, then covering with baking parchment and ironing until it was dried. Well, it’s almost that easy. It’s hard to get the spray from the can of starch onto the fibres without blowing them away, so it takes a bit of practice to get the spray to ‘drizzle’. I found it helpful to spray first, so after a few trials, I got an old piece of cotton cloth and layed it onto brown parcel paper, sprayed the cloth with starch, added a layer of silk, drizzled then sprayed starch onto that, then added more silk, more starch, then covered with another layer of cloth, another piece of parcel paper and ironed it on both sides until it was dry.

The results were mostly really good. A few times, the layers wanted to separate, but then I had two layers of finer silk paper. I used one of these thinner layers to test out the silk paper before I made more. You can see a photo of before felting here, and after felting here. These are some of the silk papers I made, they are mostly dyed mulberry and tussah silk.

I did a small trial piece of felt using the tufty bits from around the edges of the silk paper. From this, I realised I needed to use bolder colours for the background so the silk paper could stand out more for the result I wanted. For this second piece, I started off with a layout approximately 34.5 x 34.5 cm

It shrank a lot from top to bottom, and finished up roughly 22 x 33 cm. I didn’t particularly position the silk paper pieces so that the fibres were running top to bottom, and a lot were two layers, so I’m not really sure why there was so much uneven shrinkage, but I’d noticed it on the trial piece too. Both pieces had two even layers of merino tops.

There were a few pieces of the silk paper which were thicker or had a lot of starch on, which took a little more work to felt in, but as you can see from this angle, the silk paper felts in well to the surface.

Lyn from rosiepink recommended the book ‘Handmade Silk Paper’ by Kath Russon, so I’m hoping to have a read through that soon and try the wallpaper paste method of making silk paper. Have you made silk paper or paper from any other fibres? Do you use it in felting or something else? I’d love to hear about it or see photos if you have 🙂

What i’ve been up to !!!

What i’ve been up to !!!

I really don’t have a huge amount to blog about at the moment, but I have added to my tree project in my mixed media course.  I”ve added some more stitching with some leaves and flowers  in straight stitches and French knots and I did try to be very clever and create a picot stitch, ( on the right up the trunk )  I haven’t done one of them before  but I want to do a vine going around and up the tree and in a 3d kind of effect,  so this is my first attempt at that stitch and while I thoroughly enjoyed how it works I will more than likely take those few out and re-do. That was just a bit of practise,  I’ve also added a spider web and the dreaded spider ( sorry zed )  he’s a friendly one lol.   I know that its out of proportion but that’s ok to !

I am really enjoying this and although nothing is perfect  and its not supposed to be, I’m loving how its all coming together.  I still need to add more foliage and I’m not really sure what to do with the background but it does need something, maybe a shrub or to in the far distants.   I’m just taking my time with this project and as things come to mind I’ll be adding them in !


I’ve also been working on another little note book cover , adding stitches and beads and I think I’m getting the hang of it more now.  I made this sheet of felt a while ago and I’m cutting it up to make 3 covers ,  can I tell you how hard it was to cut into that sheet lol  I struggled, held my breath, closed my eyes and made the first cut, let out a big breath and i’m OKAY !!!!

This one has lots of added silks, threads and sari ribbon !

This is the first of the 3, I’ve added stitches and beads and also a couple of my very own hand made beads.  I think I’m getting a lot neater as I go and the reason I’m doing these are all in practise for my so called album cover that I still haven’t picked up again lol   Once I feel that these covers are good enough I might even put them on Etsy lol   it’s a  long shot but we’ll see  🙂  otherwise i’ll save them for gifts !

I havent added any stitches on the back and i’m not sure i will either, I’m fairly happy with the way this turned out and i can only improve “right”

So thats it for me and i’d love to see what everyone else is working on !!!

Busy Times

Busy Times

Sorry I haven’t been able to post in a couple of weeks, we’ve been very busy with Family and friend commitments, weddings, engagements and 50th birthdays.  I’m so glad its all over now and we can get back to normality, plus I’m partied out and pooped lol

The only thing I’ve been able to keep up with is the weekly TAST and I don’t want to get behind in that as it’ll end up being a lot to make up for.

I am behind in my course with Victoria but as its an online course this one is able to be done at leisure and I’ll always have it, which is great. This time  we had to do some pages in a book and as I’m not a really big fan of altered books I’ve used some pages just to play and i’ve used  calico and a couple of canvas’s.  The pages are so far done using acrylic paints, pressed flowers and stamps made from leaves, you can see that I’m not very good at the stamping bits lol  But I am still having fun so that’s the main things

The next one is on canvas and using water color pencils and painting with coffee, of all things, lucky I bought a jar that we really don’t like so I’ll keep that for this use.  I still have a lot of stitching to do on this but at least its a start.

I do prefer to work on calico so this is my tree. This is done using acrylic paints and coffee again. Victoria uses memory thread which I don’t have ( YET) so  for the main area of the tree I used the 6 strands of thread and the rest is using 3 strands, I still have a fair bit to do on this as it needs flowers, bugs and spiders. The foliage is her thread salad stitch which I really like and can be used for a lot of fill in work and more foliage.


Then to go completely off topic ( sorry) I wanted to show you the Smoker that my Hubby made for the 50th birthday present. It works like a charm and our friend loved it.  Darren loved making it so much he now wants to get into some Blacksmithing and his brother is a true artist in this field. If you ever see the new movie I Frankenstien  then look out for the shackles and cuffs as  they were made by my very talented brother in-law , who by the way suffers from MS and he keep himself very busy forging and creating all kinds of art work and engraving.


And last but by no means least is my gorgeous Granddaughter Charlie, we’ve been helping out while mum does a little part time job that she loves. She’s such a little sweetheart, at 7 weeks old she’s  full of smiles and a very contented baby. Were all so in love xo


So till next time Happy Felting and Stitching or whatever it is you love to do xo