Woodland Pictures and a Sunflower Wedding
This month Region 8 of the International Feltmakers held an Autumn Woodland themed wet felted picture workshop led by Susan Mulcock. As with many other regions we’ve been struggling with workshop numbers recently so it was great to receive so much interest in Susan’s class that we were able to fill two separate classes over the weekend. A big shout out has to go to IFA member Kerry Thomas who travelled 250 miles from Lockerbie in Scotland to join us on the Sunday.


We were encouraged to bring our own photos to use as inspiration and I chose one I’d taken while walking a local section of the Viking Way between Horncastle and Woodhall Spa. The Viking Way is a 149 mile long walking route through Lincolnshire, Leicestershire and Rutland. The route opened in 1976 and its name recognises the influence of the Norse invaders on the east of Britain. The route is clearly marked with the recognisable signage of a viking helmet on the yellow disc.

I didn’t think to take photos of the process but this is my finished picture. Looking back at my original photo I think I must have been in a colourful mood when I was laying out my fibres! I’ve added some free motion stitch to help define the tree trunks and some of the finer branches but drew the line at adding hand embroidery. I feel I’d like to do some but I know that if I start I would have to add lots of it so I’ll live with it for now and maybe more stitching will be done at some point.
These are some of the wonderful pictures that were created over the weekend.


Something else I wanted to share with you, with permission from the bride, was my friend Sally’s wedding. Or rather the incredible textile/fibre creations that Sally produced for her wedding to fiance Chris. Sally joined the South Lincs Spinners, Weavers and Dyers three years ago where she learnt to spin and weave. She fell in love with both of these crafts and challenged herself to use them to create her own wedding outfit.
Chris’s mother is German and Sally has a thing for sunflowers so Sally aimed to combine both these themes for her big day. She began by purchasing green mulberry silk fibre from World of Wool which she spun. Next the spun fibre was woven and blocked before being cut out and sewn to create the beautiful bodice for her traditional German style dirndl outfit.


Extra fibre was spun and woven (just in case!) and this was used to make her usher, son Lewis, his waistcoat and to make the ring cushion. The gold apron features a white band made up of number of symbols, designed by Sally, that represent members of her family and these were crocheted using a fine thread to add a very personal detail to the outfit.


During our visit to Ampthill Fibre show this summer we saw a stall selling kits to create your own parasol. Sally bought a kit and had the fibre specially dyed to fit in with her sunflower colour scheme. She then crocheted her parasol cover and put the whole thing together to create a stunning accessory for her outfit.
Another beautiful touch was the wet felted Sunflower with Tyvek daisy’s that she made with me. It was attached it to her veil which in turn was lit from beneath with fairy lights.

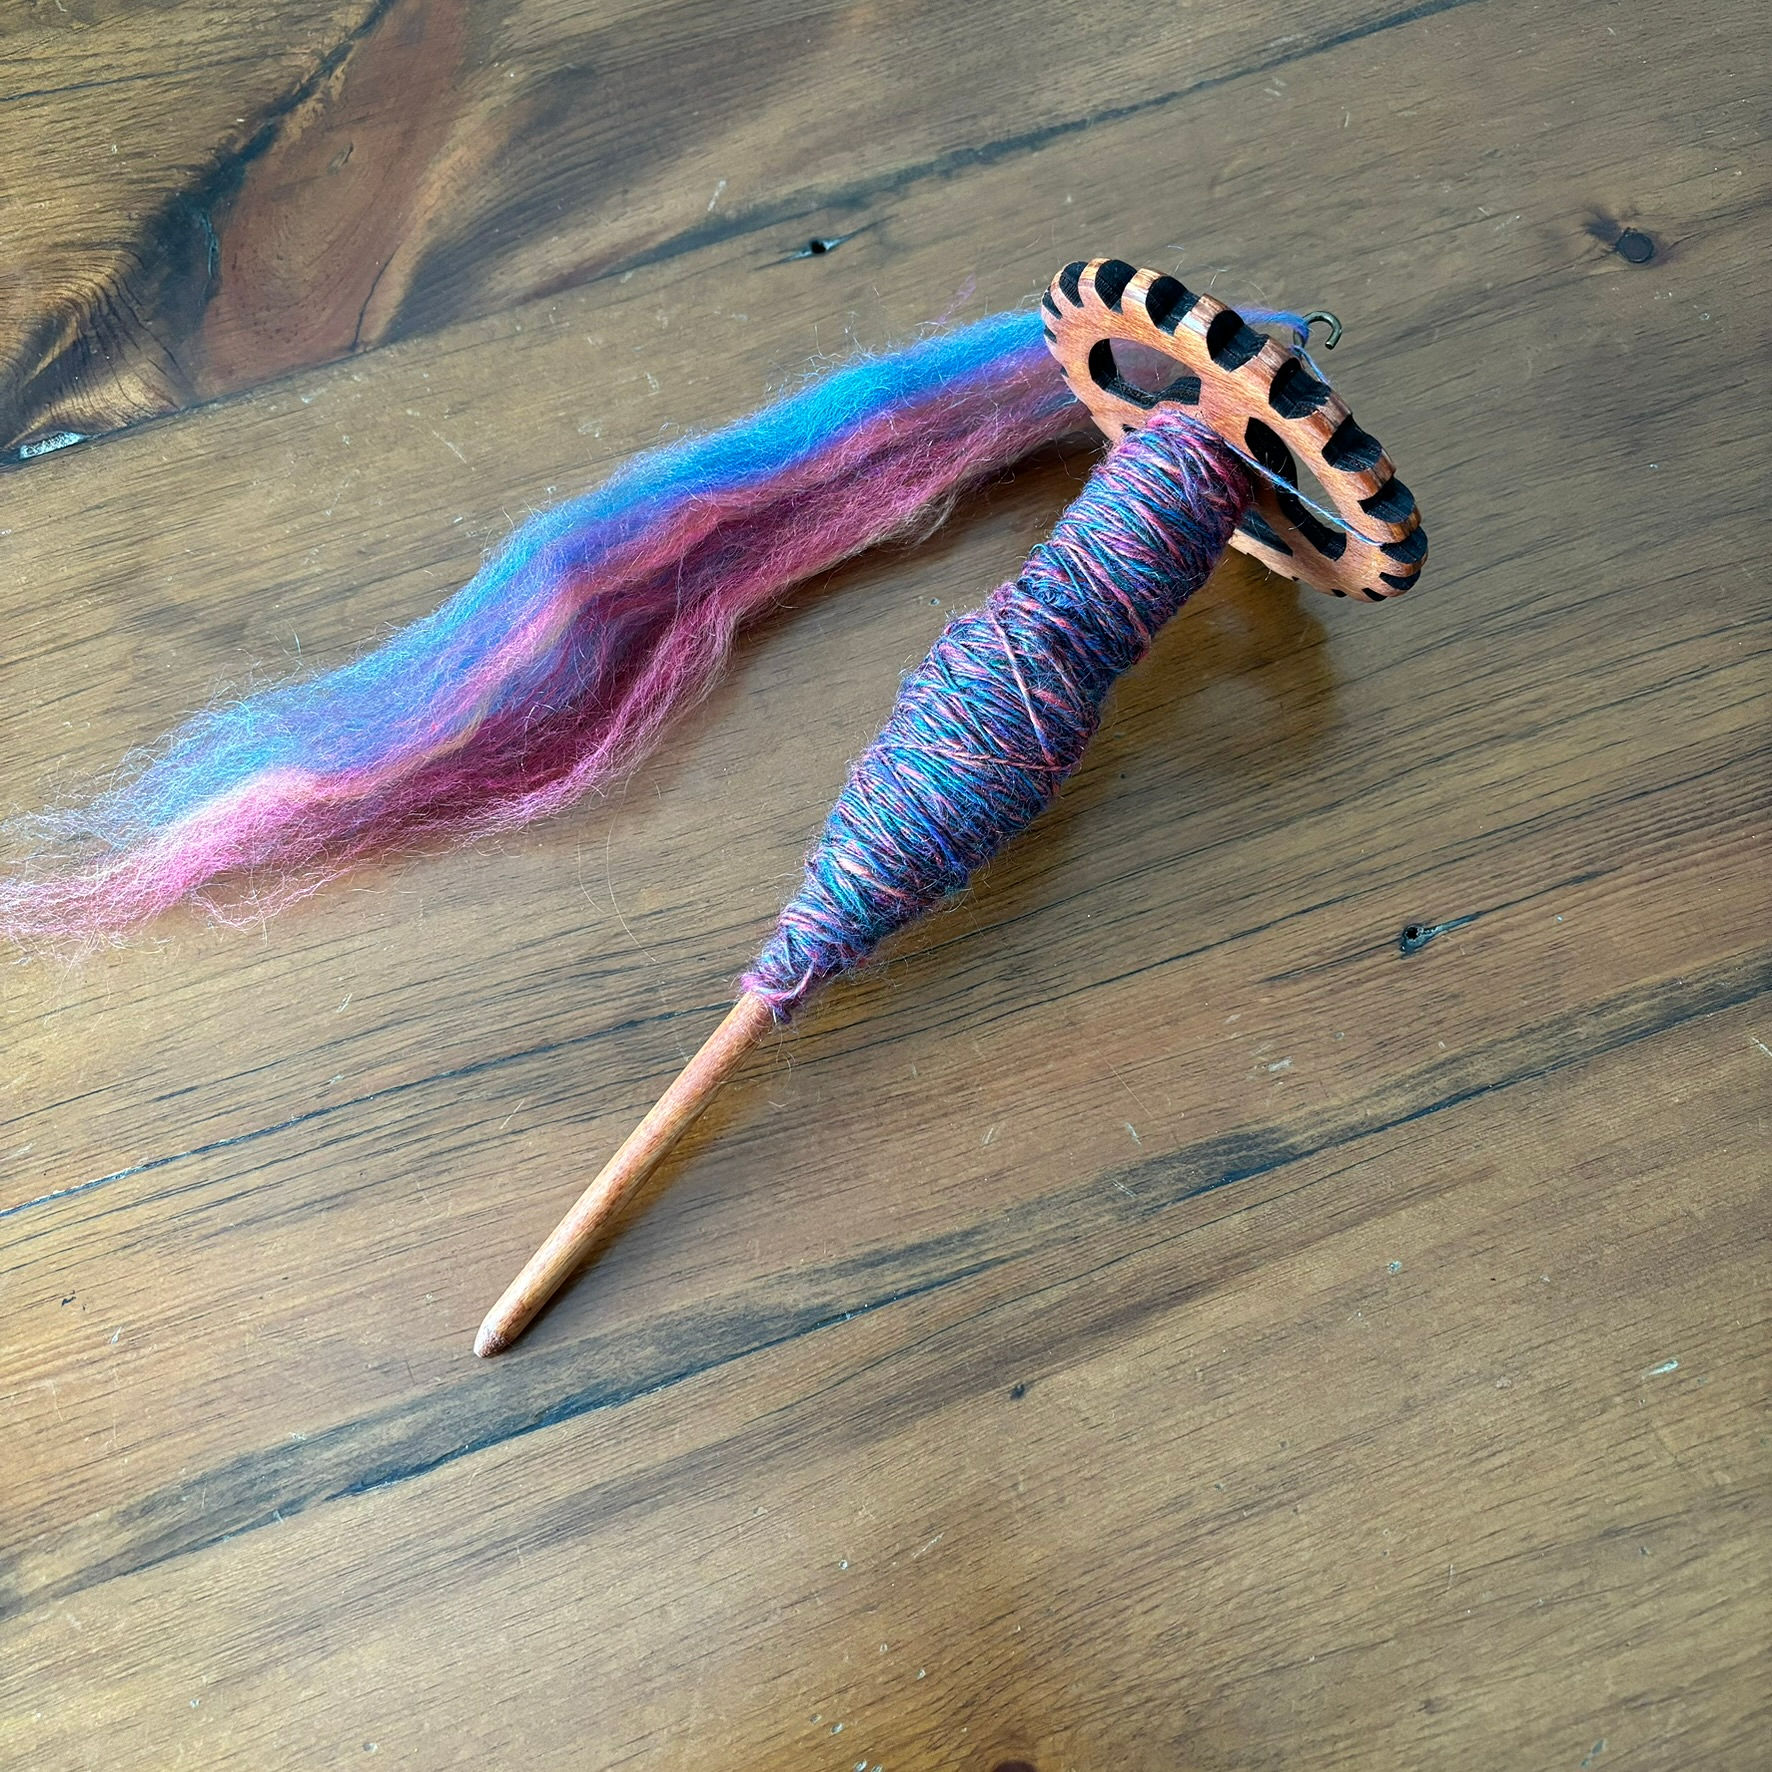
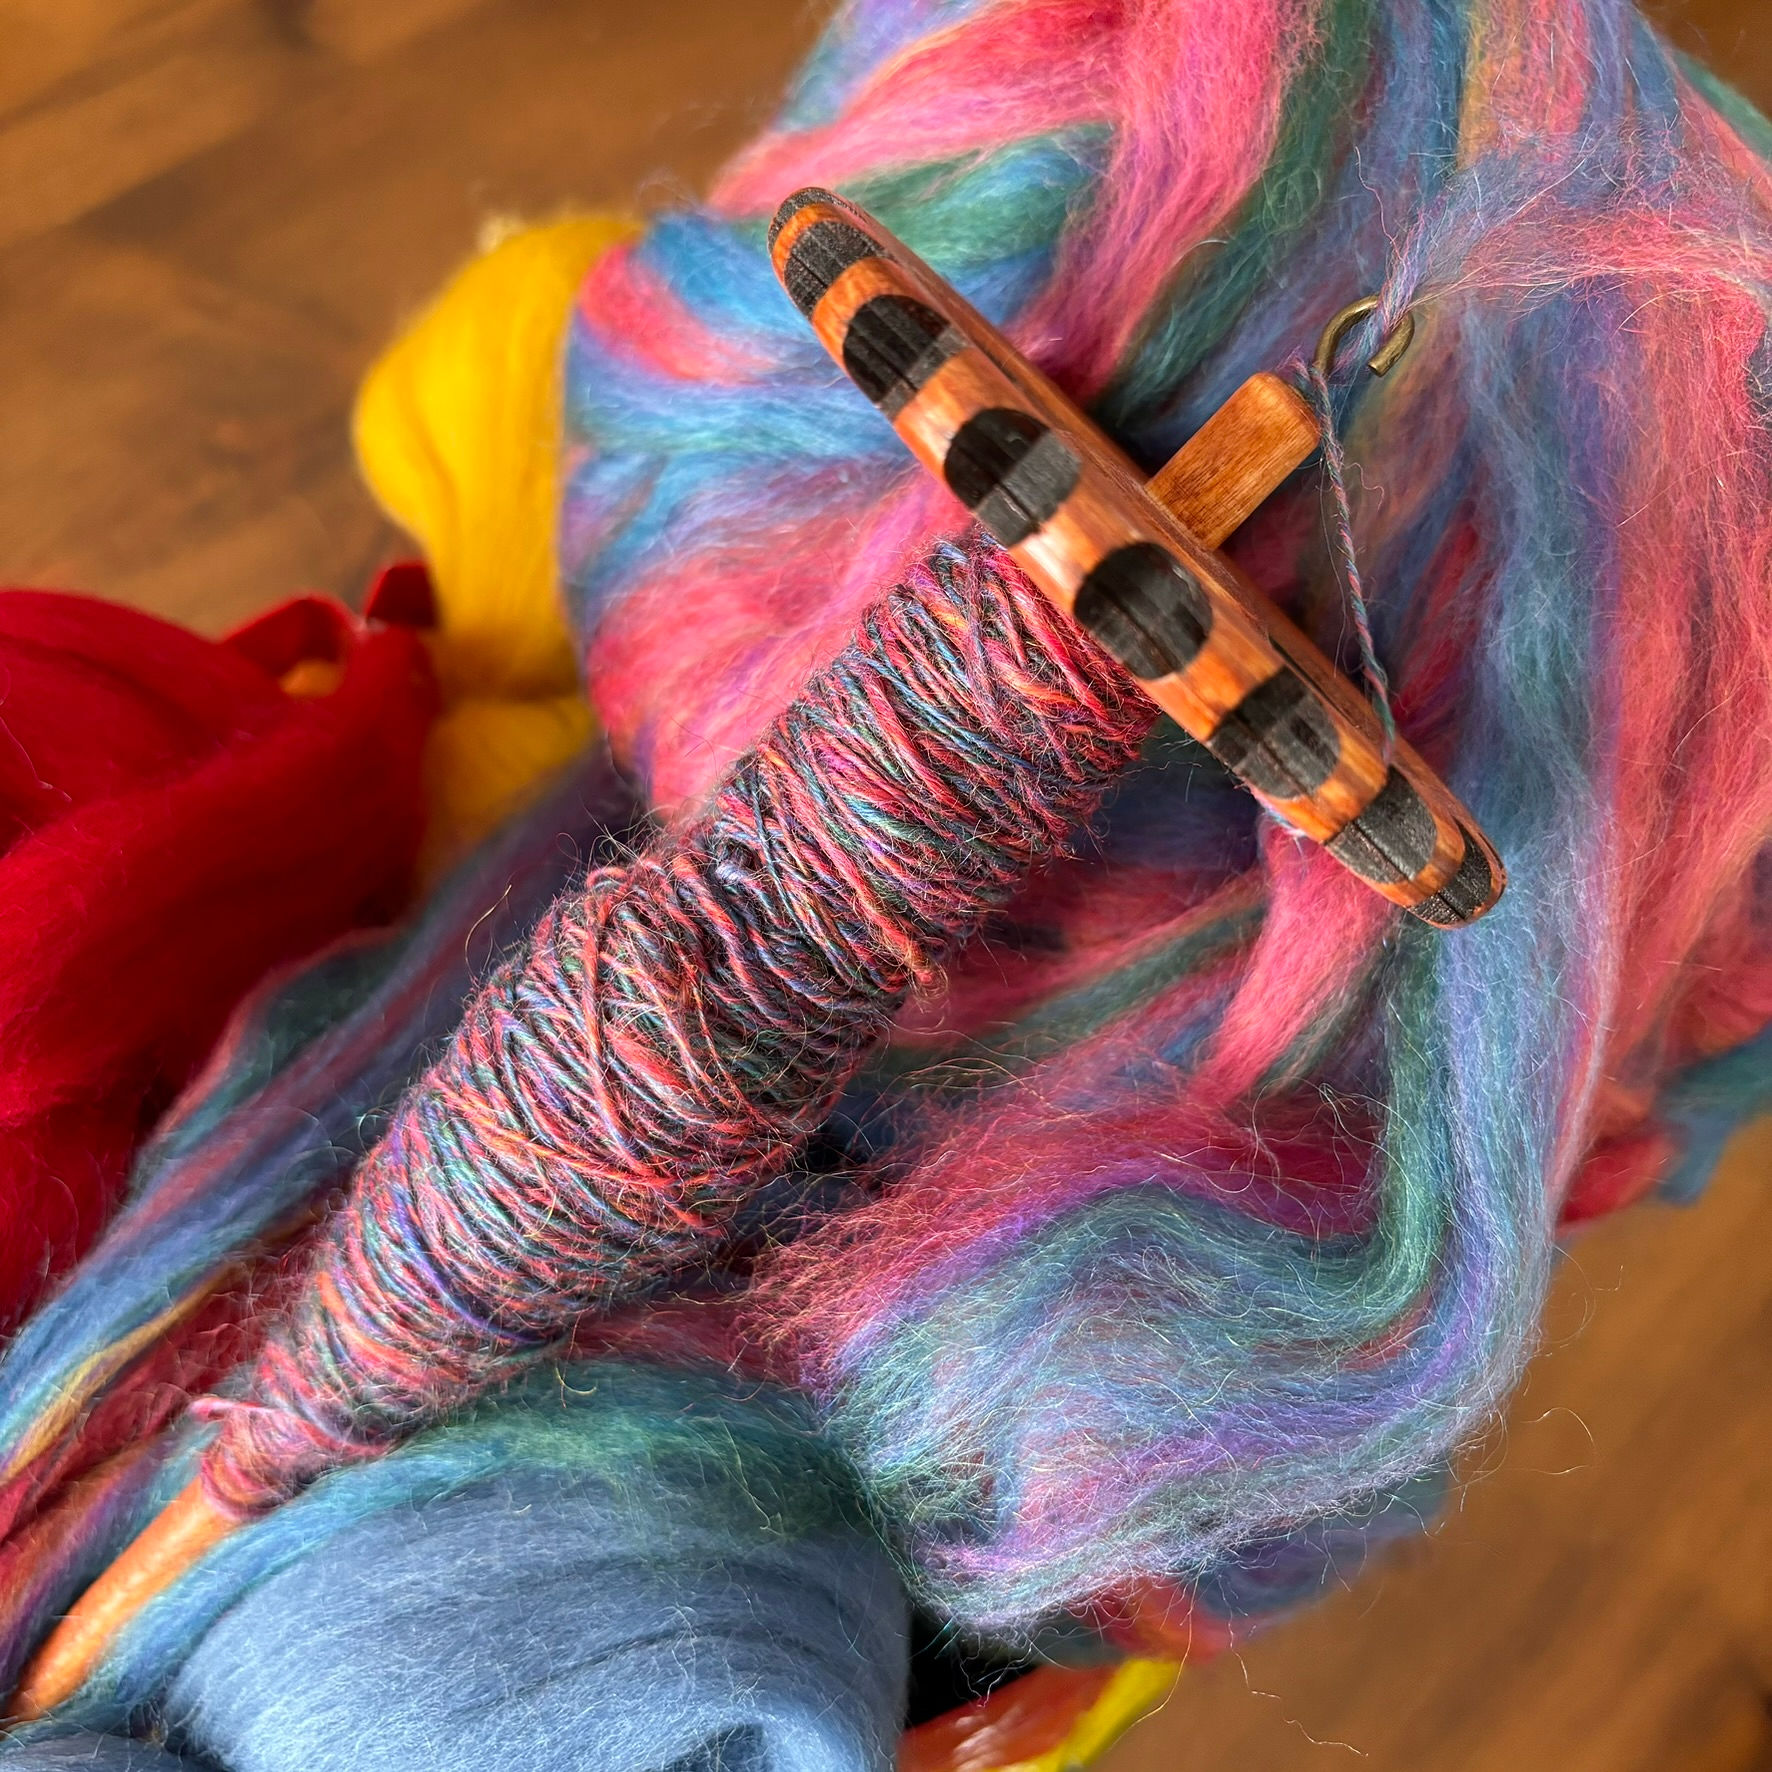
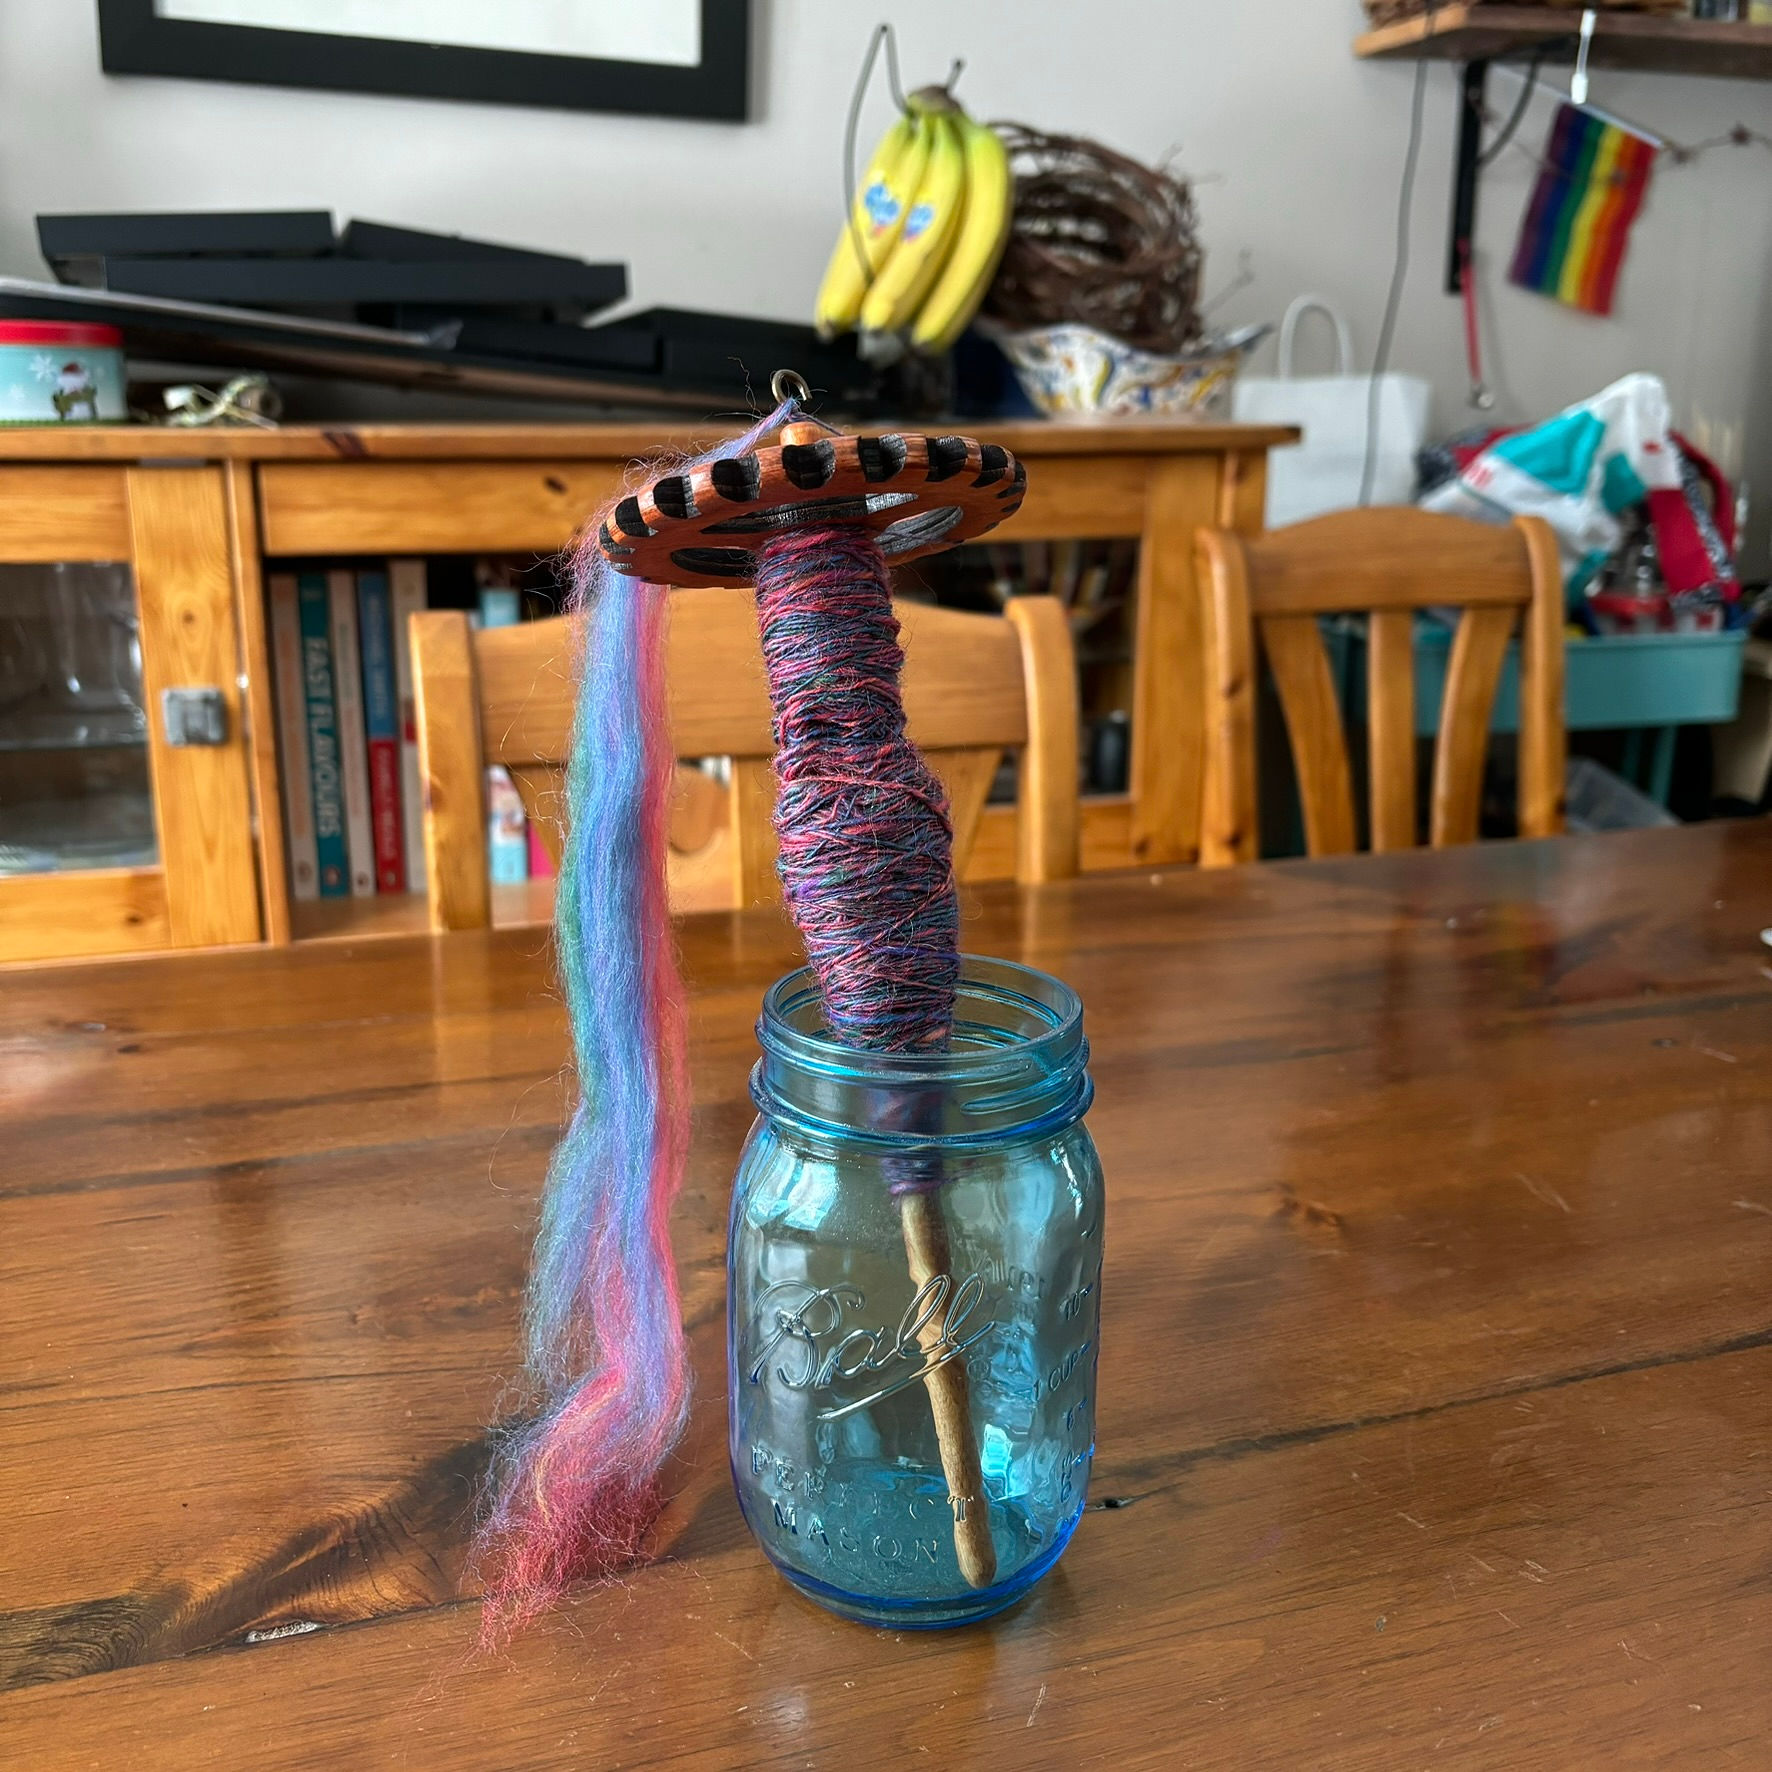
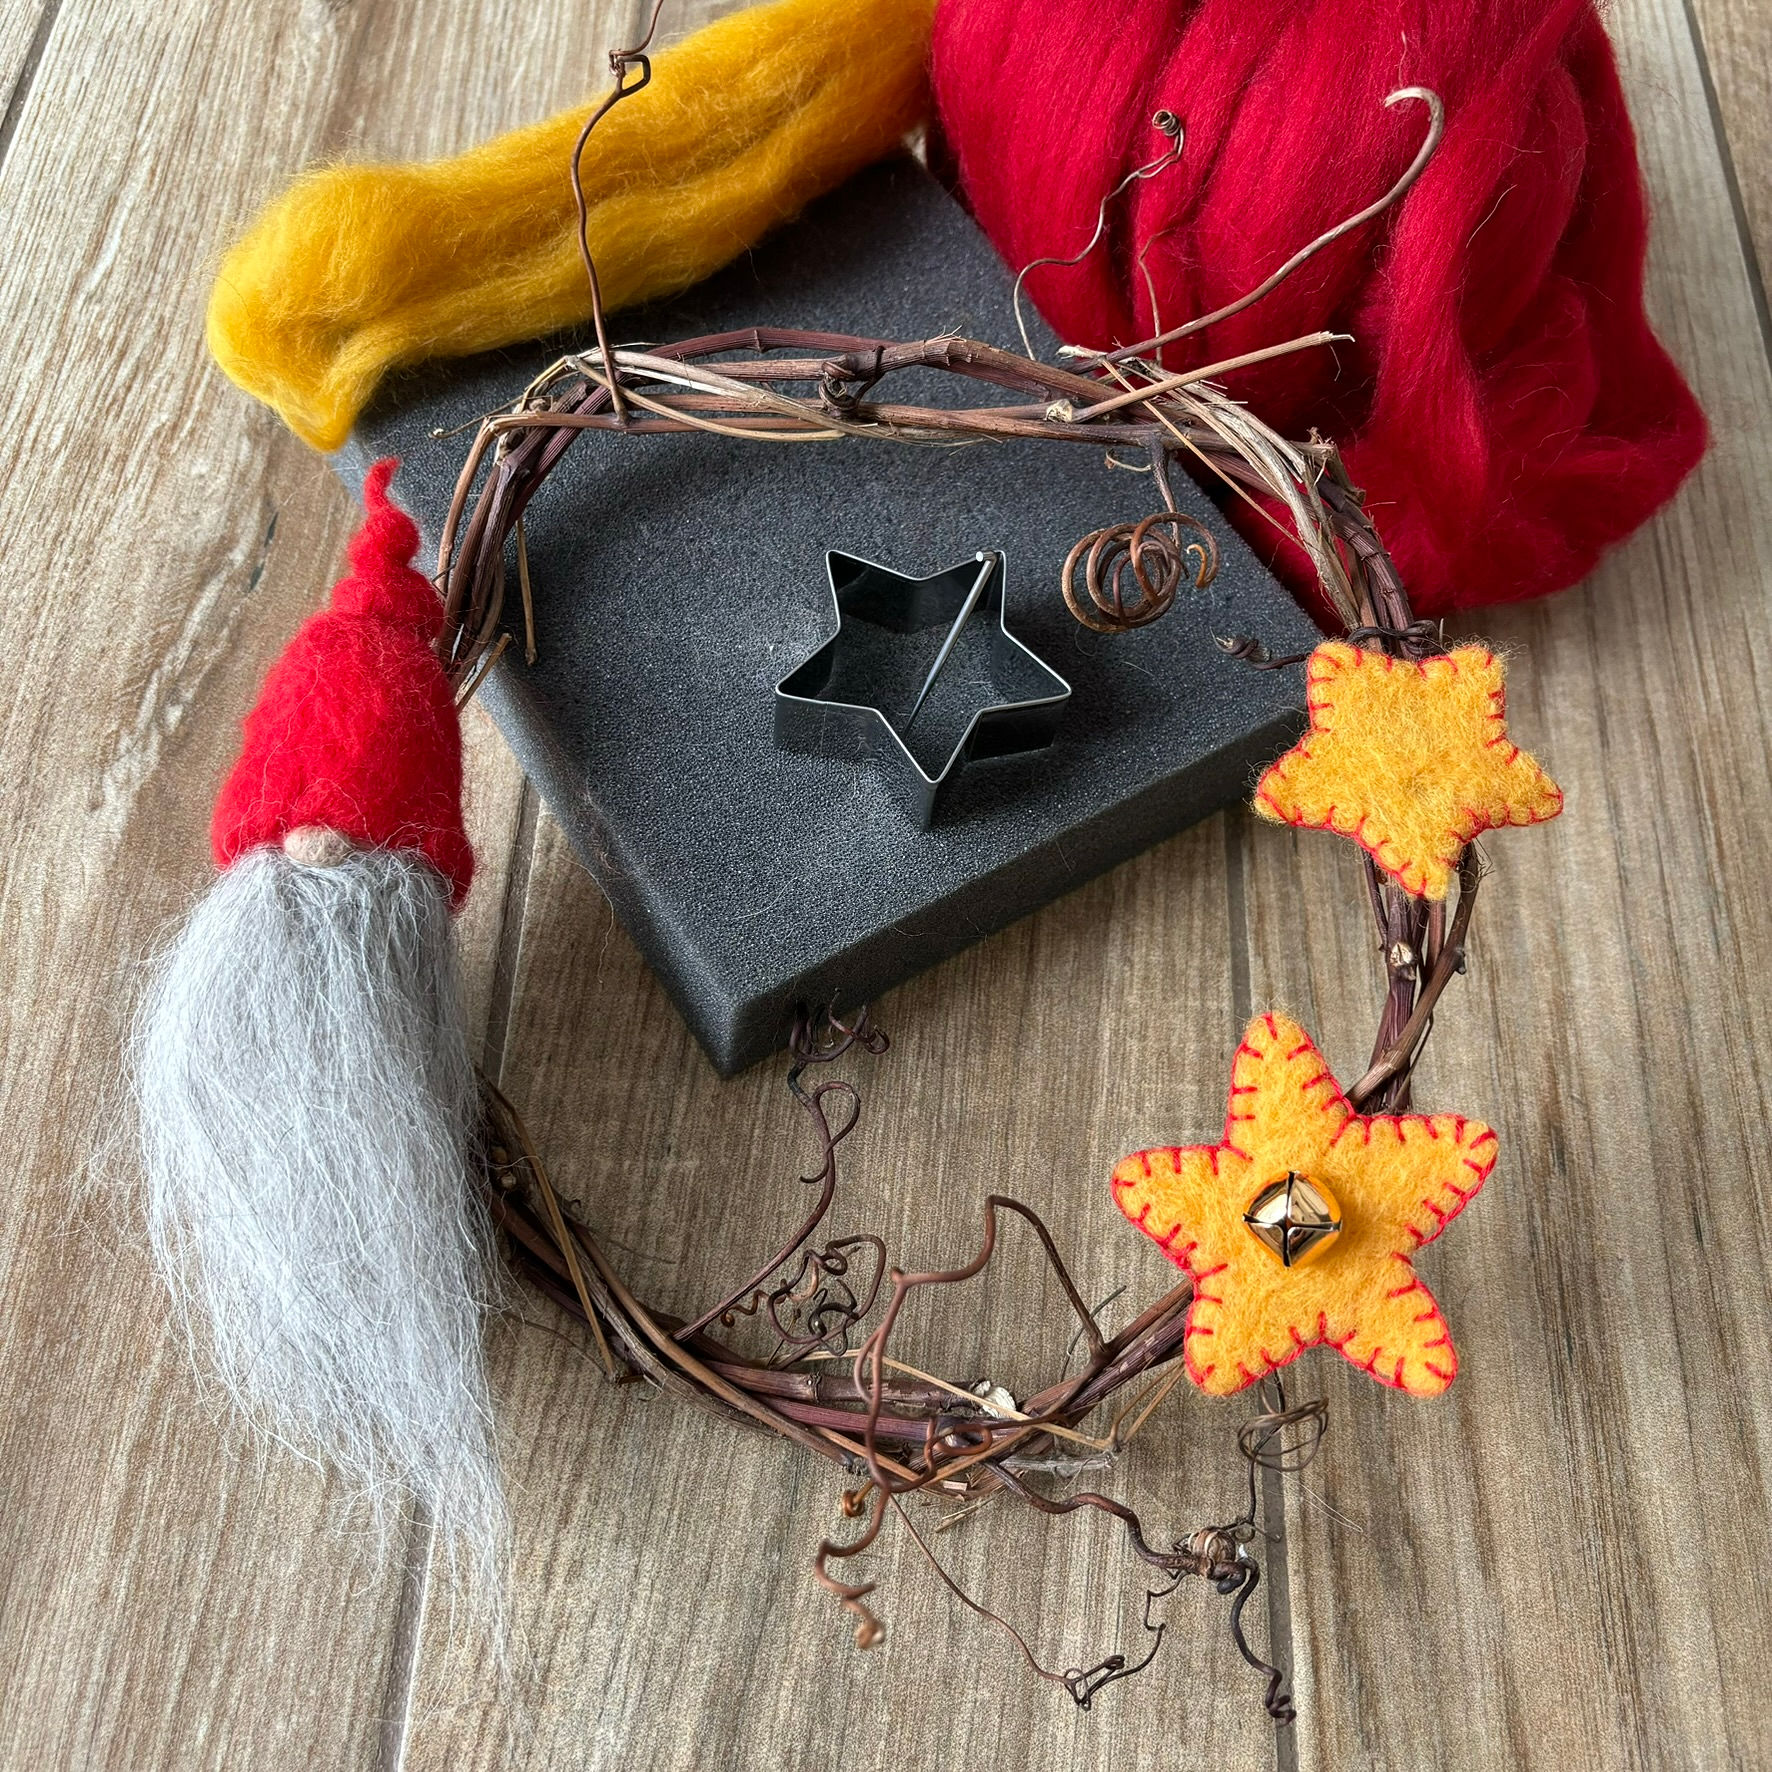
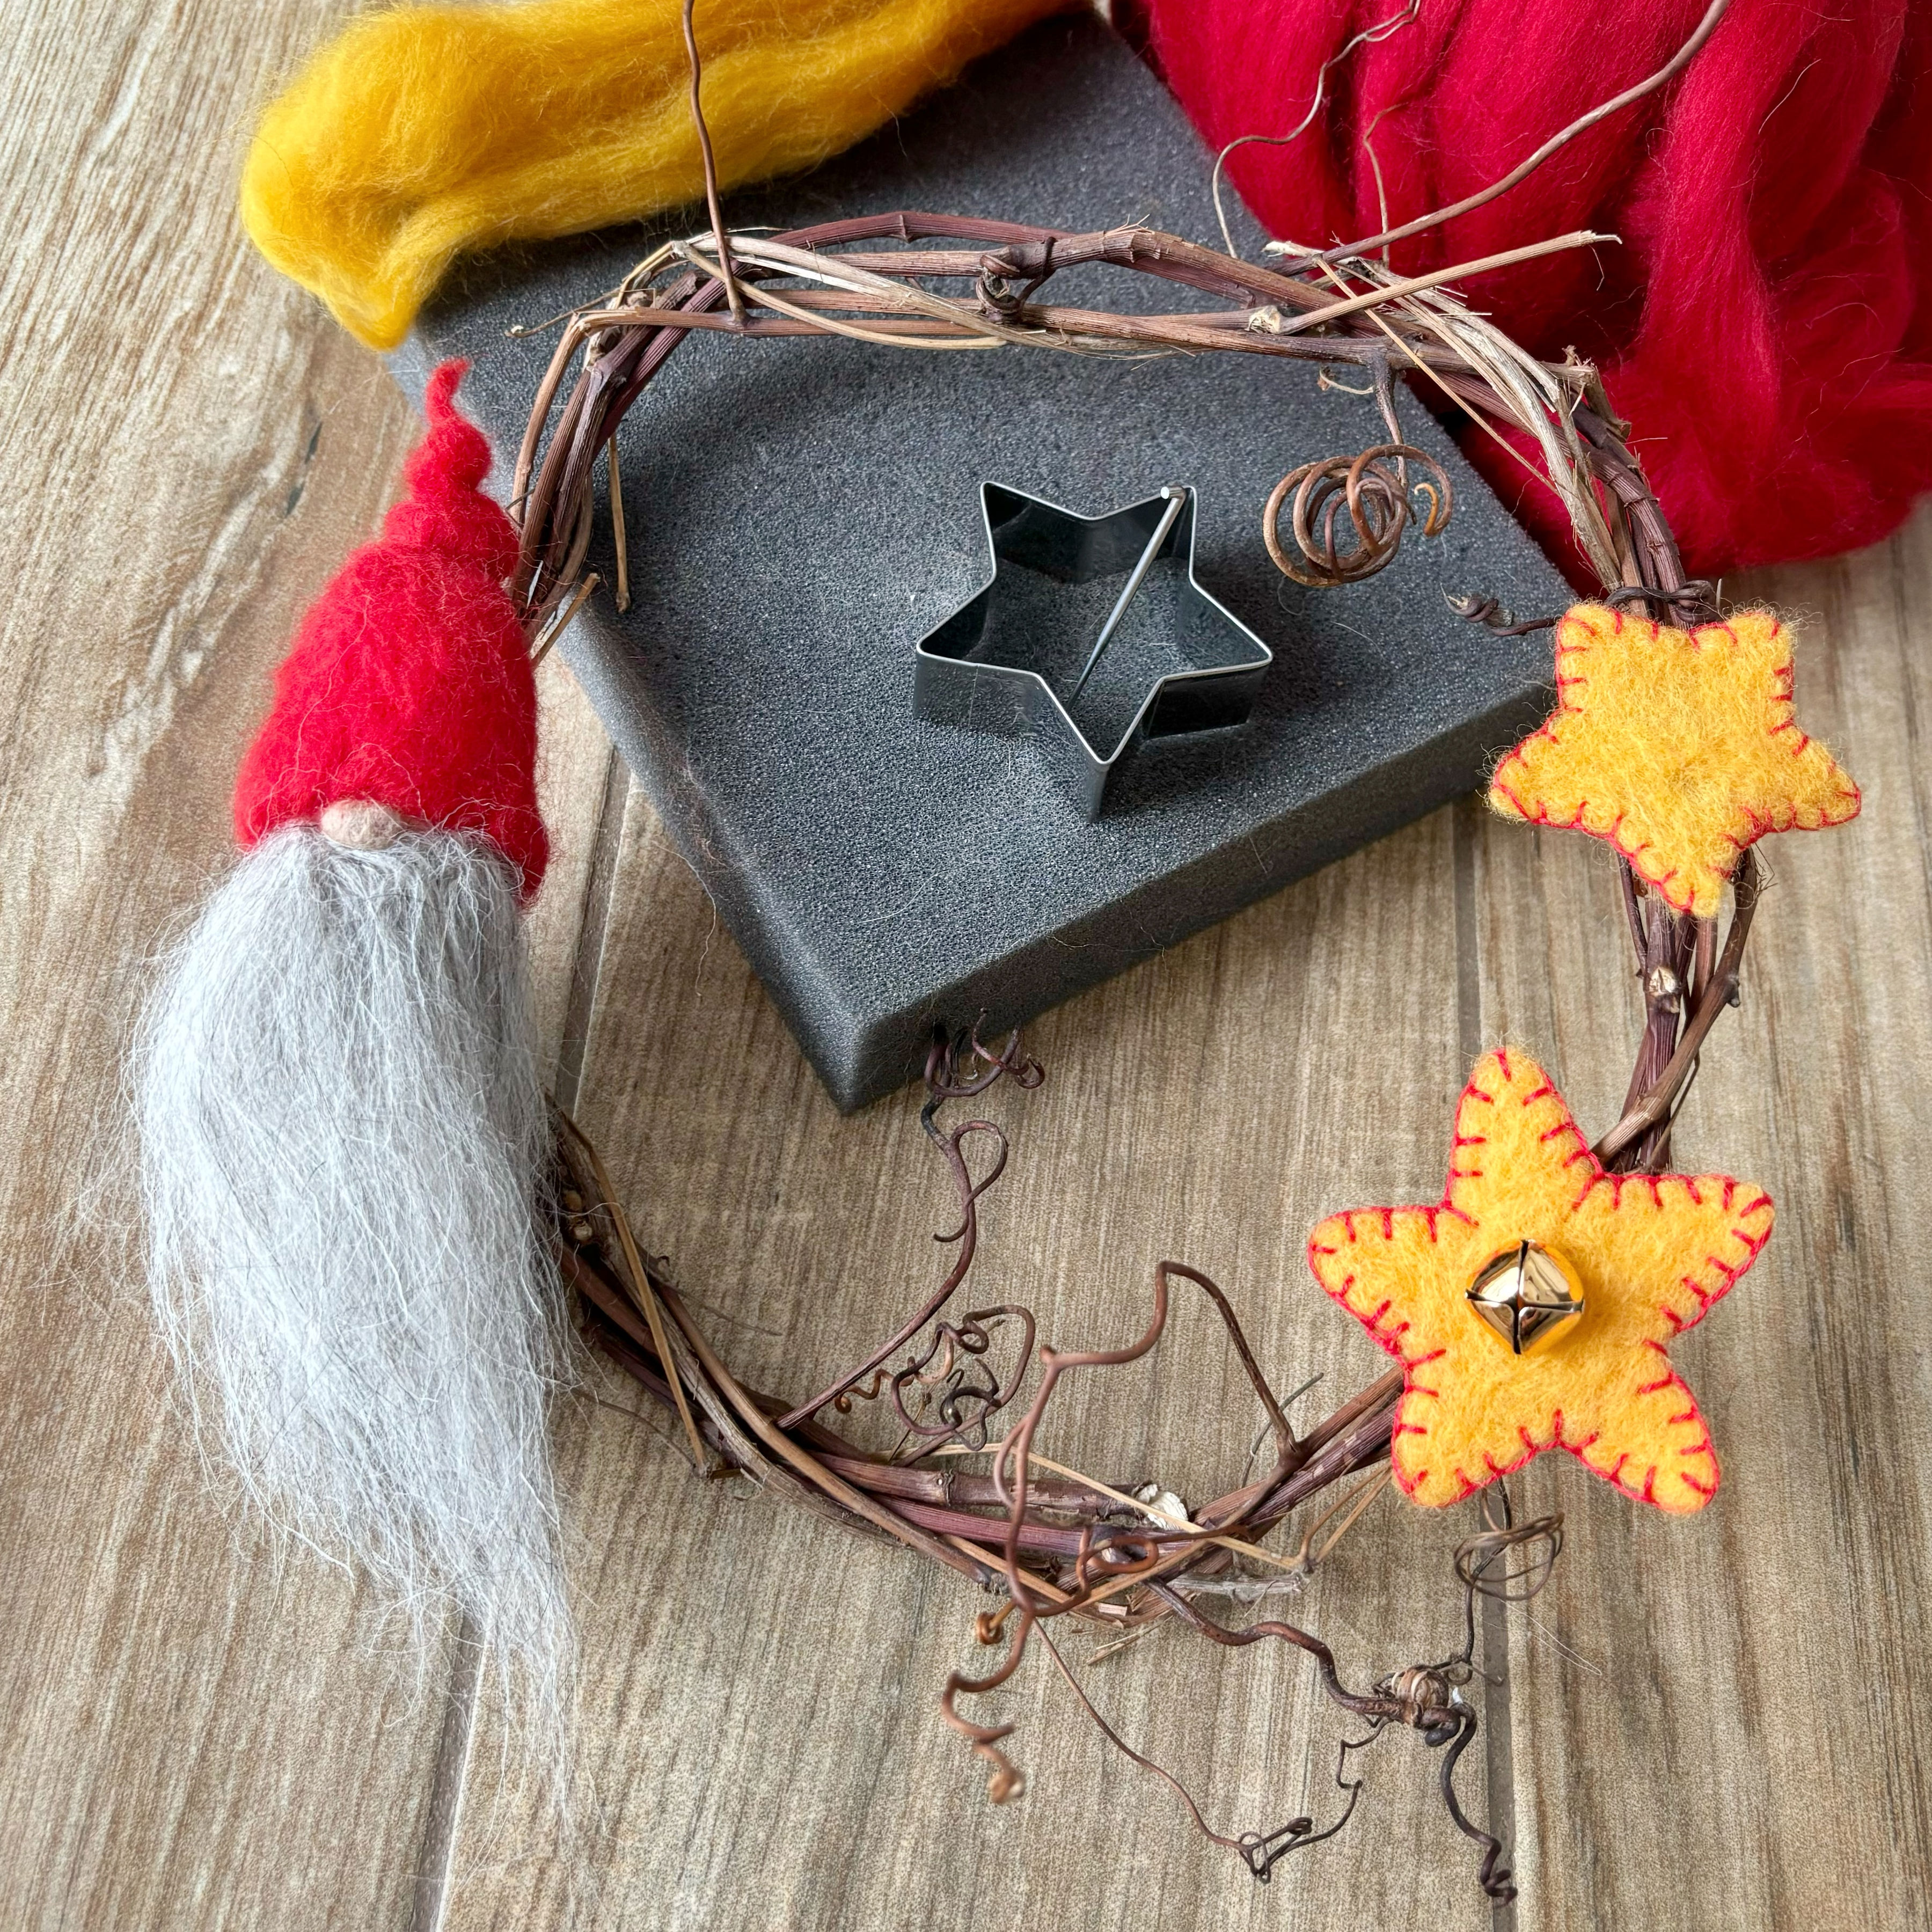
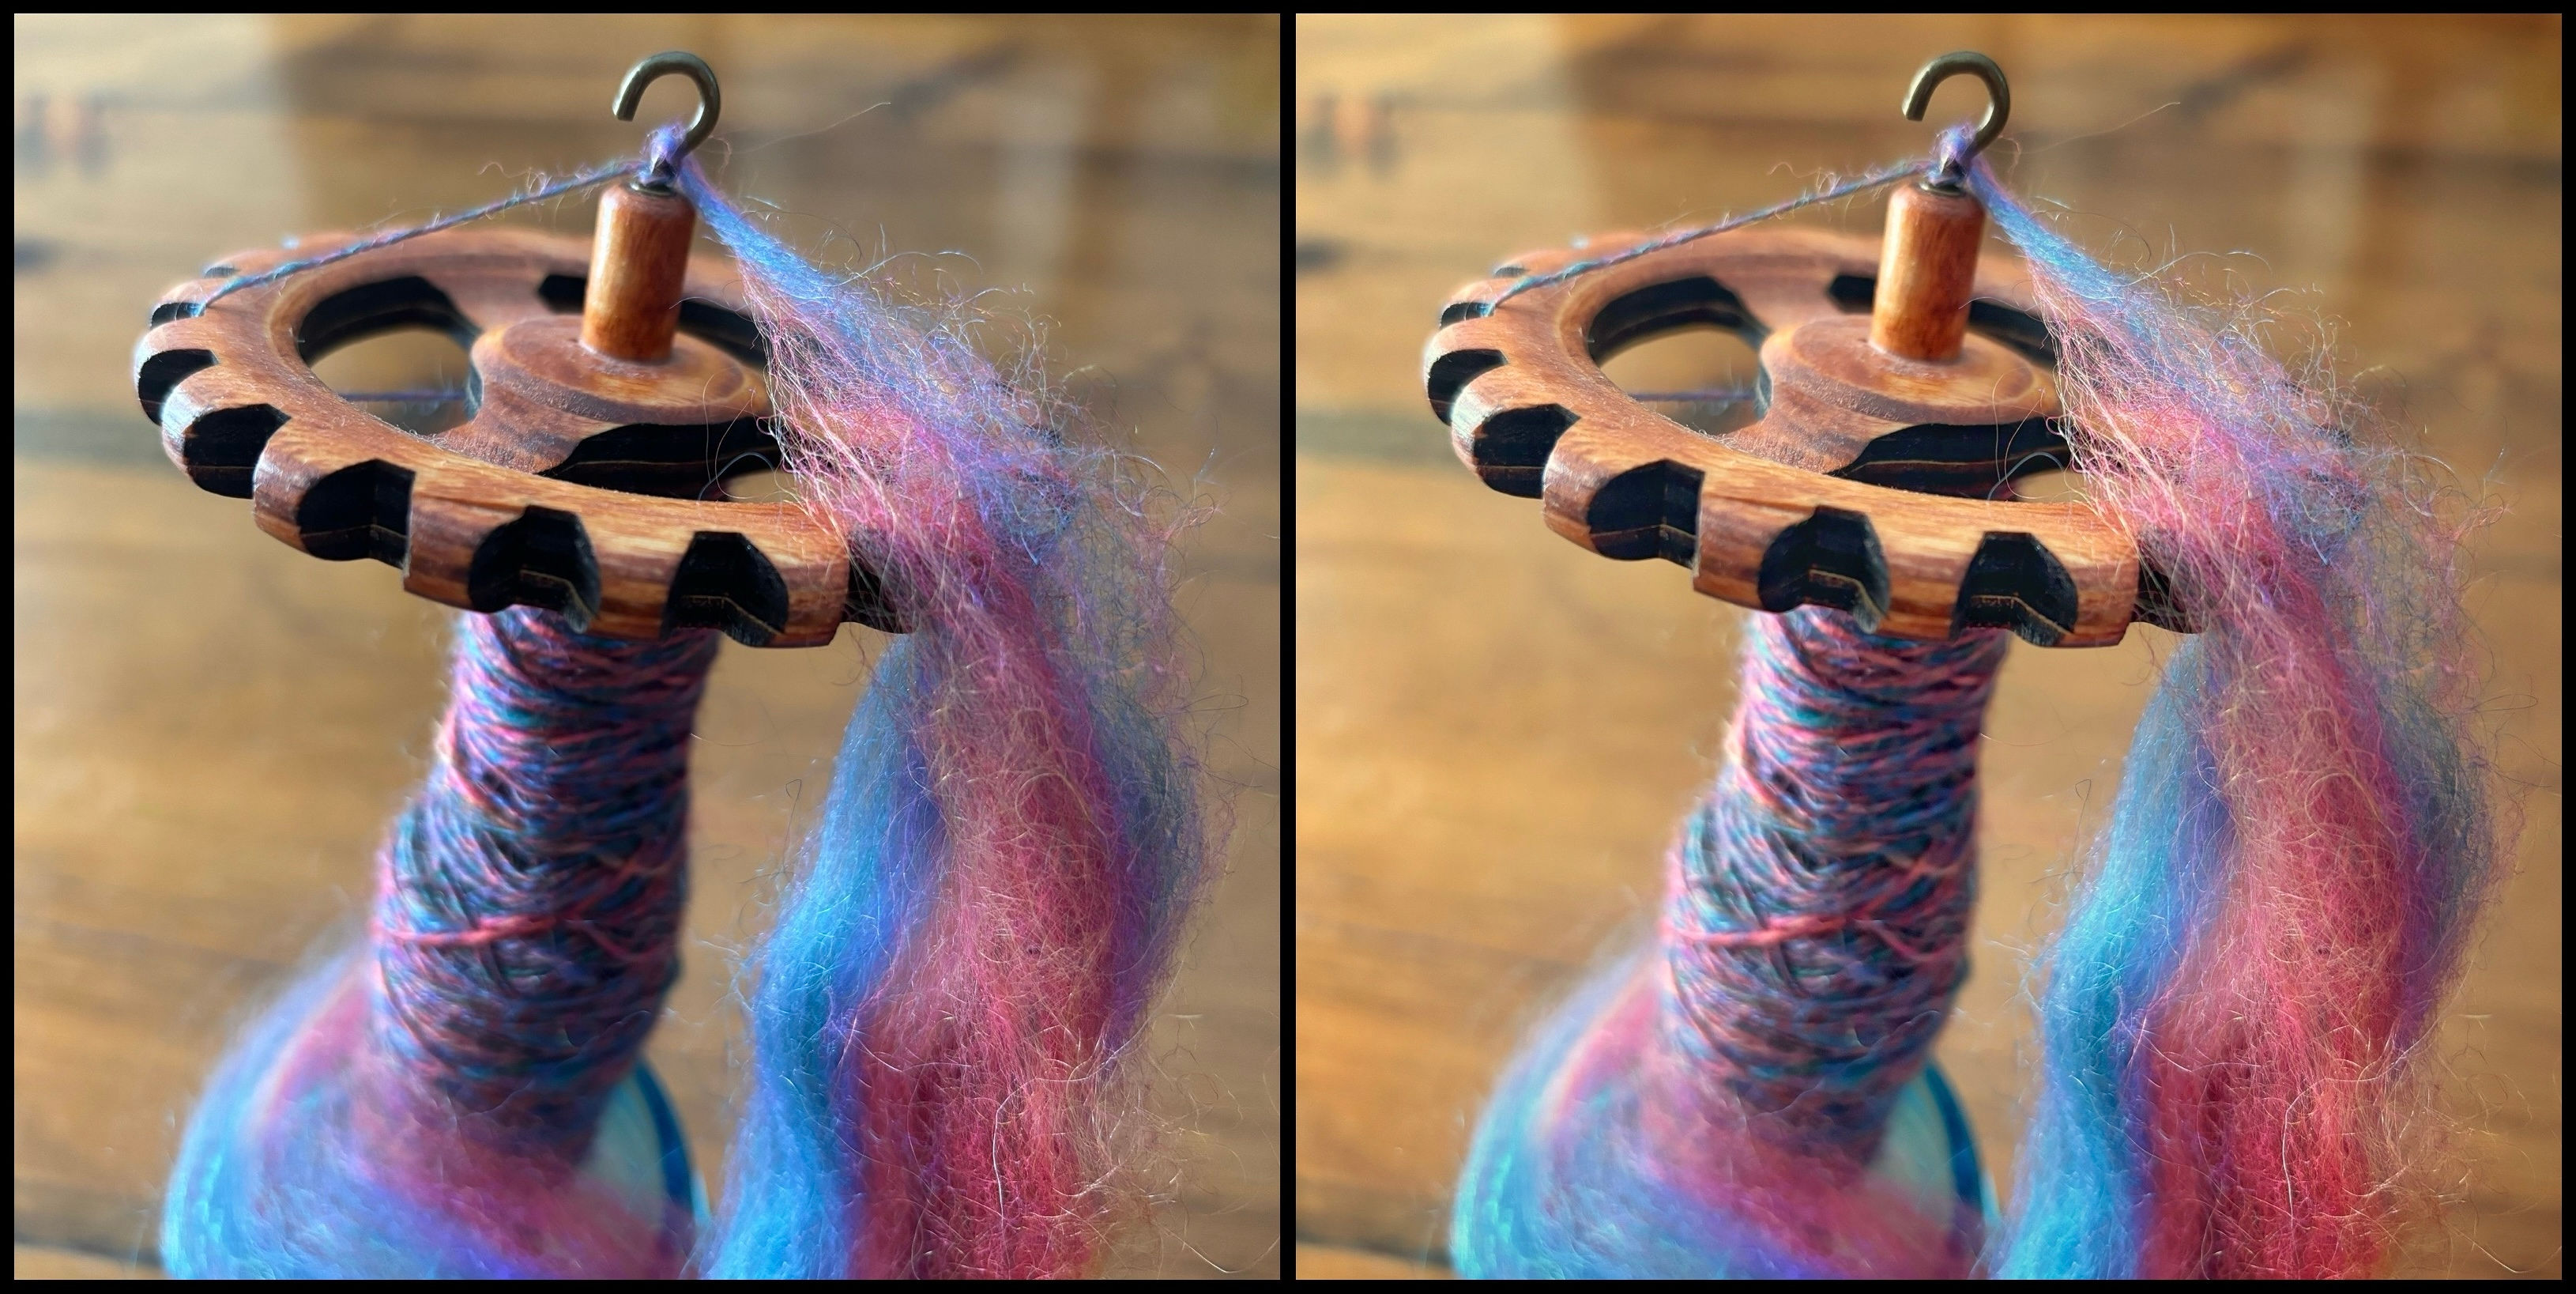
At our Spinning meeting the month before the wedding we had a drop spindle demonstration and members that took part had the chance to spin a short length of fibre to take to Sally’s wedding. At the reception we took it in turns to add our yarn to a small piece of weaving which Sally and Chris will keep as a memento of their special day.

At the end of the ceremony I can imagine Sally breathing a huge sigh of relief that all her hard work had paid off and resulted in a day that was incredibly creative, unique and very much “Sally”!